It has been 6 months since I started my Artist in Residence with the Durham Art Guild. With it coming to an end, I have a solo show with all new work March 15th – April 11th. My work for this residence explored more of my process but also looking at making pieces that may be more than just 2 dimensions.
For those that are local, I hope you can come to the Opening Reception March 15th and celebrate this journey with me. In the meantime, I’m sharing with you all the details around my show.

Artist Statement
Creating connections is about getting away from the daily routines and experiencing the world around me. It may mean taking a trip away, or it may just be a walk or grabbing a coffee in my local area, or it may be allowing myself to feel and process what is going on around me.
When I experience that “something”, I use photography to capture a reference image. These experiences tend to percolate in my mind until an idea forms into a design. I get to a point where I need to get that design on paper and bring the design to fruition in fabric. I love this process of creating – the color, the exploration, the problem solving – driving the deepening connection to the idea (inspiration) until a quilt is made.
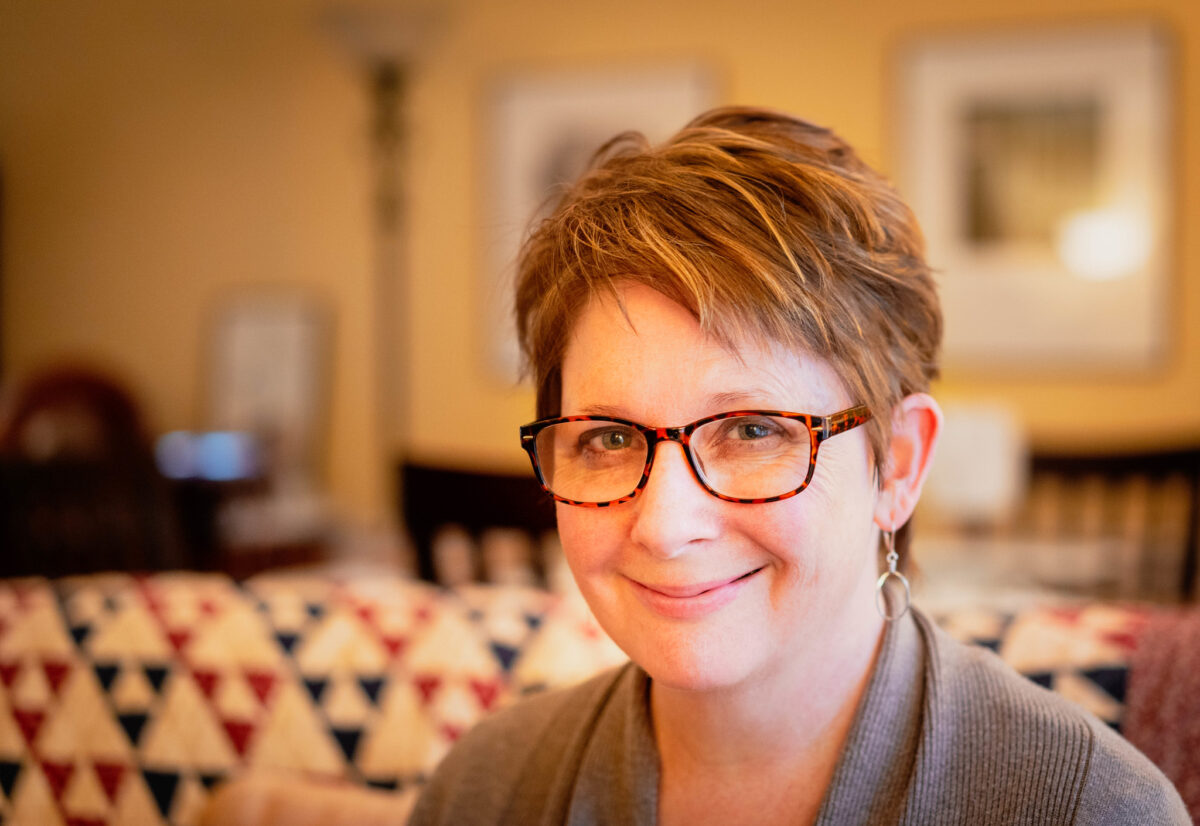
Bio
Michelle Wilkie is a textile artist and designer of modern quilts. Her artistic practice revolves around modern quilting where she seamlessly blends traditional techniques with a contemporary twist, embracing both Improvisation and Minimalism.
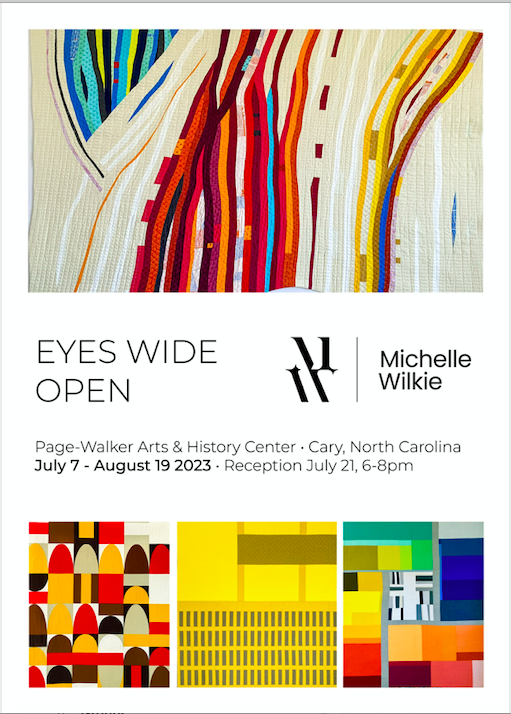
This past year, Michelle has completed an artist in residence at Durham Art Guild and Penland School of Craft. She exhibited at Page-Walker Center in a solo exhibition “Eyes Wide Open”, and exhibited at CAM Raleigh, Truist Gallery, 311 Gallery and ArtSpace NC and curated international shows in France and Italy. Her work is included in the SAS Art Collection and other private collections and can be seen at Artfields exhibition in April. She regularly has work juried into International Quilt Exhibitions and has been featured in several magazines and has work published in the book Modern Quilts: Design of the New Century.

Events
Address
Durham Art Guild Golden Belt Gallery
Mill No. 1 at Golden Belt Campus
800 Taylor St.
Durham, NC 27701
Public Hours
Monday – Saturday: 10:00AM-7:00PM
Sunday: 12:00PM-6:00PM
Opening Reception
15th March 2024 6-9pm
Enjoy an evening of art with the opening reception for Michelle Wilkie (DAG Artist in Residence) show, Creating Connections. Come along to see all new textile works that are inspired by elements or emotions she has experienced. A charcuterie plate accompanied with Michelle’s favorite wines, beer and non-alcoholic beverages are provided.
Afternoon Tea and Reading with Frances O’Roark Dowell
23rd March 2024 3-5pm
Spend an afternoon with us and share in a casual afternoon tea, in the style Michelle remembers from home (NZ), while listening to a reading by local author Frances O’Roark Dowell. While enjoying your tea/coffee accompanied by some savory and sweet bites, bring a project to work on and chat to others (projects could be sketchbook drawings, hand stitching, knitting, crochet, etc). If you forget a project or need new items, no problem, Freeman’s Creative pop-up shop is on-hand where you can purchase what you need.
France O’Roark Dowell
Frances O’Roark Dowell first combined her love of storytelling and quiltmaking in her 2016 novel Birds in the Air, followed by the short story collection, Margaret Goes Modern. She currently leads a thriving online community at QuiltFiction.com, where she shares weekly updates on her Milton Falls quilting stories, including Friendship Album, 1933 and Diary of a Mad Quilter. Frances is also the bestselling and critically acclaimed author of over 25 books for middle-grade readers.
Tiki Tour (An Artist Walk-through)
tiki tour (New Zealand Slang)
1. a sight-seeing journey with no particular destination in mind.
2. taking the scenic route to a destination.
3. to wander aimlessly.
You are invited to come on a tiki tour, as Artist Michelle Wilkie, shares her art process from inspiration to the final art work on some of the pieces in her solo show, “Creating Connections”. Stay, enjoy a beverage and light finger foods, while relishing in conversation and an informal Q+A.
Private Studio Tours
You can also reserve private studio tours during the weeks the show is showing, Mondays – Thursday. Book via Calendly here.
Stay tuned for the next post on my recommendations on pulling a solo show together.