Getting more involved in the art community has been such a great experience so far and I have learnt so much. In my previous posts, I talked about setting goals to get started (Part 1) and how I applied for exhibitions (Exhibitions – Part 2). This post is about applying for artist-in-residence programs.
The basics
What are they?
An Artist-in-residence program give artists the opportunity to live and work outside of their usual environments, providing them with time to reflect, research, or produce work (Artnet News). Many of the artist in residence, I have found, also provides you with
- Connection to other artists to help grow your community, and
- Can give you exposure for your work to seen or more visible.
How long are they?
They vary in length. I have seen many be for a full year to a month long. The one I applied for was only two weeks which was perfect, as at the time I applied, I still was working full-time and also had family responsibilities. There are not many that are only 2 weeks though.
How do you find them?
Similar to exhibitions, there are calls for Artist in Residence. They can be found on organizations web pages/newsletter (eg. Penland School of Craft, MacDowell, Ox-bow), local art studios and some galleries, or from Call for Entry applications like CaFÉ. Also, keep an eye out for art organizations that support artists, as they may repost calls for entry and artist-in-residence programs.
What do they cost? Does an Artist-in-Residence program pay?
This is an interesting question, and again it varies but the organizations are usually clear upfront. You may have to pay for an application fee. For the actual Artist-in-Residence Program, if you have to pay (usually for things like lodging or studio fees) they will let you know during the application process and usually there are scholarship options to help if you need it. Many artist-in-residence program include accommodation, studio space, supplies and a stipend. The application descriptions will let you know what is included and what isn’t so you can make the most informed decision you can.
How many people will be accepted?
Again this varies. It may be one for that particular residency you are applying for, especially if the organization is a studio or gallery based organization. It may be many people, if the organization has multiple studio settings. For example, Penland School of Craft Winter Residency had approximately 80 people across the 15 different studios (buildings). There were 8 people in the Textile studio when I was there.
What will you need ready for applying?
Read the application process thoroughly before applying so you can be prepared. I have found typically you will need:
- Resume / CV (no more than 1-2 pages)
- Artist Statement proposing what you want to accomplish in the time during residency.
- Images of your work (Typically 4-10 images)
- Image list or descriptions of the supplied images
- References (this varies; could be just a list of a couple names and their contact details or they may ask for formal letters)
- Questionnaire (Varies again but they may asks questions based on getting a sense of suitability)
My Submission to Penland School Winter Residency
Penland School of Craft offers many residencies. The one I applied for was their Winter Residency which was a choice of two or four week stay. Like I mentioned, I chose two weeks due to my current commitments. Here are some of the details in my application:
Application Fee: $30
Costs: $1000 (included studio fee and housing in private room w/ private bathroom – cheaper was available; also scholarships are available but since I was working full-time I could afford the costs)
Food: No meals were provided but Kitchens were available also meals from the onsite cafe.
Project Proposal: For my proposal, I mentioned why I needed a two week residency – time away from family and work to focus on my textile art exploration. I discussed that I wanted to explore designing and making quilts that explored who I am, my emotions and events that impacted or affected me. I wanted to work smaller (~20″) and use up-cycled materials in my work.
Resume/CV: I reworked my resume to reduce it to 1 page (typically I have in my resume exhibitions/shows, publications, and teaching experience for just the last 3 years).
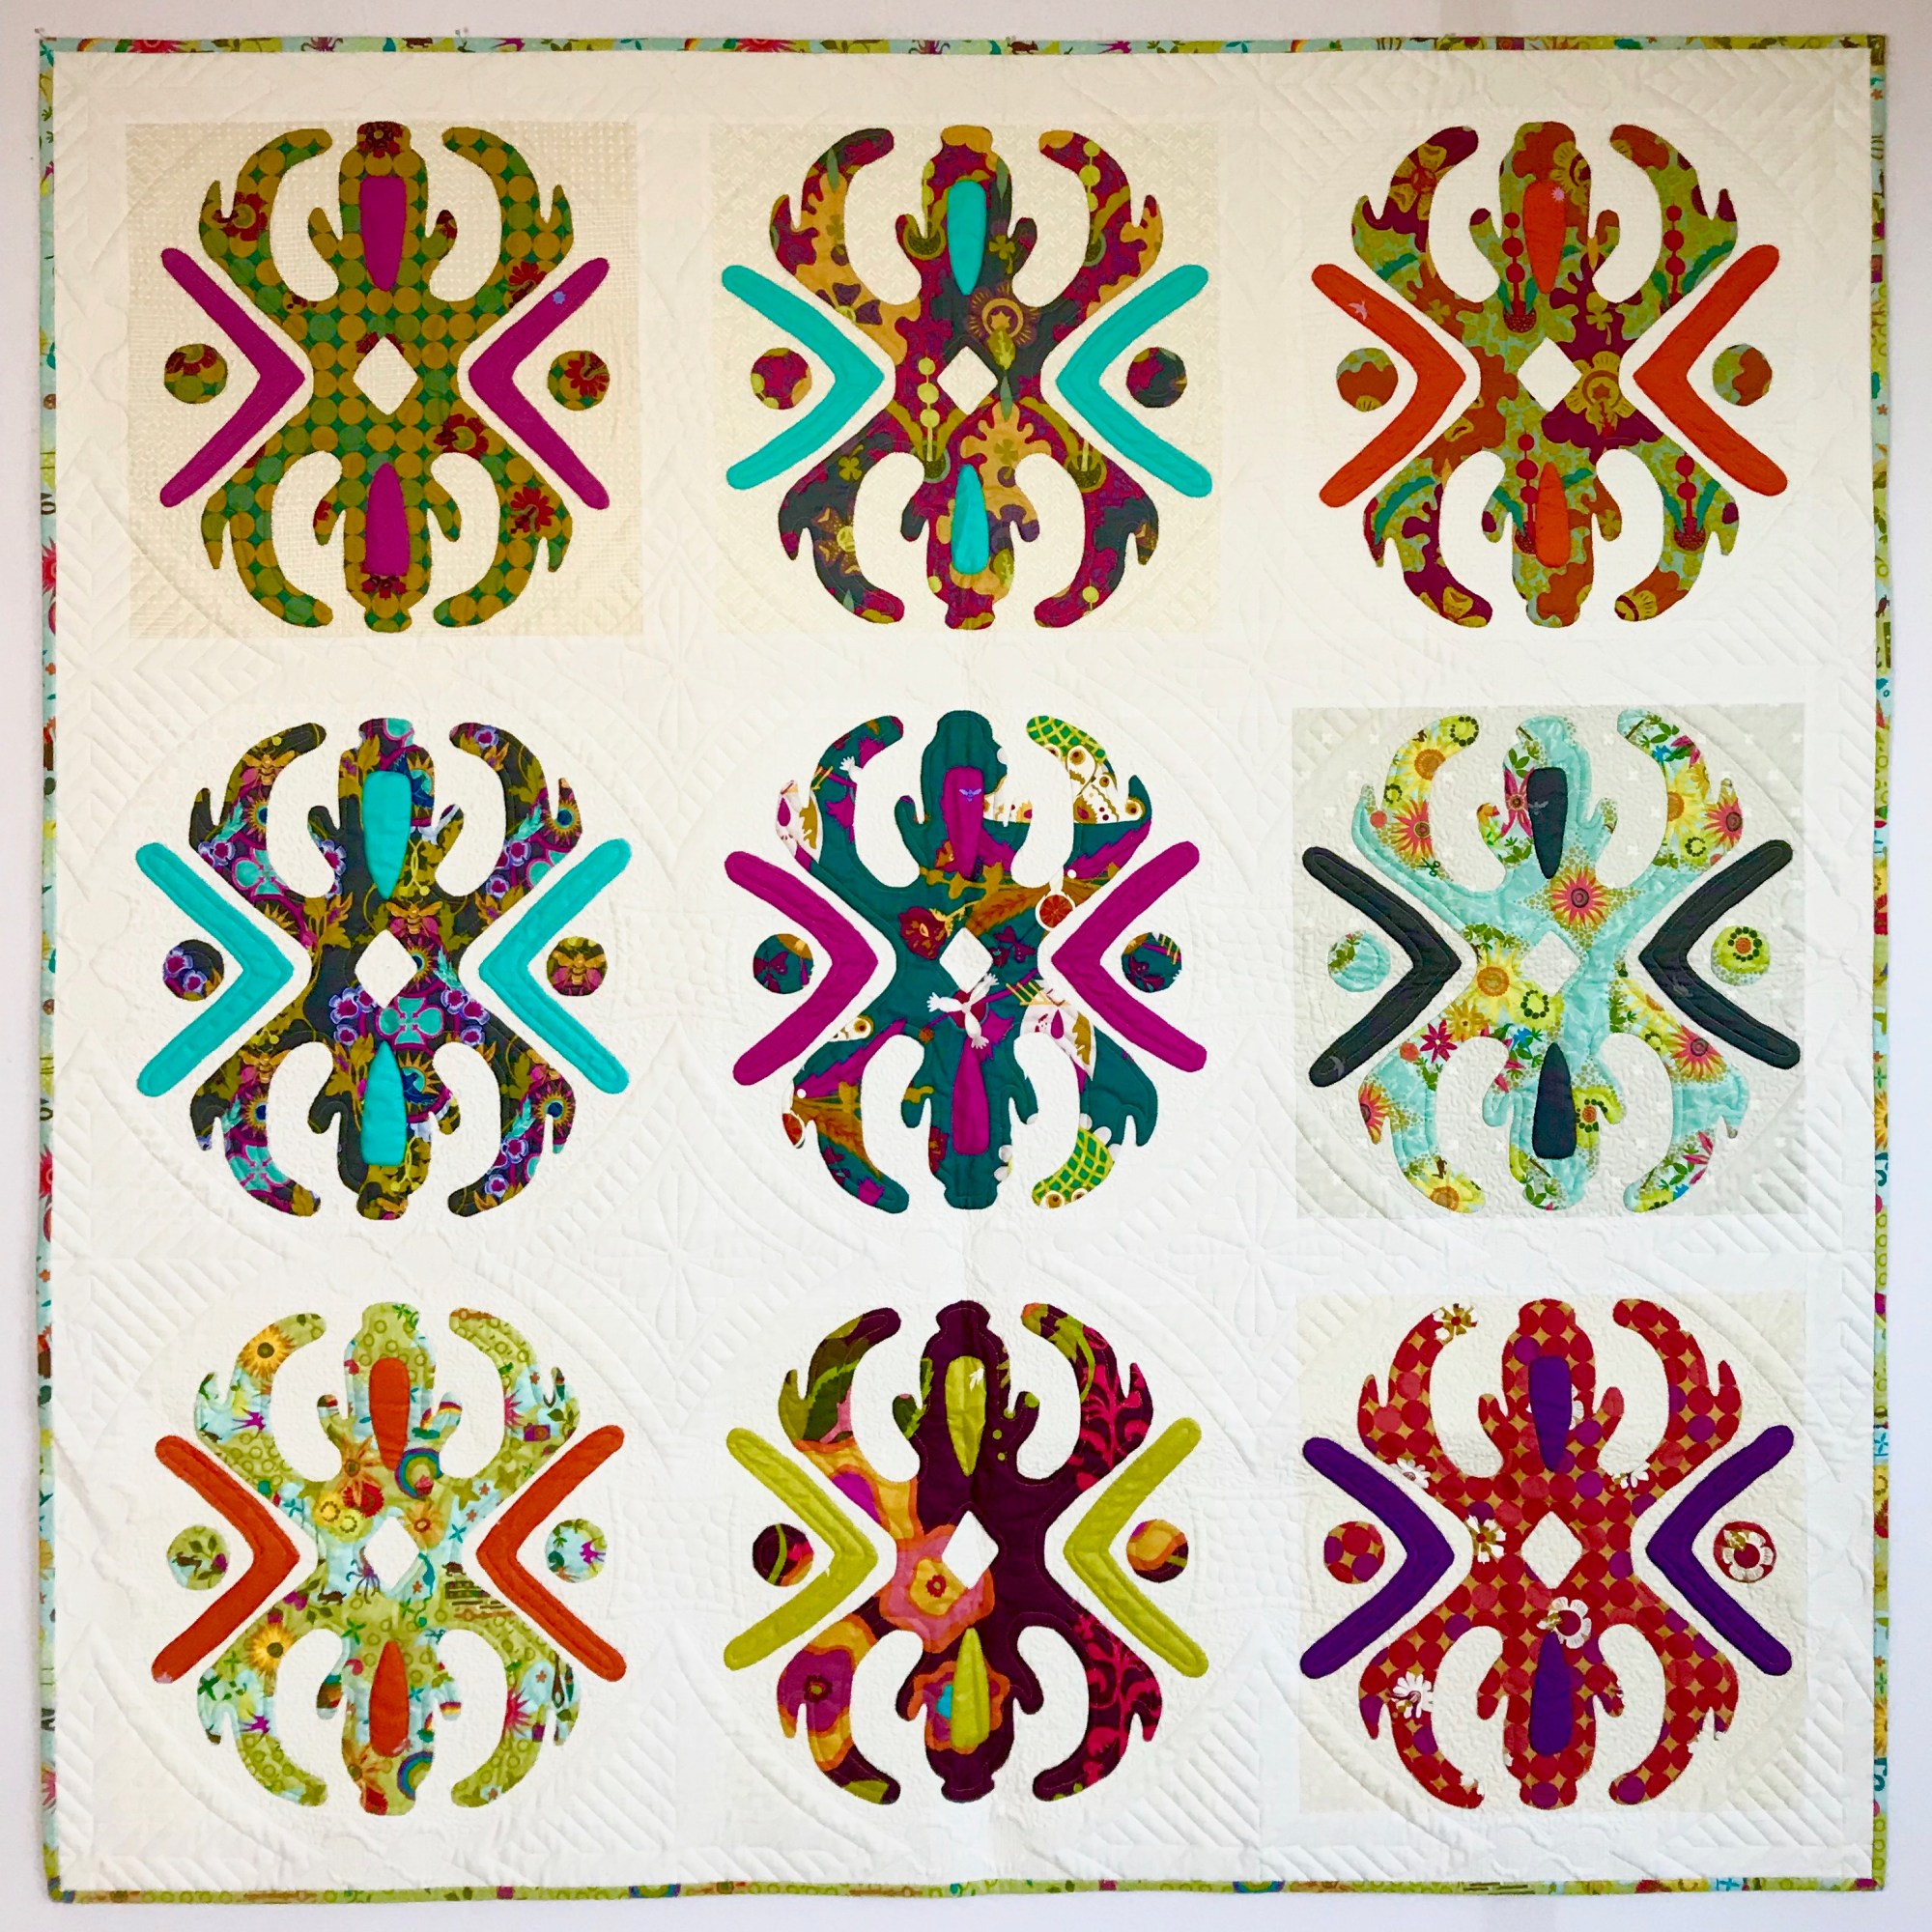
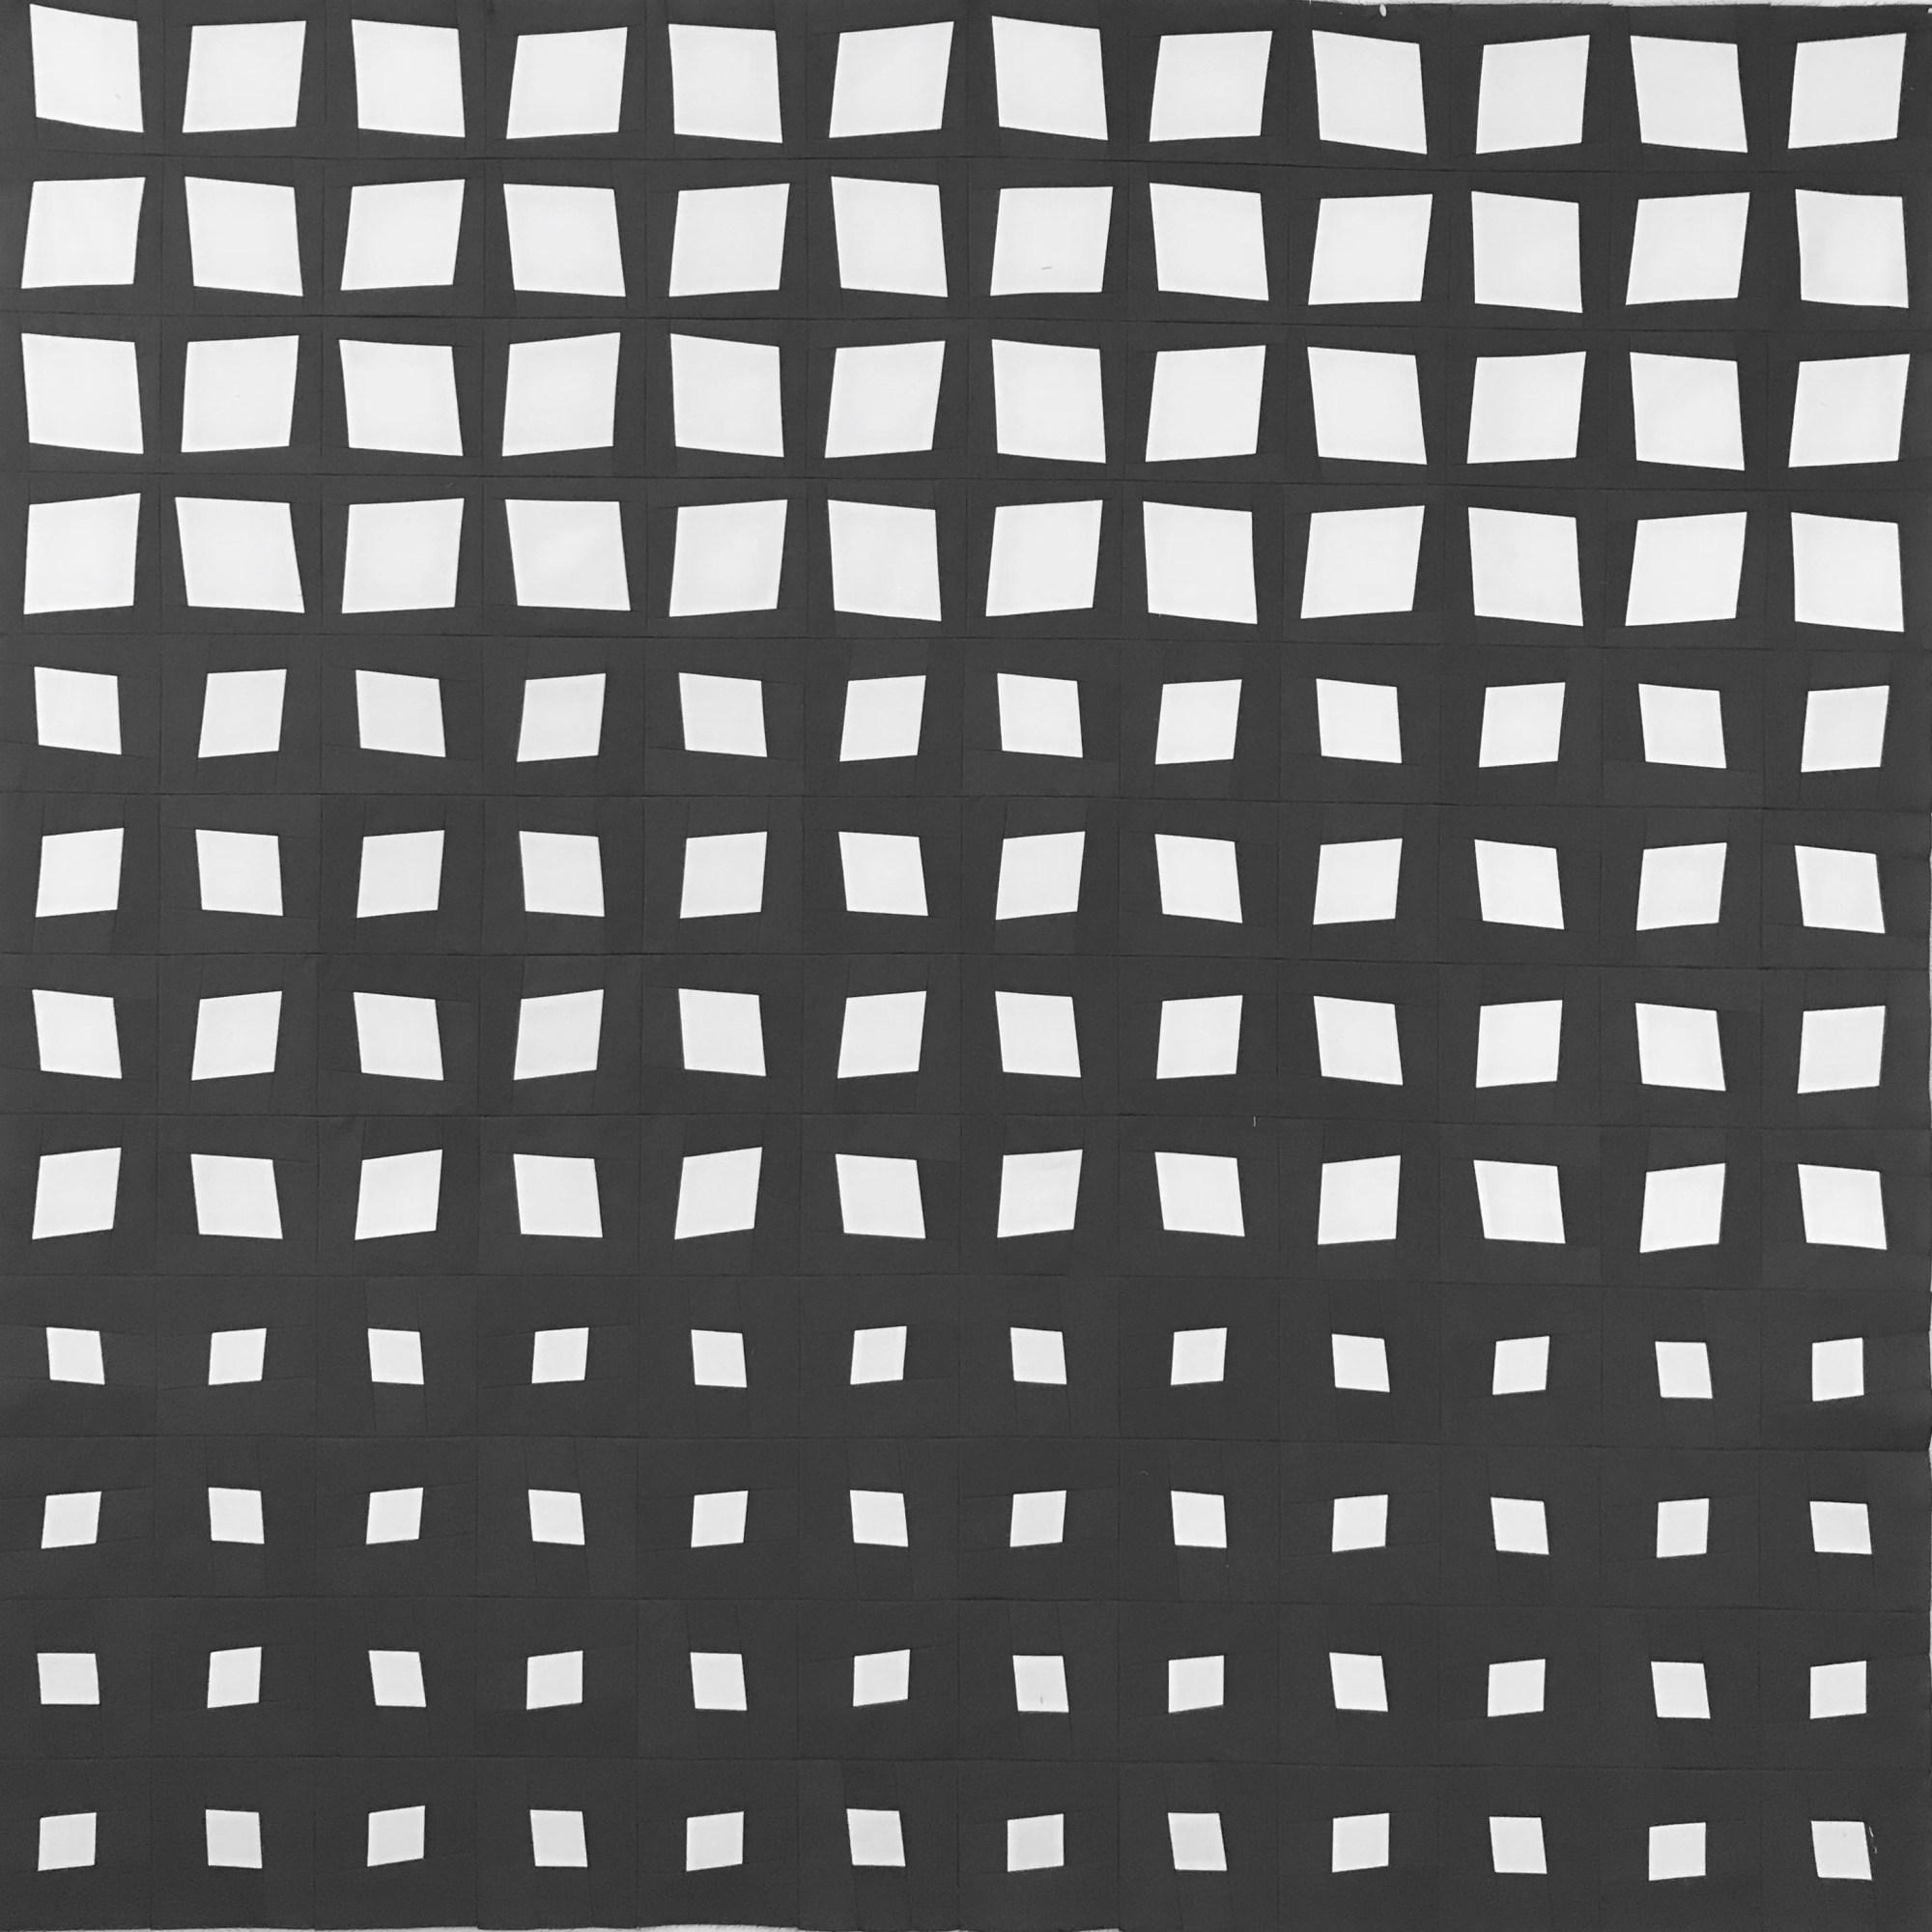
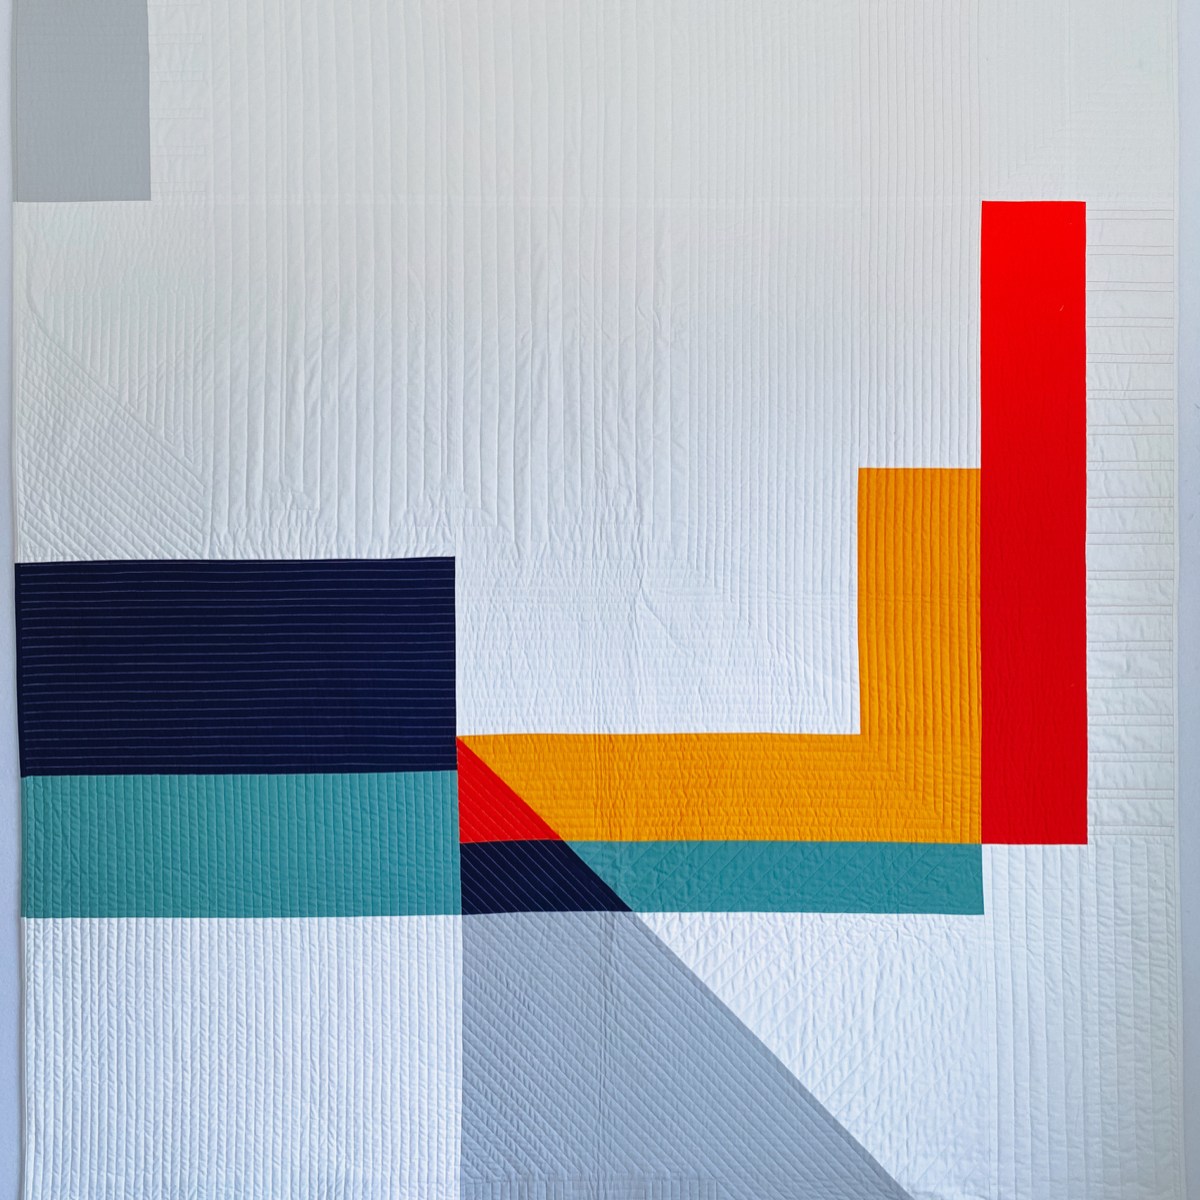
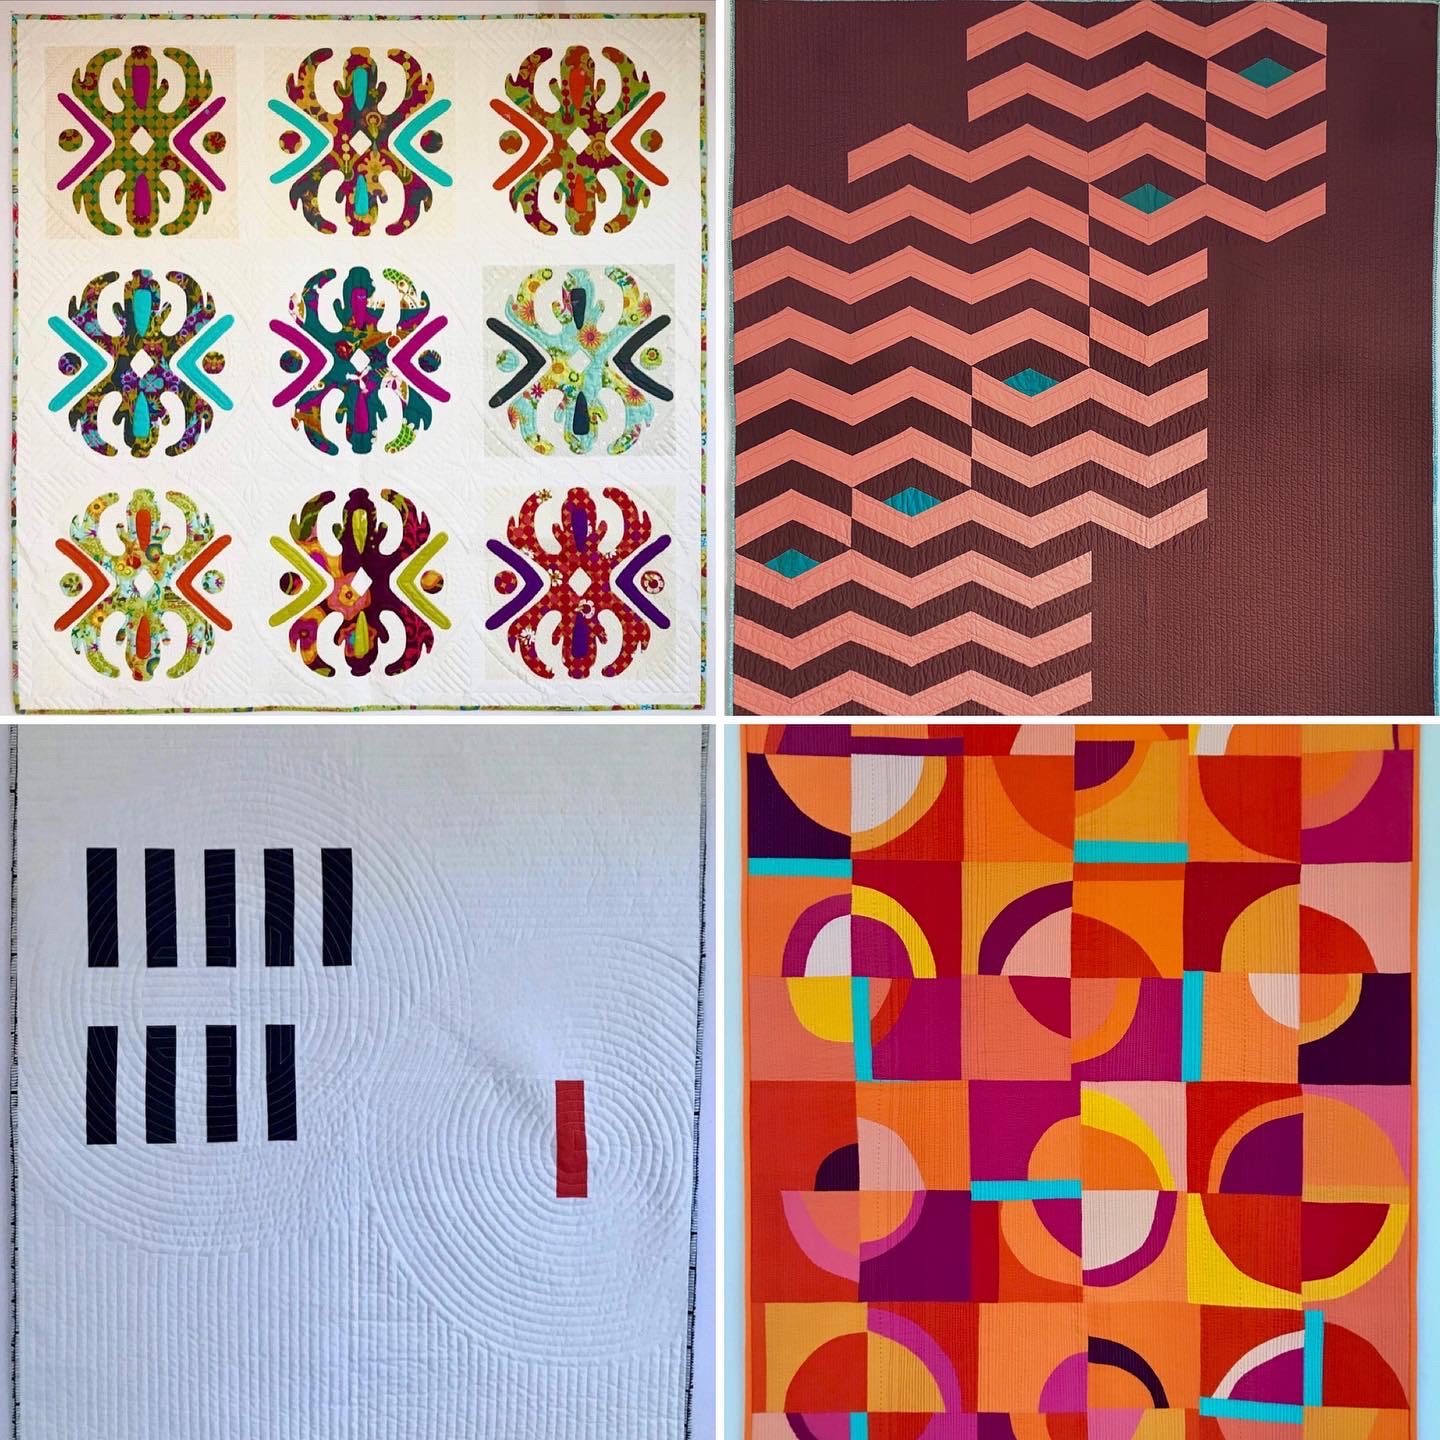
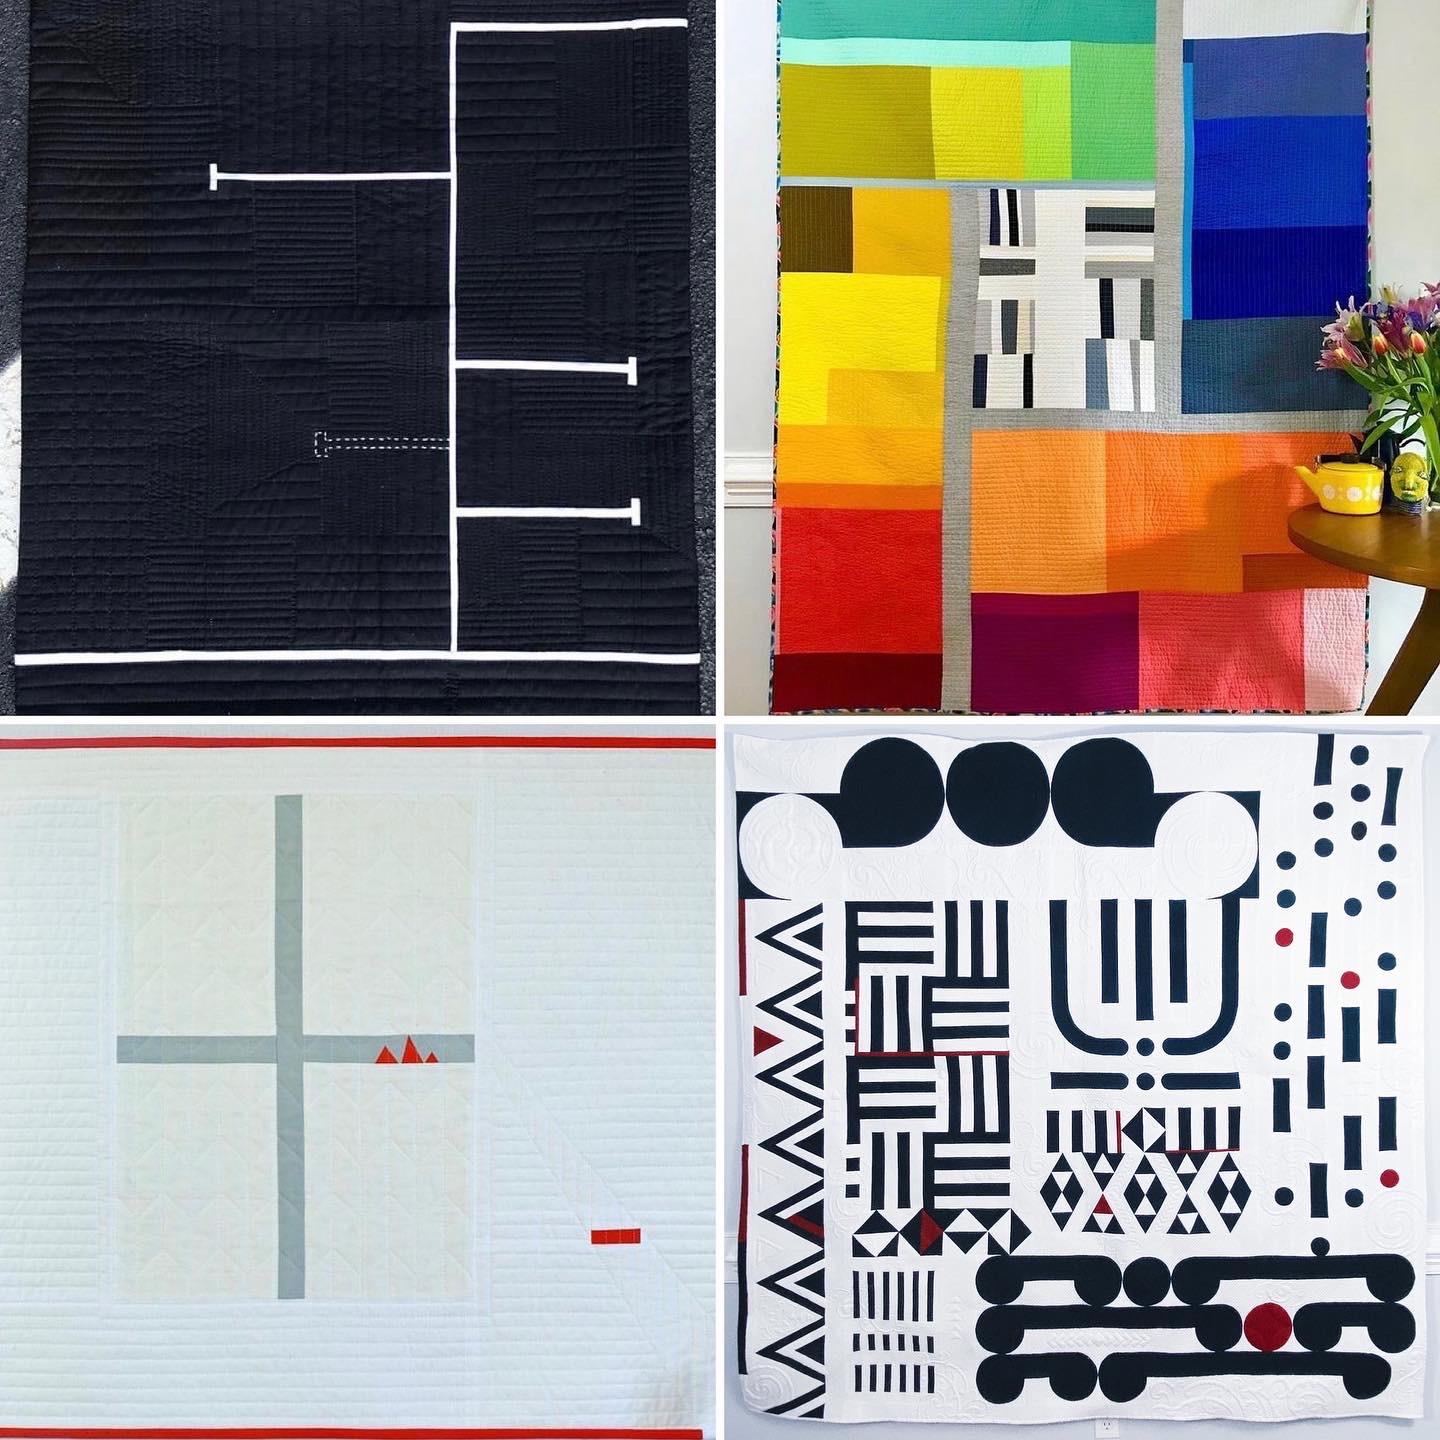
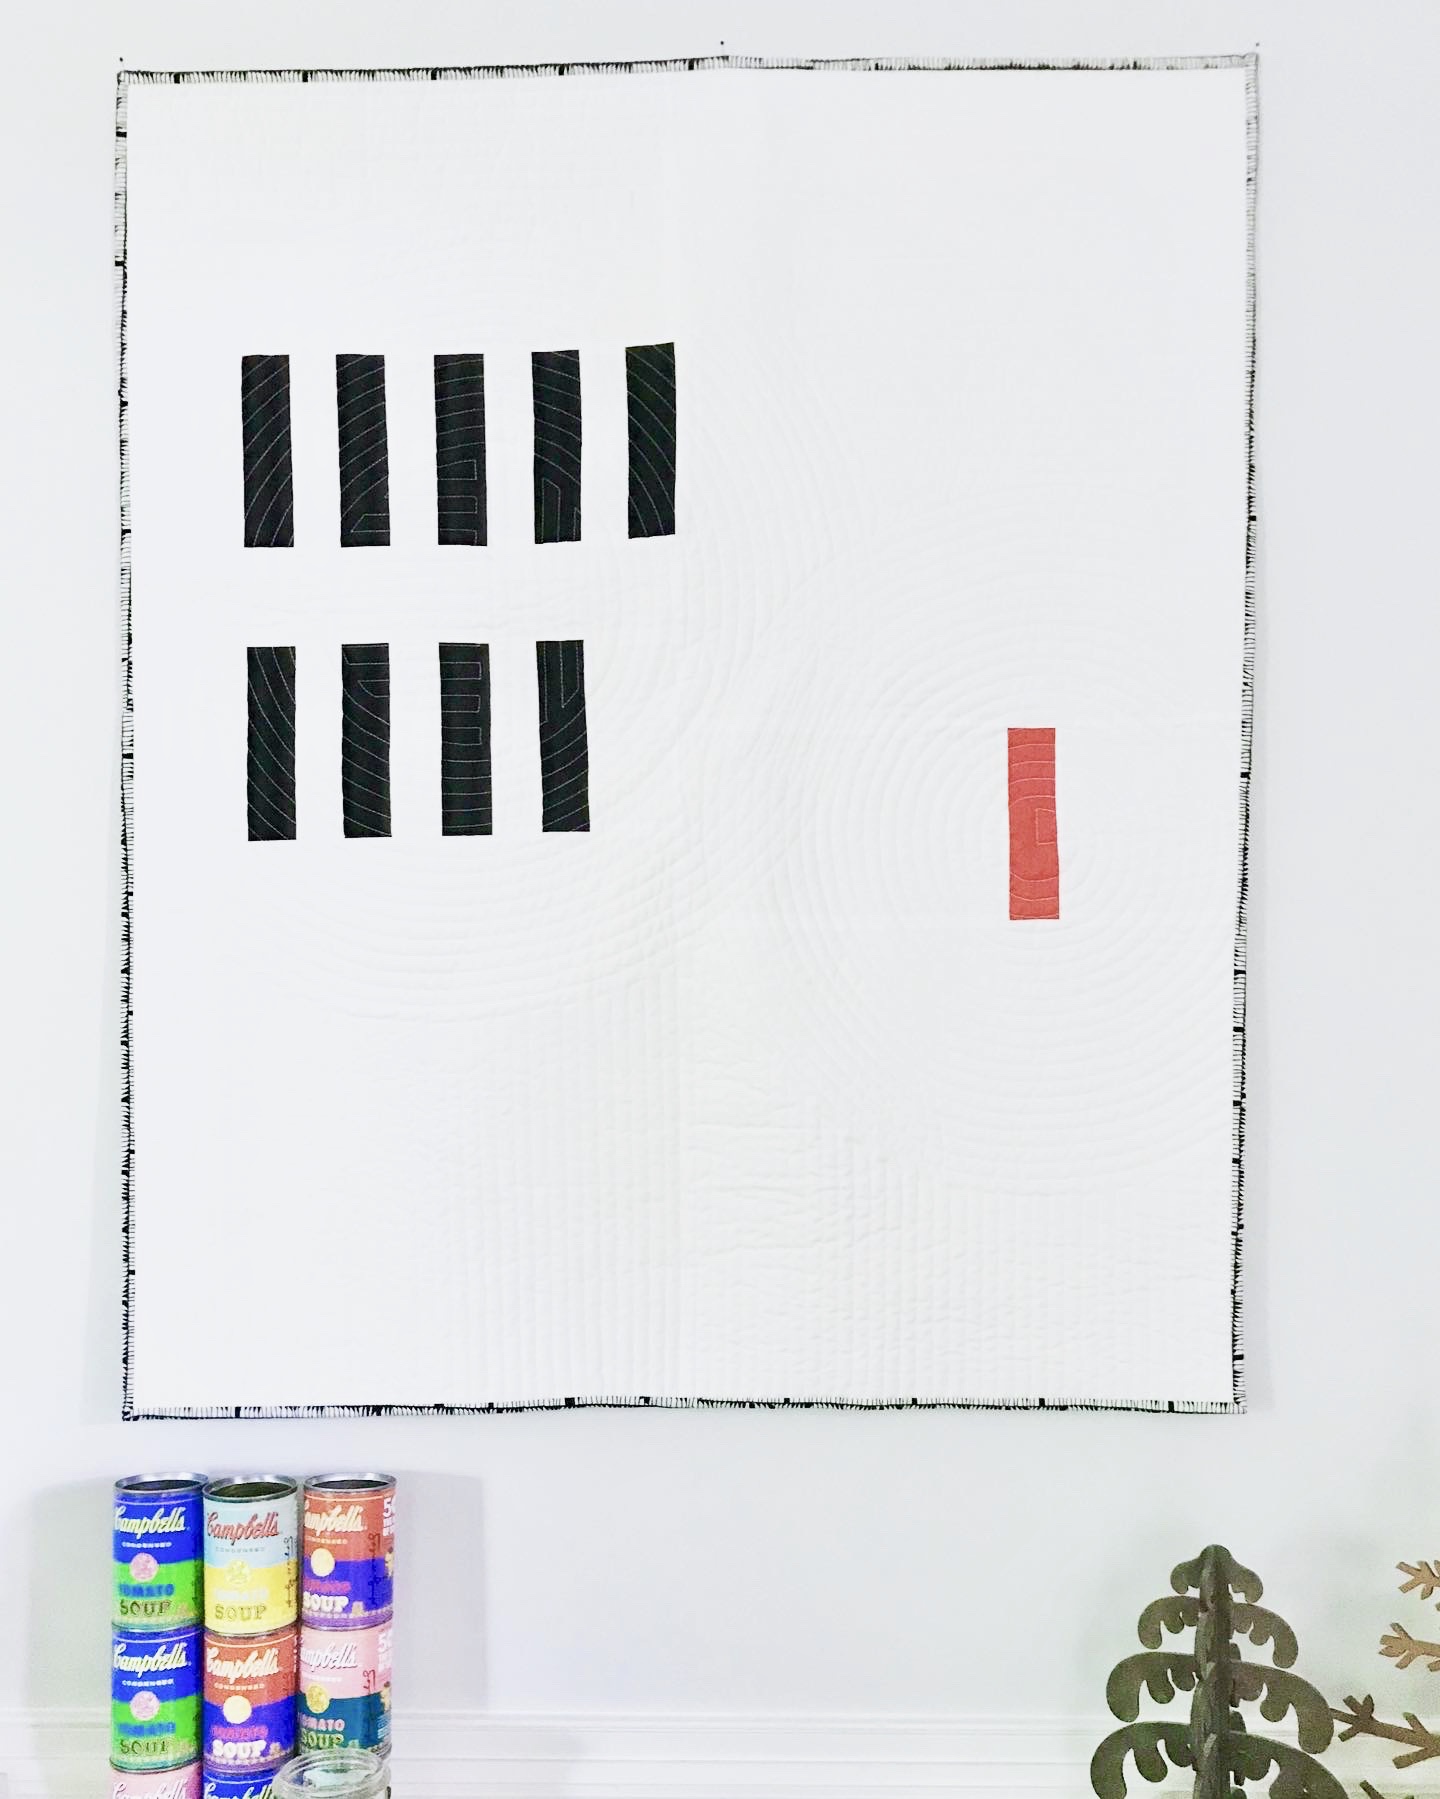
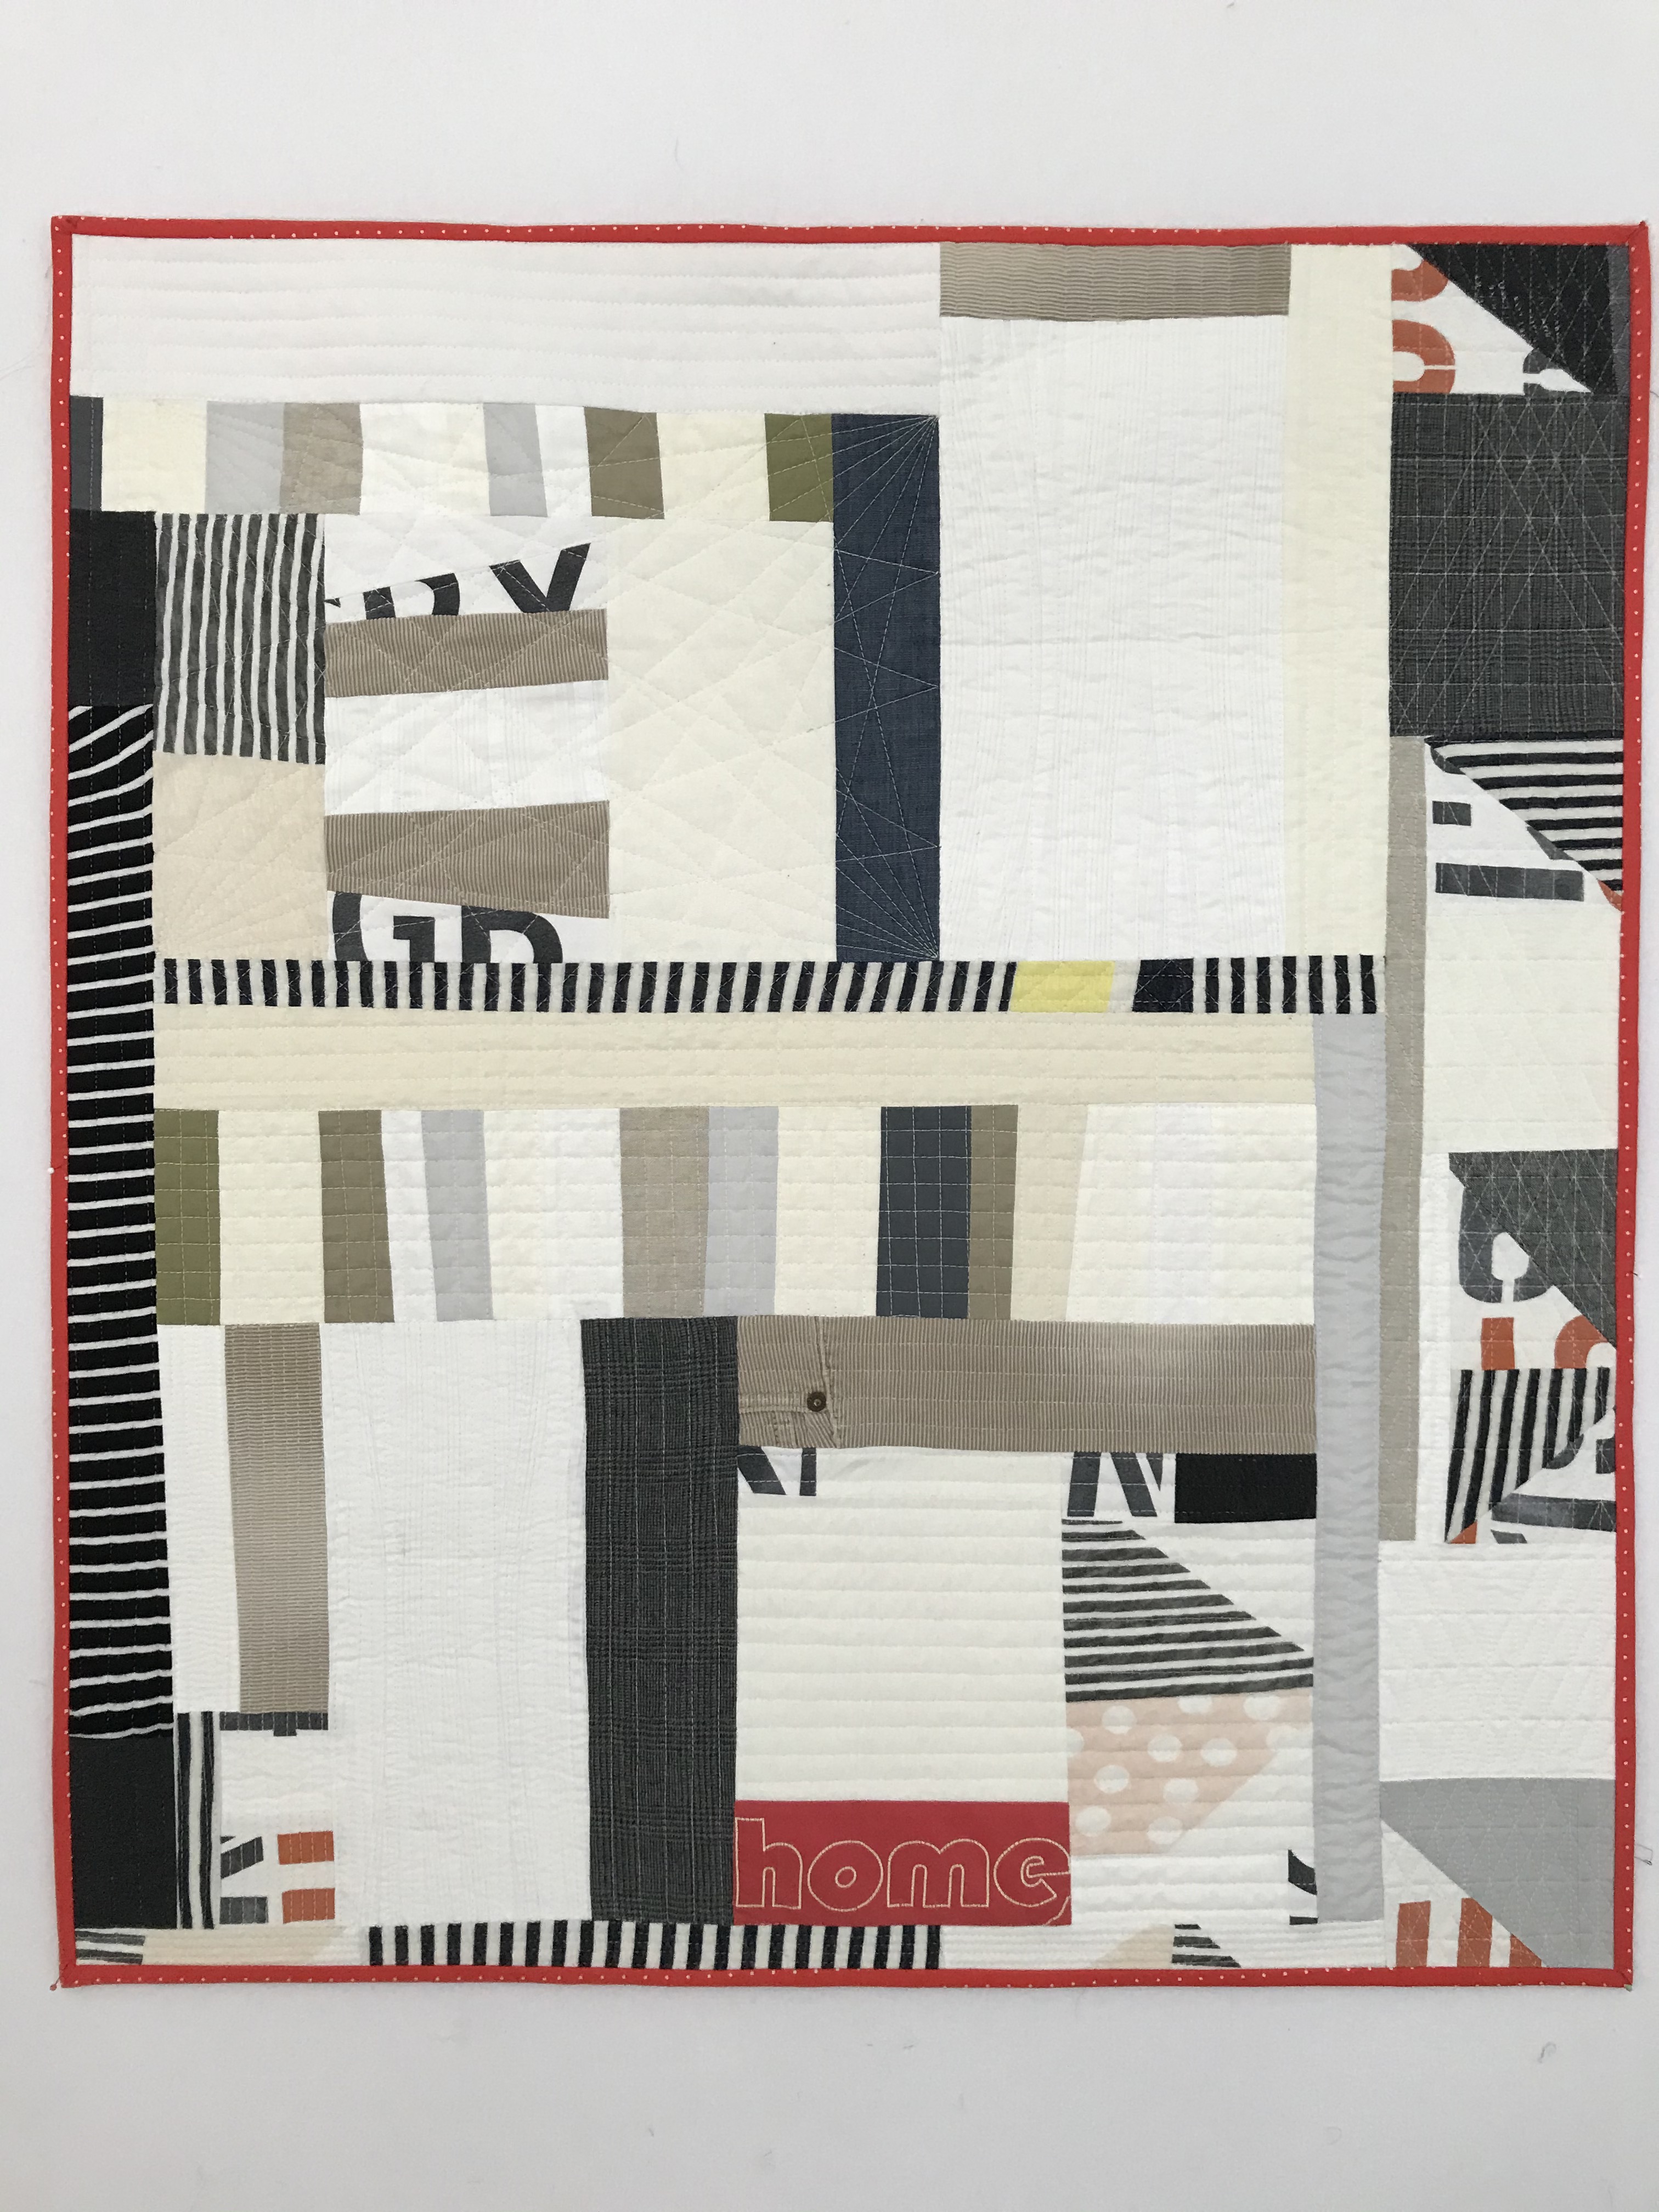
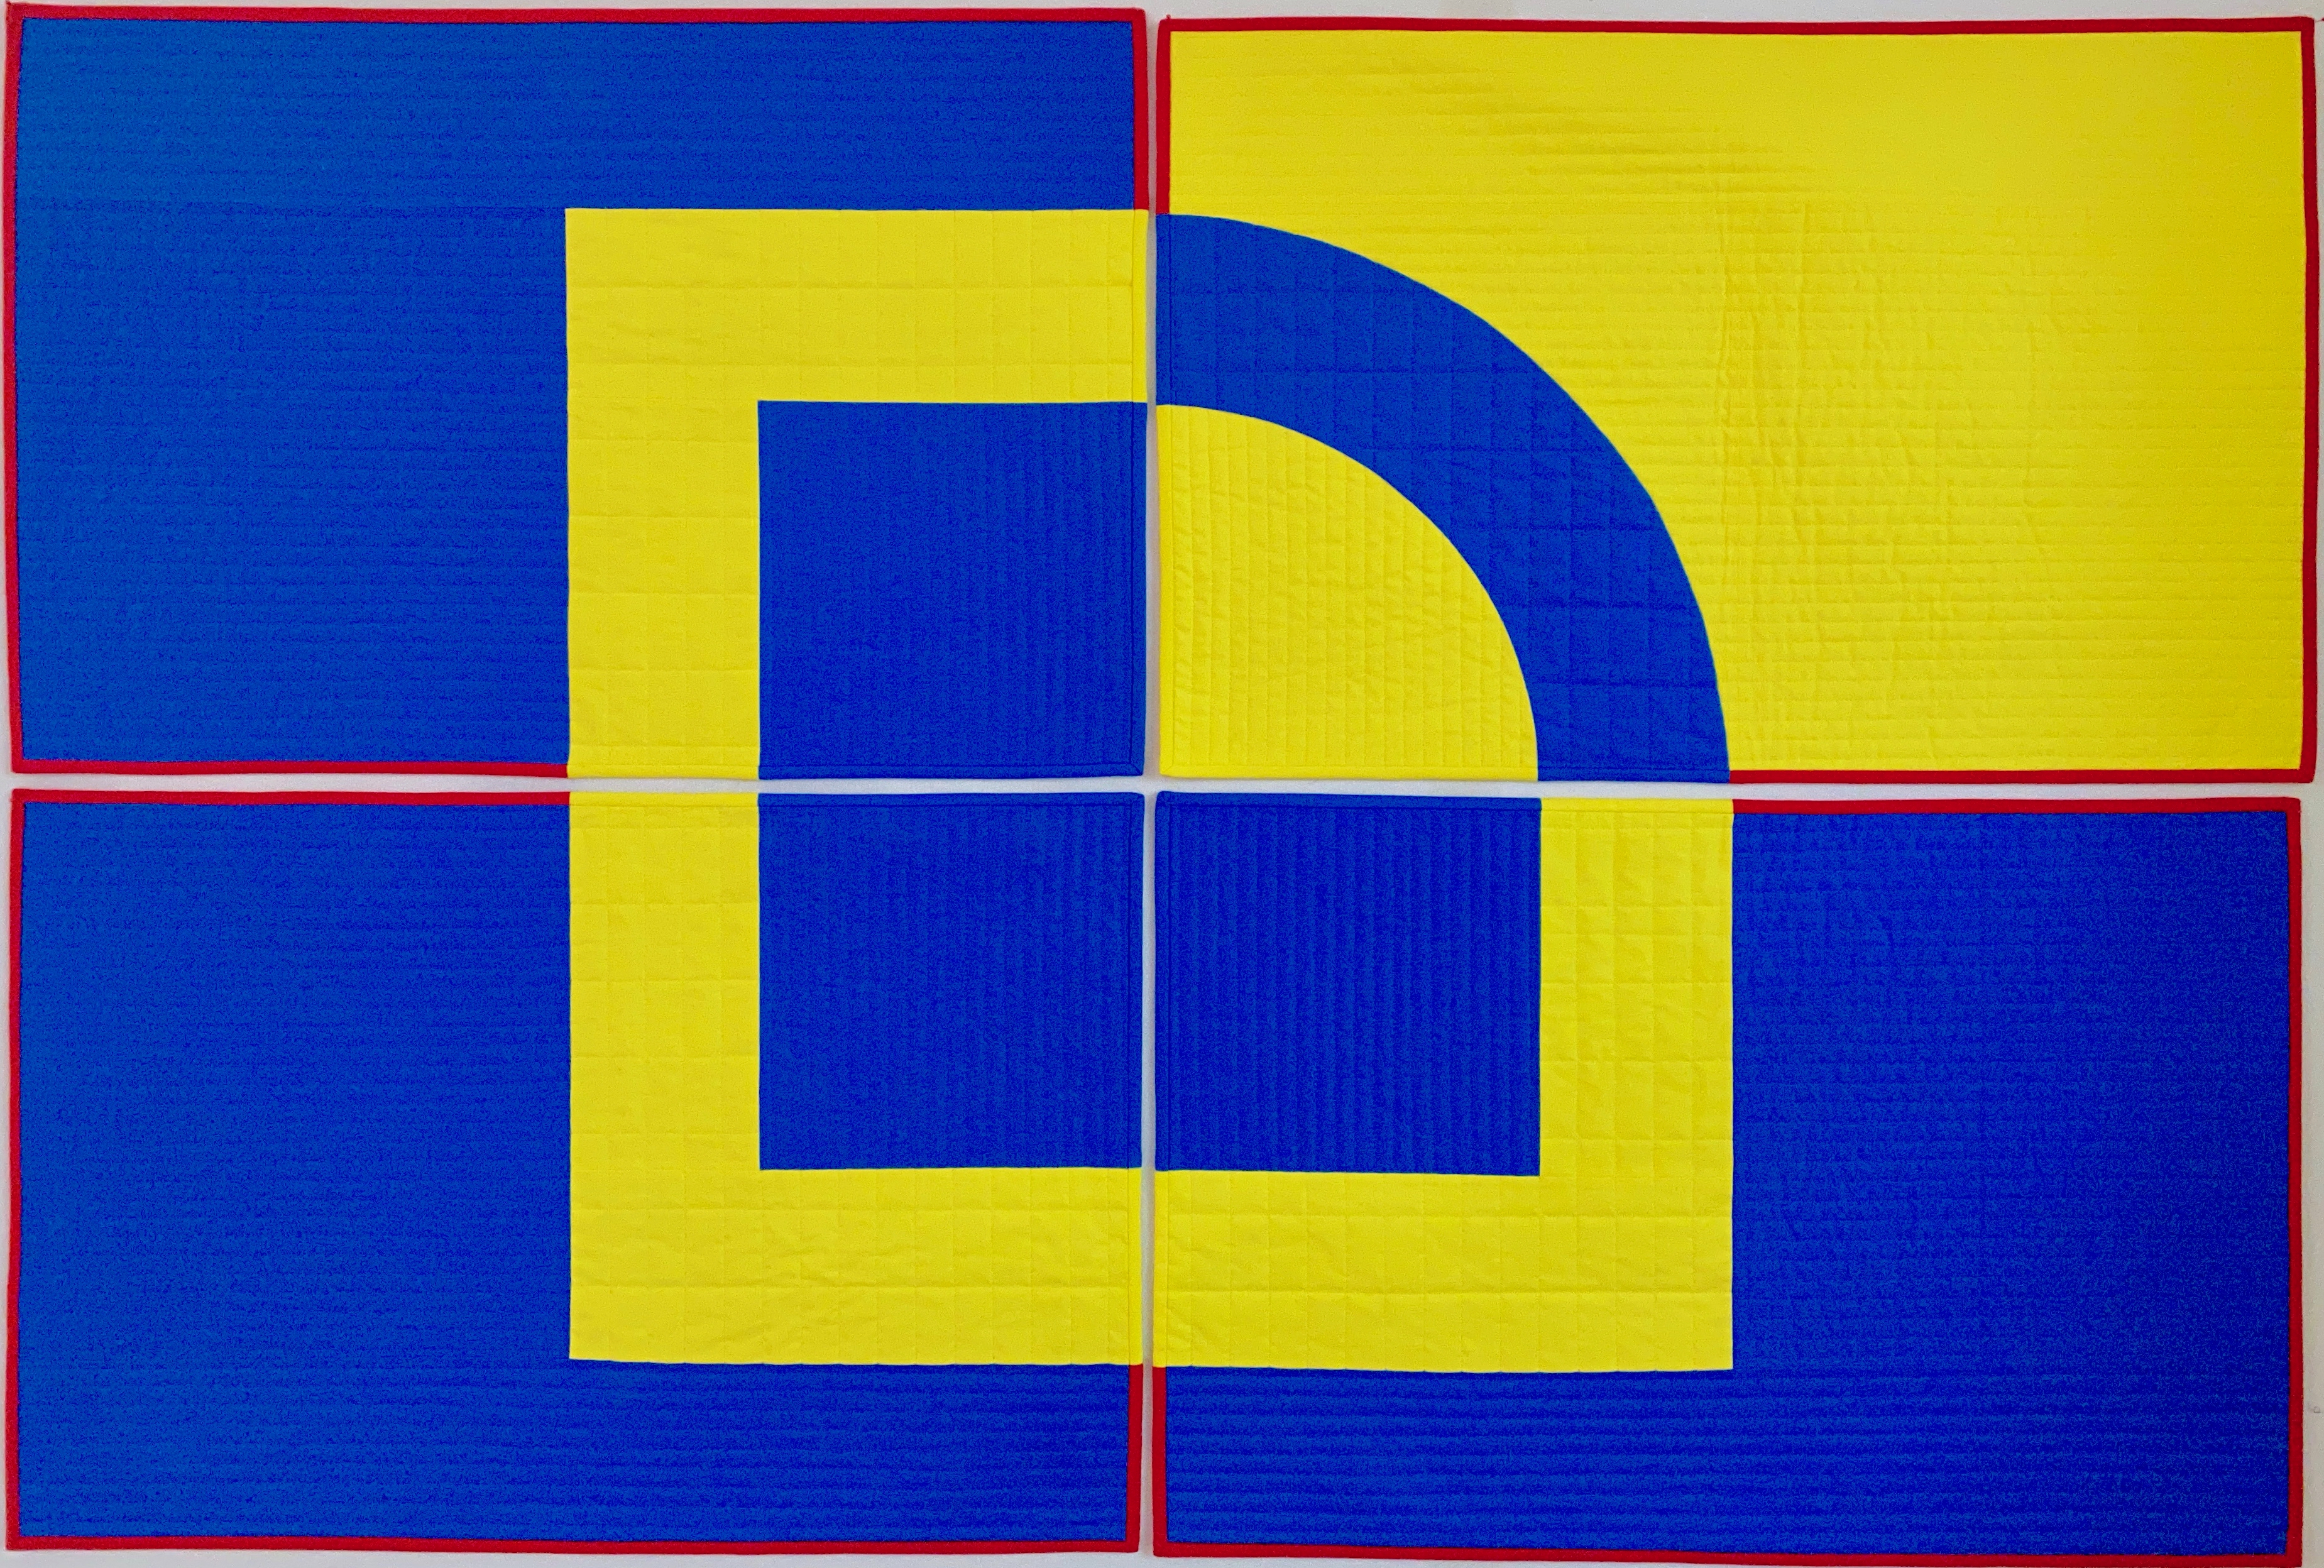
Images and Descriptions: Images I used are below. I focused them around my proposal, so I included Isolation, Aroha, Home and One of these things.

If you have any questions, let me know and I am happy to answer them based on my experience. I will write another post to fill you in on my Residency at Penland which was amazing. I will be applying for other artist-in-residence in future (probably for 2024 unless they are local as its hard to be away from family).