Not quite a quarterly update, and I realized that I did not post about my goals here, on my blog. So, let’s start by sharing my goals and how they are going now that we are a third way through the year.

Solo Show Goals:
| Finish All 10-11 Pieces | COMPLETED |
| Enjoy the experience which means for me accept that the residency was for experimentation not perfection | COMPLETED |
| Set-up a couple of Studio Visits | Had 1 Studio Visit |
Overall, my solo show went really well. Two of my three events had great attendance and participation. I loved how all the pieces came together in the space.

I did also have some other art goals I would like to accomplish this year. So far things are going really well. Here’s how they are tracking :
| Exhibit in a Museum | COMPLETED (See my piece through July at NC Museum of Art) |
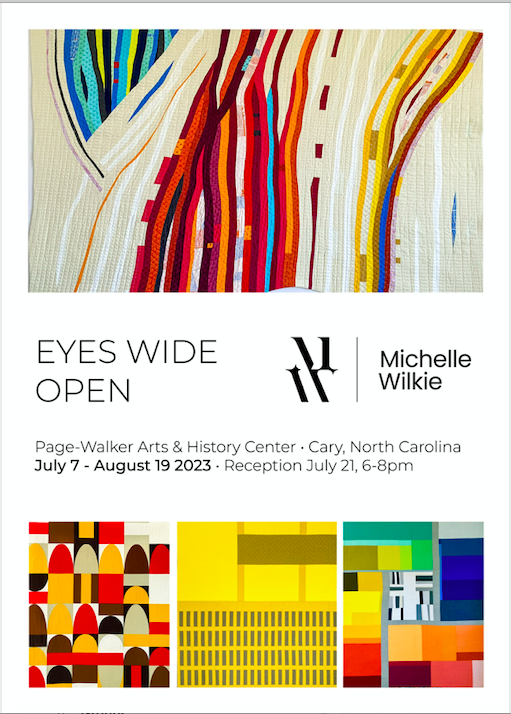
| Working on exhibiting outside of NC via art institutions (already exhibit outside of NC for quilts events) | – Artfields, SC (Ford + Son); 26 April – 4 May 2024 – Solo Exhibition “Eyes Wide Open”, Petersburg, VA; 14 June – 3 August 2024 |
| Find a Artist Studio in the triangle | COMPLETED – Have a studio at ArtSpace!! |
| Keep putting myself out there and be open for opportunities | See application updates below |
| Continue to meet new people/support artist I’ve met in my local community | ON-GOING |
| Finanicial Goals – Cover expenses ~$20,000 | 3/4 of goal and expenses are covered |
| Be represented by a Gallery or work with Art Consultants | Not followed through yet |
Applications have been surprisingly successful. Here are the ones I have applied too so far this year.
Artist in Residence
| Residency Program | Works Submitted | Result | Cost | Calendar |
| Ox-Bow Summer Artist in Residence | Colosseum, Ford+Son, Rails II, Walled, Broken Trellis, Aroha, Home, Study No. 3, New York Highline, City Bustle | Accepted | NA | 26 May – !5 June 2024 |
Exhibitions/ Shows
| Applied for Shows | Works Submitted | Result | Cost of Submission | Calendar |
| Solo Exhibition – Eyes Wide Open | 20 – 24 pieces | Accepted | NA | Petersburg, VA 14 June – 3 August 2024 |
| Coined in the South | Rails II, Colosseum, Crack of Light | TBD (06/28) | $40 | Installation Dates: August 1, 2024 – Nov 1, 2024 Exhibition dates: December 14, 2024 to April 27, 2025 |
| Durham Art Guild Members Show | COVID Mash-up | non-juried | $0 | June 14 – July 29, 2024 |
| Sisters Outdoor Quilt Show | Broken Trellis, Rails II | Teacher’s Exhibition | $0 | July 13th |
| PIQF | Rails II | TBD (06/21) | $40 | Pacific International Quilt Festival, July 24 – 27, 2024 |

Fellowships and Grants
| Name | Result | Cost |
| South Arts Fellowship | Declined | $25 |
| Hopper Prize | TBD | $35 |
This year, I also wanted to include health goals as these tend to be the last ones I accomplish. Overall, these are going better than past years but I still have to work on consistency.

| Loose weight ~40 pounds | Doing well, DOWN 17 pounds |
| Start Walking Regularly | Working on consistency |
| Set-up Monthly Photography outings for getting out and walking | – Set up a 30 day challenge that I’m doing now (struggling for every day) – Plan on 2-3 outings for June in MI and 2 weeks for vacation in OR in July |
| Make all my screenings | Still to Organize |
I am so thankful for all the things that have come to fruition and excited for the things to come. I have some larger goals I want to accomplish but I’m still working through what those look like.
Right now, I want to give myself some space to experiment and play with some ideas and see where that leads. More to come.