Friends and I have gotten together for two sew days to make Noodlehead’s Maker’s Tote. While others start theirs, both times I avoided it. I was apprehensive for a couple of reasons:
- It’s my second bag I have ever made, and the first was 3 years ago.
- There are several new techniques that I have not done before.
- I wanted it to be good (funny how this stops us making things).
Finally, over Easter weekend and the following week, I managed not just one but started two Maker’s totes (a large and a small). I really wanted to have one for myself and one for a gift at Sewtopia Denver (this past weekend). Yes, I decided to try a brand new pattern the weekend before I needed it….Procrastination in my middle name :-).
Overall, the bag pattern is really not that complicated. Anna (@noodlehead) really walks you through the pattern step by step. I really enjoyed making them. There were a lot of lessons learned which you will find as tips below.
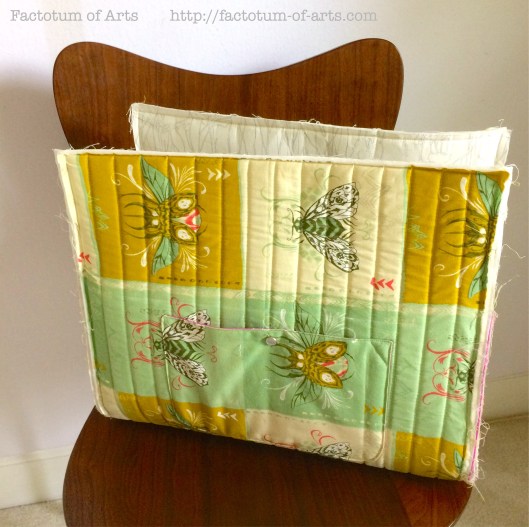
For the Large tote (which is the one I am keeping), I decided that I would finally cut into the Cotton Steel bug print which I have been hoarding and paired it with a Carolyn Friedlander print, pinks and Citrus.
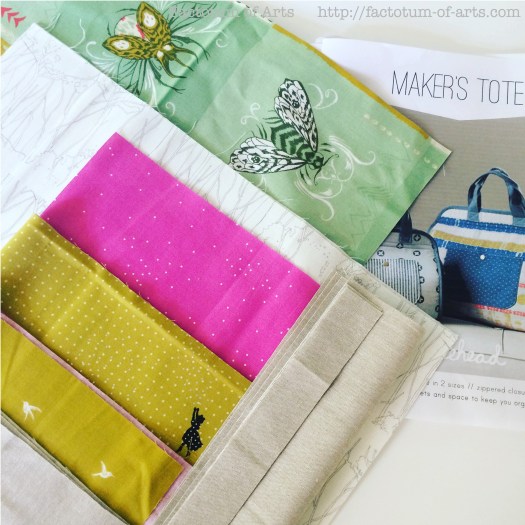
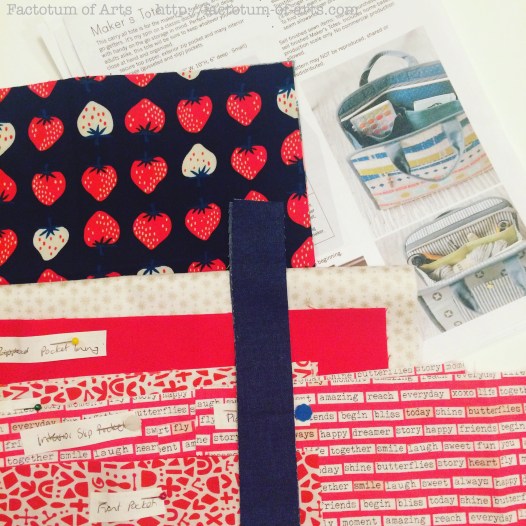
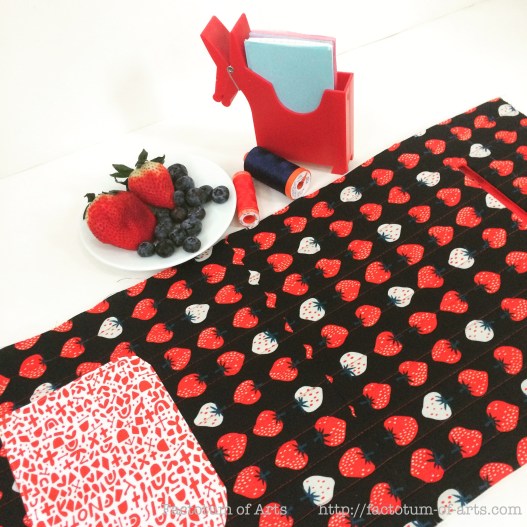
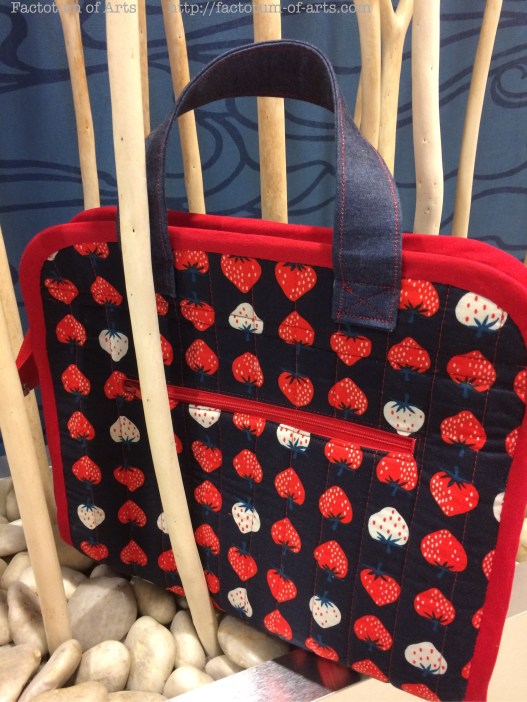
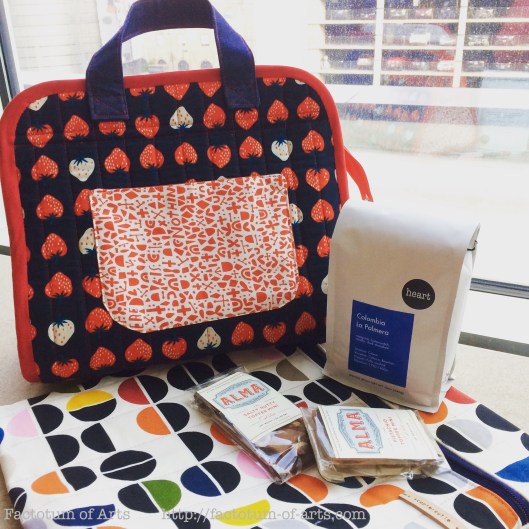
The small tote, is made with this fabulous strawberry print from Cotton and Steel. The inner lining is the metallic Lizzie House Asterix, the accents in various red prints and Art Gallery Denim.
I decided to quilt both bags. I liked the finish of them quilted. I used Aurifil 50 wt to quilt the bags. Tip: Glue baste the fabric to the soft and stable. The first one I pin basted and I still got movement and the fabric shifted as I quilted.
I loved the bug fabric so much, I almost decided not to include a pocket. I did add the front pocket, but to keep the fabric the focus, I matched the print the best I could. I loved how it turned out.
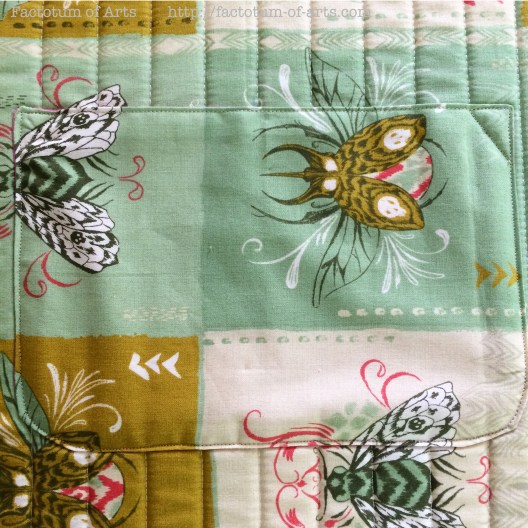
Tip: Remember the 1/2″ seam allowance when trying to cut and match the print. This one landed up being a little lower that I would have liked but it still works.
On the back is a zipper pouch. On my large Maker’s Tote (the first one I was making), I found that the pins for the inside pouch did not stop the fabric from rolling/popping out when top-stitching around the zipper. Tip: For my small Maker’s Tote I glue basted the fabric to the soft and stable to hold it in place. It was easy to peel off when I needed to stitch the pocket seams.

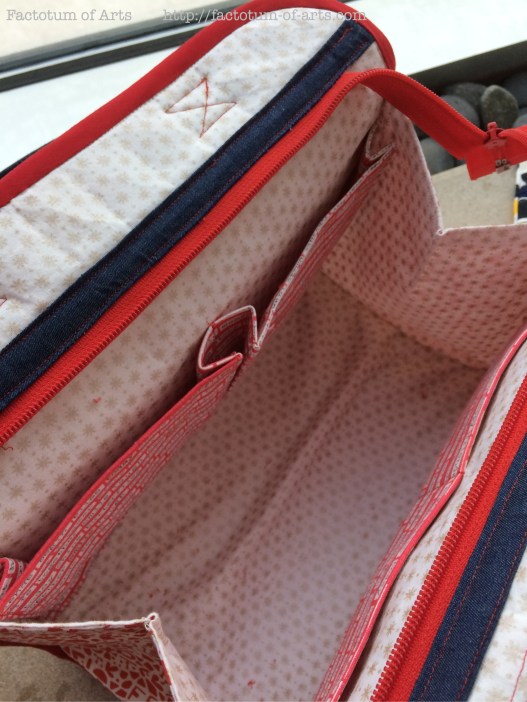
I had a hard time with this zipper pocket on the small tote, I managed to stitch the pocket lining all the way through the zipper stitching, the handles, the joining of the bag layers (inner and outer), and the binding. The pocket lining was not down but landed on being flipped up. I unpicked all the offending stitches to free the pocket lining and re-stitched. Tip: The lesson learned, make sure you have your pocket lining is facing down before any other step.
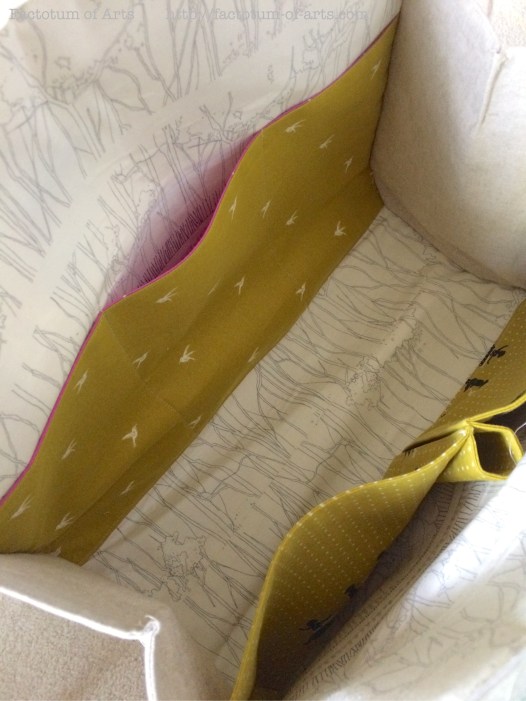
The inside lining and pockets were a breeze. If you have made Anna’s Carry-All pin cushion then the pockets are very similar instructions. I had some difficulty installing the zipper binding. The stitching appears on the outside so you will need straight lines. Tip: I landed up glue basting both sides, drew a straight line using a marker, then stitched these two lines.
The gusseted ends were easy to make, but the hardest part of the making of the bag. I used binding clips as recommended in the pattern. This worked well for placement as I did have to play with moving the gusset around the bag to make it even and finish at the same height on both sides of the bag. Tip: Use the binding clips to get placement and then glue baste it down. The clips get in the way of turning of the gusset as you stitch it in. Also, use a walking foot, I used a zipper foot as proposed which worked ok, but I think the walking foot would have handled the thickness better. No-one will see your seams when you are done….they are covered by the binding.
Final Tip: For the binding, stitch on the inside binding with a machine, but hand-stitched the binding to the front. Press the binding. I think it gave it a nicer finish.
I still need to finish the binding and handles of the large tote, but the small tote is finished and gifted!!
I can highly recommend this pattern. I loved making it and it is such a great finish. The small tote (after working out all the gotchas in the large tote) only took ~4 hours.
Save


