Tutorial: Selvedge Ironing Board Cover

This weekend, I was frustrated with my ironing board cover. It continued to fall off and was dirty from water stains and just yuck!! I had also been searching for a use of my selvedges (selvages in the US), I had been collecting. Perfect pairing in my opinion, and I made a ironing board cover from them. I loved how my new ironing board cover looks…. (#sewmystash2015)
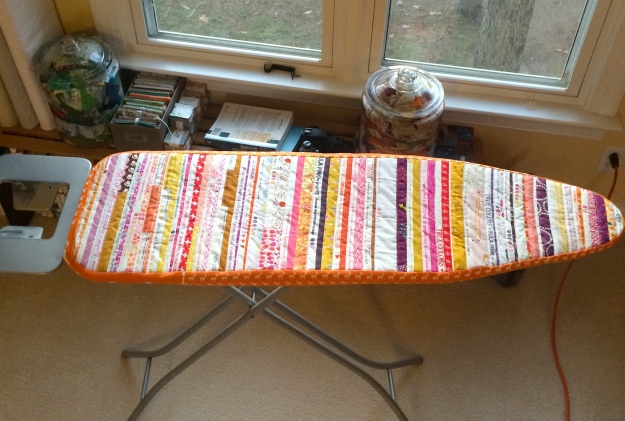
IMG_5513

It was not overly complicated to make, and can easily done in an afternoon. So, here are my steps.

Materials
~1-2 yards of ironing board cover fabric (quilted)
~ 50 selvedges of varying widths (minimum 1″)
Three (3) 3 1/2″ strips WOF (width of fabric)
3 yards 1/2″ Dritz Knit Elastic White

NOTE: I bought the ironing board fabric at Joann’s.  The amount you will need will vary on the board you are making the cover for, so measure the length of your board before purchasing.

Instructions

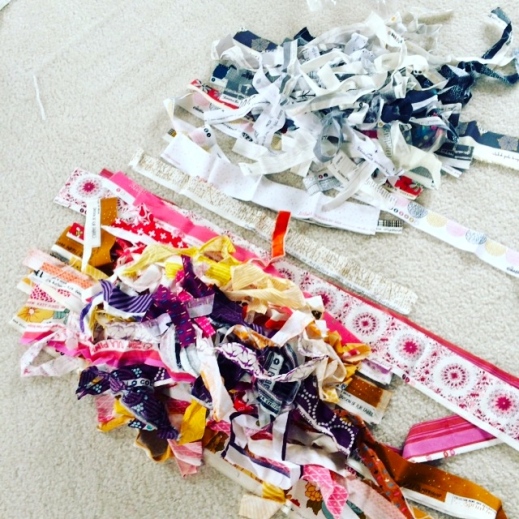
  1. I sorted my selvedges into three piles based on warm, cold and neutral color palettes. I also made sure that they were at a minimum 1″ wide.  I decided that I would use the warm color palette for my new  cover.
    IMG_5510
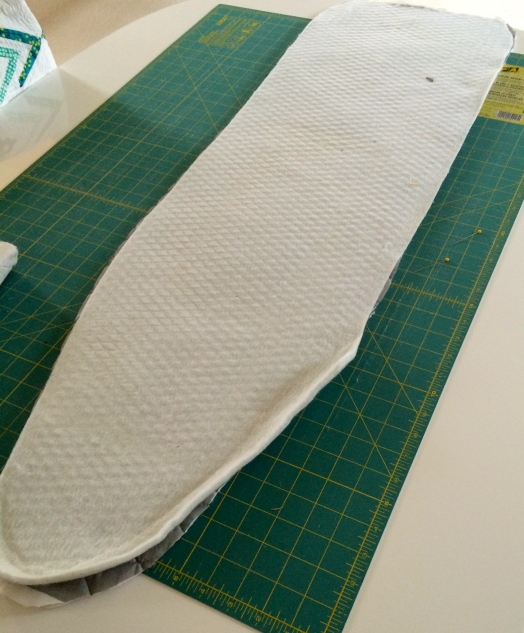
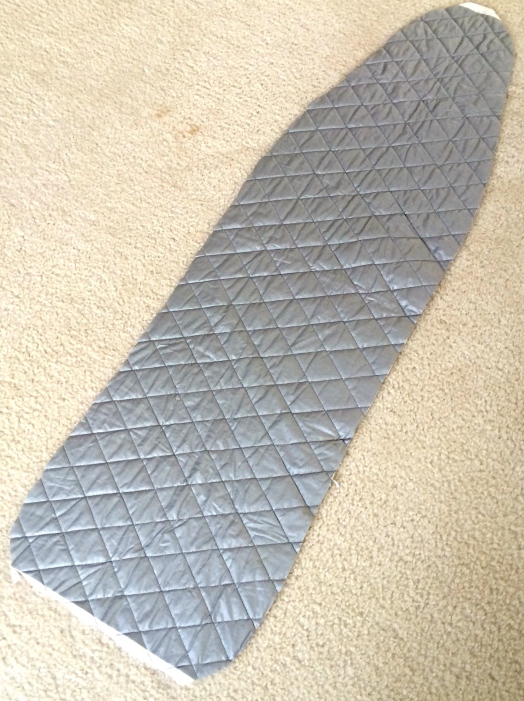
  2. I took the old ironing board cover and used the inside batting as a template. I pinned this to my iron board cover fabric (quilted fabric).  Draw an outline and then cut out the shape.
    IMG_5506

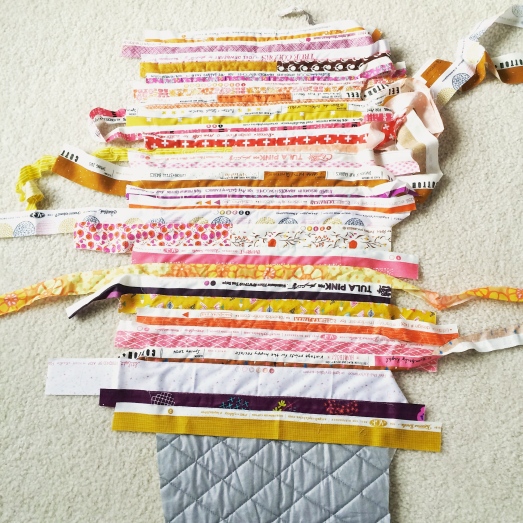
    The goal is to cover the full ironing board cut out, which will be done using either long or pieced strips of selvedges.
    IMG_5508

  3. Starting at the wide end, stitch your first strip by stitching the selvedge edge to the top edge of the cover. Continue adding selvedge strips, covering the raw edge with a selvedge edge and top stitching the strip in place.
    IMG_5512
  4. Continue until the whole cover is covered. Turn it over and trim the edge.
  5. Take the three (3) 3 1/2″ strips and stitch them together (straight 1/4″ seams). Fold along one edge 1/4″ and press in place.
  6. Attach the other edge to your selvedge top (RST – right sides together). Similar to sewing binding on a quilt…leave about a 4″ tail before starting to stitch. Start along one of the long edges and stitch ~ 1/2″ seam. You will need to constantly reposition the fabric when stitching the curves, carefully as not to catch the folds.
    NOTE: If you feel so inclined, you could also zig-zag or use an overlocker along the edges to neatly finish this inside seam and add extra strength. I did not do this step.
  7. Continue to stitch until you get ~ 5″ from the end. Overlay the ends and trim so that each end overlaps 1/2″. Place the ends right side together and stitch a 1/2″ seam. Finish stitching the edge to your cover top.
  8. Place the elastic to the inside of the strip along the raw edge of the 1/4″ fold. Pin the end in place.

    LineUpElastic
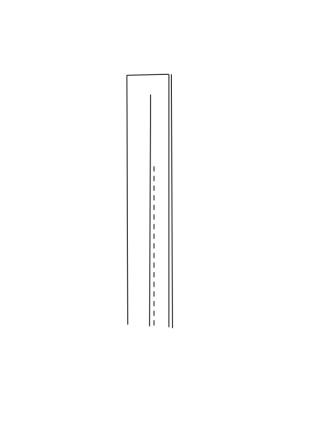
  9. Fold over the 1/4″ fold over the elastic forming another 1/4″ seam (so that edge is folded over twice). At approximately 4 ” from the end of the elastic, start to stitch elastic and seam in place. As you stitch pull on the elastic, and continuing folding over the fabric edge.
    NOTE: You want tension on the elastic so that it will stretch around the ironing board and then pull back to hold it in place.
    StitchElasticSeam

  10. Continue to stitch until you get ~ 5″ from the end. Overlay the ends and trim so that edges overlap 1/2″. Place the ends right side together and stitch a 1/2″ seam (reverse and restitch to finish with a triple stitched edge). Finish stitching the edge of the elastic to the fabric.
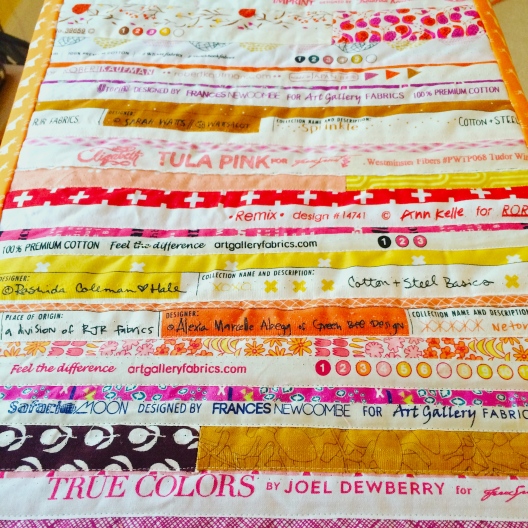
  11. Optional: To finish neatly you may choose to top stitch the top of the elastic to the fabric as well.
    IMG_5516

  12. You are all done. Place over the narrow part of your ironing board and pull over the other end.

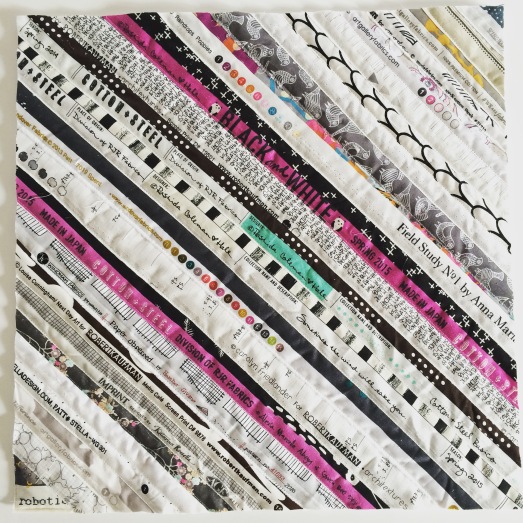
This method works for any ironing board. I am also using this for a portable (17 x 17″) ironing board, as well in a neutral palette. I am replacing the elastic with staples, in this case.
IMG_5520

Let me know if you have any questions. I would love to see your new covers, so tag me on Instagram (IG) ml_wilkie or leave a comment below with a link to a picture/blog.

Please refer to this tutorial when posting. This tutorial is for personal use only.

Day to Night Glitz

For Quiltcon, the Modern Quilt Guild issued a Michael Miller fabric challenge. These were the Fat Eighths I received to use. I added the white cotton couture fabric as my back ground fabric.
Fabric Challenge

Inspired by this monument in Portugal, I came up with a minimal design using triangles that are slightly off-kilter.

imm000_1-palette

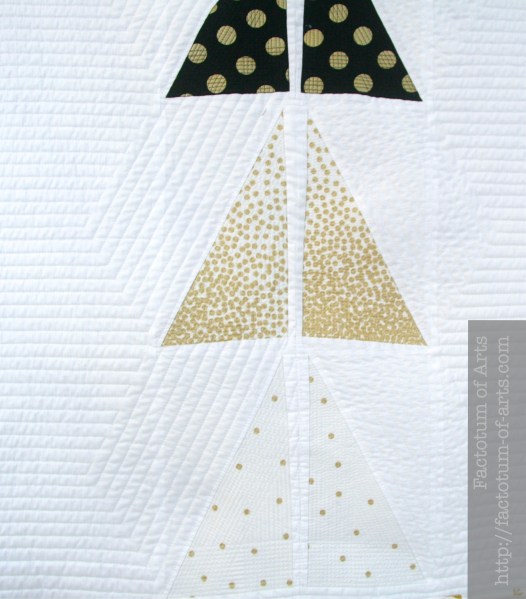
I modified this design a little more, removing one set of the triangles. I wanted to use the fabrics in an ombre nature, representing a day to night time lapsed effect.

Note: I discussed the creation of this design in this previous post.

QDAD_01August2015(4)

I created a paper-piecing pattern to get that slight off-kilter look to the triangles. This quilt has a lot of negative space, so I knew that the quilting was going to be a key element of this design.

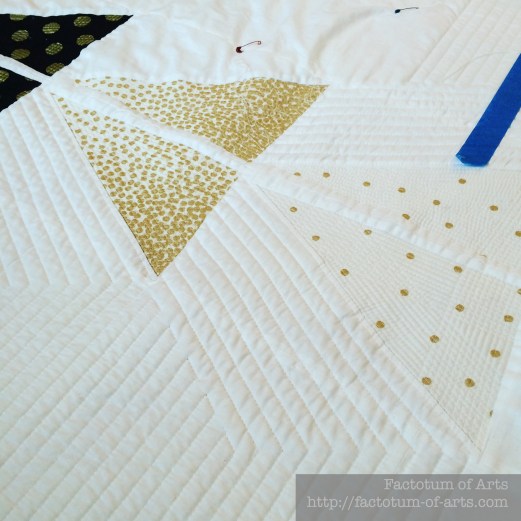
For the triangles, I used matchstick quilting (~1/8″ lines) following the direction of each side of the triangles. There are 12 lines per direction.

Quilting_Day_Night_Glitz

In the negative space 1/2″ quilting straight lines were used. I echoed the triangles along the width of the triangles and then radiated horizontally to the edge. The quilting definitely completes the quilt.

Tip: Use the rough blue painters tape (it sticks best) to keep your lines in check.
Closeup_Day_Night_Glitz

On the back, I used some of red, orange and yellow Michael Miller cotton couture. These represent the sunset and shimmers through to the front. I wanted the binding to be part of the design. I used a small piece of the black print at the top to continue the day to night look and the rest of the binding is the Flight in Gold print from Brambleberry Ridge line by Violet Craft.

Day_Night_Glitz

I was so thankful for my husband photographing my final quilt, which I submitted like 20 minutes before the deadline….it was a little stressful. I am so happy though I completed the challenge.

Details

Name: Day to Night Glitz
Design:
Designed by me
Fabric:  Michael Miller Glitz and Cotton Couture Solids
Dimensions: ~50 x 50″
Quilted: Straight line and Matchstick quilting techniques, Aurifil #2021 and #2692 50 wt

Linking up to Amanda Jean’s Finish it Up Friday over @ Crazy Mom Quilts.

Sisterhood of the Traveling Quilts – almost finished

I have had a blast this year, participating in the “Sisterhood of the Traveling Quilts”. I am on the last round, which means this quilt, I not only contribute too, but also put the top together.

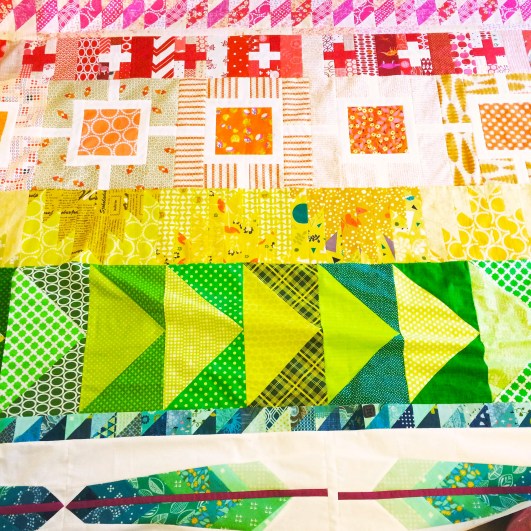
This is Ashley @ Wasn’t Quilt in a Day’s rainbow quilt. She has asked each of us to make a row to be done in one rainbow color…ie) a monochromatic row. When I received it, it measured about 40 x 72 inches and the pink, yellow, green, a small teal band and the purple had been completed.

It’s now almost complete and will measure 72 x 80″.  My favorite part, I contributed so far, are the Anna Maria Horner feathers. I added these to build on the small teal HST band, also its one of Ashley’s favorite designers. Ashley’s favorite color is Cerise, which I added in for the quills.

IMG_5470

This weekend, I actually went to Ashley’s house for a sew date and worked on the orange row. These were my low volume and high volume orange fabrics, I chose.

IMG_5482

Top row – L to R: Denyse Schmidt dots; Anna Maria Horner, Mind’s eye toast; Oink a Doodle Moo Tangerine; – ; Mini Pearl Bracelets, Apricot; Chatter Pods in Citrica
Bottom row – L to R: Metro Living Circle; Aloe Vera; Barbell Stripe; – ;Sunprint Text; DS Quilt (Joann’s)

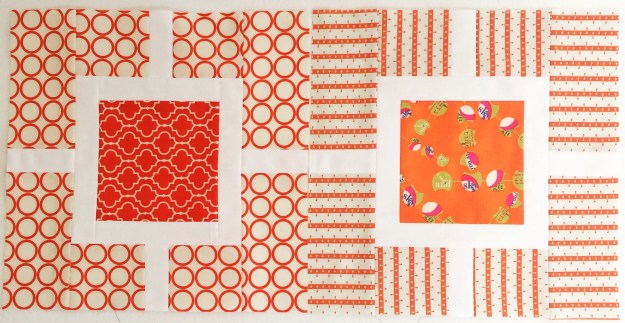
These are the blocks I decided to add for the orange row:
IMG_5484

The quilt currently is 3/4’s complete with just the blue row to be completed, then the blue and purple will be added to the bottom. I am loving it!!

IMG_5489

Contributions:
Pink row – Laura @ Little and Lots
Red row – me
Orange row – me
Yellow row – Laura @ Little and Lots
Green row – Ashley @ Wasn’t Quilt in a Day (starter row)
Teal HST row – Renee @ Quilts of a Feather
Teal Feather row – me
Blue row – me (still to be completed)
Purple row – Jess @ Quilty Habit

I hopefully will have a finish this weekend. Linking up to Lee’s WiP Wednesday over @ Freshly Pieced (button on the right).