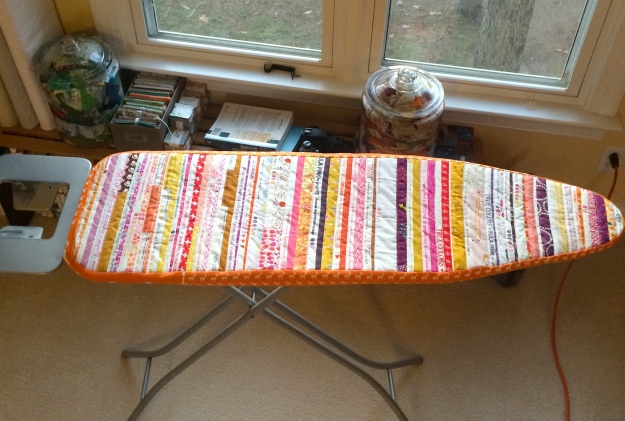
This weekend, I was frustrated with my ironing board cover. It continued to fall off and was dirty from water stains and just yuck!! I had also been searching for a use of my selvedges (selvages in the US), I had been collecting. Perfect pairing in my opinion, and I made a ironing board cover from them. I loved how my new ironing board cover looks…. (#sewmystash2015)
It was not overly complicated to make, and can easily done in an afternoon. So, here are my steps.
Materials
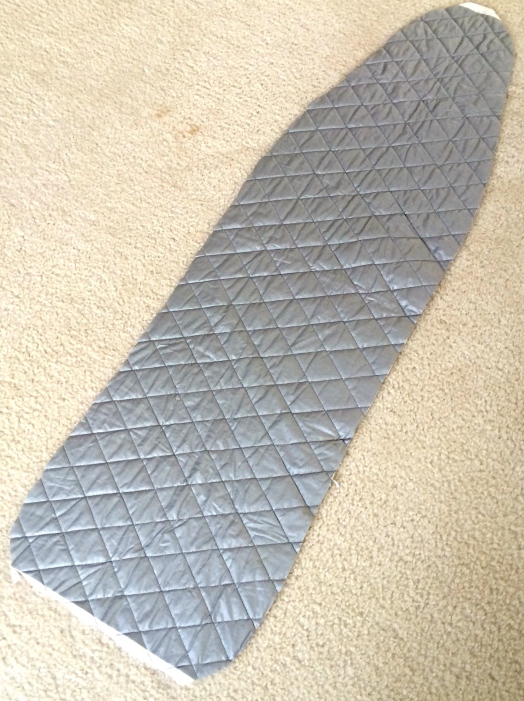
~1-2 yards of ironing board cover fabric (quilted)
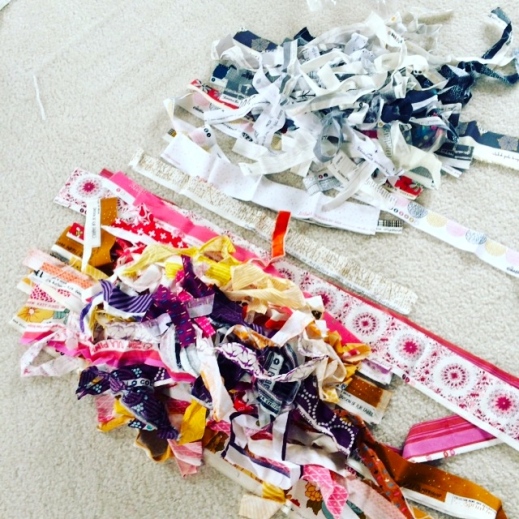
~ 50 selvedges of varying widths (minimum 1″)
Three (3) 3 1/2″ strips WOF (width of fabric)
3 yards 1/2″ Dritz Knit Elastic White
NOTE: I bought the ironing board fabric at Joann’s. The amount you will need will vary on the board you are making the cover for, so measure the length of your board before purchasing.
Instructions
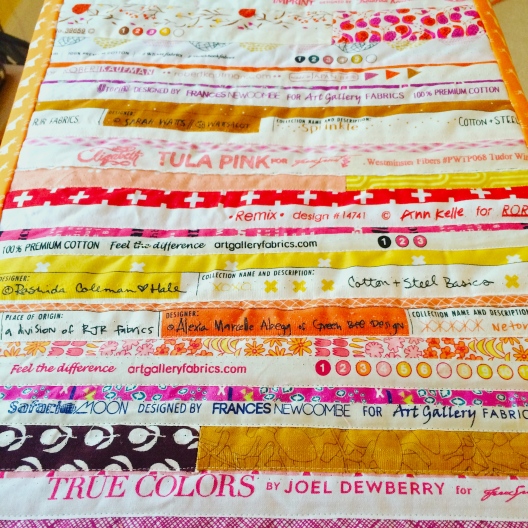
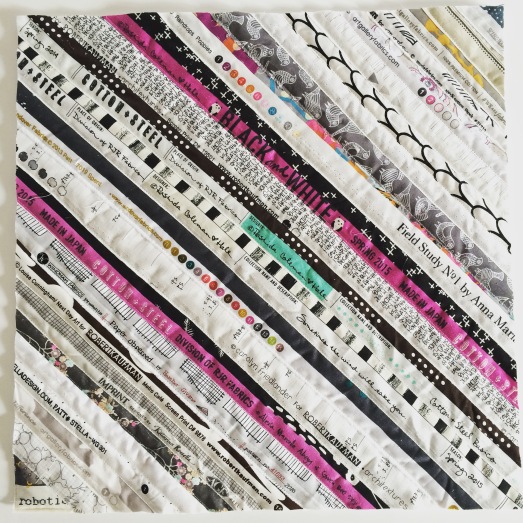
- I sorted my selvedges into three piles based on warm, cold and neutral color palettes. I also made sure that they were at a minimum 1″ wide. I decided that I would use the warm color palette for my new cover.
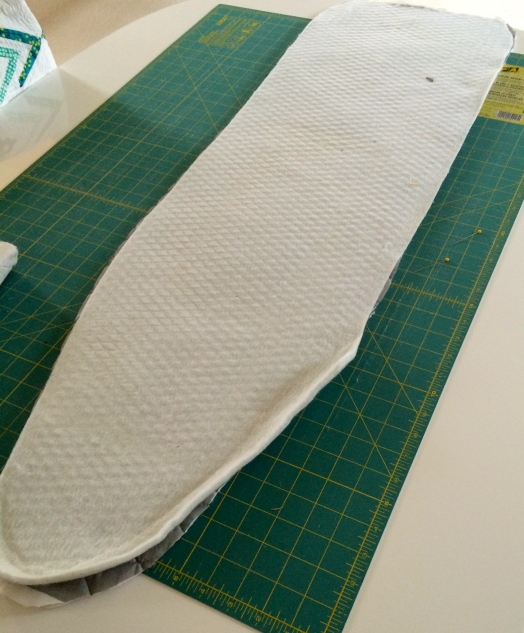
- I took the old ironing board cover and used the inside batting as a template. I pinned this to my iron board cover fabric (quilted fabric). Draw an outline and then cut out the shape.
The goal is to cover the full ironing board cut out, which will be done using either long or pieced strips of selvedges.
- Starting at the wide end, stitch your first strip by stitching the selvedge edge to the top edge of the cover. Continue adding selvedge strips, covering the raw edge with a selvedge edge and top stitching the strip in place.
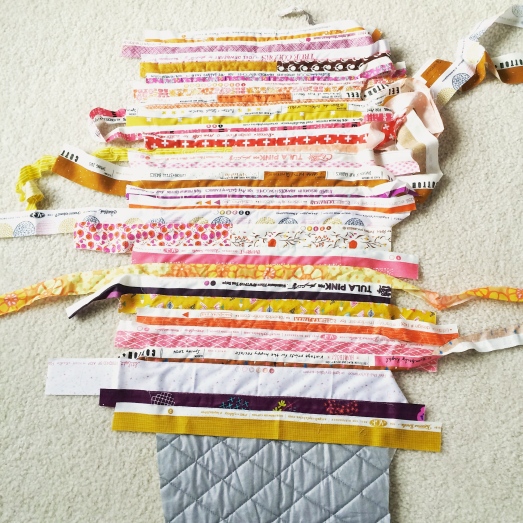
- Continue until the whole cover is covered. Turn it over and trim the edge.
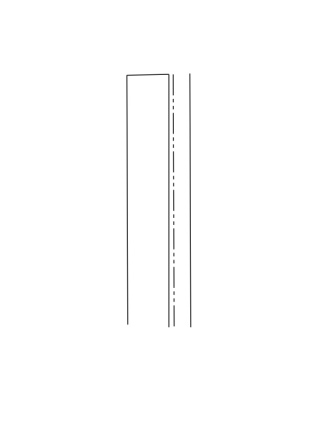
- Take the three (3) 3 1/2″ strips and stitch them together (straight 1/4″ seams). Fold along one edge 1/4″ and press in place.
- Attach the other edge to your selvedge top (RST – right sides together). Similar to sewing binding on a quilt…leave about a 4″ tail before starting to stitch. Start along one of the long edges and stitch ~ 1/2″ seam. You will need to constantly reposition the fabric when stitching the curves, carefully as not to catch the folds.
NOTE: If you feel so inclined, you could also zig-zag or use an overlocker along the edges to neatly finish this inside seam and add extra strength. I did not do this step. - Continue to stitch until you get ~ 5″ from the end. Overlay the ends and trim so that each end overlaps 1/2″. Place the ends right side together and stitch a 1/2″ seam. Finish stitching the edge to your cover top.
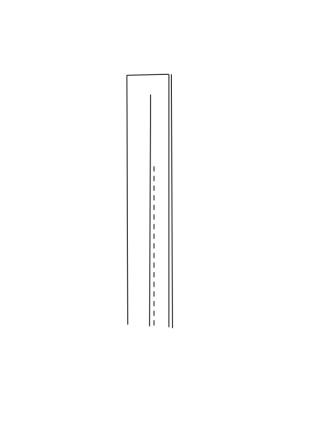
- Place the elastic to the inside of the strip along the raw edge of the 1/4″ fold. Pin the end in place.
- Fold over the 1/4″ fold over the elastic forming another 1/4″ seam (so that edge is folded over twice). At approximately 4 ” from the end of the elastic, start to stitch elastic and seam in place. As you stitch pull on the elastic, and continuing folding over the fabric edge.
NOTE: You want tension on the elastic so that it will stretch around the ironing board and then pull back to hold it in place.
- Continue to stitch until you get ~ 5″ from the end. Overlay the ends and trim so that edges overlap 1/2″. Place the ends right side together and stitch a 1/2″ seam (reverse and restitch to finish with a triple stitched edge). Finish stitching the edge of the elastic to the fabric.
- Optional: To finish neatly you may choose to top stitch the top of the elastic to the fabric as well.
- You are all done. Place over the narrow part of your ironing board and pull over the other end.
This method works for any ironing board. I am also using this for a portable (17 x 17″) ironing board, as well in a neutral palette. I am replacing the elastic with staples, in this case.
Let me know if you have any questions. I would love to see your new covers, so tag me on Instagram (IG) ml_wilkie or leave a comment below with a link to a picture/blog.
Please refer to this tutorial when posting. This tutorial is for personal use only.
