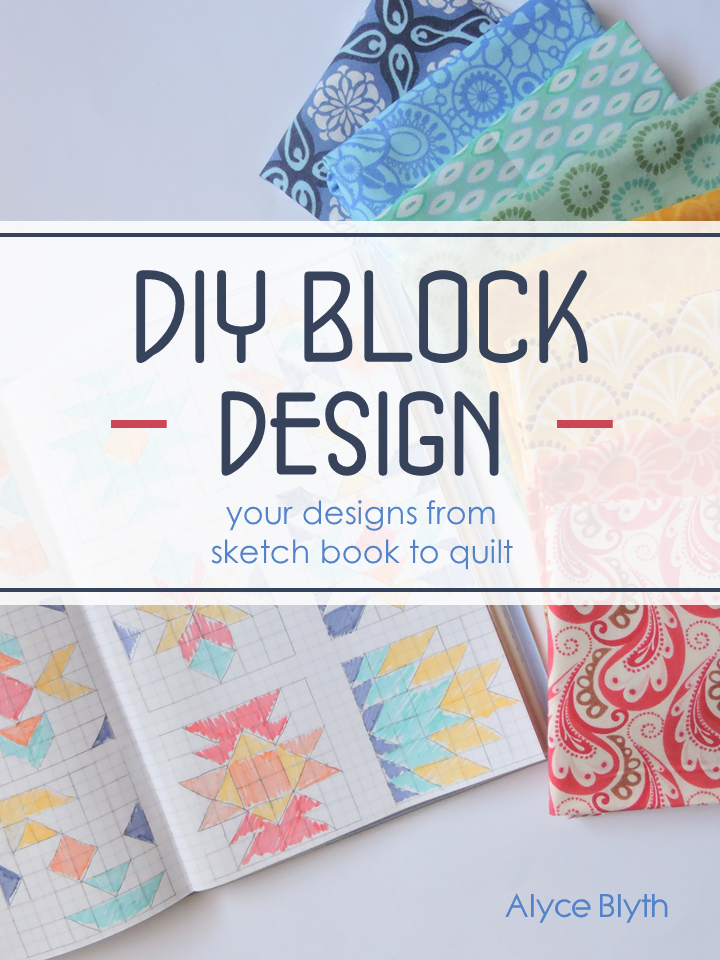
Have you heard?? Alyce from Blossom Heart Quilts has a new e-book out, that is a great reference book for designing your own quilt blocks. If you have ever wanted to start designing your own blocks or quilts, this will provide you the confidence and the skills to help you get started.

I am so honored that Alyce asked if I could share my design process with you all. Before walking through a design, I want to share some of the things I learned over the last 18 months.
Lessons Learned
- Designing a quilt and making it into reality is my favorite part of making a quilt.
- I really like abstract and minimalism designs.
- Participating in Quilt Design a Day group, helped me discover my style, what I like and don’t like.
- It is like many creative activities, you need to practice and engage you brain on a regular basis. This does not have to be daily but for me I try to work on something 3 times a week or more.
- Previous works by other artists are important to study. Whether its quilts or art or architecture, it helps you experience different perspectives that may narrow down what you like or help expand your work.
- Never be afraid to try experimenting with different color palettes, you may be surprised.
- Keep your mind open to the world around you and what you see every day. Most of my designs come from things I see every day. Vacations are also great – fewer distractions.
- Always carry paper and pen, you never know when you will be inspired. My phone is also a key part to my design process, allowing me to capture what I see, to use later.
My Design Process
Inspiration
As I mentioned, I am inspired typically from things around me especially while on vacation. While traveling in Lisbon, Portugal, I captured this monument. I loved the geometric design of the monument and the contrasting palette.

Tools
- I love taking my own photos, and leveraging them for design inspiration and also color palette. You took a photo, as something captured your eye…so I try to leverage those things I liked in the image. To get a color palette from my photo, I use Anne @ Play Crafts Palette Builder tool. The great thing about this tool, it provides me HEX & RBG codes to use in my design tool and the Kona Solid color that I can directly order.
- My design tool of choice is Quilt Canvas. It is an online tool with a monthly or yearly subscription model. I started out with monthly and recently changed to a yearly subscription. It always takes time to get use to a tool, but I find it worth it. Other than providing me the ability to design, it provides me a professional way of getting my designs ready for submissions or my blog post. I love playing with solid colors and the prints in the supplied fabric library, I can see it in a more realistic view.
PLEASE NOTE: there is nothing wrong with paper and pencils, this is just what I use. If I am not online I do use paper and pencils to capture the thoughts when I have them.
Designing
Sometimes I have an immediate design in mind when I see something. Other times, I may need to explore before I am content with my design. Of course, there’s the 3rd result where, after playing, I just am not satisfied and I am ok with that. It’s all part of the process and learning what you like or don’t like.
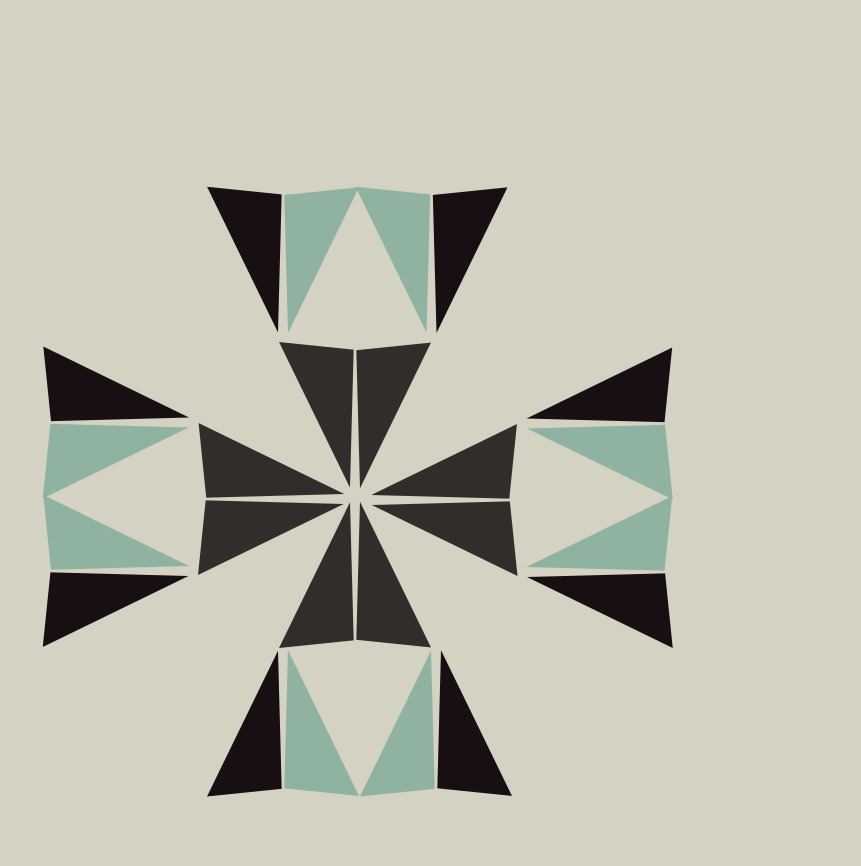
This image of the monument, did take me a while to get a design I was happy with. The split triangle really captured my inspiration. Here are the steps/designs I explored.
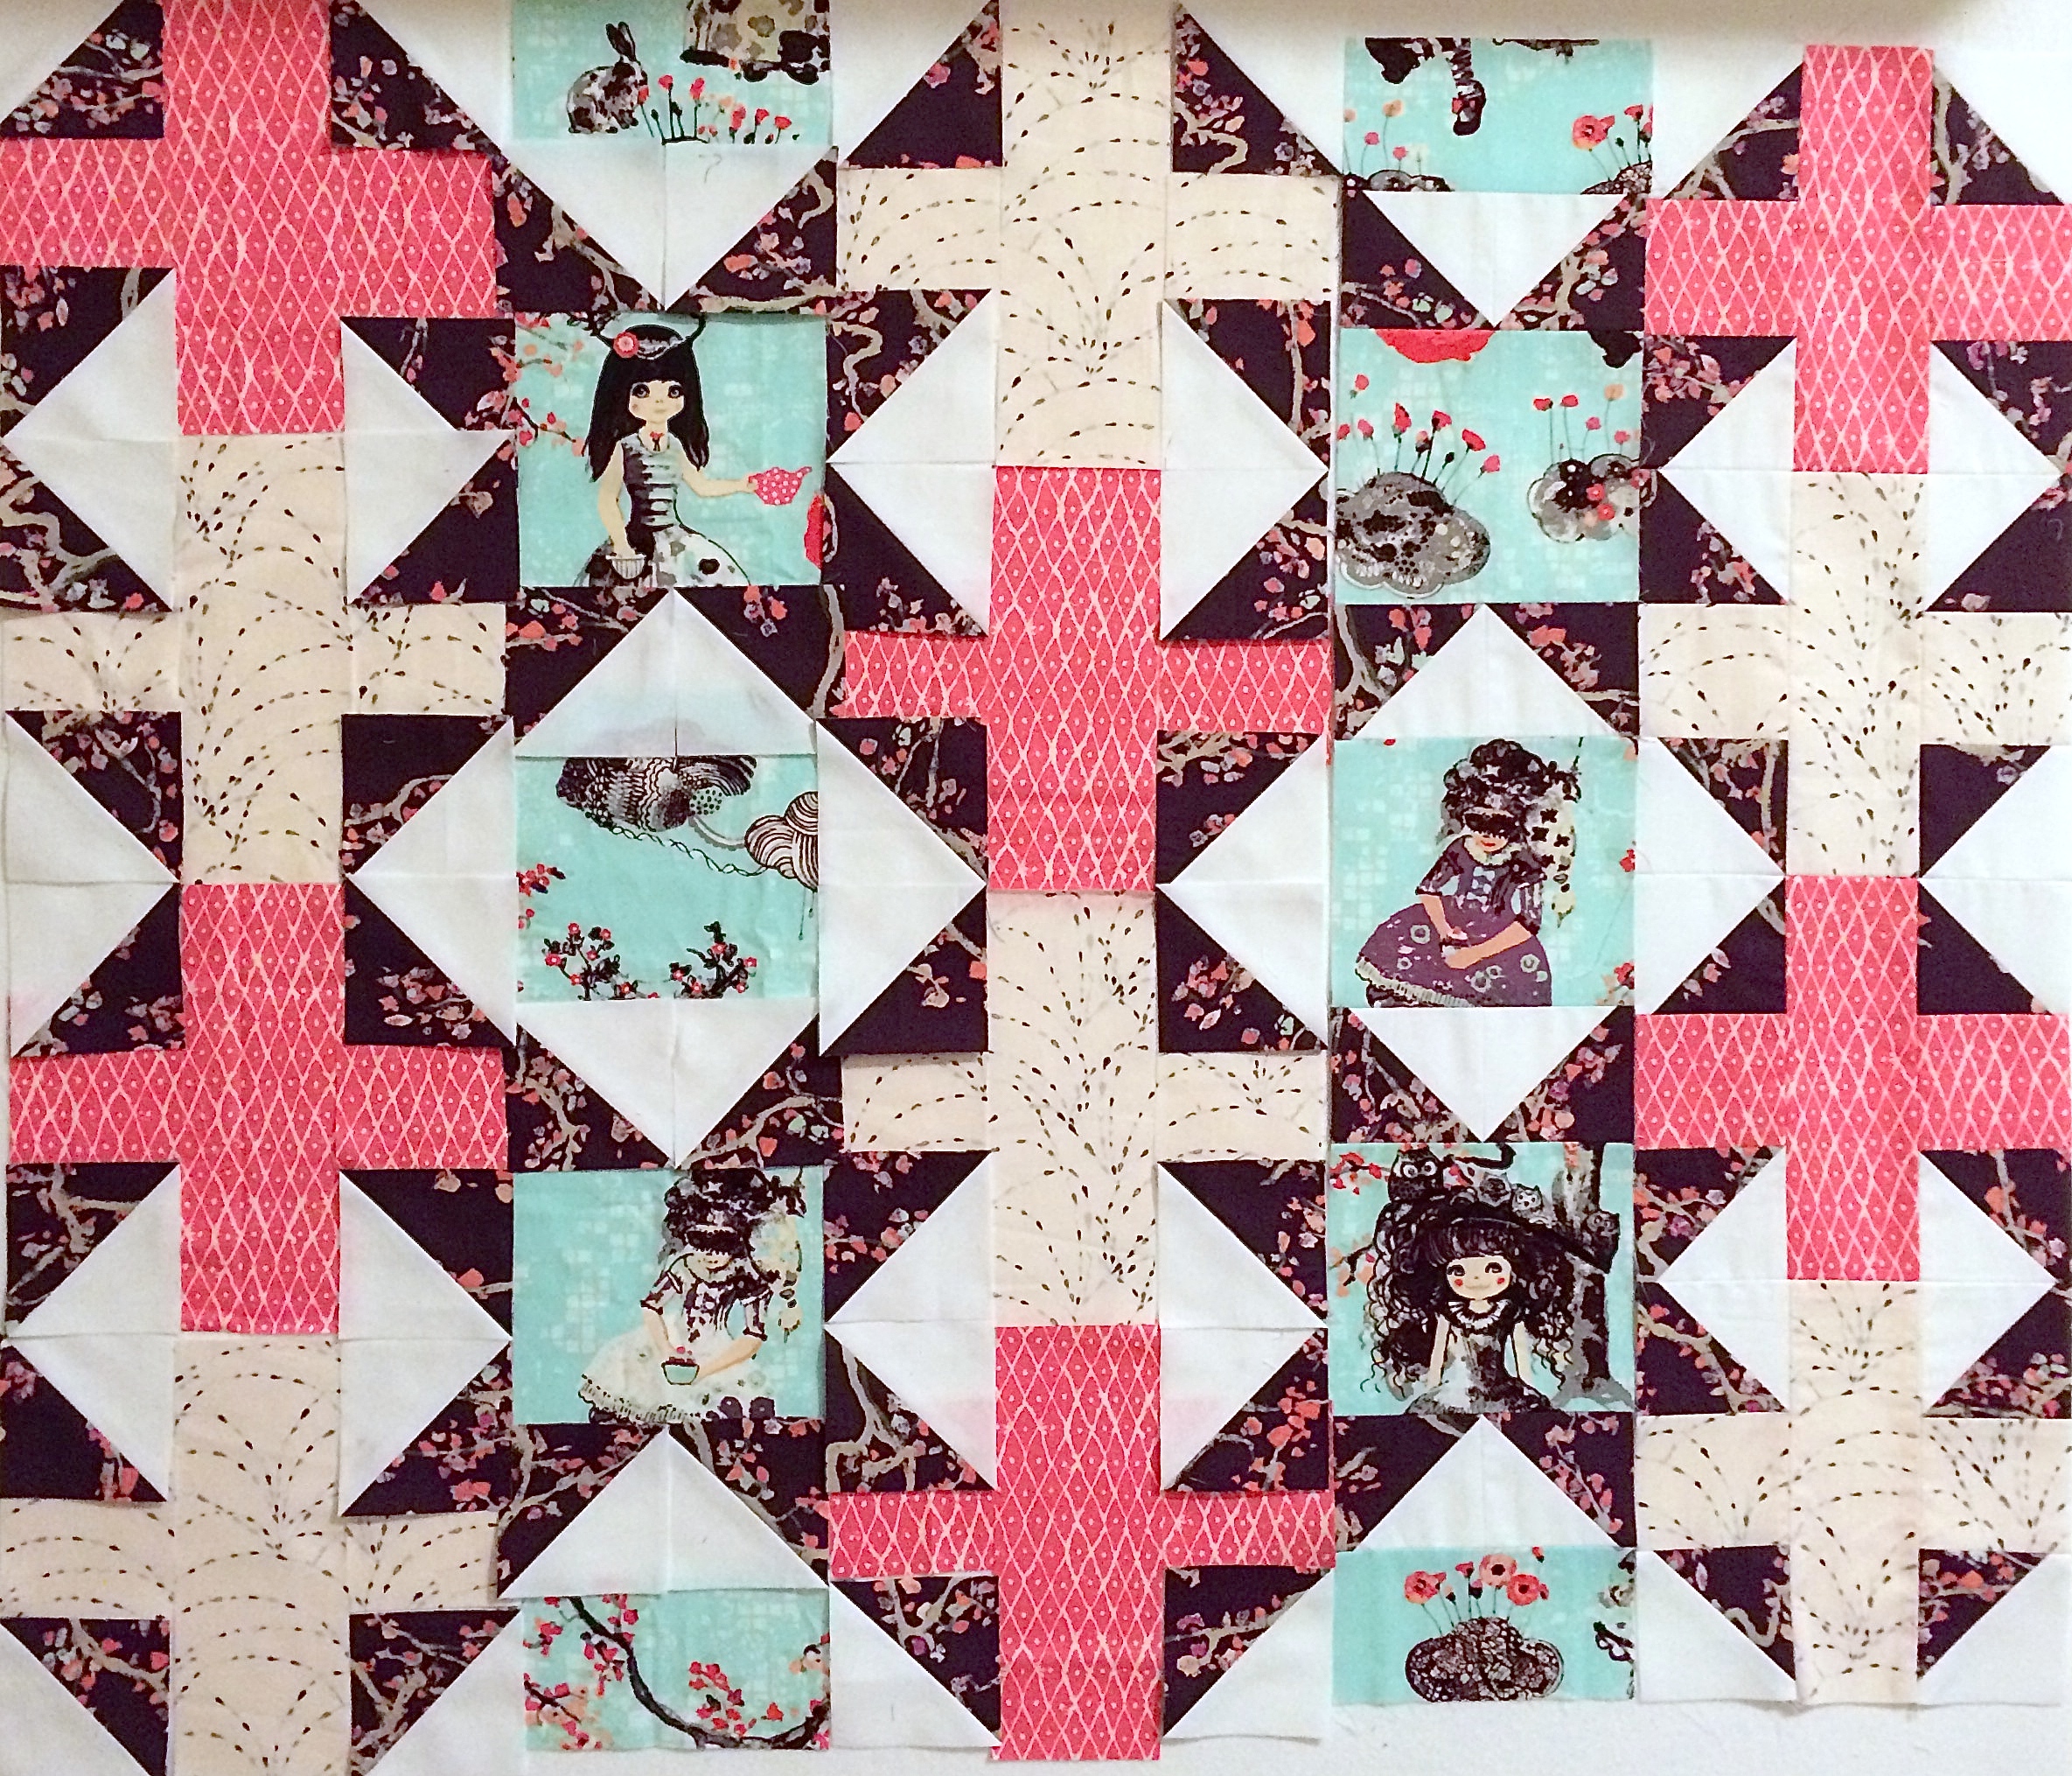
Initial Design – Cross

Exploding Cross and expanding the color palette

Simplifying the design and playing with placement
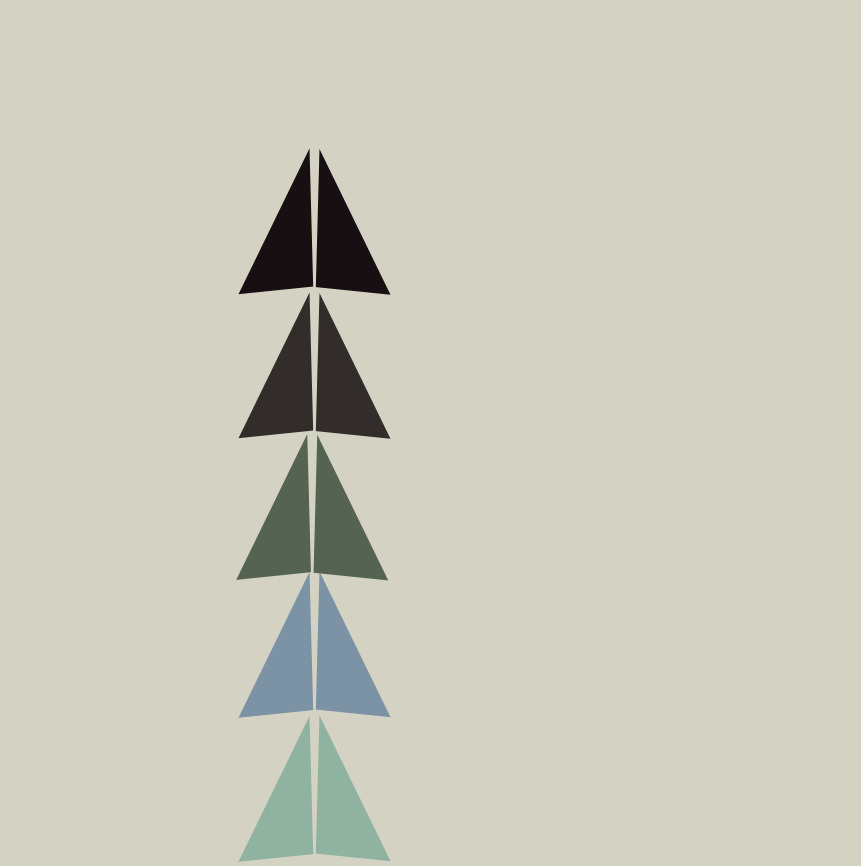
Expanding design edge to edge

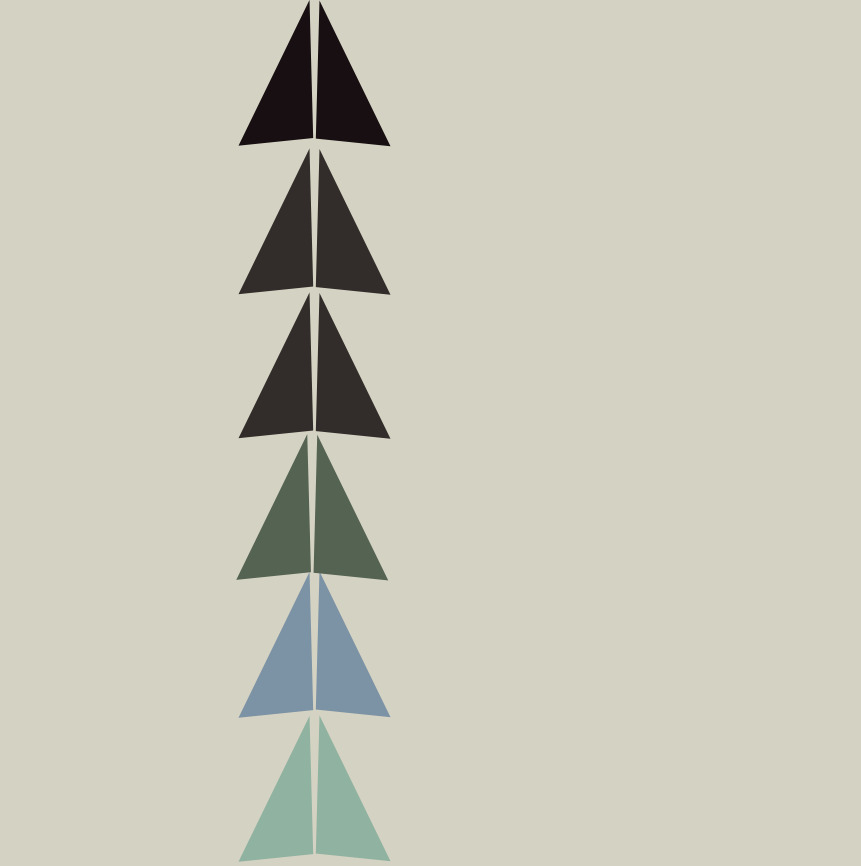
Final Design – Reducing Color Palette

There is nothing wrong with any of the designs, but this last one felt the most right for me. I find often that the right design is an emotional choice.
Next Steps
This is likely going to be my design for my Michael Miller Quiltcon submission. Some decisions I have to make:
- Scale
- Which techniques do I need to use – Standard piecing, Applique or Paper piecing.
- For standard piecing I take out my note-book and capture measurements and fabric requirements. This also helps, if I am submitting or creating a pattern.
- I am likely paper piecing the triangles for this design – so I will export the relevant shape and import into illustrator or iDraw to add the pieces/steps with the 1/4 ” seam allowance.
- Decide on any changes. Most commonly, I would change color palette or introduce prints.
That’s my process. Let me know if you have any questions. I can highly recommend giving it a go, there’s no right or wrong. DIY Block Design can help you through each step and process so you can have the amazing satisfaction of creating your own block!!
Check out what other’s have to say about their design process. Lot’s of great information in this blog hop:
October 1 – Let the games begin!
October 2
Heidi @ Fabric Mutt
Christa @ ChristaQuilts
Angie @ Gnome Angel
Week 1: Inspiration
October 7
Ros @ Sew Delicious
Leanne @ Sewn By Leanne
Amy @ And Sew We Craft
October 9
Jennie @ Clover & Violet
Jane @ QuiltJane
Melissa @ My Fabric Relish
Week 2: Sketches
October 14
Jen @ Faith And Fabric
Beth @ Cooking Up Quilts
October 16
Sandi @ Crafty Planner
Anne @ Play Crafts
Jess @ Elven Garden Quilts
Week 3: Making
October 21
Joy @ Quilty Joy Joy
Linden @ Vine Lines Quilting
Cassie @ Cassandra Madge
October 23
Keera @ Live Love Sew
Janice @ Better Off Thread
Michelle @ Factotum Of Arts
Week 4: Finishes
October 28
Kelly @ A Place Of My Own
Abby @ Color Bar Quilts
October 30 – Linky opens!