A little while back, I had pinned this sewing project/tutorial for an electronic cable travel case (over on Pinterest). I had thought…hmm…maybe Christmas gifts for some of my work colleagues (I work for a large computer software company….so electronic cable case=perfect).
Finally, this weekend (2.5 days left of work for the year) I managed to get 3 done. I have to say, I had a blast sewing them, mostly due to the great company on Sunday afternoon.

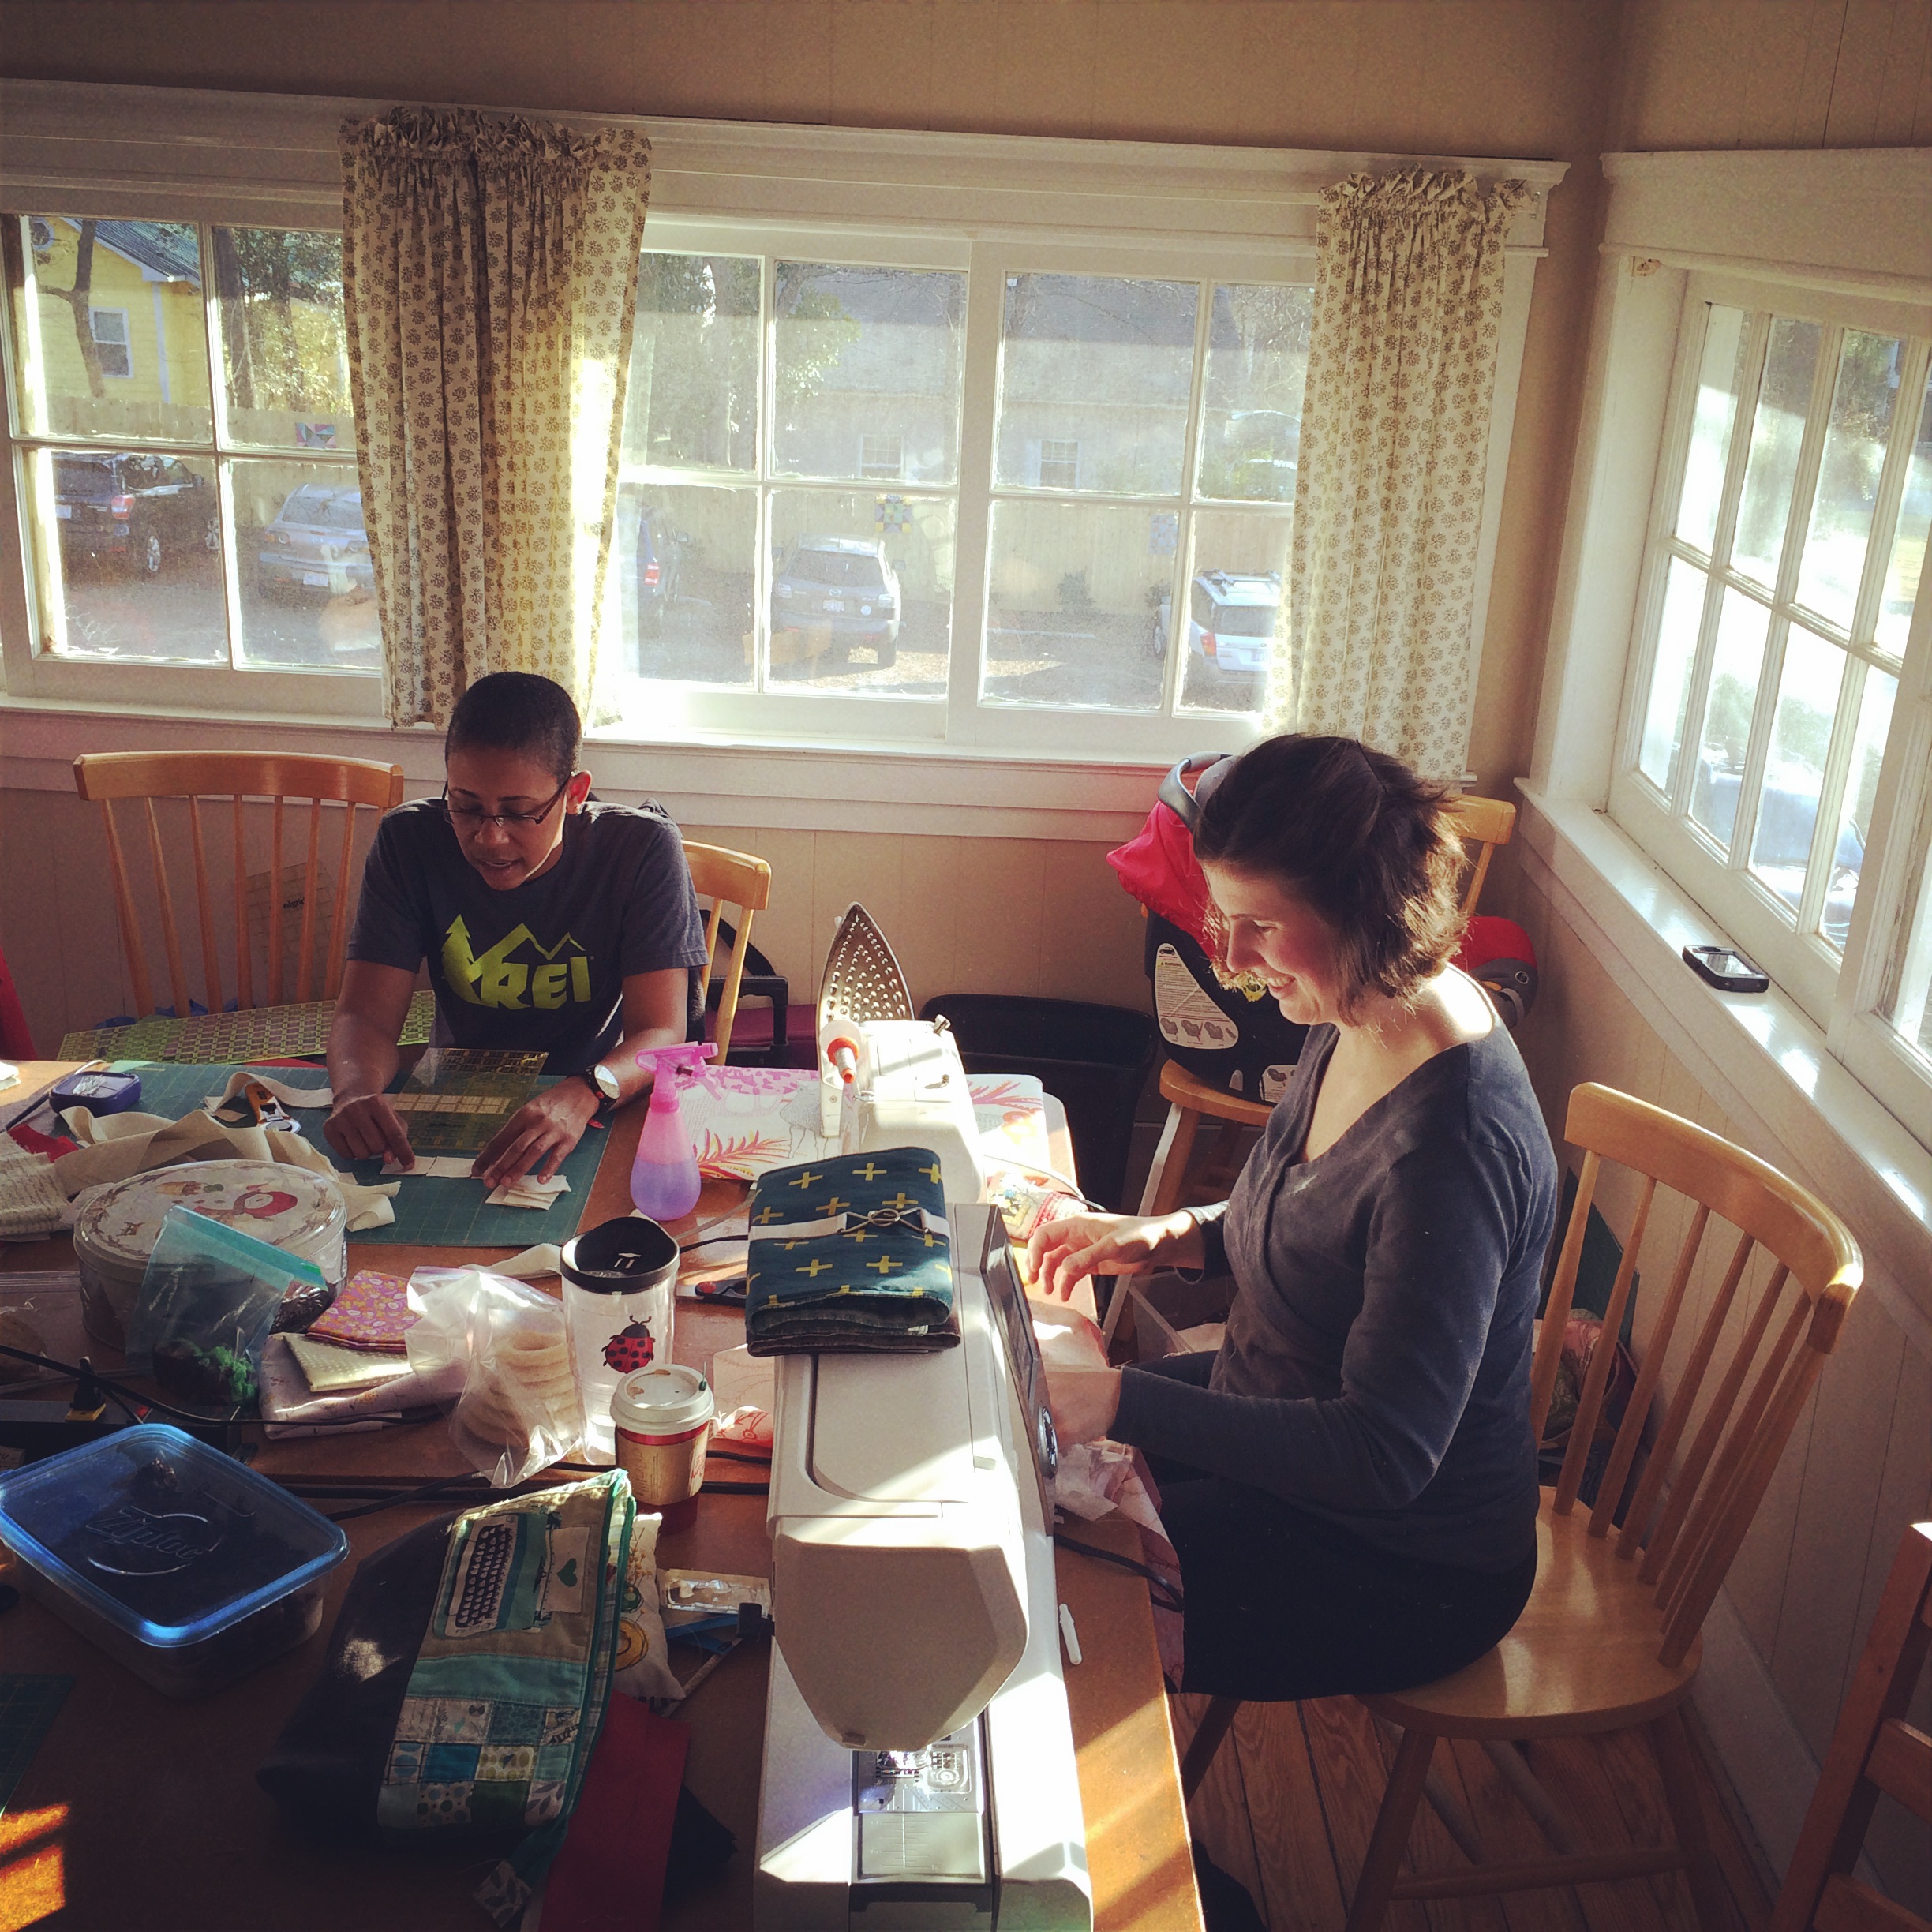
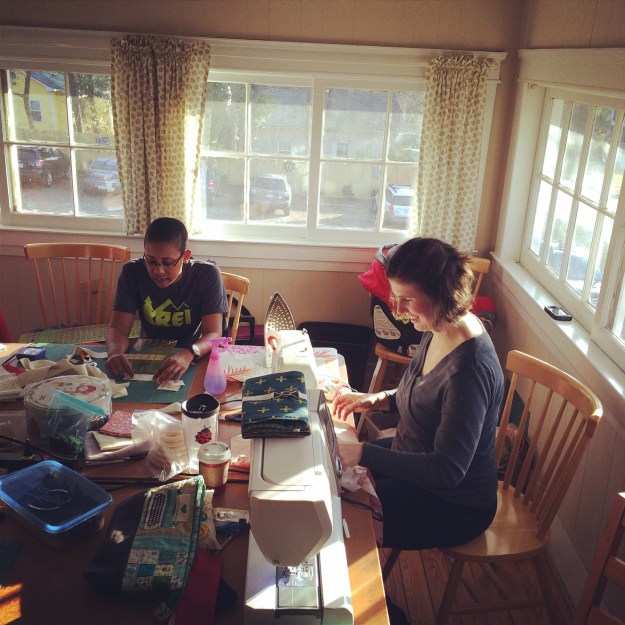
A few friends (Sarah @ StitchingandBacon, Michelle @ UndiscoveredOptimist and Jenn pictured above; Daisy @ AntsToSugar and Becky pictured below) got together at Cary Quilting Company for a bit of last-minute Christmas sewing, sharing of fabric + Christmas baked goodies.
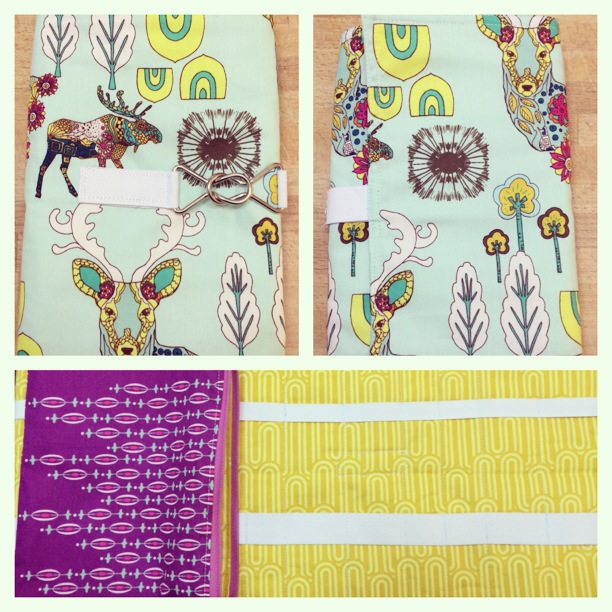
The first pouch I made was using fabric from Frances Newcombe, Utopia (pictured below – Outside front, Outside back, Inside). I used a fantastic tutorial for these cases by LiveIt.LoveIt.MakeIt.

I modified some aspects of the tutorial. First off, I needed to convert from cm to in. and here are the materials I used for my pouches (if in the US):
For the pouch pieces: 6″ (side) x 9″ (width) (4 pieces; 2 for the lining and 2 for the main)
For the Cable Tidy Section: 10″ (width) x 18″ (length) (2 pieces; one for the lining and one for the main)
Zipper: 9″ zipper was used for the pouch; purchased from Zipit
Elastic: 19″ length @ 0.5″ and 1″ wide (Joann’s)
Buckle: 2.5″ x 1″ Nickel Fashion Buckle (Joann’s)
Snaps: Size 2 Sew on Snaps (Joann’s)
Interfacing: Pellon Sf101 (fusible Shape flex) (from Joann’s – 30% off at the moment)
I replaced the felt with Fusible Fleece, specifically Pellon 987f Fusible Fleece (from Joann’s – 30% off at the moment).

There are only a few construction pointers, I can provide extra to the provided tutorial.
- For sewing the zipper into the pouch, I added fabric tabs to the ends of my zipper for a nicer finish.
- I placed my elastic starting at 3″ from the top (0.5″ elastic) and 3″ from the bottom (1″ elastic).
- Pin, pin. pin the elastic, especially the smaller one on top. The smaller one tended to move more often when you sewing the straight lines and if you want a straight looking line of elastic you needed to pin.
- Draw and measure each line you are planning on sewing down through the elastic with a fabric marker. I used chalk pencil.
- I marked my lines starting with 2 x 2″ width and then alternated the 1.5″ and 1″ lines and finished off again with one or two 2″ segments. I recommend not placing two 1″ lines close to each other as it makes it difficult to fit items next to each other.

The two on the left are for male colleagues and the one on the right was for a female colleague.
Lots of fun, and a project I would make again. It took me about 90 minutes for the first one, while I worked out all the steps. The other two, took 90 minutes combined, and I sewed more like a production line.
Fabrics for my pouches above were:
- Black: Alison Glass, Handcrafted, Geese in Graphite; Sweetwater, Elementary, Equations; NC State Wolfpack fabric
- Jade (Dark blue): Alison Glass, Handcrafted, Plus in Lagoon; Sweetwater, Elementary, Splash on Vanilla Calendar; Emily Herrick, Rustique, Trophy in Teal
- Cyan (Light blue): Frances Newcombe, Utopia, Dreamlandia in Irradiated; Frances Newcombe, Utopia, Lucid Hills in Amber, Frances Newcombe, Utopia, Atomic Influx in Perse.
Your turn, you still have time to make those last-minute Christmas gifts!! Good Luck.
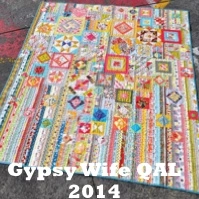 Throughout the year, we have been sewing up the Gypsy Wife blocks. Thank you so much to all the sponsors who supported us throughout the year. This month was the final month to pull it all together.
 I have to admit, this pattern was a challenge, and for me other things got in my way, so I am not sharing my finish this month. There have been great finishes already, and I have seen folks working hard to complete their final quilt.
 So link-up your quilt top or complete quilt finish by the 9th January 2015 @ 6pm. I will randomly choose a winner who will win: