
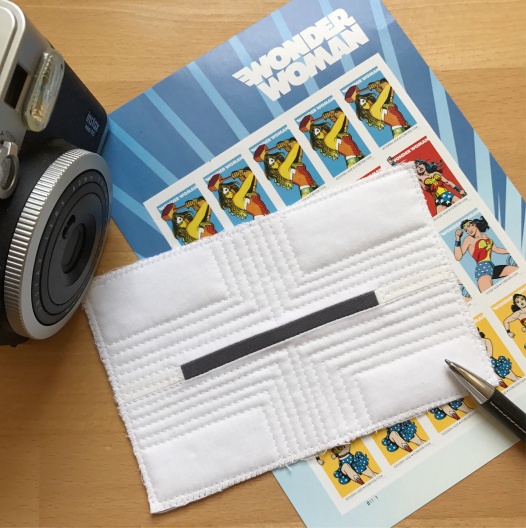
In my previous post, I shared my current experiment with quilted postcards. I make a finished 4 x 6″ standard sized postcard. Here is the list of materials and the instructions which start after you have a finished 4 1/2 x 6 1/2″ postcard front.
Materials
- One (1) 4 1/2″ x 6 1/2″ pieced front
- One (1) 4 1/2 ” x 6 1/2″ backing fabric
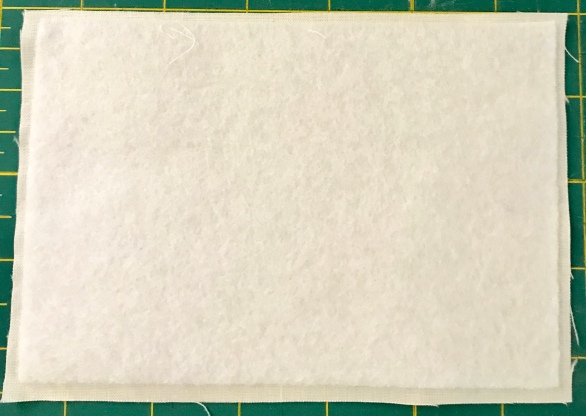
- One (1) 4 x 6″ Fusible Fleece (like Pellon 987F) or
Two (2) 4 x 6″ SF101 Pellon ShapeFlex - Thread for piecing/quilting
- One (1) Adhesive Postcard back (purchased from Amazon.com)
Instructions
The postcards cannot be too thick otherwise you will not be able to use normal postcard postage so I use fusible fleece that is like a quilt sandwich or two pieces of Shape Flex interfacing (one on each side fused to the back and the top).
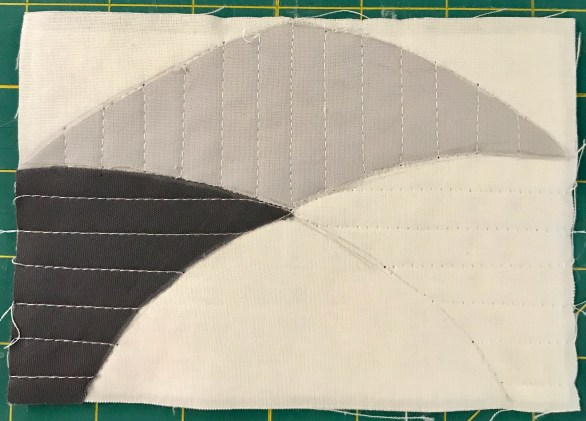
I have two ways of making my postcards. The first is not that different from a normal quilt, and can be seen in this image below. Take the postcard pieced top and baste to the fusible fleece, and then baste with a glue stick the bottom fabric to the fusible fleece. Quilt as desired, trim. Zig-zag or overlock the edge of the post card to finish.
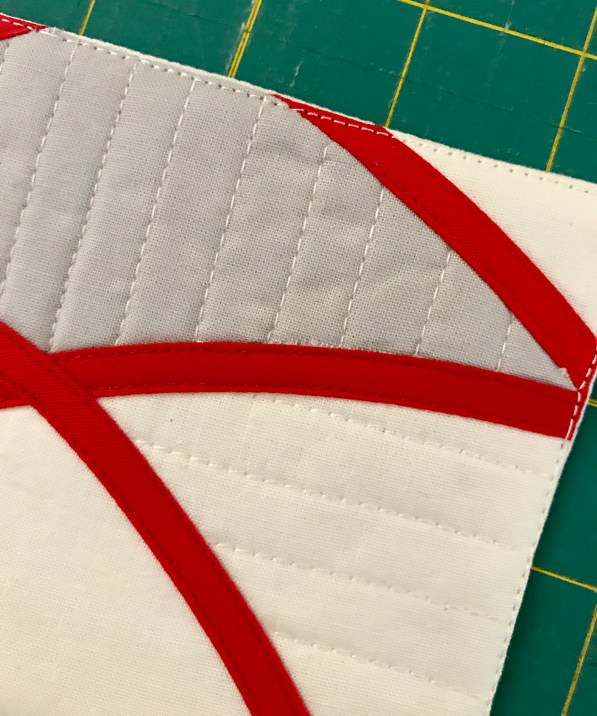
The second method, I chose since I was using bias tape and wanted to encapsulate the bias tape edges within the edge of the postcard. Here are the step by step instructions for this finish.
- Fuse the fusible fleece to the top of the pieced postcard top.
- Quilt the top with the fleece as desired and add the bias tape to the front.
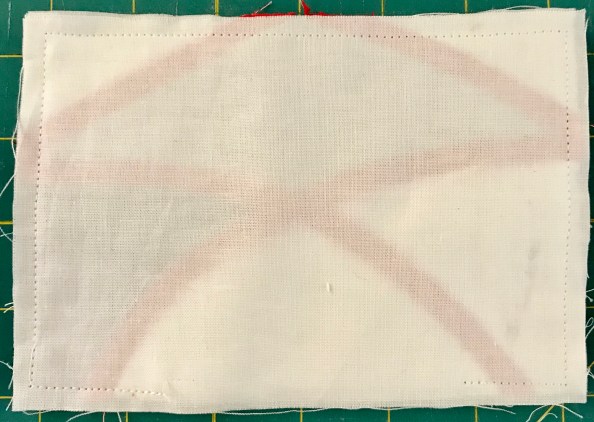
- Place the top and back right sides together (RST). Stitch a 1/4″ seam around the postcard edge, leaving a two inch opening along one edge.
- Cut the corners inside the seam line, removing the bulk in corners.
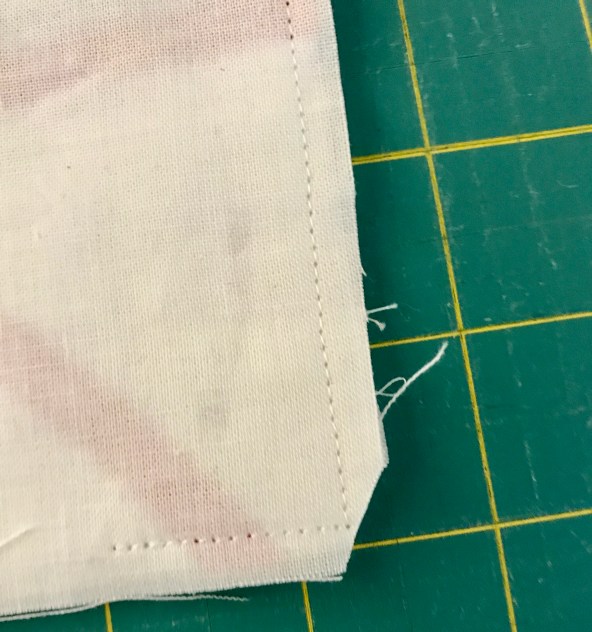
- Turn the postcard inside out, using a chop stick or pencil end to push the corners out.

- Press the postcard edges, to position the seams folds correctly. Top stitch the edge of the postcard.
- To finish the postcard, take one of the adhesive postcard backs and place it on the back side of the fabric.

The other size you can consider is a 5 x 7″ postcard and you will need to purchase the appropriate adhesive backs.
Let me know if you have any questions. If you make any postcards I would love to see them on Instagram – just tag me @ml_wilkie or use #quiltypostcards.

Appreciate your sharing. I love the one you are showing in this post!
I love the concept of the postcards . Yours are beautiful, Michelle! I love small quilting projects, so I will attempt this.
Thanks for the tutorial on postcards! I love the idea of making a small quilt and putting a postcard back on it!
Great tutorial! I can’t wait to give it a try.
They are beautiful-Have you sent one in the mail?