In the previous post, I walked through my process of creating the three tops I created while playing with color. In this post let’s take one of those quilts, Whitney, and talk about choosing quilting design.

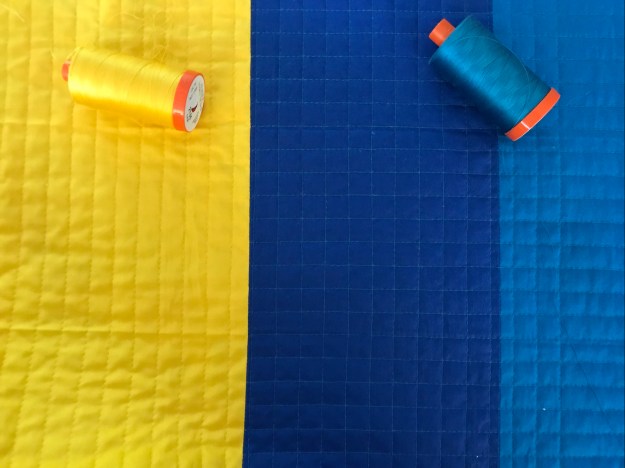
Whitney is a 4 x 4 grid design, (4 columns x 4 rows). I consider these columns as a red (1), green (2), yellow (3) and blue (4) column if you read it from left to right.
Quilt Designs
I started the quilting with the yellow column, which provides almost a consistent stripe down the quilt. I feel this is where the eye not only rests but also helps move you between the rows. To keep that consistency, I choose to quilt vertical straight 1/2″ lines down the quilt within the yellow areas. I did not quilt across the row separators.
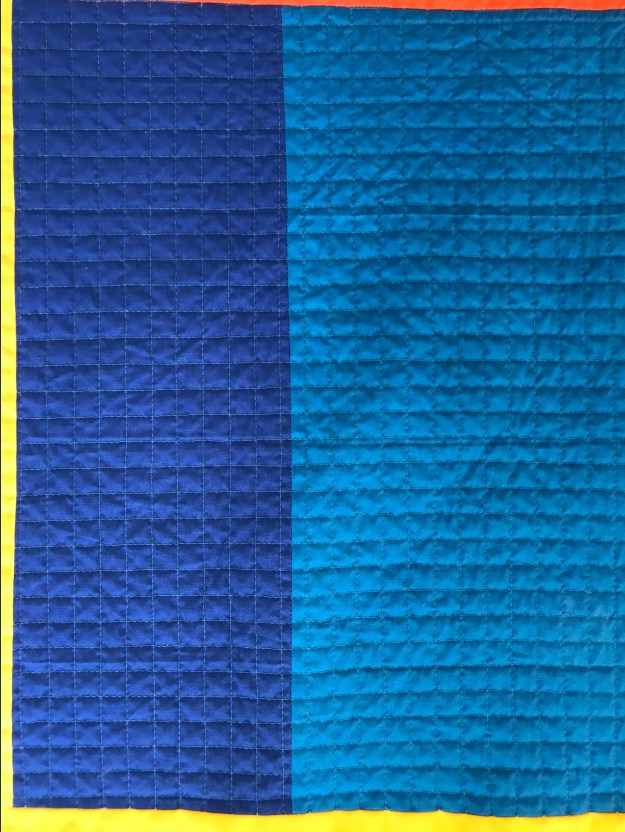
So, thinking about the other three columns, I decided on quilting each quadrant with one of four designs in a matching thread color. From top to bottom in the blue column are the following designs:
- Uneven Grid – This design is from Jacquie Gering’s book Walk. I quilted this at a ~1/4″ for the thin lines and 1/2″ for the wide lines as I have marks on my walking foot to make these distances easier.

- The Crosshatch Diamond Mix – Another design from Jacquie Gering’s book Walk, and one of favorite designs. It is worth the effort of stitching the same space 4 times. I created the straight grid first at 1″ x 2″, then added the diagonal lines.


- Simple Grid – I love the texture and look of a simple 1/2″ grid so that is the third design within the blue.
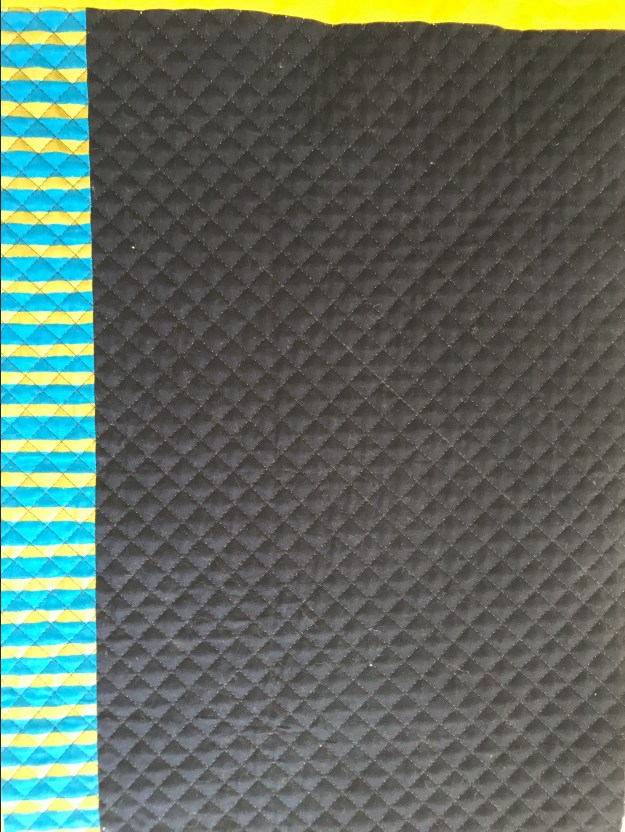
- Simple Diagonal Grid – Turning the simple grid on a 45 degree angle to give a great diamond texture on the last quadrant. The 1/2″ lines gives amazing texture on this navy blue and stripe. Note: I lightened up the picture to see the lines easier.
These are the 4 designs I plan to also use on the red and green areas but I plan to shift them down. For example, the green column, from top to bottom, will be simple diagonal grid, uneven grid, crosshatch diamonds, simple grid; the red will be simple grid, simple diagonal grid, uneven grid, crosshatch diamonds.
Once these are complete, that leaves just the strips (that are acting as row separators) to quilt. I plan to try adding a couple of rows of these diamond shapes that are in Jacquie Gering’s Walk 2.0 book.
Tools
I do use a few tools when I quilt, especially with all these straight lines.
Of course, my walking foot is the busiest tool and I could not quilt without it. I like my Janome walking foot as the edge of the foot gives me a natural 1/2″ distance which is the main reason most of my lines are 1/2″.
To check my lines are straight, I regularly (every 5-10 lines) place masking tape (painters tape) down and use it as a guide to make any corrections needed.
My new tool, is the clover chalk pen, which I use for marking. I used it to mark each of the diagonal lines and the 1 x 2″ grid for the crosshatch diamonds. Caution: I use the white and it just rubs off and works well. I tried the yellow and found that it did not work well and required washing and light scrubbing with fingers to get it out.
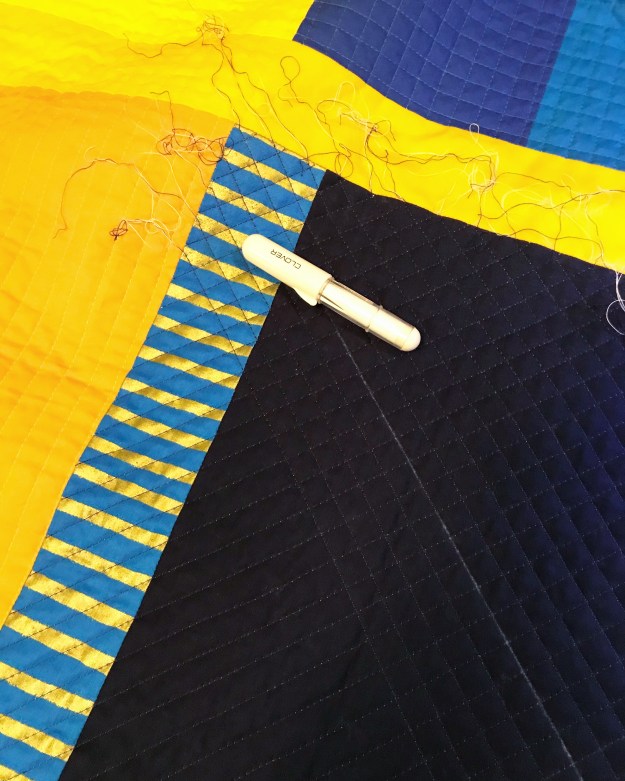
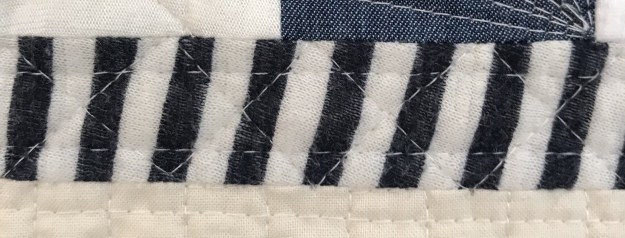
As you can see in this last photo, I do bury threads, so next post will be a tutorial on burying threads and tools I have tried and what I use now.
If you want to know something else let me know in the comments and I can add it to a future post or answer it below.

Love how you are using a set of walking foot designs! (Don’t envy you though with all that thread burying!)
Thanks a Patty. It has been nice just taking my time burying threads as I go. No stress.