Category Archives: Quilt designs

Rails II {Aerial Railroad – a finish}

I am not sure why but I was so apprehensive making a second Rails quilt. A few years ago now I created Rails for RjR Fabrics with Fat Quarter bundle they supplied. The quilt was made with 1-1.5″ strips and I bent them into shapes as I sewed to make it represent the railroad junctions. There was little planning and the whole quilt took a couple of days (I procrastinated so much with the idea in my head to the point that I had no choice but to make it quickly so I wouldn’t miss the deadline).

I landed up selling this quilt to a company art collection, in fact it hangs in my husband’s building. A couple of years later, I decided I wanted to teach a class using the same strip piecing techniques. The only problem was I had no sample for the class. To be honest, I was not sure I could really reproduce a similar quilt using the techniques I pulled together last time. When the class was canceled due to COVID, I decided to let it sit a while.

I found an Anna Maria Horner print in my stash, which was rust with pops of yellow and blue. This was what I wanted the palette for the next Rails quilt to be. The bundle then sat on the floor for another year.

Finally, I decided that the worse that can happen is it doesn’t work, so I started out with a plan of 3-4 areas of color.

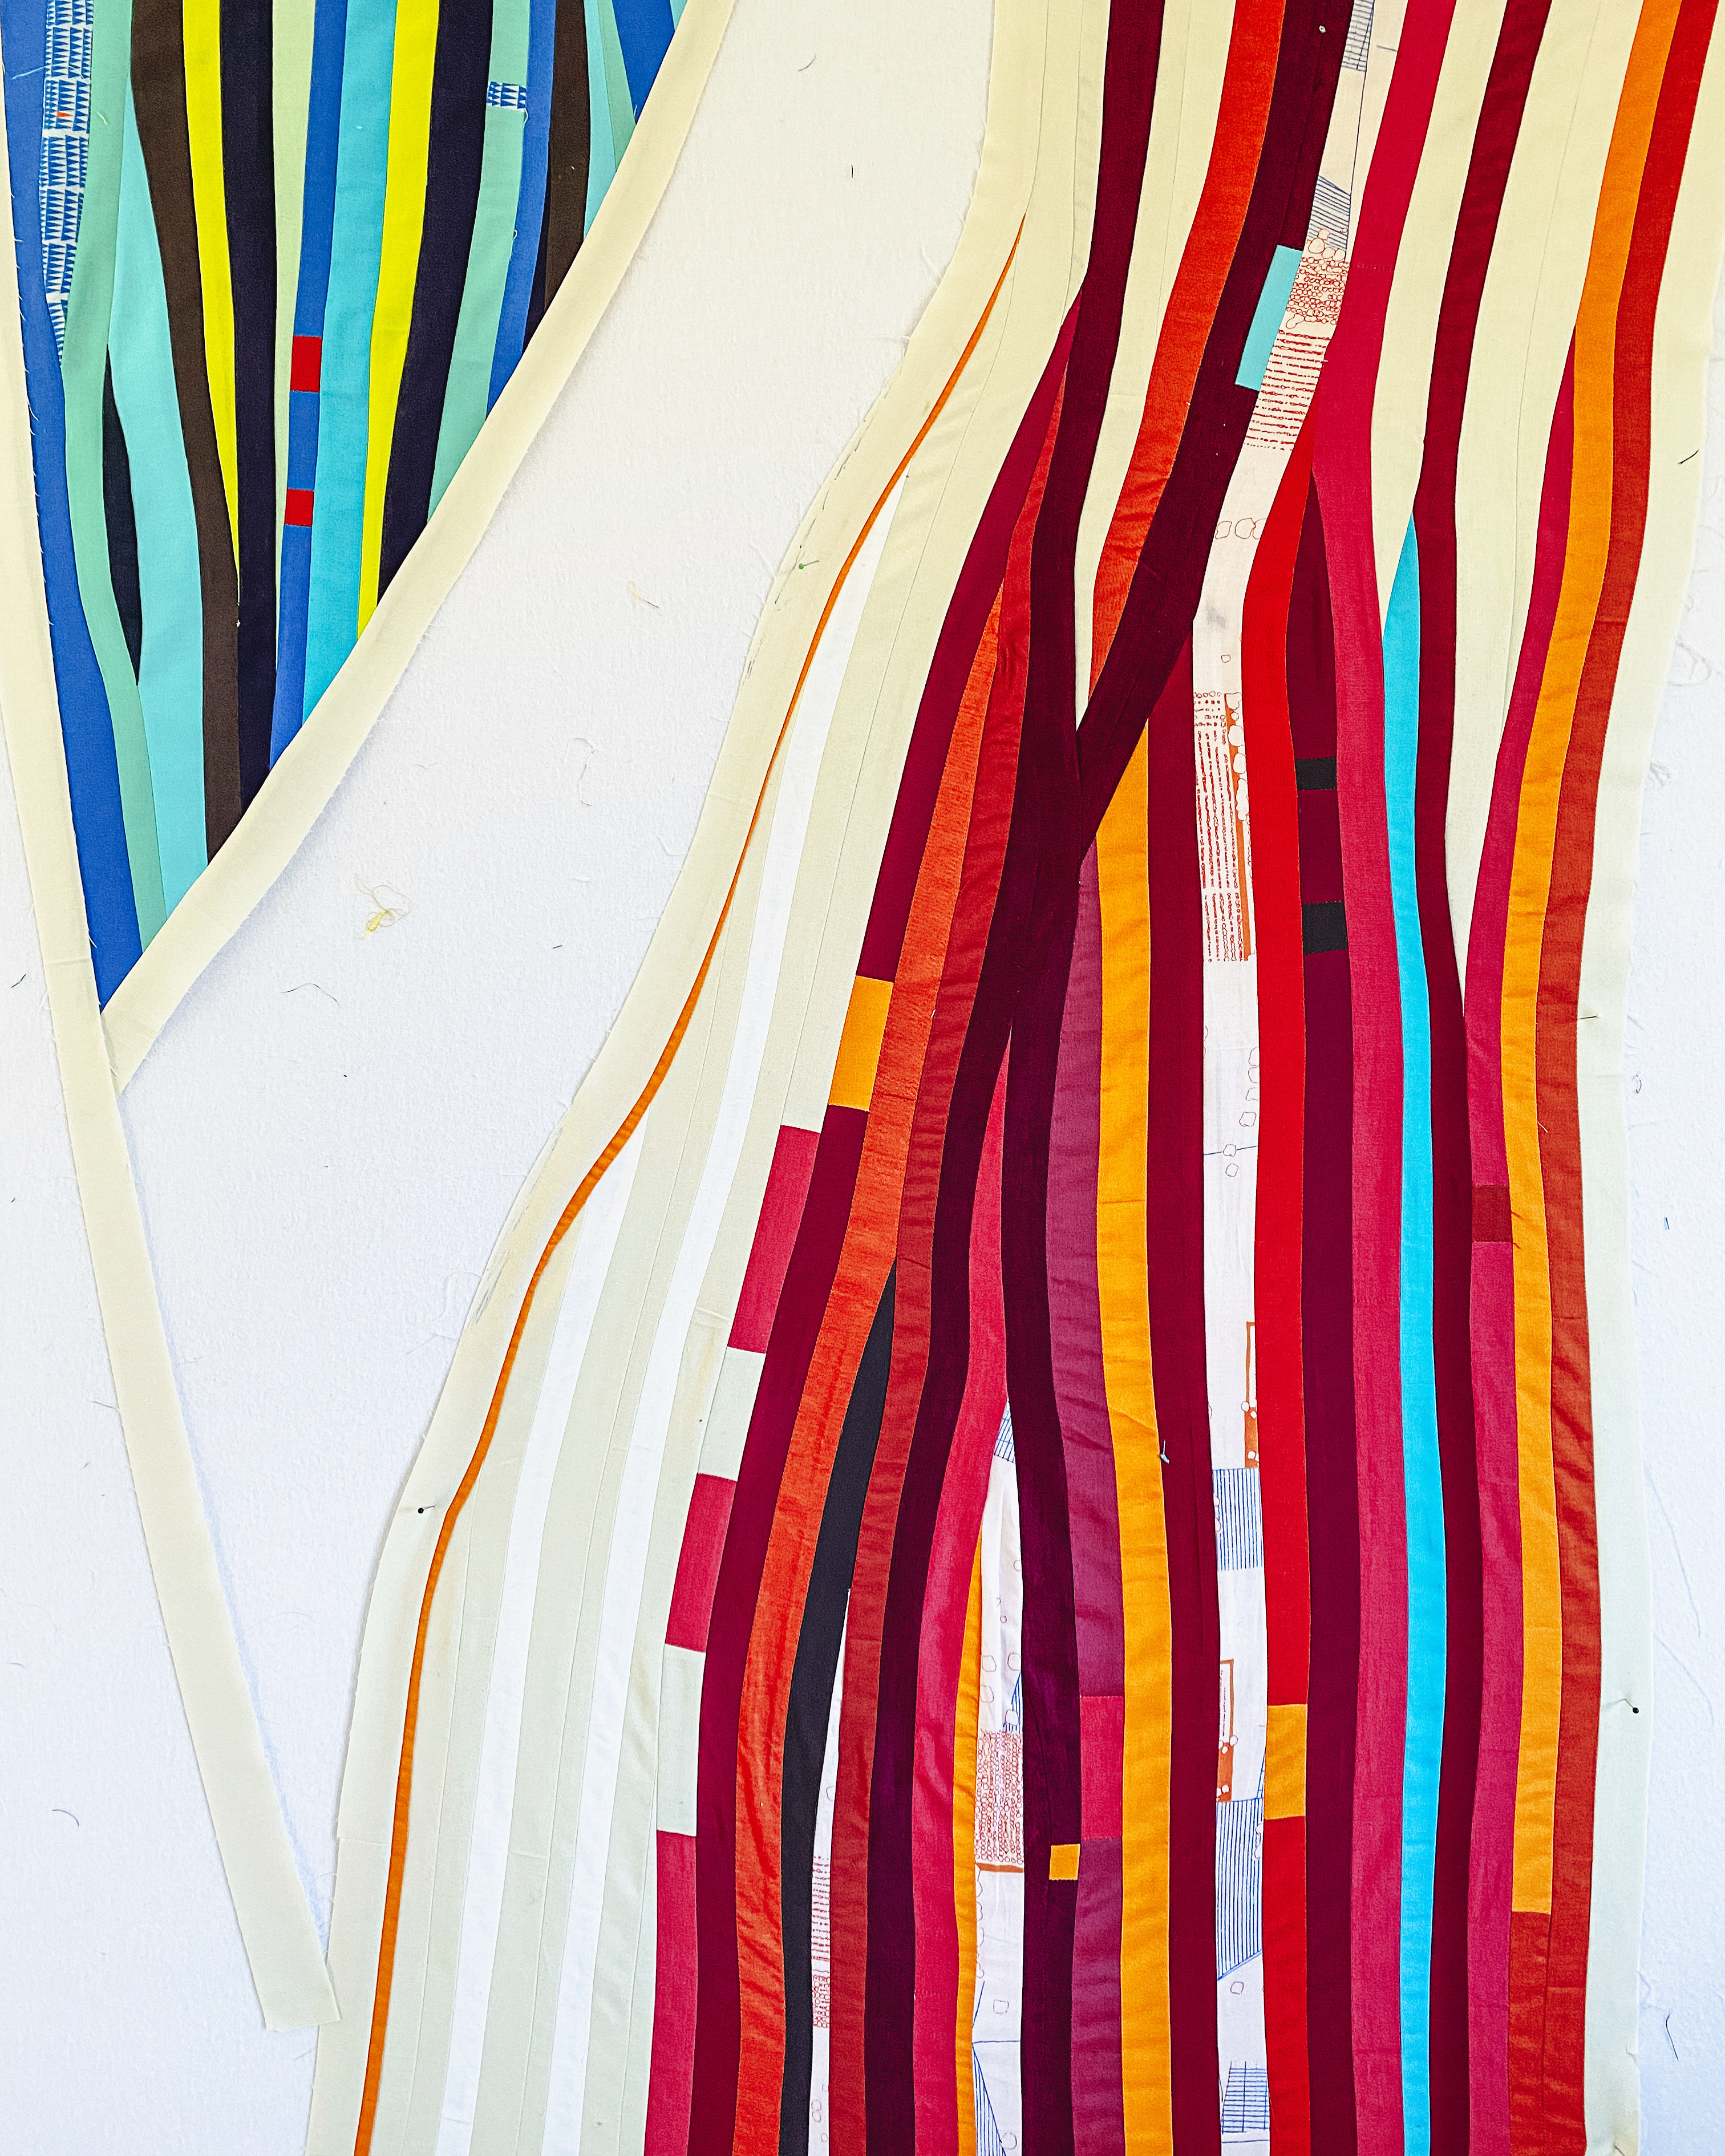
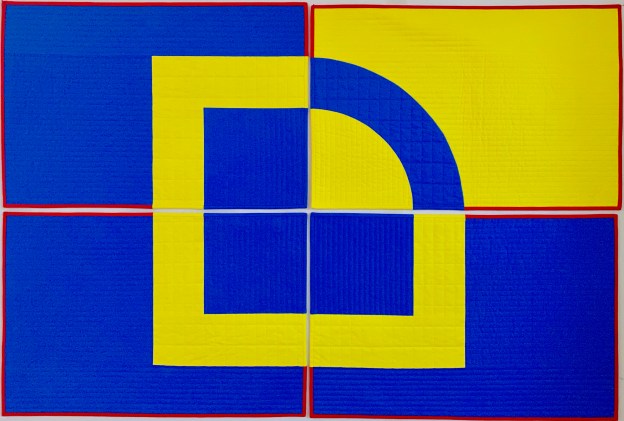
I was pleasantly surprised how well it came together. This one was a much larger quilt but still based on Neuostheim Railroad junction in Germany.

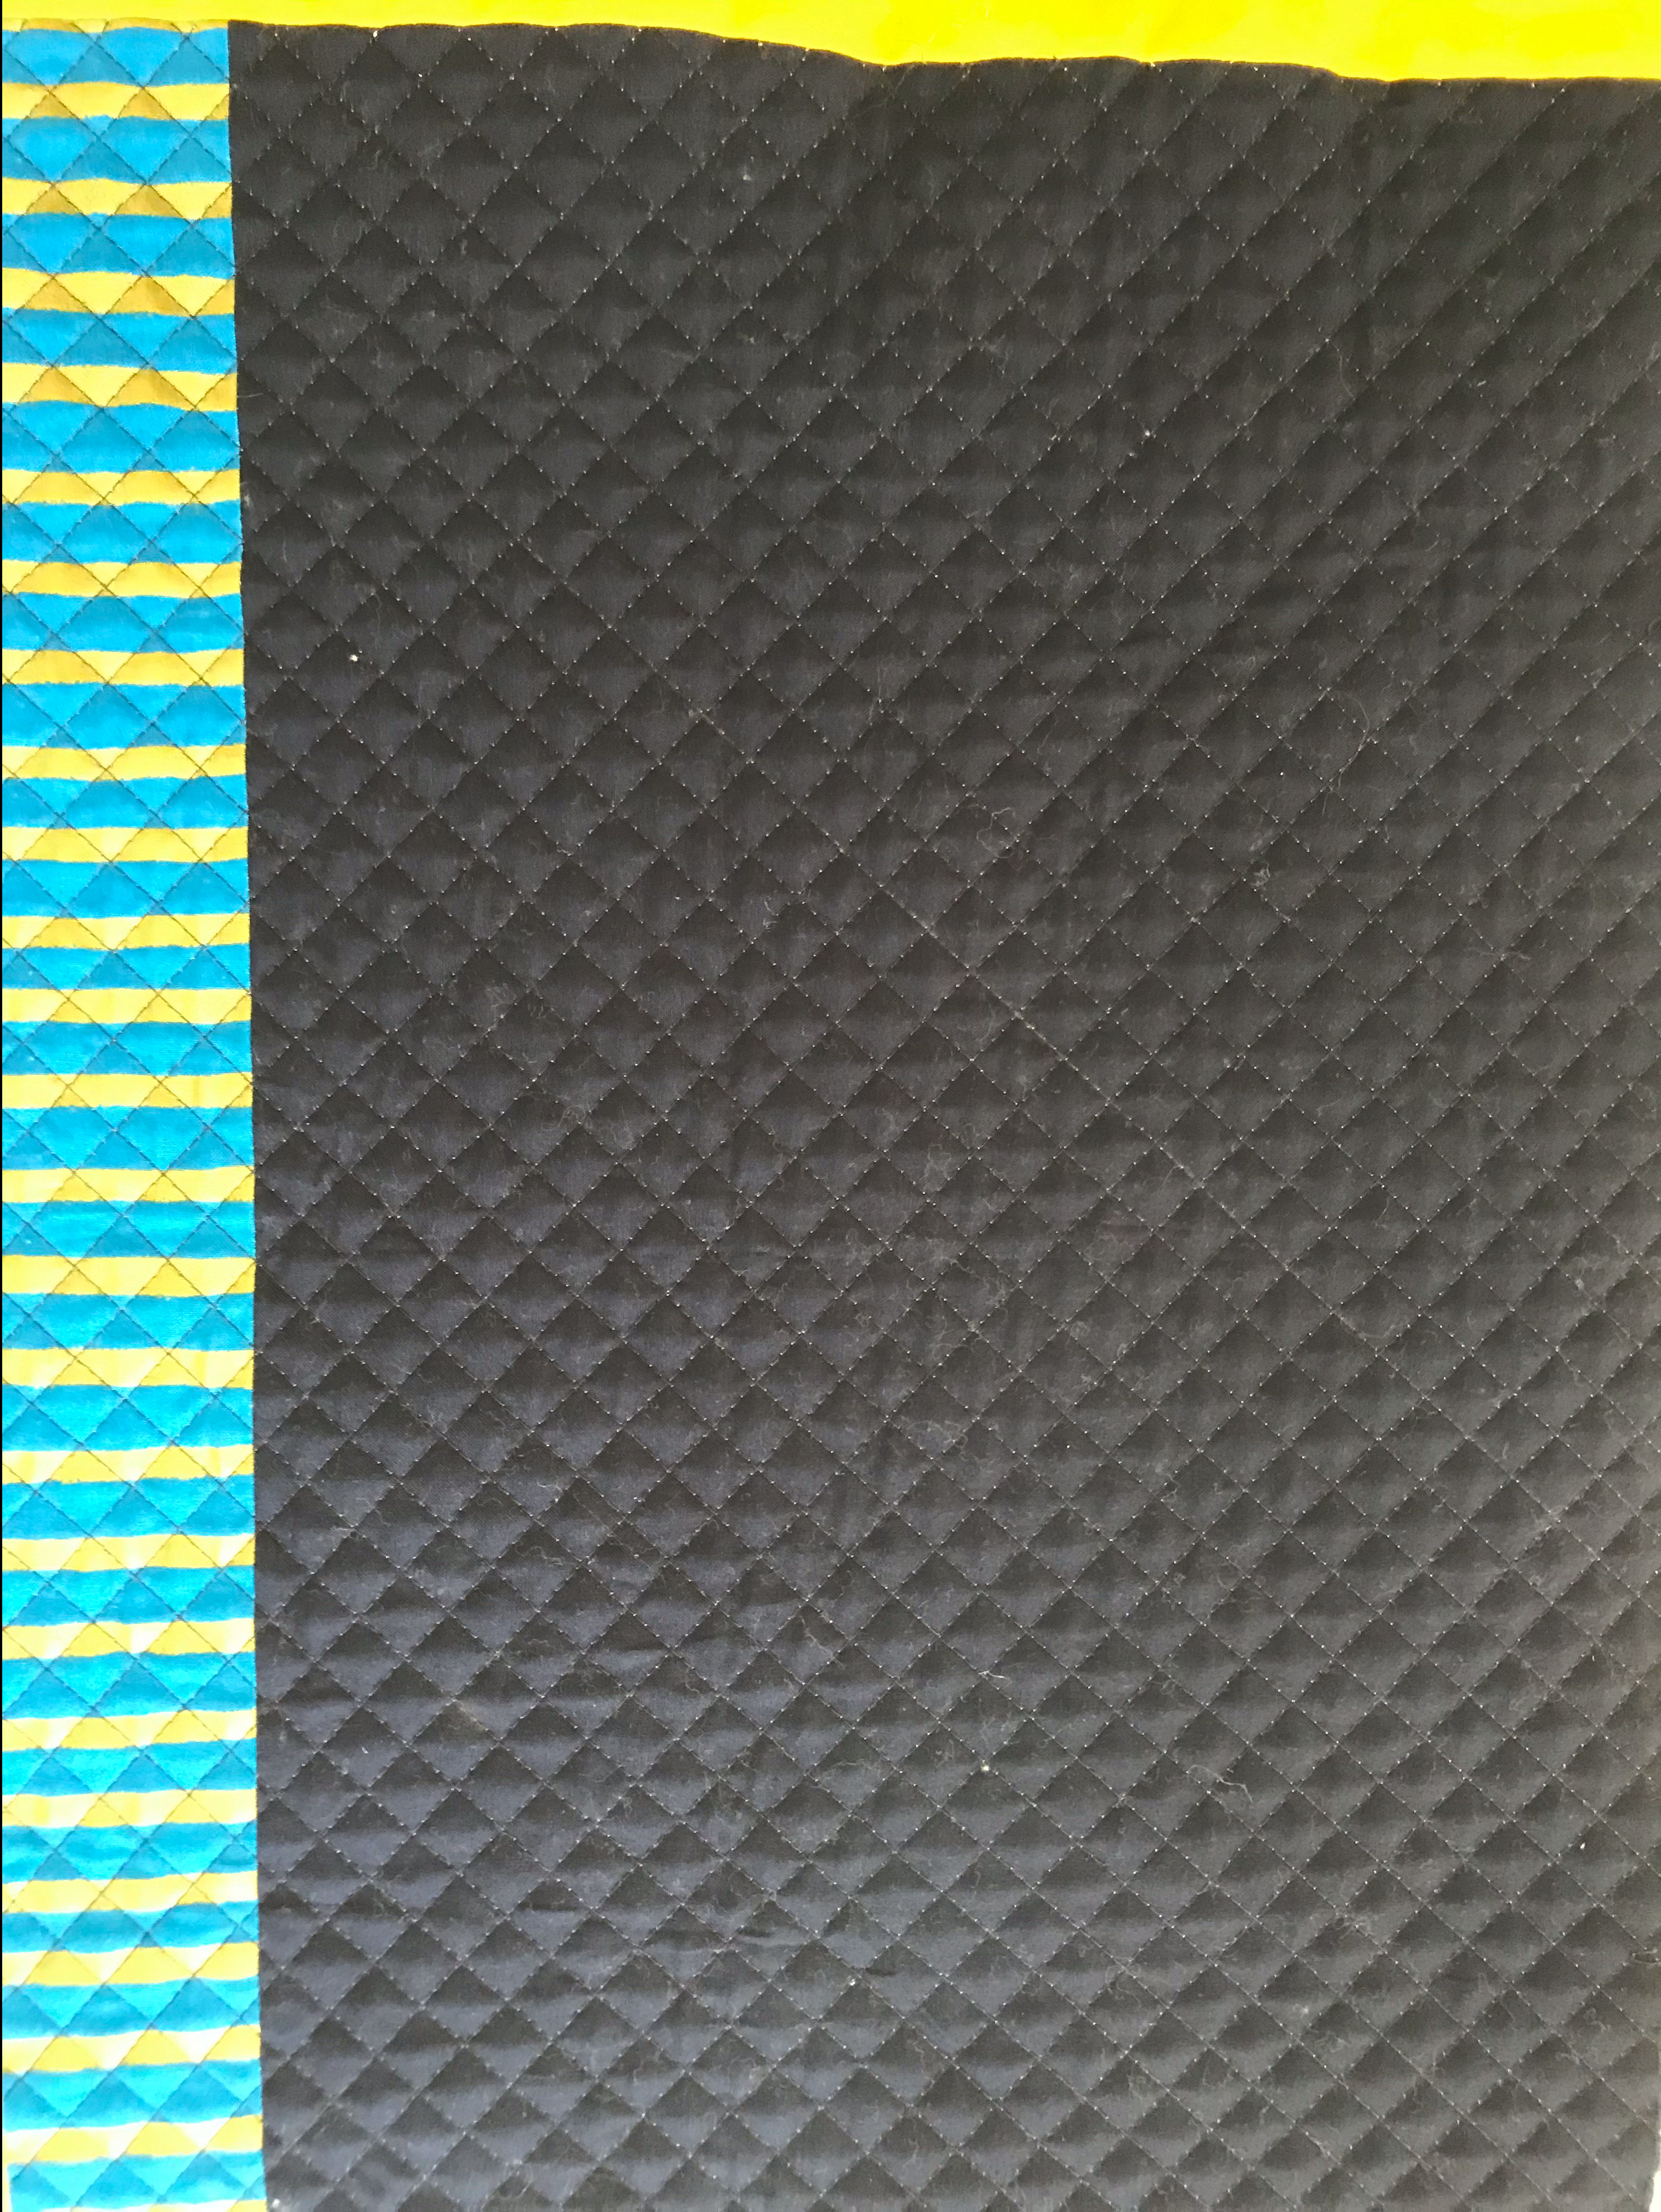
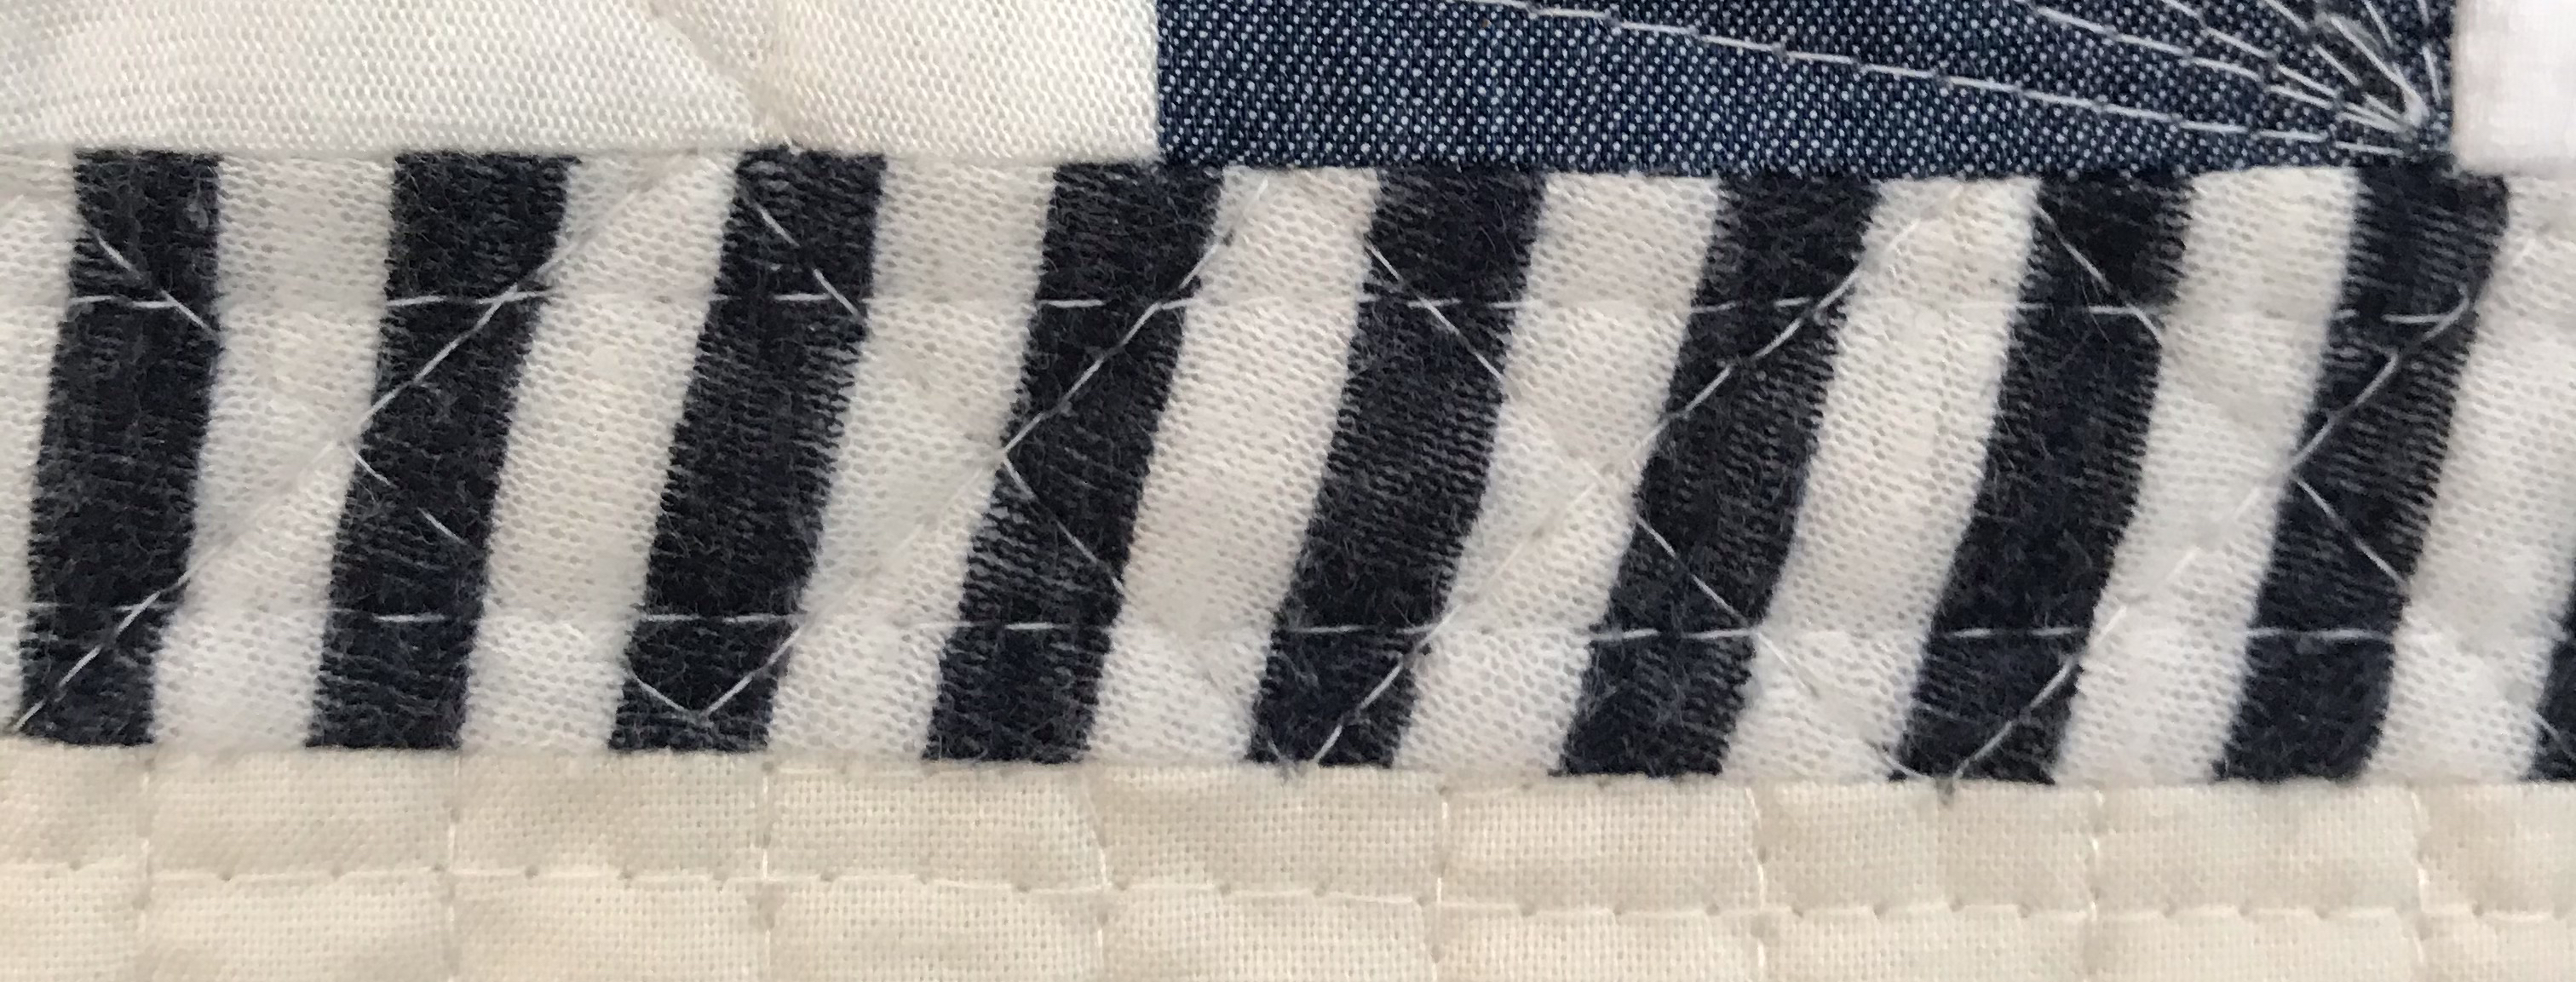
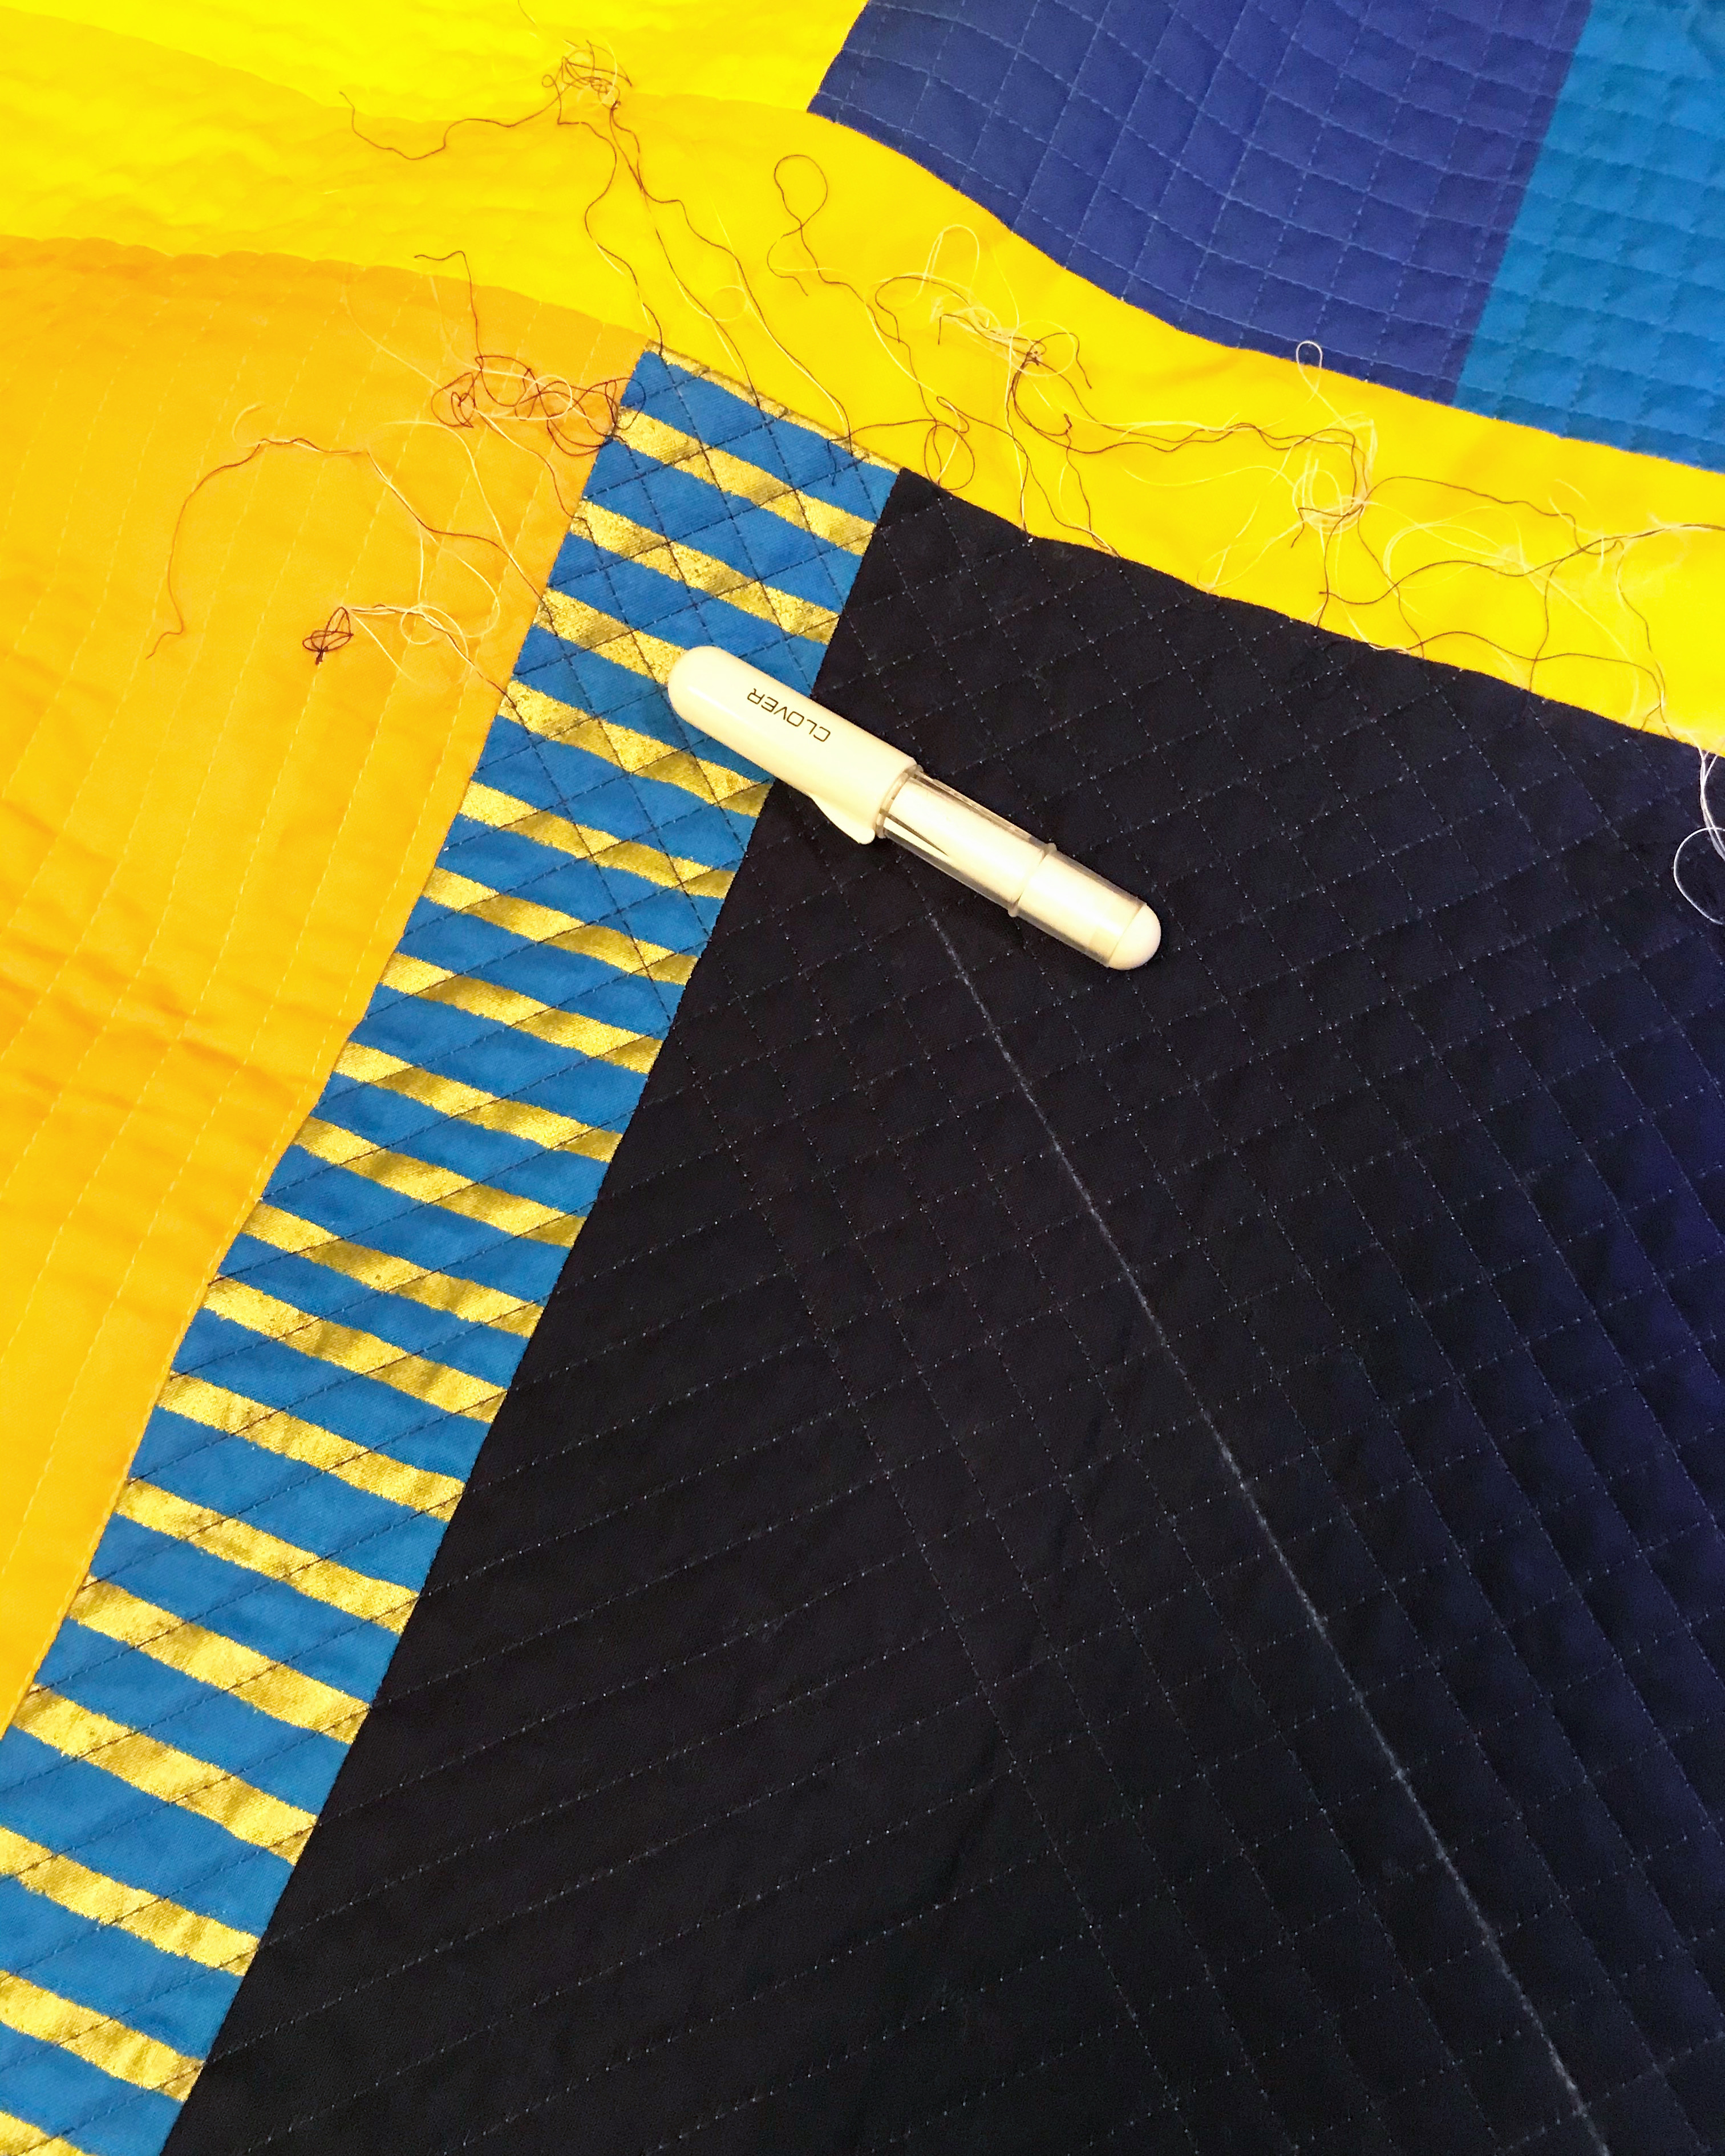
Once the top was complete, I had a very clear direction I wanted to take to the quilting. All the areas of colored strips, I wanted hand quilted/ embroidered with “X”s (like railway crossing signs), with the crosses forming a diagonal 1/2″ grid pattern. In the neutral areas, I had machine quilted variable grid lines – 1/2″ to 1” lines.

This meant color matching all the strips and switching thread colors often. In total 15-16 colors were used. The back has amazing texture as well from making these crosses.

The hand quilting took a long time, so this quilt also became a travel project. It saw a lot of NC, Germany and Morocco. In someways it made it easy to work on being a travel project.


When making the top, I had assumed I would square up this quilt and have straight edges. Through making and quilting it though I loved the uneven quality of the final edges and wanted to maintain the shape as much as I could. I decided to face the edges of my quilt (using Cotton and Bourbon Facing Tutorial). I did change things up a little as I couldn’t cut the edges without making sure I had secured the hand stitches. So before I cut, I stitched the binding to the front, then cut at the 1/4″ edge with scissors, then zigzagged the edge securing the thread. It seems to have worked well.

The finally finished the quilt almost a year after starting. It was a lot of work all those hand stitches. I love the colors. I love the texture. I am thrilled that I was able to push through and repeat the technique.

Details

Name : Rails II (#aerialrailsquilt)
Design:
 Original Design
Fabric: Oakshott Cottons and Kona Cotton
Backing: Scraps and Carolyn Friedlander Print
Binding: Faced with Neutral
Dimensions: 
~52″ x ~45″
Quilted: Hand Stitched Crosses and Machine Quilted Grid
Start date: 12 February 2022
Finish date: 8 February 2023

One of these things {a finish}

Idea

I have trouble expressing my feelings and thoughts into words and talking about it. This quilt represents my wish that human nature can embrace difference. Different is beautiful, wonderful, inspiring and makes life and things around us interesting. It saddens me that often being different is used to divide us, introduce fear, hate or violence. We need to do better.

Design

The design and name of this quilt was inspired by the Sesame Street Song “One of these things“. It teaches that things are different and says “one of these things doesn’t belong” so are we teaching children that those that are different don’t belong??? I hope we can teach children and people to accept people who are different from themselves and listen, learn and understand each other.

I designed this being 4 panels, 3 being the same and one being different. I choose simple shapes, squares being on the three panels and a circle (quarter of a circle) in the different panel.

The color choices came of the squares and circles being used and reminded me of the childhood toy – Tupperware’s Shape-O Toy. I used blue as the background and yellow as the shape on the 3 square panels and reversed these for the circle panel. The red was added as the border to tie the 4 panels together and used to frame them.

Create

Most of this quilt was simple measurement and piecing. The most complex piece was how to get the large curve (5″ radius in the middle with 15″ on the outer circles. Luckily, I purchased a wood working compass for my husband a couple of years ago. I used this to mark and cut my circles (maximum radius for the compass was 15.5″).

The other big step for creating was matching the binding which I do often. I really like the effect. I matched some of the quilt while adding the red to a blue area. The best tutorial out there for block matching binding is from A Quilters Table.

Quilt

So for each panel I did decide to quilt them exactly the same way.

Outside of the shape – horizontal 1/2″ straight lines
Inside of the shape – vertical 1/2″ straight lines
Shape itself – 1 x 2″ grid lines

There was a bit of effort to bury threads so that you get a neat look where lines stop in the middle of the quilt. See previous post for some pictures.

Details

Name : One of these things
Design:
 Original Design
Fabric: Kona Cotton (Bright Light, Blueprint)
Backing: Ruby Star, Rashida Coleman-Hale, Stella, Moon Hills (blue and yellow)
Binding: Kona Cotton (Bright Light, Blueprint, Valentine)
Dimensions: 
30 x 20 in. (total 60 x 40 in.)
Quilted: Straight lines walking foot quilting, Aurifil #6738 and #2120
Start date: 21 July 2018
Finish date: 21 April 2021

The Quilting {Quilt Journey Part II}

In the previous post, I walked through my process of creating the three tops I created while playing with color. In this post let’s take one of those quilts, Whitney, and talk about choosing quilting design.

IMG_5139

Whitney is a 4 x 4 grid design, (4 columns x 4 rows). I consider these columns as a red (1), green (2), yellow (3) and blue (4) column if you read it from left to right.

Quilt Designs

I started the quilting with the yellow column, which provides almost a consistent stripe down the quilt. I feel this is where the eye not only rests but also helps move you between the rows. To keep that consistency, I choose to quilt vertical straight 1/2″ lines down the quilt within the yellow areas. I did not quilt across the row separators.

IMG_1202

So, thinking about the other three columns, I decided on quilting each quadrant with one of four designs in a matching thread color. From top to bottom in the blue column are the following designs:

  1. Uneven Grid – This design is from Jacquie Gering’s book Walk. I quilted this at a ~1/4″ for the thin lines and 1/2″ for the wide lines as I have marks on my walking foot to make these distances easier.
    IMG_1226
  2. The Crosshatch Diamond Mix – Another design from Jacquie Gering’s book Walk, and one of favorite designs. It is worth the effort of stitching the same space 4 times. I created the straight grid first at 1″ x 2″, then added the diagonal lines.
  3. Simple Grid – I love the texture and look of a simple 1/2″ grid so that is the third design within the blue.
    IMG_1223
  4. Simple Diagonal Grid – Turning the simple grid on a 45 degree angle to give a great diamond texture on the last quadrant. The 1/2″ lines gives amazing texture on this navy blue and stripe. Note: I lightened up the picture to see the lines easier.
    IMG_1222

These are the 4 designs I plan to also use on the red and green areas but I plan to shift them down. For example, the green column, from top to bottom, will be simple diagonal grid, uneven grid, crosshatch diamonds, simple grid; the red will be simple grid, simple diagonal grid, uneven grid, crosshatch diamonds.

Once these are complete, that leaves just the strips (that are acting as row separators) to quilt. I plan to try adding a couple of rows of these diamond shapes that are in Jacquie Gering’s Walk 2.0 book.
IMG_1051

Tools

I do use a few tools when I quilt, especially with all these straight lines.

Of course, my walking foot is the busiest tool and I could not quilt without it. I like my Janome walking foot as the edge of the foot gives me a natural 1/2″ distance which is the main reason most of my lines are 1/2″.

To check my lines are straight, I regularly (every 5-10 lines) place masking tape (painters tape) down and use it as a guide to make any corrections needed.

My new tool, is the clover chalk pen, which I use for marking. I used it to mark each of the diagonal lines and the 1 x 2″ grid for the crosshatch diamonds. Caution: I use the white and it just rubs off and works well. I tried the yellow and found that it did not work well and required washing and light scrubbing with fingers to get it out.
IMG_1207

As you can see in this last photo, I do bury threads, so next post will be a tutorial on burying threads and tools I have tried and what I use now.

If you want to know something else let me know in the comments and I can add it to a future post or answer it below.