Author Archives: mlwilkie

Unknown's avatar

About mlwilkie

Software Developer, Mother, Wife with keen interest in art, design and crafts of all kinds.

Finished!!!!

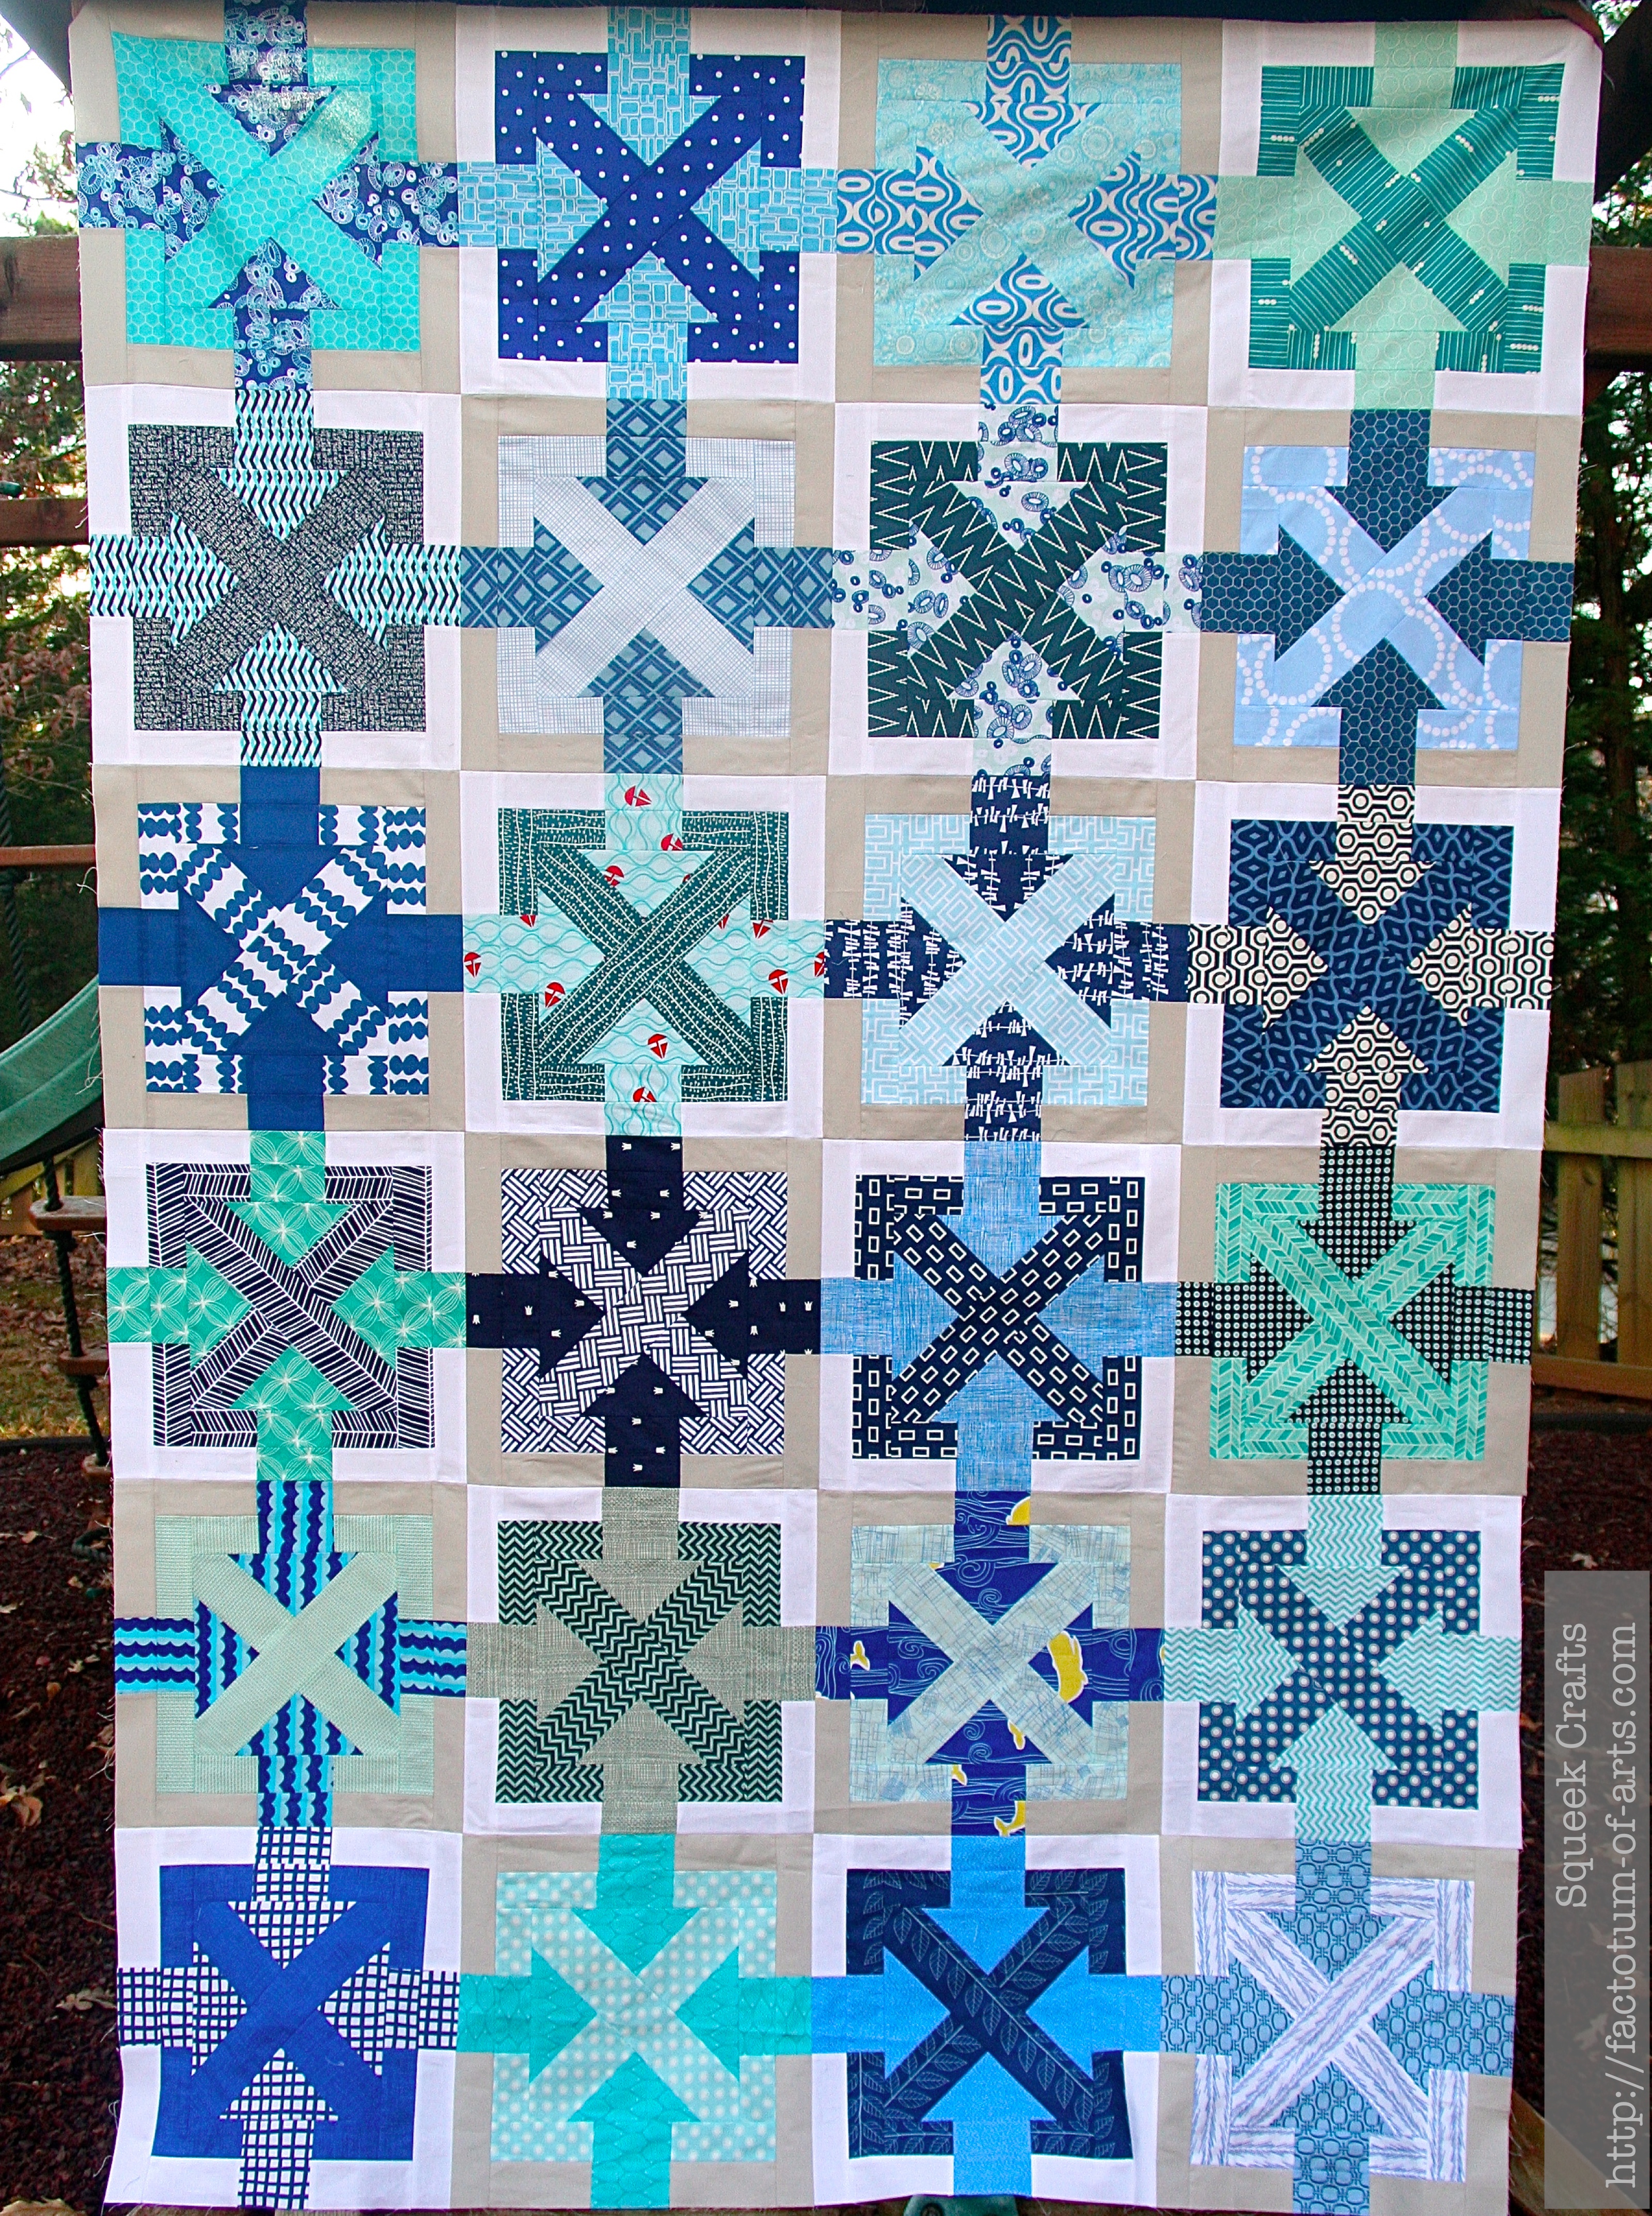
For my November goal in “A Lovely Year of Finishes”, I had set to finish the top of my Push me Pull me quilt. Well, it is 4 pm EST on the 30th November and guess what………….

I have FINISHED!!! Nothing like getting it in at the last-minute. Let’s just go directly to the photos.

Front view, where the hubby is doing a great job holding it up on the playground).
PushmePullme_Front_TopFinish

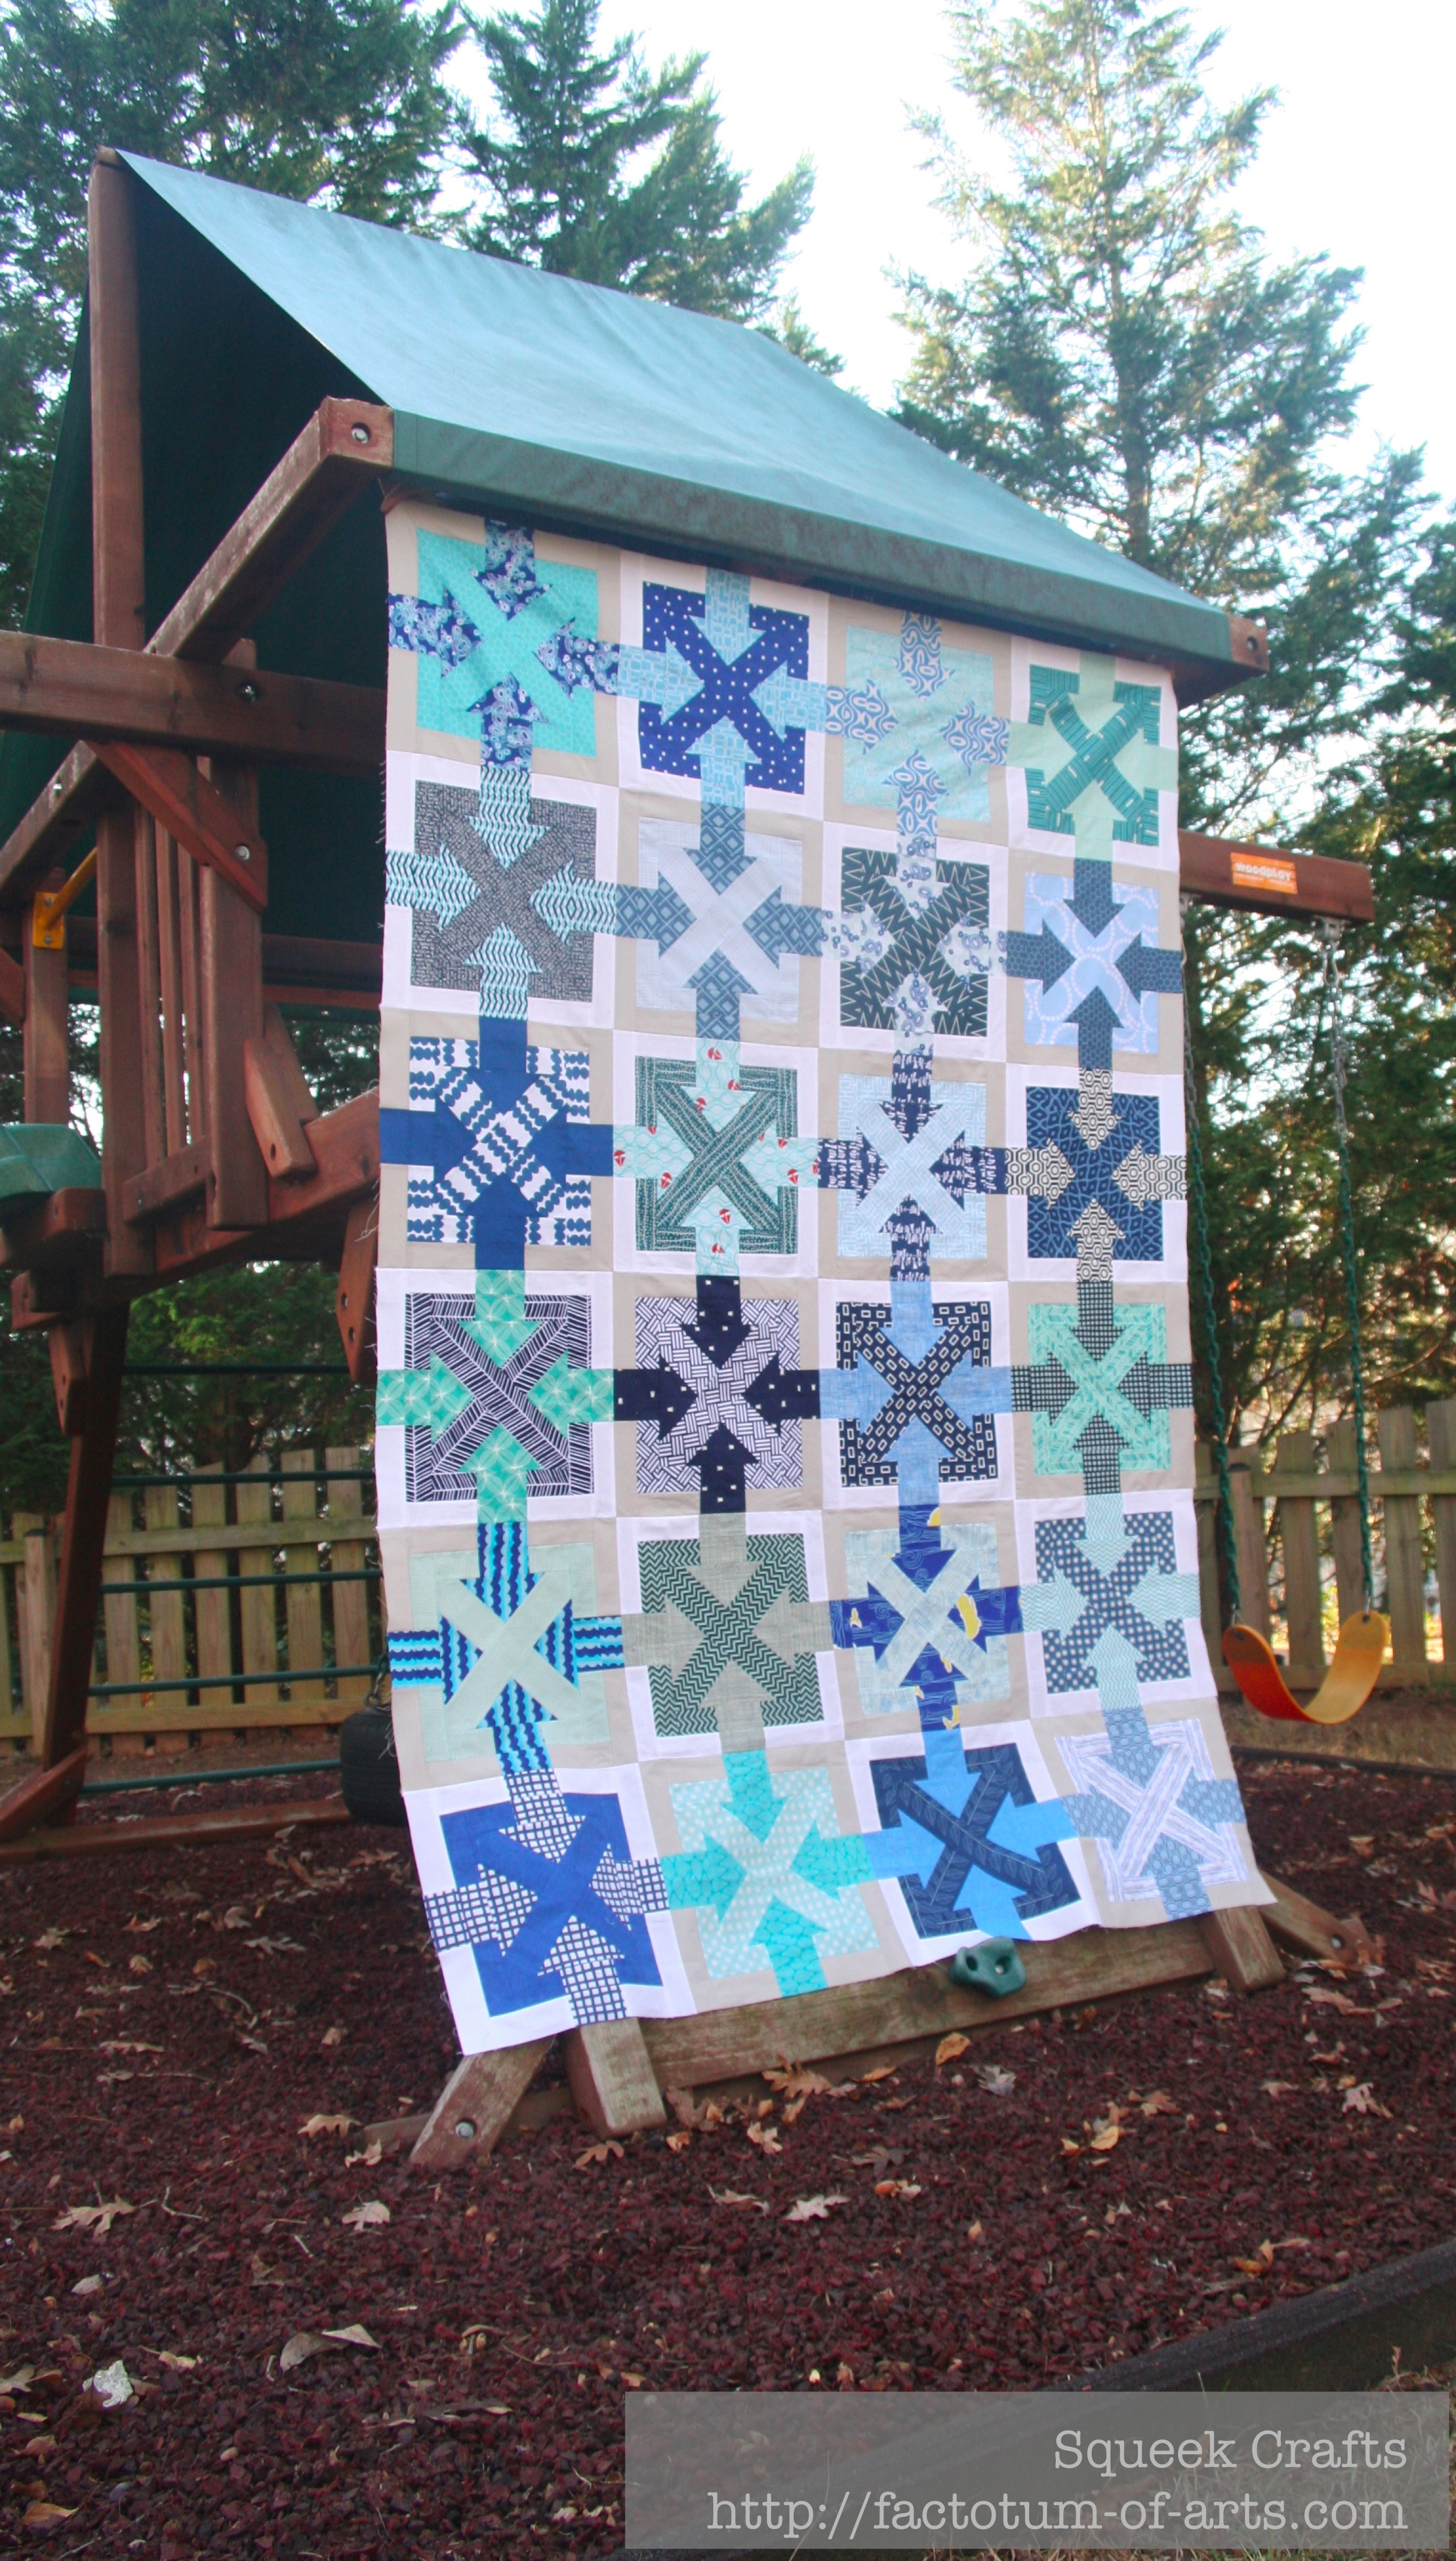
From the left…PushmePullme_LeftSide_TopFinish

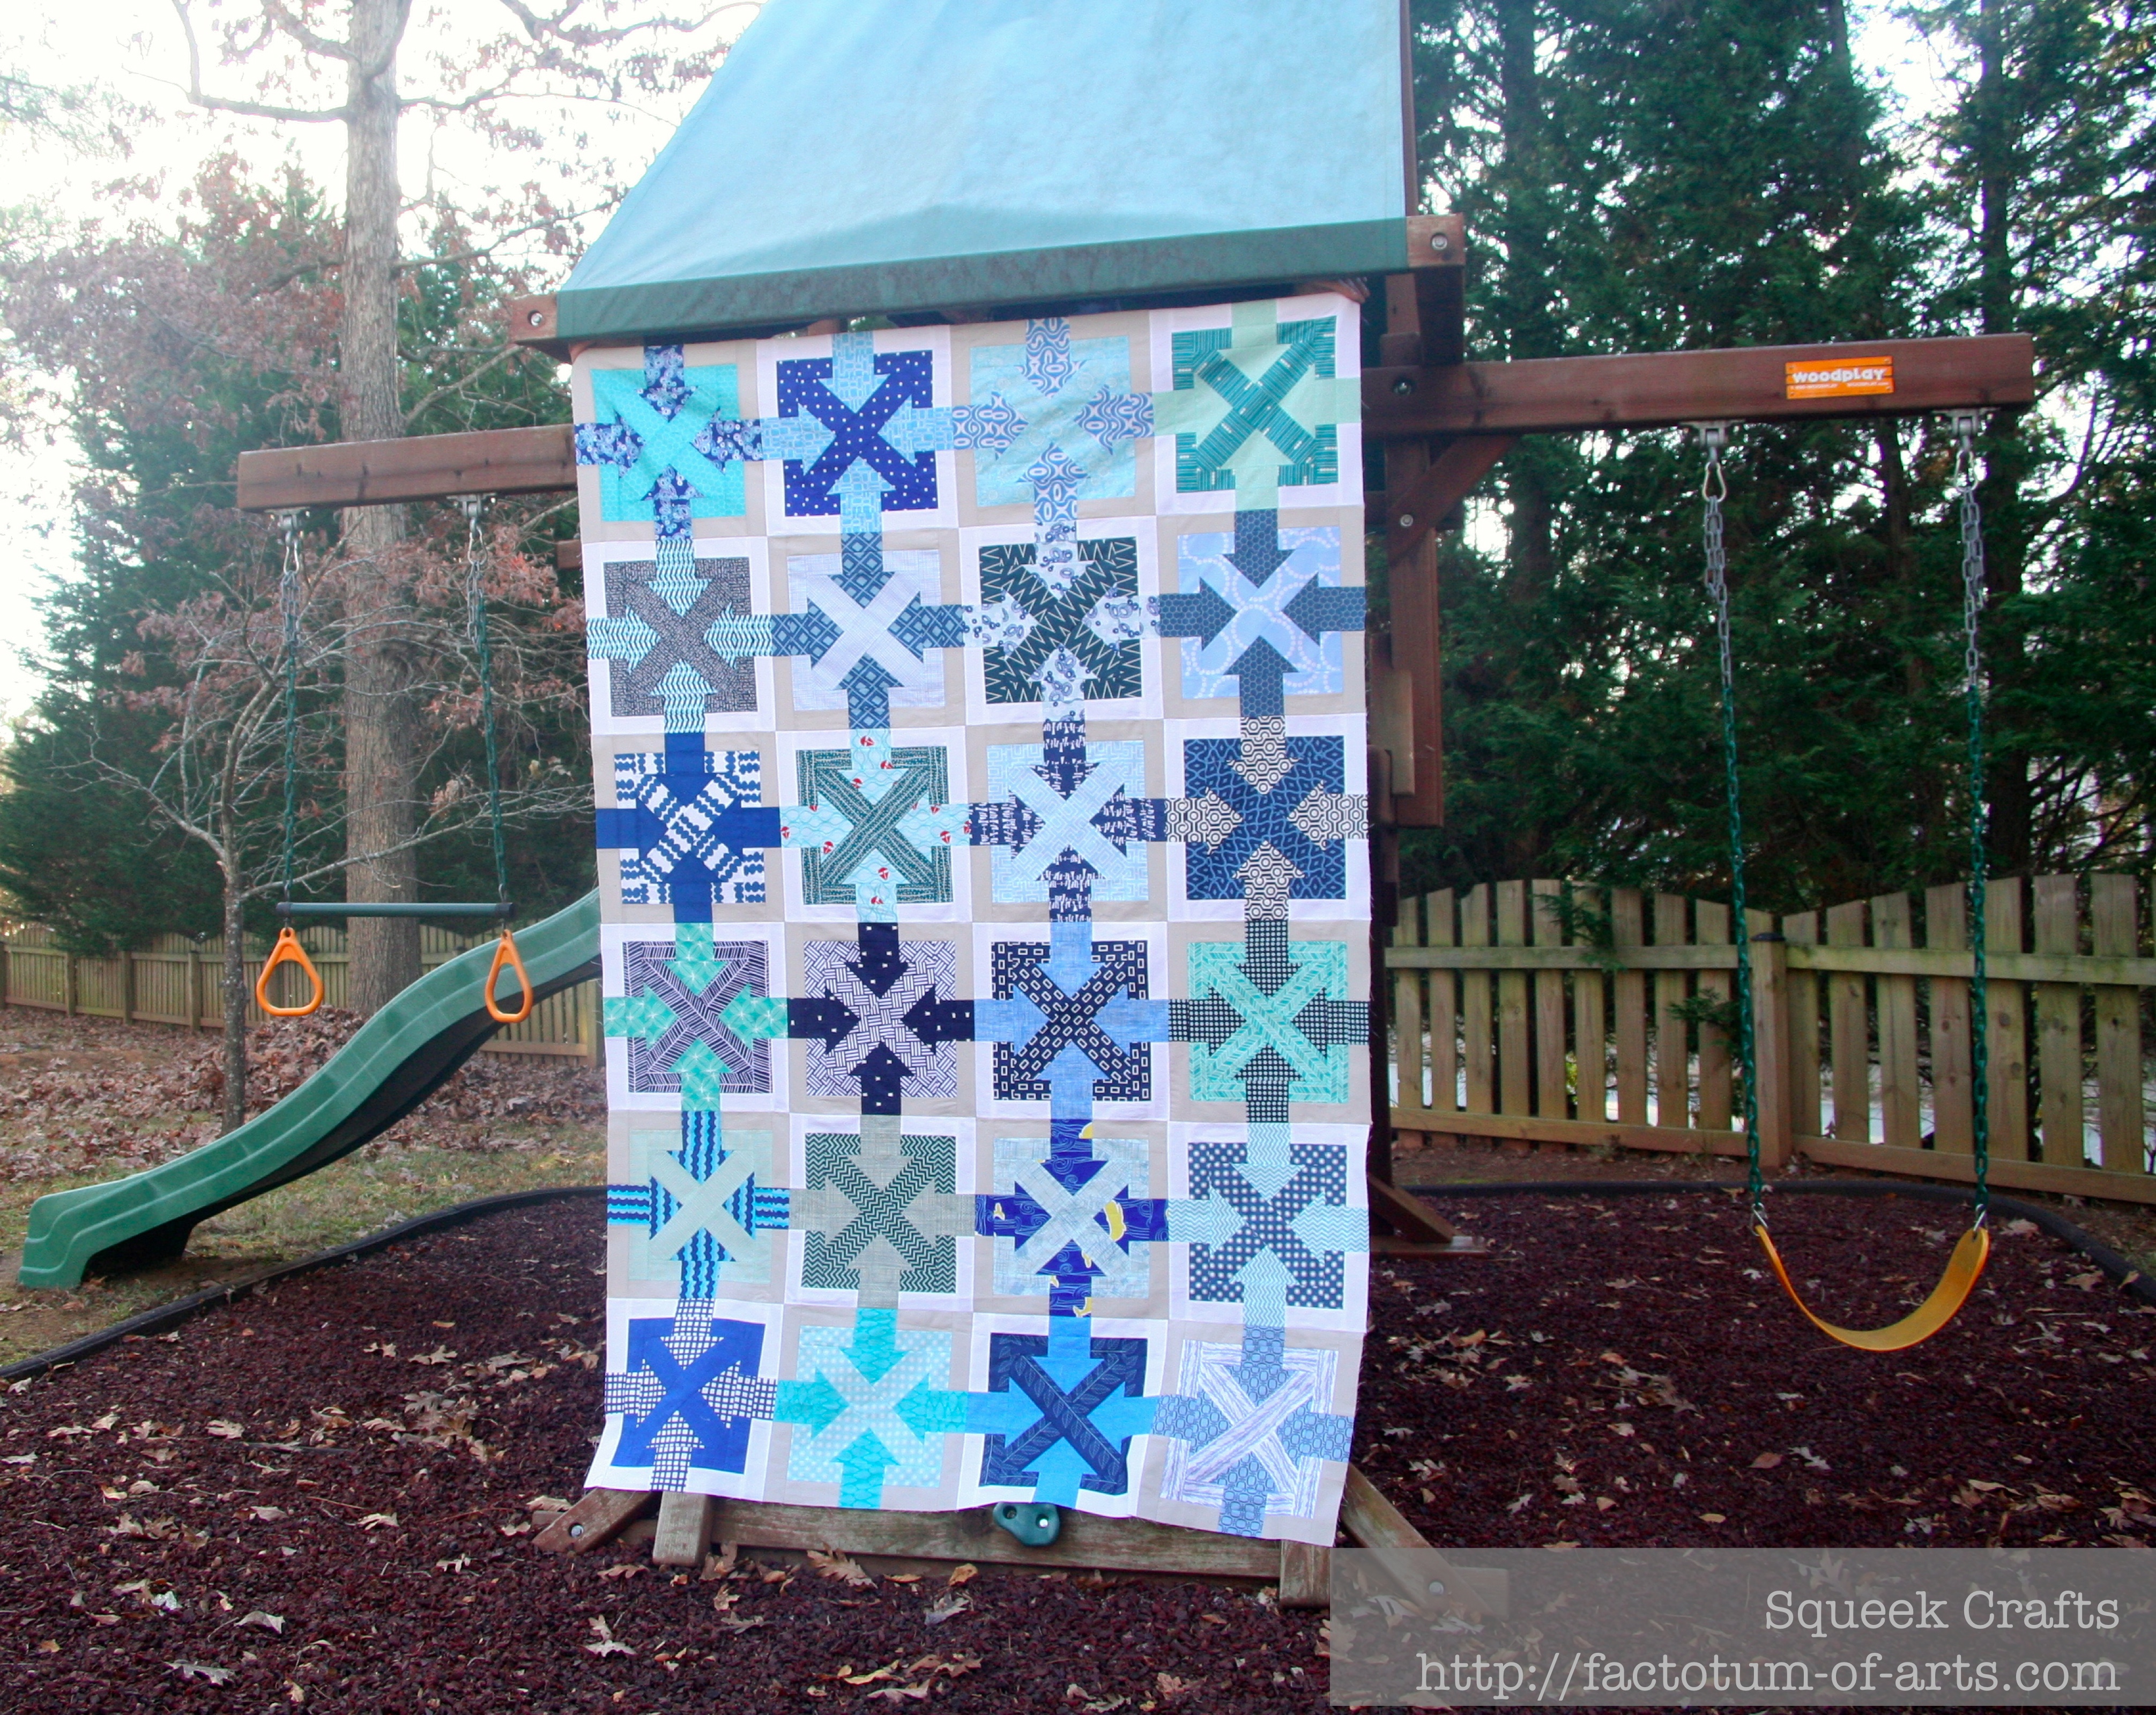
And just to make sure I have all the light angles ;-), from the right.PushmePullme_RightSide_TopFinish

Materials:

  • 48 fat eighths of various blue quilting fabrics (this is one for the fabric addicts out there – how many of you can name them ??? LOL)
  • Sashing – Kona White + Kona Ash

Size:
~ 60 x 90 Inches (Twin Size)

The block pattern is on sale through next weekend. It can be found in my craftsy store (check out the menu item on the left) or my Etsy store. Hope you are all having a great Thanksgiving weekend.

For completing my goal, I will be linking up with:

My Button

Tutorial: iPhone/iPad Stand

As promised here is the Tutorial to make a iPhone/iPad (or other electronic device) stand I posted last week.

iPhone Stand

Materials:

  • Fabric 12″ x 9″
  • Cotton
  • 2-3 cups of rice
  • Pellon Ultra Firm 1 1/4″ x 5 3/4″
  • Polyester Fill
  1. Start with a piece of fabric that is 12″ x 9″. Fold in 1/2 and press (6″ x 9″  size once folded)Tutorial_Size
  2. Sew a 1/4 inch seam at the top, with a 1 – 1 1/2 ” gap, and the side of the folded fabric (refer to black lines).
    Tutorial_sew_sides
  3. Fold the fabric so that the side seam is now in the middle at the back. The top will form triangles. I press the seam open for a flat appearance later.Sew along the bottom to form a 1/4 inch seam leaving a 1 – 11/2 inch gap (refer to black lines).
    Tutorial_SewFront
  4. Through one of the holes, feed the fabric through to invert fabric to show right side. Use a chop stick (or other device to ensure the corners are turned completely.
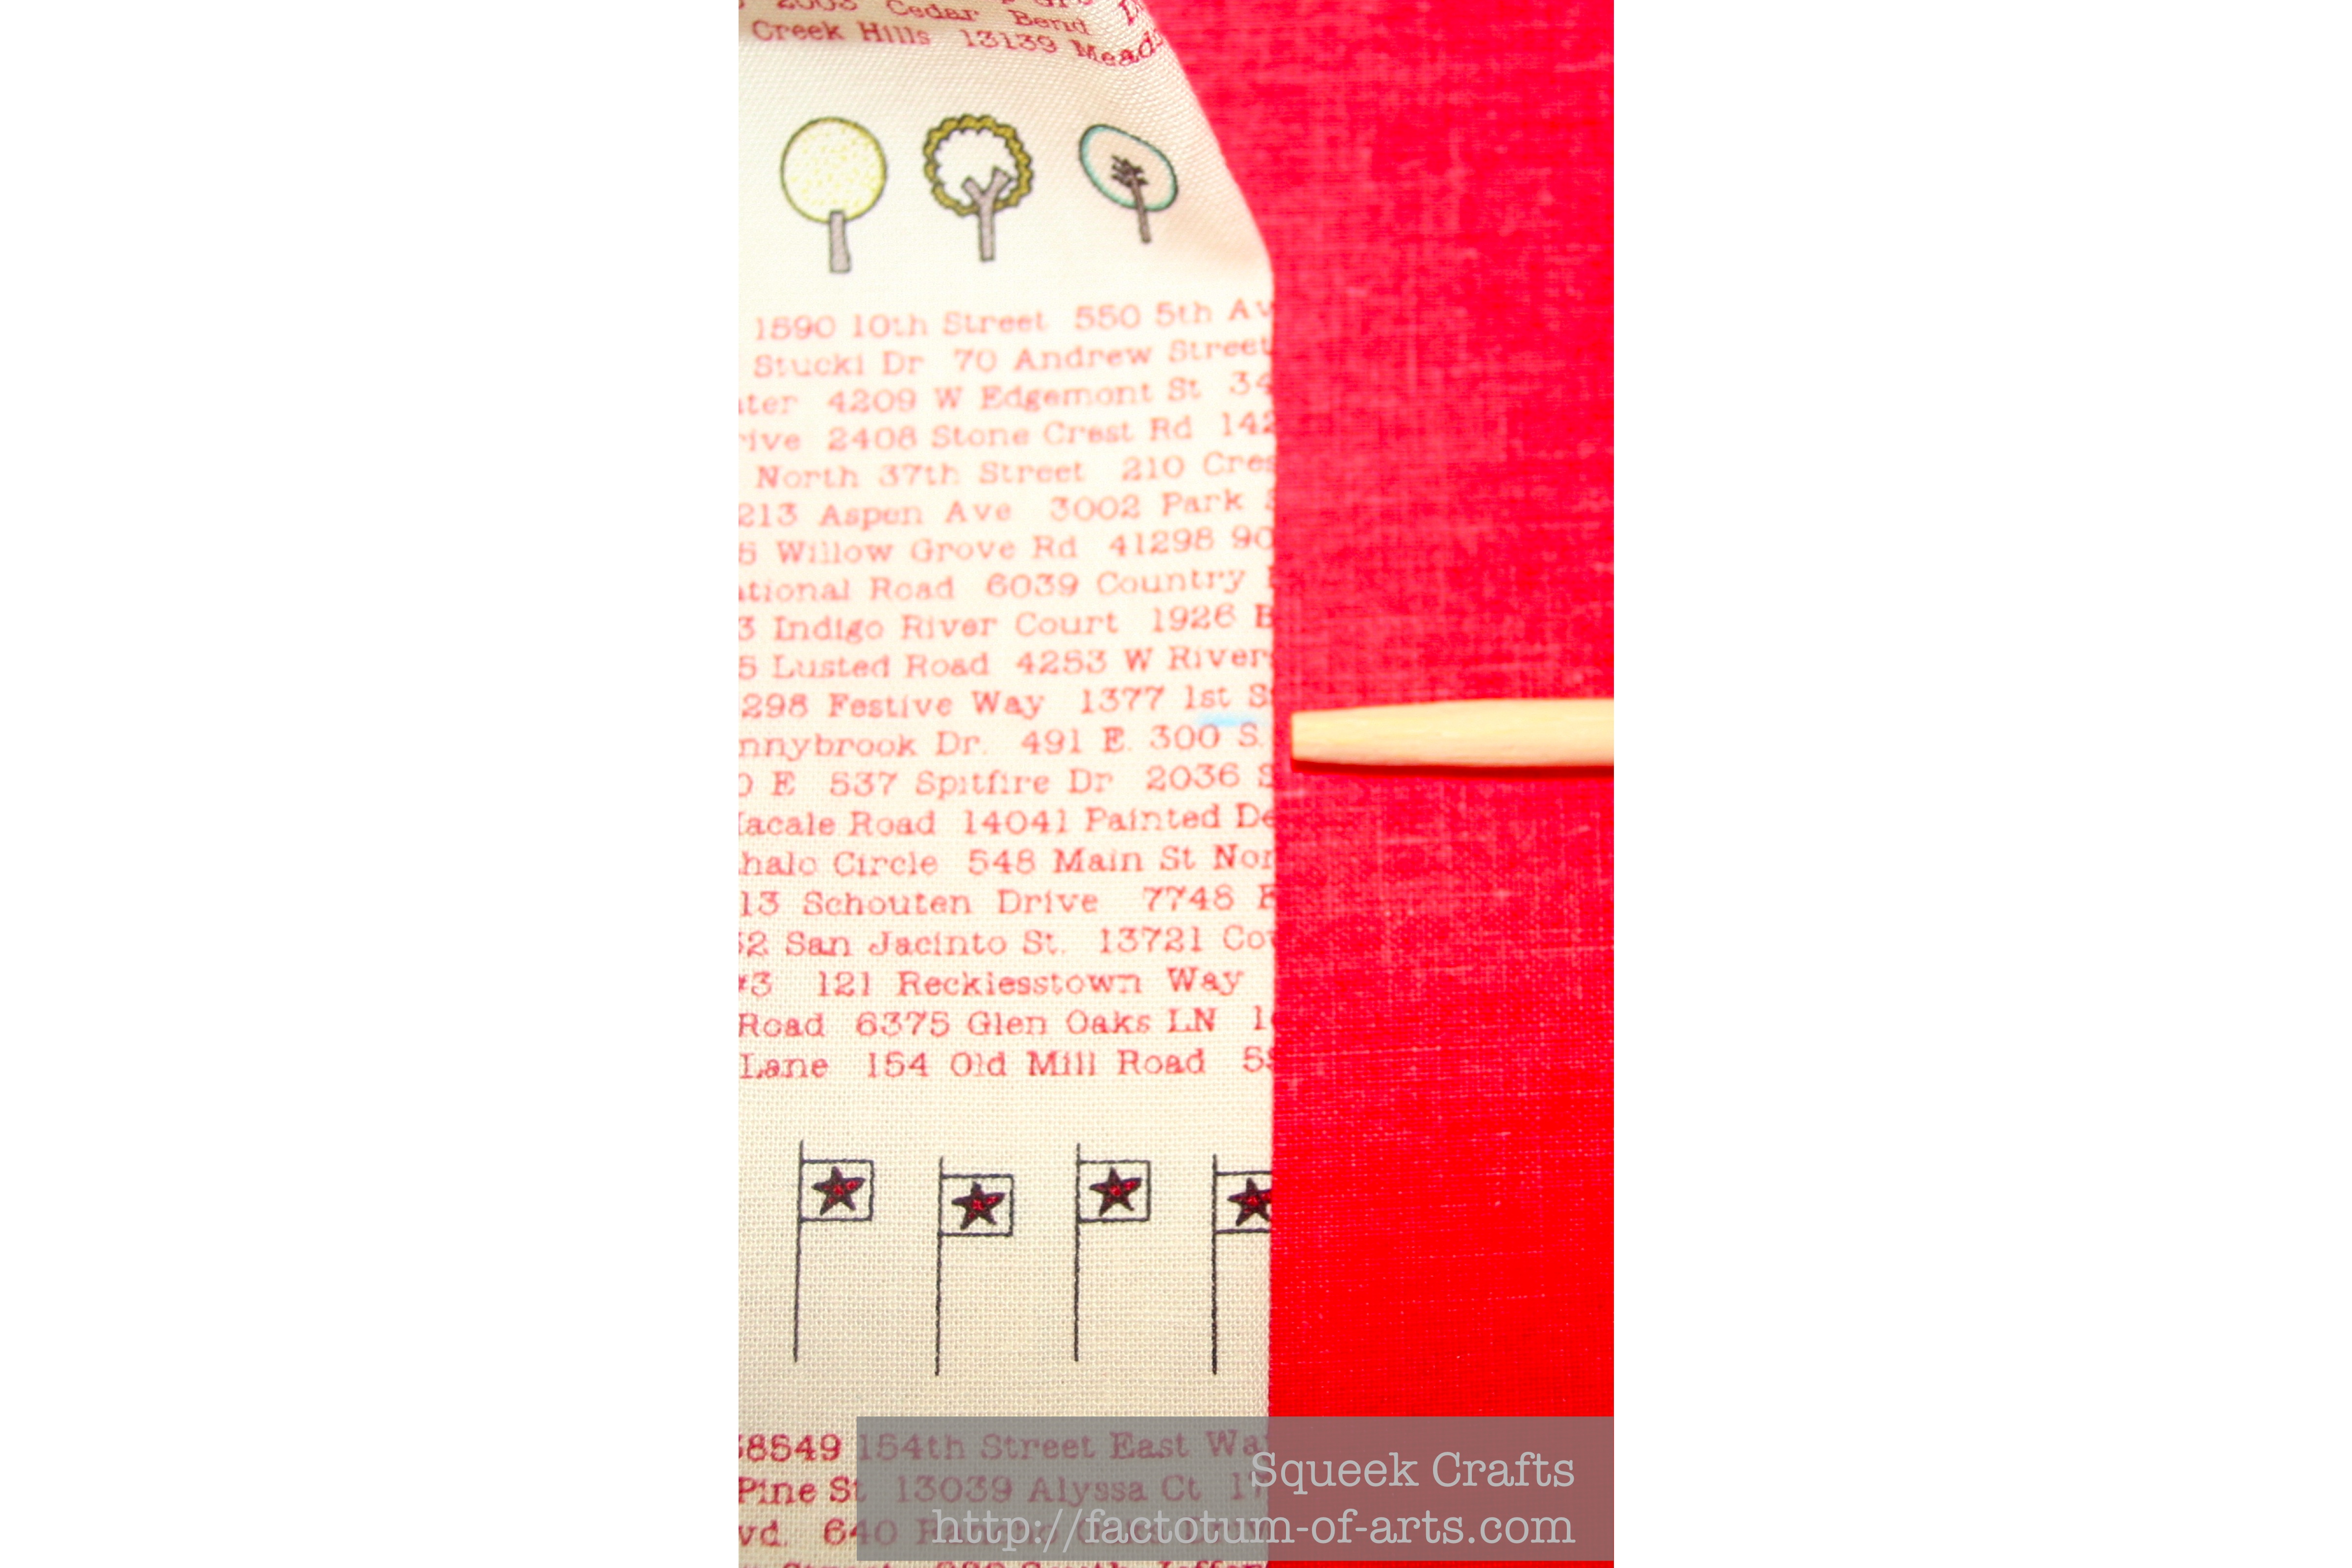
  5. Measure 3 inches from the bottom seam. Mark with chalk on each side (refer to where the chop stick is pointing). This will be the mark you will use to place the Pellon Ultra Firm Strip.
    Tutorial_MarkforUltraFirm
  6. Feed the Pellon Ultra Firm through the whole at the bottom.
    Tutorial_addUltraFirm
  7. Move The Ultra Firm Strip into position with the top aligned with the chalk marks. Pin strip. Sew a border around the strip to ensure it remains in place (refer to black lines).
    Tutorial_SewUltraFirm
  8. Through the hole at the bottom, stuff with polyester filling until fill.
    Tutorial_StuffingFront
  9. Hand sew the bottom hole closed. I use a slip stitch to close my openings.
    Tutorial_StitchFront
  10. For the main pillow, fill with rice. I use a Wilson piping bag to aid in adding the rice through the hole. NOTE: The rice will add a nice weight to the stand to make sure it will support the relevant electronic device.
    Tutorial_RiceFilling
  11. Fill as far as you can, approx. 3/4, or more, fill. You will have room at the top.
    Tutorial_RiceFinished
  12. Fill the rest of the space with the polyester filling.
    Tutorial_FinalStuffing
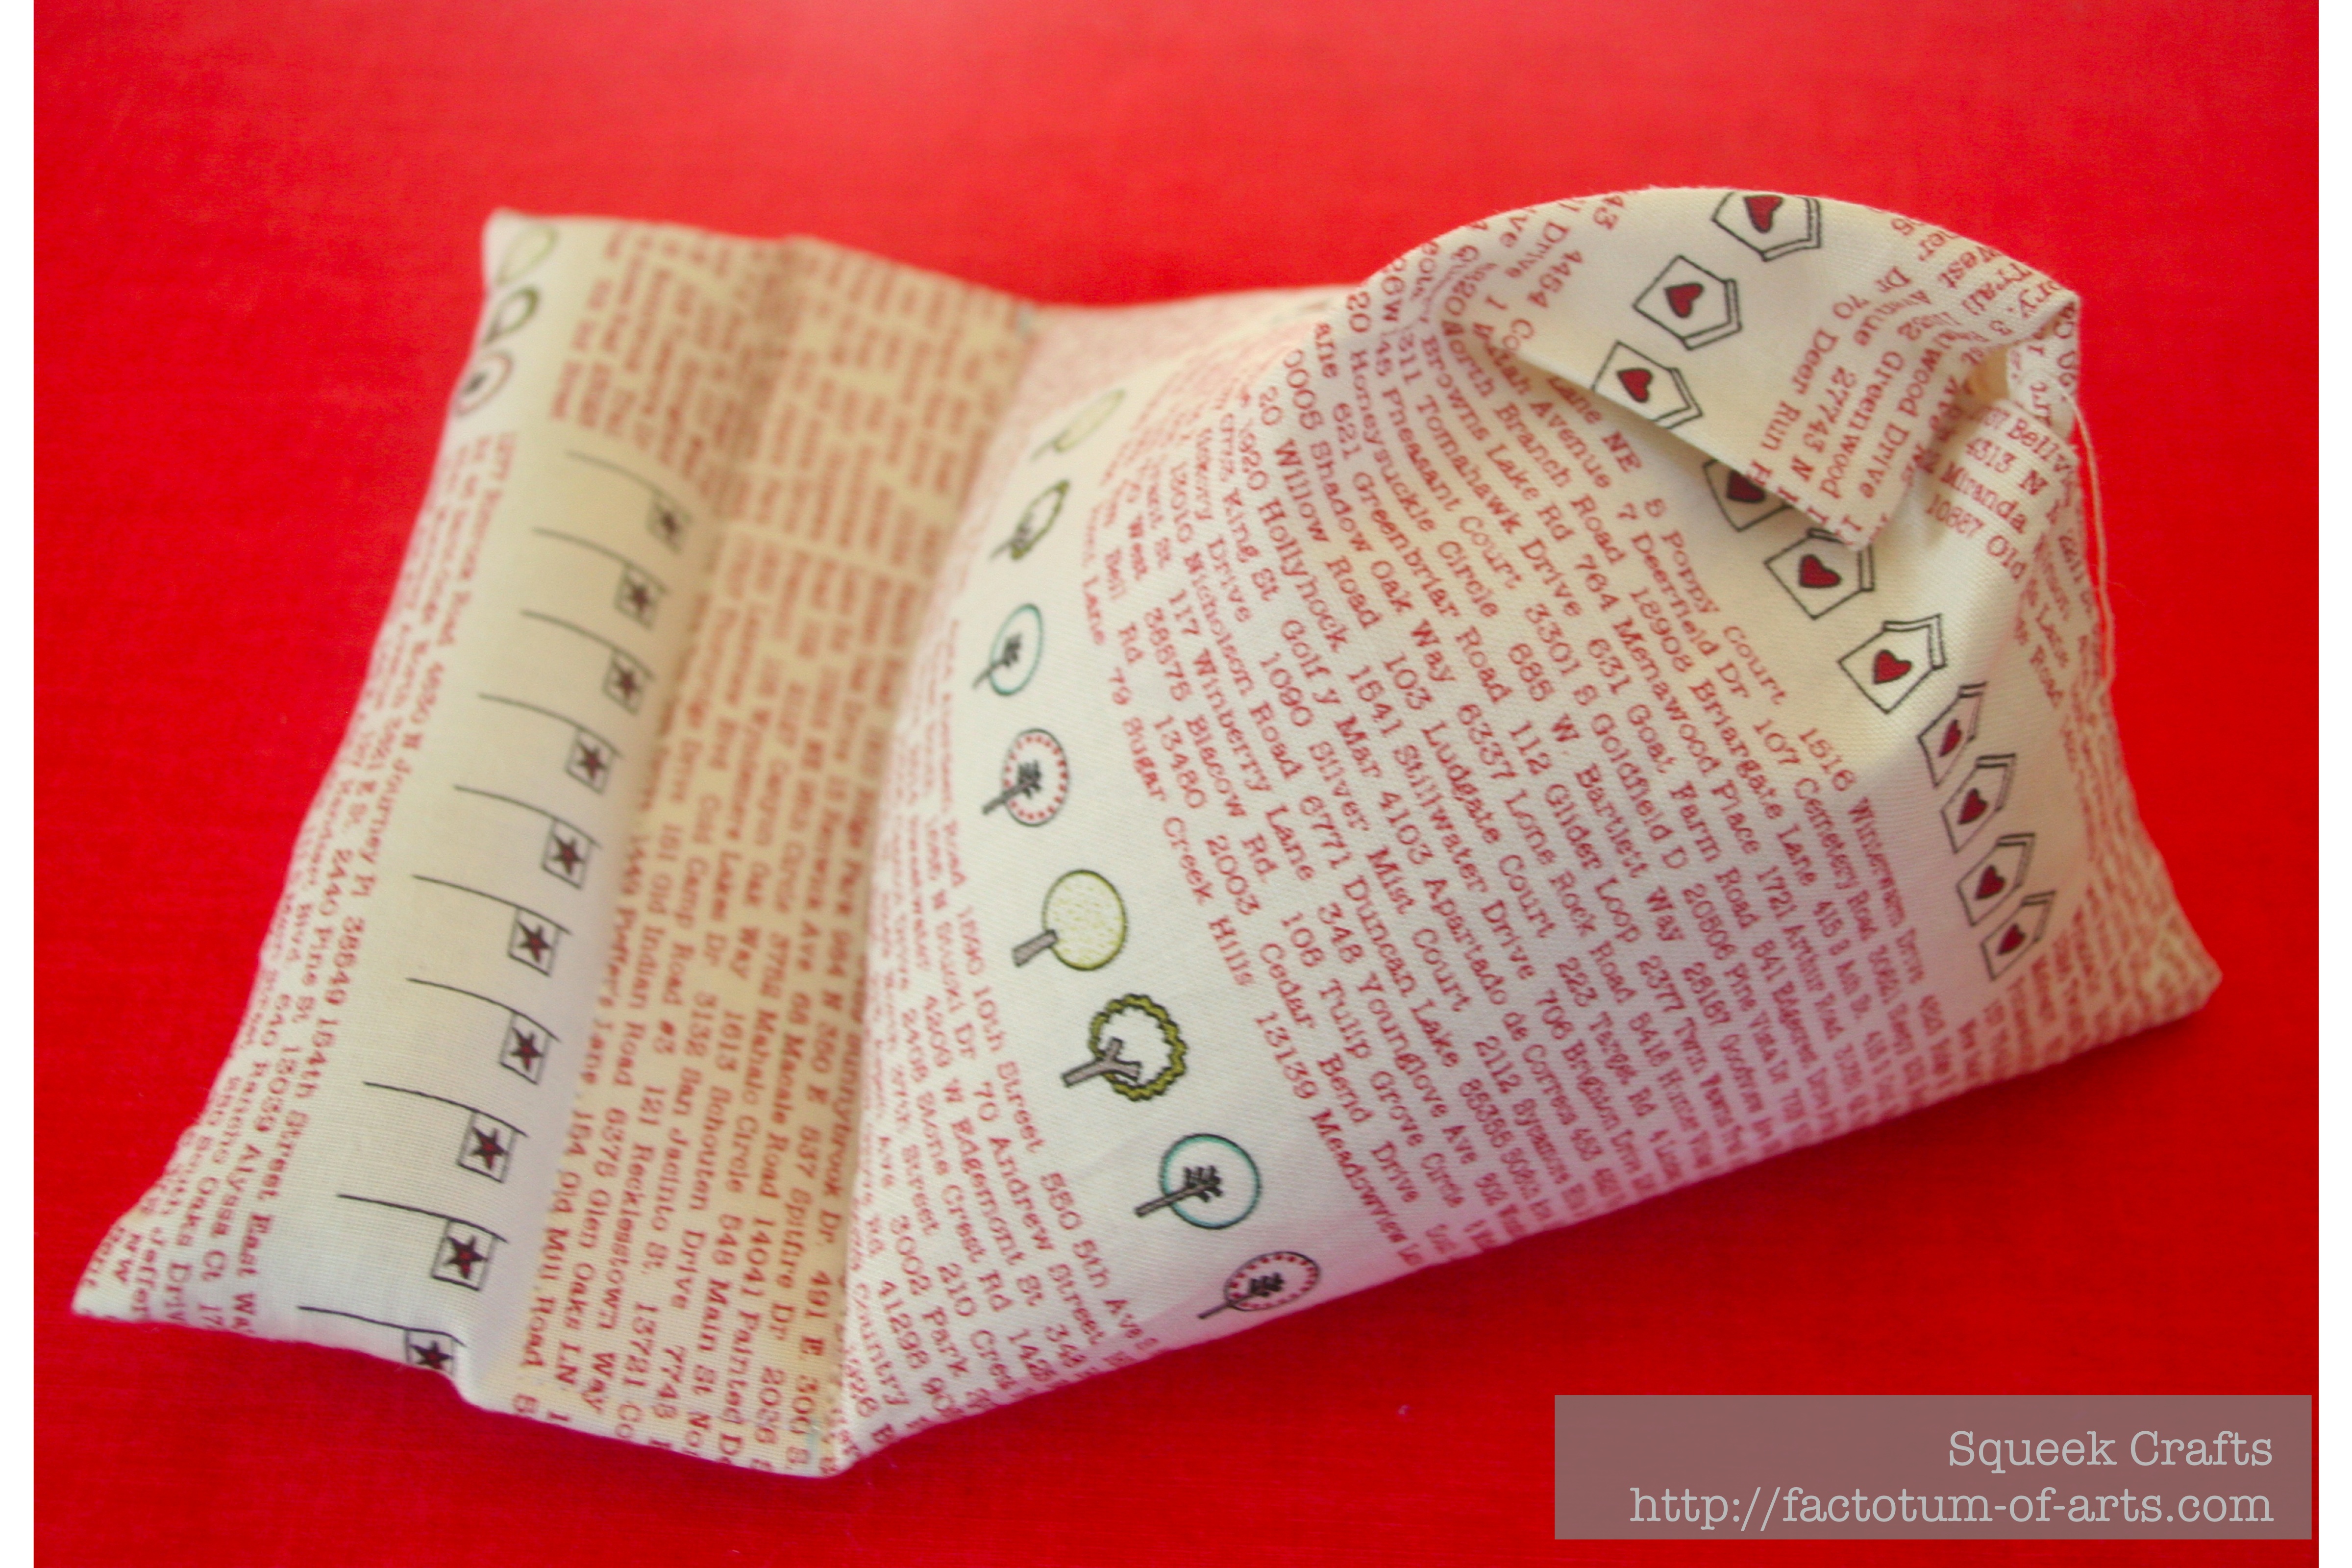
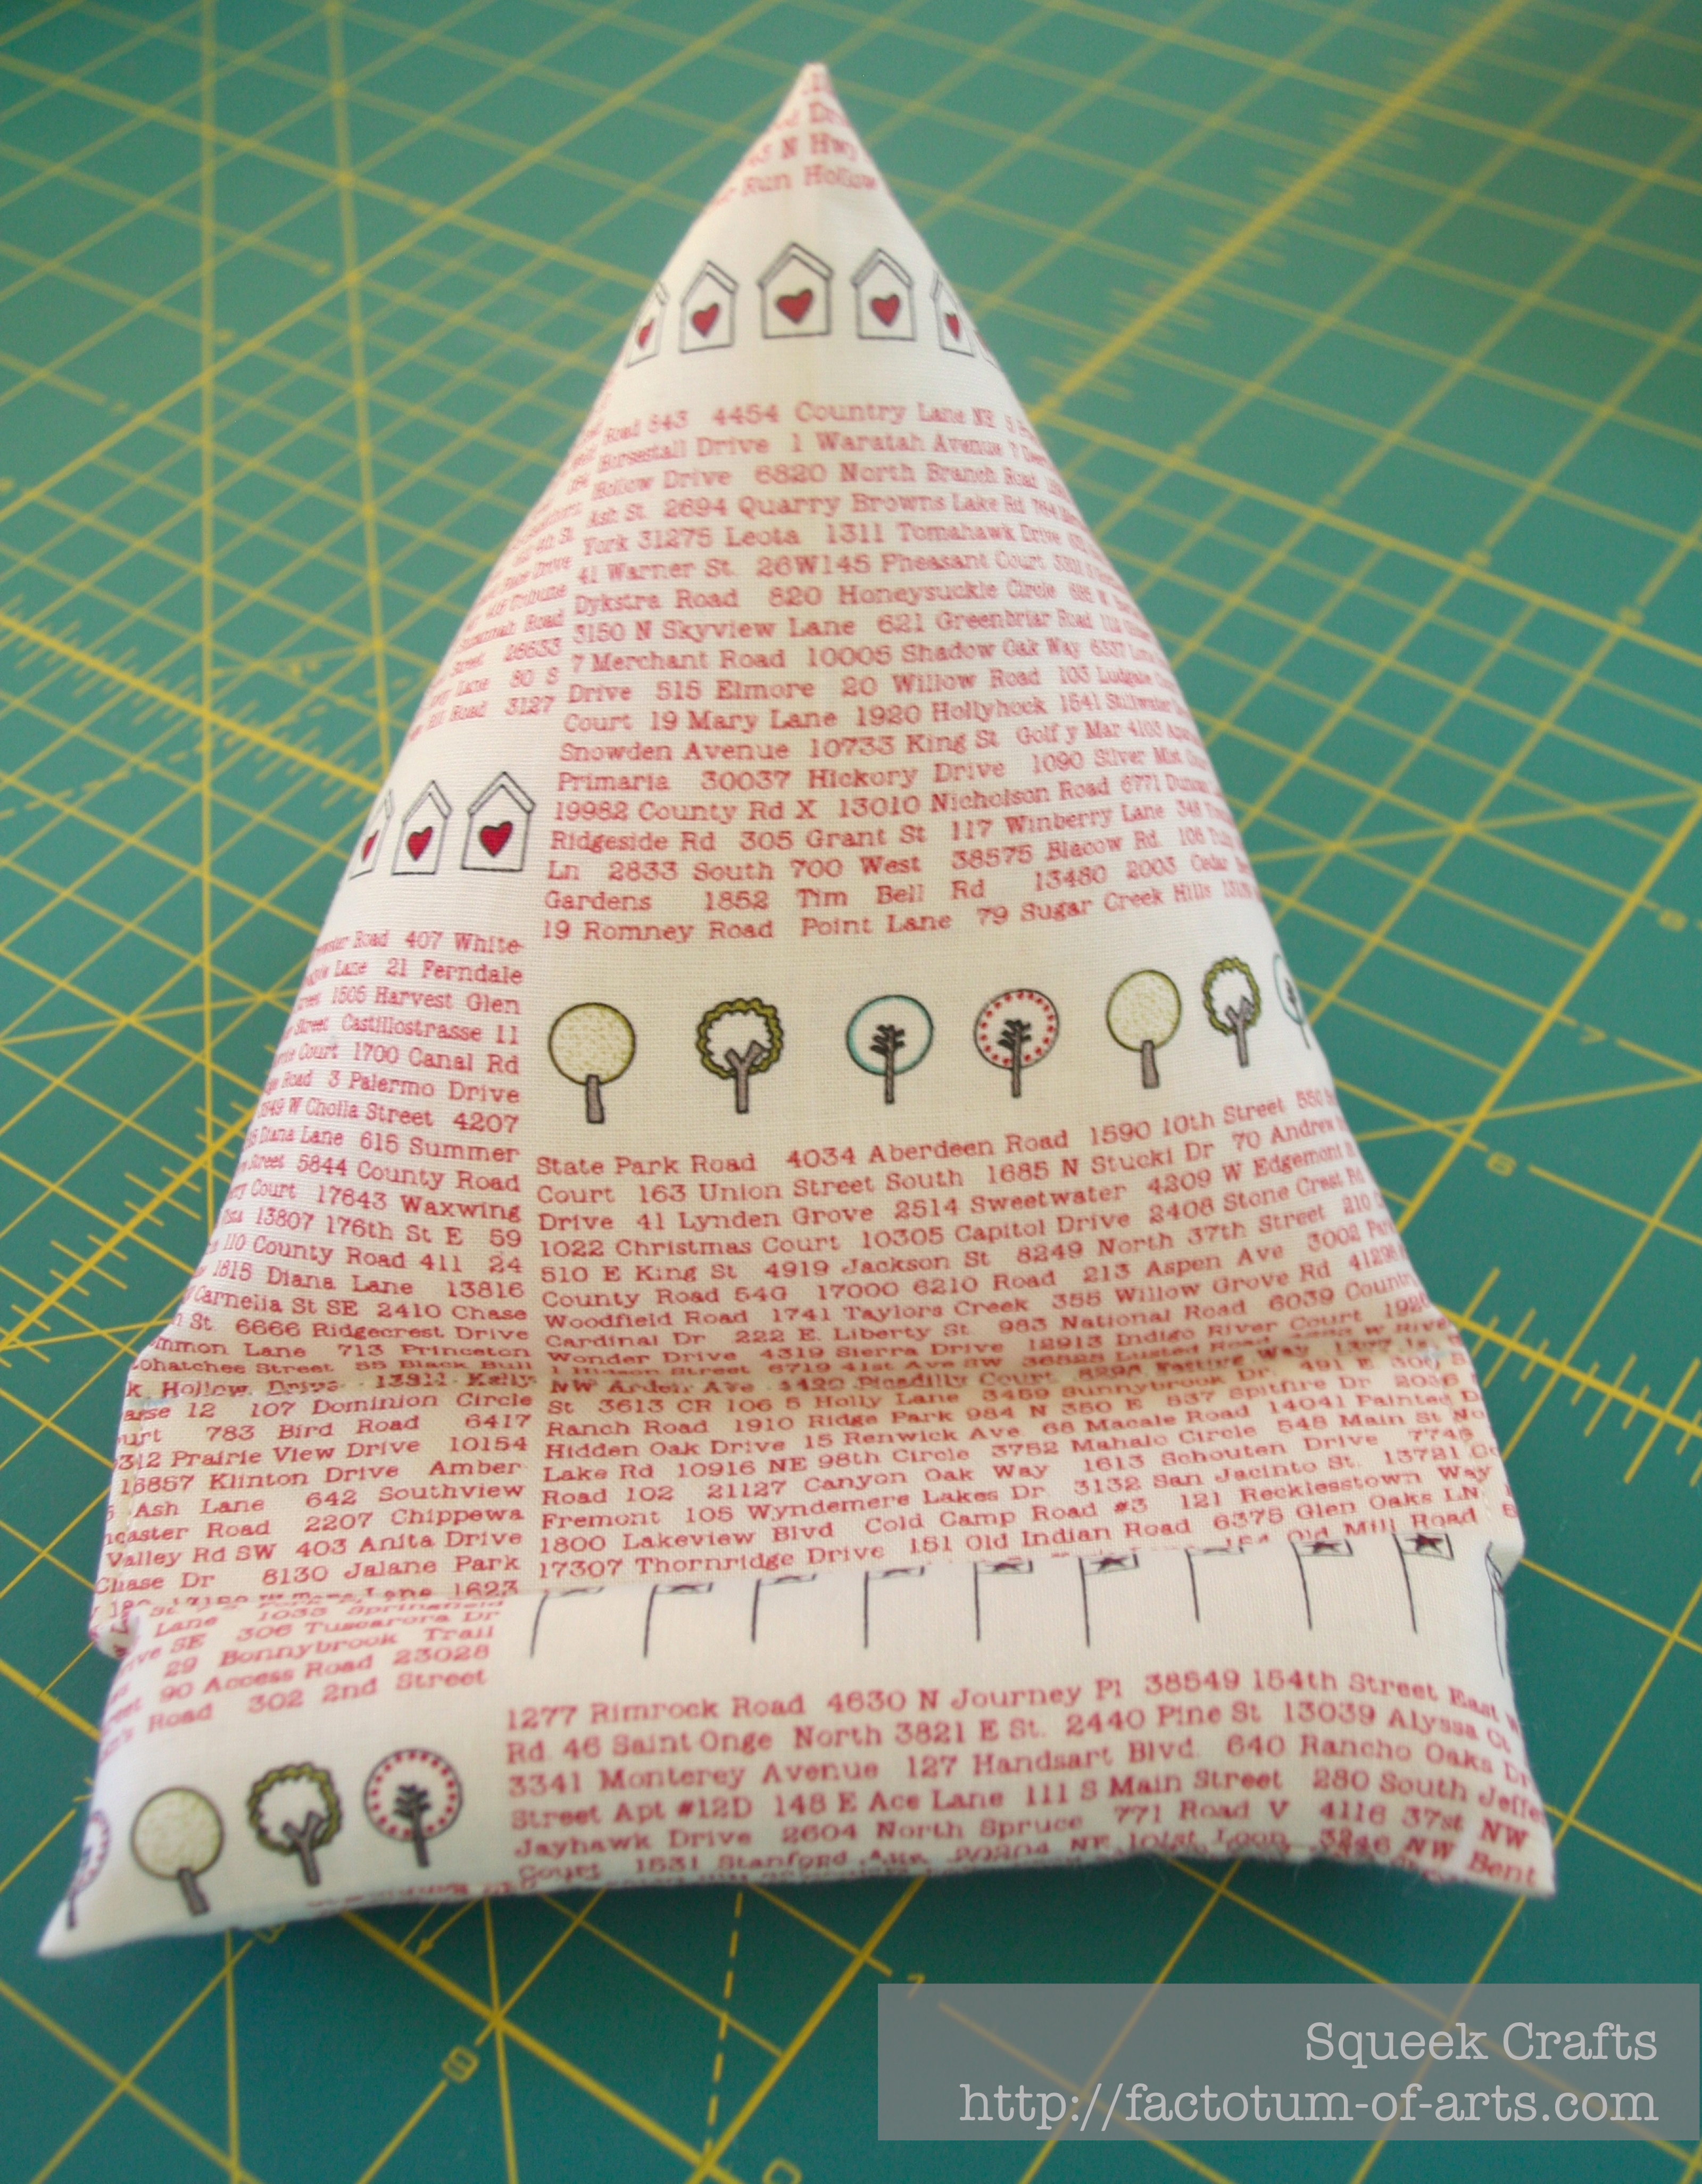
  13. Hand stitch top opening close.  You now have a complete electronic stand.
    Tutorial_FinishTutorial_FinishSide

My friends are loving these, so I hope your friends do to (or whoever you are gifting it to). If you have any questions or feedback let me know, leave a comment.

Update: I have had several people ask if they can use this also for an iPad. As mentioned in the title, we do use it for an iPad, which is usually used for Netflix/Videos. This means we typically have it in a horizontal position.
iPadStand
I would agree that this size stand would not work for an iPad if you were wanting to use vertically. I have not provided the measurements, if this is what you would like it for.

This tutorial is for personal use only.

Linking up with Amanda Jean @ Crazy Mom Quilts for Finish it up Friday.

Book Review Tuesday: Brave New Quilts

The first book review was successful. Thank you to all who commented and stopped by. This is so much fun, reading the books I bought and actually trying projects from the book. That alone is fantastic, otherwise they may have just gathered dust.

I am structuring these posts with a review section, project section and of course the give-away at the end :-). On to this week’s review….

Review
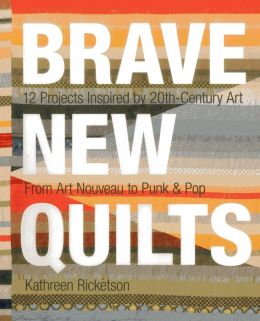
9781607057192_p0_v2_s260x420

Title: “Brave New Quilts” – 12 Projects Inspired by 20th-Century Art
Author: Kathreen Ricketson
Publisher: C&T Publishing/Stash Books
ISBN:  978-1-60705-719-2

I enjoyed this book, as it bought my two “art” worlds together – quilting and fine arts. The book covers each of the major art movements within the Chapters well, providing good descriptions of key techniques. These techniques were then tied to the focus quilting project. This made the book very unique.

This book provides an essential guide to quilt designing, which is seldom covered in the other books I have read. The introduction covers how to drive your idea to reality with color choices, fabric choices, the need for concept books, mood boards, design boards and design tools. This section was my favorite part of the book and resonated with me.

Each Chapter has 3 projects that focuses on lines, color, motifs and text. I have a few favorite designs that stood out to me in the book.

  • Use of Lines
    • Weave (a Bauhaus project) – is definitely my favorite project in this book. The simplicity is fantastic and could be used as a back or front of a quilt. NOTE: this is the quilt featured on the front cover.
    • Rhythm (An Art Deco/Cubist project) – The possibilities with this quilt is endless. I used this as my featured project below.
  • Use of Color
    • Sublime Triangle (An Abstract Expressionism project) – This project resonated as its more about color and playing with color design to make the quilt stand out.
  • Use of Motif
    • Seedpod (Midcentury Modern Project) – I loved the use of negative space, the color combinations and how the motif was used in this quilt. I will definitely be adding this as a quilt to make in future.
  • Use of Text
    • I liked the overall idea of the quilts but I would eliminate the use of text.

Each project has great design details, such as color choices to get an alternate aesthetic.

The drawback for this book was the appeal of the projects (4 out of 12). I would have liked to be more drawn in by the projects.

My rating out of 5 is:
images-9 images-8images-7

Project

The project I chose for this review was “Rhythm”. I was inspired by 3 things:

  1. The mix of art deco and cubism techniques in this project.
  2. The new Kona colors – I used a mix of the Summer Skinny Stripes and yardage
    KonaSkinnySummerRoll
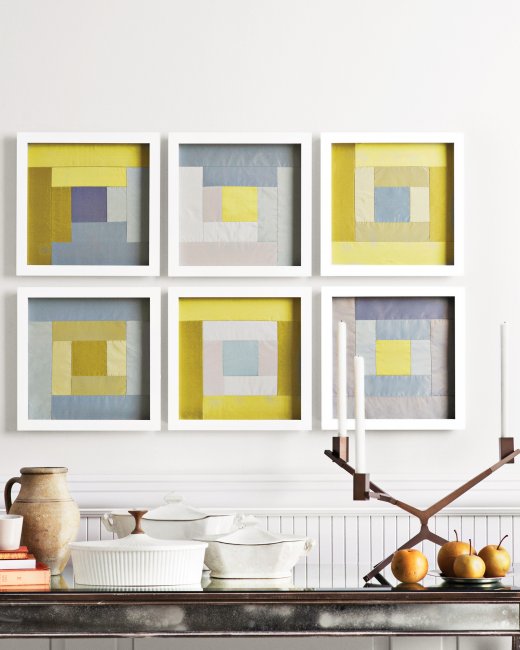
  3. Martha Stewart Project: Framed Quilt Squaresmd106711_0111_frames_v2_036_vert

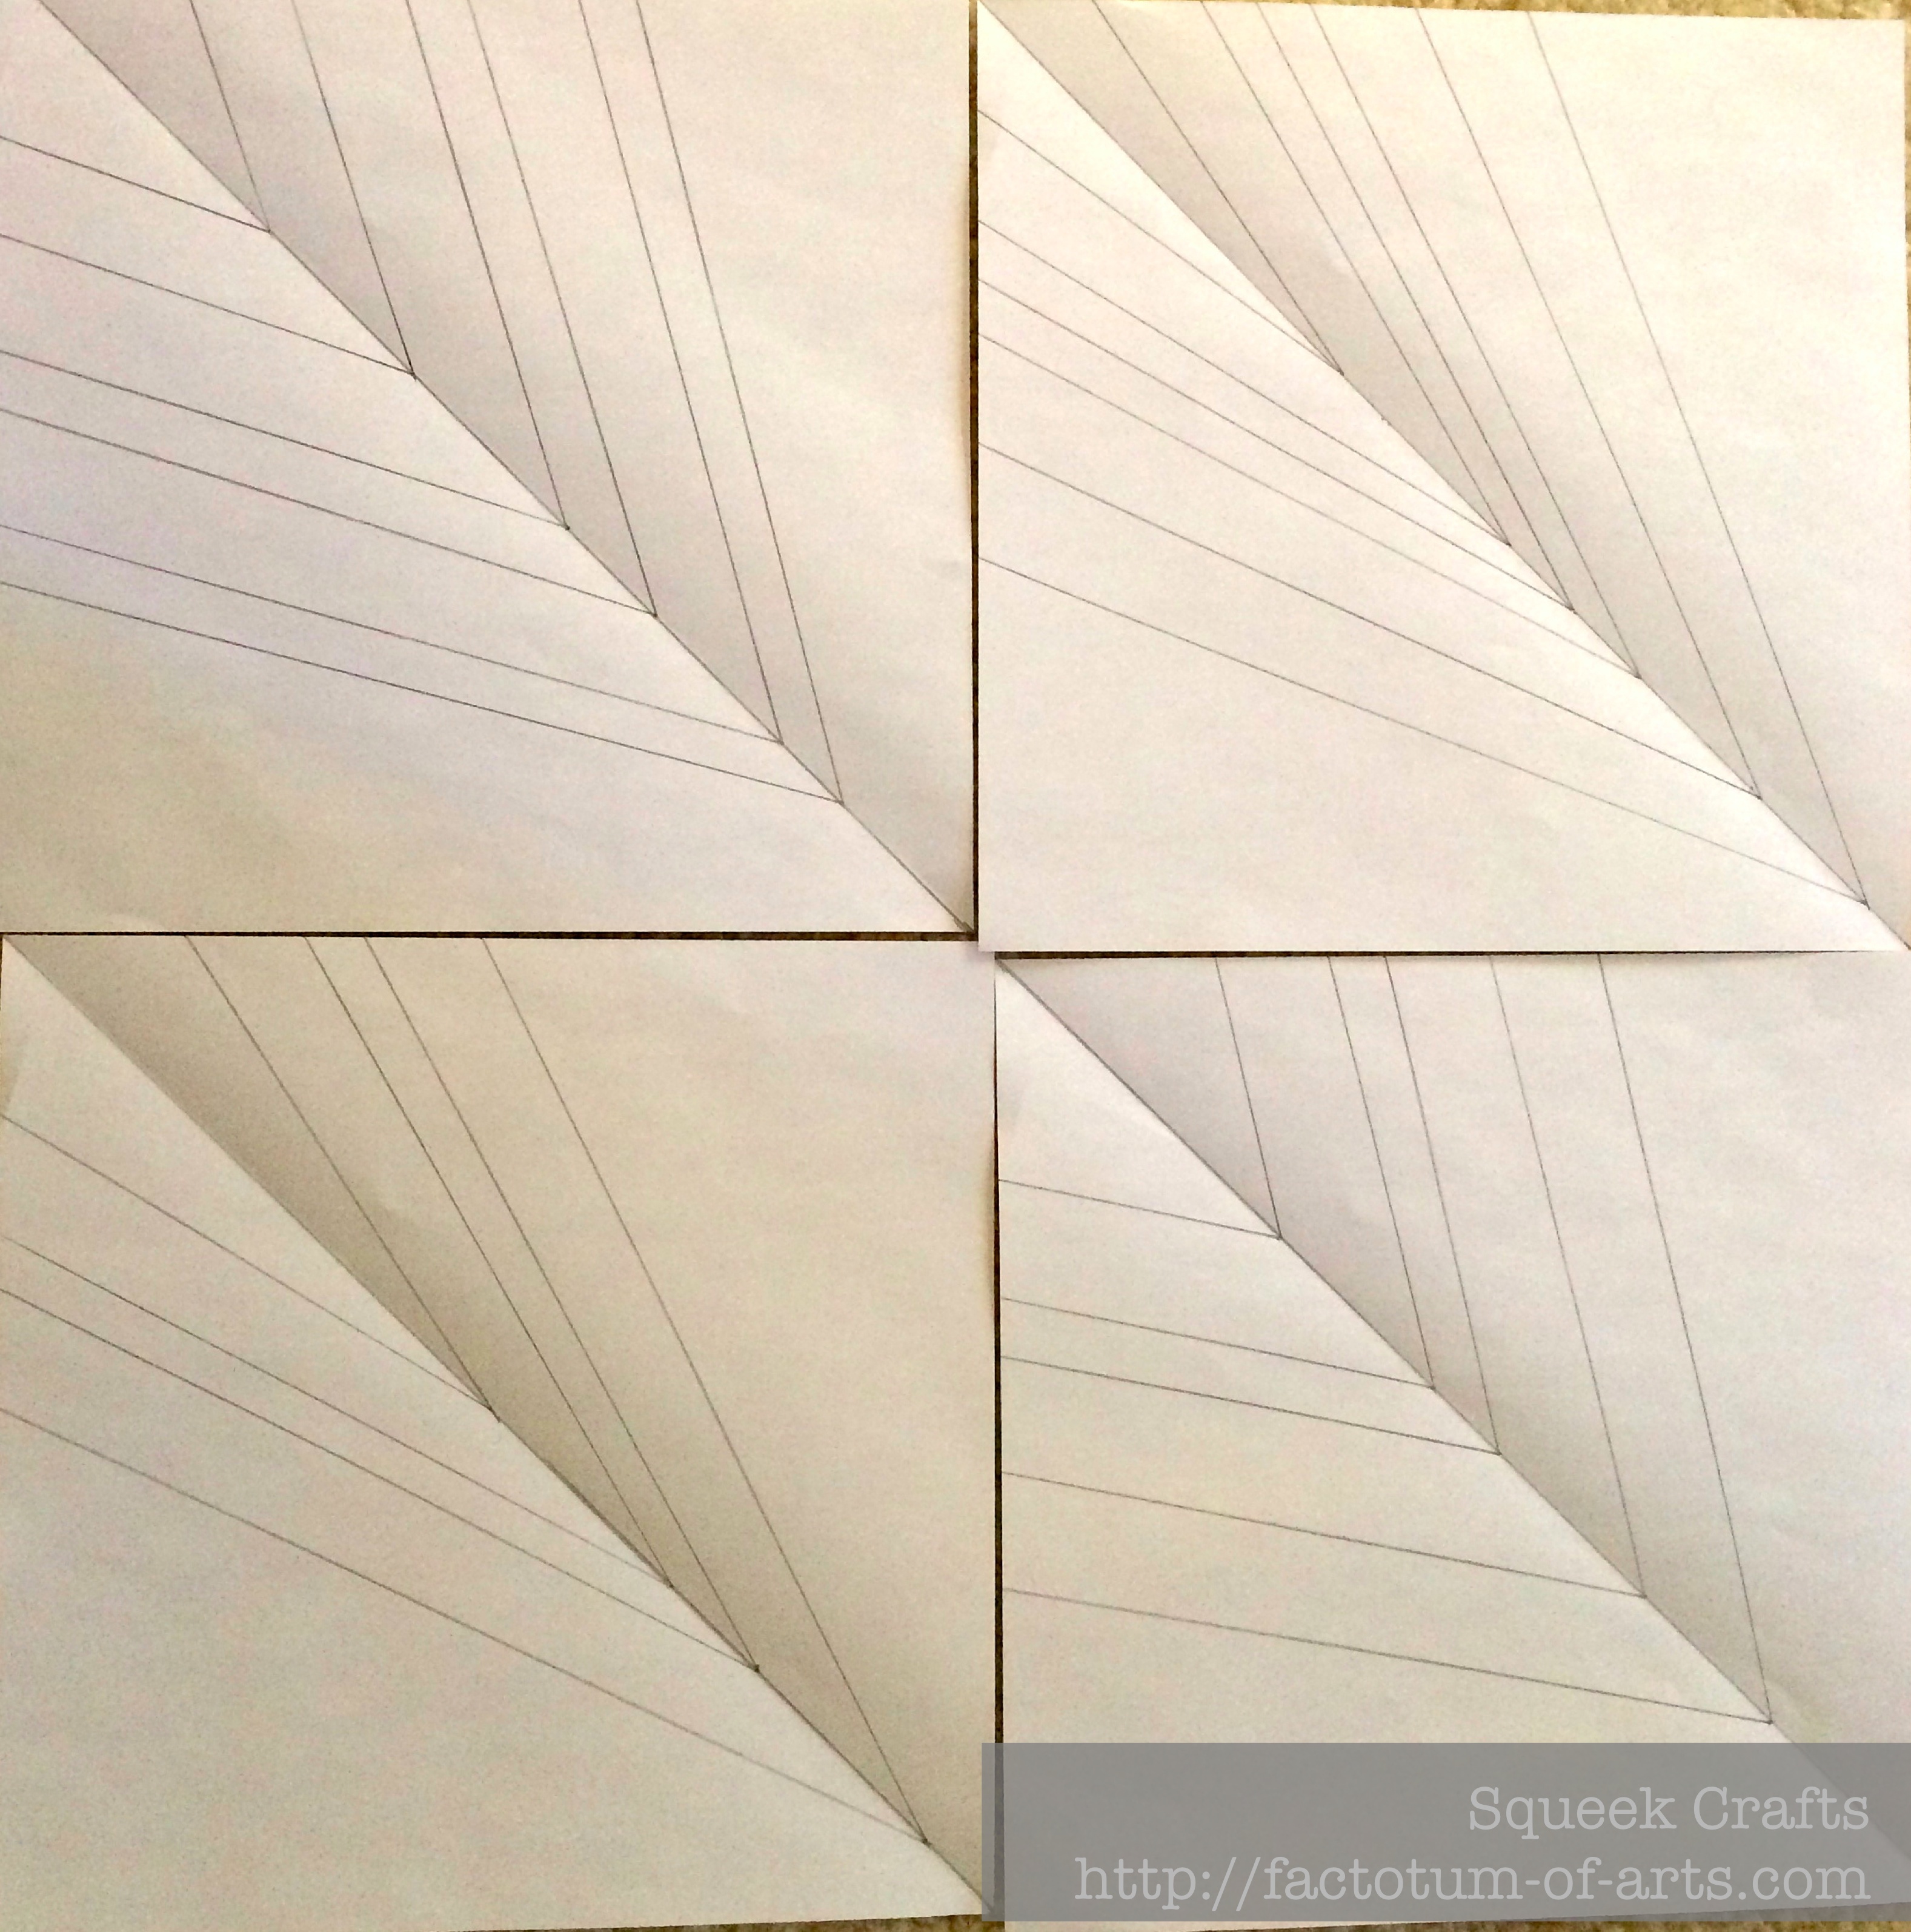
The design suggests using a paper guide for triangular lined block. Each line of fabric is added using improvisational techniques, which typically I thoroughly enjoy.  This time, I actually was surprised to feel a little uncomfortable with it. I chose to use the paper guide as a paper piecing template which embraced the art deco movement.
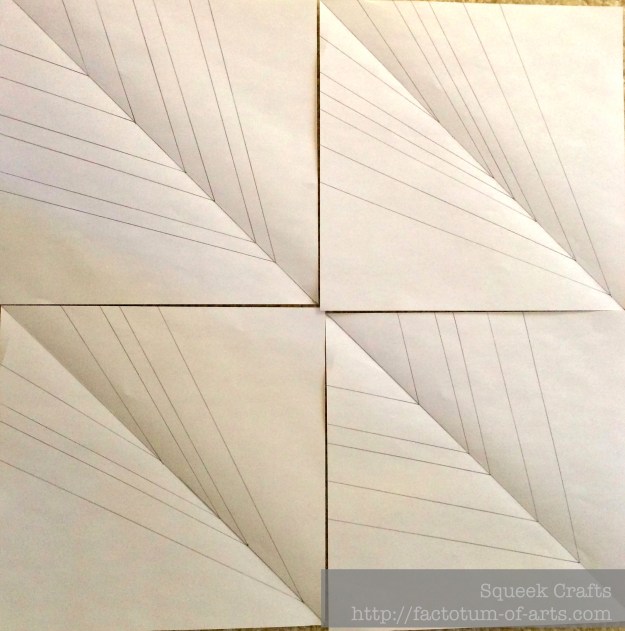
Rhythm_PaperPiecingTemplates

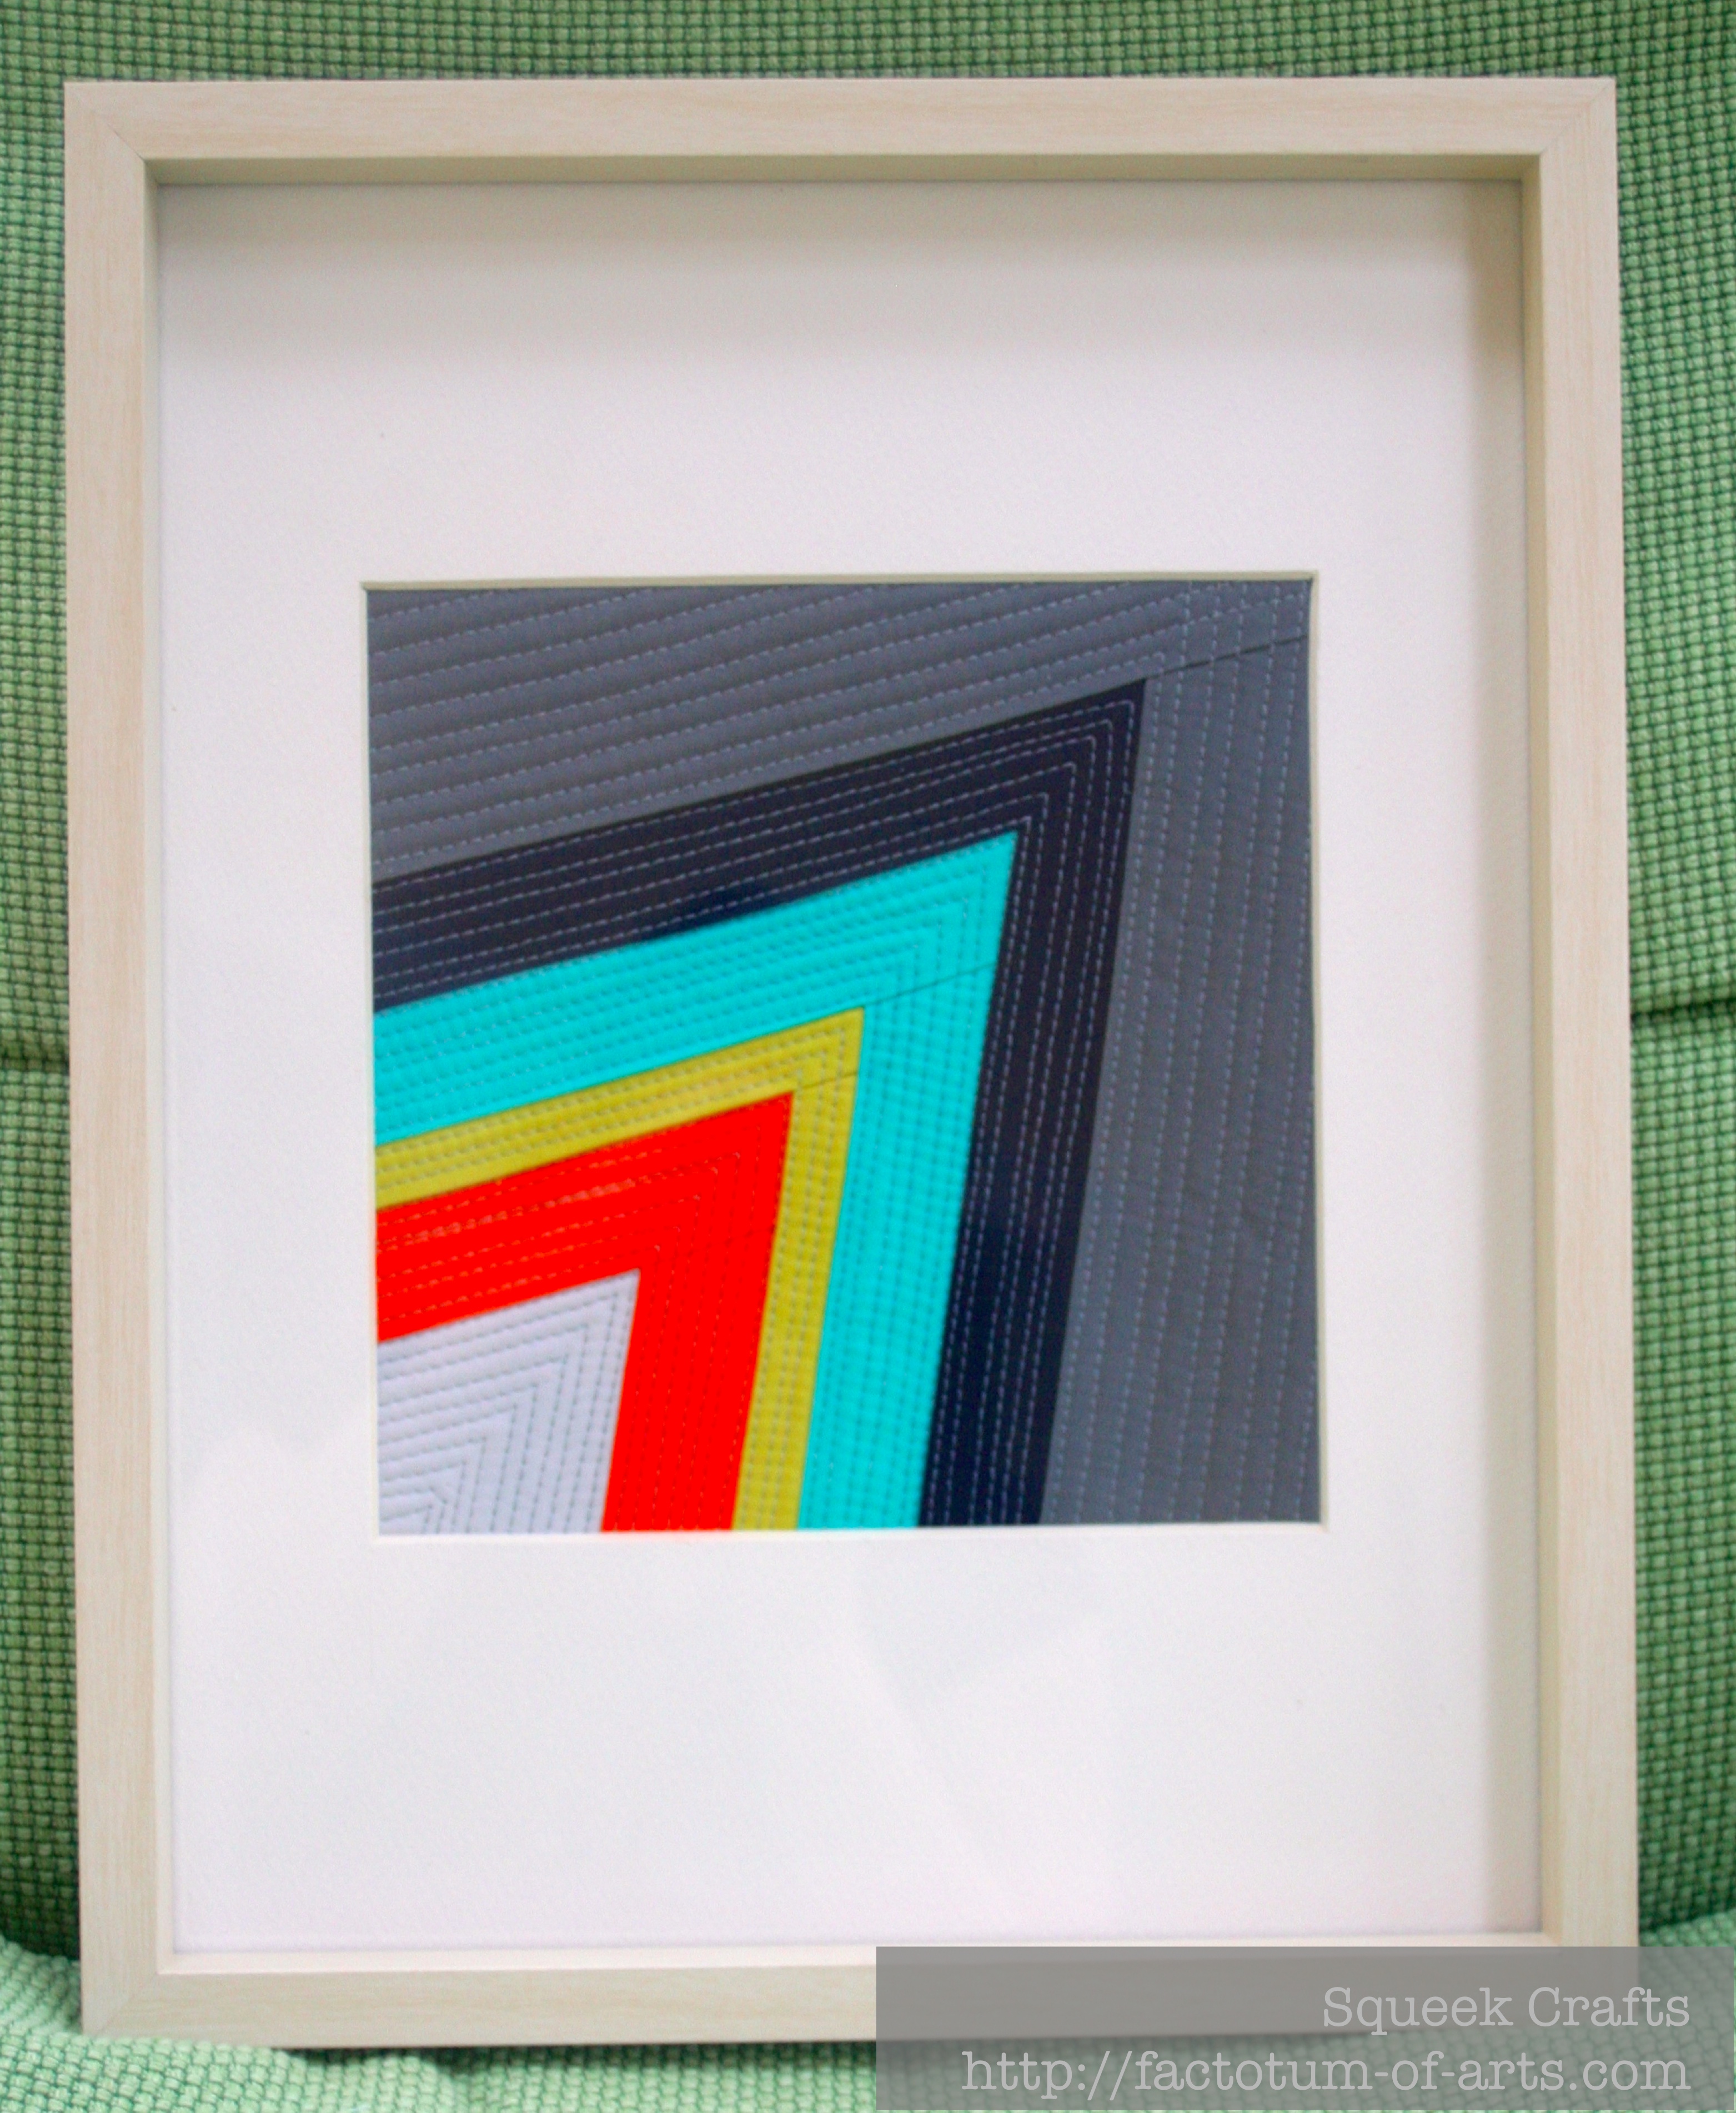
The quilting was where I could embrace more of the irregular and improvisational techniques influenced by the cubism movement. I framed the finished quilt block, which will be upcoming Christmas presents.

FramedQuiltBlock_Rhythm

My soon to be finished blocks are again using an alternative color combination from the new Kona colors. These will also be quilted and framed.

QuiltBlocks_incomplete_Rhythm

Give-away

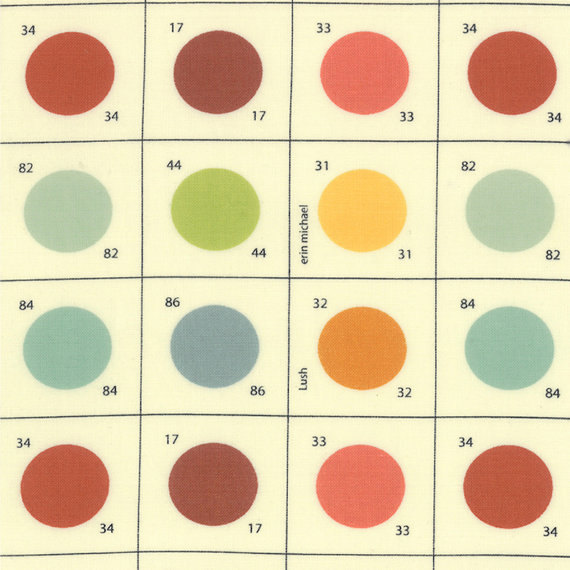
One brand new copy of this book will be given away next Tuesday. Also, in spirit of the fine arts theme, Dot, a fat quarter of Lush Uptown, Paint by Numbers will be included (see below). All you need to do is leave a comment on which 20th century art movement would you most relate to. There is a second chance to win if you are a follower, just leave a second comment indicating you follow. A winner will be chosen at random and posted next Tuesday around 8 pm.

il_570xN.515292566_qxfo

Next Book Review: “Modern Bee”.
Upcoming books will include: 500 quilt blocks, Quilting Happiness, Modern One-Block Quilts, Urban Views.

A disclaimer, all reviews and opinions of the books reviewed will be mine, unless otherwise stated. Please note, I may not respond to all comments due to volume and bandwidth.

Linking up with Lee over at Freshly Pieced for WiP Wednesday.