
I thought I would start sharing my journey on writing and self-publishing a quilt book with you all. I am not sure whether this is will be a successful activity or whether it will be unsuccessful, at this point. I have always been curious about what people go through along this journey, what worked and what didn’t.

#Swingin30sMedallion
Each month, I would love to share with you how it is going, answer any questions you might etc. here on my blog (that is if I can). You can also follow progress of projects on Instagram with #ideadesigncreatequilt or via my account @ml_wilkie.
So…..
Let’s start with an introduction of some of the initial ideas, decisions and steps so far.

#BrokenTrellisQuilt
What is the book about?
The book will be about designing your own quilts and what that entails. It also include quilt projects that you can make and shown in the images here (in various stages).
Why did I choose to self-publish a book?
I decided to self-publish for three main reasons.
- Schedule: I needed to work with my schedule which is not predictable. With the events of this year, I needed to be in control when I could commit time and effort.
- Sharing: I wanted to be able to share the progress of the book and the quilt projects along the way. This way I can get feedback from you all and incorporate that into the book/projects.
- Layout & Design: I had pre-conceived notions on how this book would look. I wanted it to be visually stimulating and modern.
I am currently thinking of publishing via the amazon company – CreateSpace. CreateSpace works based on a print ondemand model, meaning that once a book is ordered, it is then printed. There is no need to keep inventory. The royalities for each book sold via amazon is appealing. They will distribute the book for you too, to companies such as Barnes and Noble but the royalities are much lower.
I am not tied in yet, I have had thoughts of finding my own printers as I have some unique features I want to include in the book. This would not fit with the “standard” style of CreateSpace options. I would then need to find a distributor myself and take on the printing costs of an upfront run.
What are your thoughts?? You’ll see more on this as the project comes to fruition.
What were some of the first steps I took?
- Knowing my skills (and limits) I knew I would need help from a Graphic Designer and a Technical Editor. I reached out and secured those resources.
- Used a Lawyer who specializes in publishing to get a contract in place for the graphic design and editor services.
- Set up a meeting and shared ideas with my Graphic Designer and Editor.
- A mind map of the ideas to help with layout and what could be in what chapter.
- Selected initial set of projects that may be included in the book.
- Created a rough project timeline | project plan
- Organized a group project with contributors which included them sending blocks to me, a waiver and inclusion notes in the book.

#IdeaDesignCreate_Group
What time frames did I have in mind?
My initial time frame was to launch the book at Fall Market 2017. That has now moved twice to Fall Market 2018. Over the Christmas break, I plan to update my initial project plan with Fall Market 2018 as a key target date.
How are you committing to the project?
I have been really frustrated with all things that are slowing me down. This year has been a little start and stop for me as a quilter for many reasons. Like many of us, I have had to deal with life getting in the way of my plans. It can be as simple as trying to keep up with the daily schedule, or to provide care | assistance | time to an ailing family member who lives across the other side of the world, or to a full-time job demanding more time. This project has had to take a back seat, somewhat.
I did find that if I had other project deadlines (ie. magazine submissions etc) it helped me prioritize and manage my time better. I hope to spend a good portion of December working on getting 2-3 projects off to quilters.

#ManicuredGardensQuilt
Anyway….Thank you for stopping by, I hope this will be useful for folks. Let me know if you have any questions or topics you are interested in or if you have any advice to share. Would love to hear from you!!


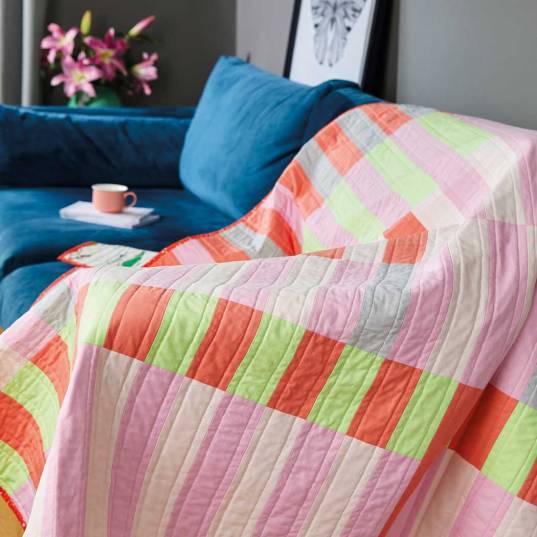


 The binding, which I am in love with, is block matched with the shapes that are along the edge. I thought about doing faced binding for the first time but really wanted the straightness and sharp corners of traditional binding.
