Author Archives: mlwilkie

Unknown's avatar

About mlwilkie

Software Developer, Mother, Wife with keen interest in art, design and crafts of all kinds.

Quilted Postcards {Tutorial}

fullsizeoutput_23ff

In my previous post, I shared my current experiment with quilted postcards. I make a finished 4 x 6″ standard sized postcard. Here is the list of materials and the instructions which start after you have a finished 4 1/2 x 6 1/2″ postcard front.

Materials

  • One (1) 4 1/2″ x 6 1/2″ pieced front
  • One (1) 4 1/2 ” x 6 1/2″ backing fabric
  • One (1) 4 x 6″ Fusible Fleece (like Pellon 987F) or
    Two (2) 4 x 6″ SF101 Pellon ShapeFlex
  • Thread for piecing/quilting
  • One (1) Adhesive Postcard back (purchased from Amazon.com)

Instructions

The postcards cannot be too thick otherwise you will not be able to use normal postcard postage so I use fusible fleece that is like a quilt sandwich or two pieces of Shape Flex interfacing (one on each side fused to the back and the top).

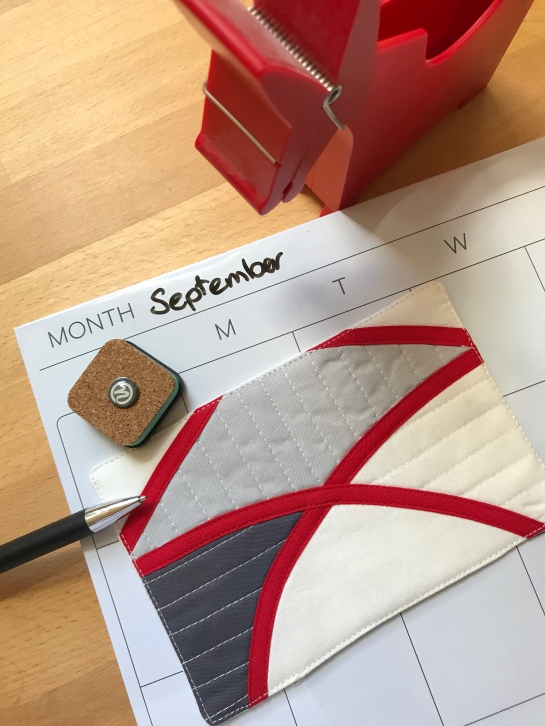
I have two ways of making my postcards. The first is not that different from a normal quilt, and can be seen in this image below. Take the postcard pieced top and baste to the fusible fleece, and then baste with a glue stick the bottom fabric to the fusible fleece. Quilt as desired, trim. Zig-zag or overlock the edge of the post card to finish.
Balance_Postcard

The second method, I chose since I was using bias tape and wanted to encapsulate the bias tape edges within the edge of the postcard. Here are the step by step instructions for this finish.

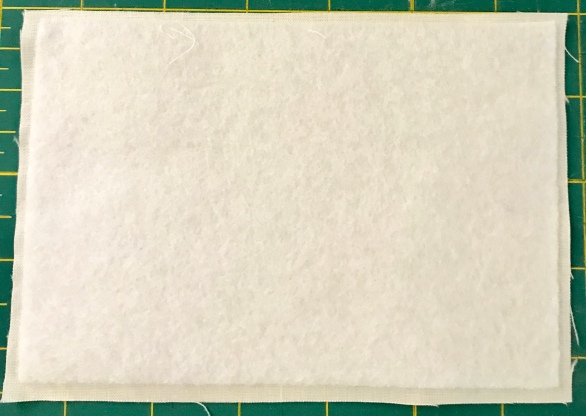
  1. Fuse the fusible fleece to the top of the pieced postcard top.fullsizeoutput_23fb
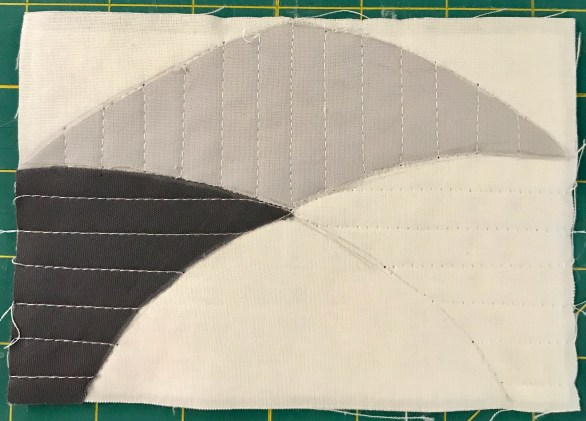
  2. Quilt the top with the fleece as desired and add the bias tape to the front.fullsizeoutput_23f9
  3. Place the top and back right sides together (RST). Stitch a 1/4″ seam around the postcard edge, leaving a two inch opening along one edge.fullsizeoutput_23f7
  4. Cut the corners inside the seam line, removing the bulk in corners. fullsizeoutput_23fc
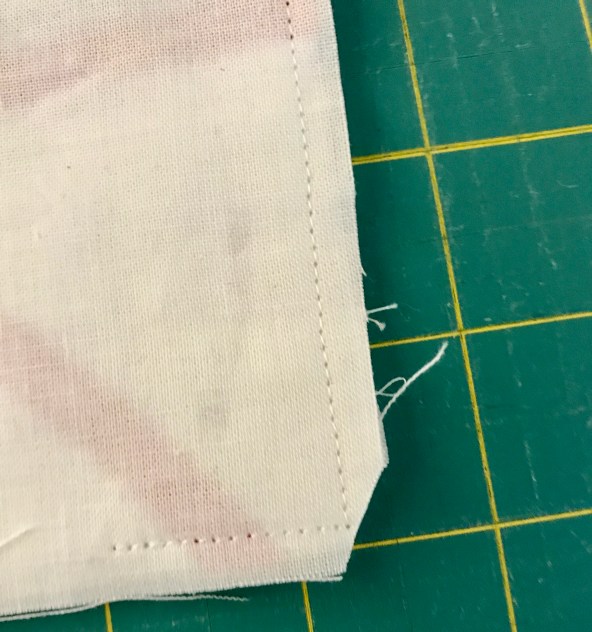
  5. Turn the postcard inside out, using a chop stick or pencil end to push the corners out.
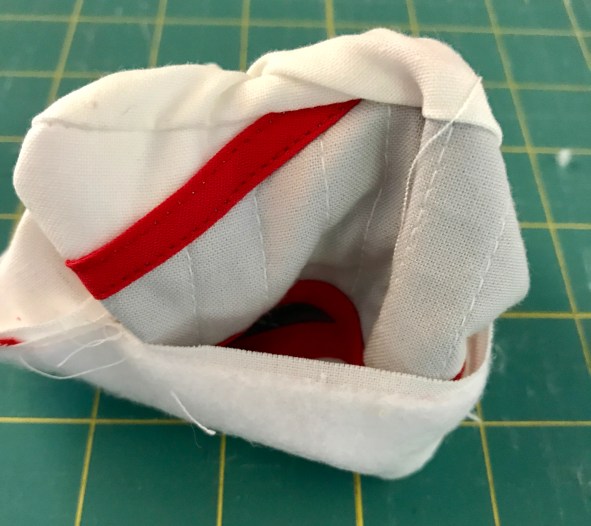
    fullsizeoutput_23fd
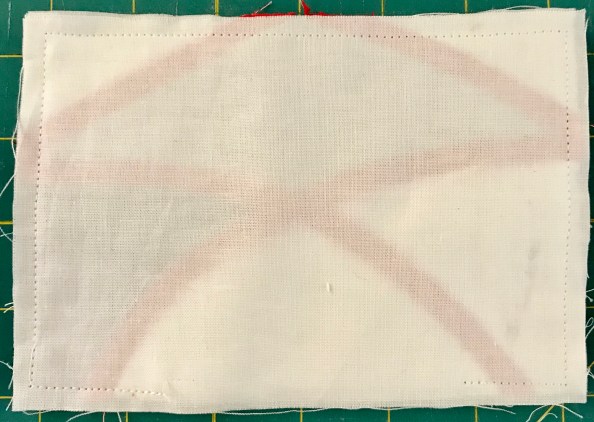
  6. Press the postcard edges, to position the seams folds correctly. Top stitch the edge of the postcard. fullsizeoutput_23fe
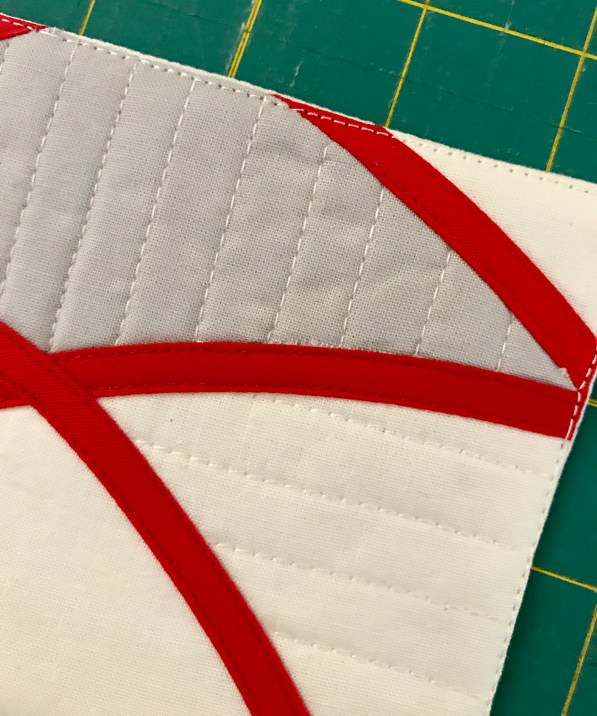
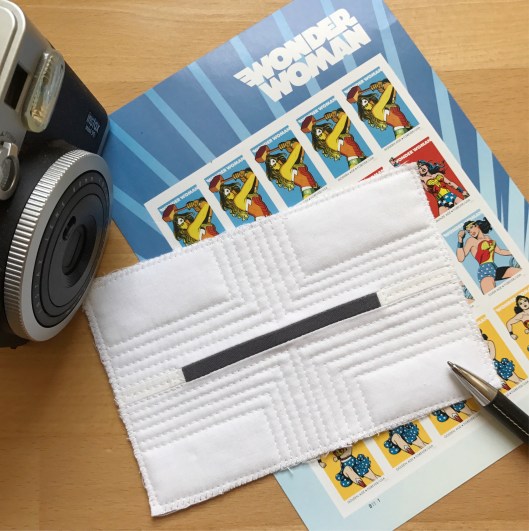
  7.  To finish the postcard, take one of the adhesive postcard backs and place it on the back side of the fabric.
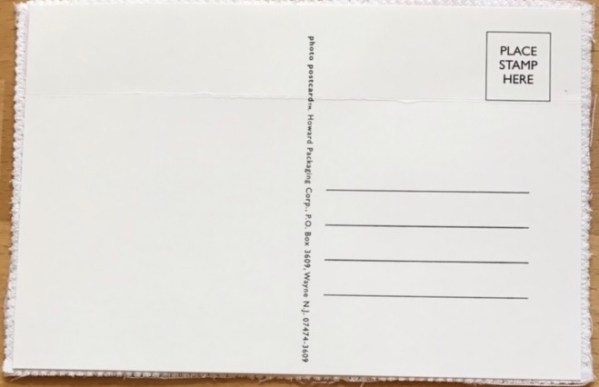
    fullsizeoutput_2400

The other size you can consider is a 5 x 7″ postcard and you will need to purchase the appropriate adhesive backs.

Let me know if you have any questions. If you make any postcards I would love to see them on Instagram – just tag me @ml_wilkie or use #quiltypostcards.


Quilted Postcards

I had a goal for September to make 30 postcards in 30 days (#30daysofpostcards) and have been sharing over on Instagram. Well, I will have 30 but it will take me more like 60 days. It has been the greatest experiment to play with 4 x 6″ quilts. I love it as I get these ideas all the time, and this size allows me to play but not invest too much time, to see if it works or not.

Right now, I am at 29 postcards. I am sending around 17 of them off, as postcards, to people who wanted to receive one. They in turn will send one postcard to someone else. I love the idea of sending a traditional note, a piece of mail, with a little quilty inspiration.

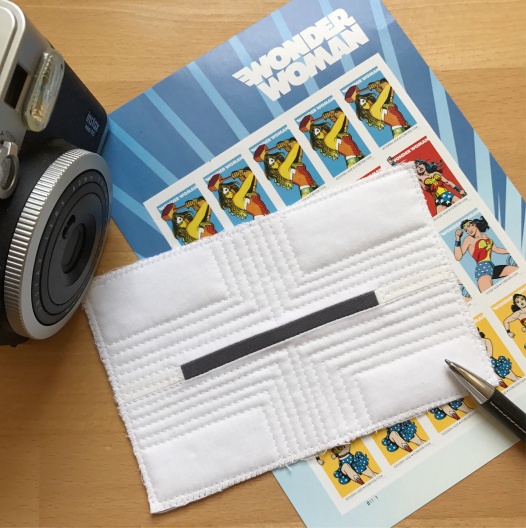
The first postcard that kicked it off was inspired by my effort in finding balance. The line representing balance and the quilting about finding the positives. I had to use my wonder women stamps in this pic., it seemed fitting.

Balance_Postcard

I have a couple of other book project ideas rolling around in my head. I experimented with both ideas and will likely move forward with these as book projects.

The first is a project based on the plastic construction fences.
PlasticFence_Postcards

The second an improvisational triangle idea that is based on airplanes. ImprovTriangles_Postcard

With these next two postcard, I had vivid shapes pop into my head that I could not shake. The first being a Square with a cream border on one side, and one half made up of two triangles at various heights and dimensions. I played with the white and cream solids, stripes and black linen for interest.

Minimalism2_Postcard
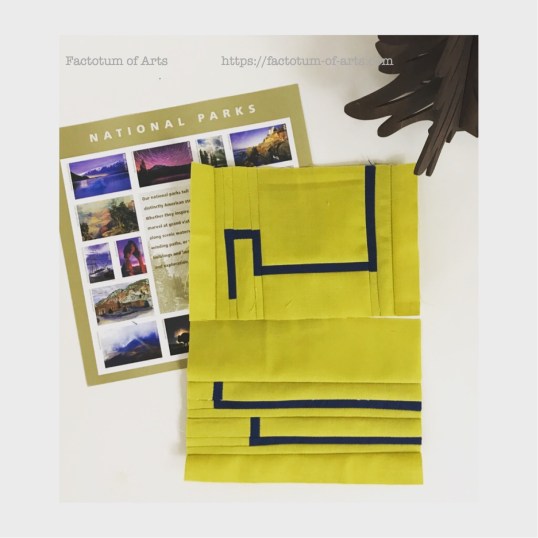
The second shape was split across 4 postcards, where each had a corner of a square. One of the corners was a 1/4 circle instead. In my head this 1/4 circle was also the opposite in color combination. I had not envisioned a color combination but decided when making it to do it in a navy and bright yellow. This is my favorite combination and will likely become a much larger quilt at some stage.
Square_Circle_Postcard

For the longest time, I have admired Erin Wilson’s work (@erinwilsonquilts) who does amazing line work in her quilts. These last postcards were my study of lines. I still need to quilt these two.

LinesStudy_Postcard

I have loved playing with this size that I think I might do another round, but this next one will be a cohesive collection vs. random experiments. I am thinking of playing with minimalism or just with lines in a specific color-way. The idea is still forming.

PS. If you are living in the US, I was very surprised with some of the great stamp collections the USPS (US Postal Service) has at the moment. I went a little crazy in purchasing a few, so I am thinking my son can now collect stamps ;-).

PPS. In a couple of days, I will post a tutorial so that you too can make your own quilted postcards. I am just finishing editing the photos.


5 Years! {+Give away)

I can not believe it has been 5 years since I started sewing/quilting and blogging. I did not start out to be a quilter.  Last time I sewed anything it was a pillow case in home economics when I was 13. However, I have always been someone who dabbled in all art medium and baking//cooking, where the blog started.  I was always had a diverse range of interests from Art to Science to Languages. Quilting really has been one of those “hobbies” that has integrated the love of art and math.

I am lucky to be inspired by my own family. My Dad and Aunt are amazing artists, and my mum a highly skilled seamstress with a career in science. My only regret with starting quilting so late is not being able to actually sew with my Mum, but I love that I was able to gift her with a quilt.

Just to show you how far I have come, my first quilt was an original design of the 4 season of an apple tree. I would do this so differently today – and PS its still not finished. Yes, those are buttons and glittery snowflakes all hand stitched onto the top.

FourSeasonsInOneDay_2

The first finished quilt, was for the MQG Madrona Road Challenge. It was loosely inspired from tiles and a Turkish bath (inside the blue square). I still love this image today.
Turkish_tiled_bath_inspiration

The quilt now hangs in my studio, to remind me of my journey.
IMG_7339

In 2014, I joined Quilt Design a Day on facebook….a game changer for me. It moved me away from a multi-subject blog to mostly quilting. The designing of quilts and bringing them into reality is my passion. (so thank you Anne @playcrafts :-))

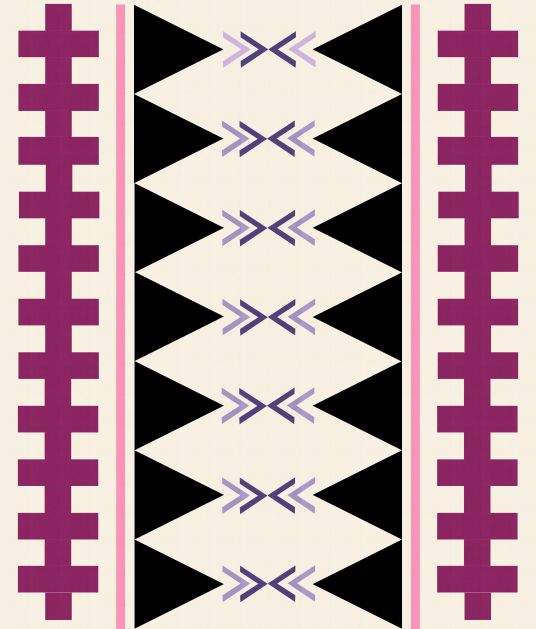
QAD_TapaClothMotif

I am so appreciative of the opportunities that this group has led me too. This is my first design for QDAD and it also won a quilt design competition. I gained enough courage to submit an idea, shortly after, to Sew Mama Sew and do a mini blog series on design to reality. Sew Mama Sew directly directly influenced the wonderful opportunity I got to work with Love Patchwork and Quilting. Eager for the opportunity to have a magazine submission, I committed to delivering a quilt in 10 days (while working a full-time job and being a mom). I was so shocked, it paid off though, as my first submission was a quilt cover.
LQP_23_cover_cmyk_300dpi

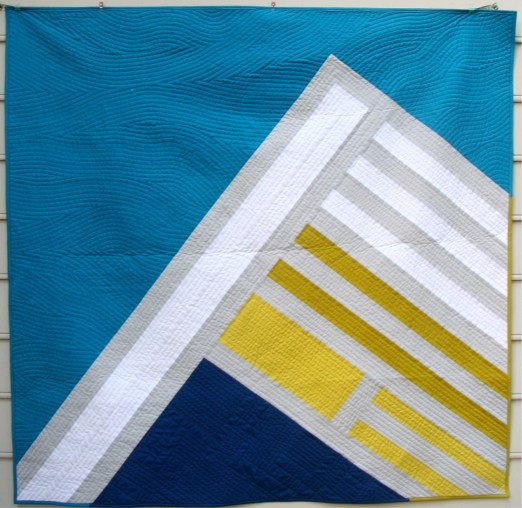
While I look back, it makes me smile. Seeing some of my favorite quilts I have made. Two of which are Sunday Best and Altitudinal Ecosystem which represents my bi-polar quilting interest; Improvisation and Minimalism.

cropped-img_795311.jpgAltitudinalEcosystem_HighRes

A couple of the big challenges I gave myself this year were:

  •  To enjoy my blog and just post when I have content I want to share. Very different to posting to gain followers and following a fixed schedule.
  • Write a book. It is underway but I will say it is a much slower process than I expected. Life is always in the way (and definitely not in a bad way).
  • Be bold and submit for an exhibit, which I am still working towards. This idea though, led to me submitting to an art curator. They purchased 3 of my quilts yesterday (you can see my digital portfolio I submitted).
  • Lastly, setup my own business. I am hoping to have it all complete in a couple of weeks.

I have learned so much in this process, and still work on most of these every day:

  • Be you and don’t worry what others think. If you try to please others you are likely not going to enjoy things.
  • Be adaptable, things are always changing and new opportunities become available.
  • Don’t be afraid of rejection. A no is just a no.
  • Be bold, email manufacturers to discuss fabric and possibilities, submit to magazines, submit to quilt shows, etc. The worse that will happen is they so no.
  • Experiment, find you. Give yourself permission to just play and enjoy the process.
  • Enjoy your people. Support others and give back. We learn so much now-a-days via the internet and others in the community. Share experiences, techniques, support others, give feedback and if you don’t have anything nice to say – don’t say it.

Give Away

Thank you for all your support in me and my blog. In the spirit of giving back I am doing three things:

  • Posting fabric postcards to individuals (over on my IG account: ml_wilkie , tutorial coming later this week)
  • Giving one of my blog followers a $50 gift card to Hawthorne Threads. Leave a comment below telling me what one of your goals are for this year. Leave a second comment if you are a follower. I will randomly select a winner next Saturday.
  • The winner of the giveaway, will also designate a charity of their choice, where I will also donate $50 (Please make sure they accept online contributions).