Author Archives: mlwilkie

Unknown's avatar

About mlwilkie

Software Developer, Mother, Wife with keen interest in art, design and crafts of all kinds.

Sew Ready to Play {mastermind tutorial}

Louise over at I’m Feeling Crafty is hosting Sew ready to Play Blog hop. There have been some great projects created based on a game you play.  Check out other posts:

srtp2016button_small

Sept 9th- Liz and LiZ  from Simple Simon and Co
Sept 14th- Stacey from Boy, Oh Boy, Oh Boy Crafts
Sept 16th- Narelle from Threadistry
Sept 19th- Debbie from A Quilter’s Table
Sept 21st- Louise from I’m Feelin’ Crafty
Sept 23rd- Al from Shaffer Sisters
Sept 26th- Michelle from Factotum of Arts (today)
Sept 28th- Ashley and Emily from Frances Suzanne
Sept 30th- The Recap!

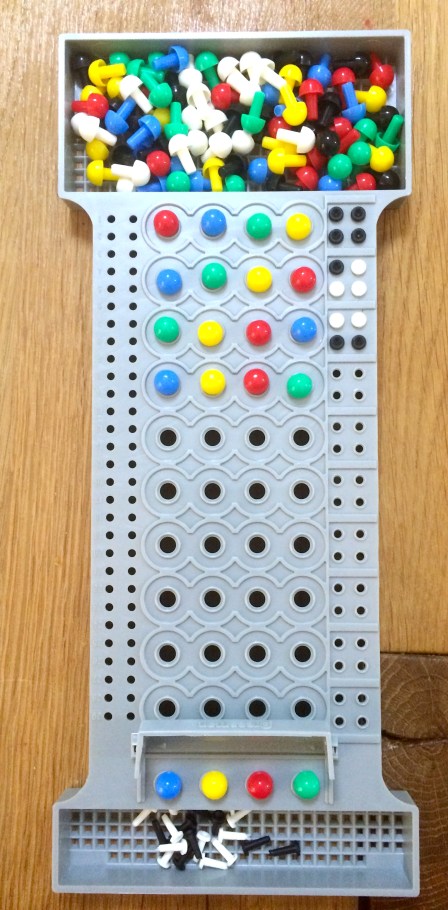
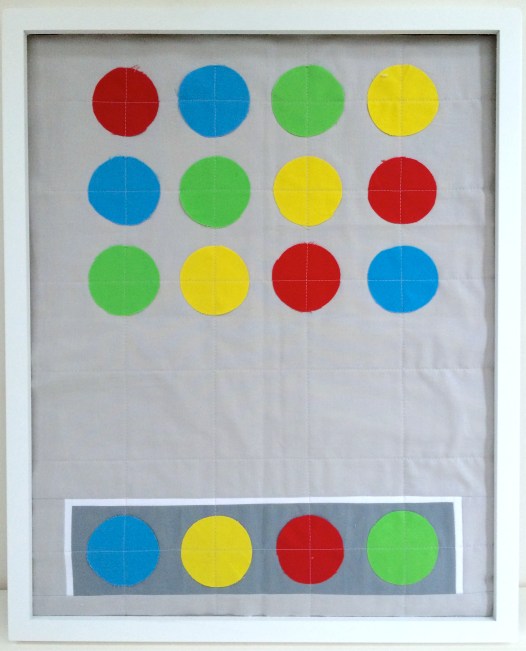
One of my favorite games, since I was a kid, is mastermind.  I decided for this game I played with my husband, using the attempts as a framed quilted block. It will be art for a kids room or playroom.

img_7257

Tutorial: Kids Framed Quilt Block

Finishes at 16 x 20in.

img_7267

Materials

  • 3 1/2in strip Kona Titanium
  • 3/4in strip Kona White
  • 4in strip Kona Citrus, Kona Sour Apple, Kona Red, and Kona Astral
  • 1/2 yard Kona Sliver
  • 16 x 20in Batting (Cotton)
  • 16 x 20in Muslin (backing fabric)
  • One (1) 16 x 20in Picture Frame (White)
  • Olfa Circle Rotary Cutter
  • Glue Stick
  • Ruler
  • Hera Marker
  • Spray Glue

Cutting Instructions

Fabric  Finished cut
Titanium  One (1) 3 1/2 x 13 1/2in Strip
White One (1) 3/4 x 13 1/2in Strip
Two (2) 3/4 x 4in Strip
Silver Two (2) 3 1/2 x 2in Rectangle
One (1) 1 1/2 x 16in Strip
One (1) 15 1/4 x 16in Rectangle
Citrus
Sour Apple
Red
Astral
Four (4) 2 1/4 Circle

Terminology

RST – Right Sides together
All seams are assumed to be 1/4in.

Background

  1. Take the titanium strip and the white 13 1/2 in strip, place them RST. Stitch a 1/4in seam along the long edge of the rectangles. Press seams open.
  2. Take the two short white strips and sew them to each short end of the titanium rectangle. Press seams open and trim as appropriate.
  3. Again, on each of the short sides of the titanium rectangle use the one (1) 3 1/2 x 2 in rectangle of silver Kona. Press seams open.  Trim evenly on both sides, so that the finished block is 16 in.
  4. Take the silver 1 1/2 x 16in strip and sew the bottom of the titanium strip (the white strip used in step 2 is the top of the block).
  5. Place top of the block and the large silver rectangle (15 1/4 x 16 in) RST, matching the two 16in sides. Pin and sew the pieces together. Press seams open.

Circles and Placement

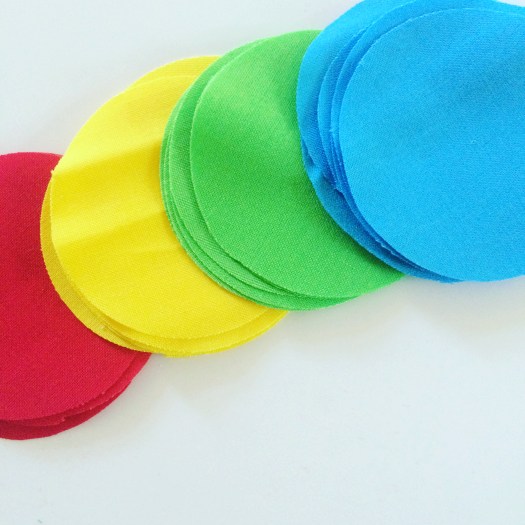
  1. To cut out the circles I used a Olfa Circular rotary cutter. It works pretty well, you just need to ensure a smooth motion while cutting. Layer no more than two pieces of fabric.
    Note: I cut a couple of extra so I could choose the better ones for this piece.img_7262
  2. Start within the titanium colored rectangle for marking. Using a ruler and a Hera marker, mark half way on the height of the titanium strip (this should be 1 1/2in).
    img_7265
  3. To place the circles, I used this center line and eye ball the middle for each circle. Placement starts at the left by measuring 1/2in. Fold the Astral circle in 1/2 press with fingers. Use the glue stick on the back of the dot and press down with warm fingers. Place the astral circle centered with the left edge against this 1/2in starting placement.
  4. Each additional circle is 3/4in apart. Repeat the glue process with each. You should land up with 1/2in at the right side of the sour apple (green) dot. Once all circles are on the row, press with an iron.
  5. Now that the first row are attached, use the ruler and Hera marker to draw the vertical lines through the center of these circles to the top. This will be used for placement of the upper circles and quilt lines. Note: the lines will be approx. 3in apart.
  6. For top horizontal lines, that will be used to also center the circles and quilt lines, measure 3 1/4in from the top of the silver fabric. Use a Hera Marker along this line for row 1.
  7. Repeat with a Hera Marker every 3 in. until you are approx. an inch from the bottom row “box”.
  8. Fold each circle in half and then in quarters. Press with your fingers. Place glue to the back of the circles. Use these hand pressed lines to match up with the Hera Marker lines.  Hold the circle down with your hand as the glue adheres. At the end of each row, press with an iron.
    Placement of the circles for each of the rows are as follows (L–R):
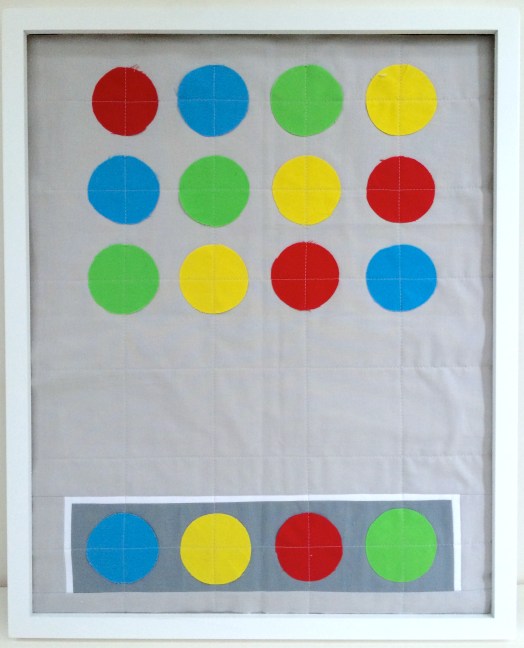
    Top (Row 1): Red, Astral, Sour Apple, Citrus
    Top (Row 2): Astral, Sour Apple, Citrus, Red
    Top (Row 3): Sour Apple, Citrus, Red, Astral

img_7266

Quilt Construction

  1. To make your quilt sandwich, spray glue the batting to the muslin (preferably outside or in an open space). Press with an iron.
  2. Spray glue the batting and carefully align and place the top to the batting. Smooth with hands. Press the top to the batting.
  3. Quilt your sandwich as you desired. I used the Hera Markings as guide for 3in gridded quilt lines. Trim if needed.
    Note: I matched my thread to the silver background fabric.
  4. Place your quilted block/ mini quilt inside the frame and it’s now ready to be hung in a room.
    Note: Remove all lint before placing into frame. Photo’s will be best without the glass.

img_7267


Daughter’s Love {Pattern Release}

This pattern, “Daughter’s Love” is now in my Payhip and Craftsy shop. The pattern includes this size 70 x 70″,  a proposed color layout, and also provides suggestions for 60 x 60″ (small lap-sized quilt), 40 x 50″ (Baby Quilt), 20 x 20″ (mini quilt or pillow). img_6747

This pattern is so special to me and is a chance to give back. All proceeds for this quilt, over the next month, will be given to the Cancer Society New Zealand, who provides accommodation and support for New Zealander’s during treatments (all fees will be covered by myself). If funds are sufficient, I will also donate money to another cancer society based in the US.

Background

To give everyone some background, this quilt was created as a gift to my Mum. To give her comfort during chemotherapy, when I could not be there. She is battling against a brain tumor which has now been upgraded to Stage 4. In the past week, she has been re-cooperating at home from a 7.5 hr surgery to try to remove what they could of the tumor.

I did get the chance to spend this week with her in New Zealand, supporting her and my Dad. And guess what, my quilt was in use which is so fantastic to see – gave me warm fuzzies and put a smile on my face.

img_7207

Anyway, I hope you will help me give back and support those who support others that are going through an incredible hardship and journey. OOXX


San Francisco MOMA (Part 2)

Continuation from yesterday, some of my impressions of San Francisco Museum of Modern Art.

img_7194
Roy Lichtenstein (Mirror)
img_7181
? Open-ended Collections
img_7179
? Open-ended collection
img_7113
Sol LeWitt (Wall Drawing)
img_7112    img_7111
Close-ups 
img_7114
Frank Stella (Double Concentric: Scramble)

The Ellsworth Kelly collection was a favorite for sure!!

img_7144
Red White
img_7177
1. Cite; 2. Red Green; 3. Gaza 4. Black Triangle and White
img_7167
Spectrum 1
img_7156
Blue Red
img_7157
Blue Green Black Red
img_7158
Wall

So that is a quick tour of what caught my interest. I am definitely going back and hoping to also get to De Young’s Museum next time too.