Tag Archives: crafts

Art projects for your kids: Making Cards

It has been a chaotic first full week back at work this week, I definitely got writers block this week. For the first blog of the week, I wanted to start sharing art projects I do with my son. Doing art projects with my son helps us do something together, I am not really a “play” kind of person – so this give me some mummy time, and I hope it allows him to be creative later on in life.

About 12 months ago, I stopped buying children’s birthday and thank you cards. Instead my son and I make the cards. Our favorite cards are monster birthday cards, each one is unique. We start with a standard white card, a body for the monster made out of adhesive foam. Then for the arms, hair and legs my son helps by instructing me the shape he wants and he colors in the arms, legs and hair. We add glue on eyes.

For his birthday recently we had a dinosaur theme and went to the Life and Science Museum in Durham. For the Thank You cards, I got my son to draw dinosaurs on adhesive foam using dinosaur stencils. He then helped cut out the pieces and we added spots.

Inside we used fabric for a background and color card for the area in which we wrote our note. We also included a photo of the child in the card so they have memories to keep as well.

Today, he was off to a girls birthday party, we decided to make the card match the strip birthday paper we used. We added flowers to the card, using left over buttons I have from the Four Seasons Quilt. My son was able to cut the strips, choose the buttons he wanted to use and do all the glueing (with supervision).

I think this helps add a personal touch to the kids gifts we give.

I would love to see and hear what you do with your kids. I will continue sharing other art projects we do and some of the products/books we have – we are trying to recycle when we can.

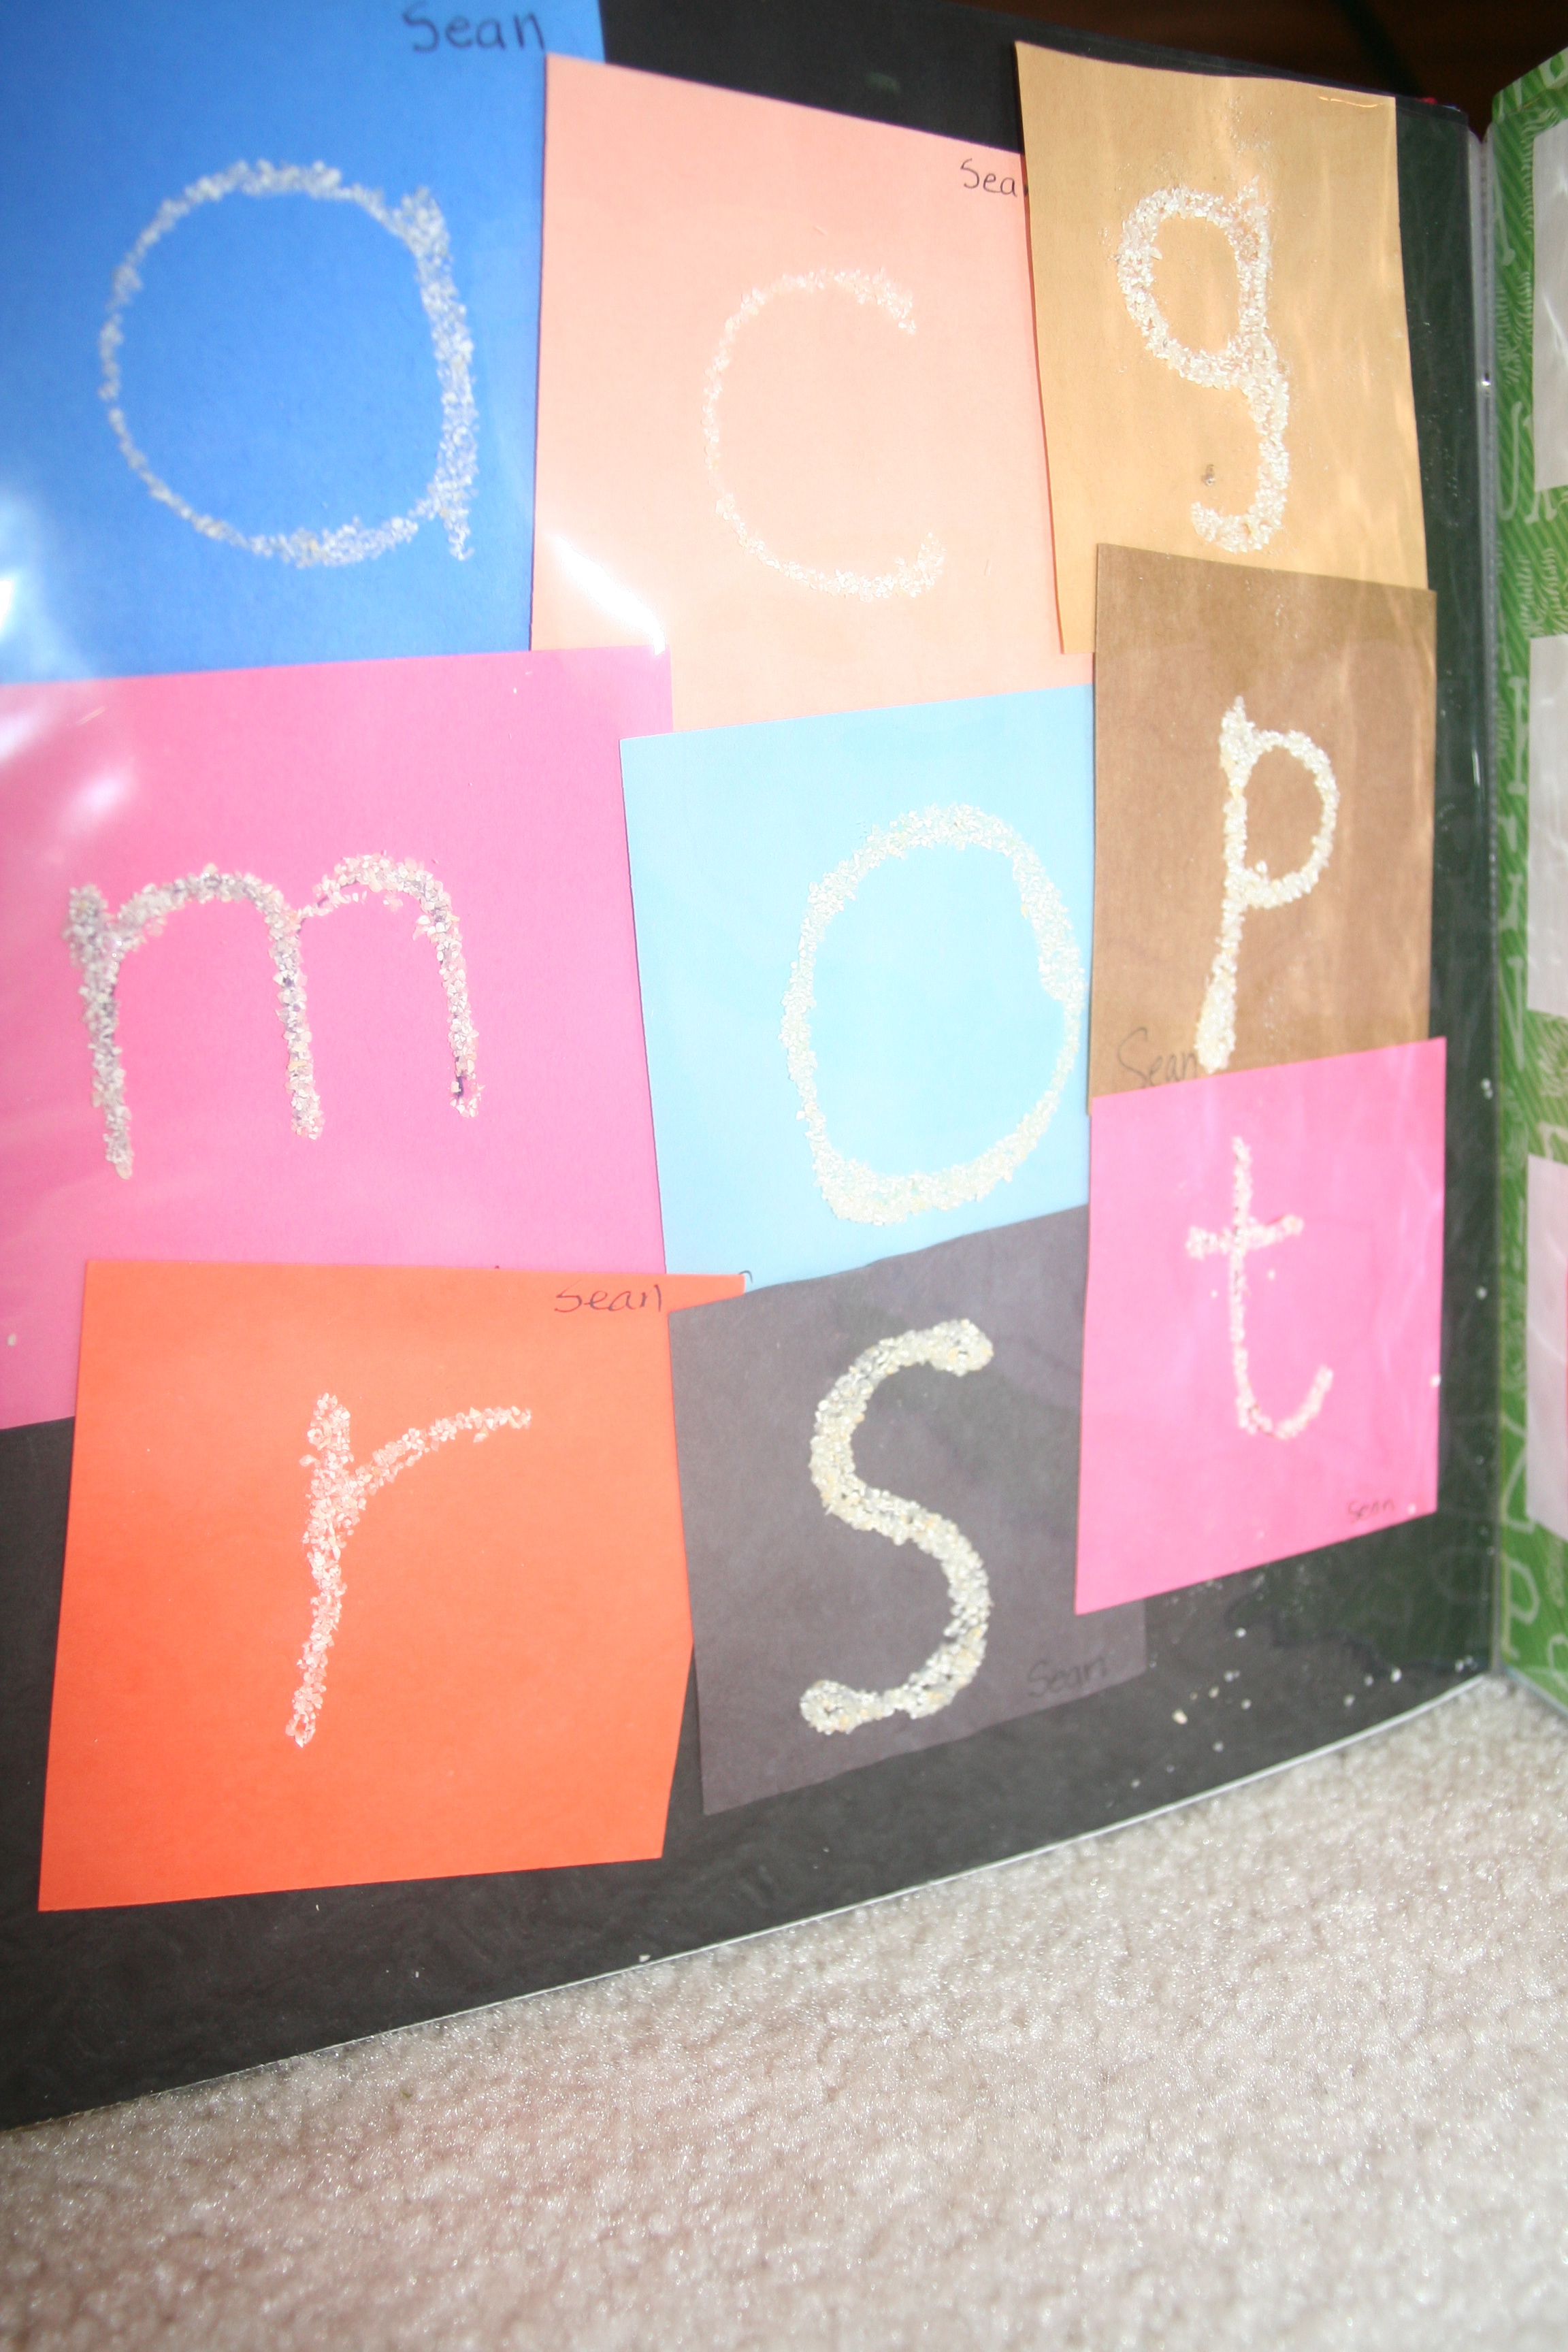
Keeping the memories of your kid’s art

I am writing today, as I am always trying to find new ways of displaying and keeping a record of my son’s art work and general work over time.

I would love more ideas from folks. Please share them – I will try them out and update the post to show you how they worked 🙂

I have tried two things so far:

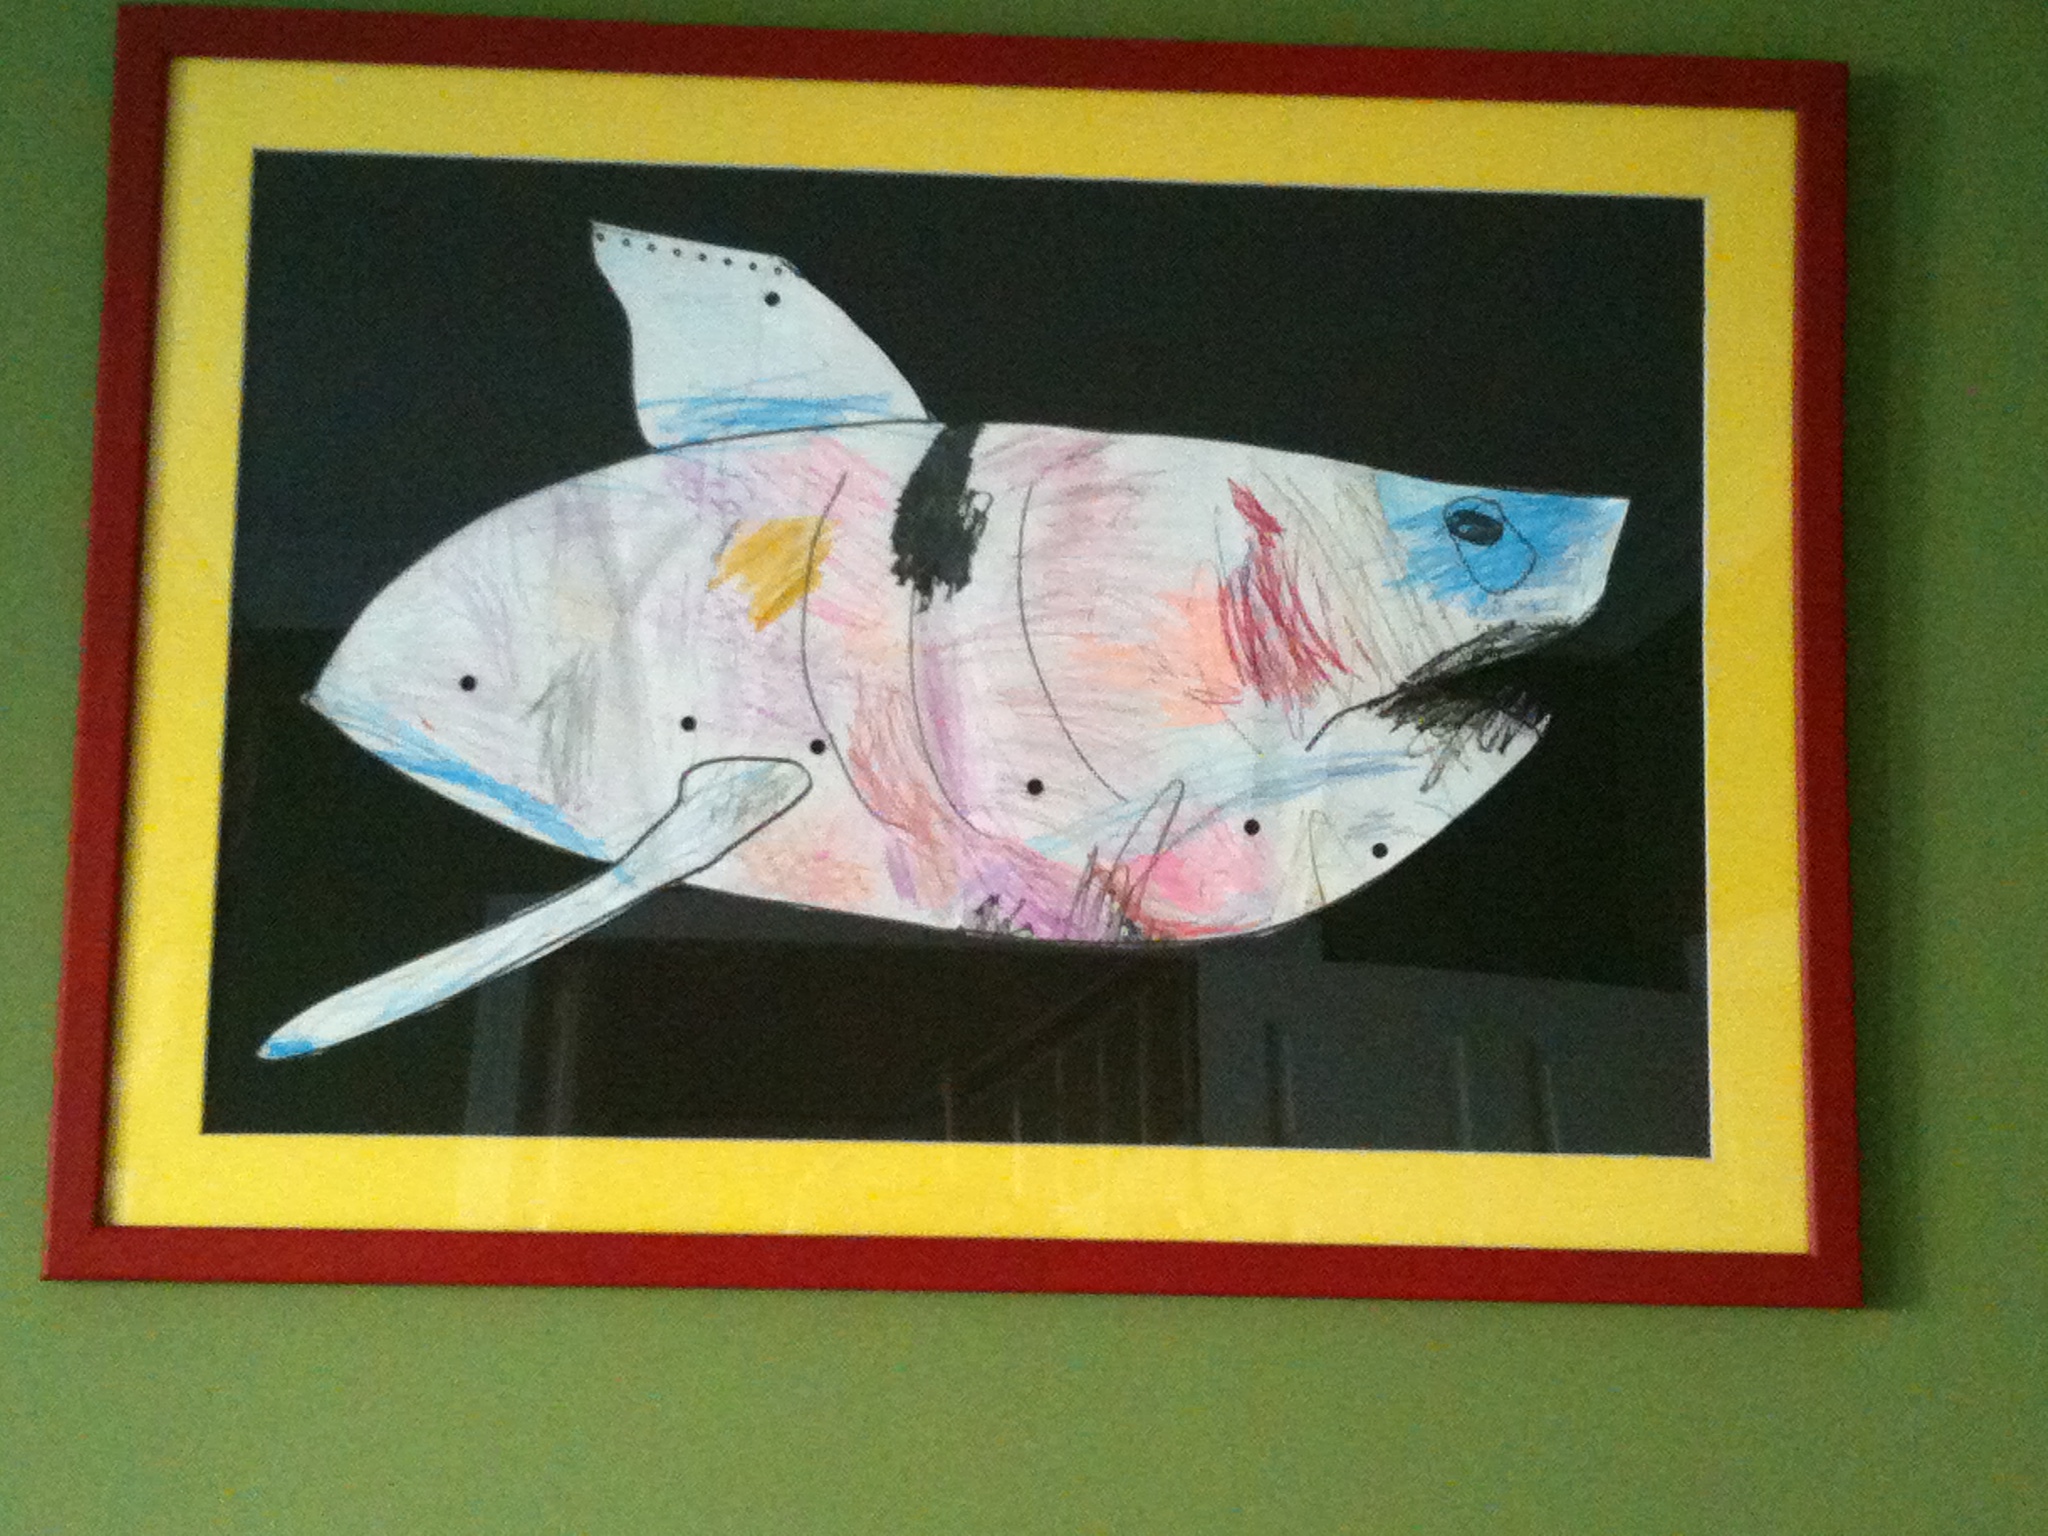
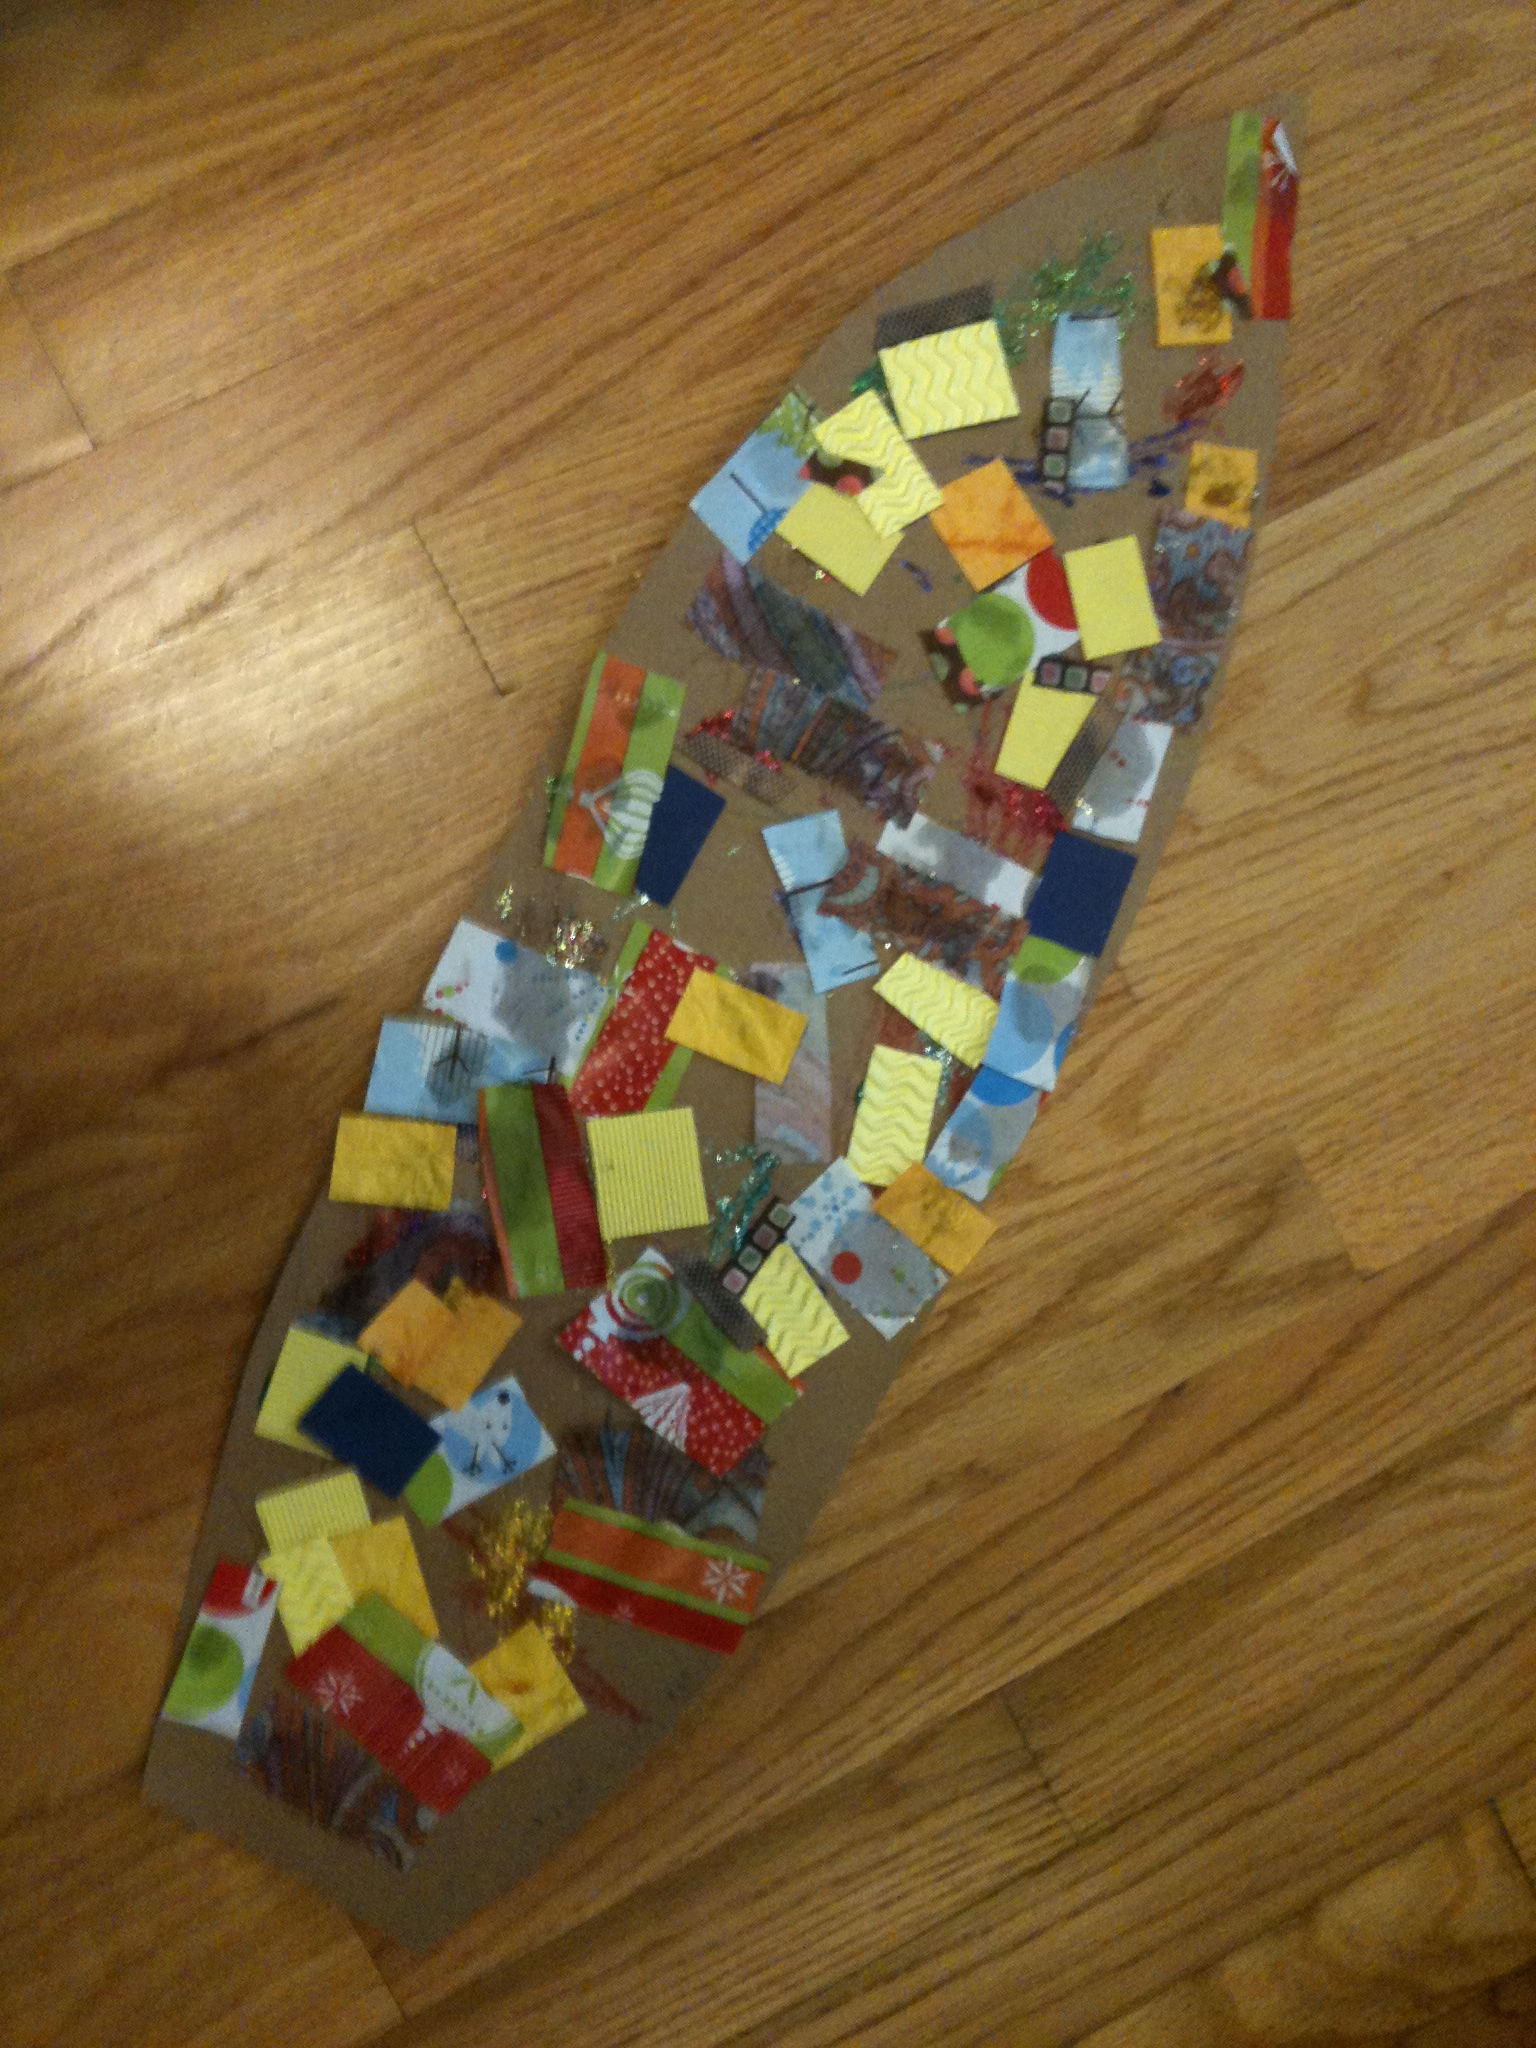
  1. Frame your favorite pieces in bright colors. You can change them out if you use a standard frame size. I do all the prep work for the art work but I take it to the local framing shop for the class and frame. Below are two pieces, my son’s first at home project – a turkey feather collage and the second a colored in shark, these are hung in my son’s playroom.


  2. I think my son’s art work is a great present for his grandparents, so I make an album up for my parents every Christmas. I also make one up for us to keep so that we can have memories for him when he is older.


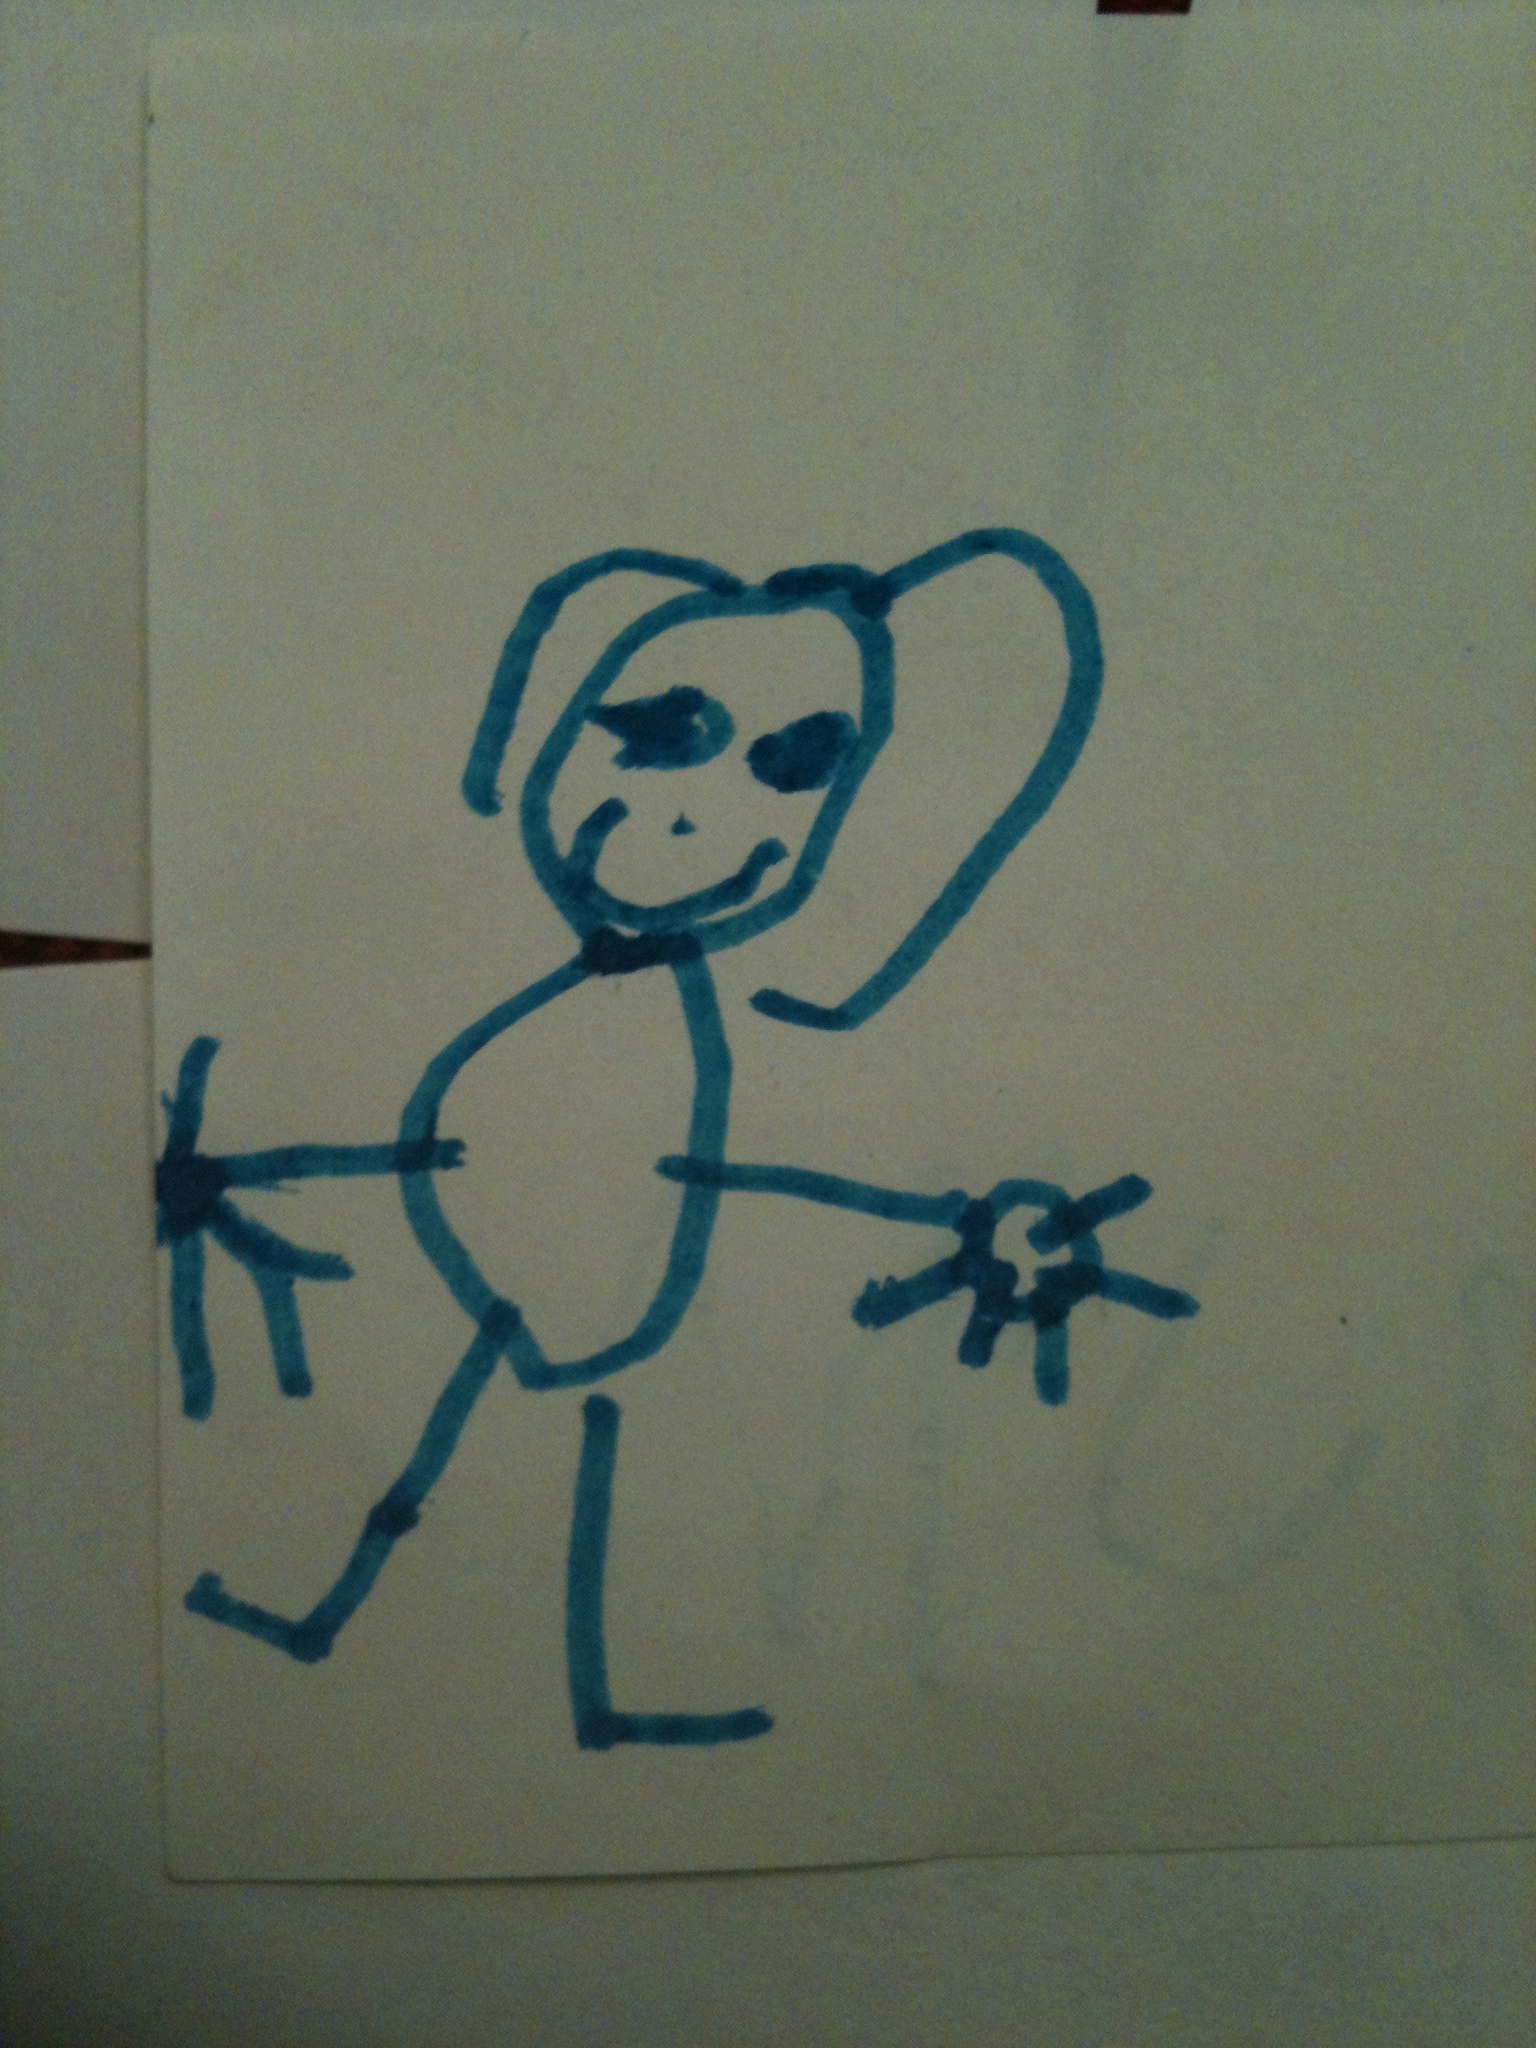
So, one other idea I was thinking was making plates, cups or fabric out of some of his drawings. Here’s a piece, I think, would be great for that.


Here’s a useful blog, I found, on www.parents.com. What are some of your ideas?

Recycled Men’s ties: Sofa Cushions

Two ideas came together with this project….

  1. I was on vacation recently at the outer banks and saw a craft shopping that was weaving hand goods out of men’s ties – What a clever idea!!
  2. And the success of my tea towel sofa cushions

…led me to this idea…what if you could recycle men’s ties and make sofa cushions. I first had to find men’s ties (not an item my surfie-type husband has in the closet 🙂 ) – so I took myself to the Good Will shops around our area. To my surprise ties only cost $1.39 and many of the shops had a good range especially in blue and red.

NOTE: you really can’t be too fussy on the color. I wanted oranges, greys and greens at first – was not going to happen.

Now onto the design…

    1. I chose to do two cushions 20×20 using the same pattern I had used for the tea towel cushions, one red and one blue.
    2. I selected 5-6 ties for each cushion that offered enough variety. I laid then out on a piece of backing fabric (in this case I used white linen I had lying around) and pinned them in place.NOTE: I specifically did not want to lose the structure of the tie so I had some tie ends start in the middle and others will land up sticking loosely over the border.NOTE: Here’s an example in Better Homes and gardens, where they use the ties just as fabric, which also turns out nice in this picture.
    3. After the ties are pinned in place, I use scotch tape as a guide I used to sew perpendicular lines to the ties, fastening the ties to the backing fabric. Take your time, lift the foot of your sewing machine when you get to the edges of the tie, one to ensure you catch the beginning of the tie and second to make sure the tie lays flat and not pucker.
      IMG_0222
    4. I then sewed the borders onto this main square, added mitered corners. To get the flap, ends of the tie, to go over the borders, just pinned them out-of-the-way while sewing on the border, making sure I did not catch them in my 1/4 inch seam.IMG_0212
    5. Last step is to sew on the two pieces of the back of the cushion, providing that envelope like cushion.IMG_0224IMG_0215 IMG_0216

I decided these cushions would complement my second-hand couch, I use in my office at work. Everyone at work stops by and takes a quick rest, all I need now is a small coffee table and to start charging for therapy 😉

IMG_0225NOTE: The one thing I would try next time is to sew along the edges of the  ties first then pin them to the backing. I am not sure if this would make things easy or not though.

For more ideas on what you can do with ties check out this blog on Sewing with ties, which was this cool site I found after I completed these. In this site, I especially like the tie circles and the tie covered tree art.

green tri2