Tag Archives: crafts

G is for Giraffe

Sean, my son, is tracked out (vacation) from school (kindergarden) for the next 3 weeks; and his teacher gave him a journal for him to keep track of his activities. To fill that book we are doing lots of different activities.

Our first track out art project was creating a giraffe from the Eco Crafts Kit by Alex.

It turned out great. We made some changes to the directions, mostly since the glue stick does not do a great job sticking the pieces together. The changes we made included my son coloring the legs instead of using paper to decorate, and also we used 2 pipe cleaners to hold the leg pieces and attach to the main body.

Sean enjoys taking his own photos, here is the one he took of his Giraffe.

In his track out journal he captured a drawing of his giraffe, and labelled it “Giraf” (with a post correction)…he did great sounding out all the letters.

He told me the cutest story about what he knows about Giraffes, we captured it also in his journal:

“Giraffes eat grass, trees and leaves. They use their necks to reach the high leaves.”

What can I say – very proud of my son, and love doing the crafty activities with him.

Creative mind in overdrive

Have you every had those days where your mind will not stop thinking about something. I usually have problems sleeping as I can’t shut it off. Well, normally for me its usually work related, but since I started this blog and had time off work due to illness, my creative side of my mind has taken over. This is good news, but I do not have enough hours in the day do to everything.

To keep track of what I have been thinking here is a list of projects, in no particular order:

Crafts

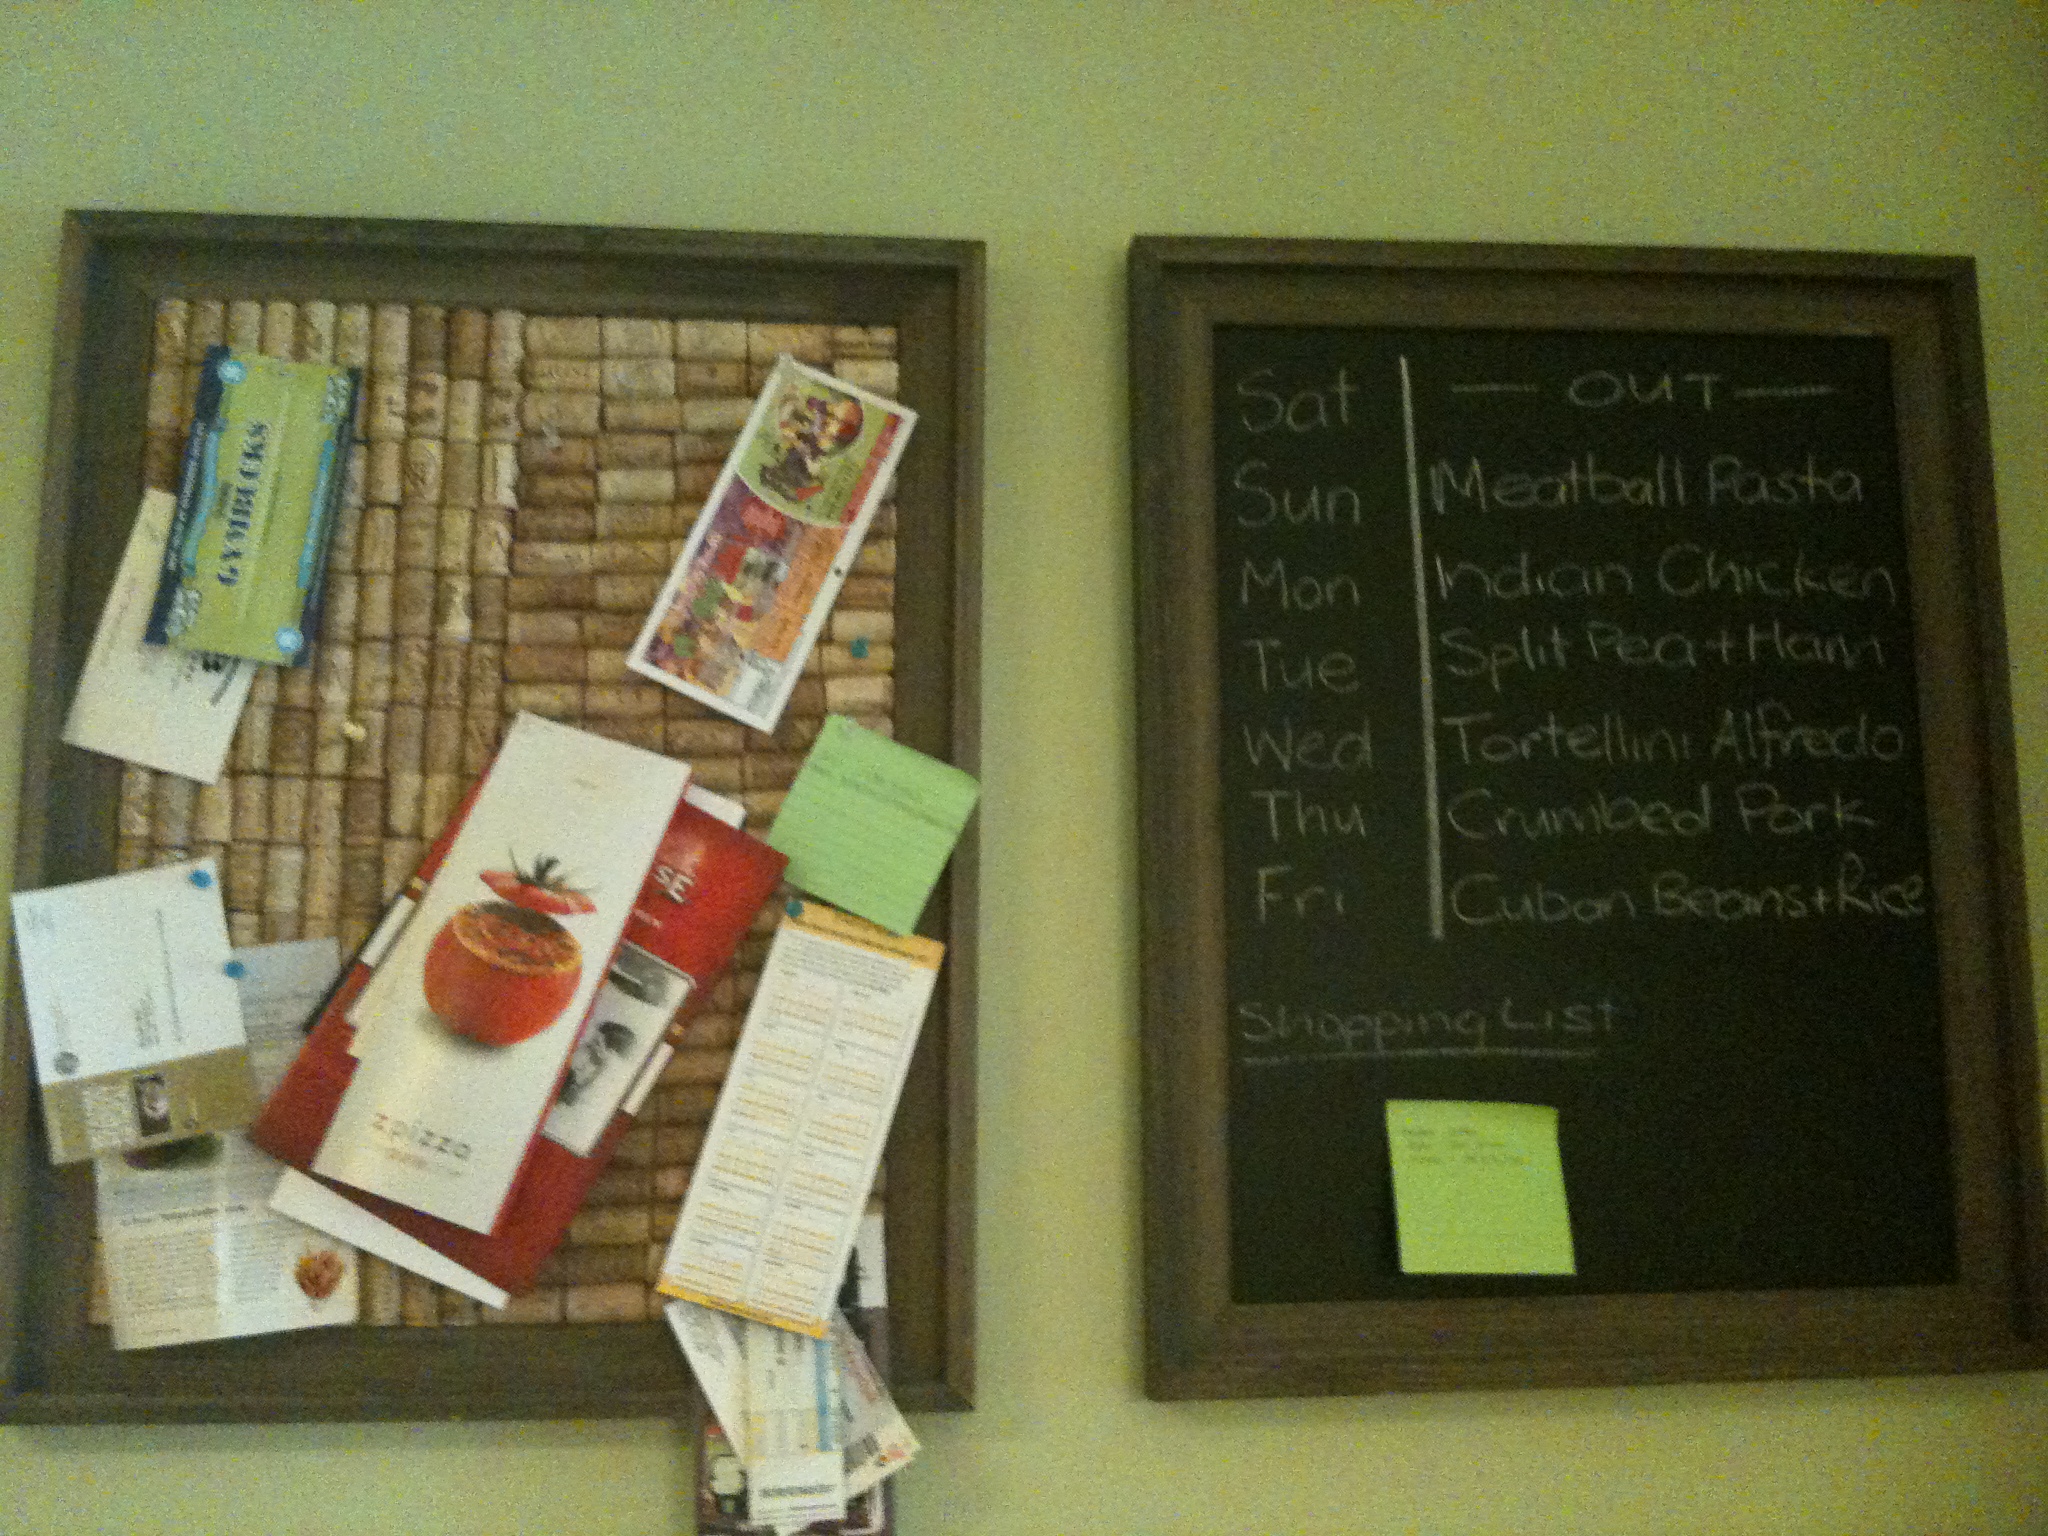
  • Cork boards for my etsy store (frame purchased and backing board)
     
  • Caterpillar growth chart for etsy store (circles cut out and painted)
  • A stuffed elephant (pattern forming in my head – probably purple colored)
  • A t-shirt rug (in white, yellow, orange and red circular pattern)
  • Twin quilt for my son (material purchased)
  • Tie art feature in orange’s, grey’s and green’s (inspired by this art piece featured on sewingwithneckties.blogspot.com)
  • Modern Quilted placemats and table runner
  • Fabric design/printing using my son’s art work and www.spoonflower.com
  • Creating a side table (for the kitchen) and shelving (for my new craft table space, hopefully without blocking too much light from the window.) from my soon to be repurposed teak futon
      

Framed

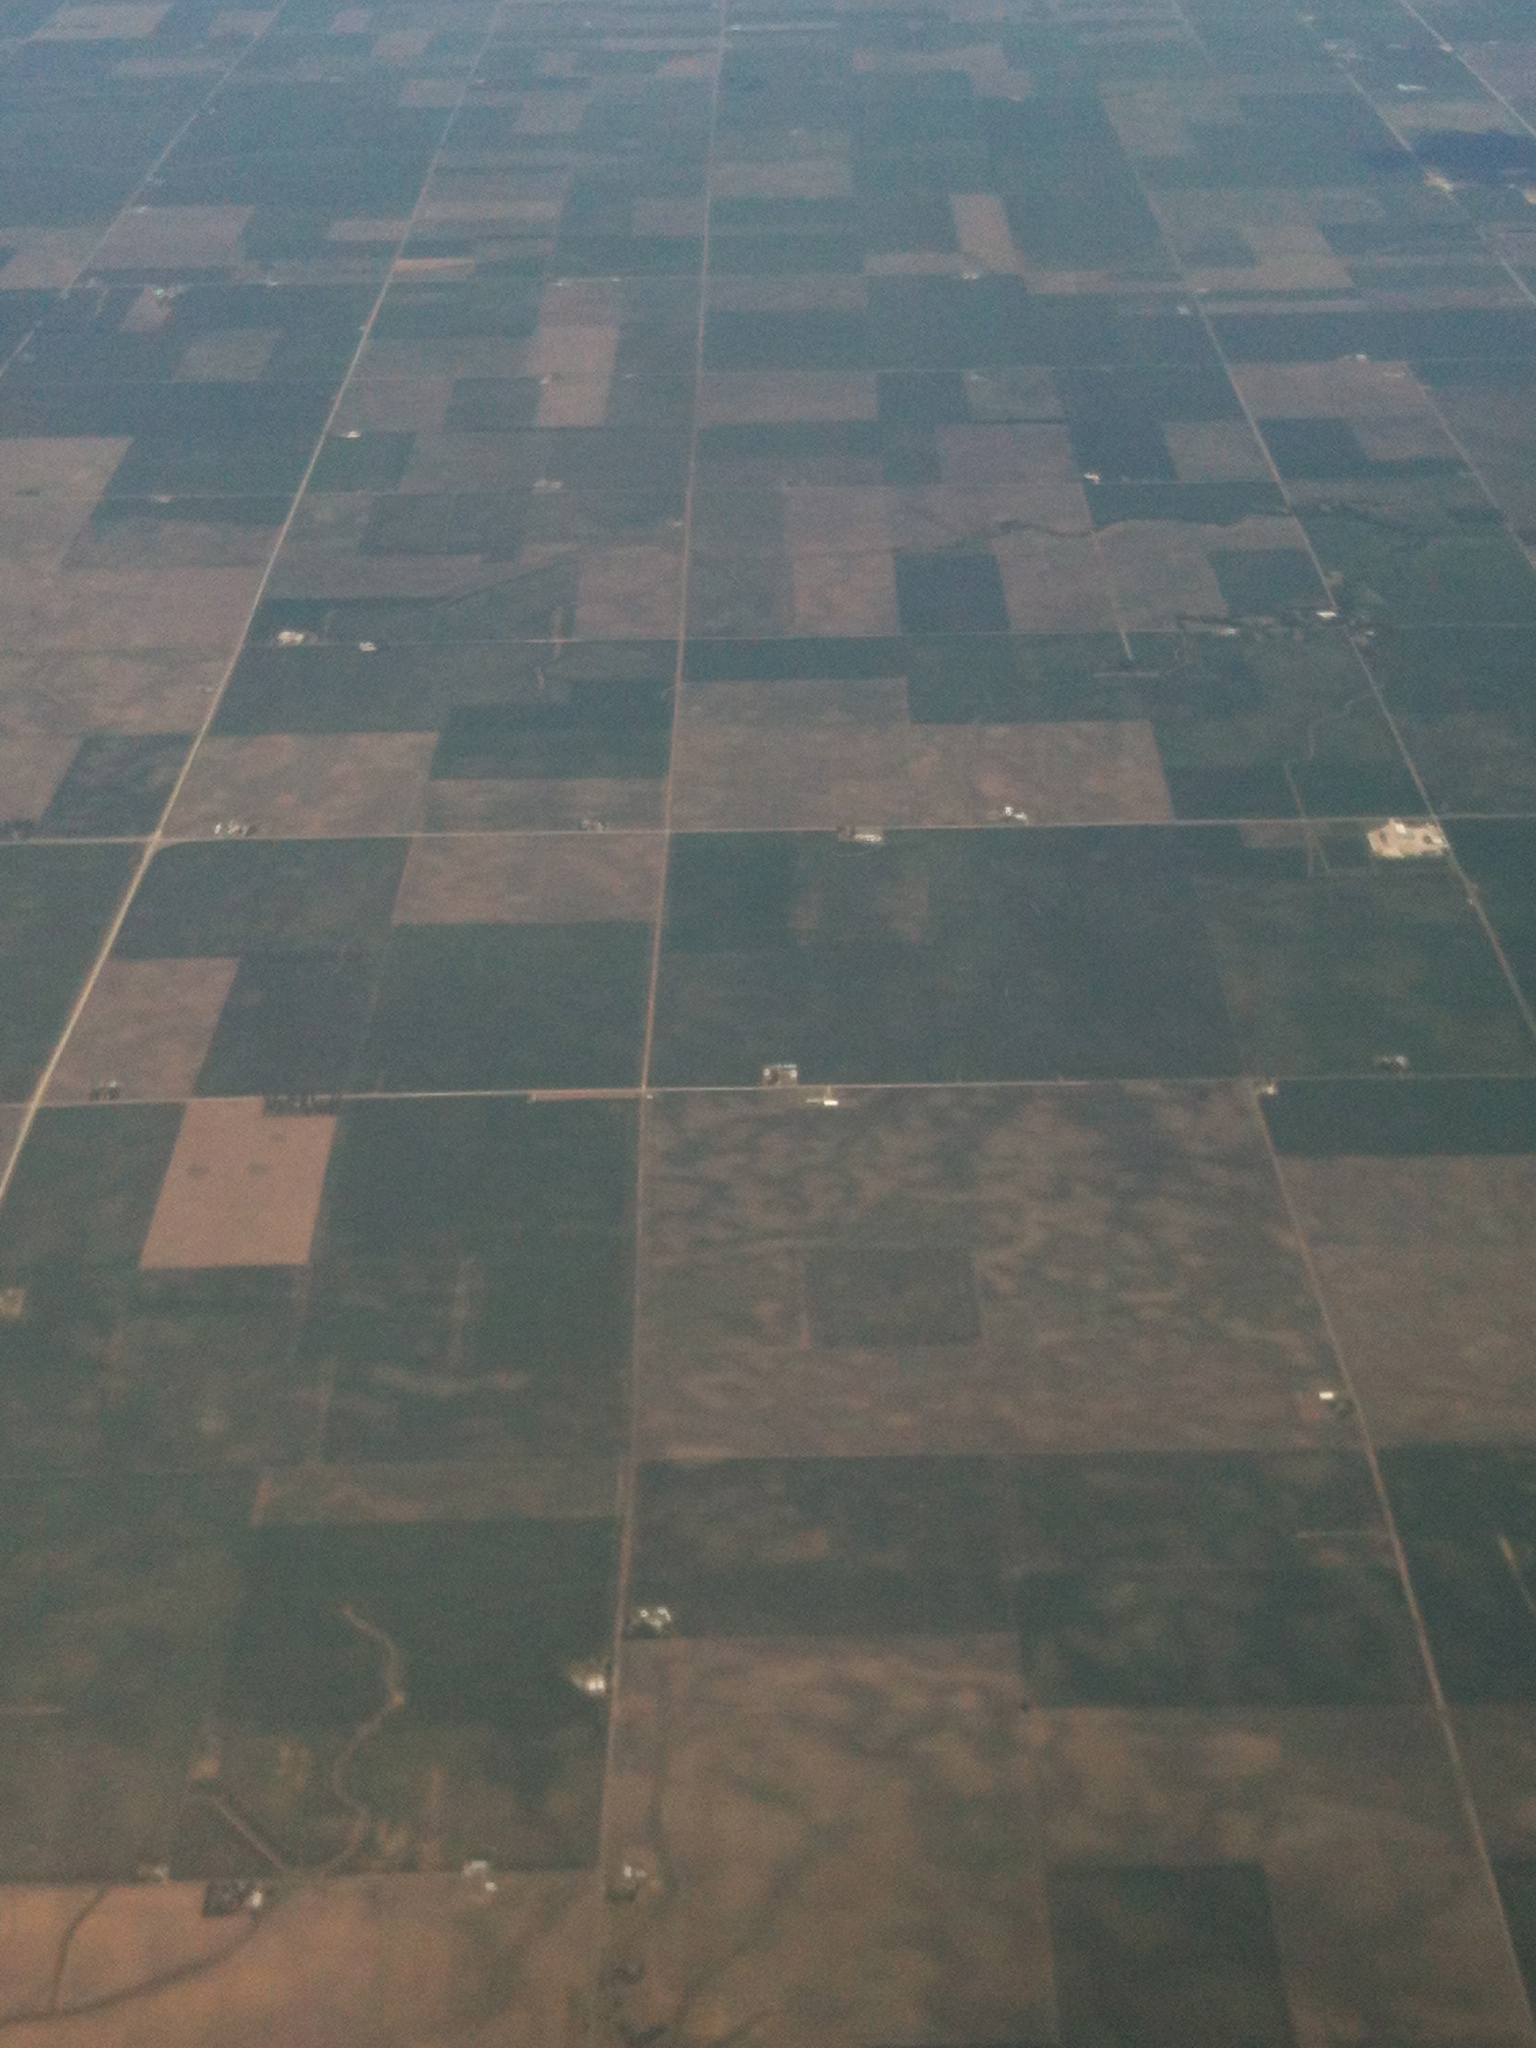
  • Textured picture of airplane view of field (out of melted crayons, bought crayons and have photo to base it off)
  • Chalk drawing of a face (subject chosen)

Home and Garden Design (the most costly ideas)

  • Backyard: Planters, Circular area, Copper waterfall feature
  • Master Bathroom: Multi-colored wood wall feature, grey painted wall, new cabinets  from the M collection of WetStyle, shower and bath also from WetStyle, grey glass tiles
  • Master Bedroom: Orange Chair (either this but in orange; or this one), tie art feature in orange’s, grey’s and green’s (see above).
  • Other Furniture I have been thinking about adding: Sofa for bonus room, Light for my new sewing desk (see photo’s above), Light above dining room table (I want a large box light but kind find one I like), Floor lamp (not sure what room, love the red cable).

Edible Delights

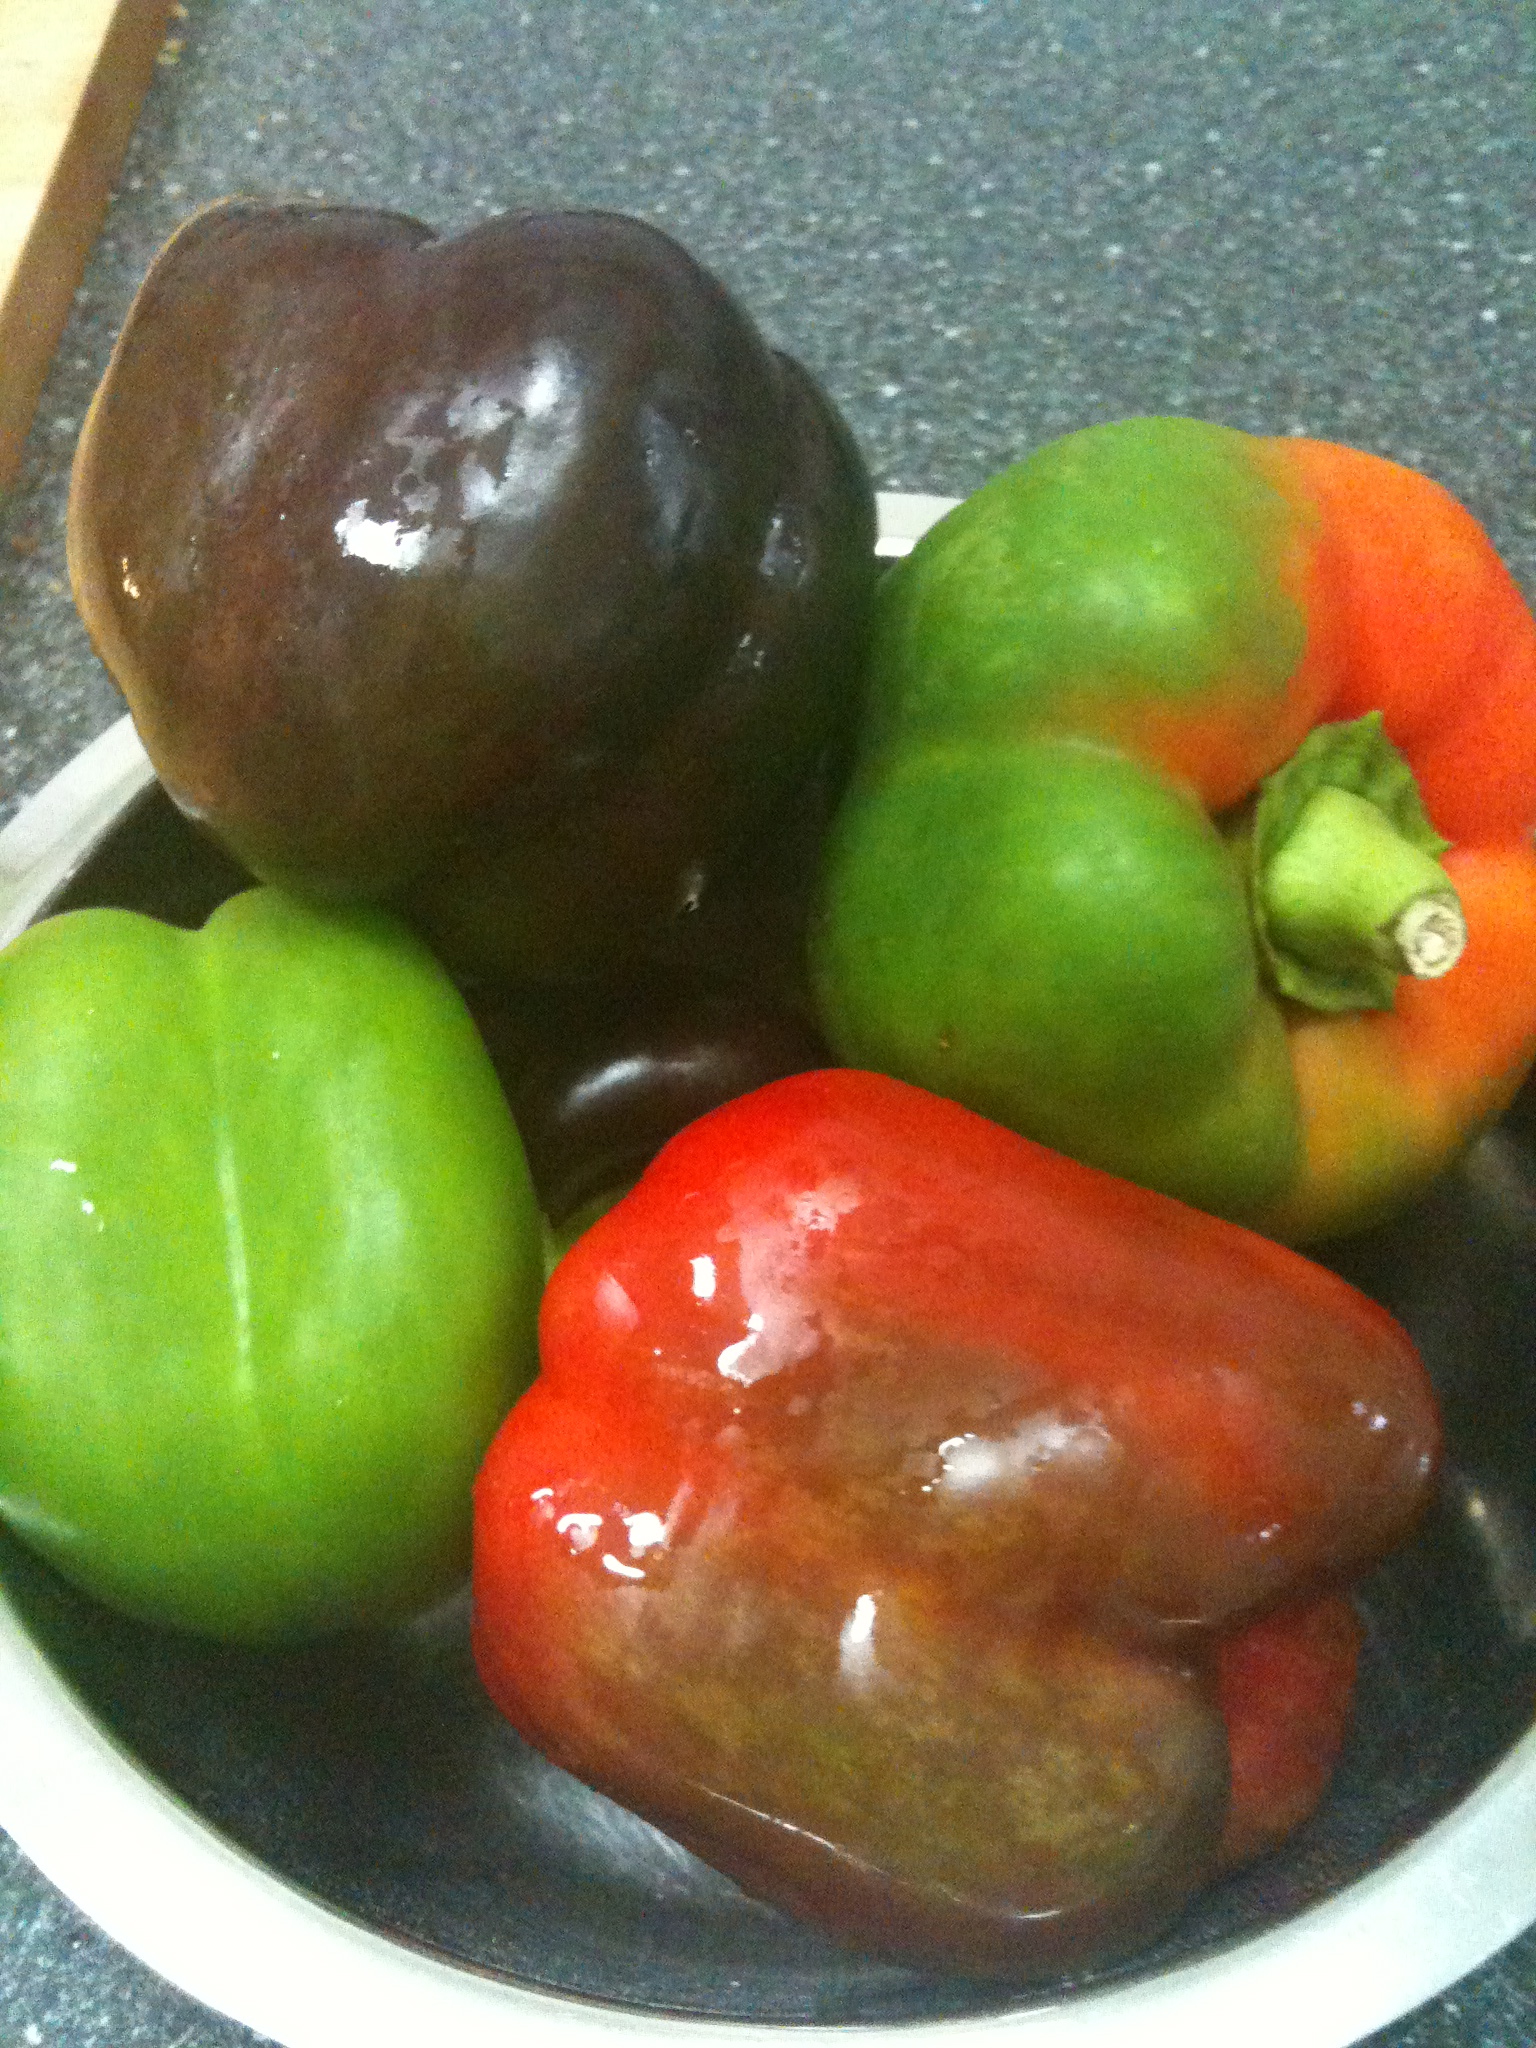
  • Bell Pepper Marmalade, Relish or Preserve, to use our own grown peppers

So as you can see, sooooo many ideas – let’s see what I can get done. I’ll post as I finish things (finish being the operative word).

Monsters: Stuffed Toys

As mentioned previously my son and I make monster birthday cards together. This weekend we decided to take that one step further.

Based on monster drawings made by my son, I transformed one of those pictures into a stuffed monster toy. Some of the things my son designed/choose includes the 3 fingers, all his drawings at present have 3 fingers, his favorite color is orange, and he chose the buttons for the eyes.

Here is our first monster.


It was very cute – he slept on it as a cushion the first night and then he carried it in the car to track out camp – he is very proud of his monster 🙂

Some of the materials and steps I used to make these:

  1. I drew free hand the shape of the body onto scrap-book card, from that original shape I got out a stomach shape….this way ensuring that it fits in the main body. I pinned the body shape onto dark blue corduroy, and on orange kona cotton for the back body and cut out the two shapes together.
  2. The other two templates I used, were one for the legs and one for the arms. I pinned the leg and arm templates to patterned fabric which I folded into quarters so when I cut the shapes I would have 4 pieces (2 pieces in each direction).
  3. I cut the mouth free-hand using the stomach fabric as a guide out of the same dark blue corduroy.
  4. I cut the teeth out of white felt, using the opposing triangles so they can be top and bottom teeth.
  5. I sewed the hands and feet inside out using a 1/4 inch seam. I then turned them in the right way, stuffed them with stuffing. I sewed the top of each limb close leaving about 1/4 inch so that I had room to sew the limb into the body.
  6. The pieces for the body – the stomach, and the mouth I used zig-zag stitch to attach them, and the teeth I just used a normal walking stitch. I sewed on the buttons.
  7. I cut a piece of straight 2 inch blue stripped cotton fabric – this is used for the width of the monster and joins the front and back together.
  8. I pinned the front and middle edging together, with the arms and legs placed between the front and middle piece. The fabric was pinned together in reverse. I sewed a 1/4 inch seam. I ironed the seams.
  9. Now for the back piece, I put all the limbs in the middle of the body, I pinned the back to the unsewn middle edge, so everything was inside out. I sewed a 1/4 inch seam leaving about 2-3 inches on the bottom open.
  10. From the opening, I turned everything in the right way, and started stuffing the body. I hand stitched the opening closed to finish the monster.