Tag Archives: storage

Peek into my stash

I was watching yesterdays posts, as folks posted about their fabric stash as Sarah asked “I’ll show you mine, if you show me yours” and created a linky party for today. I loved the idea. I thought I would let my photos do most of the talking so here goes…

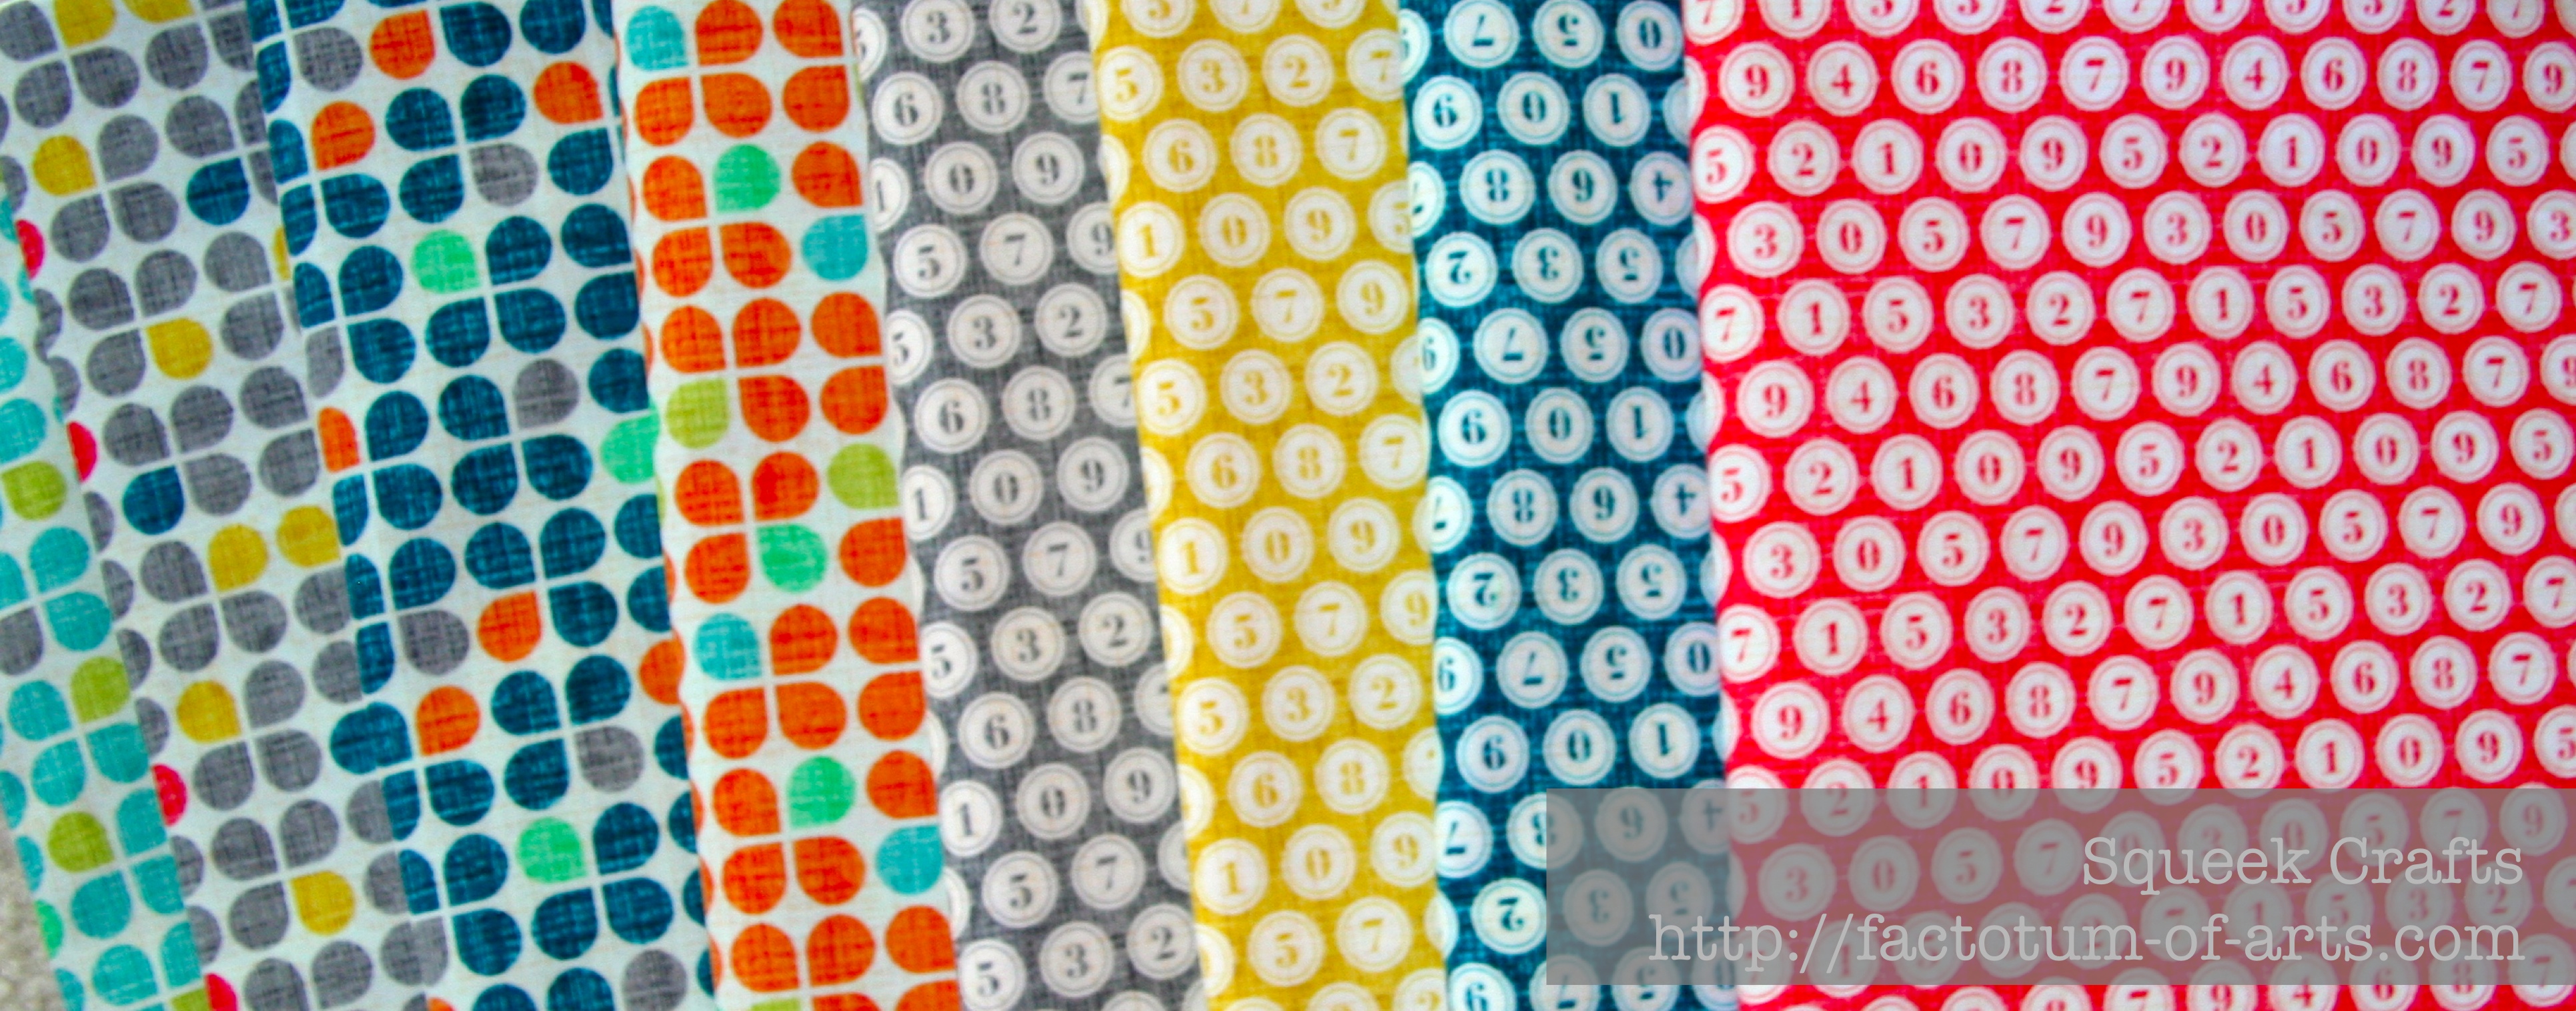
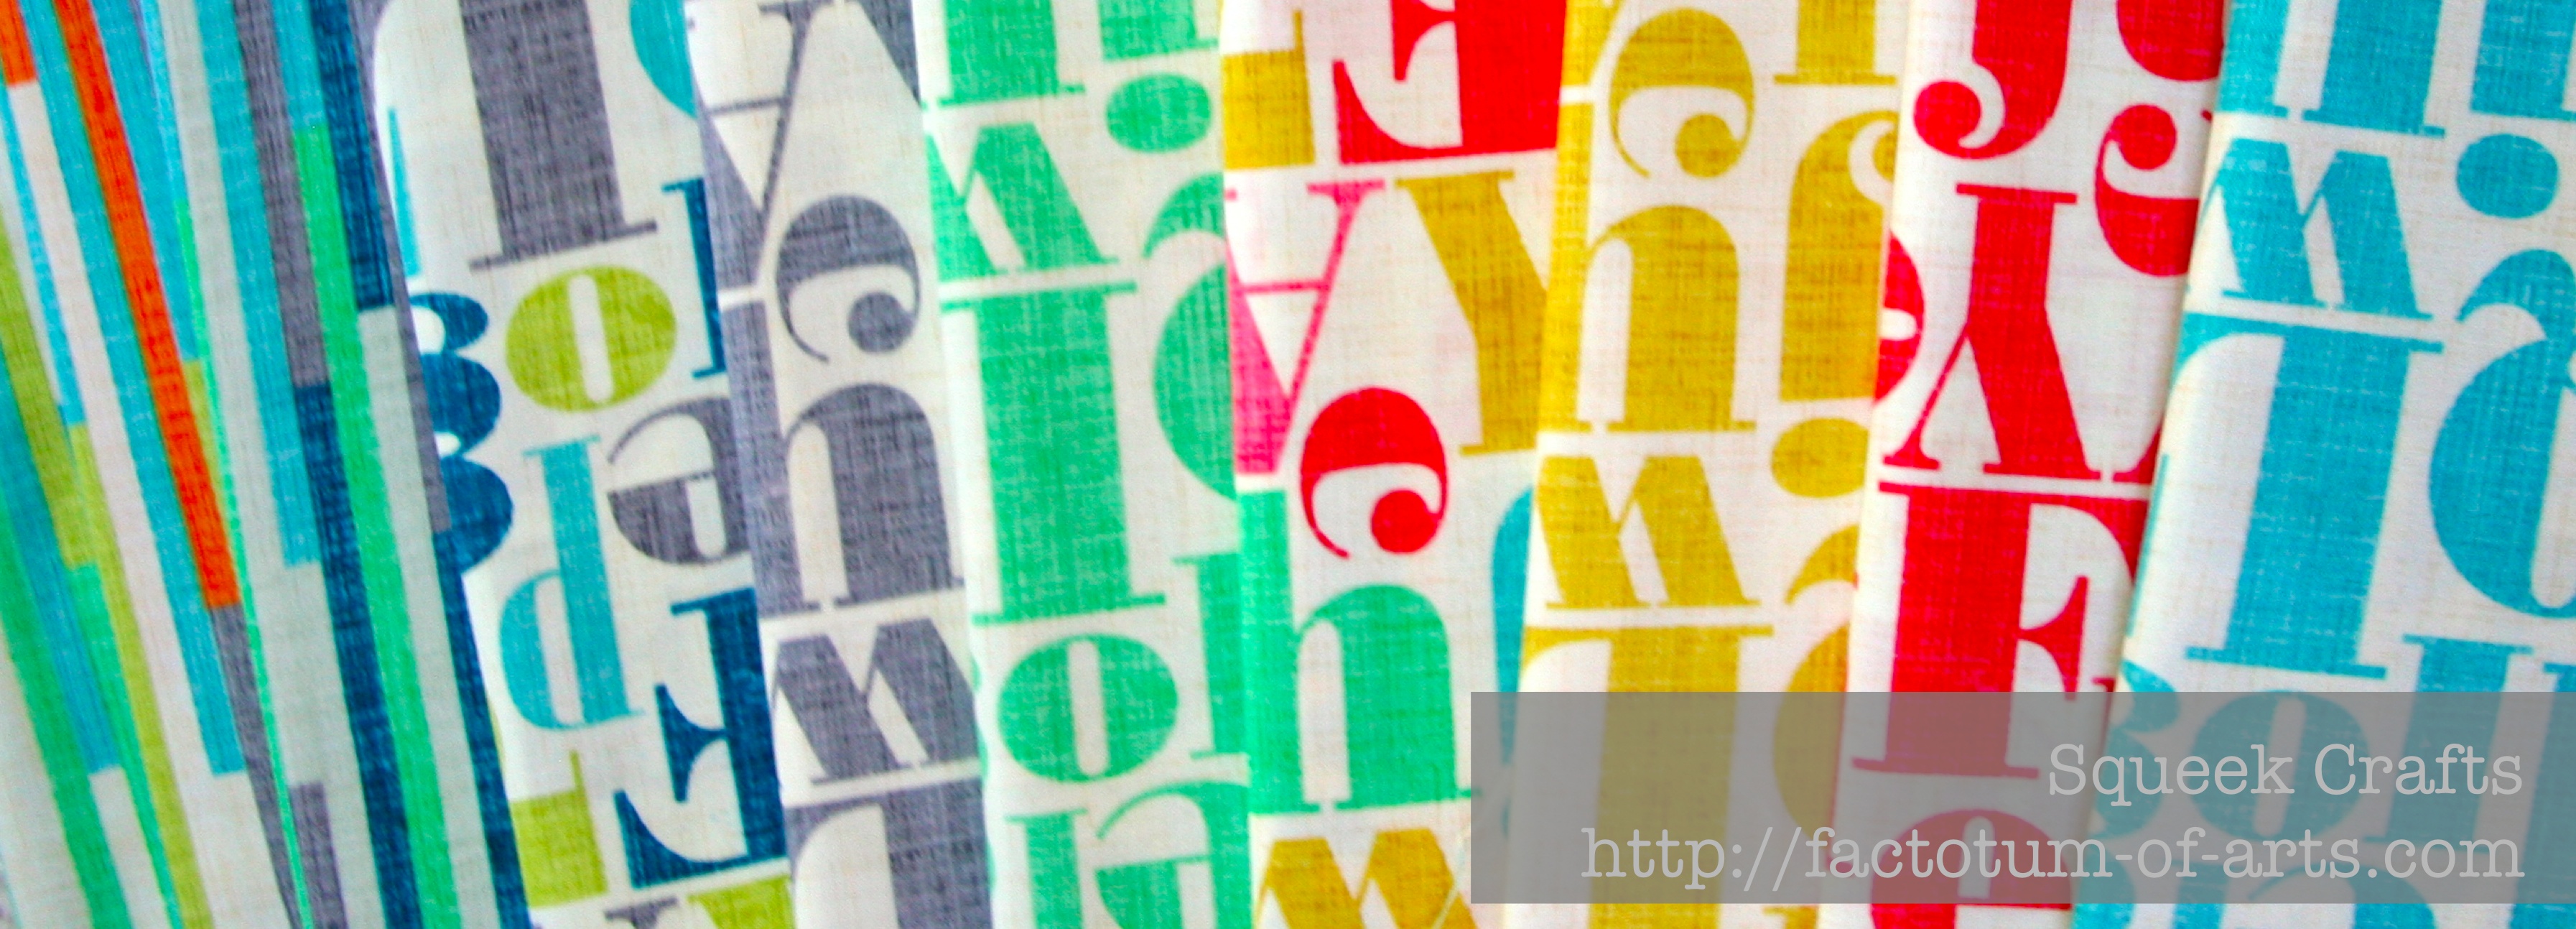
First off let me show my latest addition to my stash that I purchased from Hawthorne Threads. It is Just My Type by Patty Young for Michael Miller:
FabricStash_MyType2 FabricStash_MyType

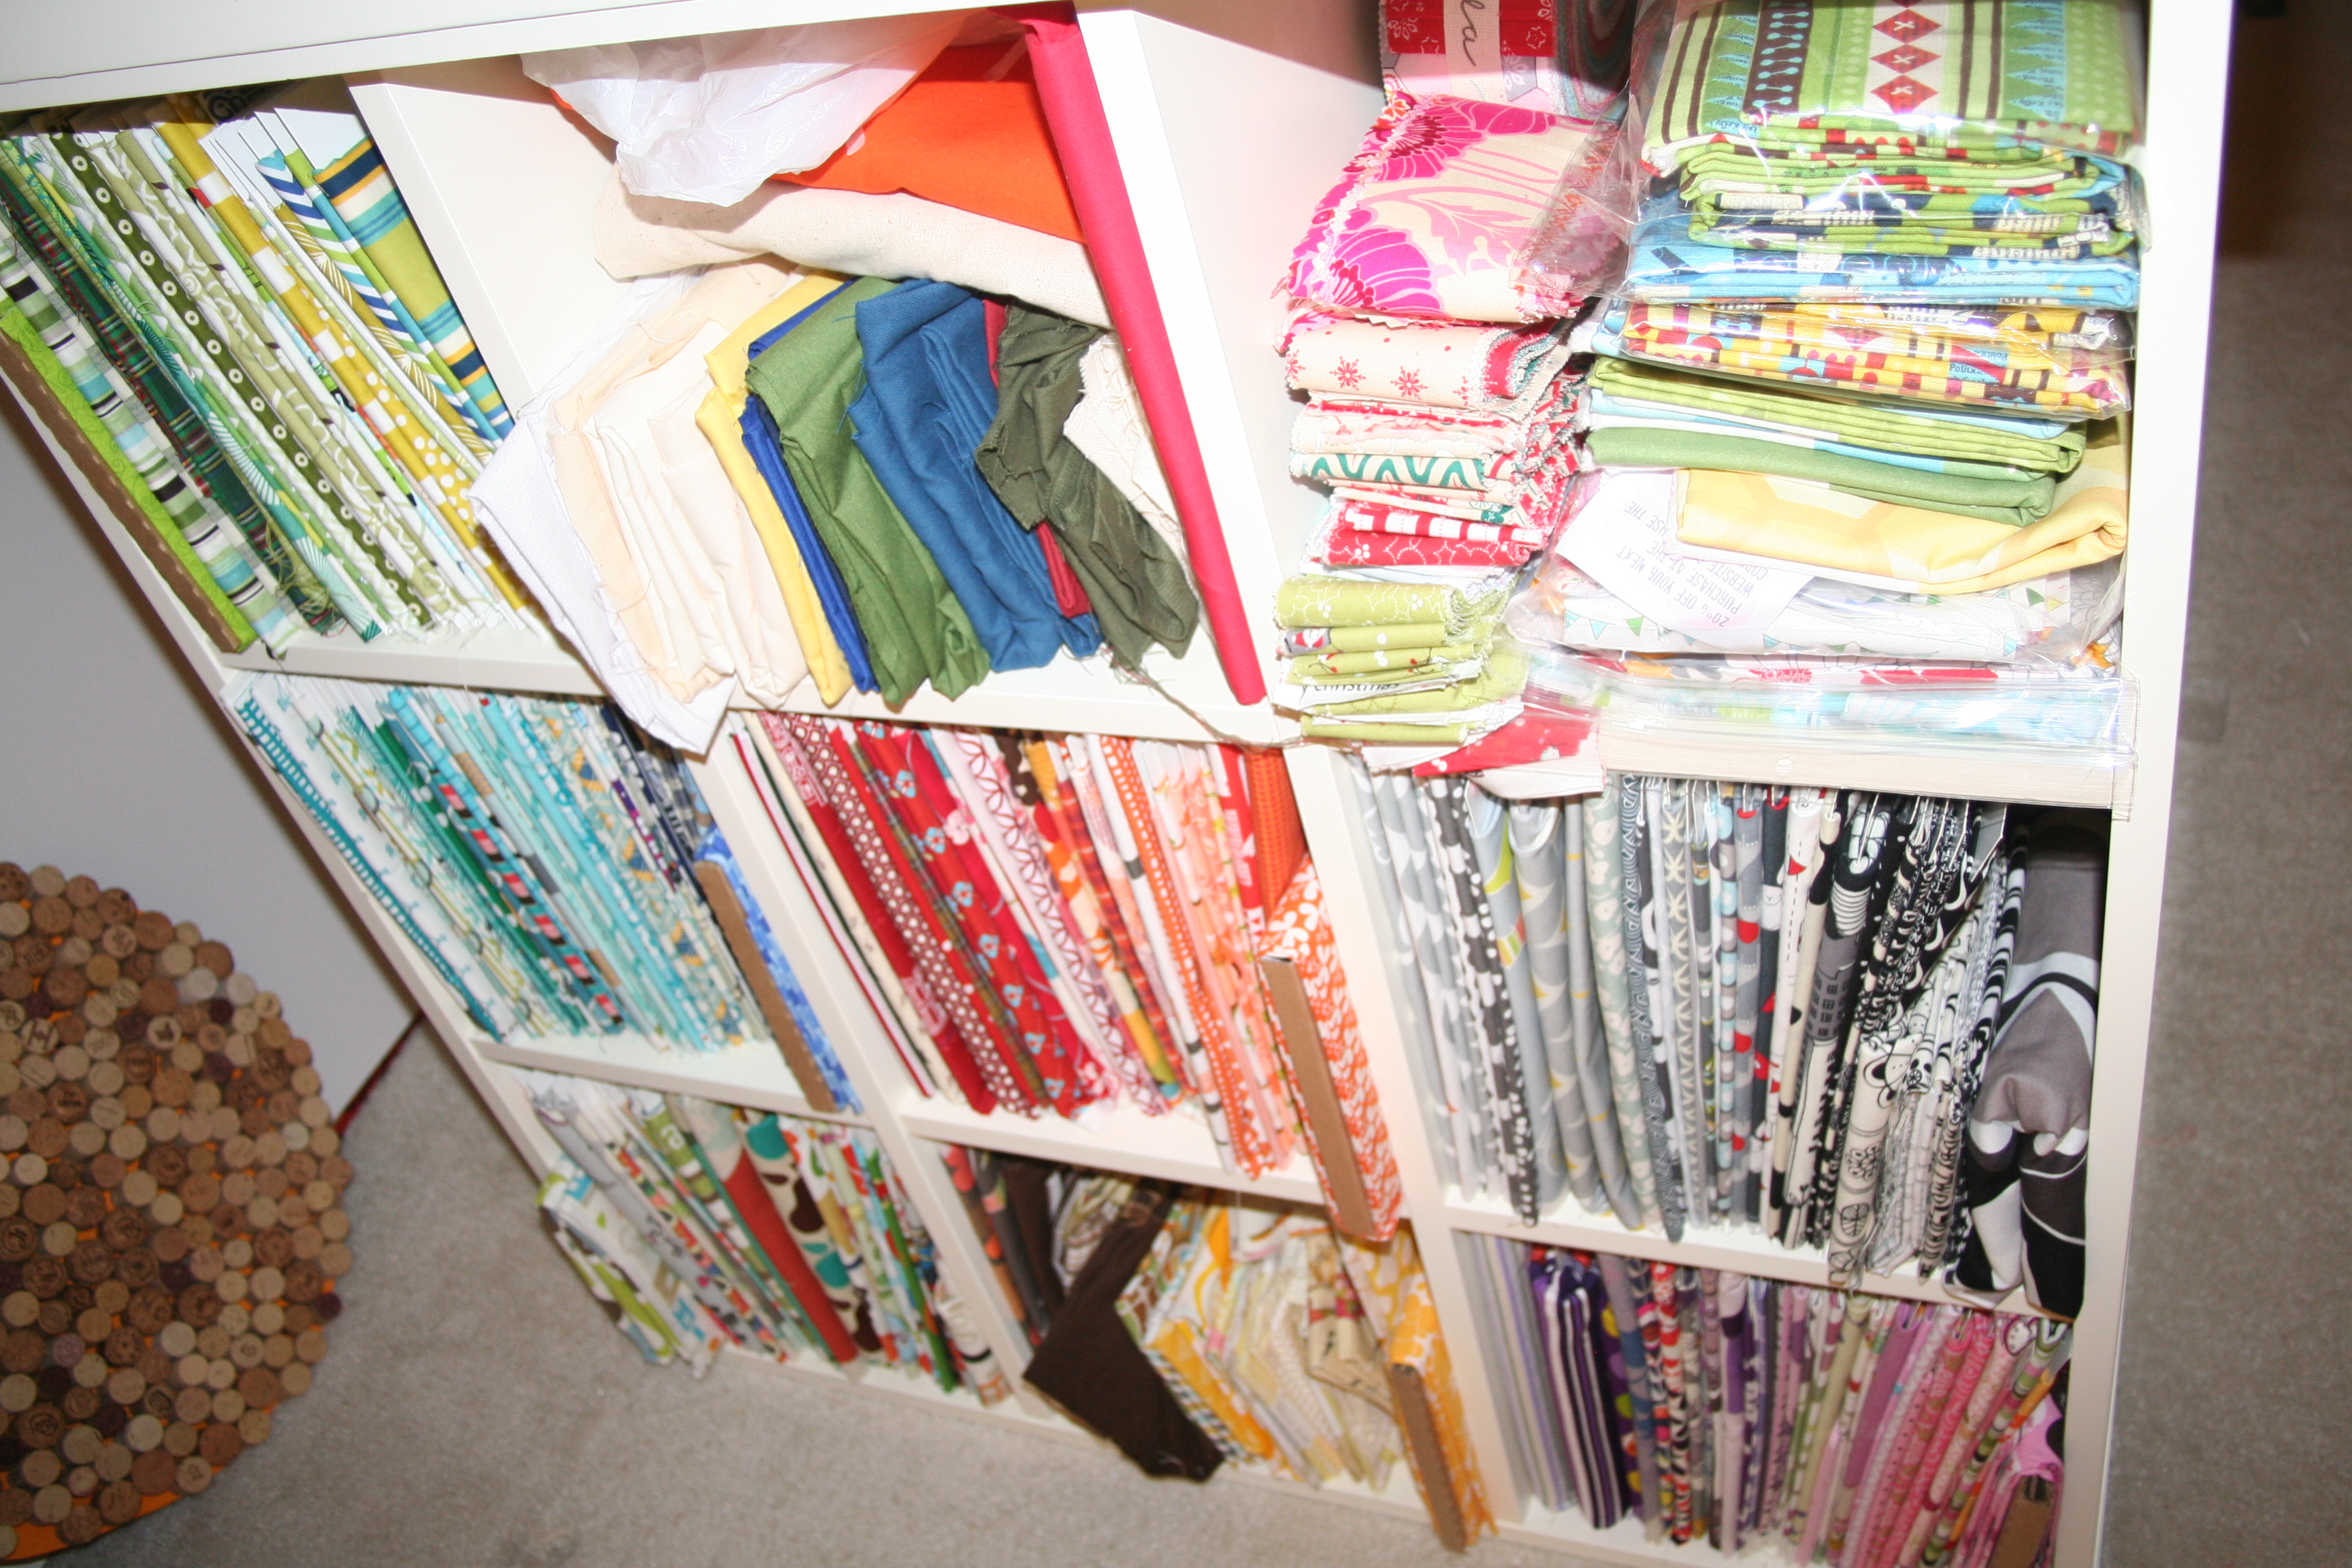
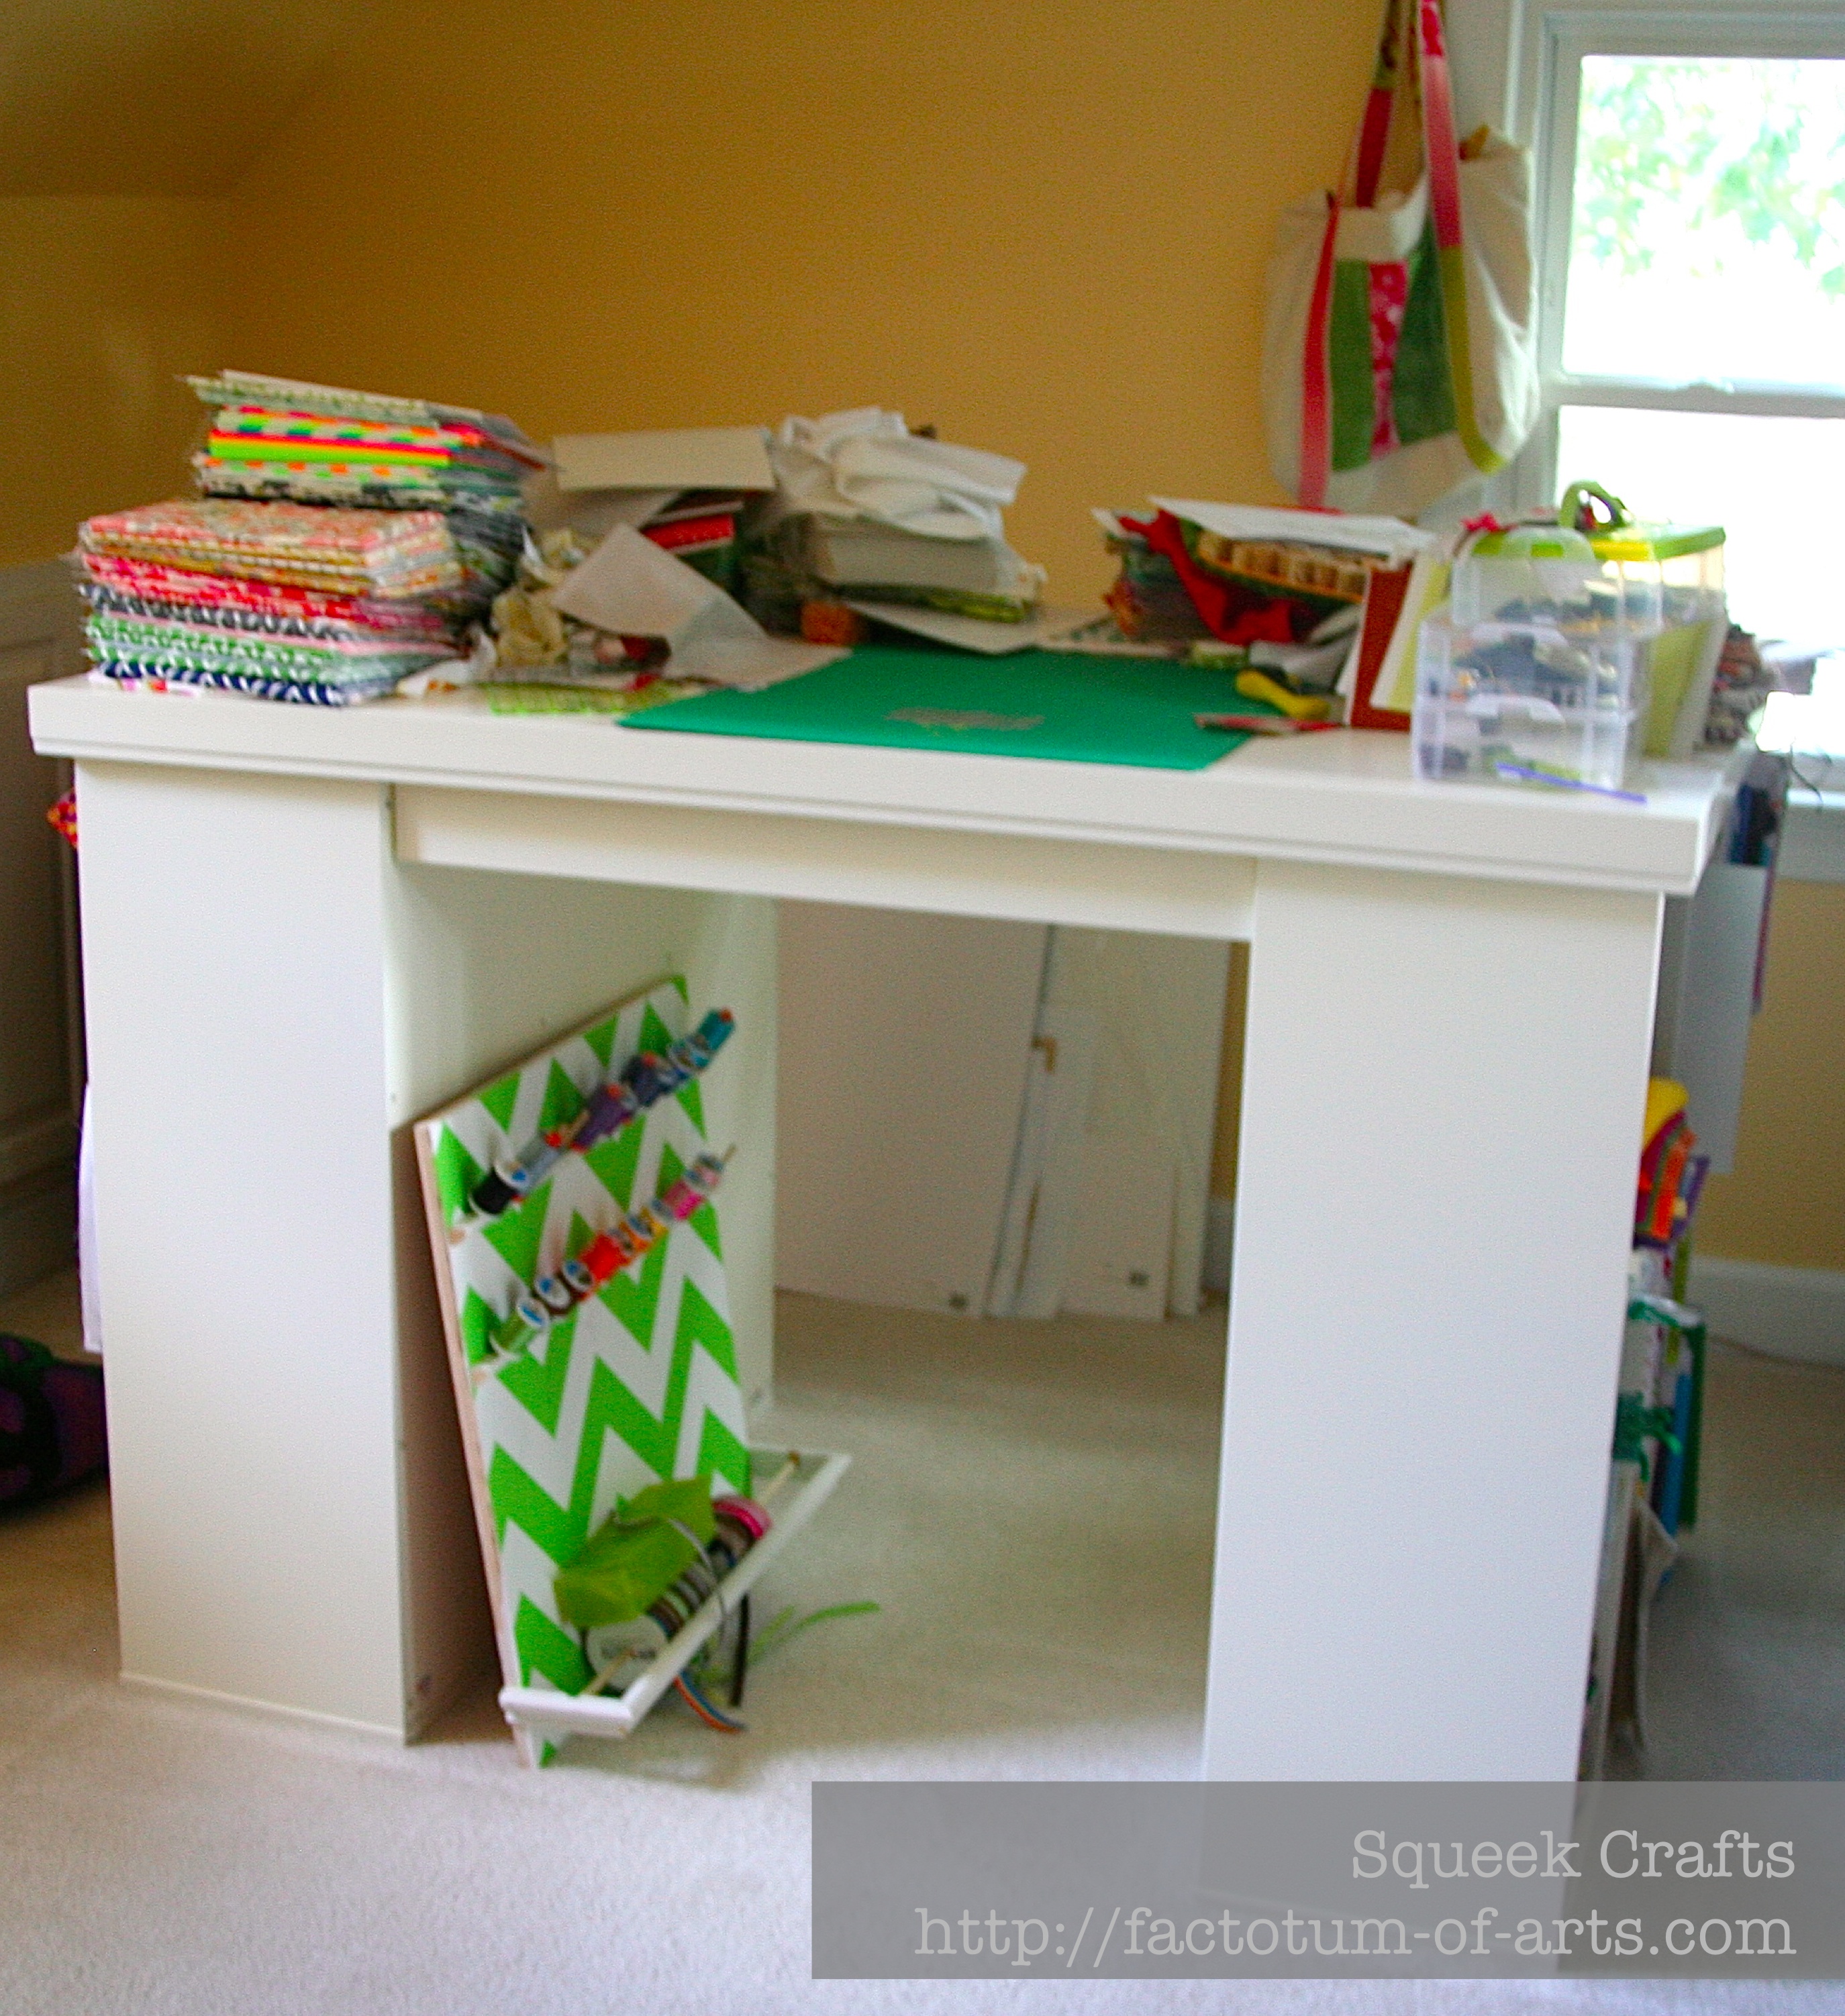
Ok, now onto my addiction (yes!!! I will be the first one to admit it is an addiction). I store my fabrics using comic board inserts and store most of my fabric in my work table. At the moment, it is a little messy and I need to store all those fabrics onto somewhere 🙂
FabricStash_WorkTable

On one side, I store collections and solids. You may be able to recognize…Lotta Jansdotta Glimma, Stof Uno, Lizzy House Constellations, Indian Summer, and some Tula Pink. Not too bad right???
FabricStash_Collections

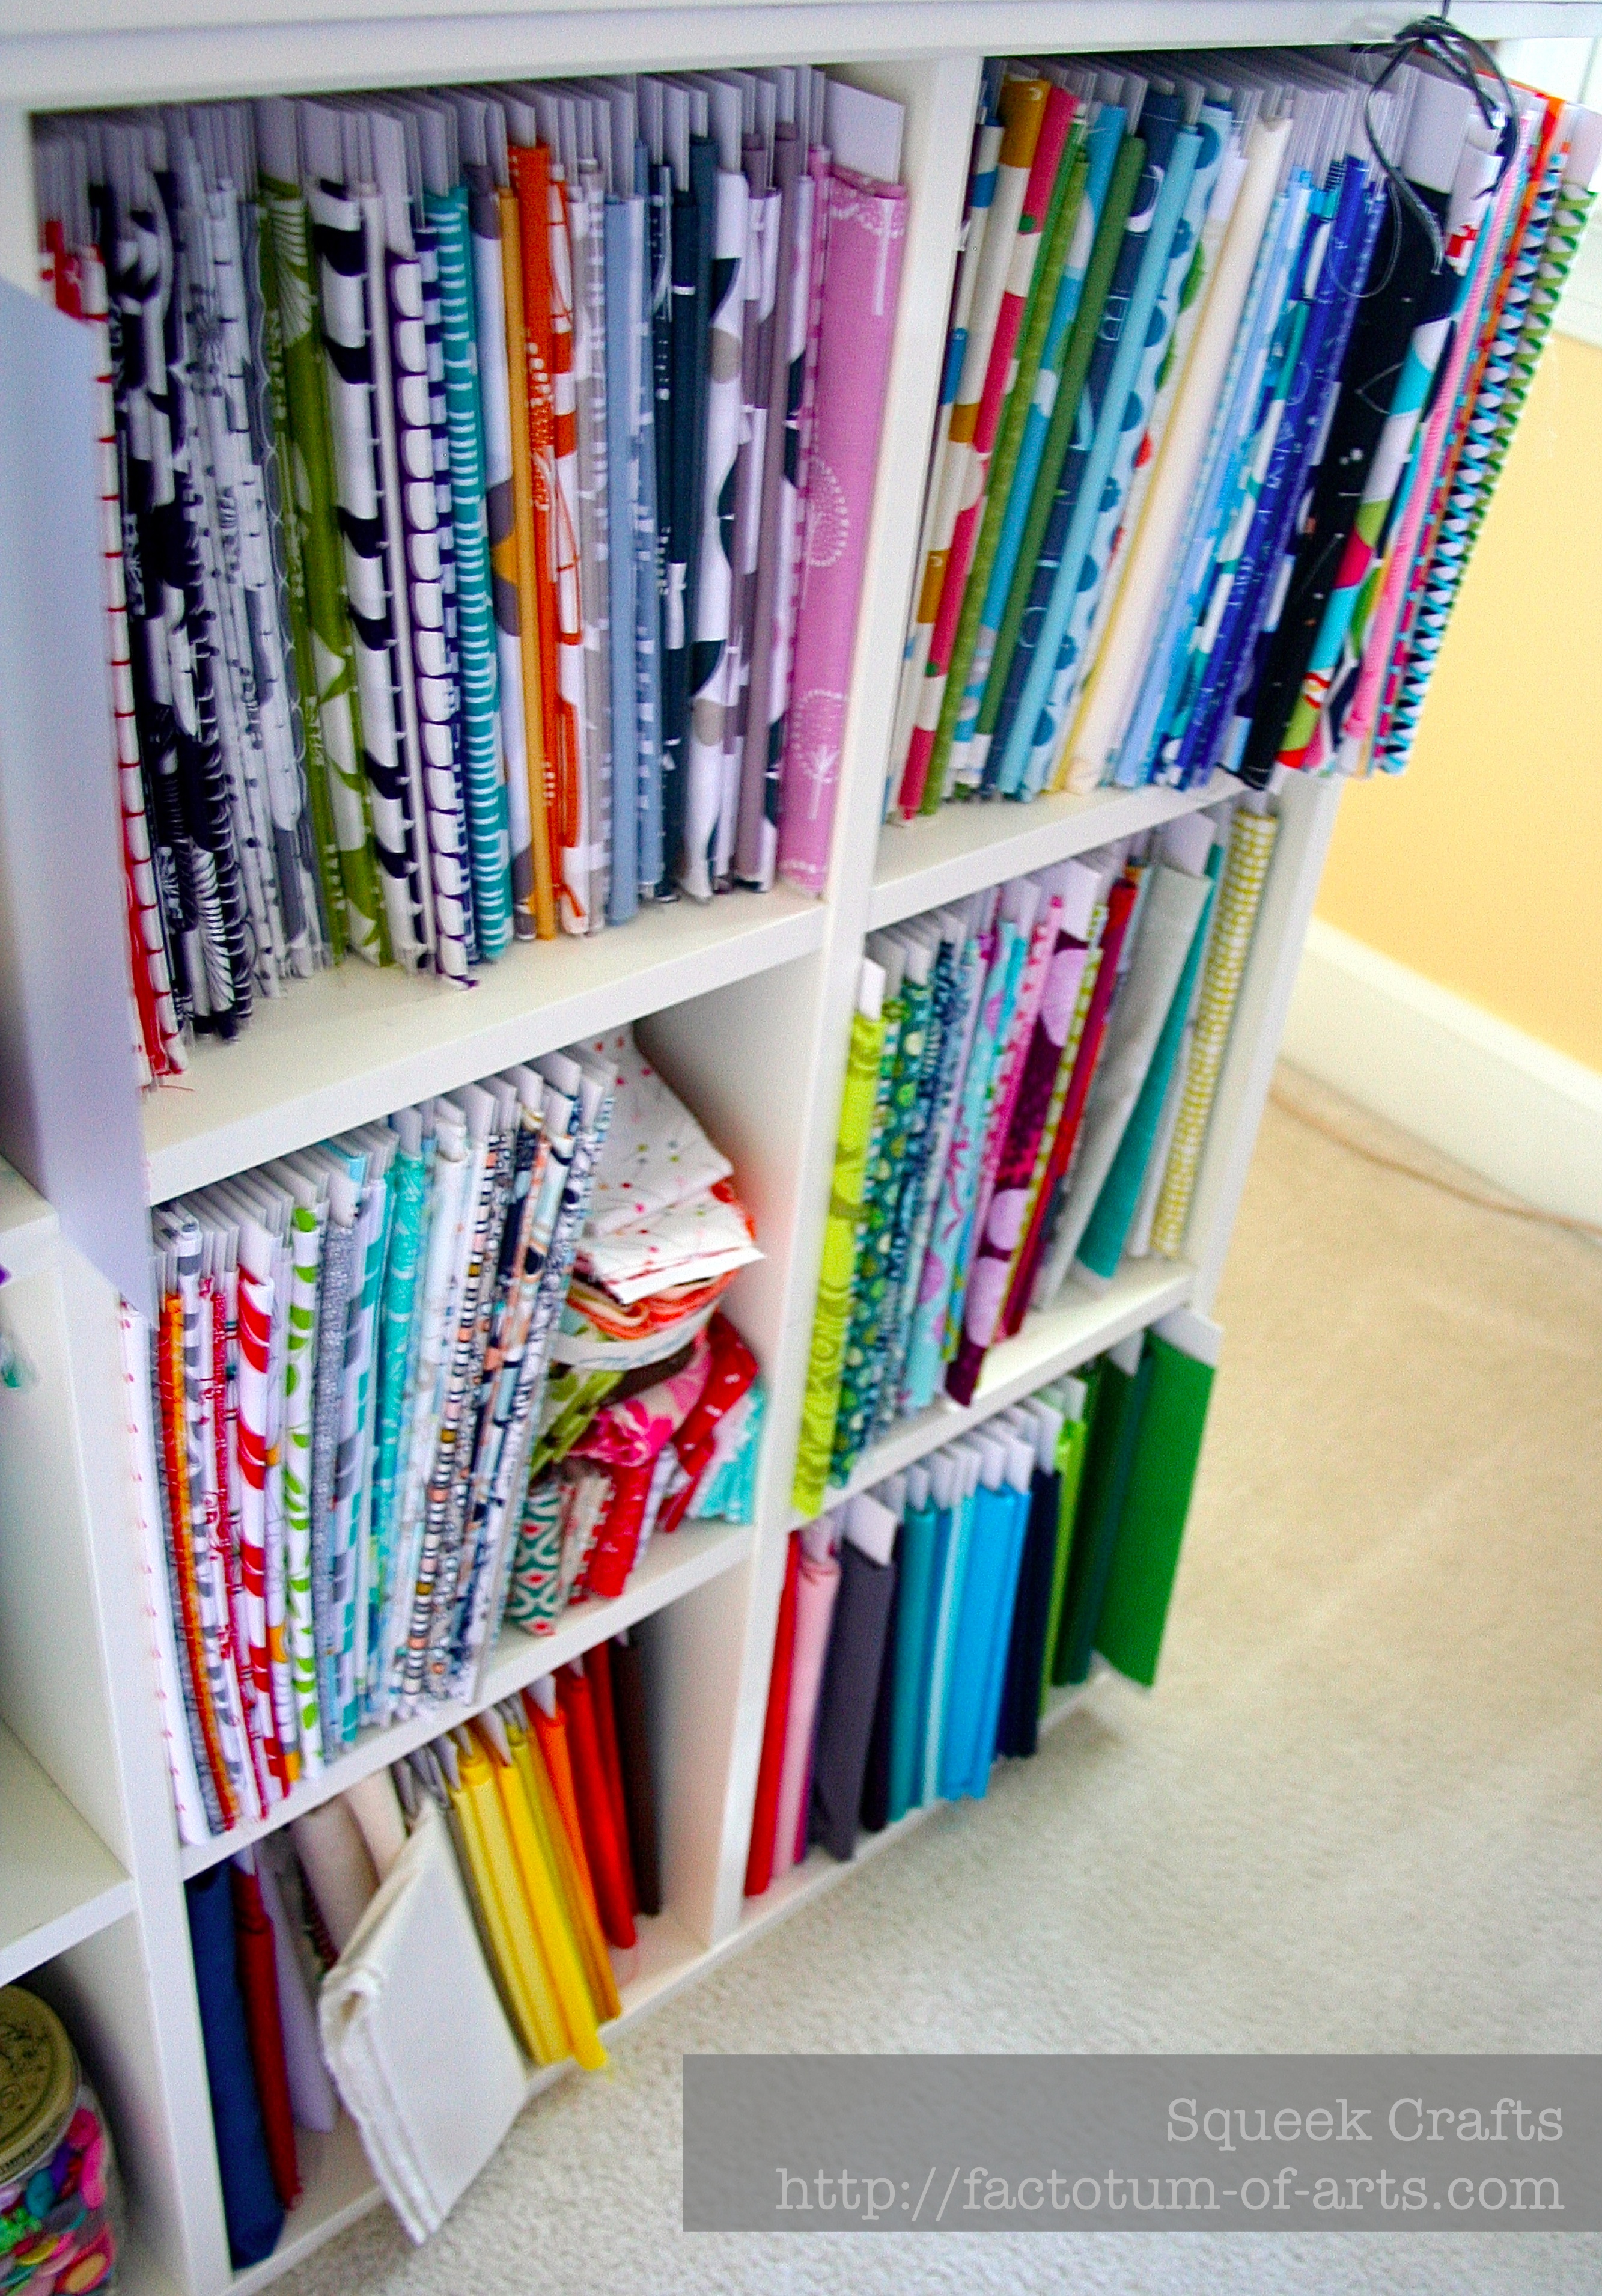
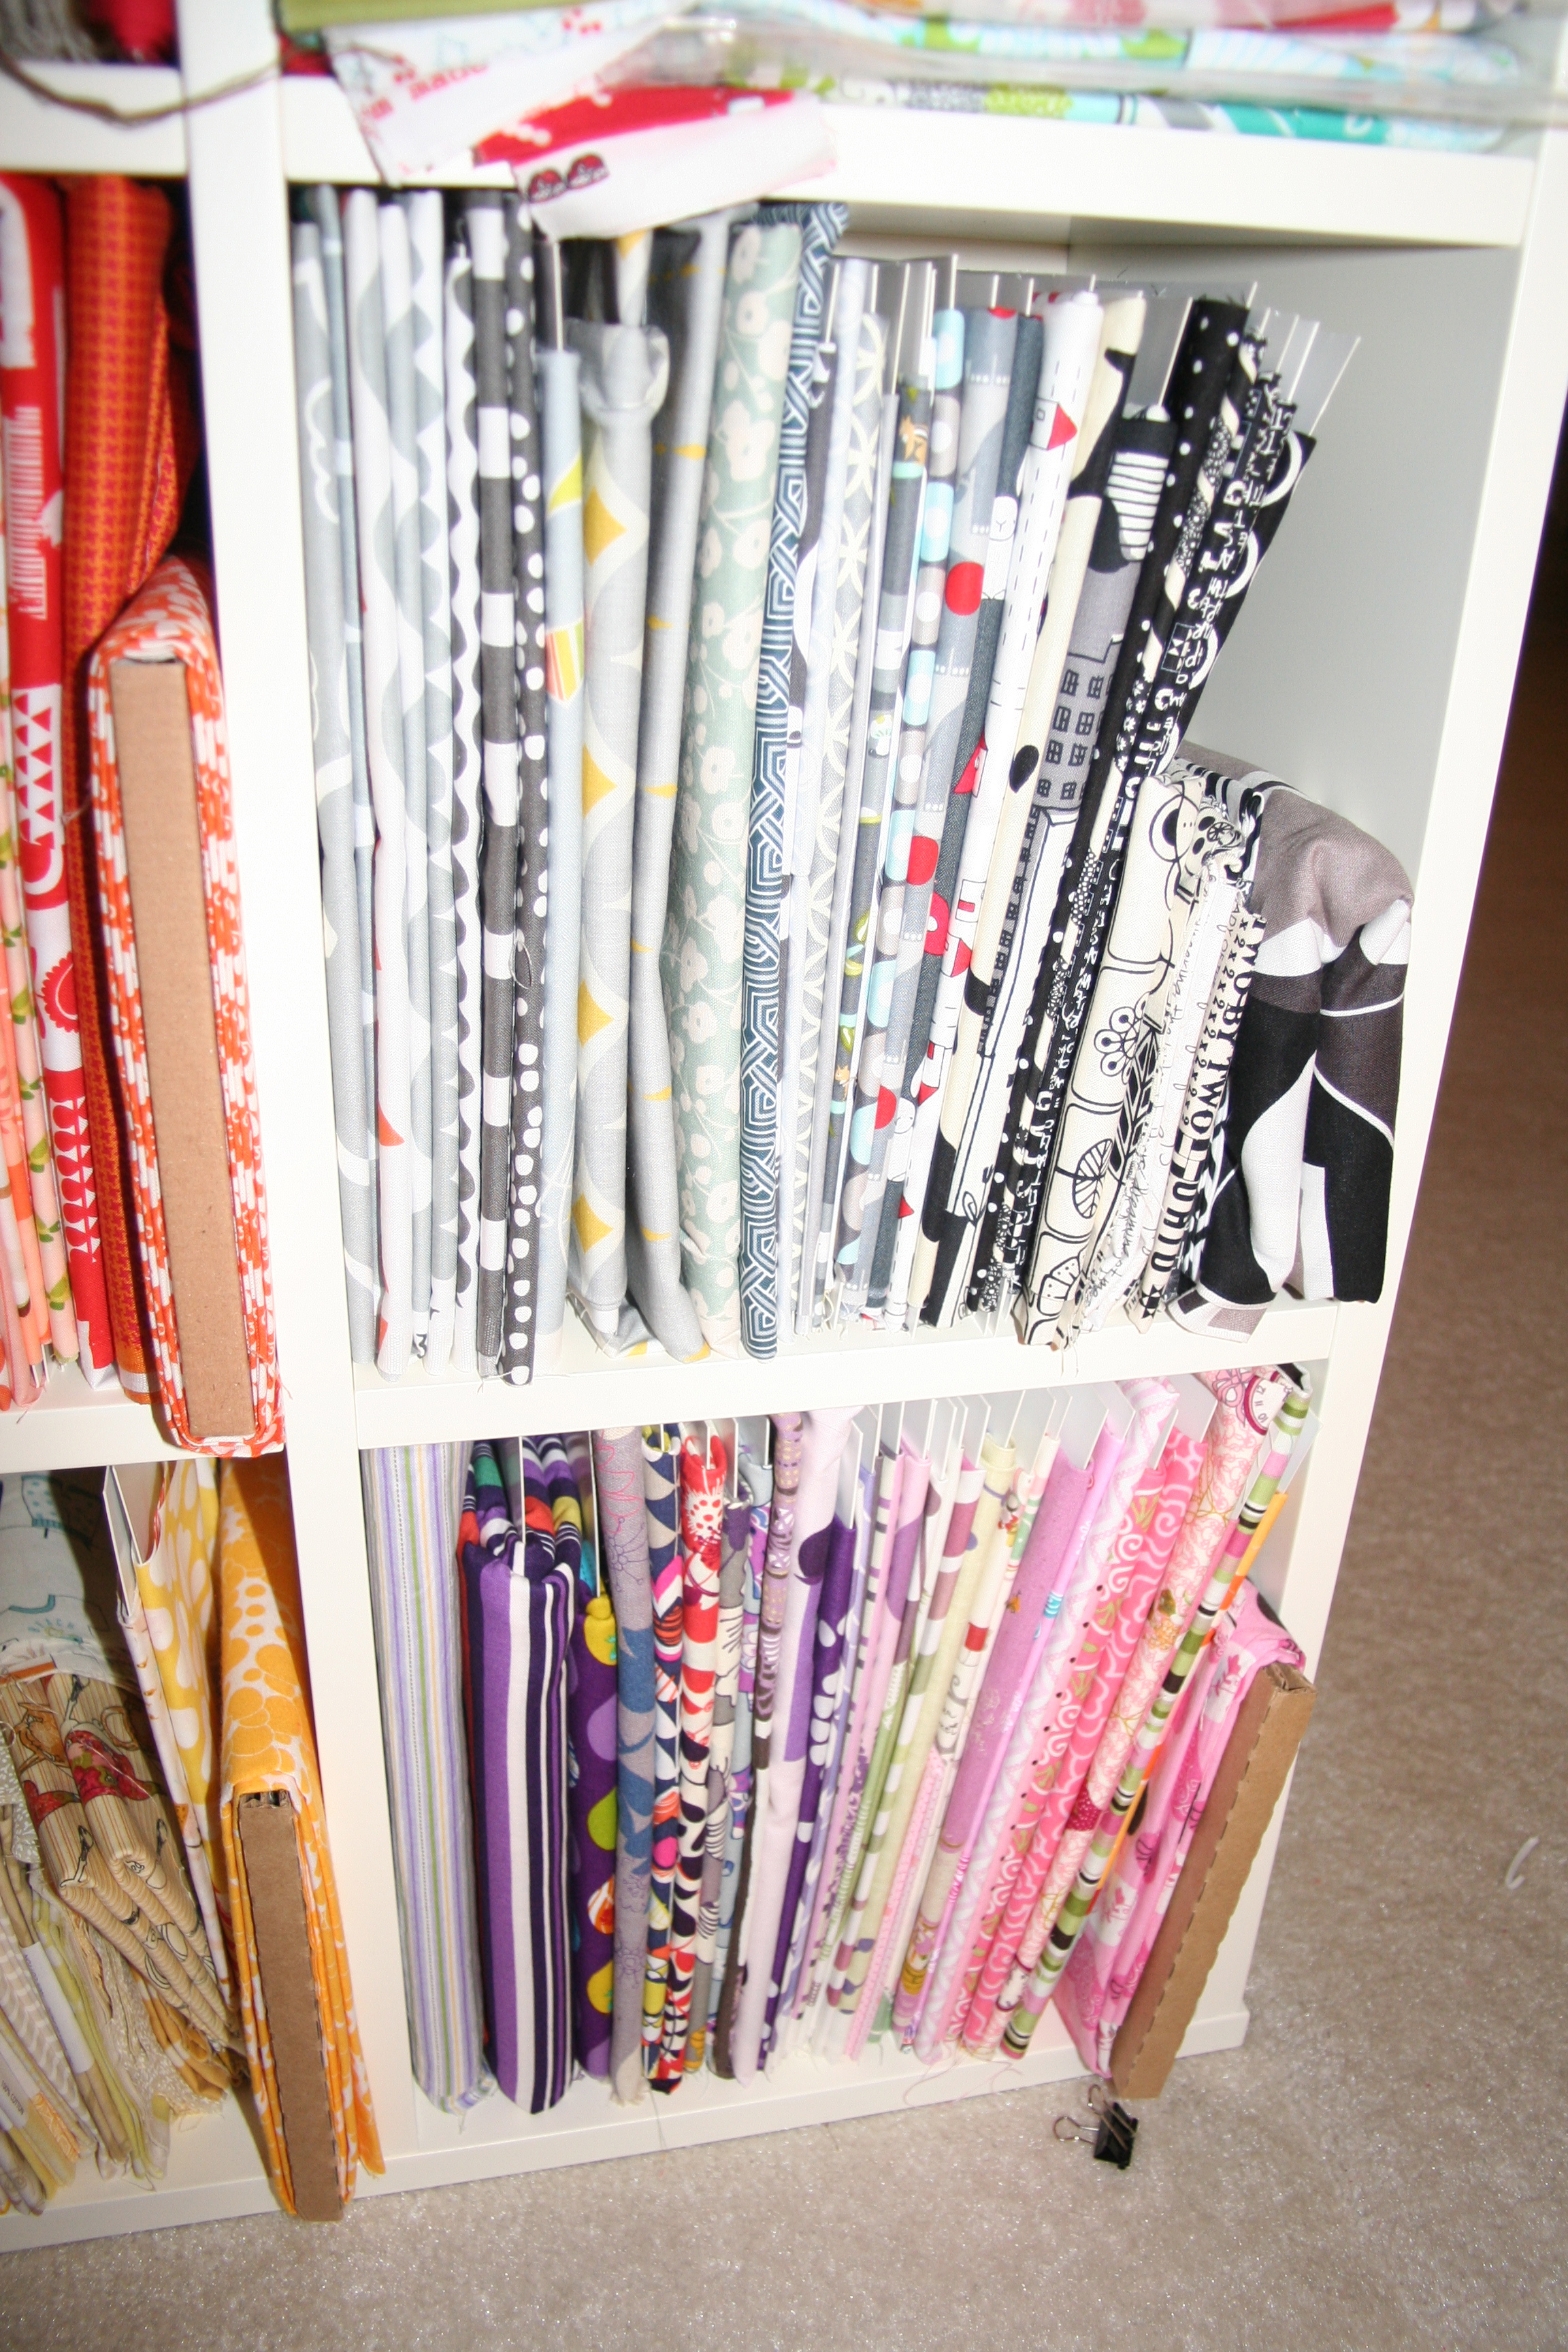
The other side I organize by color…and I am running out of space.
FabricStash

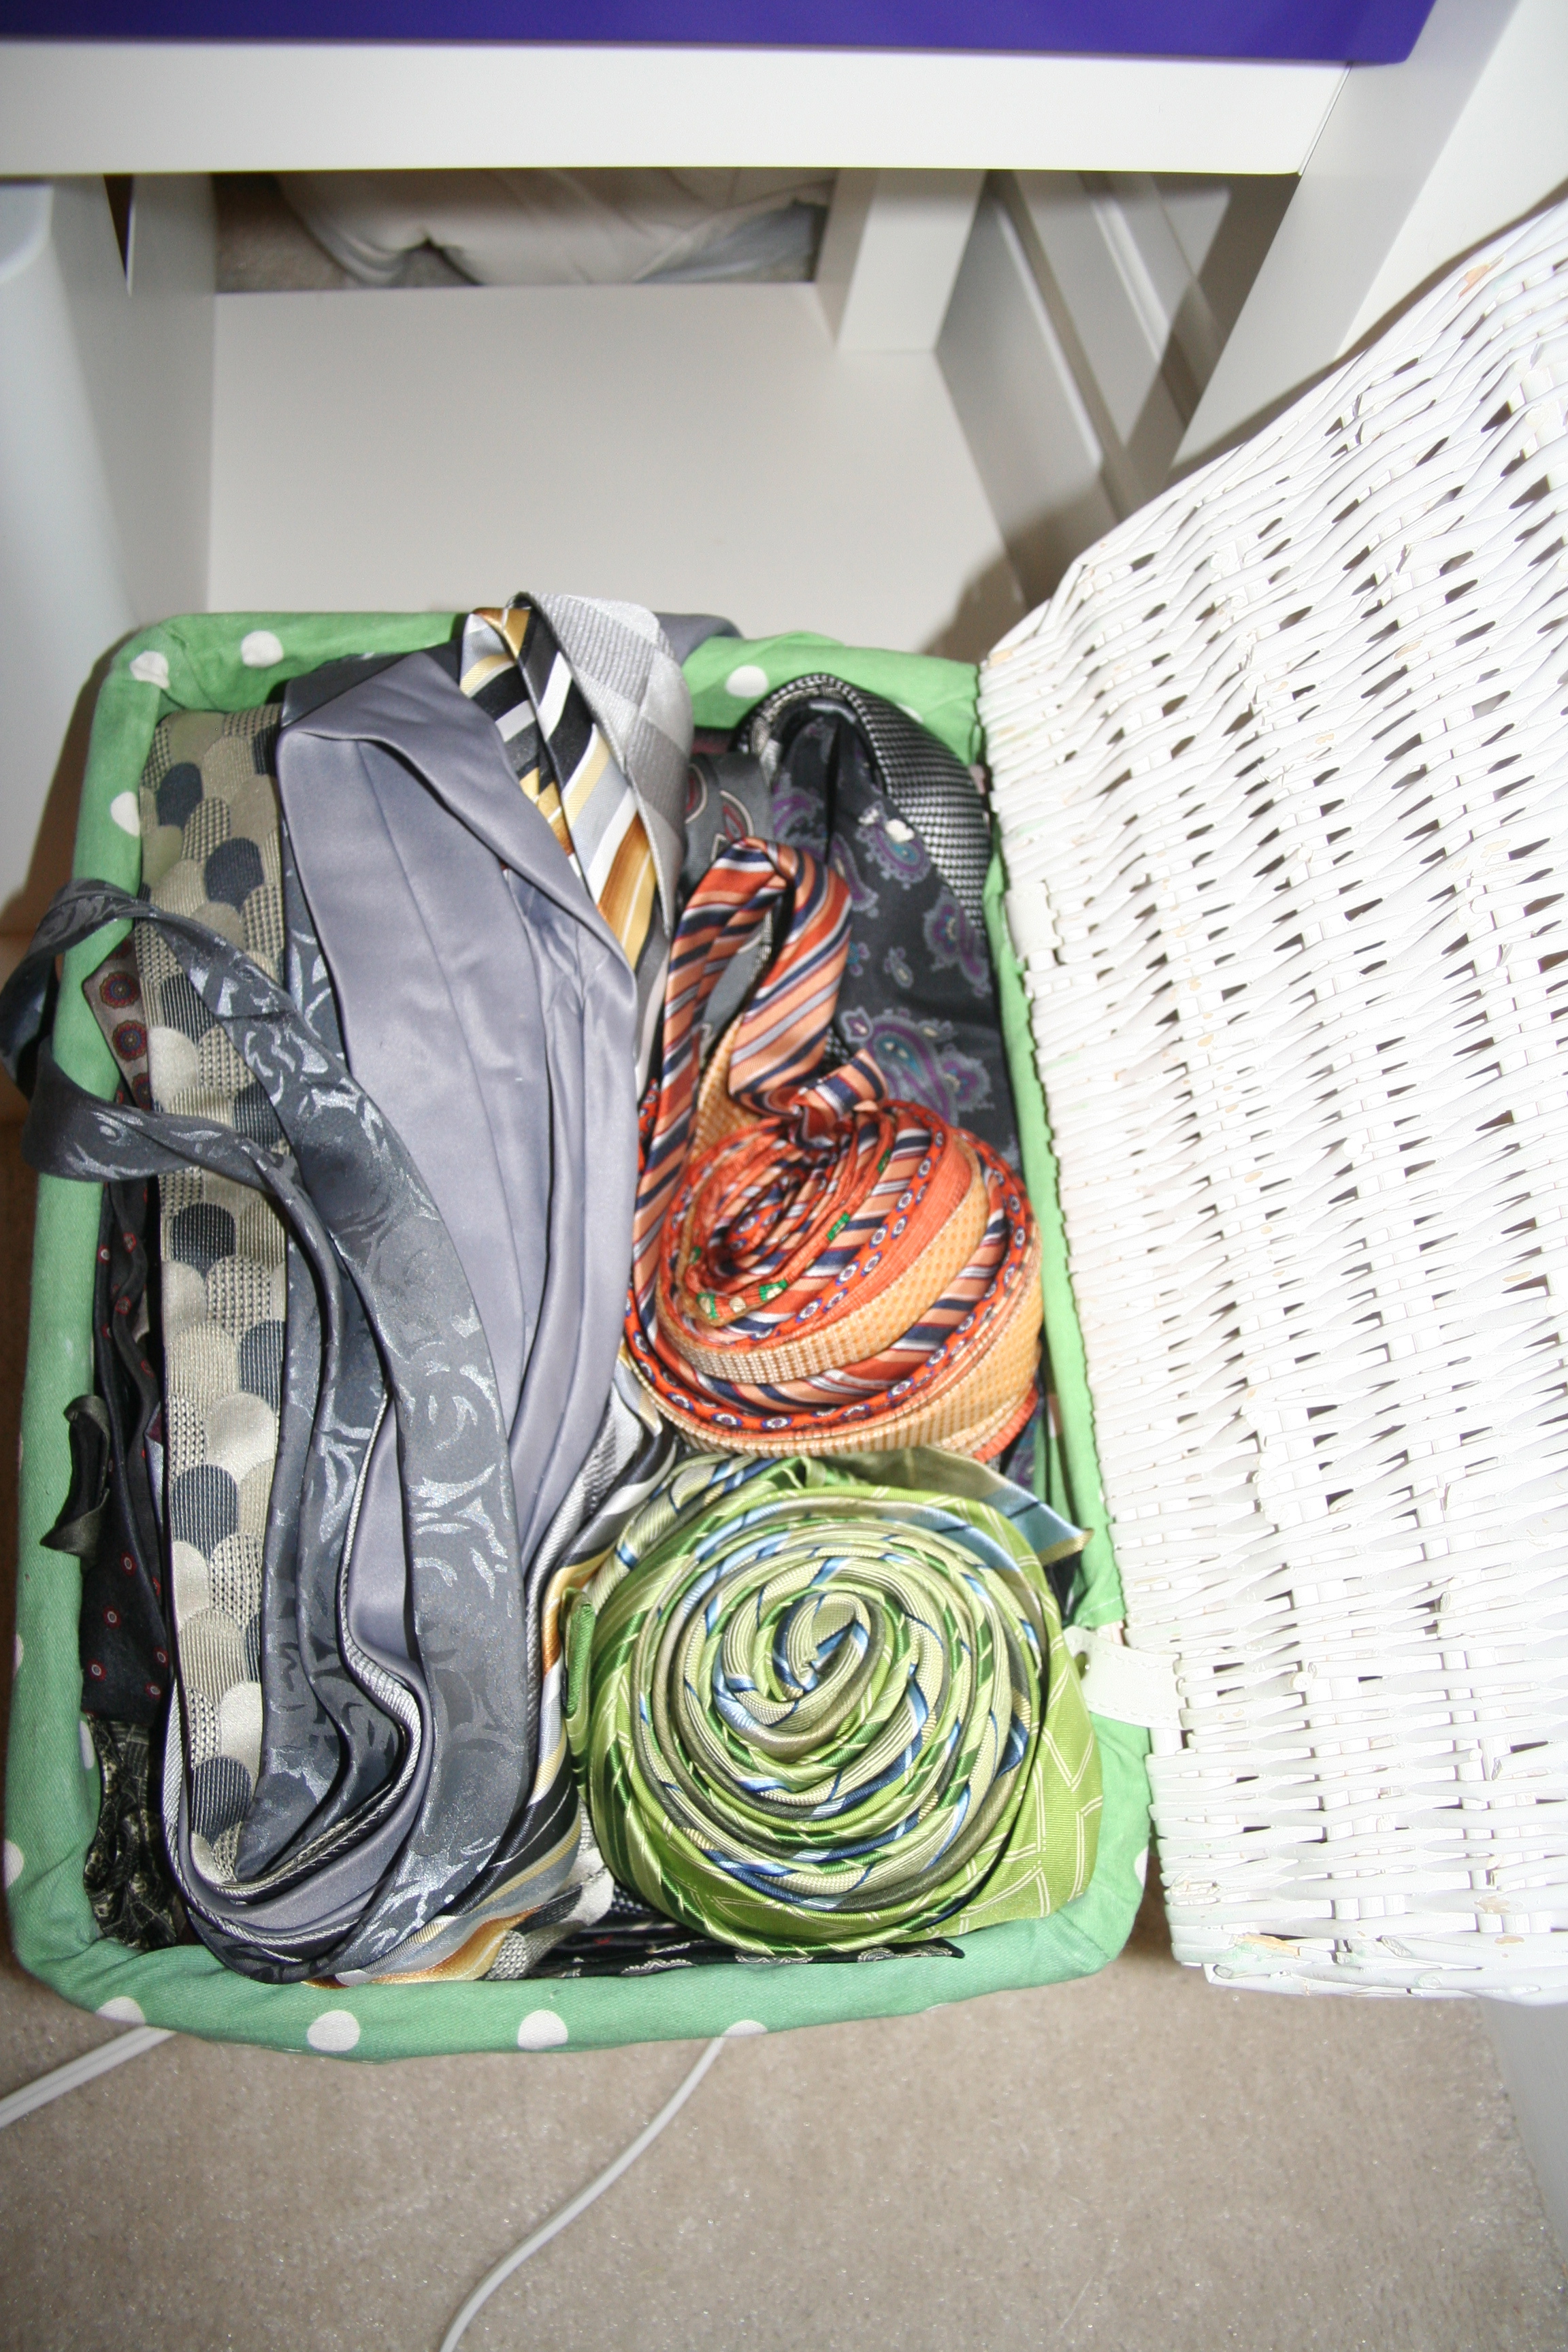
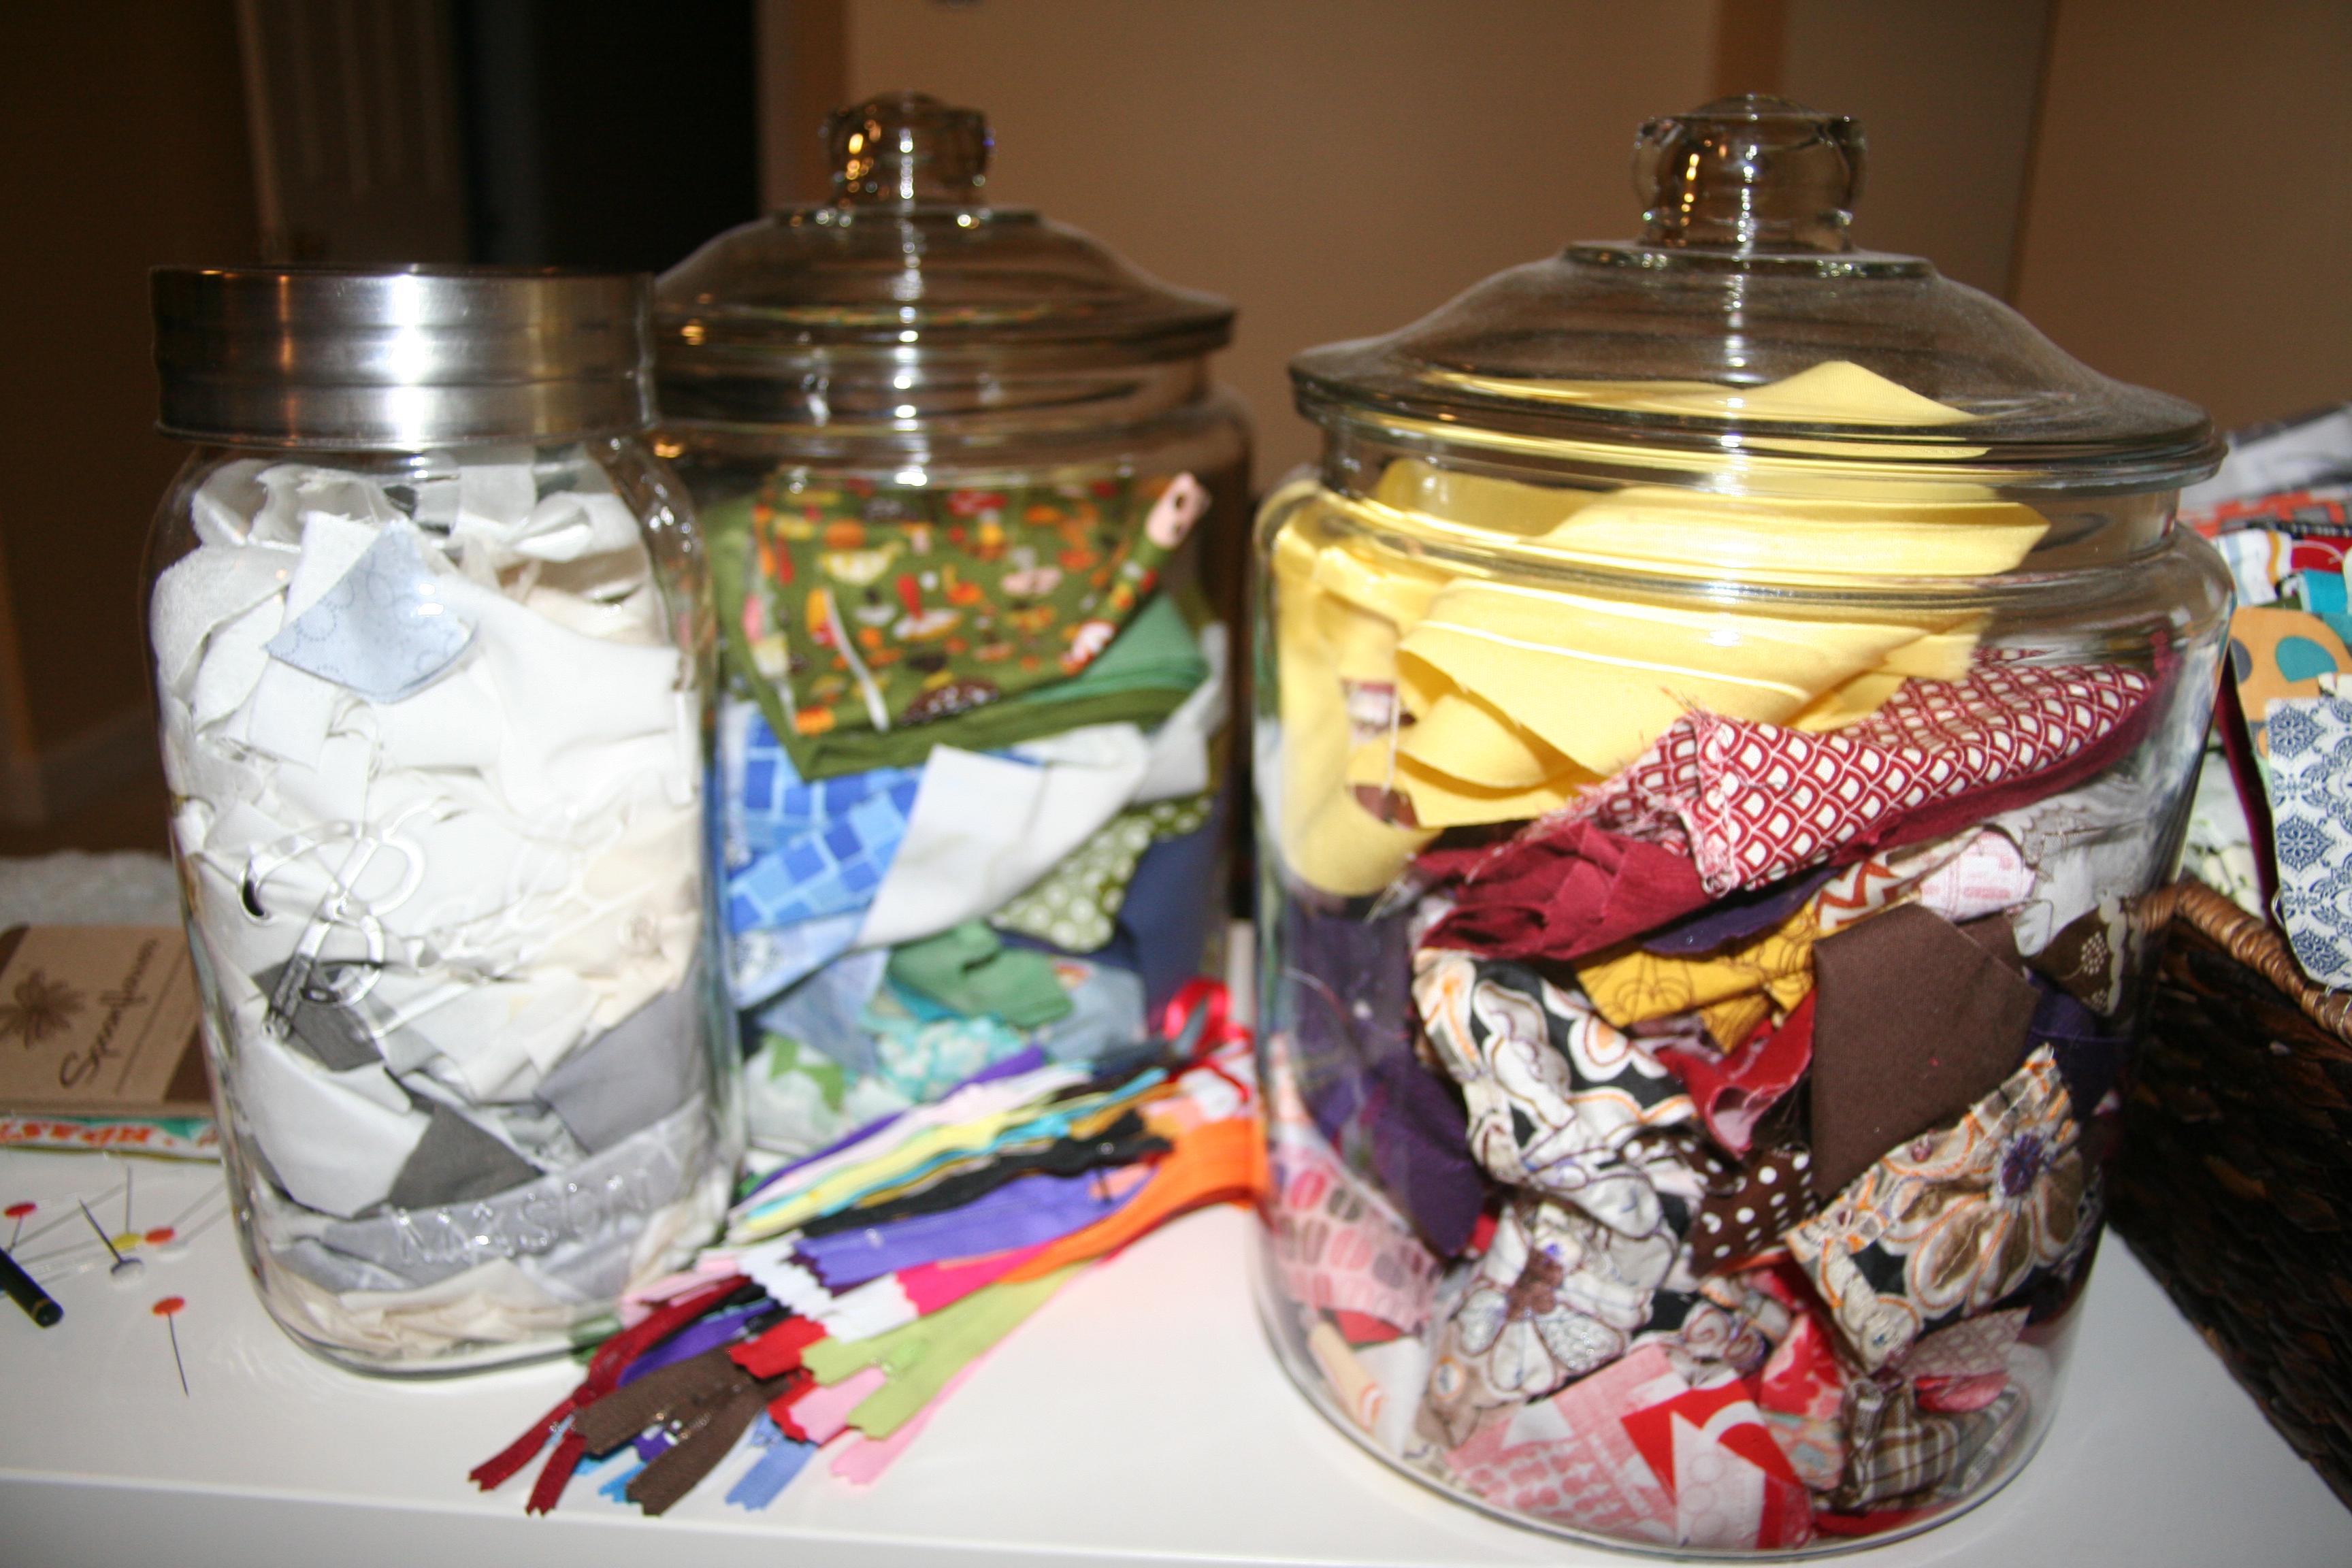
Finally I showed my new project storage and scraps the other week, but this book-case also stores my linens, charm backs and corduroy.
ProjectStorage_1

That is my stash, I am linking up with Sarah over @ Sarah Quilts.

Addicted – my work in progress

So, this is the post where I admit I am addicted to buying fabric. Yes, like many out there – I can’t help myself. I see a cool new print or fabric line and I get an idea and I just have to have it. I promise I have a plan and idea for all of it 😉

I discovered, this week, how bad it is when I decided to start organizing my fabric and workspace. This is my work in progress this week (linking up to freshly pieced)…..keep reading my admission below.

WIP Wednesday at Freshly Pieced

Below, are photo’s my fabric in the middle of being organized. I am using comic book boards (which are amazing) to stack my fabric easily and allowing visibility. After going through 200 boards and still only 2/3 of the way through….I was thinking – oops, that is a lot of fabric. Now, to some this might not seem to bad but wait – I only started buying fabric sometime September or October last year (yes I am saying…no more than 5 months). Hmmmm….but it sure looks pretty.

IMG_6906 IMG_6907 IMG_6908

But wait there is more…..this is my basket full of more fabric that I am using for dedicated projects – there are at least another 50 fabrics in this basket and most of it is from spoonflower.com. Did I say addicted…..well spoonflower is my favorite shop 🙂

IMG_6915

So I mentioned and showed you my fabric, well the other part of my crafts include men’s neck ties…..this is my collection for making neck tie art pieces.IMG_6921

Lastly – here are my scrap jars for all my fabric scraps. I would love to here about your craft addictions (help me feel better, maybe I am part of a club 😉 ).IMG_6920


Oooh – I forgot, here is my most recent purchase which may have to be my last for a while….I love it – my son’s school’s mascot is a penguin and I will use this for gifts for the teachers at the end of the school year.
IMG_6912

Craft storage board in the making

I decided that I need a craft storage board for my cottons, ribbons and scissors to get them off my sewing table.

Deciding that I can make it myself, I went off to Lowes Hardware and bought a pre-cut board. I really wanted a green chevron pattern for the base.

I painted the board with a premium white primer (3 coats) and once dried I went about laying the blue painters tape on the board to mark out my pattern. I used my 5 1/2 on square to get the perfect 2 inch alternating stripes. Below is board with all stripes laid down and the first coat of green wall paint.

After 4 coats of green paint (making sure it was dry before each application) the green was done. Leaving it to become touch dry, I then removed the painters tape – this is how it turned out. I was very pleased.

Next steps, I need to add:

  • hooks on the bottom for scissors
  • dowel bits at an angle (2-3 rows) so I can put cotton
  • 1 row of dowel with two end pieces that will hold my ribbon

I will post photos once it is all finished.