Author Archives: mlwilkie

Unknown's avatar

About mlwilkie

Software Developer, Mother, Wife with keen interest in art, design and crafts of all kinds.

Backyard Garden Design: Part 1

Over the last year we started redesigning and transforming our back yard.

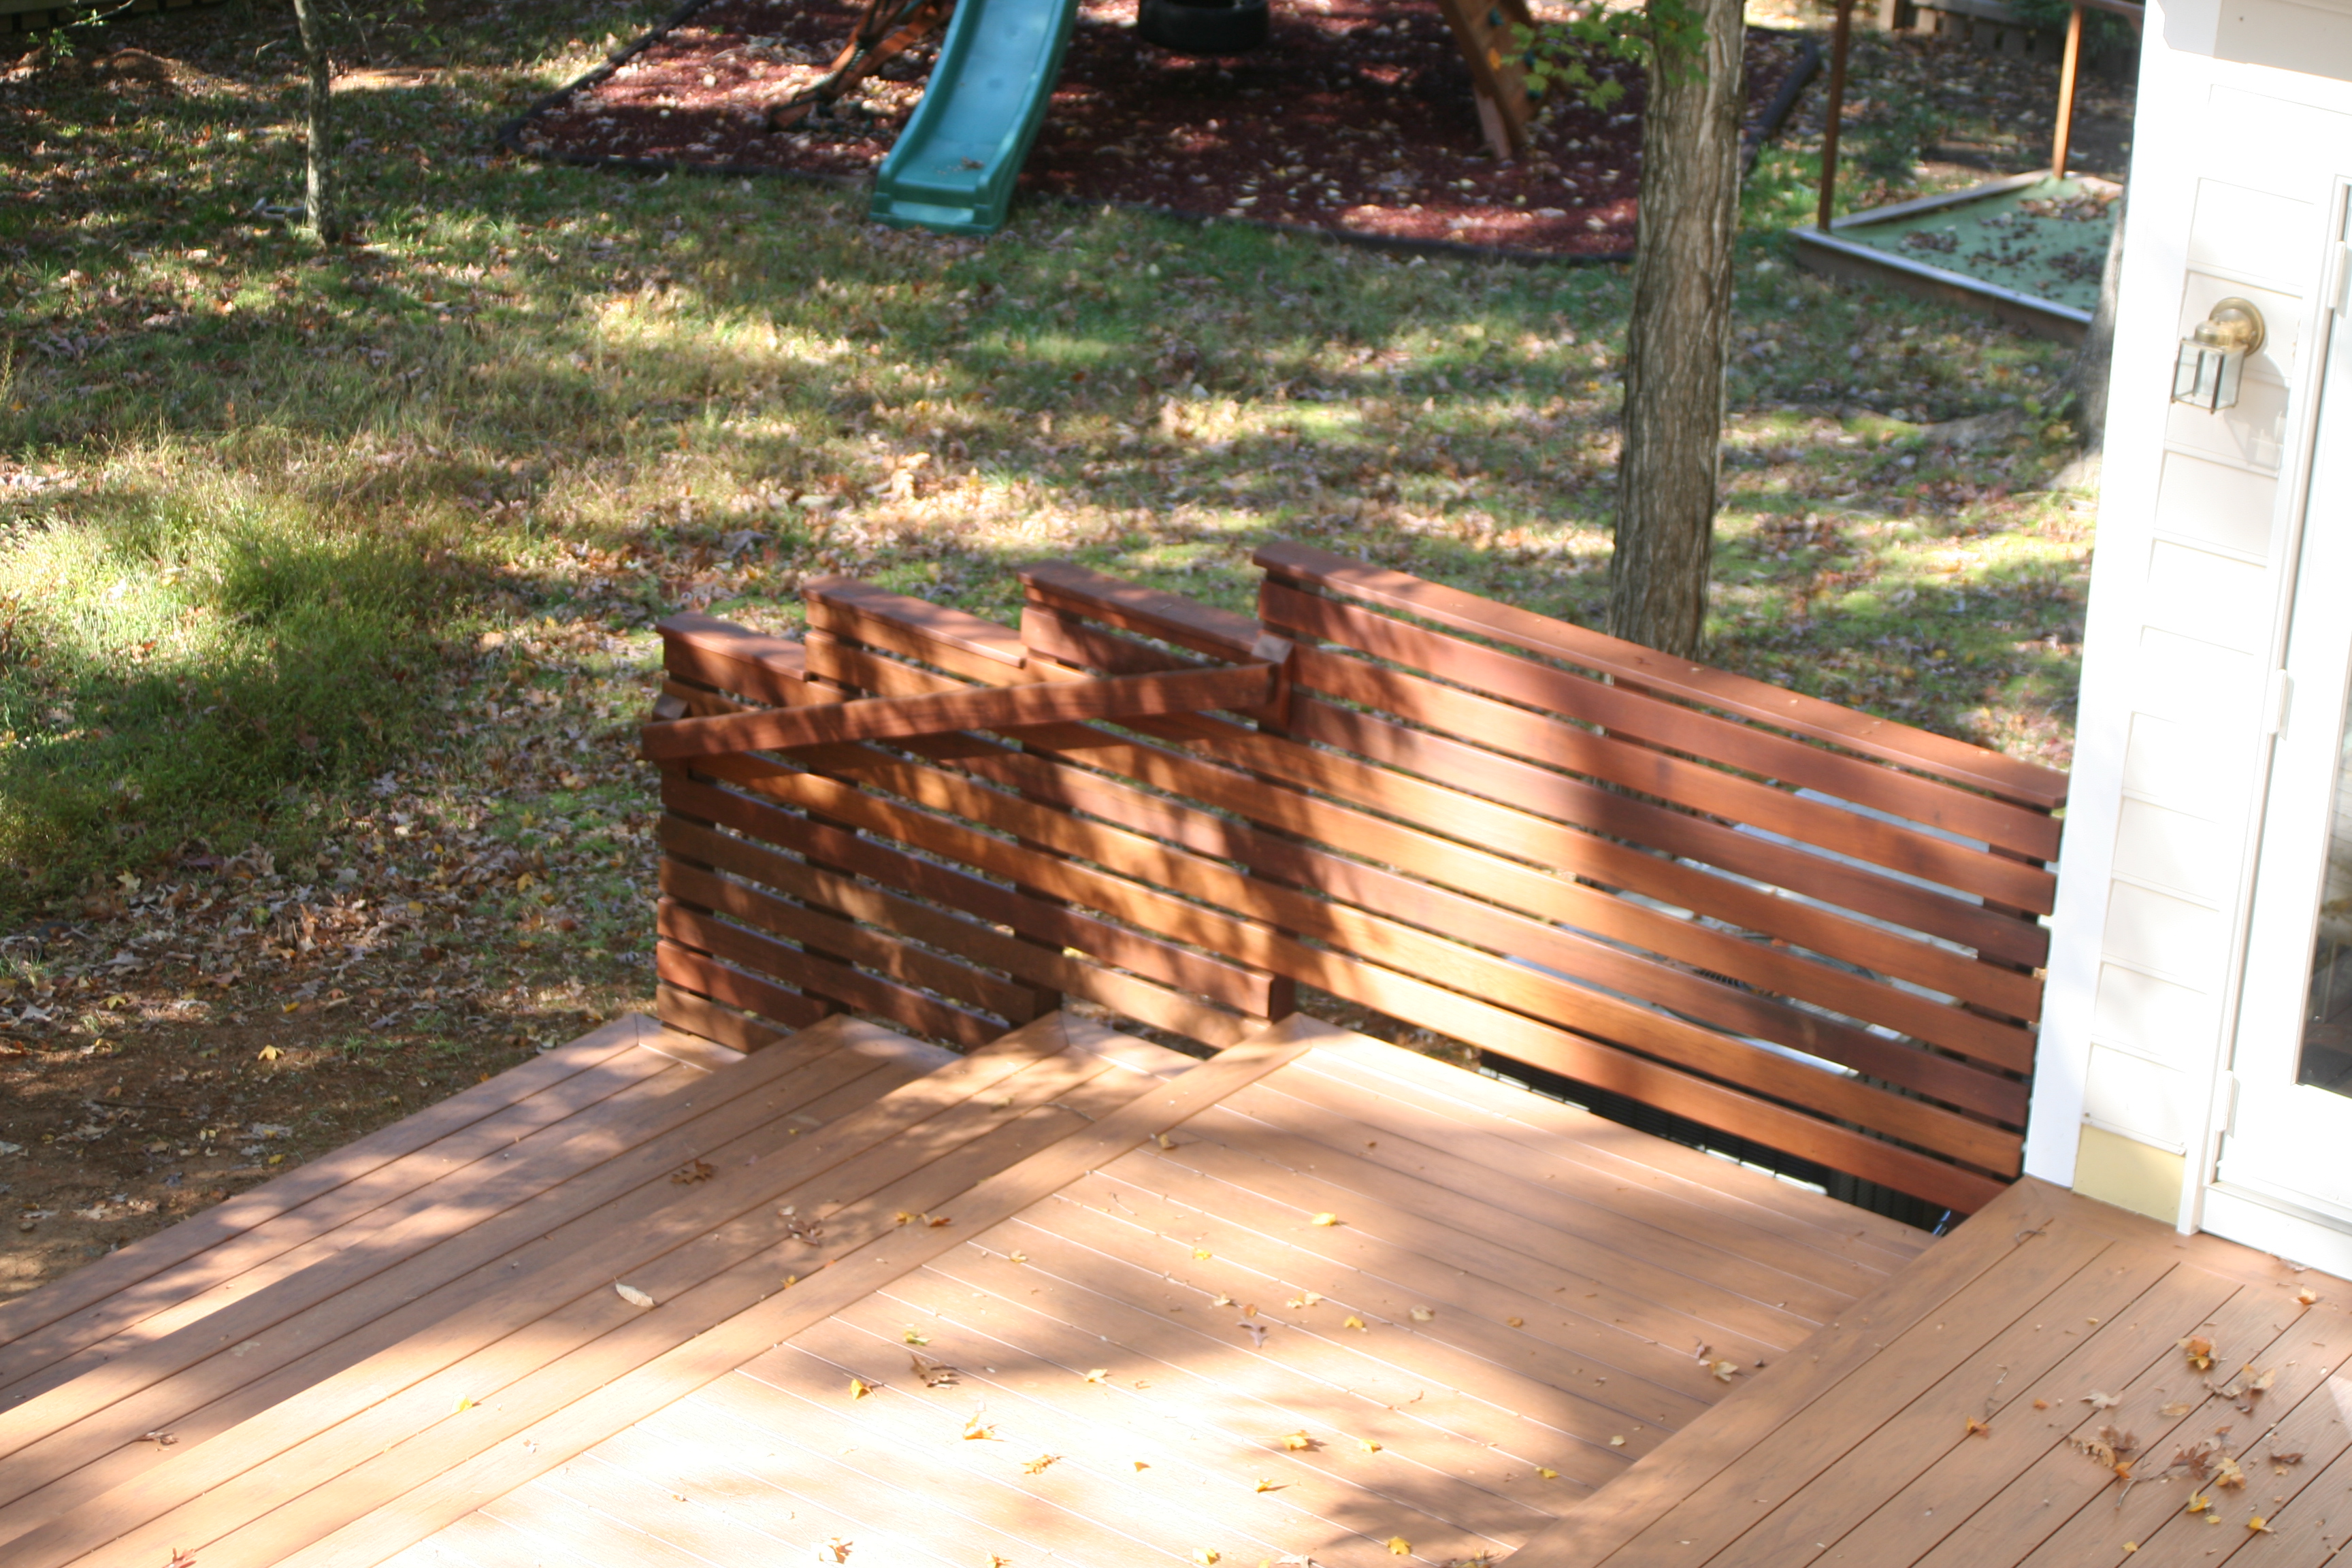
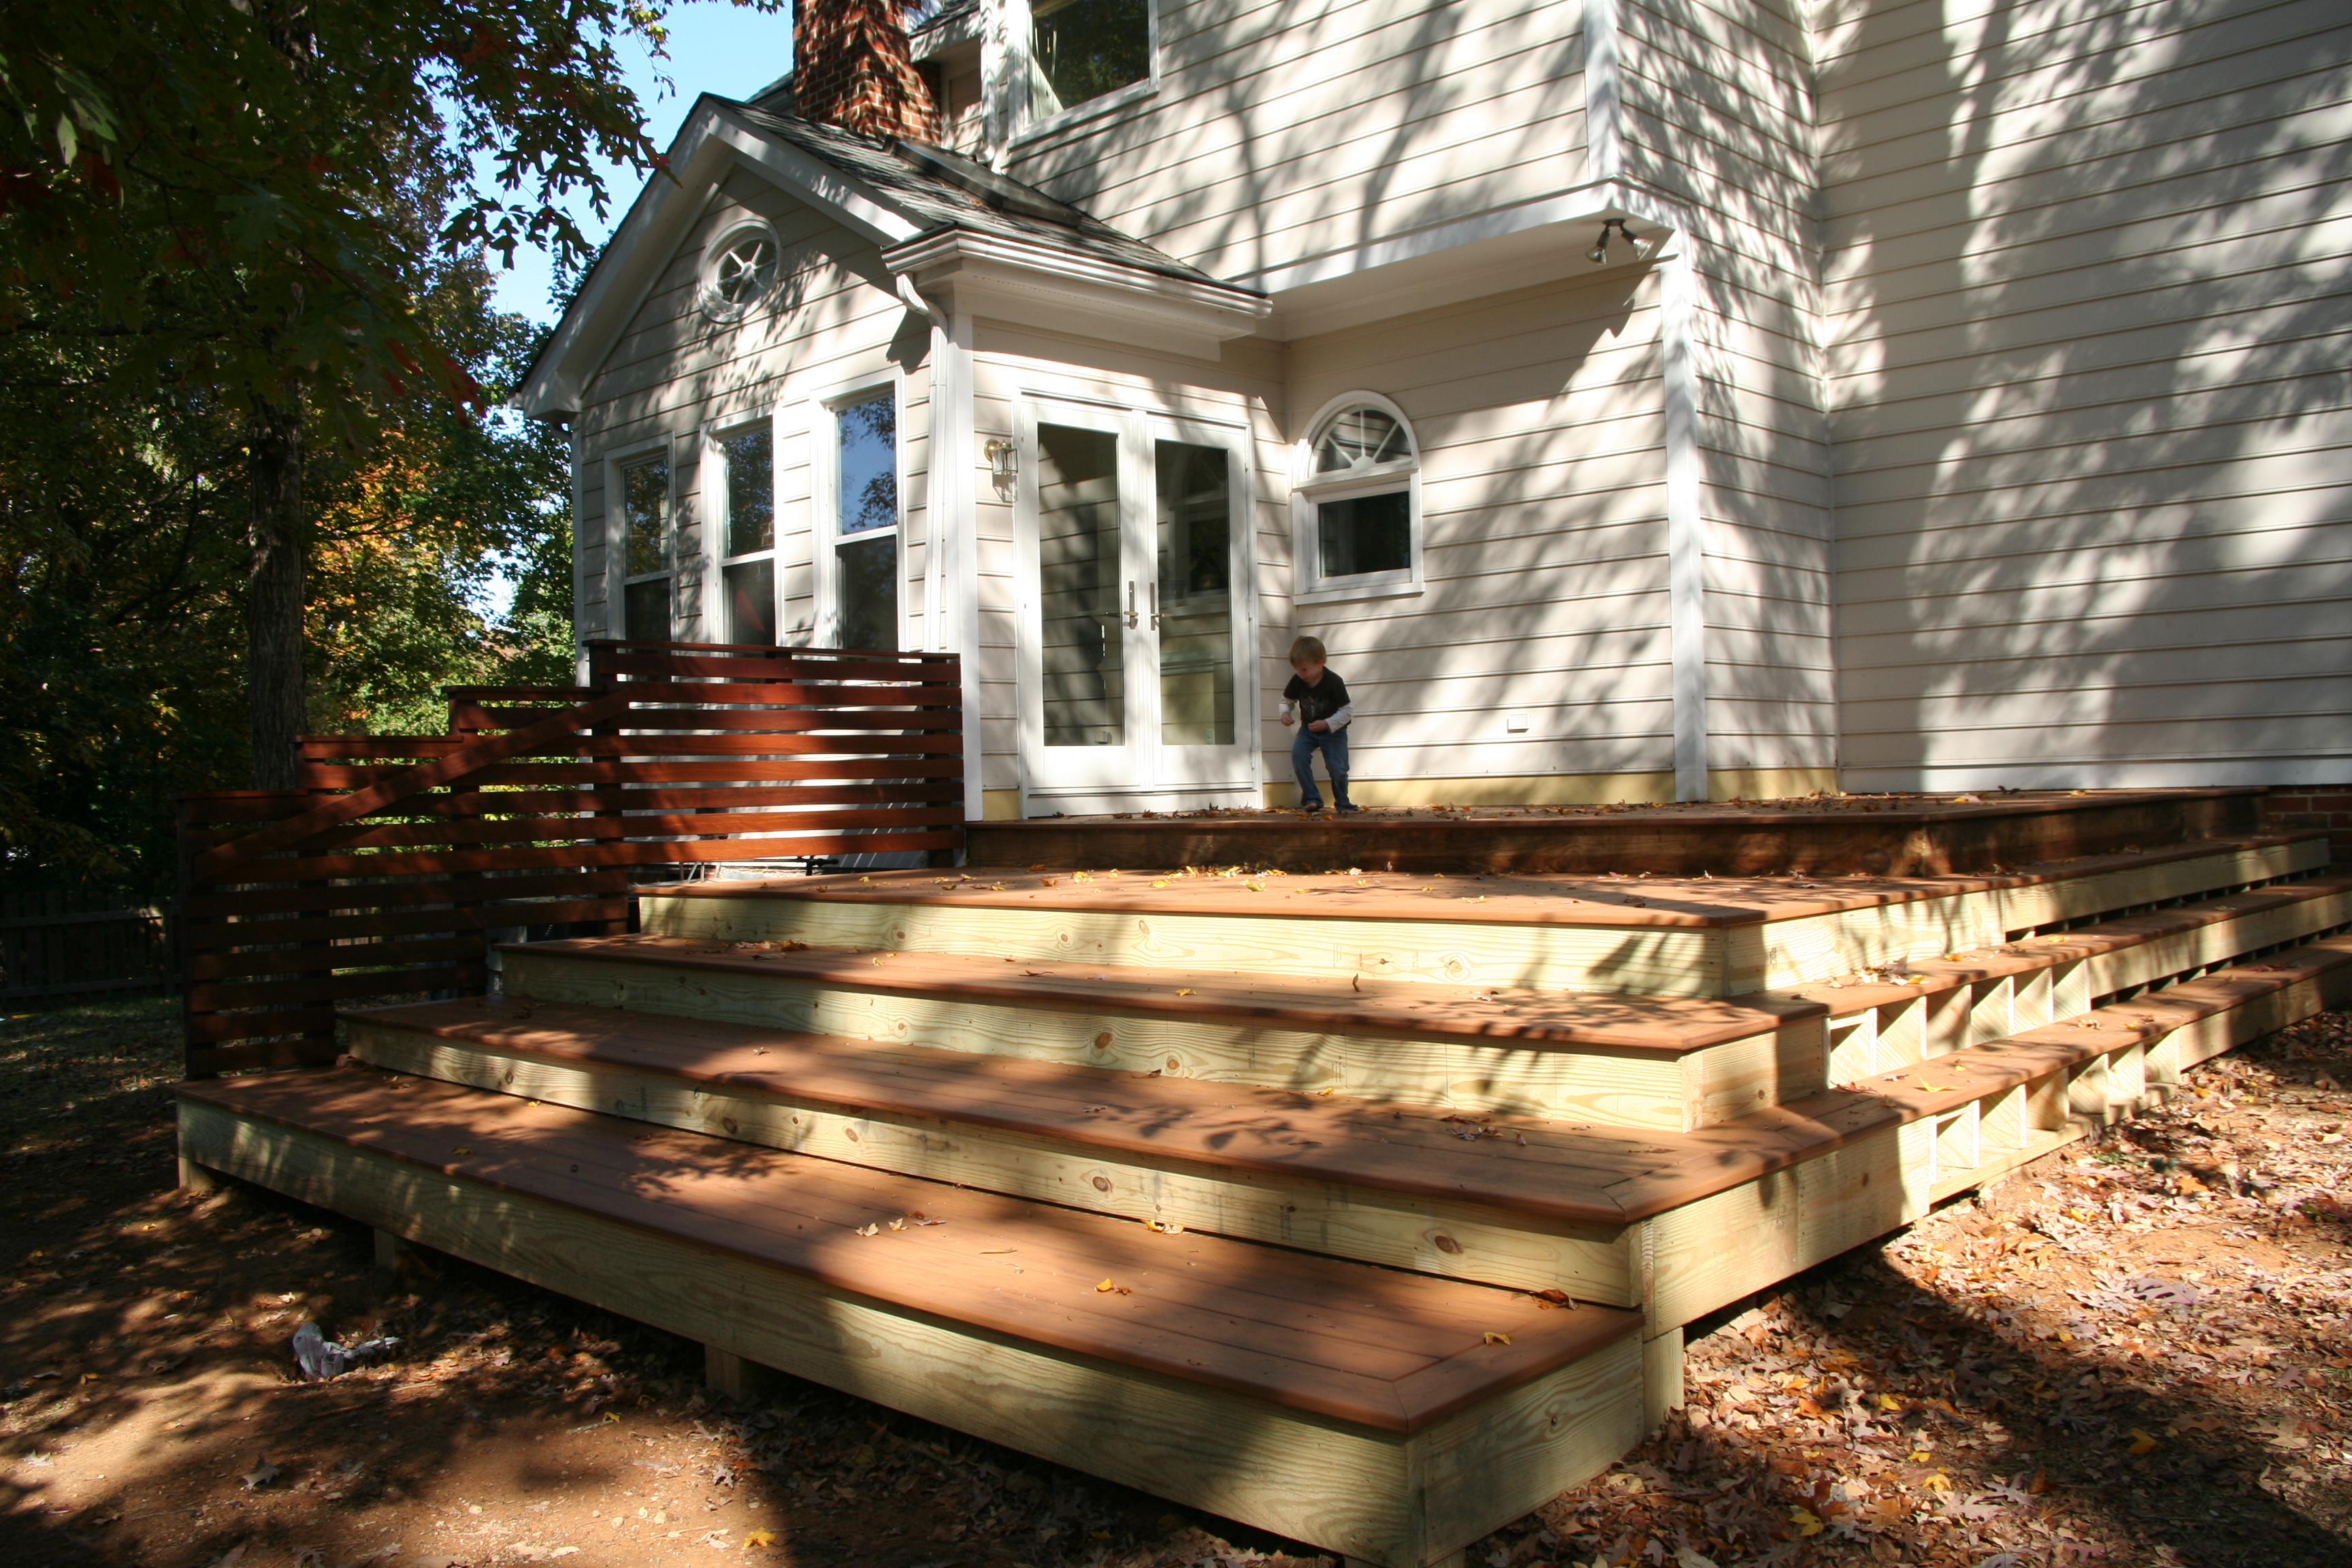
In the beginning, we started with ripping out our old, enclosed deck which we thought was horrid. We really wanted to open the space so we designed a multi-level, completely open deck with only one side railing.

These photos show it almost completed – its missing the facing wood for the steps.


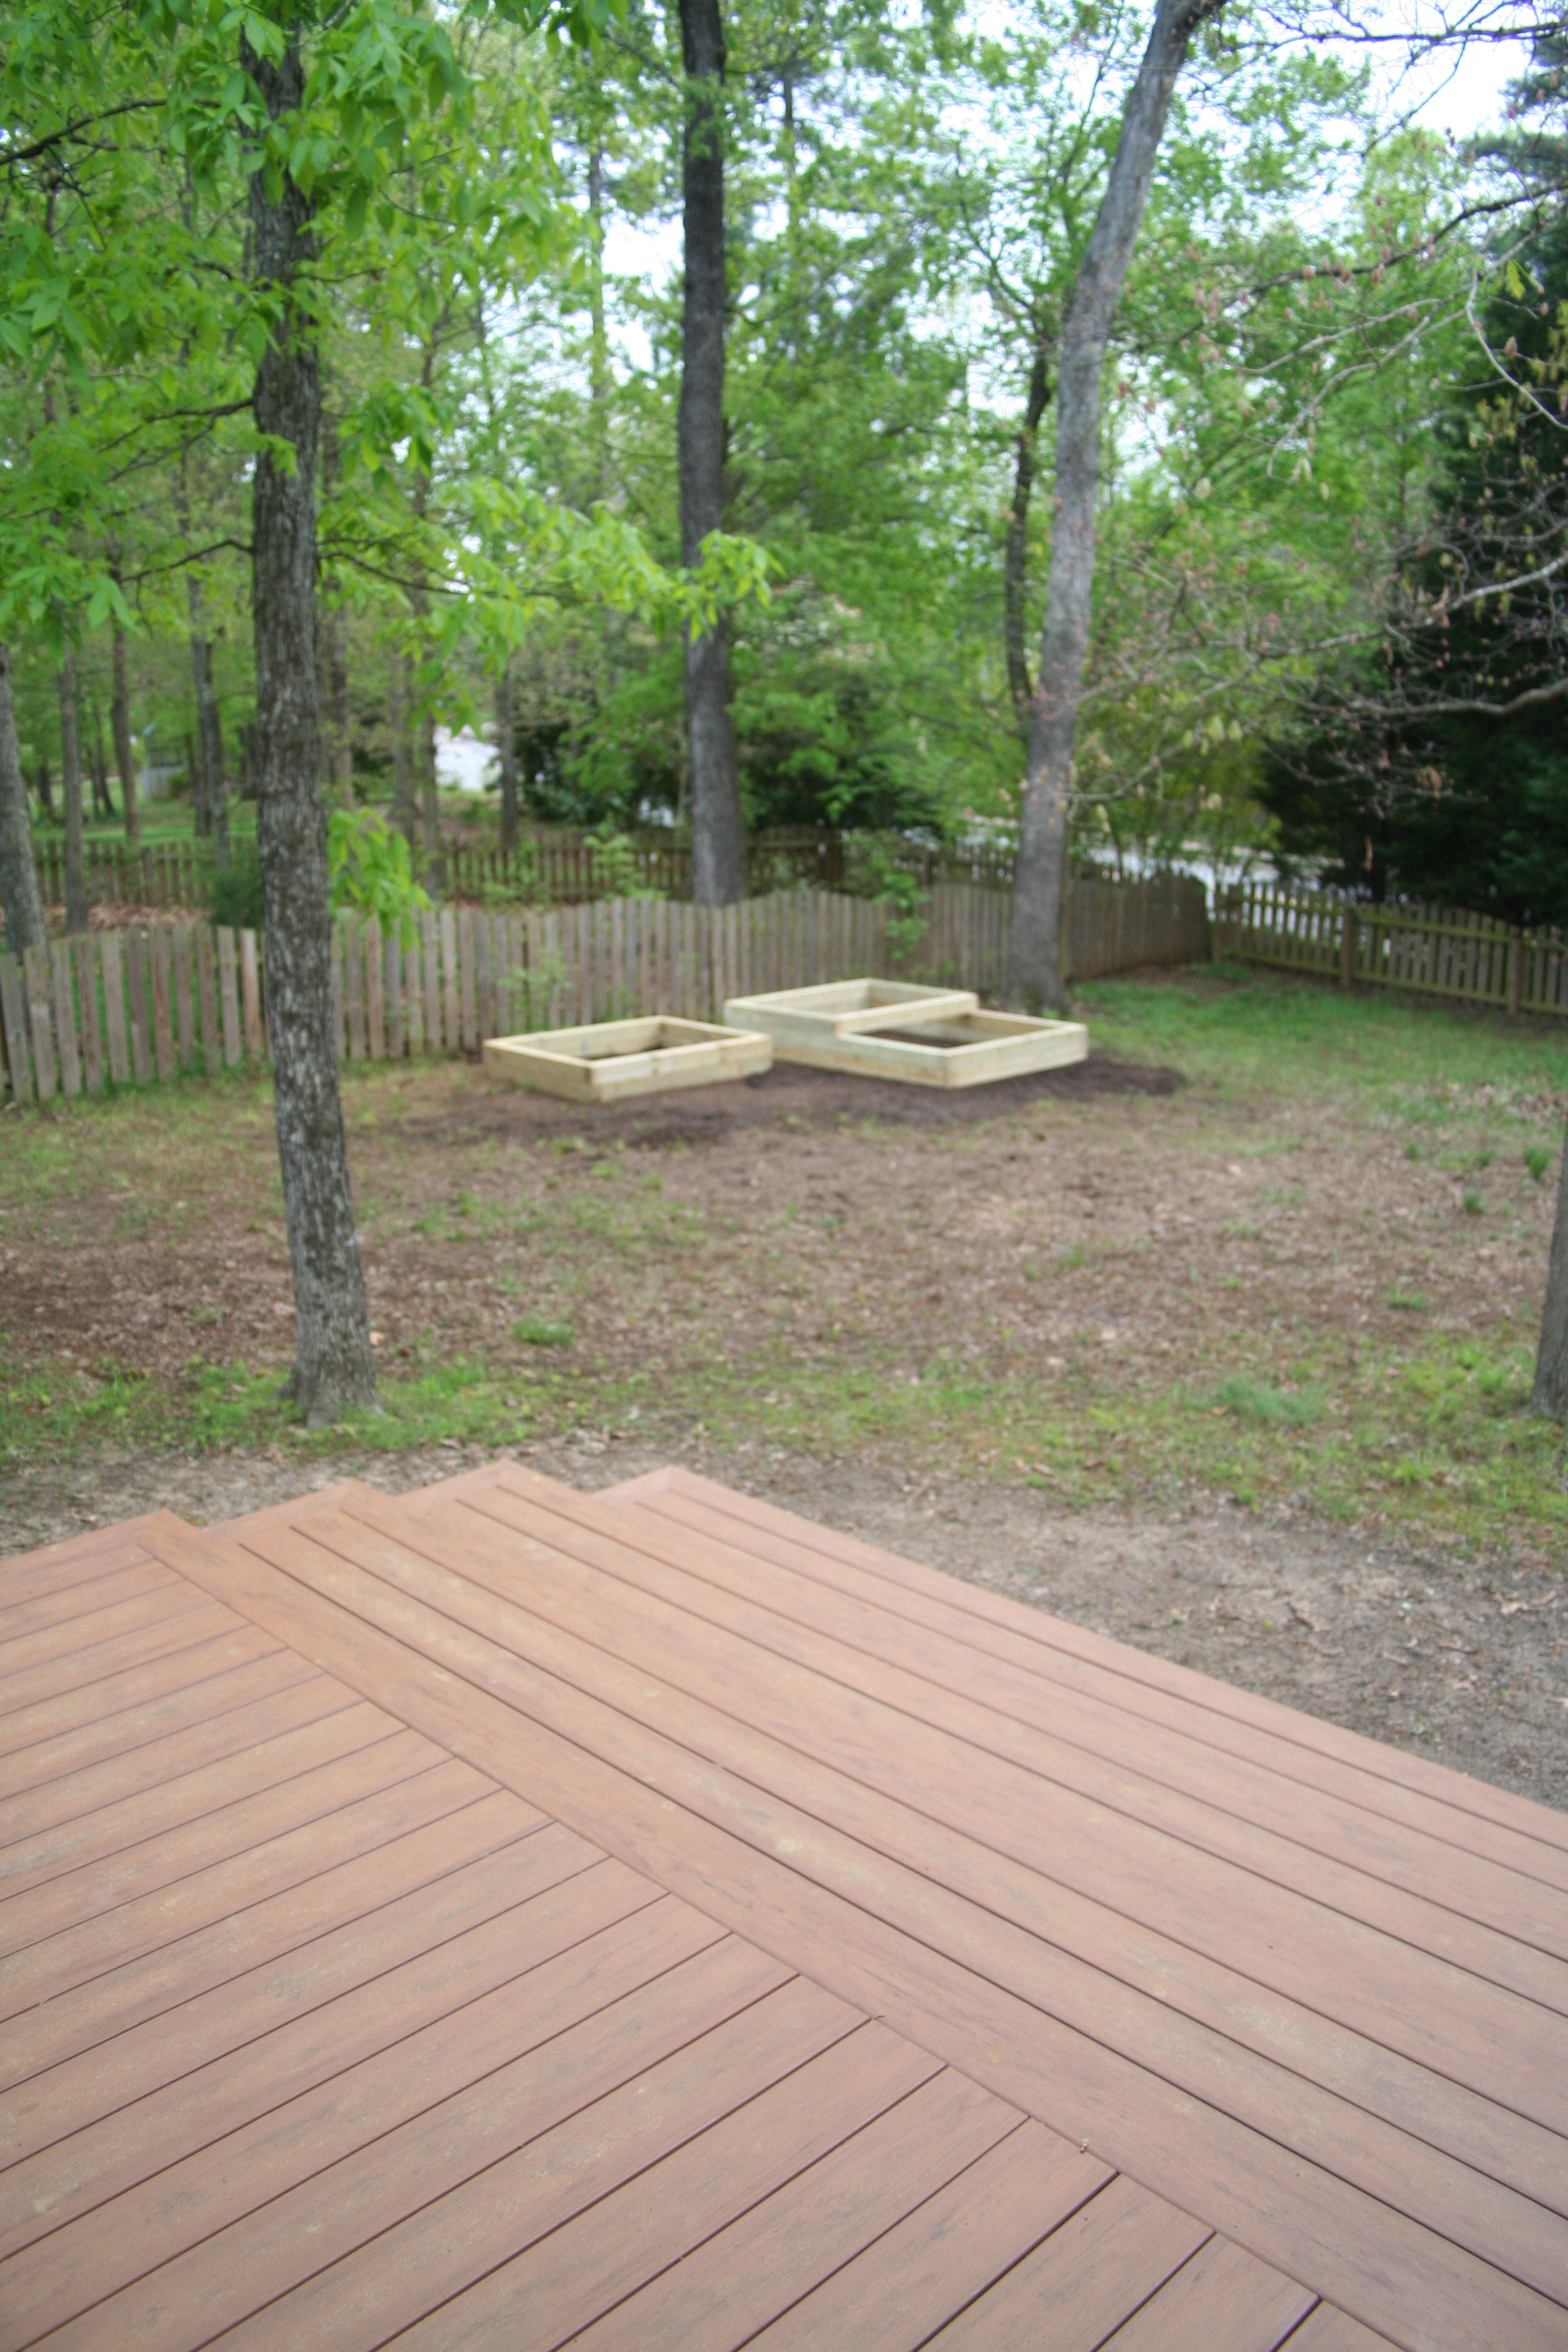
Next, I started a vegetable garden. It was an amazing experience I want to share. I am so proud of my garden, I love the nurturing aspect and the delectable results. First of we needed a space – I designed a raised bed garden keeping in mind that we might want to expand if this works.


How did we build them?
Dimensions: The garden beds were 4 feet  wide by 6 feet in length, which means the milt-layed bed is 8 feet wide by 6 feet in length.

Materials: We made them from pressure treated grade 2 timber – 4 inches x 6 inches. We used lag screws to connect the wood frame from the outside and we used metal plate connectors in the inside for stability. Garden fabric was laid down and then the soil was added. We did purchase top soil that had fertilizer in it.

Recycling wine corks – Cork Boards

I got into making cork boards about 15 years ago. I saw this amazing framed wine cork board in a home goods store, but it was so far out of my price range (like $200-300). I went home and wondered how I could make the same thing for next to nothing.

I made some mistakes along the way, for example very stiff cardboard is not enough for a backing to glue on corks – yes, it buckles from all the glue. Second, you need a lot of friends that drink wine 😉 that was the only way I was collecting corks.

Today, what I do is use a backing board of some kind – similar to what you would use for backing furniture. I collect corks still, but I also go to my favorite cafe/wine bar who give me the corks for free!!! I also ordered used corks online – you can get them by the box….I mix the used with wine stains and the used from online to balance out the look.

NOTE: The used corks from online means they have been printed but not with the wine stains.

Also I switched from a craft knife (scalpel) to an electric knife – saves me from slicing my finger off….btw was a common occurrence (at least once per board).

NOTE: Using an electric knife, you will need to take breaks as the knife will heat up and you don’t want to start a fire.

Finally, I just use wood glue to glue the corks on the board.

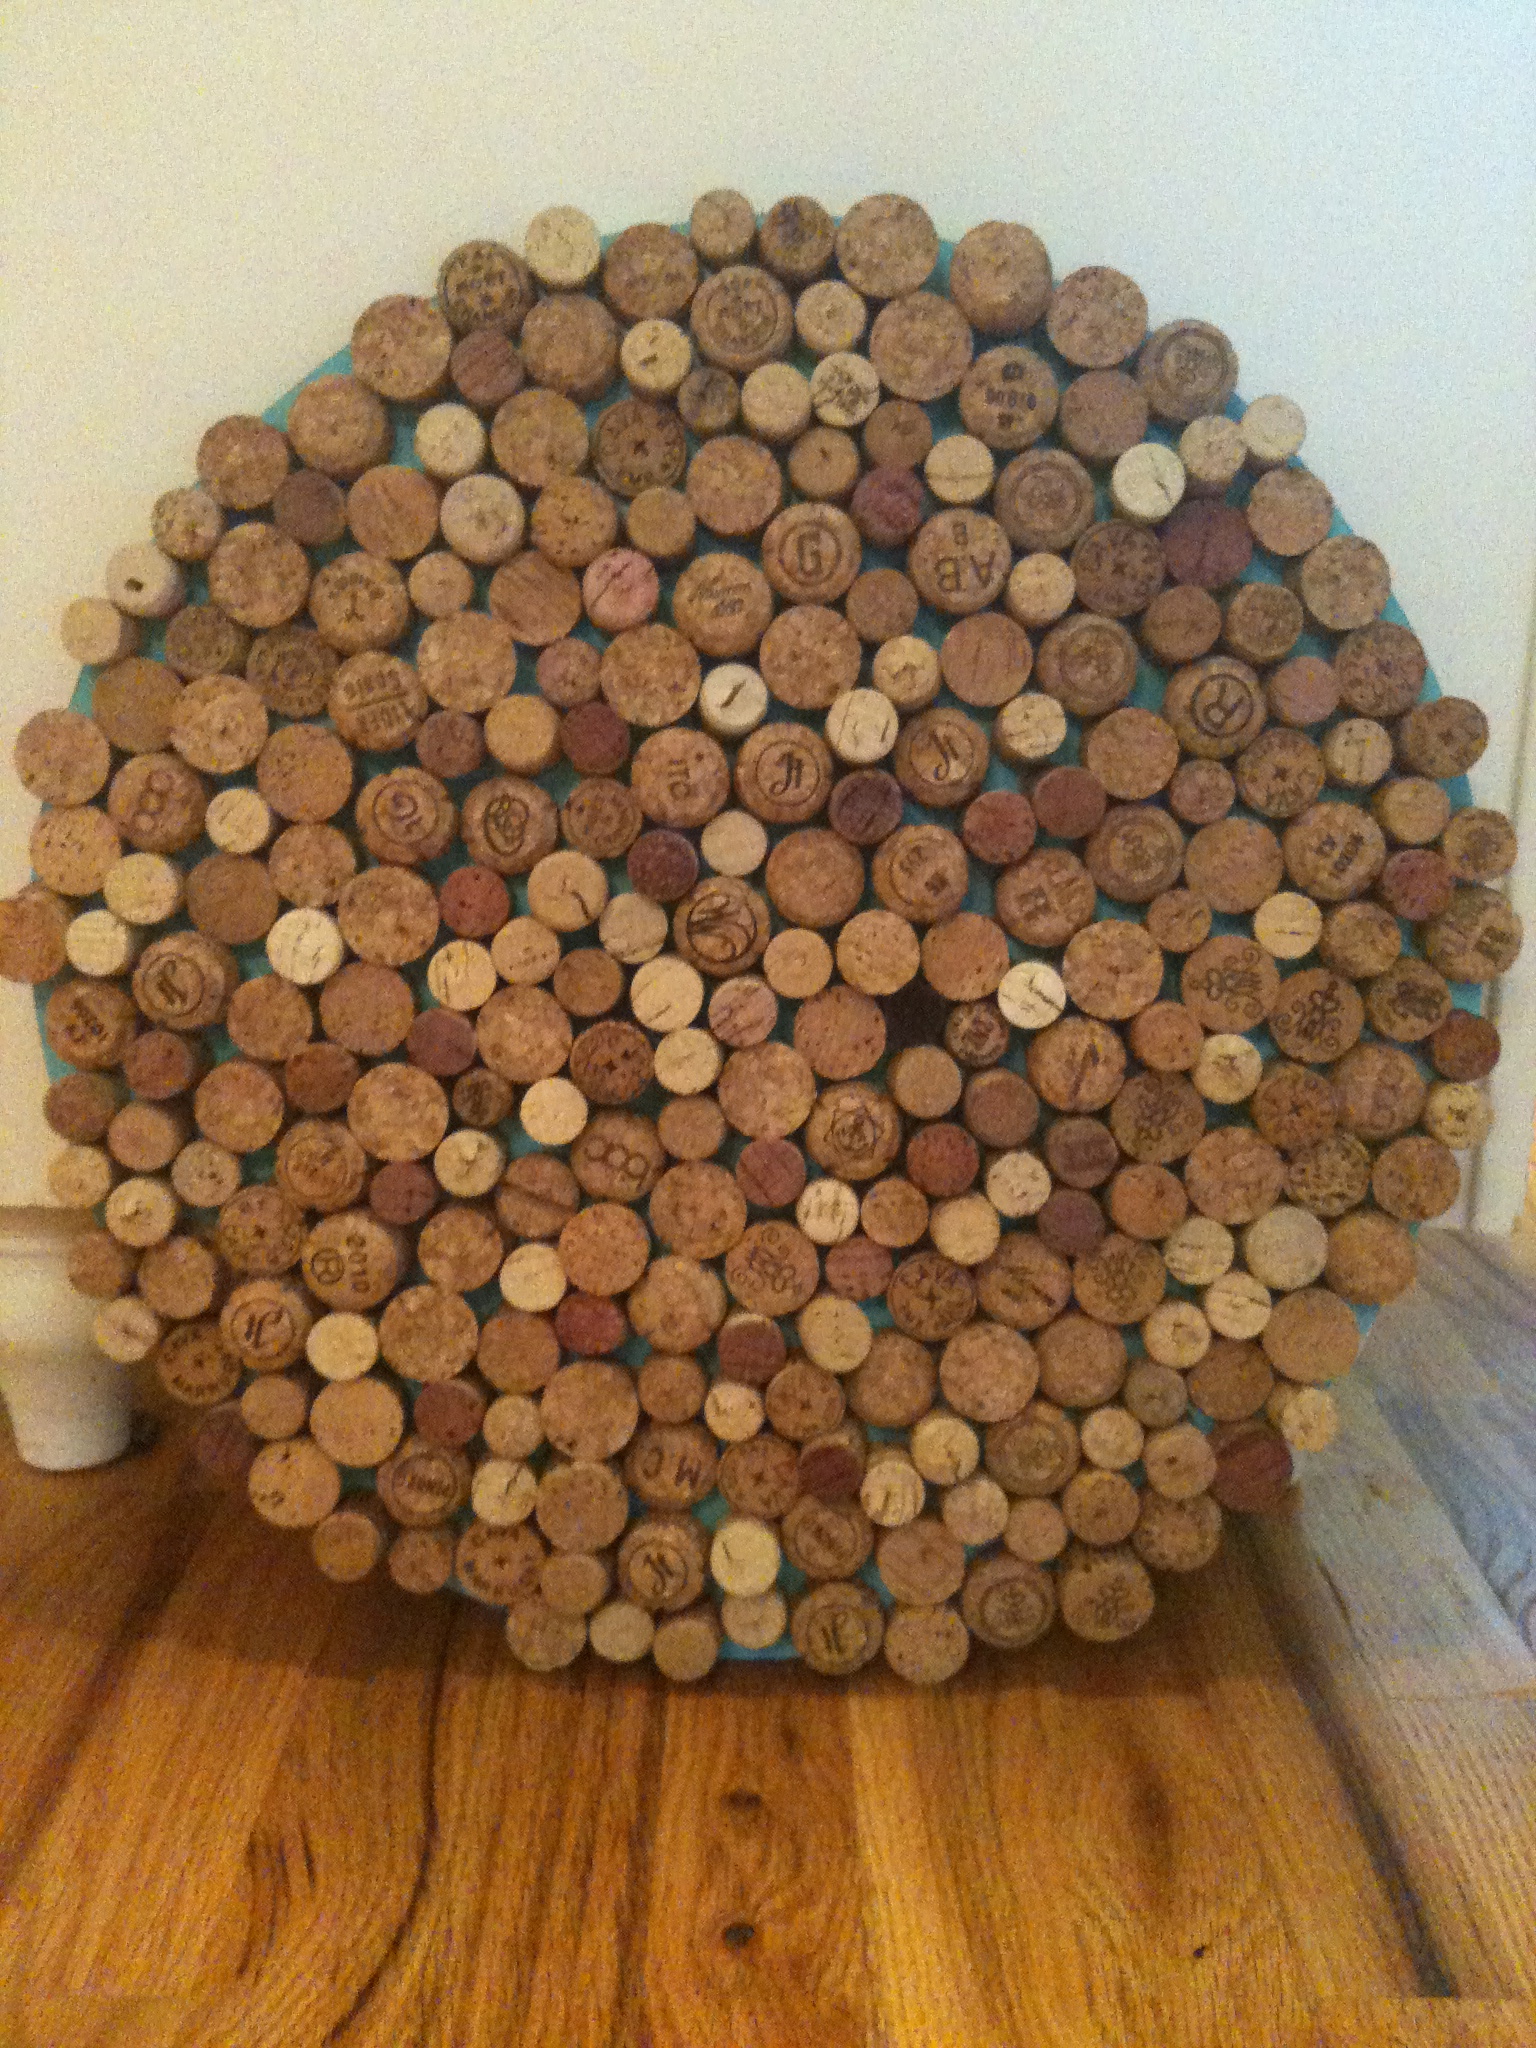
Here are two of the designs I do:The first, is more of a fun design – a circle using corks from the top/bottom, these allowed me to use the hundreds of champagne corks that I had, as they don’t work for design #2.I use a piece of string and a drawing pin (tack) to draw the circle on the backing board, and then my lovely husbands uses the sharp object to cut out the circle. Painting it some cool color and once it dries, I get into cutting the corks and glueing the corks on the board. Below are pictures of the first one I made, which my Mum received for Christmas.
Circular Cork Boards

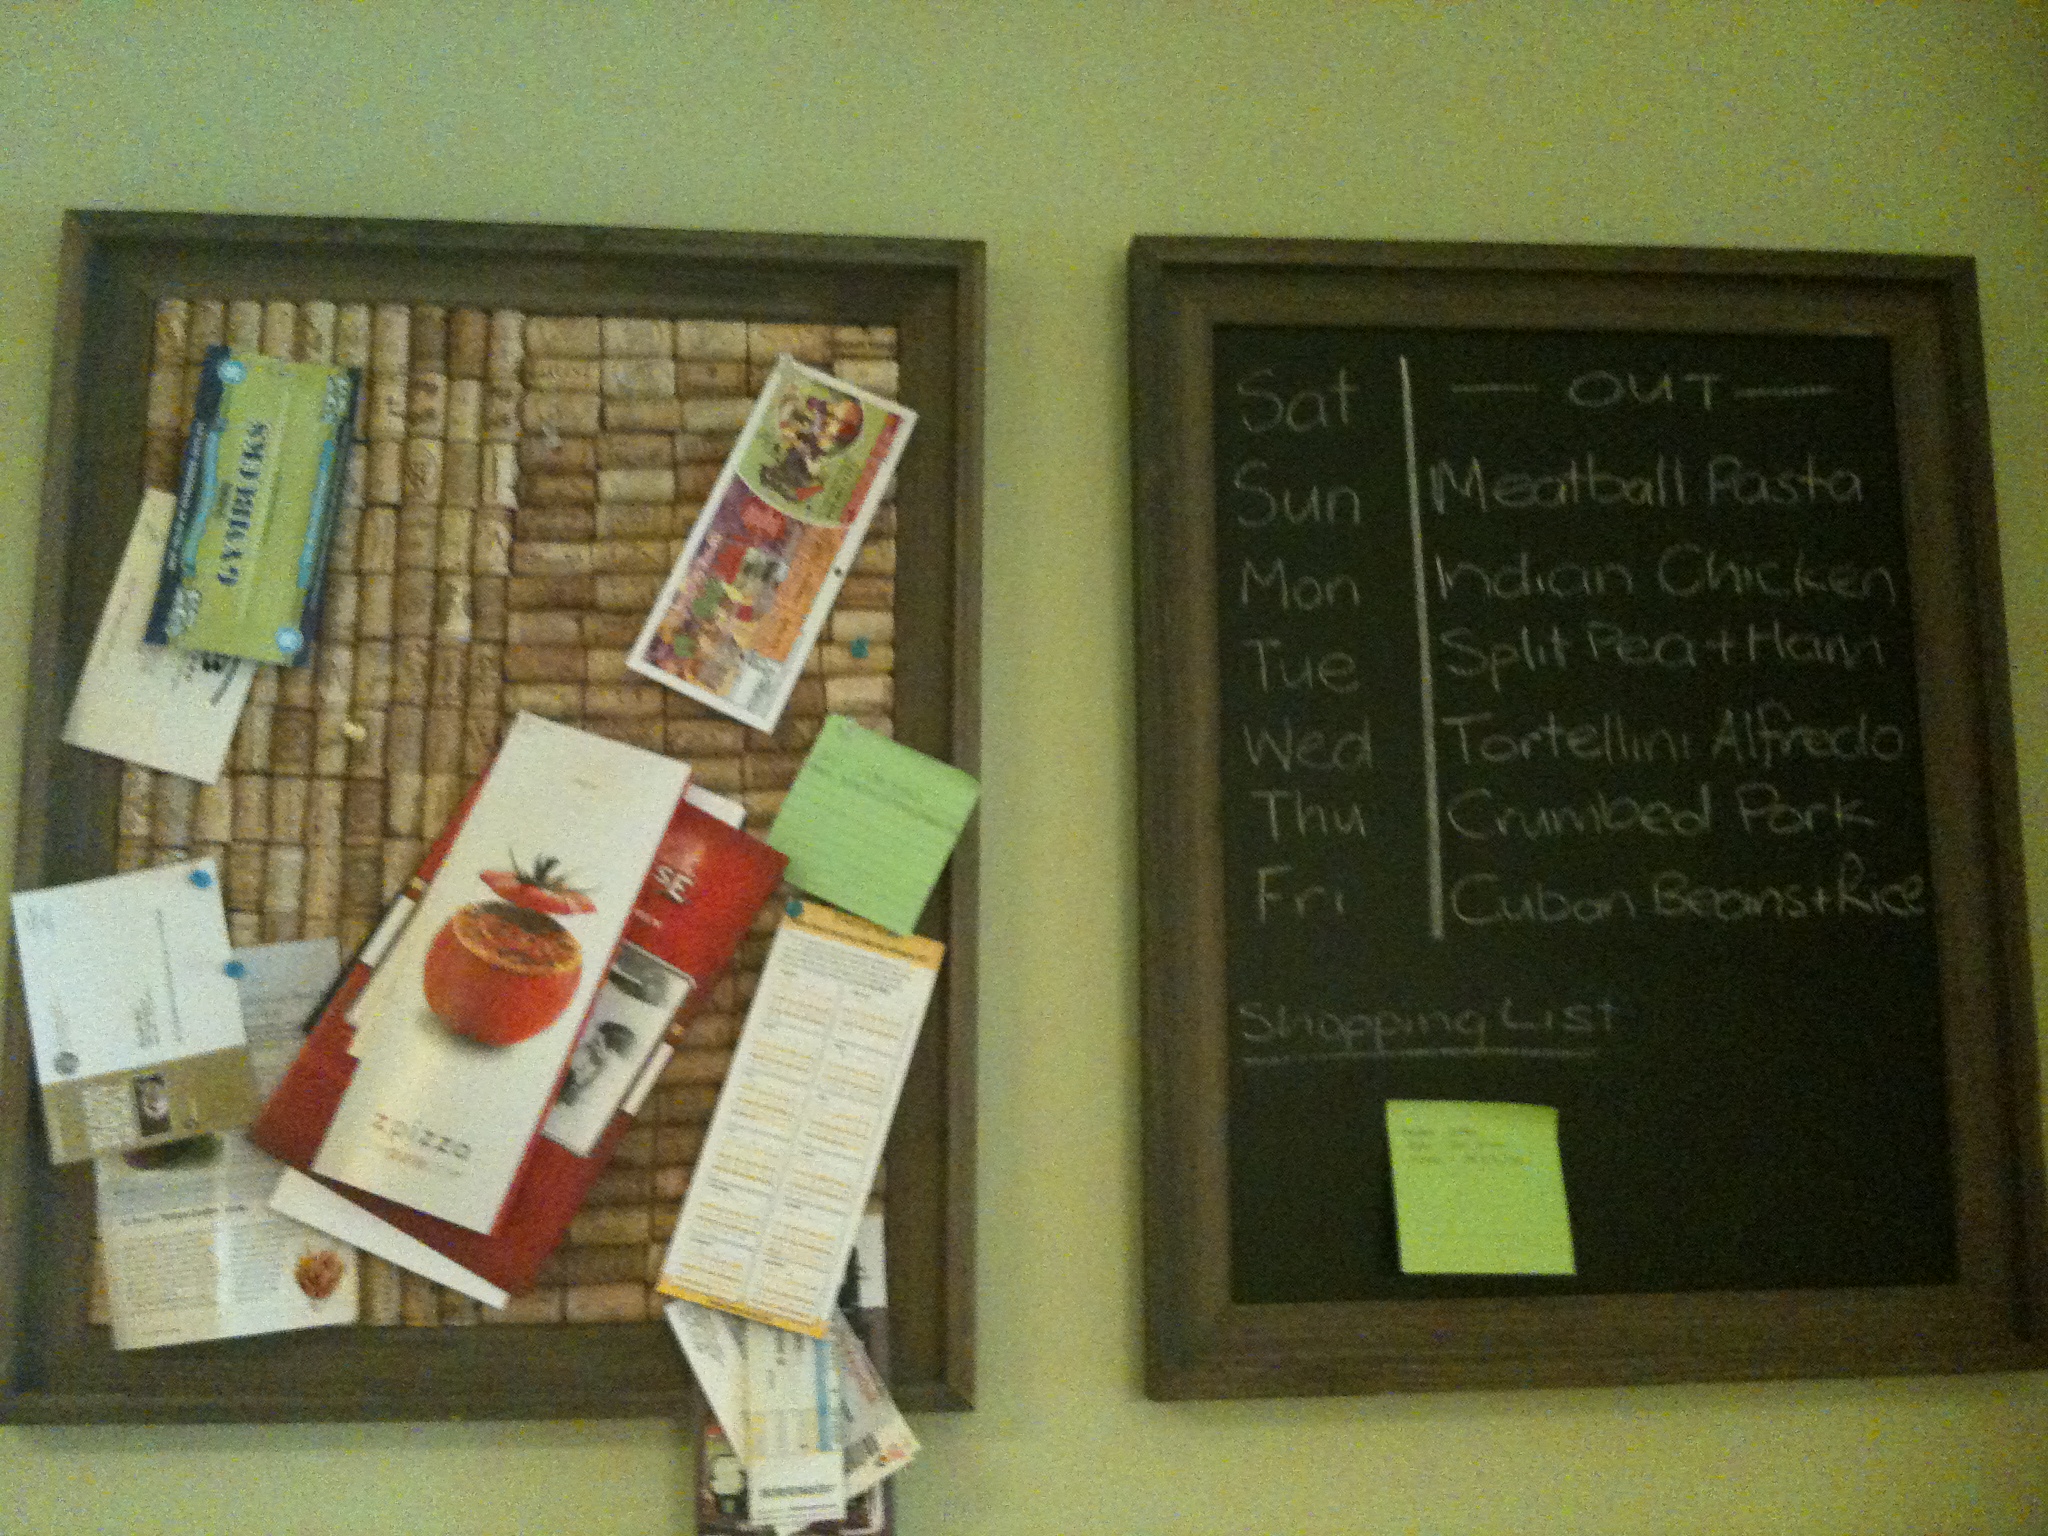
This is a more formal looking cork board. It is framed – which, I either use second-hand frames or I make them and paint/stain them. The corks for this style are cut length-wise. I place the corks in various designs – no two are alike. Below is a picture of my cork board and matching blackboard (we use for a meal planner) that are in my kitchen.

Cork and Chalk Boards

One of my favorite things about this cork board, I was able to incorporate a wine cork of a reserve wine my brother gave us for our wedding gift….I wrote the date of our wedding on it and now its a memory we have forever.

green tri2

A few of my favorite things: Quiches

Making my first crusted quiche was a daunting task – first off I had to make pastry, which always looks so complicated. It was not too bad just time consuming. I made a ham and cheese quiche (quiche lorraine). It turned out perfectly, and everyone loved it.

Here are two of my favorite quiche recipes.

Quiche Lorraine (Ham and Cheese Quiche)

Ingredients:

Pastry:
215g flour (1 3/4 cup of flour)
100g cold butter (US: 1 stick of butter)
2 Tbsp cold water

Quiche Filling:
30 g butter (2 Tbsp)
1 onion (finely chopped)
6 slices canadian bacon
3 eggs
185 ml cream (3/4 cup cream)
80g grated Cheese (Gruyere works well)
Salt and Pepper to taste
1/4 tsp nutmeg

To make the pastry:
Add the flour to a medium sized bowl, add butter chopped in small pieces. Using your fingers rub the flour and butter together until it appears like crumbs. Make a well in the middle of the bowl and add the 2 Tbsp of cold water. Using a fork, mix into flour, form a ball with the dough. Wrap in dough in plastic wrap and place in the fridge for 20 minutes.

Preheat over to 190 degrees C. Take the dough and place it between two layers of plastic wrap and roll out the dough to fit a 25cm dish. Place the dough in the dish and but it back in the fridge for 20 more minutes. When ready take the crust from the fridge, and put a piece of baking paper over the quiche bottom and place a pie weight chain on the paper to hold it in place  – you are needing to bake the base blind. Place in the middle of the oven, for 15 minutes. Take out of the oven and allow to cool.

To make the filling:
Place the 30g of butter in a fry pan on medium heat, melt then add the onion and Canadian bacon for ~10 minutes. Allow to cool and then place it over the bottom of the quiche crust.

Place the eggs, cream and cheese (only 40 g) in a bowl and whisk lightly. Add salt and pepper to your taste preference. Place mixture in the quiche crust. Top with the other 40g of cheese and sprinkle the 1/4 tsp of nutmeg. Place in the oven for 30 minutes until the quiche is cooked through and golden.

Potato Self-Crusting Quiche (Vegetarian)

Ingredients:
2 medium potatoes (diced and cooked)
1 onion (finely chopped)
2 -3 cloves garlic
1 tsp of butter
6 eggs
3/4 cup milk
1/2 cup of flour
1 can creamed corn
1 cup cheese
salt and pepper
1/2 tomato (sliced)
1/2 bell pepper (sliced)
1/2 tsp basil (dried) or a few leaves of chopped basil fresh

For the potatoes, I leave the skin on but either way will work. Cook the 1 in diced pieces of potato in a pot of boiling water for ~10-15 minutes. You want then cooked but firm. Drain the water and leave the potatoes to cool.

Preheat oven at 375 degrees F (190 degrees C).

In a fry pan, melt the butter, place garlic and onion and cook until the onion is glassy/clear. Allow to cool.

In a bowl, add eggs lightly beat, add milk and flour, mix but don’t over mix, flour should still be a little lumpy. Add potato, onion mix, creamed corn, and 1/2 cup cheese, salt and pepper – stir.

Place the Quiche mixture in a glass dish which has been lightly greased with butter. Top with 1/2 cup of cheese, tomatoes and bell pepper. Sprinkle basil on top.

Place in the oven for 45 minutes or until cooked through and golden.

In addition, check out one of my favorite books is Sarah Branbery – “Tarts”, you should try the spinach, feta and pine nuts quiche.