Author Archives: mlwilkie

Unknown's avatar

About mlwilkie

Software Developer, Mother, Wife with keen interest in art, design and crafts of all kinds.

Recycled Men’s ties: Sofa Cushions

Two ideas came together with this project….

  1. I was on vacation recently at the outer banks and saw a craft shopping that was weaving hand goods out of men’s ties – What a clever idea!!
  2. And the success of my tea towel sofa cushions

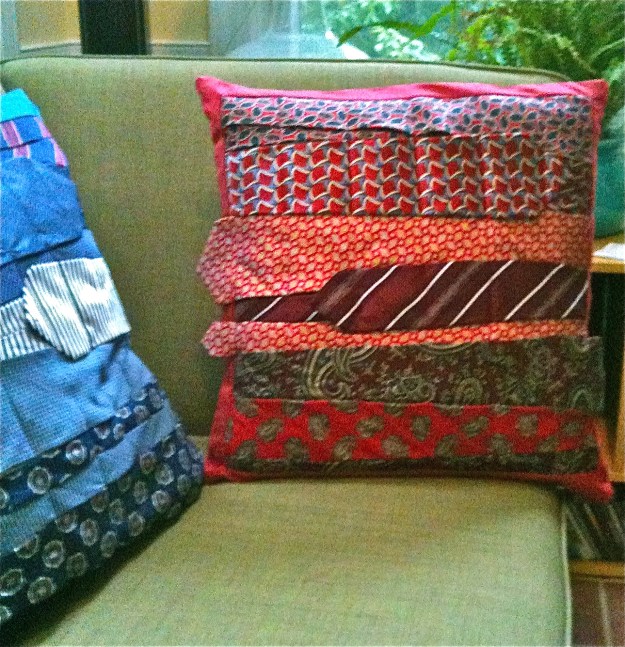
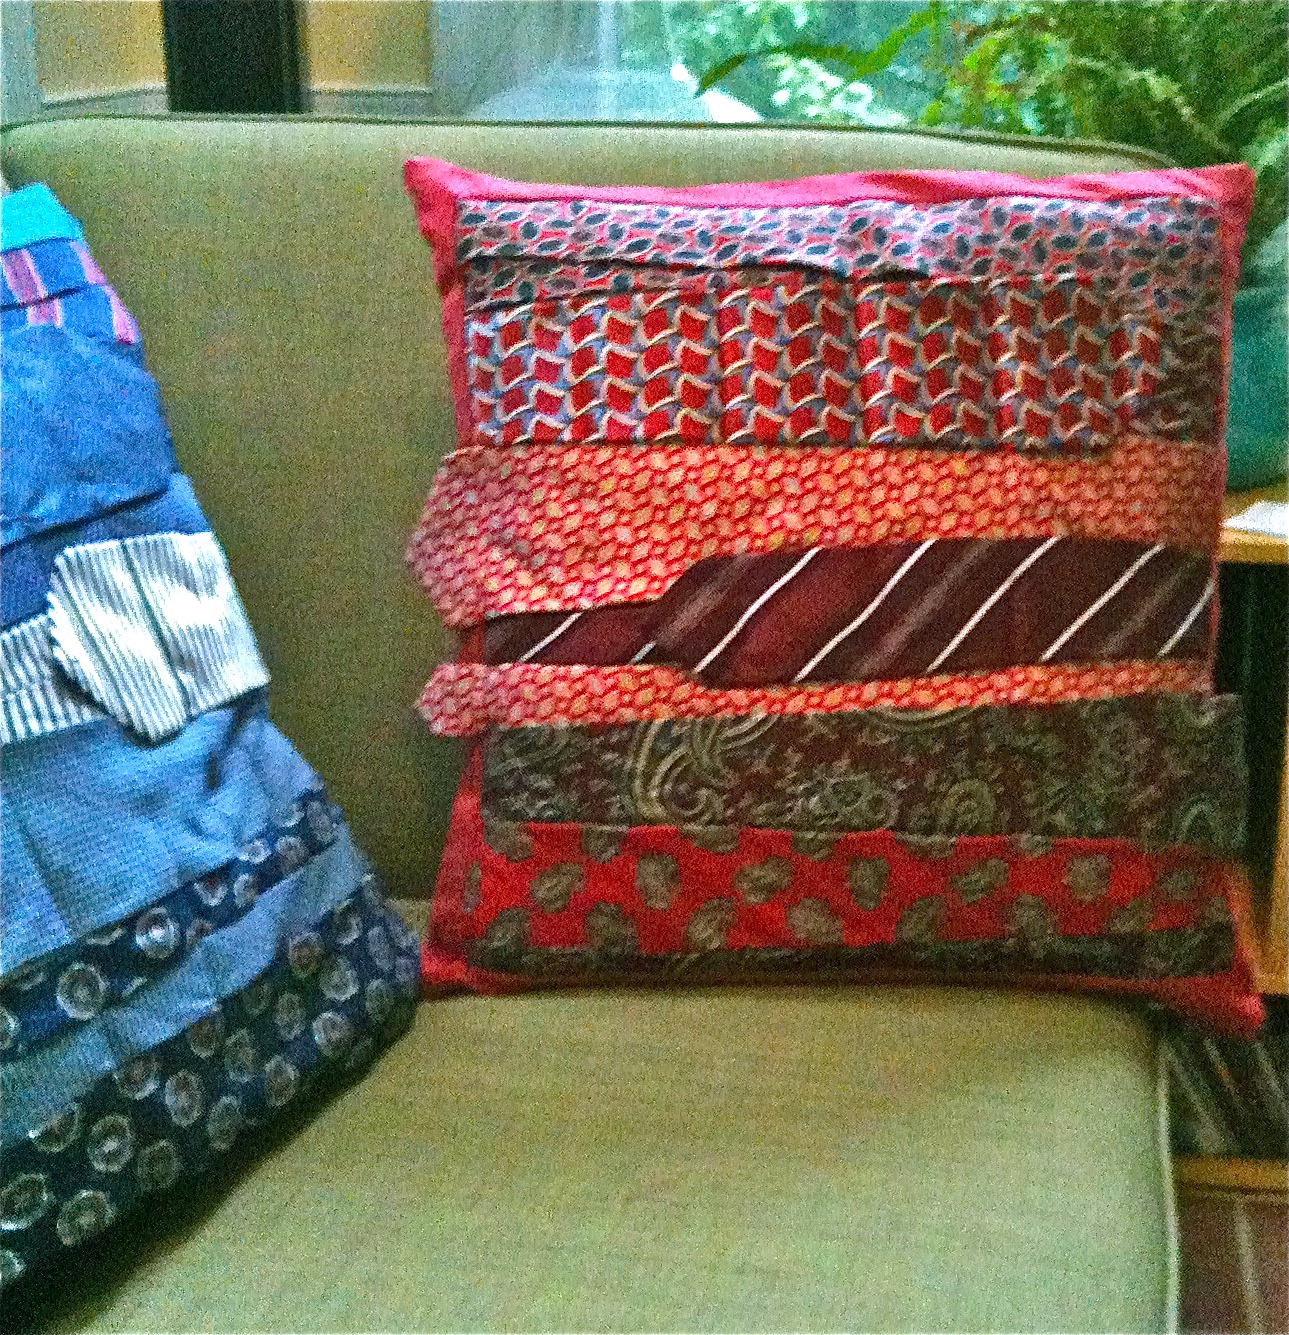
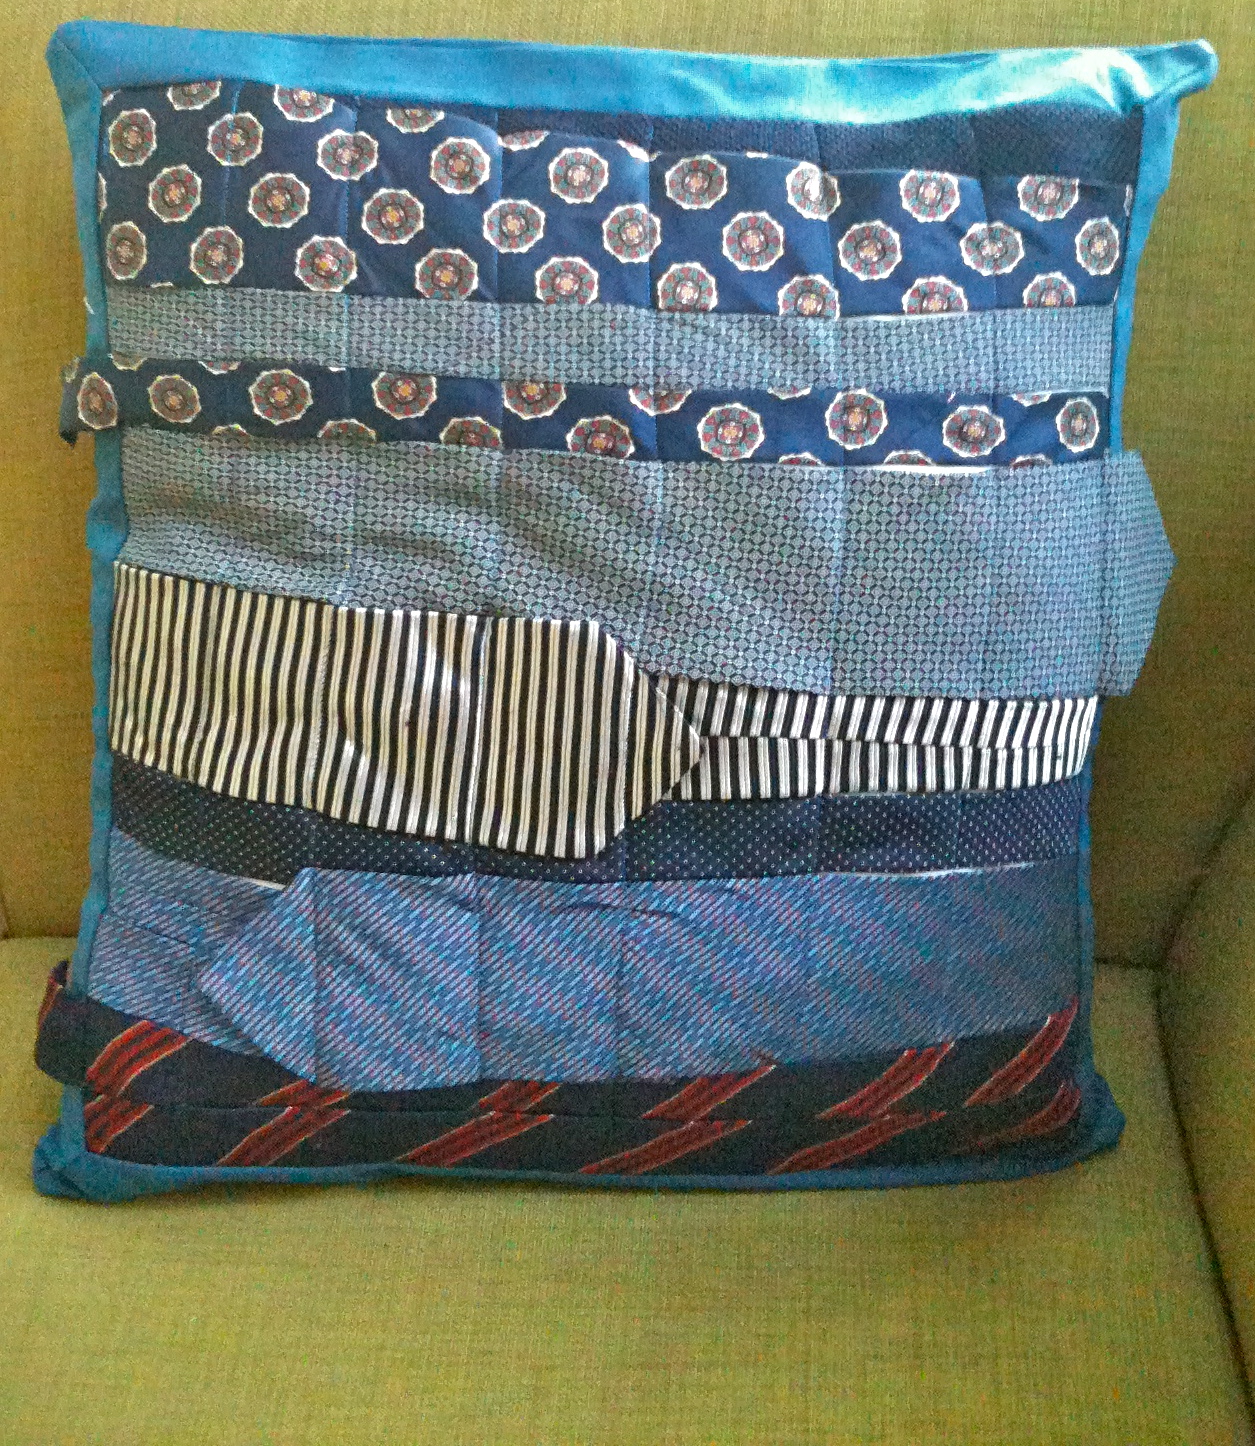
…led me to this idea…what if you could recycle men’s ties and make sofa cushions. I first had to find men’s ties (not an item my surfie-type husband has in the closet 🙂 ) – so I took myself to the Good Will shops around our area. To my surprise ties only cost $1.39 and many of the shops had a good range especially in blue and red.

NOTE: you really can’t be too fussy on the color. I wanted oranges, greys and greens at first – was not going to happen.

Now onto the design…

    1. I chose to do two cushions 20×20 using the same pattern I had used for the tea towel cushions, one red and one blue.
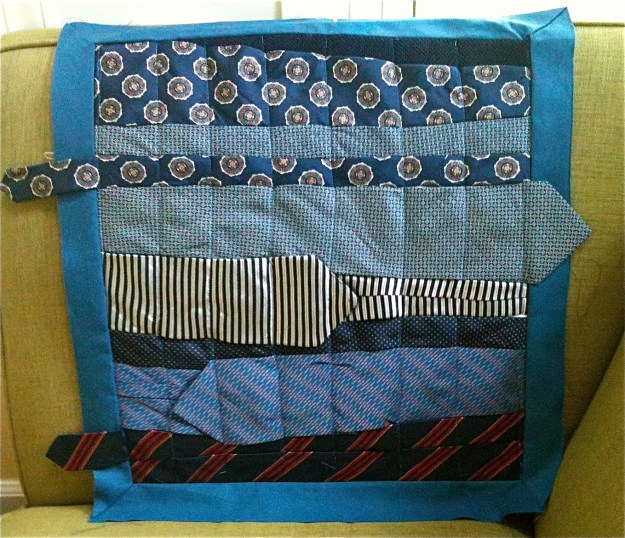
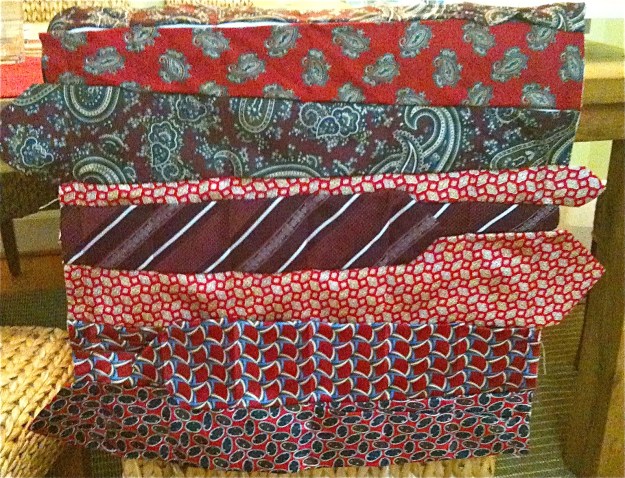
    2. I selected 5-6 ties for each cushion that offered enough variety. I laid then out on a piece of backing fabric (in this case I used white linen I had lying around) and pinned them in place.NOTE: I specifically did not want to lose the structure of the tie so I had some tie ends start in the middle and others will land up sticking loosely over the border.NOTE: Here’s an example in Better Homes and gardens, where they use the ties just as fabric, which also turns out nice in this picture.
    3. After the ties are pinned in place, I use scotch tape as a guide I used to sew perpendicular lines to the ties, fastening the ties to the backing fabric. Take your time, lift the foot of your sewing machine when you get to the edges of the tie, one to ensure you catch the beginning of the tie and second to make sure the tie lays flat and not pucker.
      IMG_0222
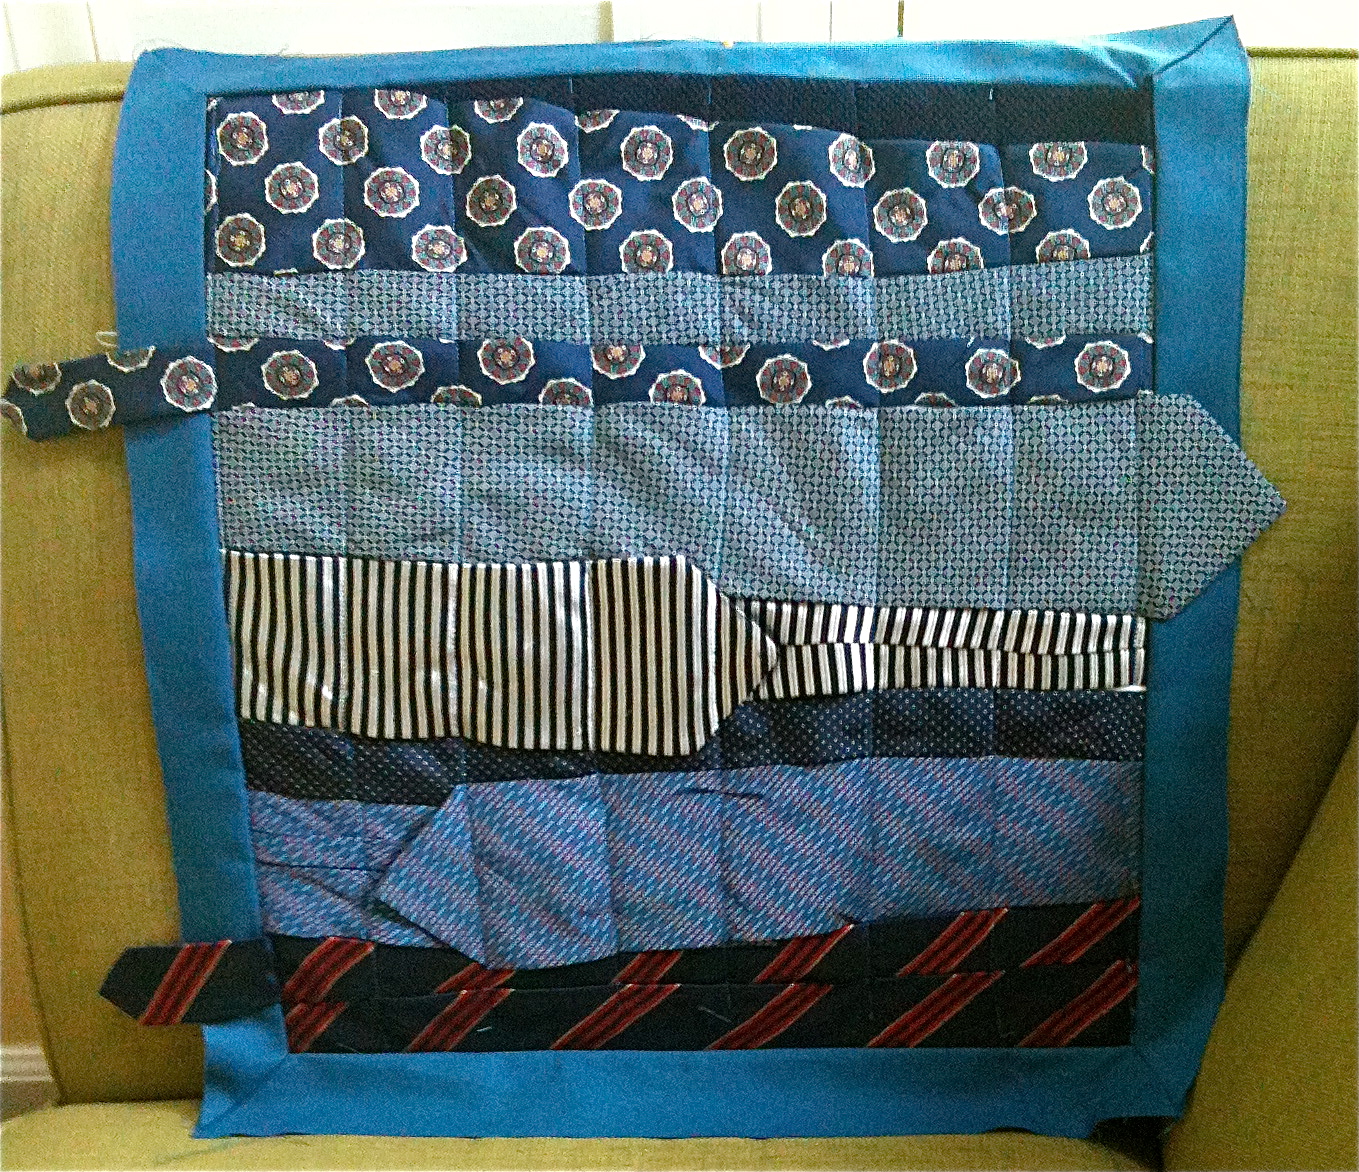
    4. I then sewed the borders onto this main square, added mitered corners. To get the flap, ends of the tie, to go over the borders, just pinned them out-of-the-way while sewing on the border, making sure I did not catch them in my 1/4 inch seam.IMG_0212
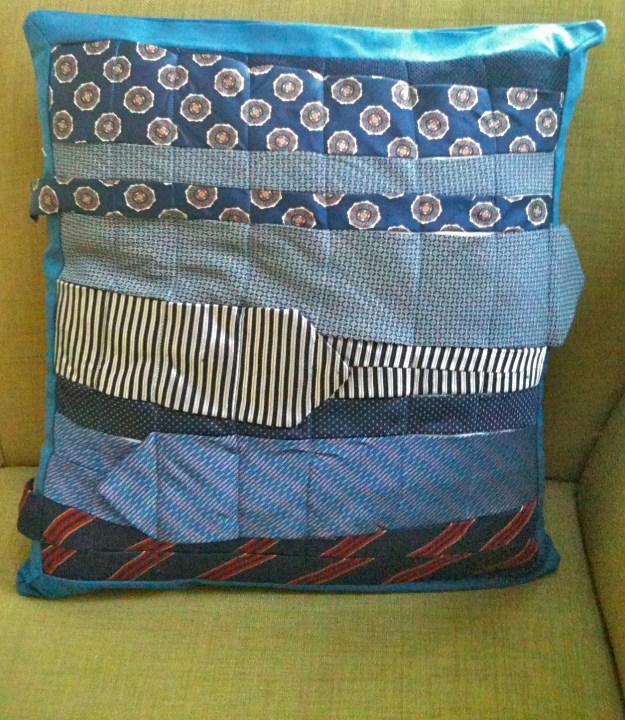
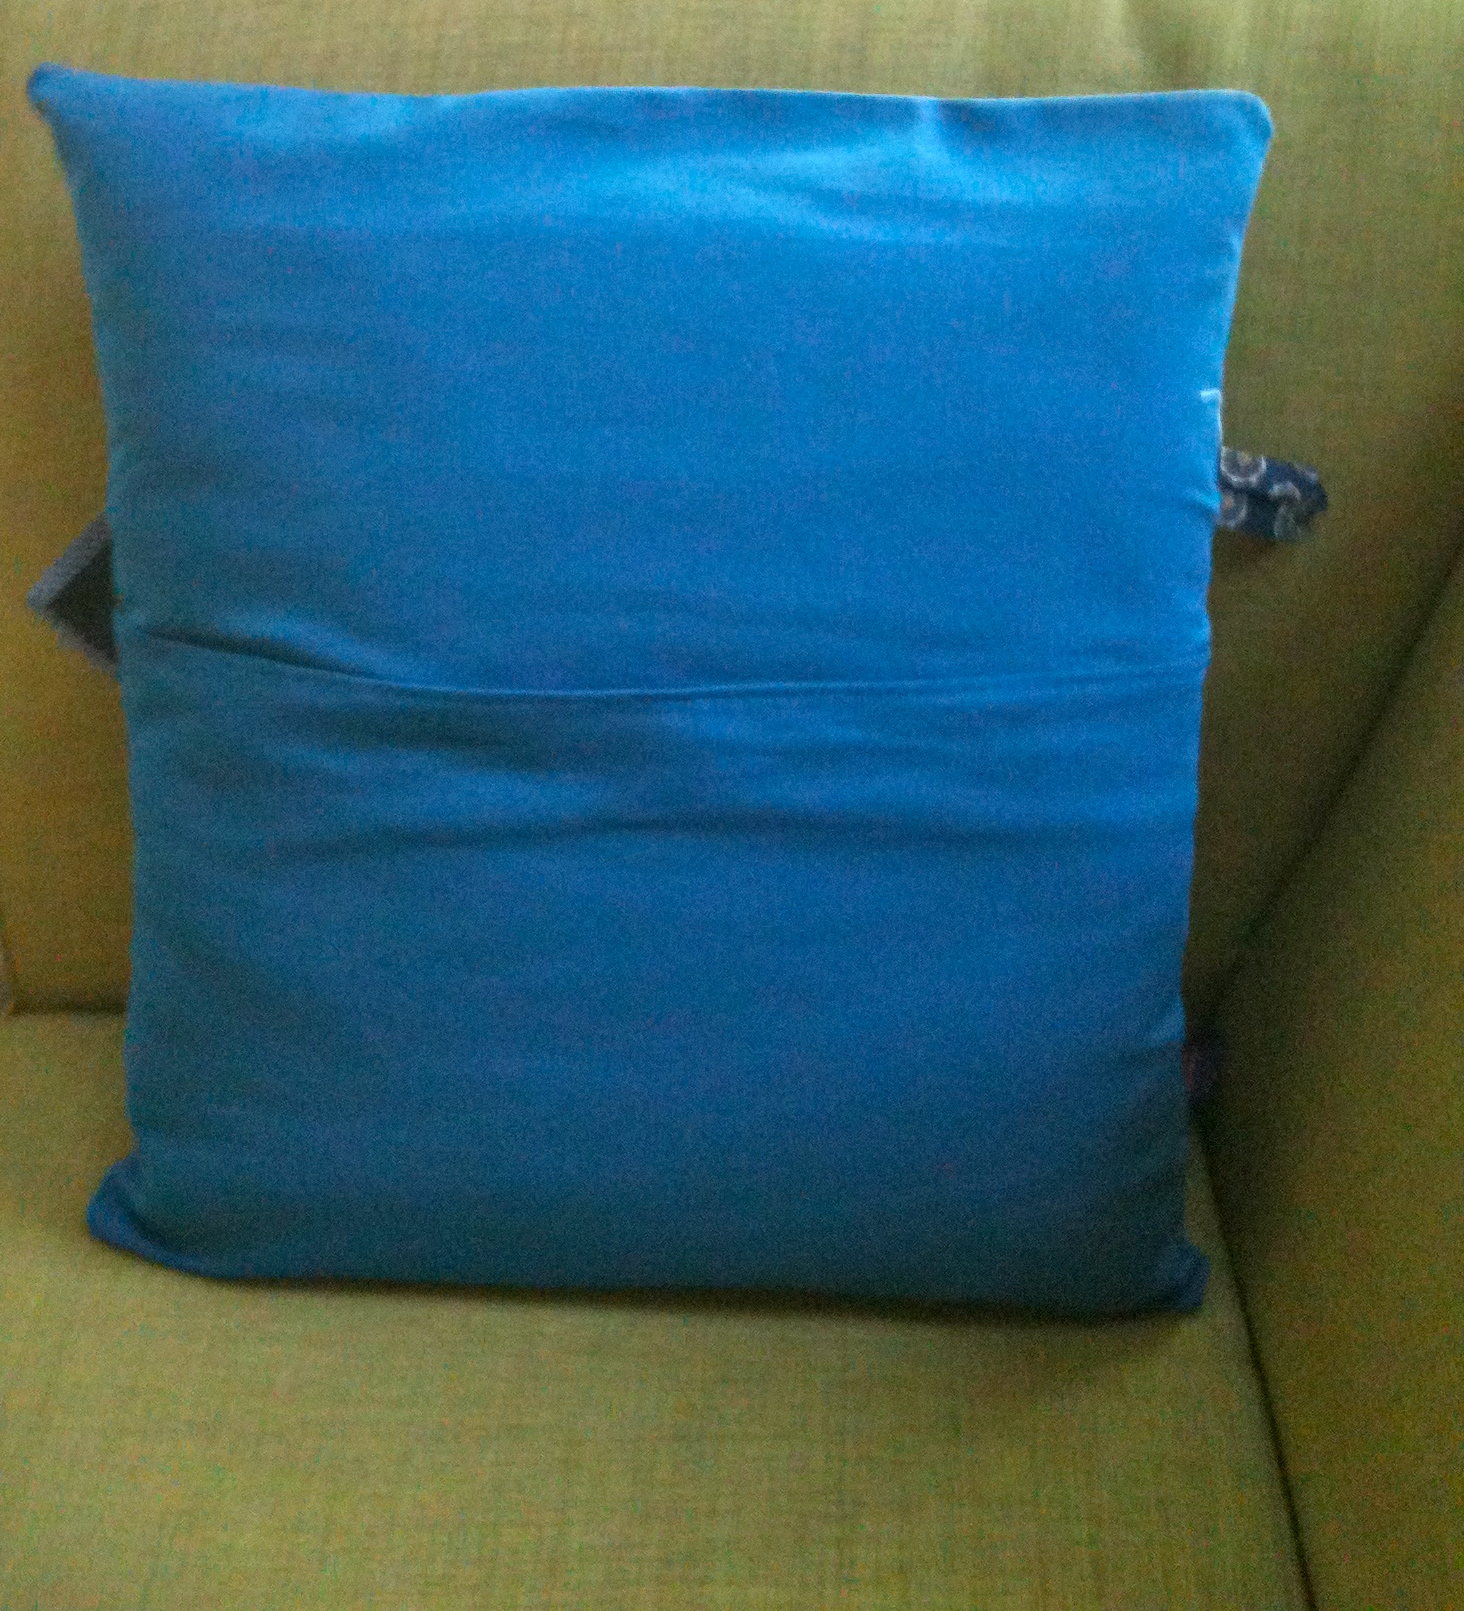
    5. Last step is to sew on the two pieces of the back of the cushion, providing that envelope like cushion.IMG_0224IMG_0215 IMG_0216

I decided these cushions would complement my second-hand couch, I use in my office at work. Everyone at work stops by and takes a quick rest, all I need now is a small coffee table and to start charging for therapy 😉

IMG_0225NOTE: The one thing I would try next time is to sew along the edges of the  ties first then pin them to the backing. I am not sure if this would make things easy or not though.

For more ideas on what you can do with ties check out this blog on Sewing with ties, which was this cool site I found after I completed these. In this site, I especially like the tie circles and the tie covered tree art.

green tri2

A few of my favorite things: Savory Breakfast

When I think of a savory breakfast, I would have to say an egg needs to be in my breakfast. I love eggs especially poached but I will take them scrambled, over medium (white cooked, yellow runny), or a boiled egg (again like my white cooked and yellow runny).

Some folks find poaching an egg difficult. I am especially picky with them and don’t like them to have a very strong vinegar taste to them (using vinegar stops the whites from spreading – you add it to the boiling water). I actually found these cool silicone poach egg pods which you place your egg into, then once the water is boiling add the pod into the water. You get the perfect semi-circle shaped poached egg, and no vinegar taste – PERFECT!!!

The first of my recipes, no surprise uses poached eggs.

Breakfast Open Sandwich

Ingredients (serving size: 1)

1/2 english muffin
1/4 avocado
2-3 slices tomato
2 slices Canadian bacon
few leaves of spinach
1 poached egg
salt and pepper

I start with boiling the water for the poached egg. As I am using the poached egg pods above – I follow their instructions for cooking the egg. I leave it in the water ~5-6 minutes in the pods.

While the egg is cooking, add two pieces of Canadian bacon to a fry pan and cook; toast the english muffin in the toaster.

Once these steps are completed, spread the avocado on the muffin. I stack the sandwich then, in this order:
Spinach
Canadian Bacon
Tomato
Poached egg

Add salt and pepper to taste. Serve immediately.

Breakfast Bratkartoffeln (Fried Potatoes)

I discovered one of my all time favorite meals in a “pub-like” restaurant Vetters Brauhaus in Heidelberg, Germany – the meal is called Bratkartoffeln. The fried potatoes are fried in a cast iron skillet in probably bacon fat and topped with fried eggs.

This recipe is a twist on that, a light and healthy version that makes a great breakfast or brunch item

Ingredients (serves 1-2)

1 Tbsp Olive oil
2/3 cup frozen grated potato (in the US – Ore-Ida Country Style hash browns)
1/2 cup grated zucchini
1/2 bell pepper, chopped (green works best)
1/2 yellow onion, chopped
2 slices Canadian Bacon, chopped
1 tsp dried Paprika
1/2 tsp dried Thyme
Salt and Pepper (to taste)
1 Egg (Poached or Fried)
Chives (optional)

Add the olive oil to a heated fry pan, add the frozen potatoes (Hash browns) – stand back a little in case of initial spitting of the olive oil when add the potatoes.  Leave for approximately 1 minute just to defrost the potatoes a little.

Add the zucchini, onion, bell pepper to the potatoes. Spread the ingredients across the fry pan surface. Try not to flip the contents often – it will become mushy if you do. Sprinkle paprika, thyme and salt and pepper over the contents. Cook until the potato mixture until it starts to turn golden brown on the bottom and flip the mixture.

Add the Canadian bacon. Again once the bottom starts to turn a golden color flip the potatoes one last time. Once cooked, plate the potatoes (could split for two if you want – add an extra egg if you do), add the poached or fried egg on the top. Sprinkle a little salt, pepper and chives on top of the egg and server immediately.

NOTE: I love the yolks of my egg running over the potatoes… if you break the yolk and it spreads over your potatoes it tastes fantastic!!

Summer and Fall Vegetable Garden Planning

One thing I have discovered in my first year of designing and growing a vegetable garden…..it is truly a science.

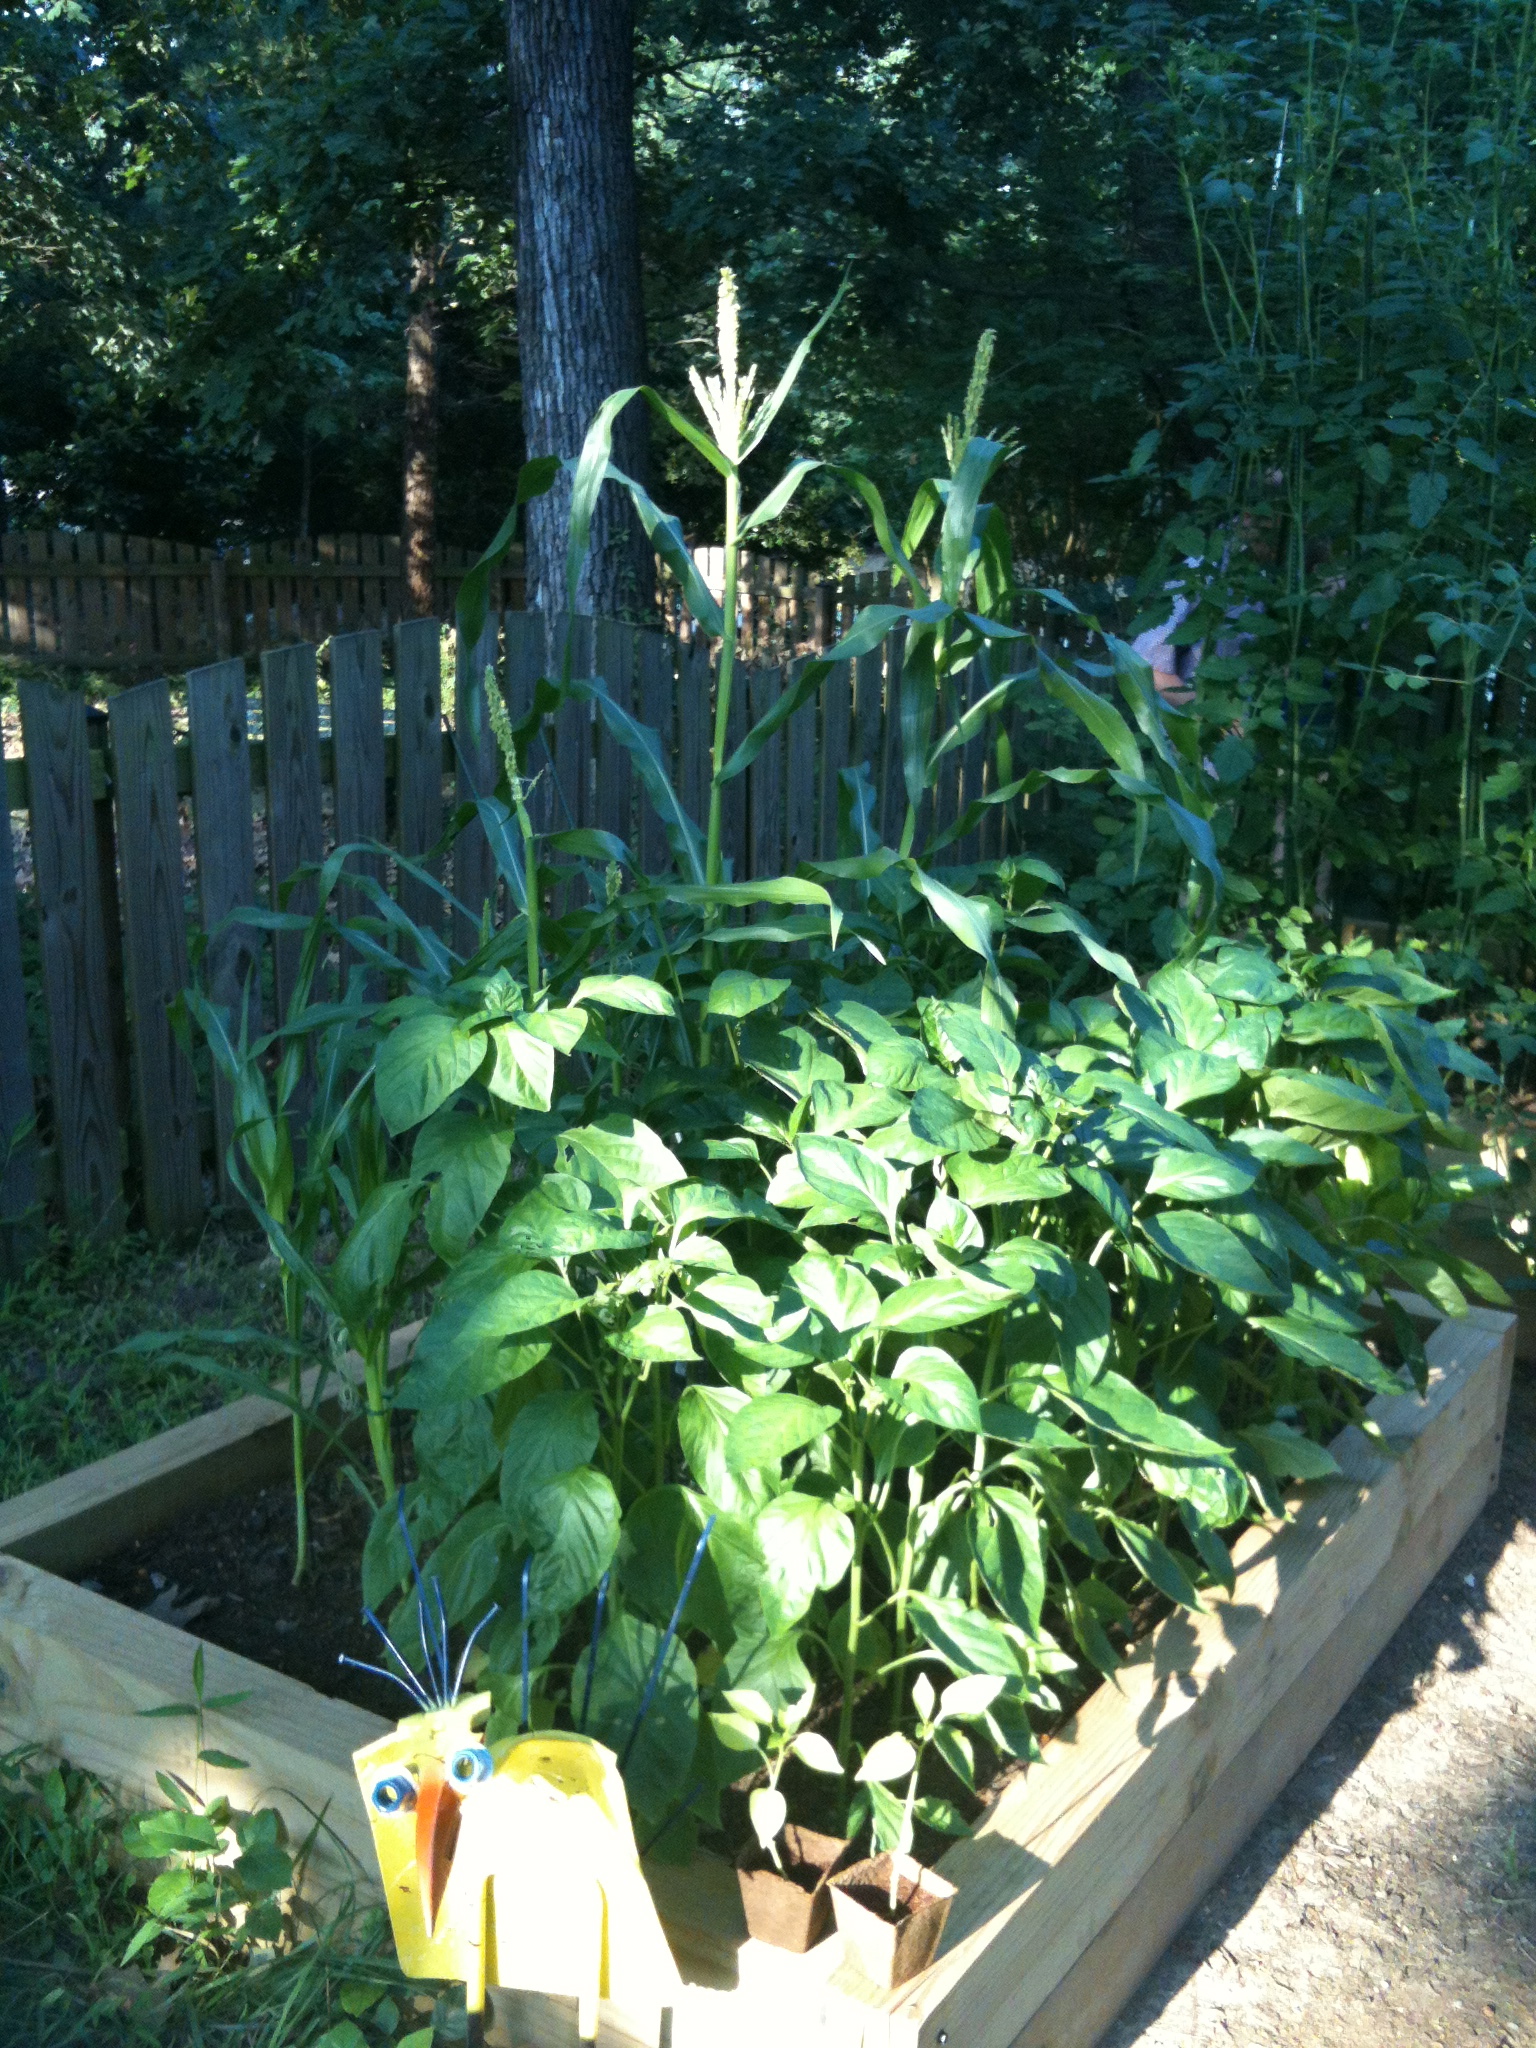
My summer garden has been very successful, surprisingly so, since I knew almost nothing going into this project.  I grew from seed cherry tomatoes, cucumbers, zucchini, summer squash, bell pepper, lettuce and corn in my main garden beds.


In two oval tin barrels, I grew the herbs again from seed…basil, thyme, rosemary, chives, oregano, and parsley.

Some lessons learned this summer:

  1. Plant zucchini, in the south, as early as you can (after frost though) – you are almost guaranteed to get vine borer in early July and lose your plants. I almost cried when it happened as my zucchini were in full production and rocked!!! You can also replant late summer but there is still a chance you may loose this to.
  2. Don’t waste your home garden space with corn. Mine grew great but for the yield it takes up a lot of room.
  3. Bell peppers, due to the very hot weather here in North Carolina tend to be late summer. Due to the cooler temperatures and the rain this past month, my bell peppers are taking off (they like 86 degrees F or below). I gave them more room once the lettuces finished and I removed the corn.
  4. You don’t need to grow 40 plants of each vegetable :-). I had extremely high yield from my seeds especially the tomatoes and bell peppers – almost all the seeds produced and I was only expecting about 1/3 to grow….we had some happy friends who now also have plants.

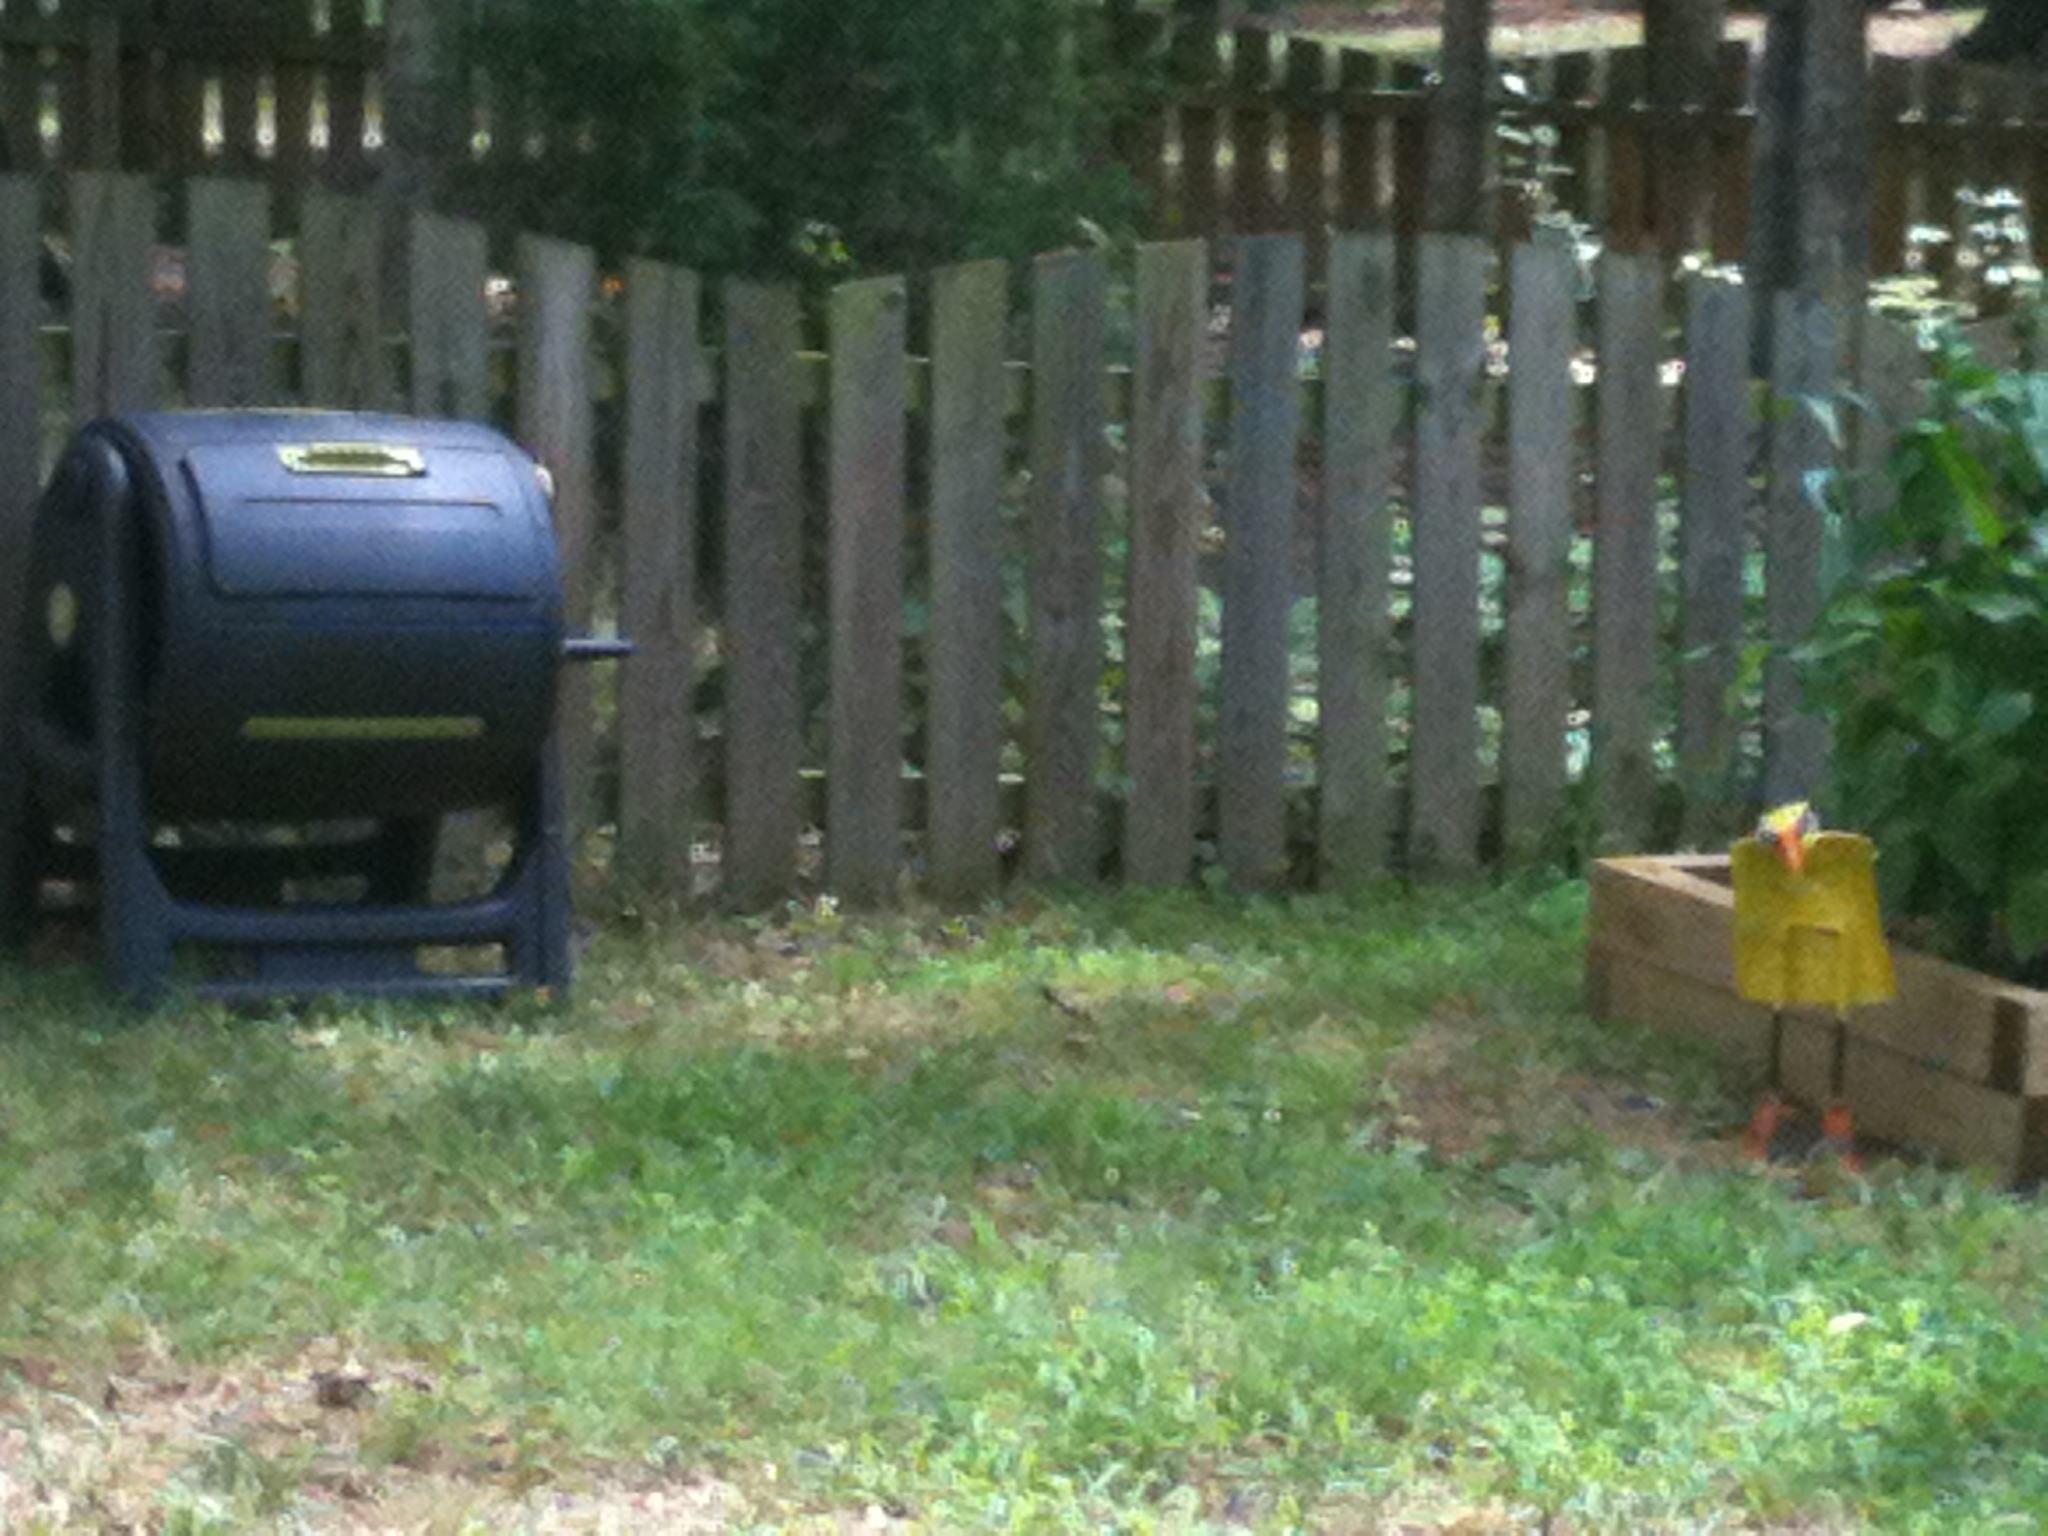
Late in the summer, the other thing we started was our own compost pile. What a great way to reduce on waste, we were already recycling and now this is a perfect compliment and a great learning opportunity for the family.

For my fall garden, which I am hoping to plant this weekend (delayed since I am recovering from surgery) I was able to plan it out much better. For example, did you know that there are companion plants?? These are plants that should be planted with each other as they complement each other and can ward of viruses etc. There are also plants you should never plant with others in your garden. So my plans are to grow the following:

  1. Replacing the tomatoes with cabbage and spinach
  2. Replacing the zucchini with broccoli and swiss chard
  3. And once the bell peppers ripen and finish I will add cauliflower and carrots. The cauliflower I can grow in seed starter trays and then transplant.

I am also expanding the garden to include another small bed. I am thinking of adding more fruits to the garden for next year as my son prefers them to vegetables; strawberries and rhubarb are definite (rhubarb can remain for up to 5 years so I need more room).

To finish off, I wanted to share some photos of the fruits of labour.