I have to say I am a huge fan of my domestic machine walking foot and straight-line quilting. Its my preferred quilting technique, when choosing a quilt design for my quilts, which are mostly minimalistic in design. I do find it so versatile.

I hear so often from folks how easy it is or how quick it is to do straight-line quilting. The comment of easy or quick sometimes irks me, as it lessens the effort and design thought that can be required for quilting straight lines. So, I am going to respectfully disagree that its easy and quick. Here’s my view-point on straight-line quilting, keep in mind everything below are my experiences and I only use a domestic machine for quilting:
- For long lines – it is not easy keeping that line straight. There is a skill involved in creating those straight lines even when using a guide. I tend to use 1/2 inch quilted lines or smaller, as I can use by foot as a guide.

- You are constantly checking and re-checking lines to make sure they are straight. This means every few lines taking the quilt out of the machine, measuring, remarking your guidelines. I use painter’s tape and a ruler every 4-5 inches or so, make sure I don’t go too far before correcting if some skewness appears. Most quilters will have a tendency to go right or left as they quilt their lines. Funny enough, I have an issue of bowing where the center gets warp but my ends are in line.
- What if your lines to not go edge to edge? I don’t always plan to submit my quilts to a show but just in case, I always try to bury my threads. This is different that most FMQ designs that can be used more continuous motion. I have been known to spend 8-15 hours in just burying threads, after starting lines from the inside and making my way out, ensuring my quilting does not cause any puckering on the front or back of the quilt.
- Lastly, I want the quilt design to add interest to the quilt and complement the quilt. The quilting for me is not usually the main focus but I do put a lot of thought into this aspect of the overall design. Choosing straight-line quilting, for me, is not just an after thought. Here are some examples where I hope you can see that.

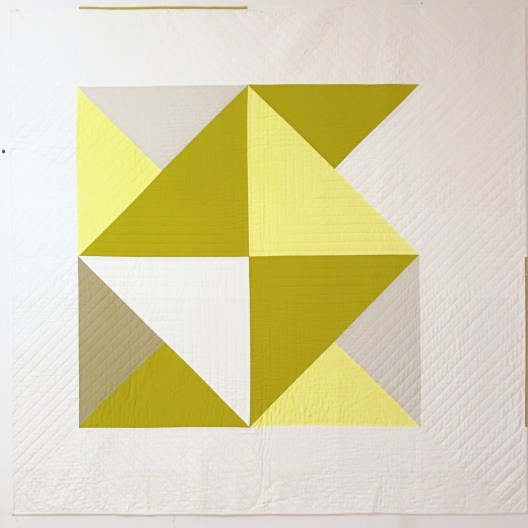
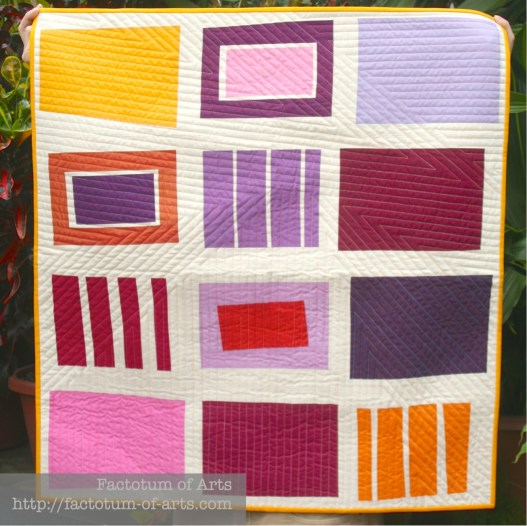
Fractions: 1 inch quilting of straight-lines. All thread was matched. Design was to make the inner square (on point) as one shape, as the corners of the lines converge where the triangles all meet. The outer quilting lines are color matched with the originating quilting lines, and the lines extend to through the border incorporating the border into the overall design.Sunday Best: Variety techniques of straight line quilting was used to provide interest in the various shapes. In the orange peel like block 1/2 inch straight line and crosshatch was used. This was to pull the focus to the various layers and centers of the 4 curved blocks.

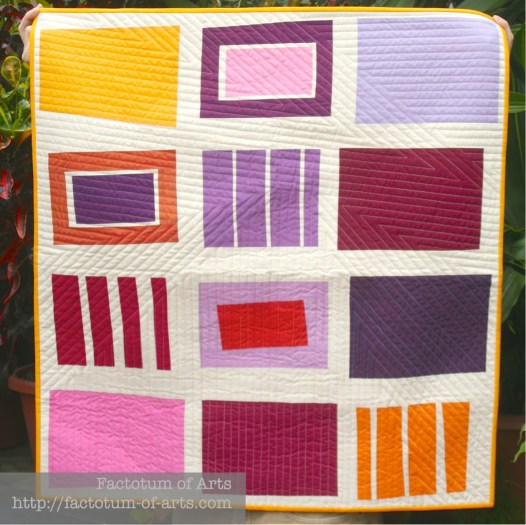
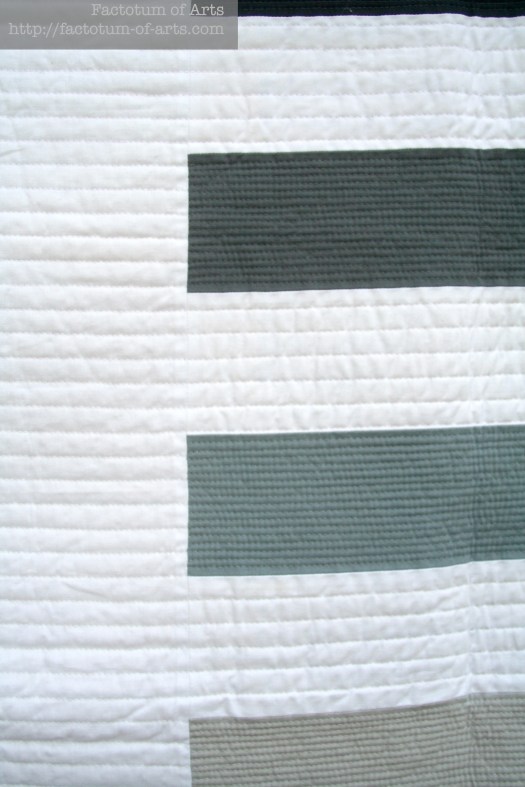
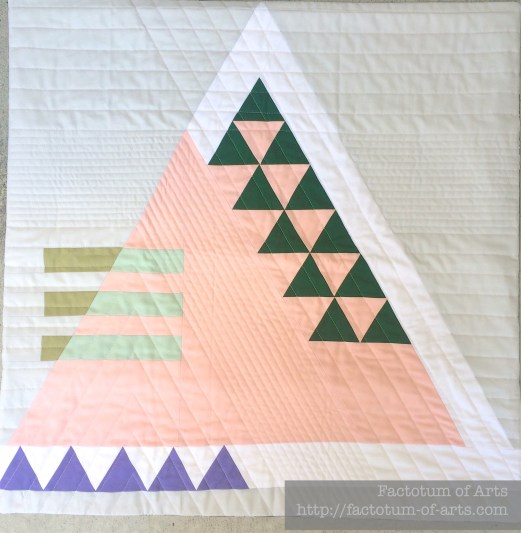
Abstract Triangle I: A variety of 1 inch and 1/4 inch lines were used to highlight the triangular aspects to the design. The 1/4 inch quilting, in particular, was denser on the negative space here as it is used to pull aspects of the other two designs into this design – The straight lines on the left in the first image above, and the edge of the pink triangle in the second image.
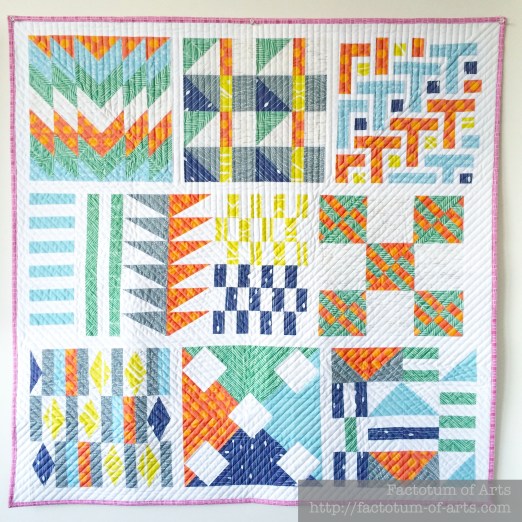
Spoonflower Sampler: 1 inch straight line angled quilting. The goal for this angled quilting was all the lines point and meet at the centered square of the middle block of the bottom row. Pulling the eye from the center and giving it some movement.
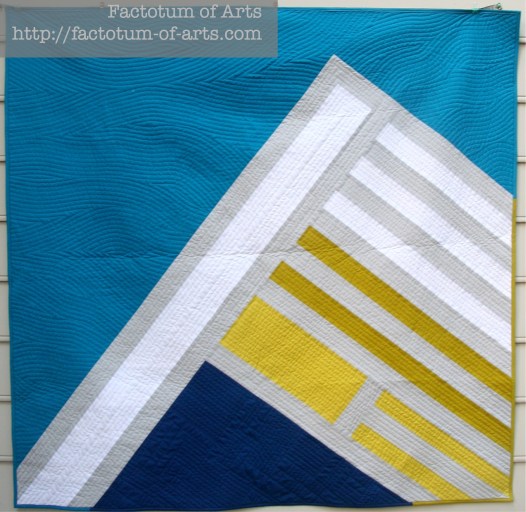
Altitudinal Ecosystem: Used a variety of straight lines depending on the substrate I was quilting. The 1/2 inch straight lines were used for the mountain to represent strength and rigidity. The lake (dark blue) has a variety of line widths and directions representing the movement and fluidity of the water. The air was still using my walking foot though using ultra wavy lines to represent how air waves move.
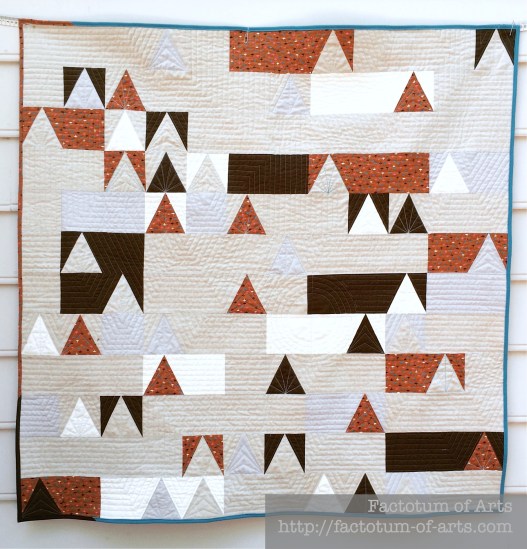
Takes a Village: Used 1/2 inch straight line quilting lines to draw path ways around the village. The center circled lines represents the town square, meeting place and each of the triangles individual quilted with 3 varying straight lined designs represent the roofs of houses in the village.
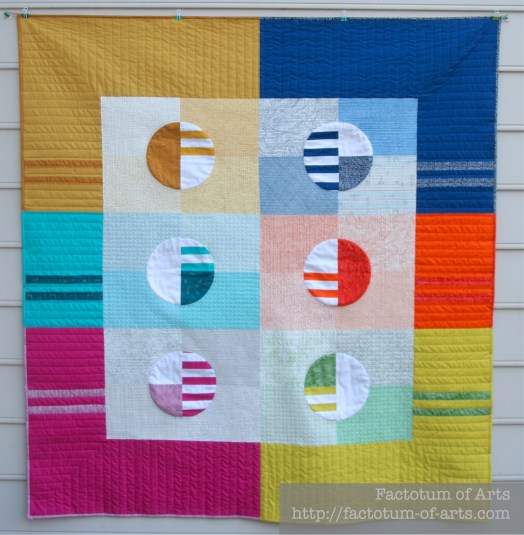
Phased circles: Uses all straight lines either as matchstick, crosshatch or 1 inch quilting designs. This quilt took 80 hours to quilt . Thread color matches the background fabrics. The 1 inch lines were used on the border to incorporate the differences between volume of the border and the centers. The center squares densely quilted, as I wanted a flatter look so that the circles are popping out more, and have the low-volume prints stand out. This denser quilting pulls you in closer to look at the details.
Neighbourhood: Is a quilt that represents the house and fences in the neighbourhood. The angled quilting in this quilt was designed to add movement to the quilt. Your eye will travel each of the shapes that are formed with the quilting. To add to that movement variegated thread is used.
I know that straight line quilting is not as complicated as various free-motion quilting designs, especially compared to designs by folks like Angela Waters or Kathleen Riggins (who I have used in the past for other quilts). However, I think straight-line quilting does require skill and can be time-consuming (depending on your design). It should get the respect it deserves, and what it does bring to the design.