Carry All Pin Cushion

Where has September gone!! I thought I will try to get a post done, finally. I am so busy at the moment and finding it hard to post.  It’s all good news, I have recently signed on for 4 projects and 2 blog-hops all due before the beginning of November. All are secret projects, with many of them not being released until next year. So if I am missing, please bear with me – I will post when I can.

Today, though, I am so excited to show you my first finishes from Anna Graham’s (aka Noodlehead) new book, Handmade Style. Can I say this is a fabulous book….LOVE IT!!
SwapPinCushionPleatedPocket

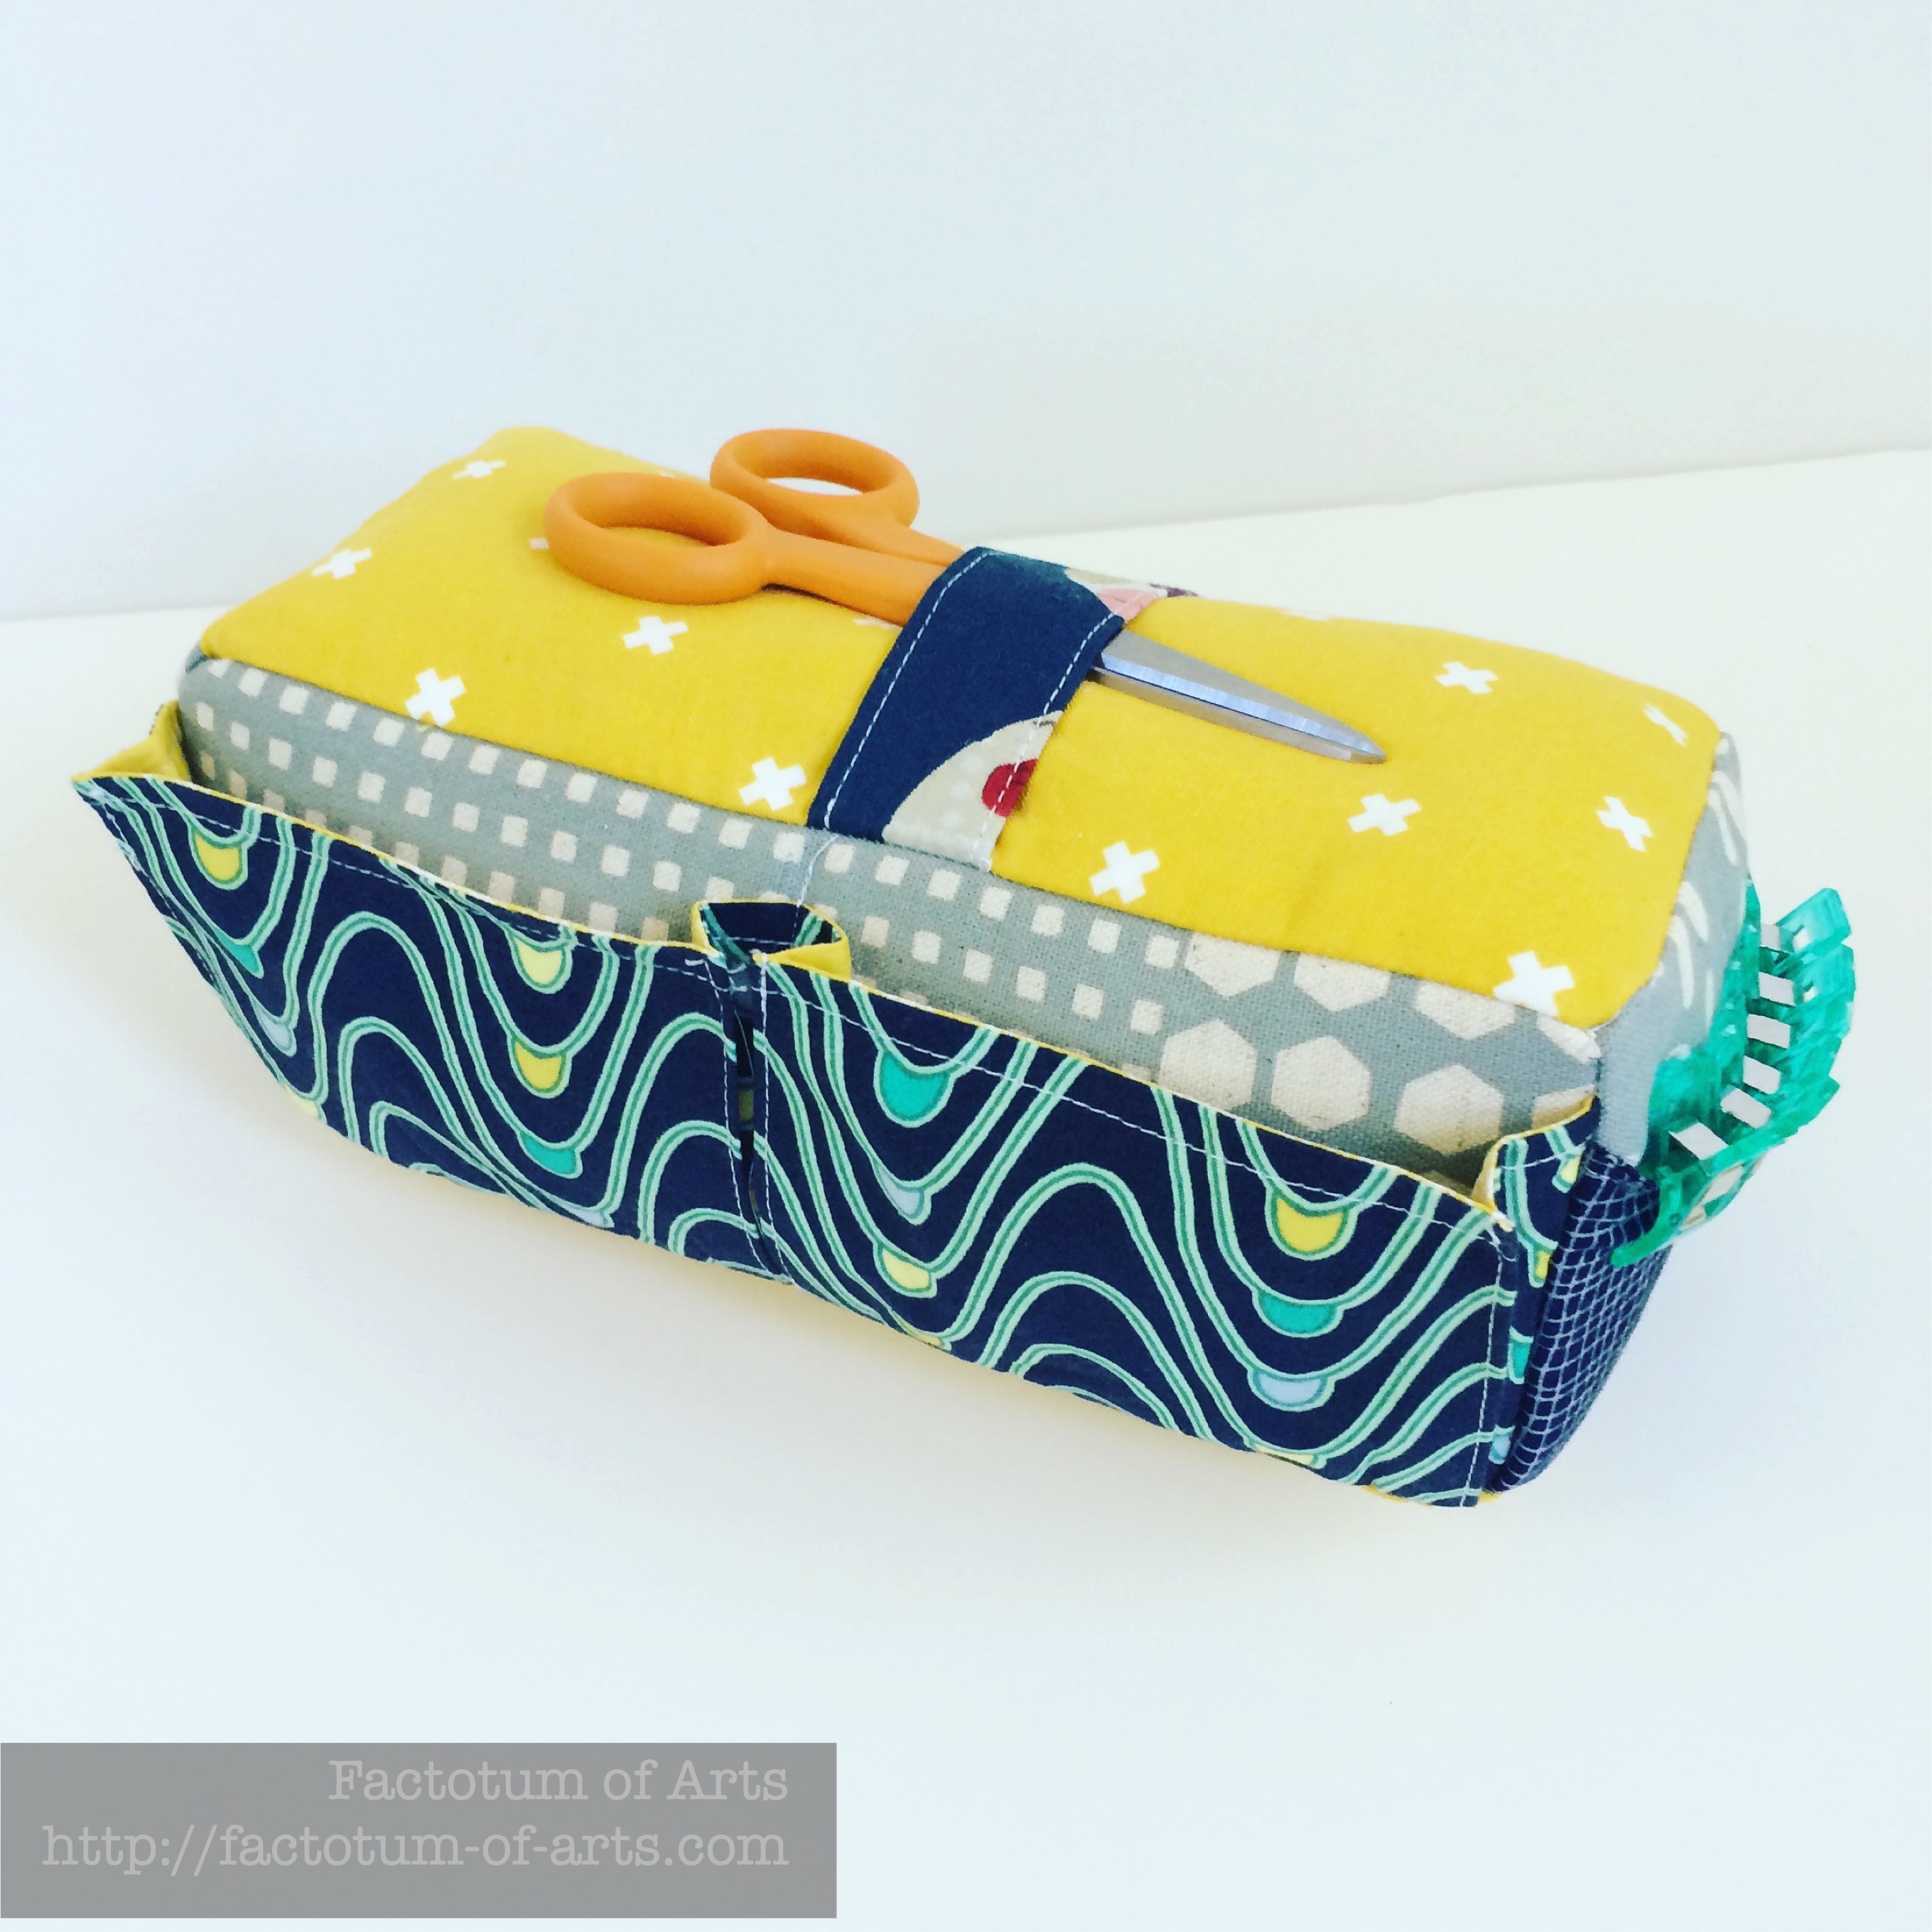
We had a “In your bag” swap, with our guild this past month. My secret partner said she would be happy with anything with color preferences of teal, navy and coral. I decided that the Carry All Pin Cushion would be the perfect project.

My Project Details

Timing: The pin cushion takes about 30 minutes to cut all the pieces and an hour to put together.

Instructions:
Easy to Follow

Functionality:
My favorite are all the pockets, two side pockets perfect for hexagons, bobbins, and smaller items, a slip pocket for a quick’n’pick or markers and lastly the large pleaded pocket.

Creativity: There is lots of opportunity to be creative and make the project unique for you.
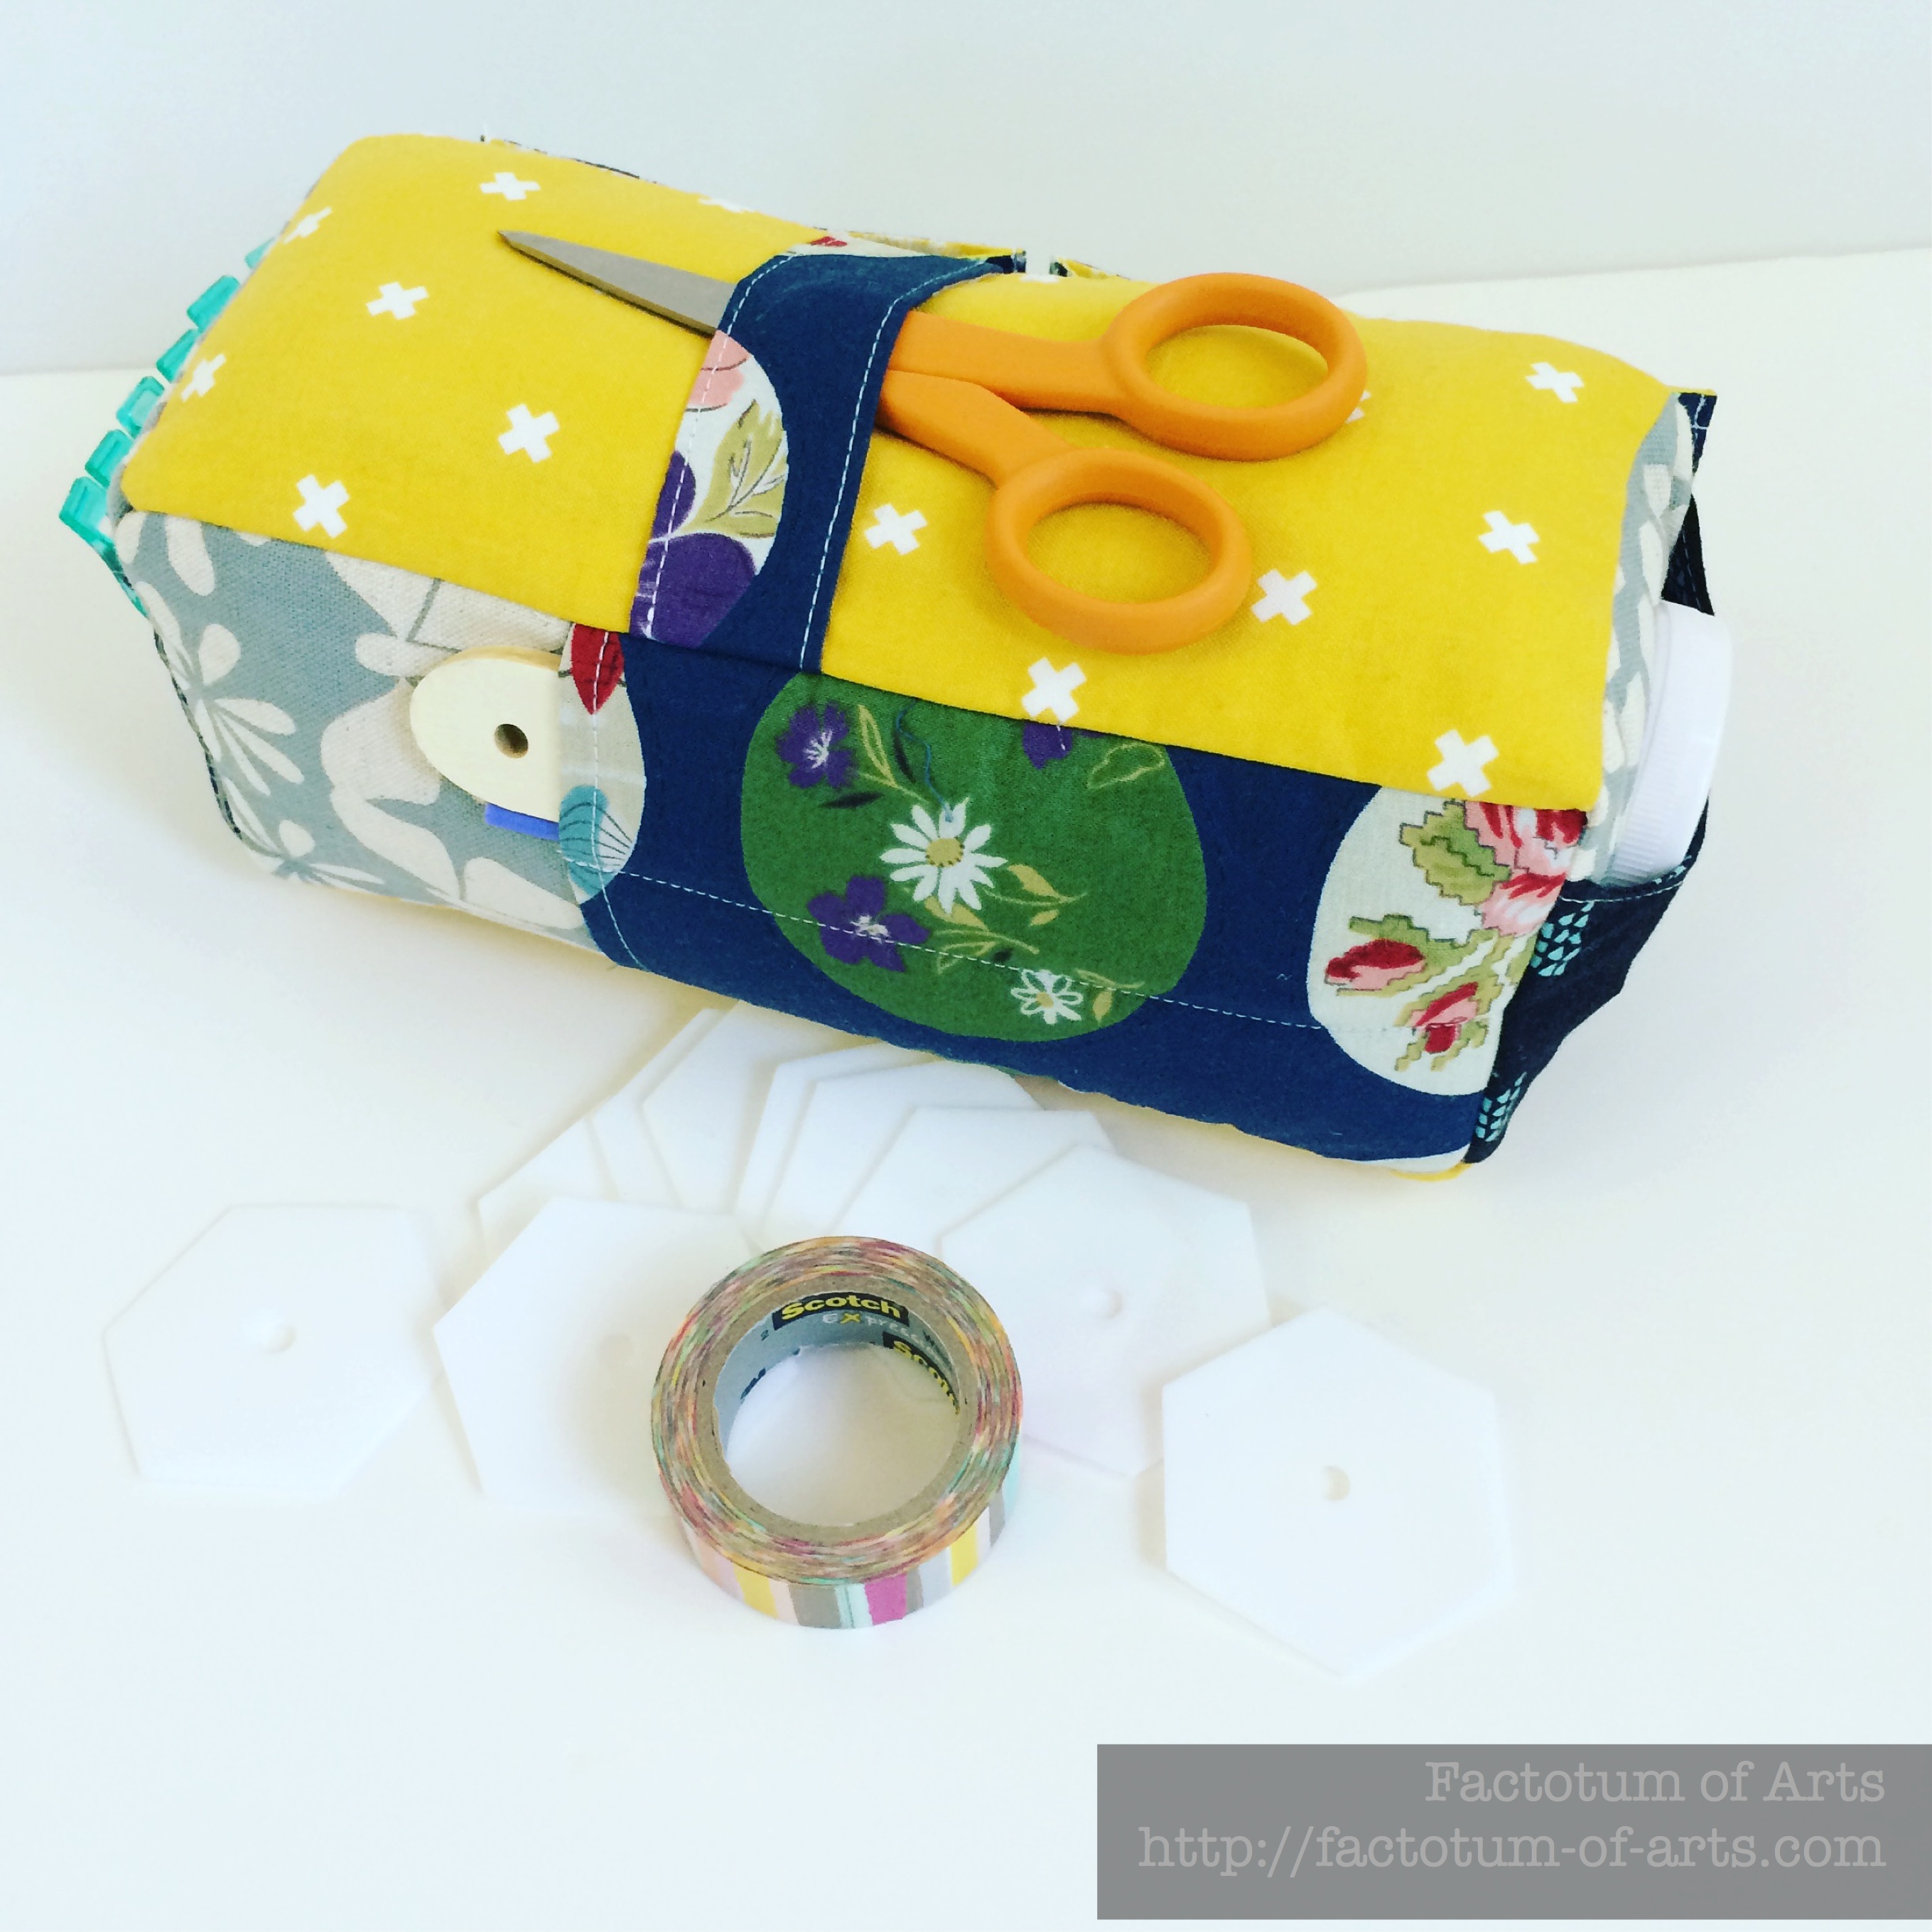
SwapPinCushion

My partner (Valerie) loved it!! A great gift for a quilter or a sewer.

I loved the end result and the making process, that I had to make a second one for me. I really wanted a black and white pin cushion with splashes of citron. I had my neutral Umbrella Trimmings Packet, that I used for a patchwork top.  Don’t you just love that “YOU”.
B&WPinCushionPleatedPocket

Project Details

Fabrics: Umbrella Prints, Black Essex Dyed Linen, Alison Glass Handcrafted 2 print, Cotton and Steel, Carolyn Friedlander.

Dimensions: 8.5″ x 3.5″ x 3″

Other materials: Pellon F101, and Annie’s Soft and Stable
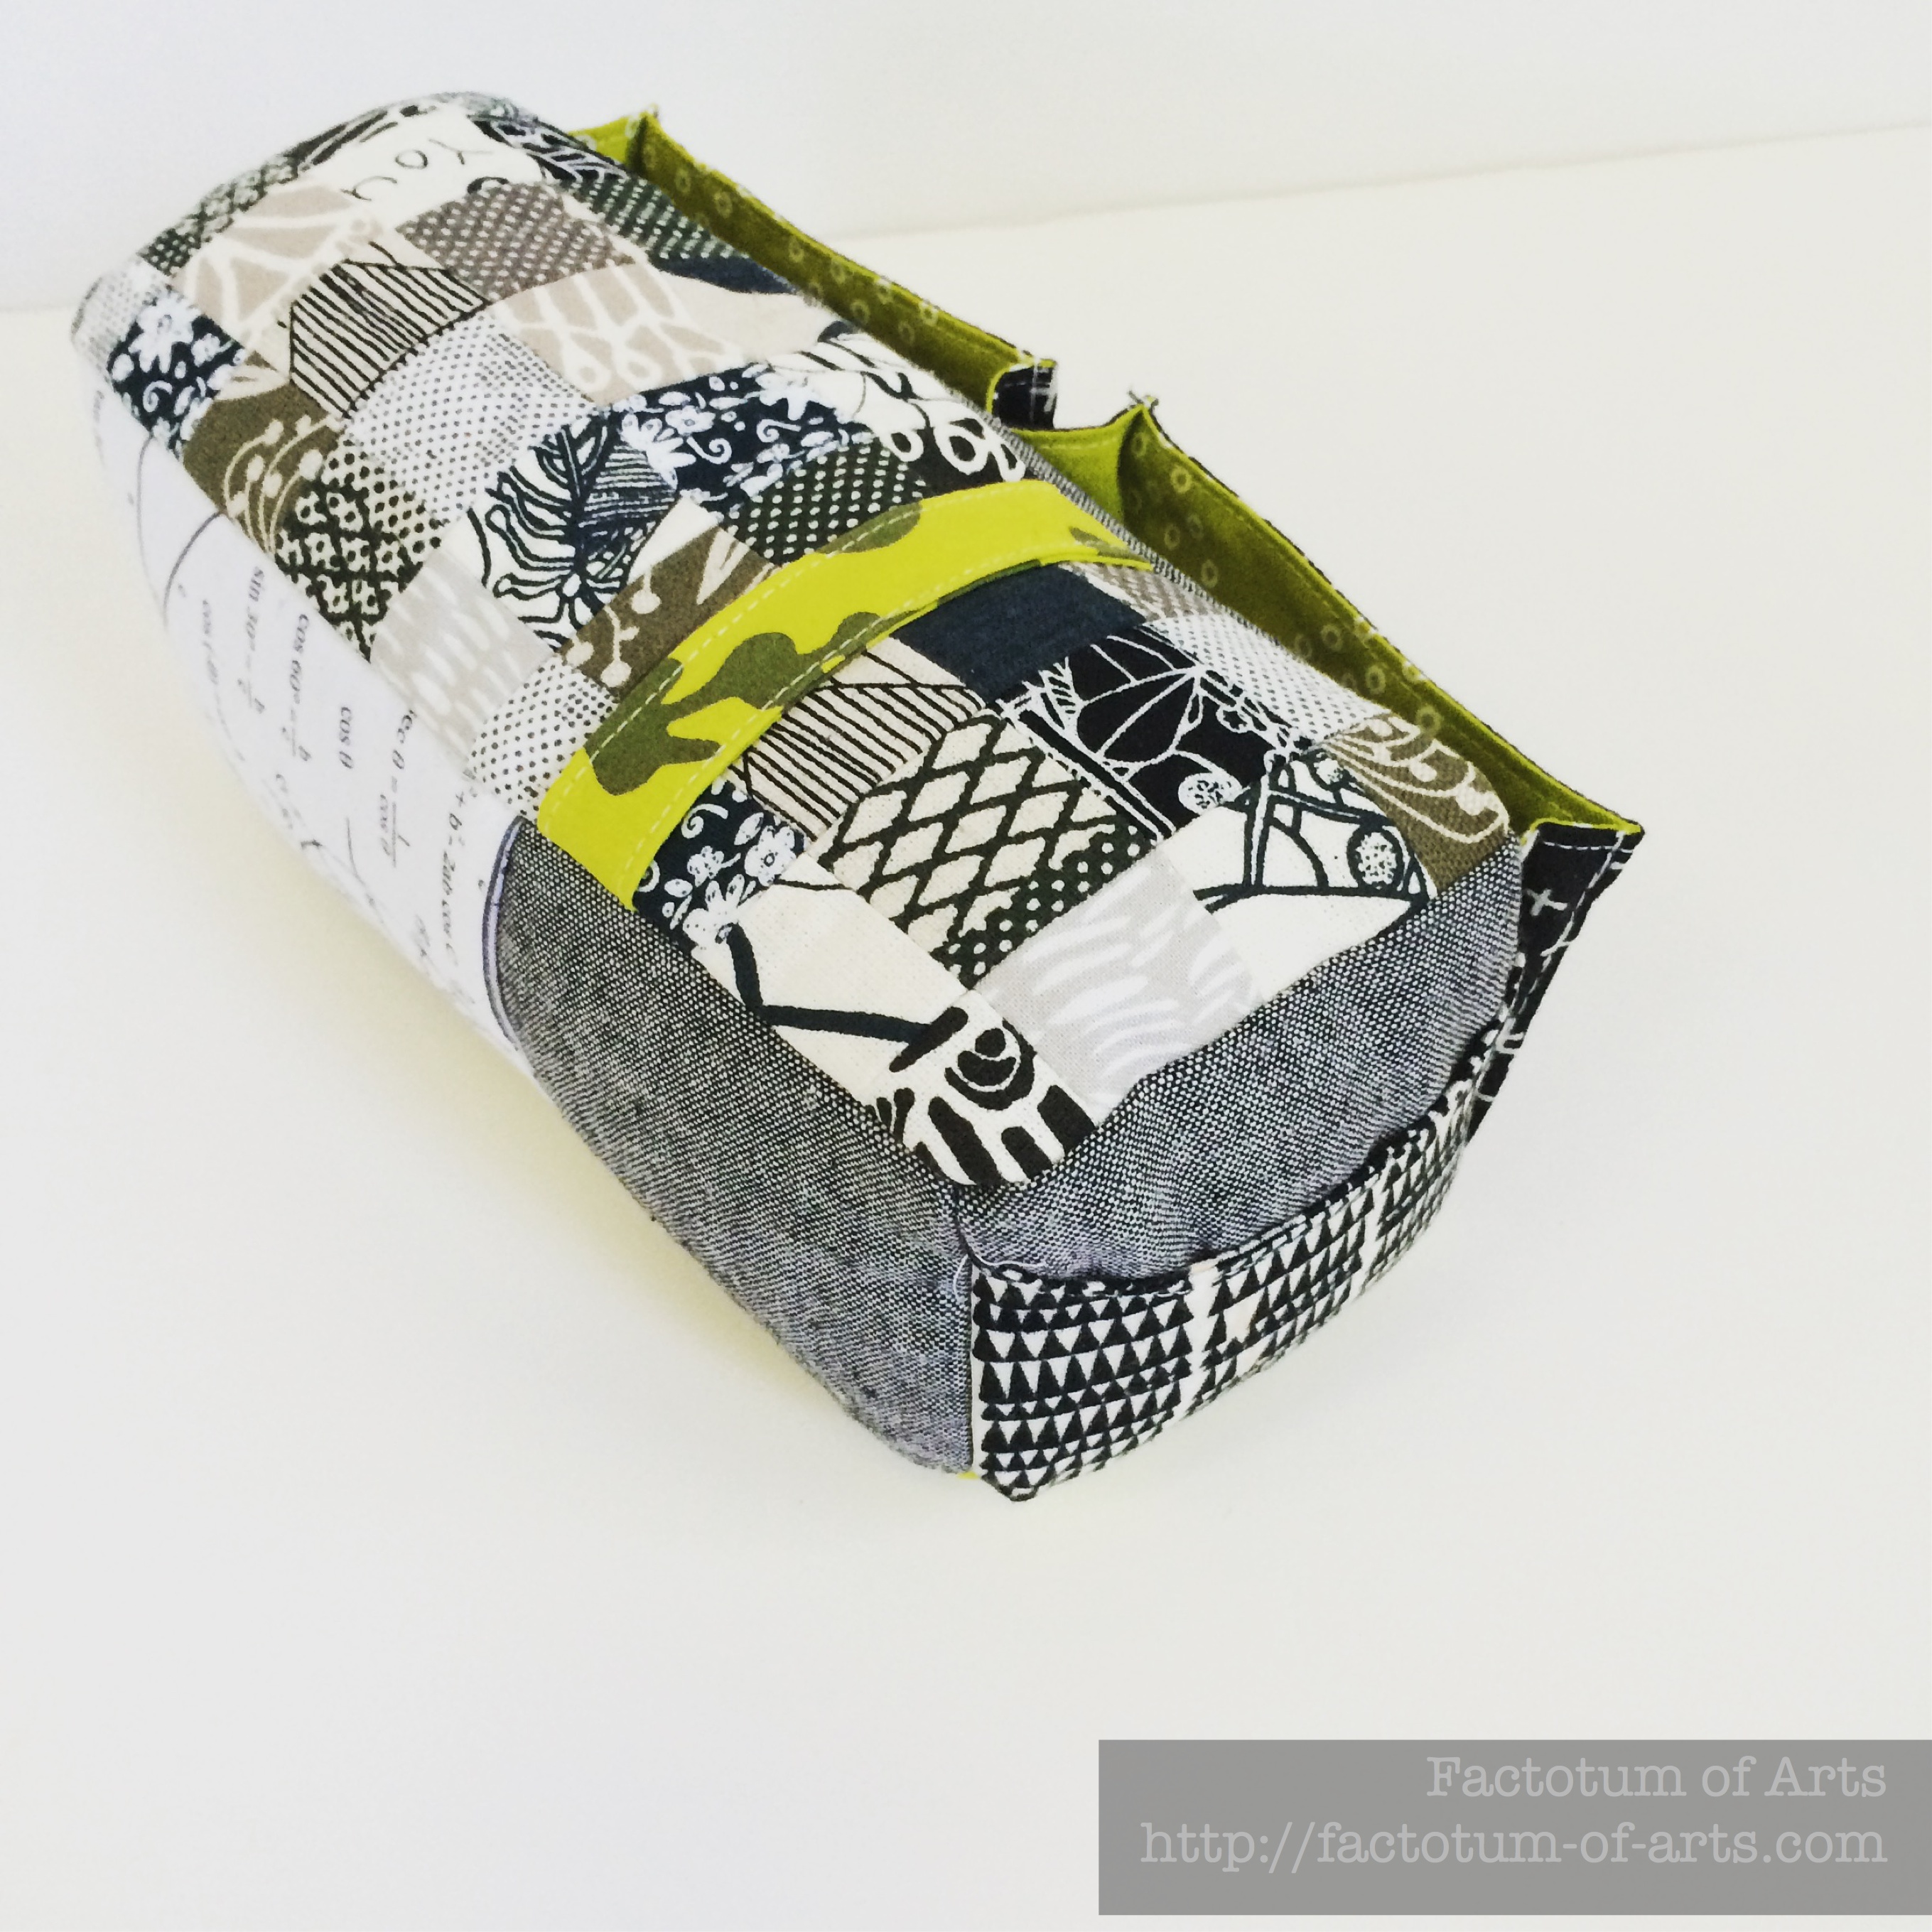
B&WPinCushion

Other than the umbrella prints patchwork top, I am loving the pops of the greens of Alison Glass Handcrafted print and the C+S print.B&WPinCushionBottom

I can highly recommend this project and book. I am hoping to make several of the projects over the next couple of months…Handmade Christmas gifts are on my list this year :-).
 

3 Year Anniversary – Giveaway!!

Can you believe it, I have hit the 3 year mark with my blog and my quilting hobby. Surprisingly, it feels much longer than that. In a good way, of course.

This blog started out as more than just a quilting blog. It was a space in which I shared all my hobbies & interests. Slowly, quilting/designing has consumed my world, and I have moved some of the other content to my IG account (ml_wilkie), focusing here on all things quilting.

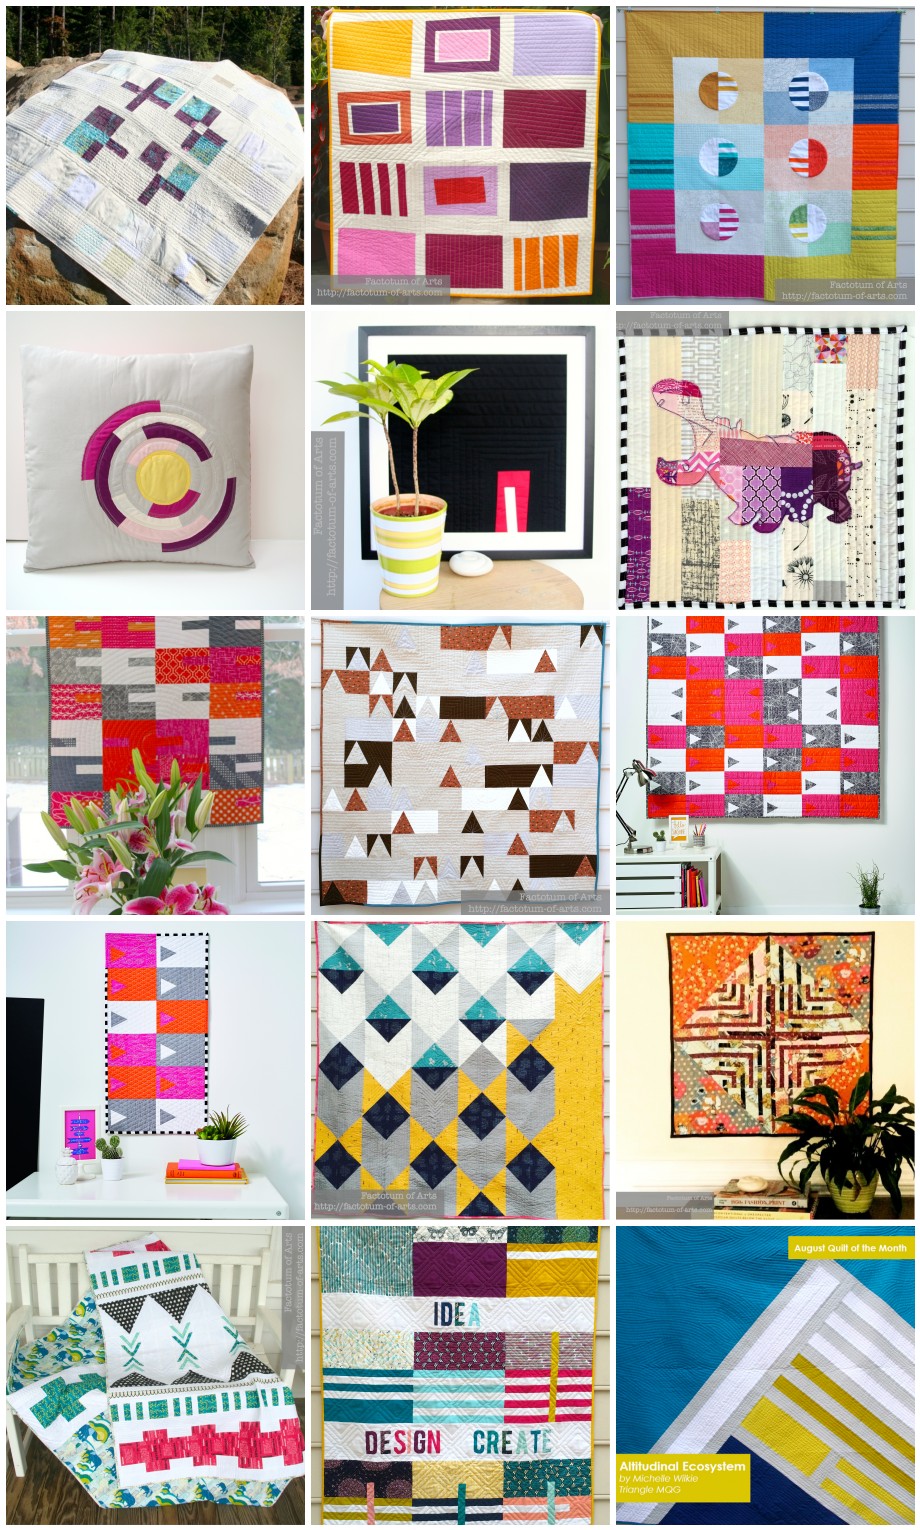
I was thinking about the best way to recap this past year. It has been a crazy productive year, especially considering that I only have the weekends to really concentrate on quilting. To share with you how crazy it’s been here is a mosaic of my main finishes (links to the projects can be found on my Project Finishes menu above).

mosaic3a216dc1feb2bf142d82e56f6c37edc7502f35f8

A lot of these projects, represent some big accomplishments this year, including:

  • A couple of great swaps, and participating in the Sisterhood of the Traveling Quilts
  • Contributing 5-part tutorial series “Design to Reality” on Sew Mama Sew
  • Two quilt entries accepted to QuiltCon 2015 & just the fantastic experience attending QuiltCon.
  • Block of the Month (February) Cloud 9 Cirrus Solids
  • A quilt featured on the cover of Love Patchwork and Quilting Magazine (Publication)
  • A second publication in Quilt Now Magazine (Publication)
  • A quilt featured in one of Art Gallery Fabric LookBook + pattern release.
  • Quilt of the Month pattern for the Modern Quilt Guild

It is starting to get hard now to choose a favorite. I expect more of the same for the next 12 months, maybe a little less chaotic.

Ok, so I have to say this……I would not be where I am today without my wonderful supportive husband (in both allowing me to work on my quilts in my limited free time and understanding my fabric addiction) and the support system you all have provided. Thank you so much, to those who follow me here on my blog and/or Instagram. Thank you, thank you!!

This giveaway is a small gesture in which I can give back to this fabulous community I find myself immersed in. I am giving away a $50 gift card to Hawthorne Threads.

So, how do you win this gift card?

  • Just leave a comment answering  “What quilting accomplishment do you hope to fulfill over the next 12 months”. It doesn’t have to be big – anything.
  • If you are a follower please leave a second comment, just letting me know you follow.
  • A giveaway winner will be chosen at random at 8pm next Monday 7th (Labor Day here in the US)
  • This post will be updated with the winner and the winner notified via email.

Note: I read every comment but due to the number of comments I may not reply to your comment.

You, also, have a second chance of winning a $50 gift card to Hawthorne Threads by visiting me on IG (Instagram ml_wilkie)…look for the give away post in the next 30 mins.

Again, thank you!! Good luck and I hope you all have a great week.

***********Winner*****************

The winner is Lynn over @Monkey Needle!! Lynn I will be sending you the gift card today!!


Traveling quilts, progress and lessons learned

Throughout the year, I have been working on 4 quilts for our Sisterhood of the Traveling Quilts. I have loved the process and have learned so much. I thought I would share some of my thoughts of the process, some realizations and some of my contributions.
IMG_3593
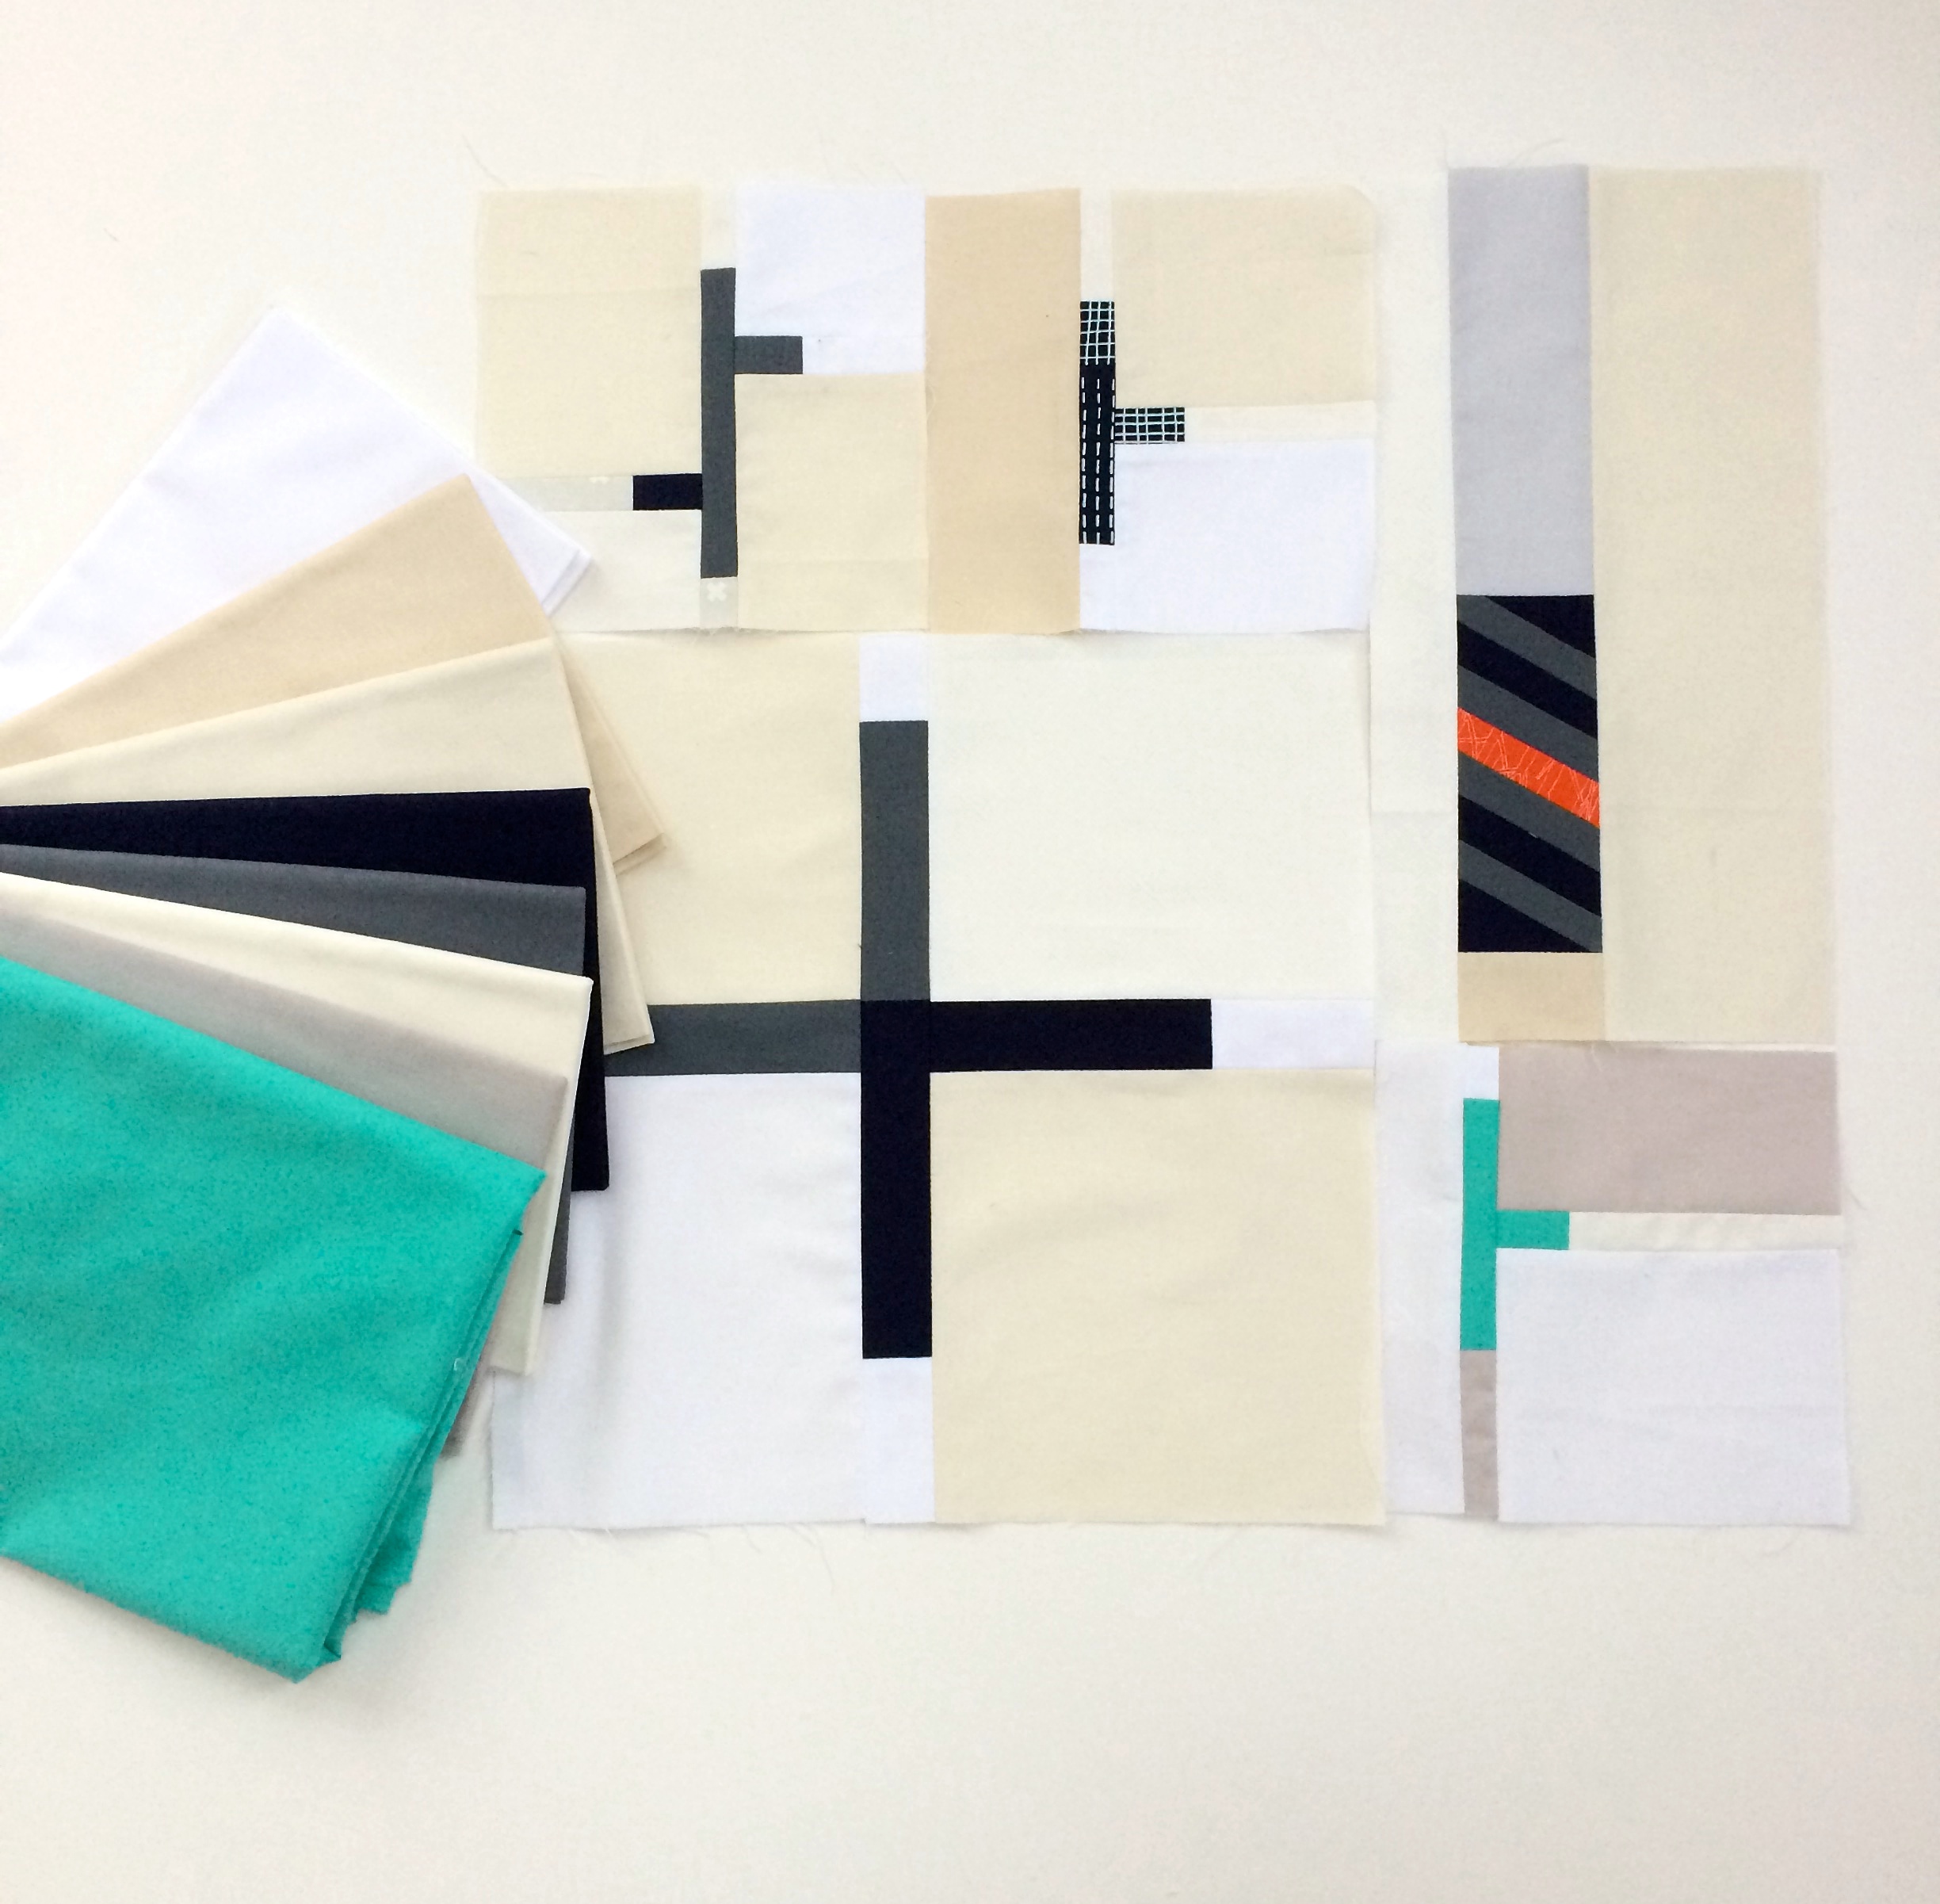
[My starter pack for my minimalistic road sign inspired quilt]

First off some background, a traveling quilt involves a small group of people. Each person creates a starter for a quilt which then gets passed systematically to the next person with guidelines and some fabric. You may be asked to add a row, a border for a medallion quilt or just blocks. The last person to contribute to the quilt, pieces the top together (if this is a row-based or block-based quilt).
IMG_4231
[Renee’s quilt: my contribution – 1st border]

Usually each quilt will have a theme, for instance, in our group:

  • Renee (quiltsofafeather) Started with this amazing center and asked that Bison to be the main background color. You can add solid purples but keep purple prints and oyster solid to a minimum
  • Laura (littleandlots) asked for each person to add a row to her quilt, with the row containing rainbow colors.
  • Jess (quiltyhabit) asked for blocks that all had curves in it and she had a specific jewel color theme she wanted to use. With one of the colors, mustard/gold,  Jess added additional details to ensure that the color matched her desired outcome.
  • Ashley (wasntquiltinaday) had an idea for a rainbow quilt as well, but she wanted each row to be of a single color. Her initial starter kit was 72″ wide so the goal is to create a row of that length to add to the quilt.
  • Myself: My thing was minimalism with a limited and heavily neutral color palette (pops of navy, aqua and orange). The theme was interpreting road signs.

Rainbow Chorus Line
[Laura’s quilt: My contribution of the Rainbow Chorus Line]

My goals:

  • Adding “me” to another persons quilt and know that person will always know…”oh that was  done by so-and-so”
  • Making sure I produce a high standard as these ultimately are someone else’s quilts
  • Be challenged by other people’s ideas and projects
  • Have Fun and Enjoy!!

I think, I managed to meet all my goals. I have definitely had a lot of fun and enjoyed the overall process. The lessons I learned were more about me:

  • I was definitely challenged. Renee’s quilt was a very different color palette than I would choose but I love the results.
    Lesson learned: Don’t be afraid, embrace the challenge and it will surprise you
  • I had fun with Laura’s, as I played around with fabric and worked out what combinations would work best.
    Lesson learned: take the time to make the decisions that you need to make the product the best you can.
  • I enjoyed adding my own block design to Jess’ quilt – definitely something recognizable as me.
  • Now it’s my turn to actually make up Ashley’s top, as I am the last contributor. This has been fun working out the Math, adding various colors and designs for the 3-4 rows that I need to add.
    Lesson learned: while making the final top check with the “receiver” what their final expectations are. In general, get to know the people in the group and use fabrics /blocks that you know they will like.
  • As I wanted to contribute my best, many times I over committed and under estimated my time to the project.  For my contributions on the first two quilts, I choose projects, that in total took over 30-40 hours to complete. This was usually for a single row or a border. Due to some of these project decisions, I was late by 2 weeks on one quilt and 4 weeks late on the other.
    Lesson learned: this was unfair to the group, so this is something I improved for my 3rd and 4th contributions. Choose do-able projects in the time you have but still produce a high quality result. It should still be something you are proud of or you would be happy to receive.
  • One of the things I enjoyed, most was watching how others were doing on their contributions and ideas by sharing on IG.
    Lesson learned: sharing built our communication/ friendship, it also gave us all check points to see where people are etc.
  • I loved getting to know folks through the process.
    Lesson Learned  take the time to get to know each other. Also, it’s really about communication, and being part of a team. You can’t let people down but most of the time  if you communicate the situation people are usually understanding.

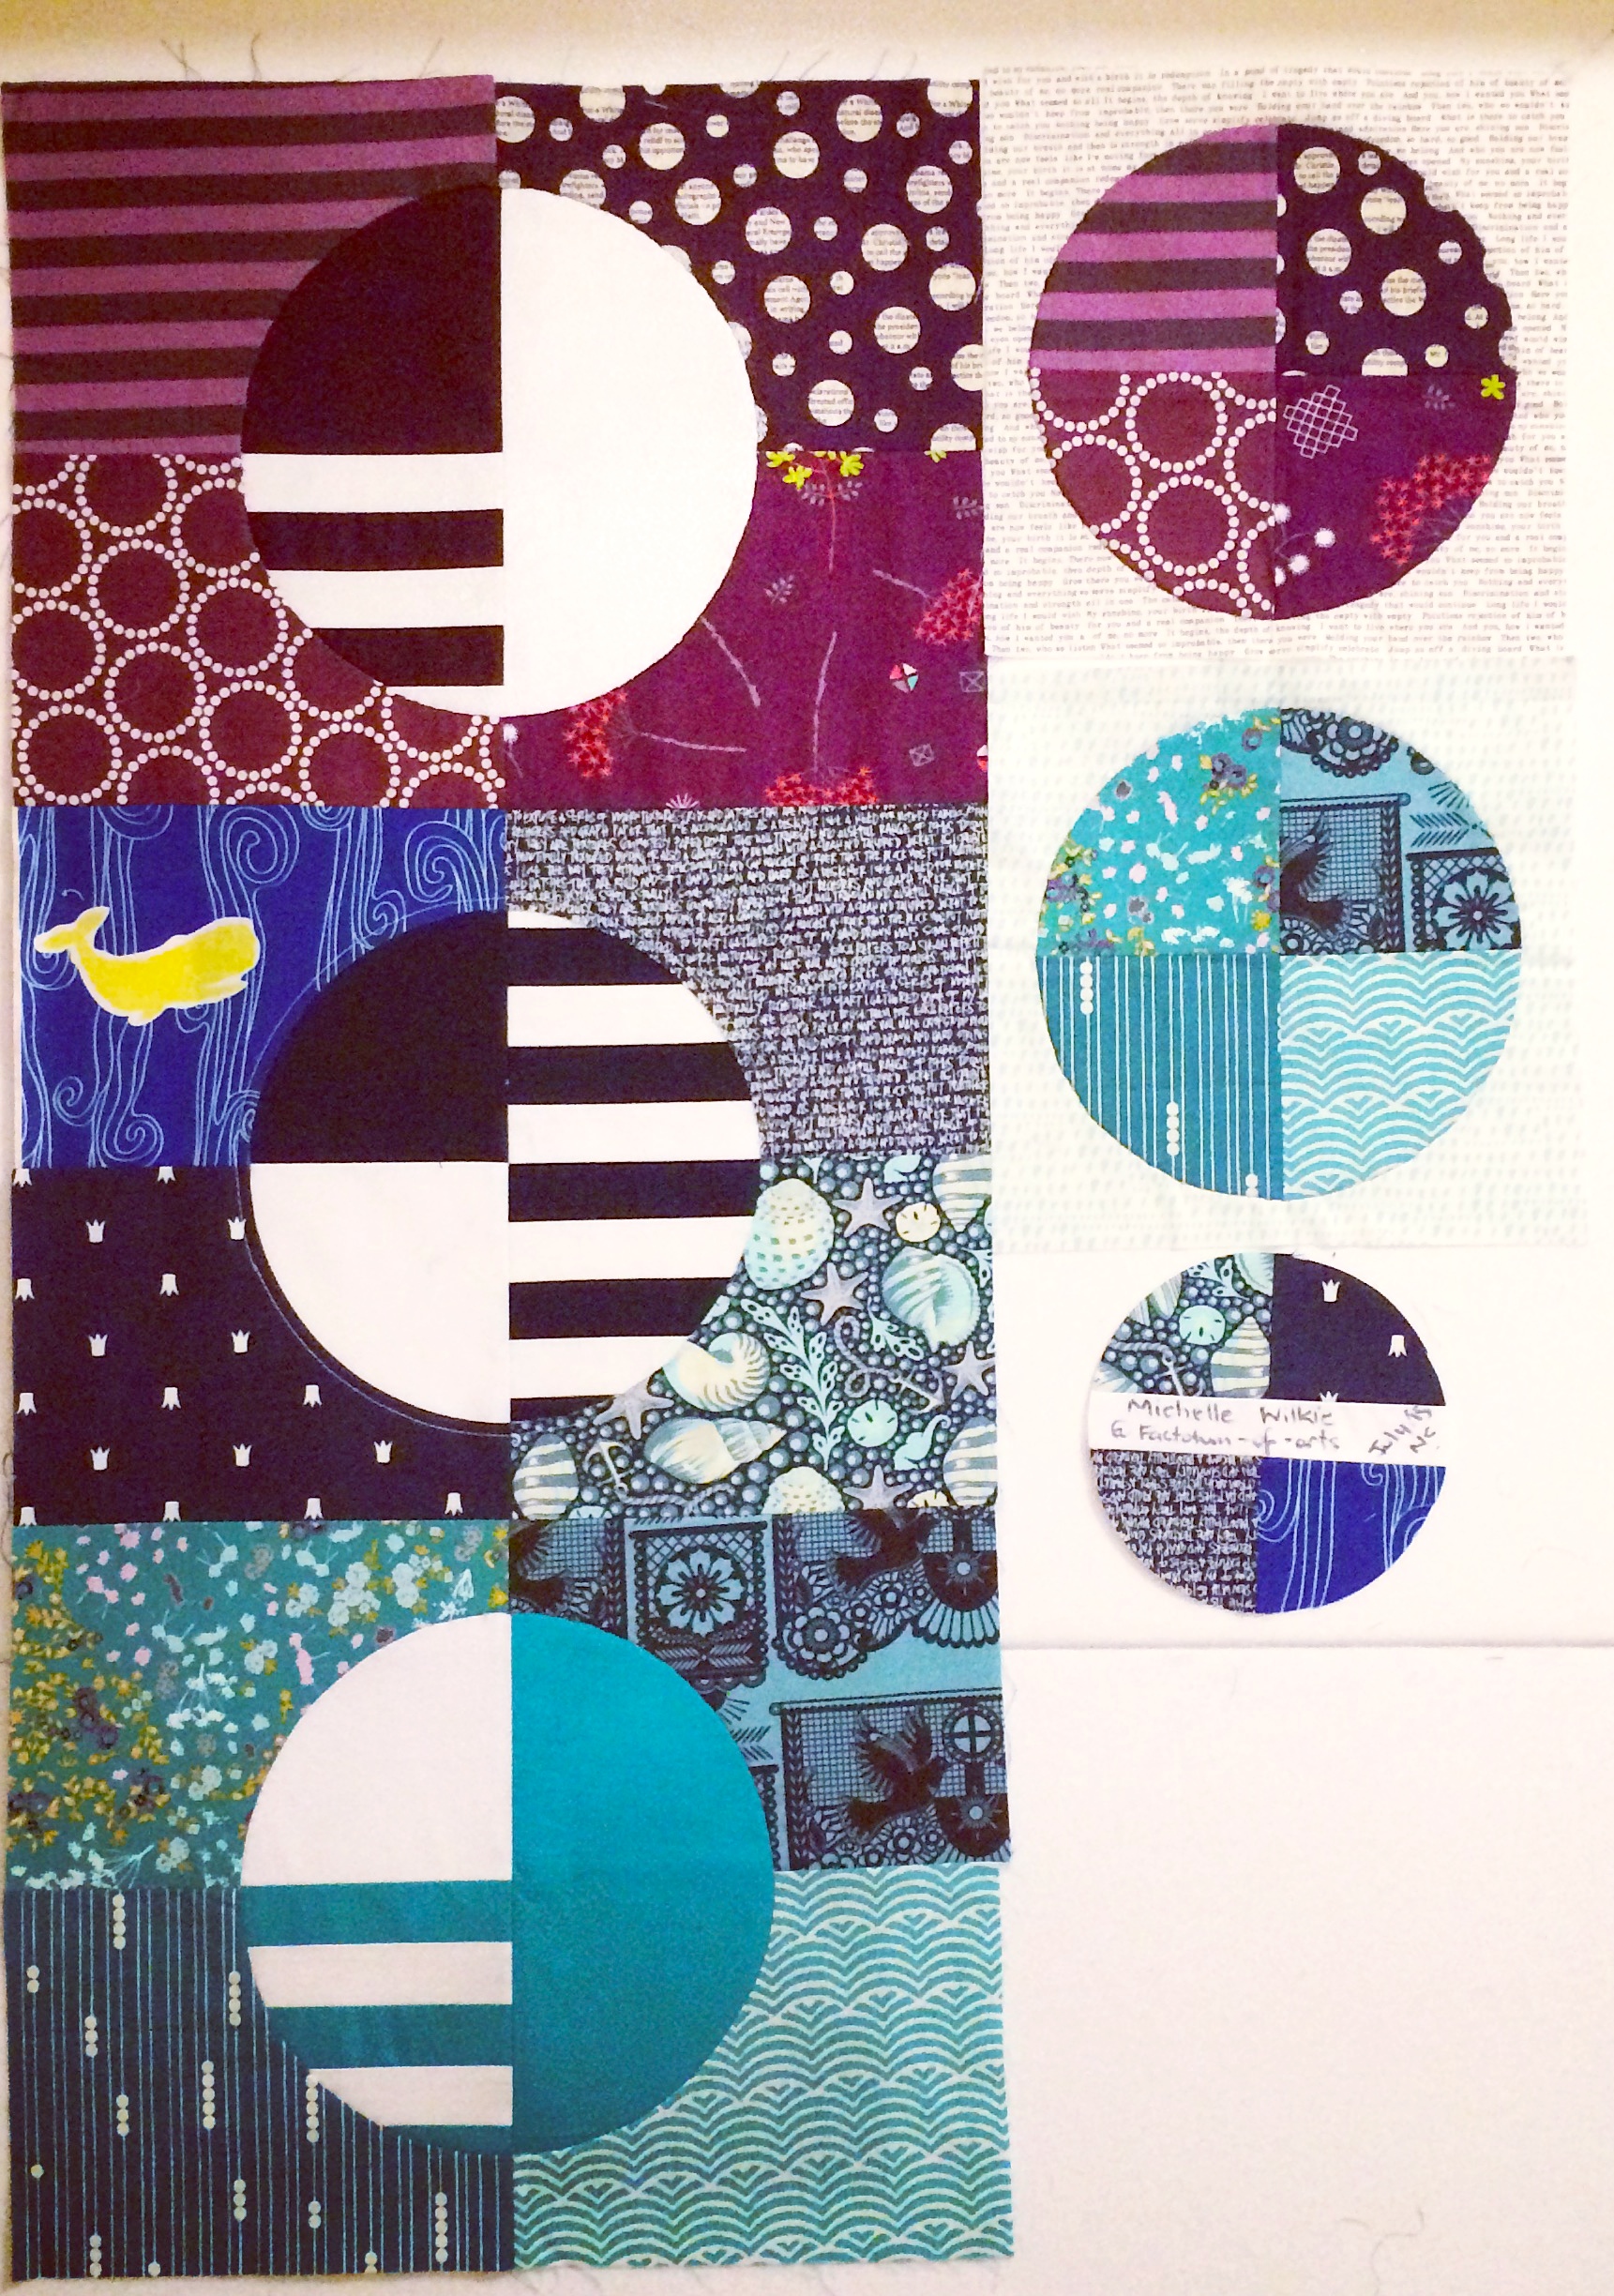
My recent finish, that is due end of August, was Jess’ quilt that incorporated the curves and jewel tones. I added 3 of my Phased Circle Blocks, that I designed. I also added two more blocks using the circle cut-outs as additional blocks added to a low-volume print in a like color.

IMG_4983

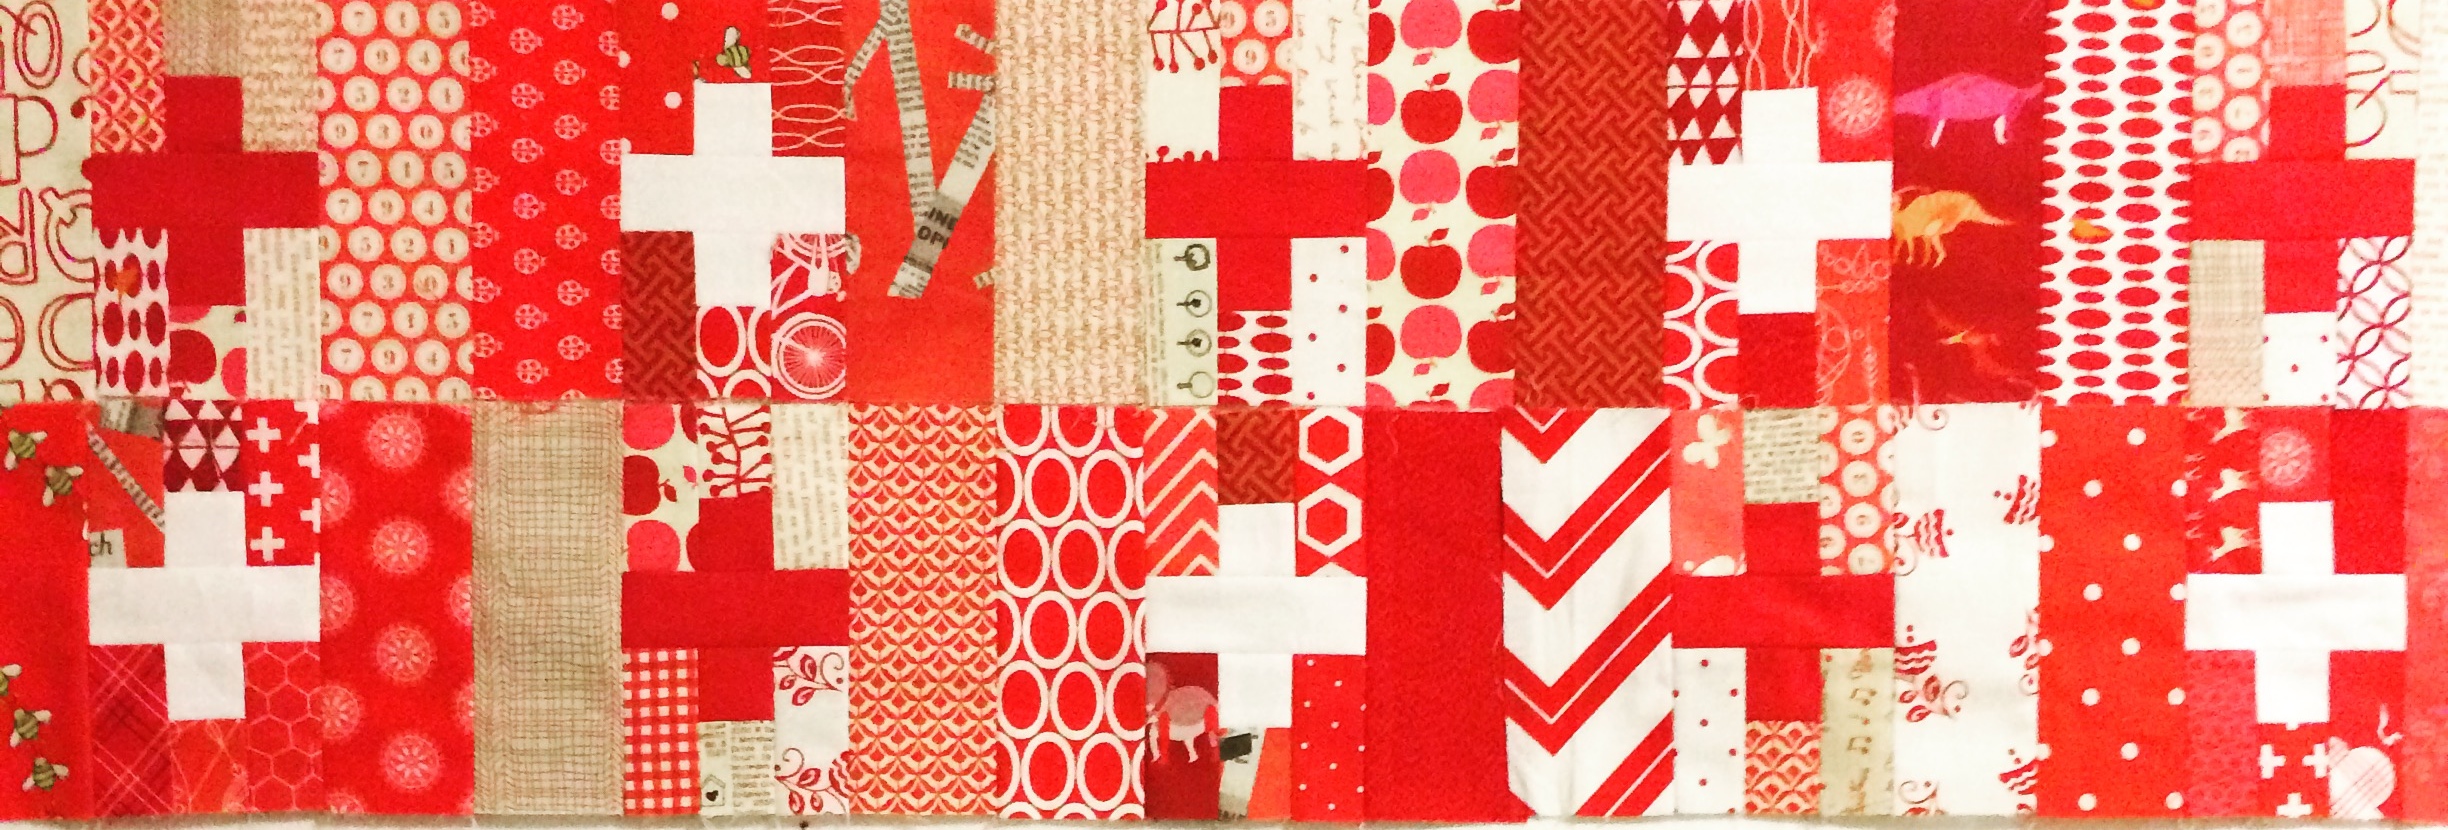
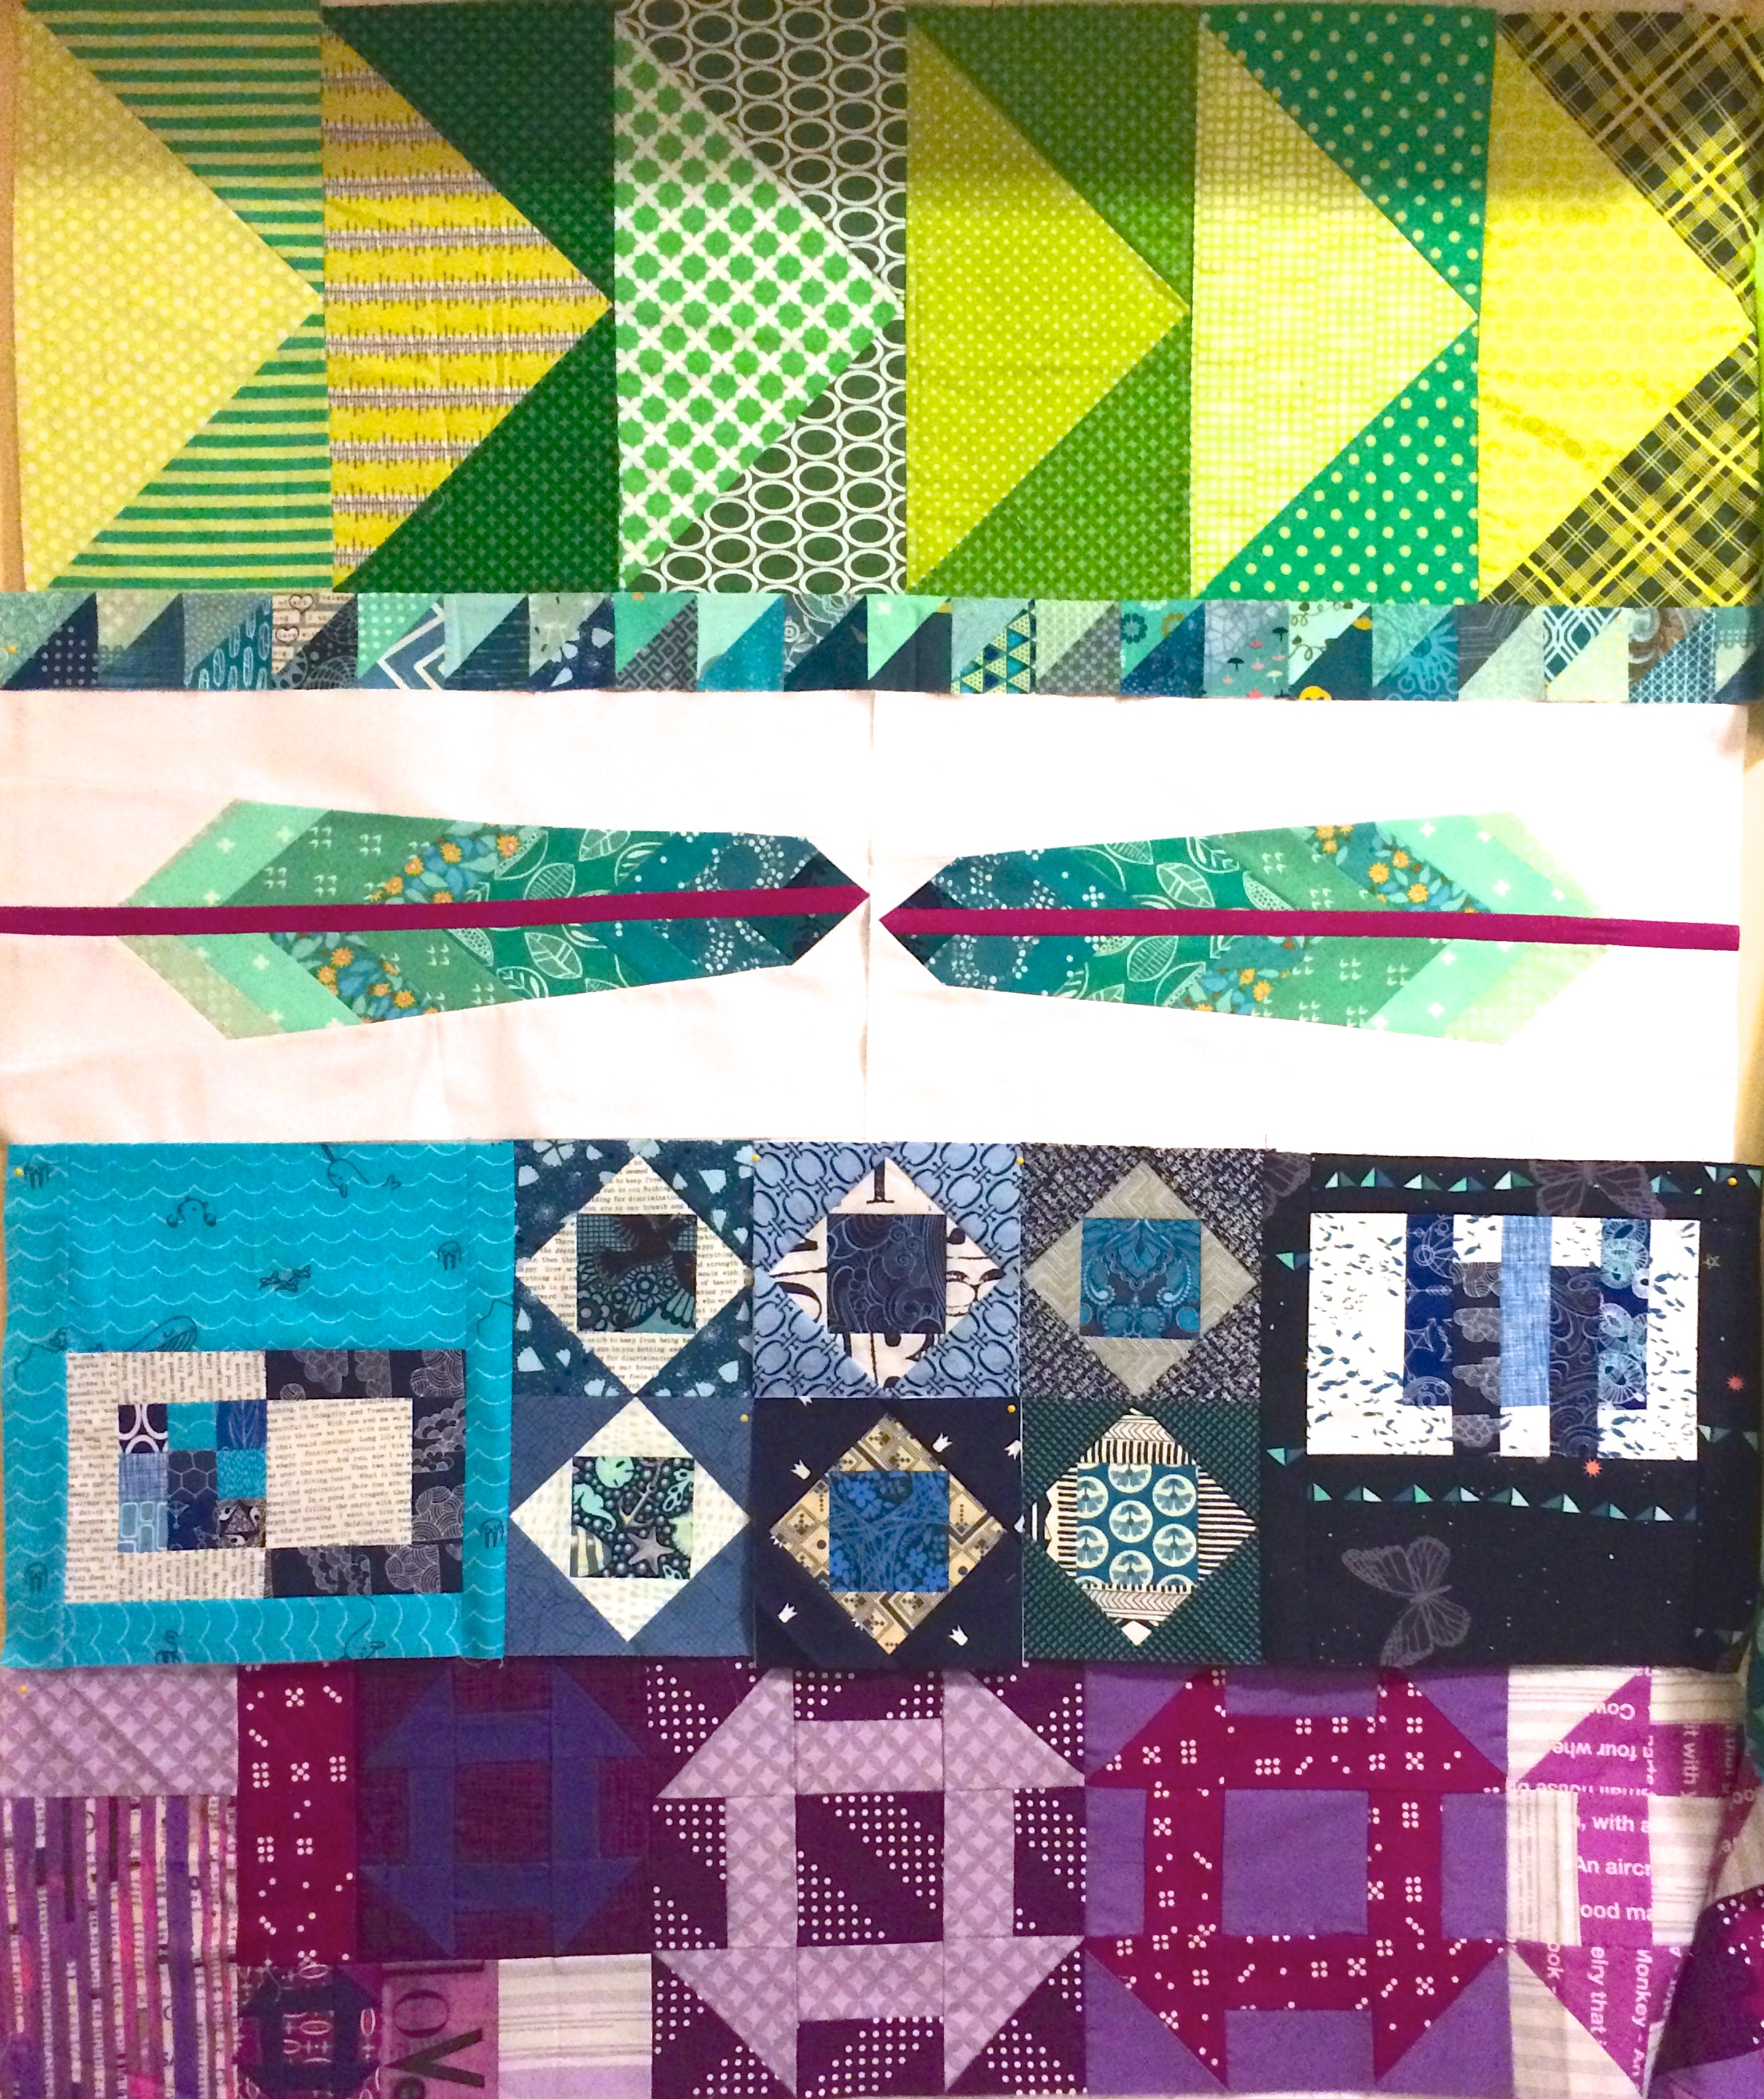
The last quilt I am working on, is Ashley’s rainbow quilt (each row of one color). Being the last person, I get to also construct/piece the top. Like I mentioned above, I am loving working on the math. The additions I have added include a row of red crosses, a row of Anna Maria Horner feathers in teal/aqua and the blue row consisting of economy blocks and blocks from Patchwork City.

The red crosses will be added to an orange row (still to be decided) and Laura’s fabulous yellow and pink rows.
IMG_5014

In this last picture, you can see how the bottom 1/2 of the quilt is progressing. It starts with Ashley’s starter row of Green flying geese, Renee’s row addition of the HST teal/aqua, my feather and blue row contributions and the purple churn dash row from Jess.
IMG_5061


I would highly recommend the traveling quilt process. I enjoy it more than bees. I can’t wait to see how my road sign minimalistic quilt turns out. I am off to make dinner and work on more of Ashley’s quilt!!

Linking up with Lee over at Freshly Pieced for WiP Wednesday (see button on the right).