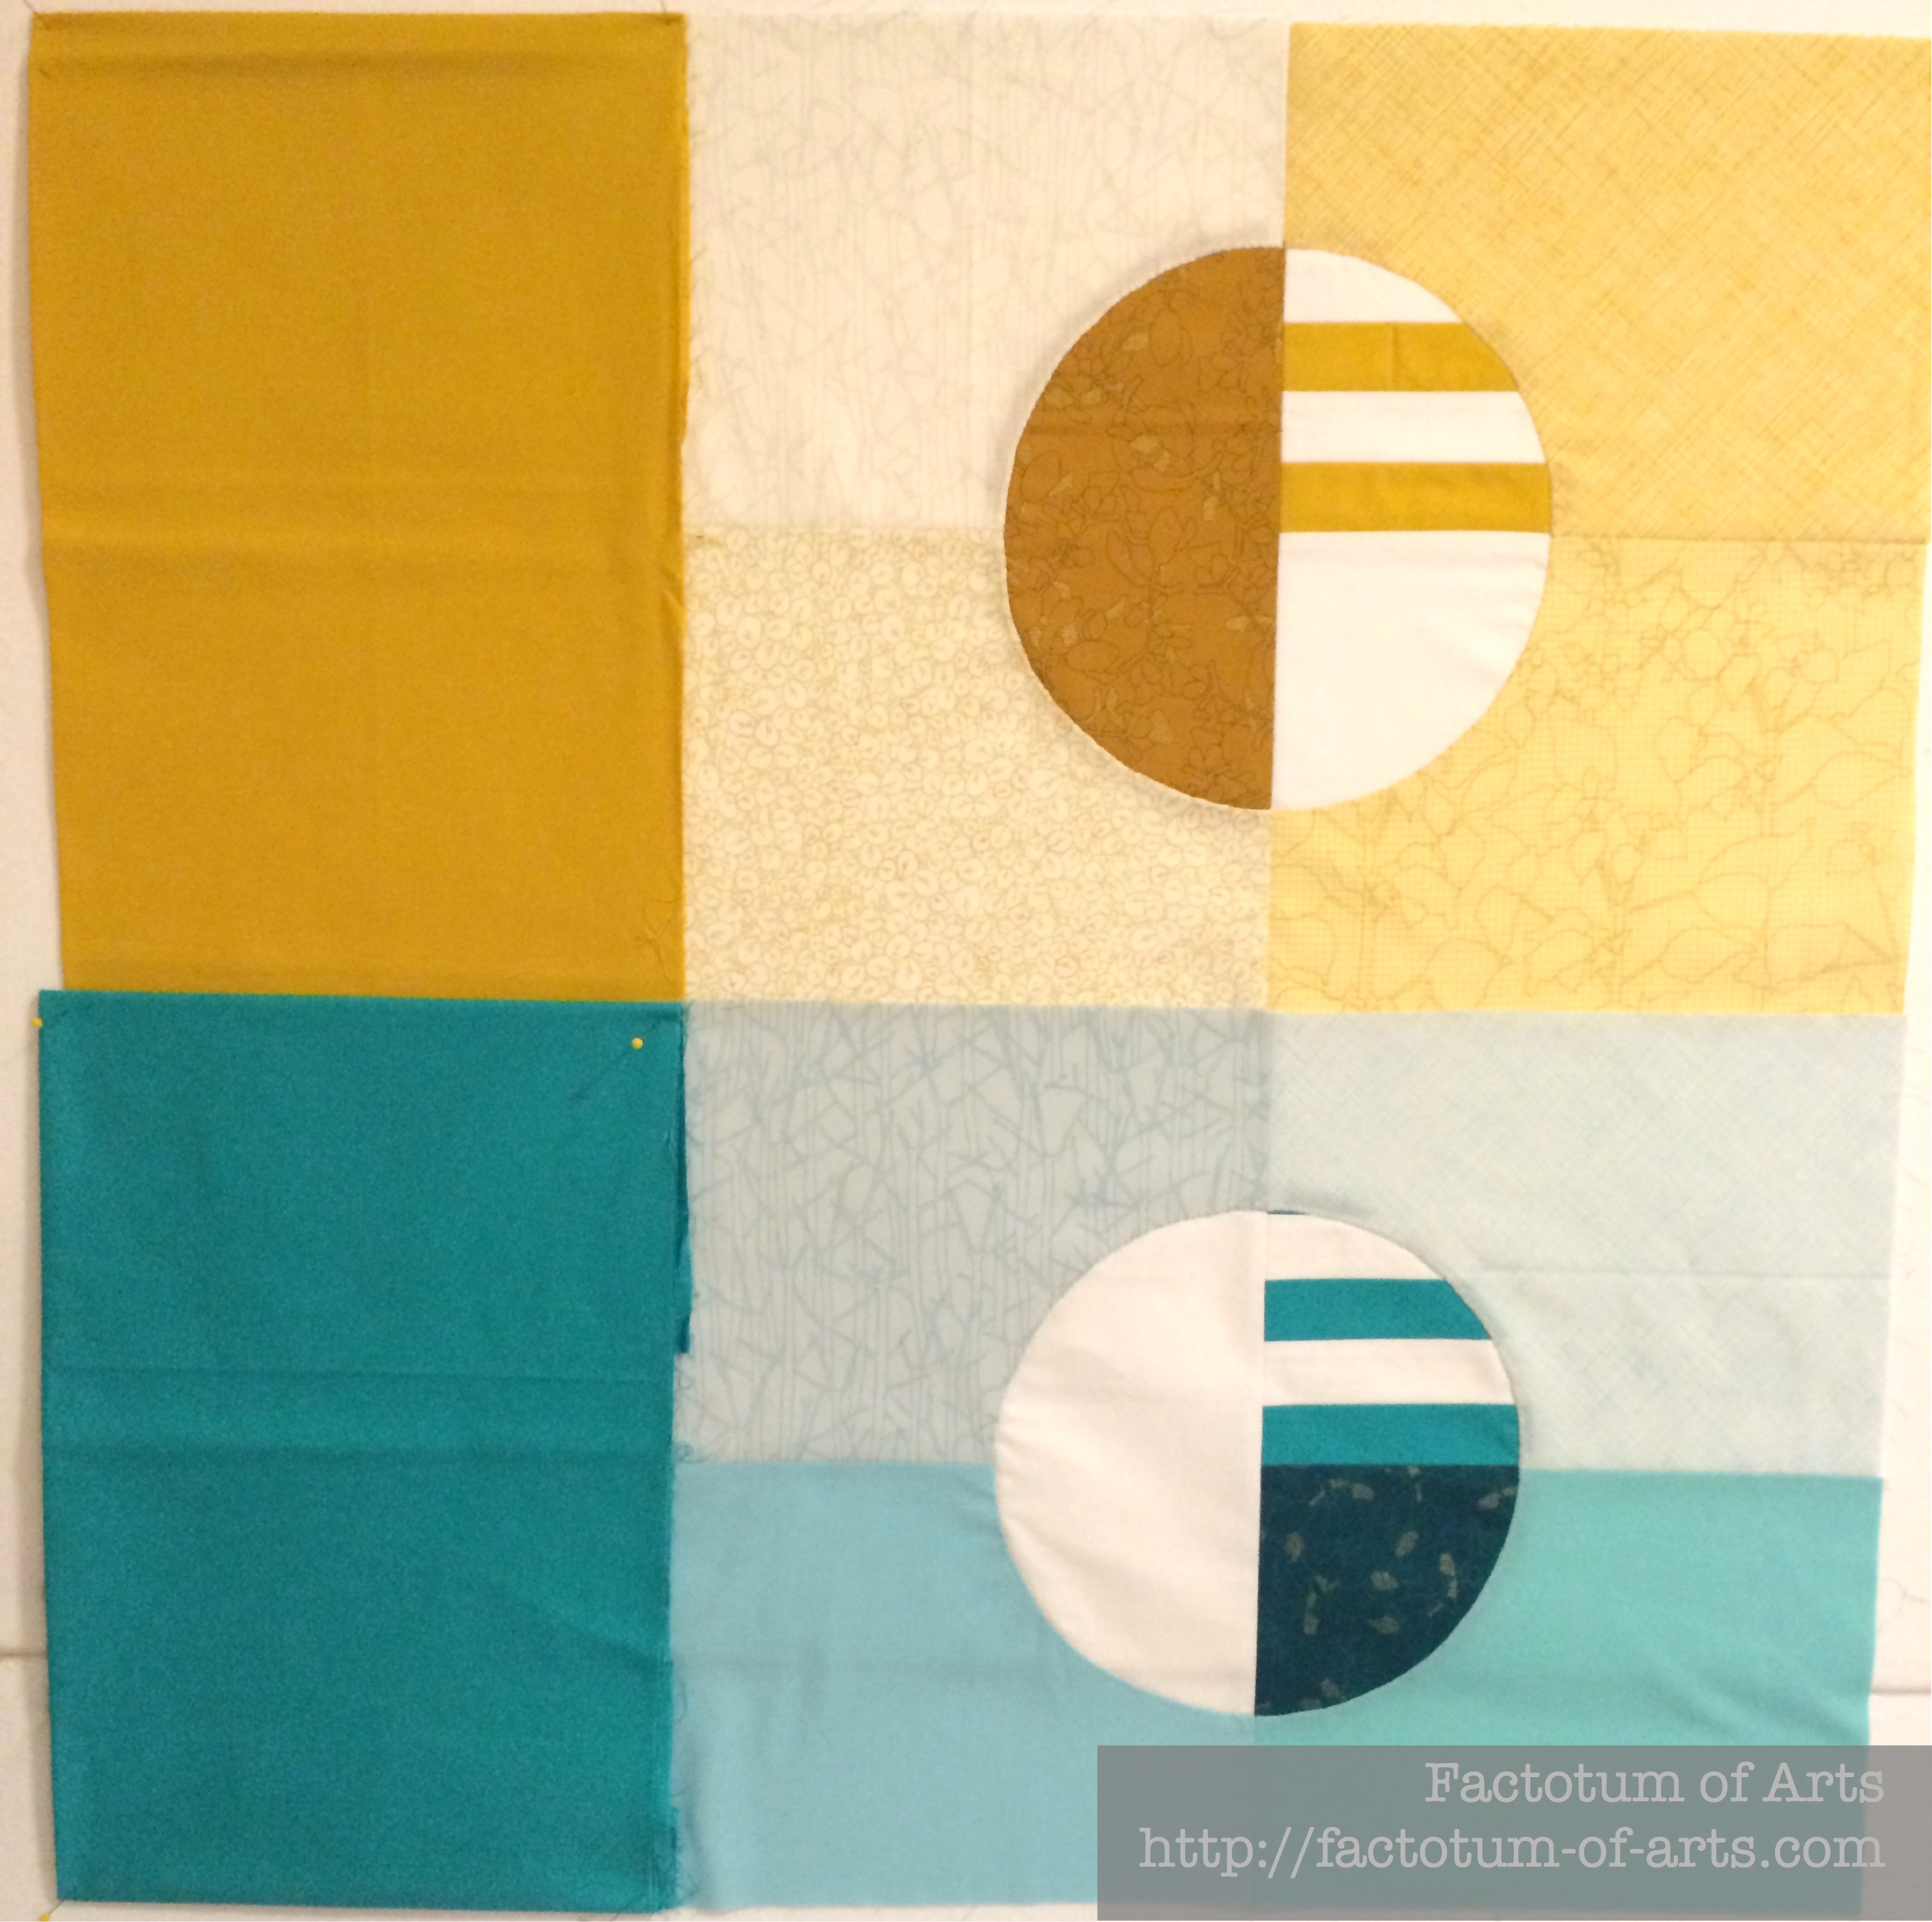
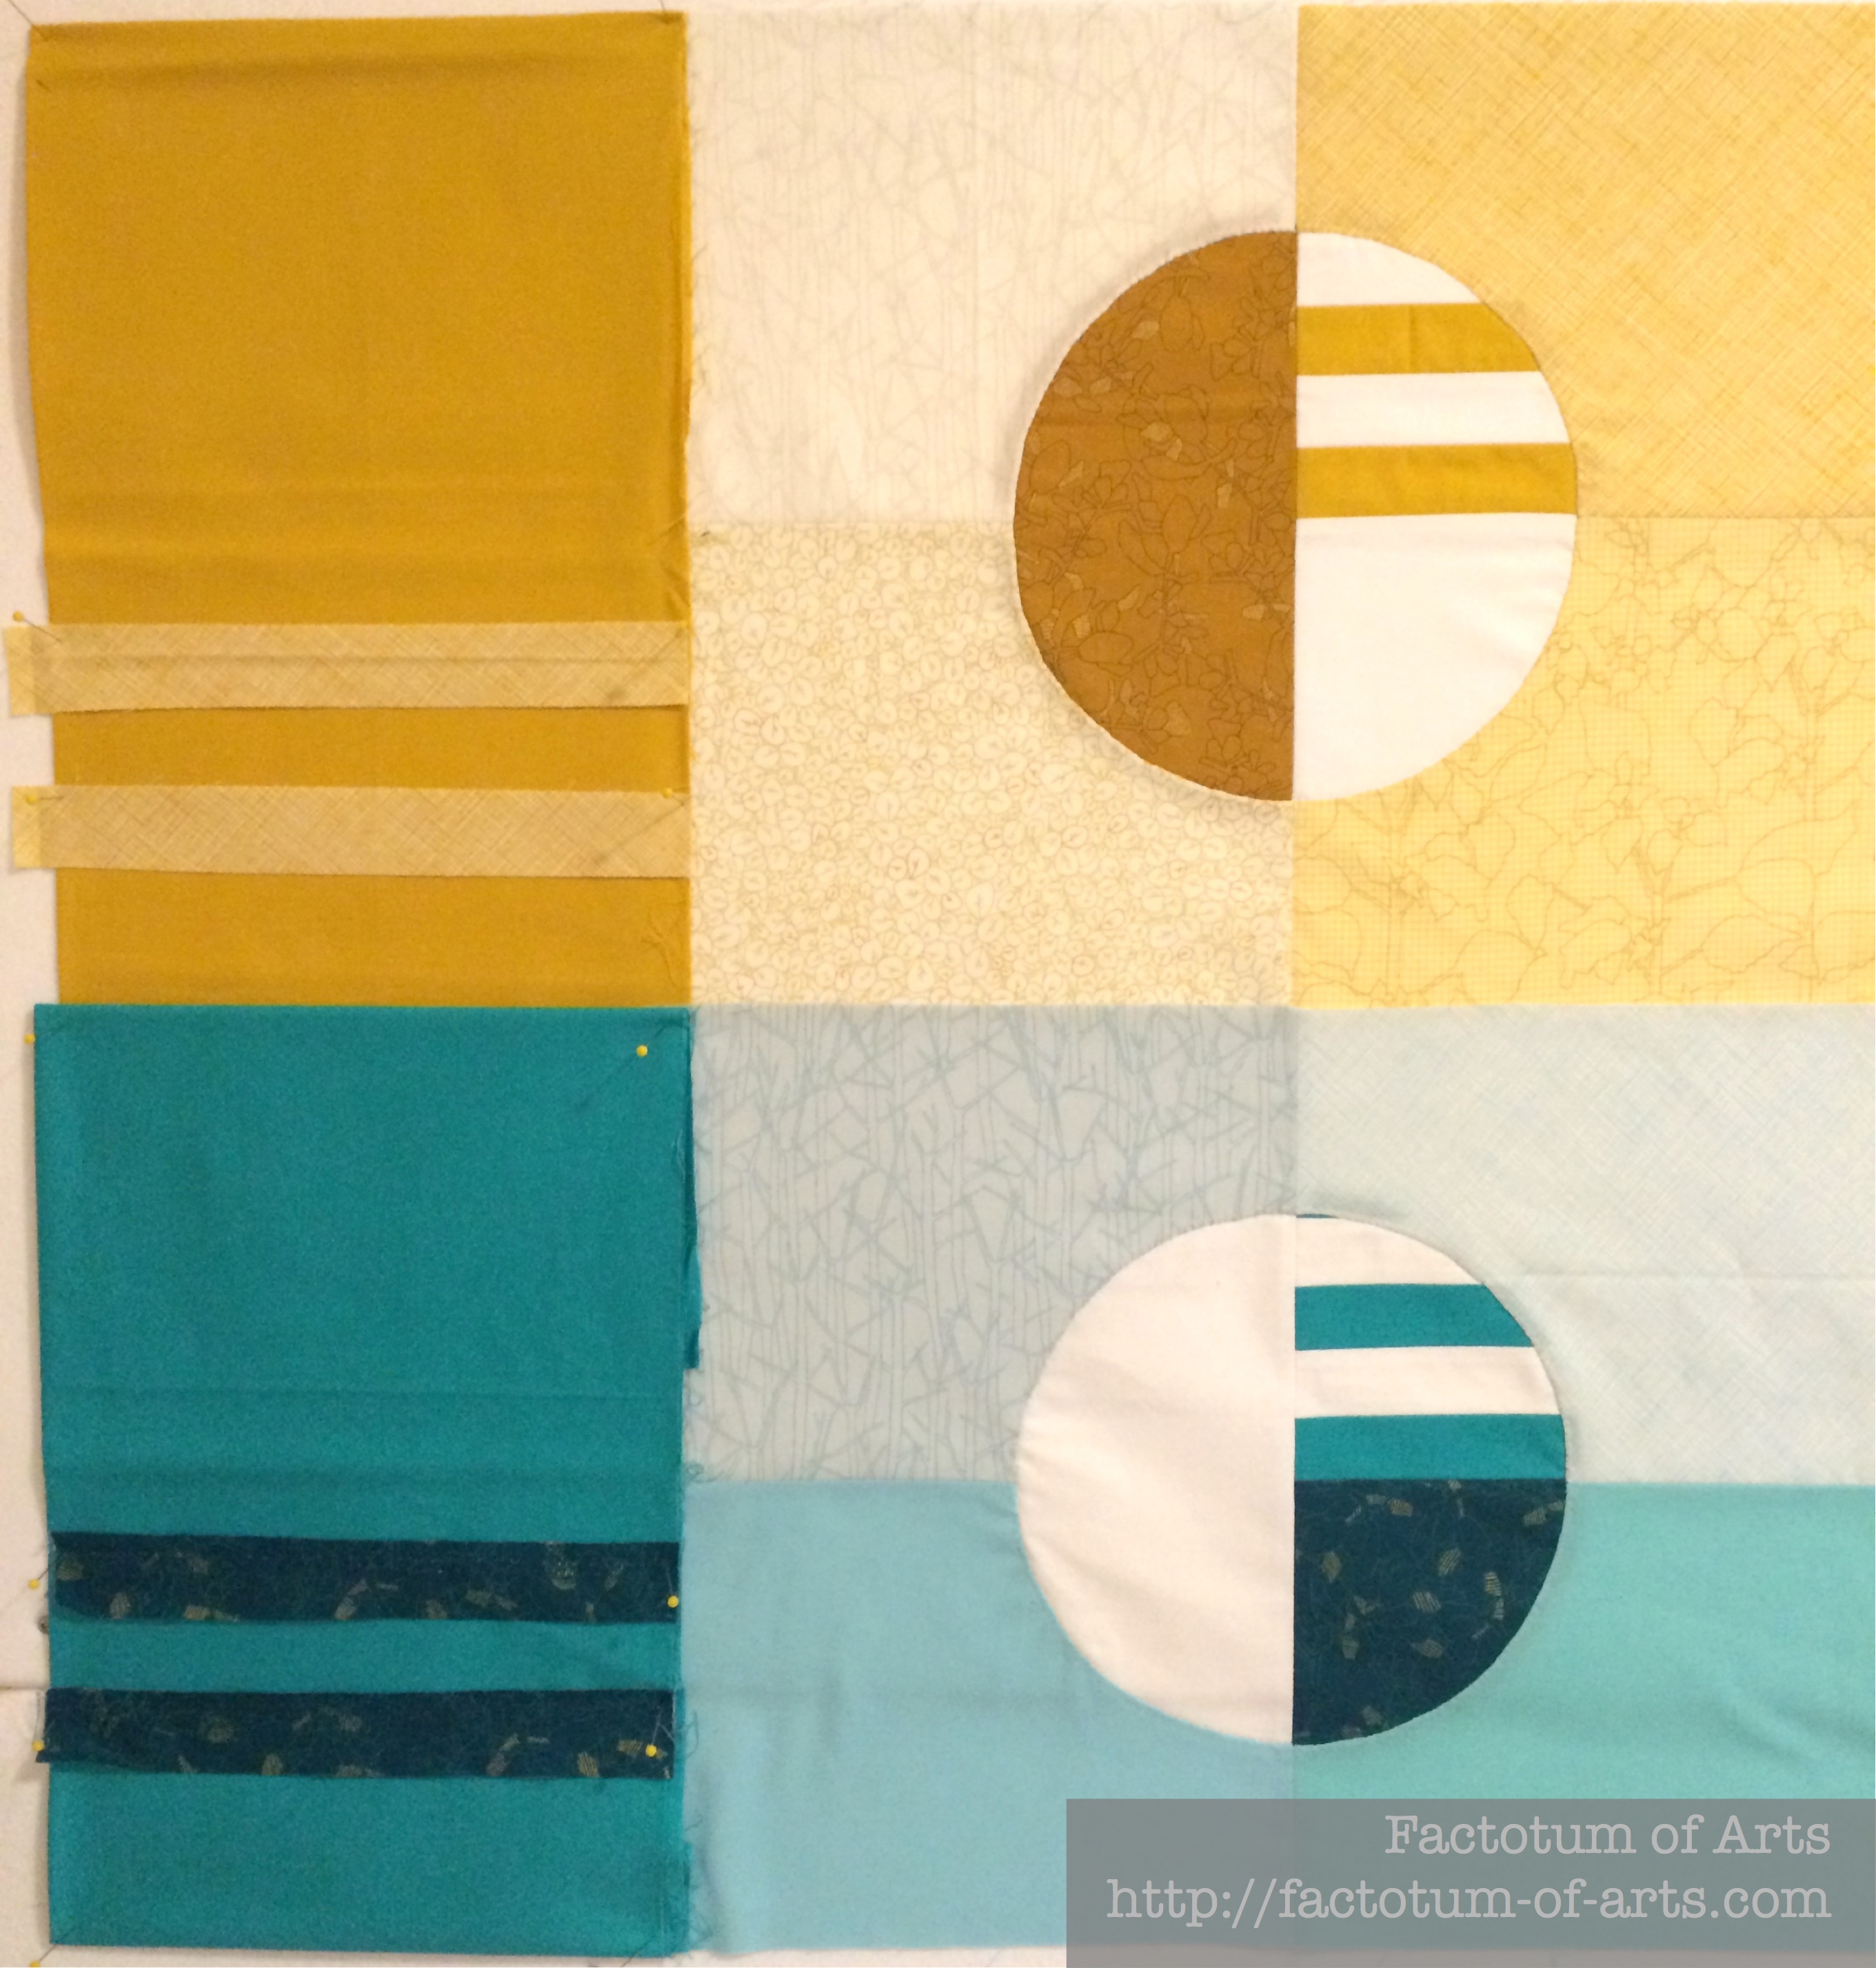
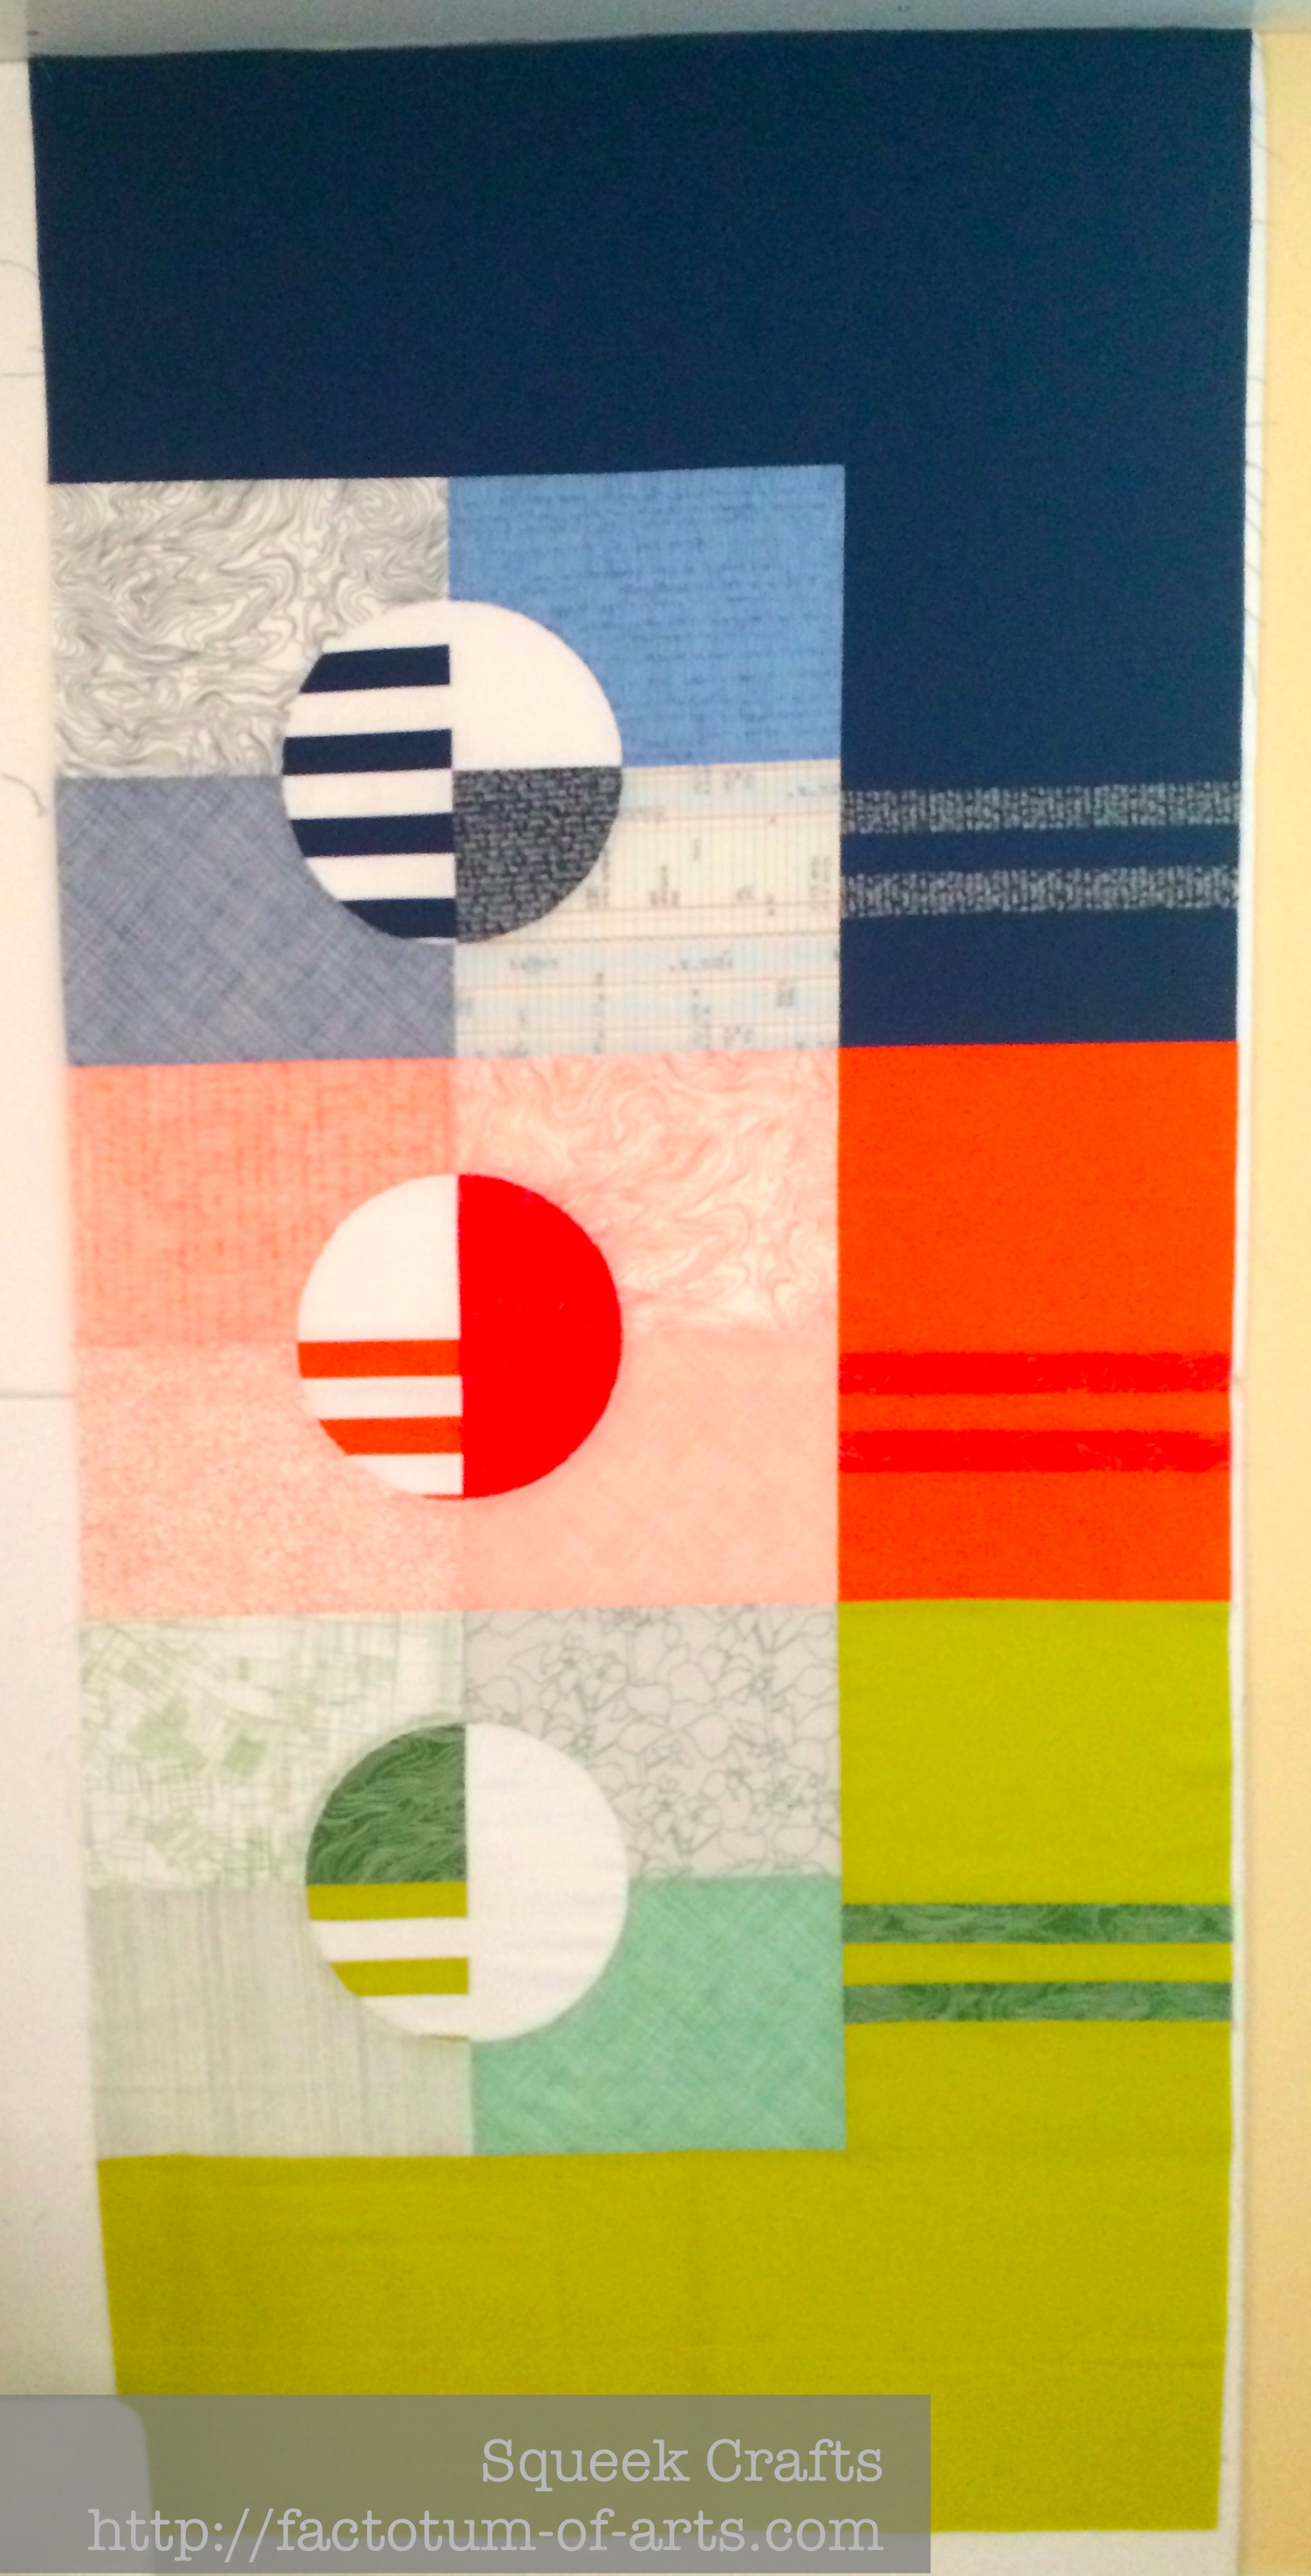
So, how did I get to here?
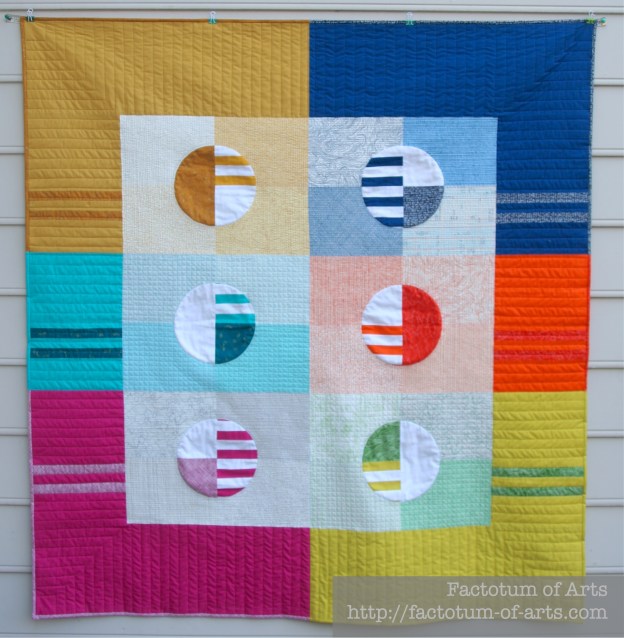
From here?
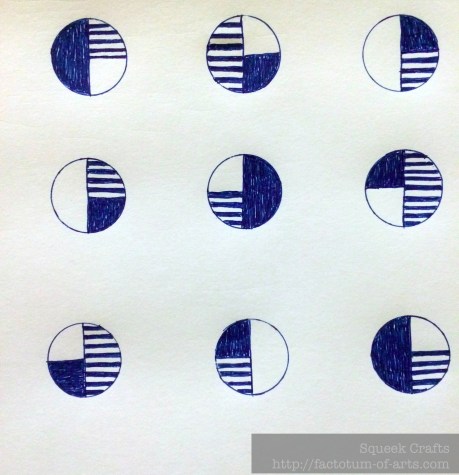
There were surprisingly a lot of design choices, that I wanted to try to consolidate them here and share the questions/ideas I had through my process.
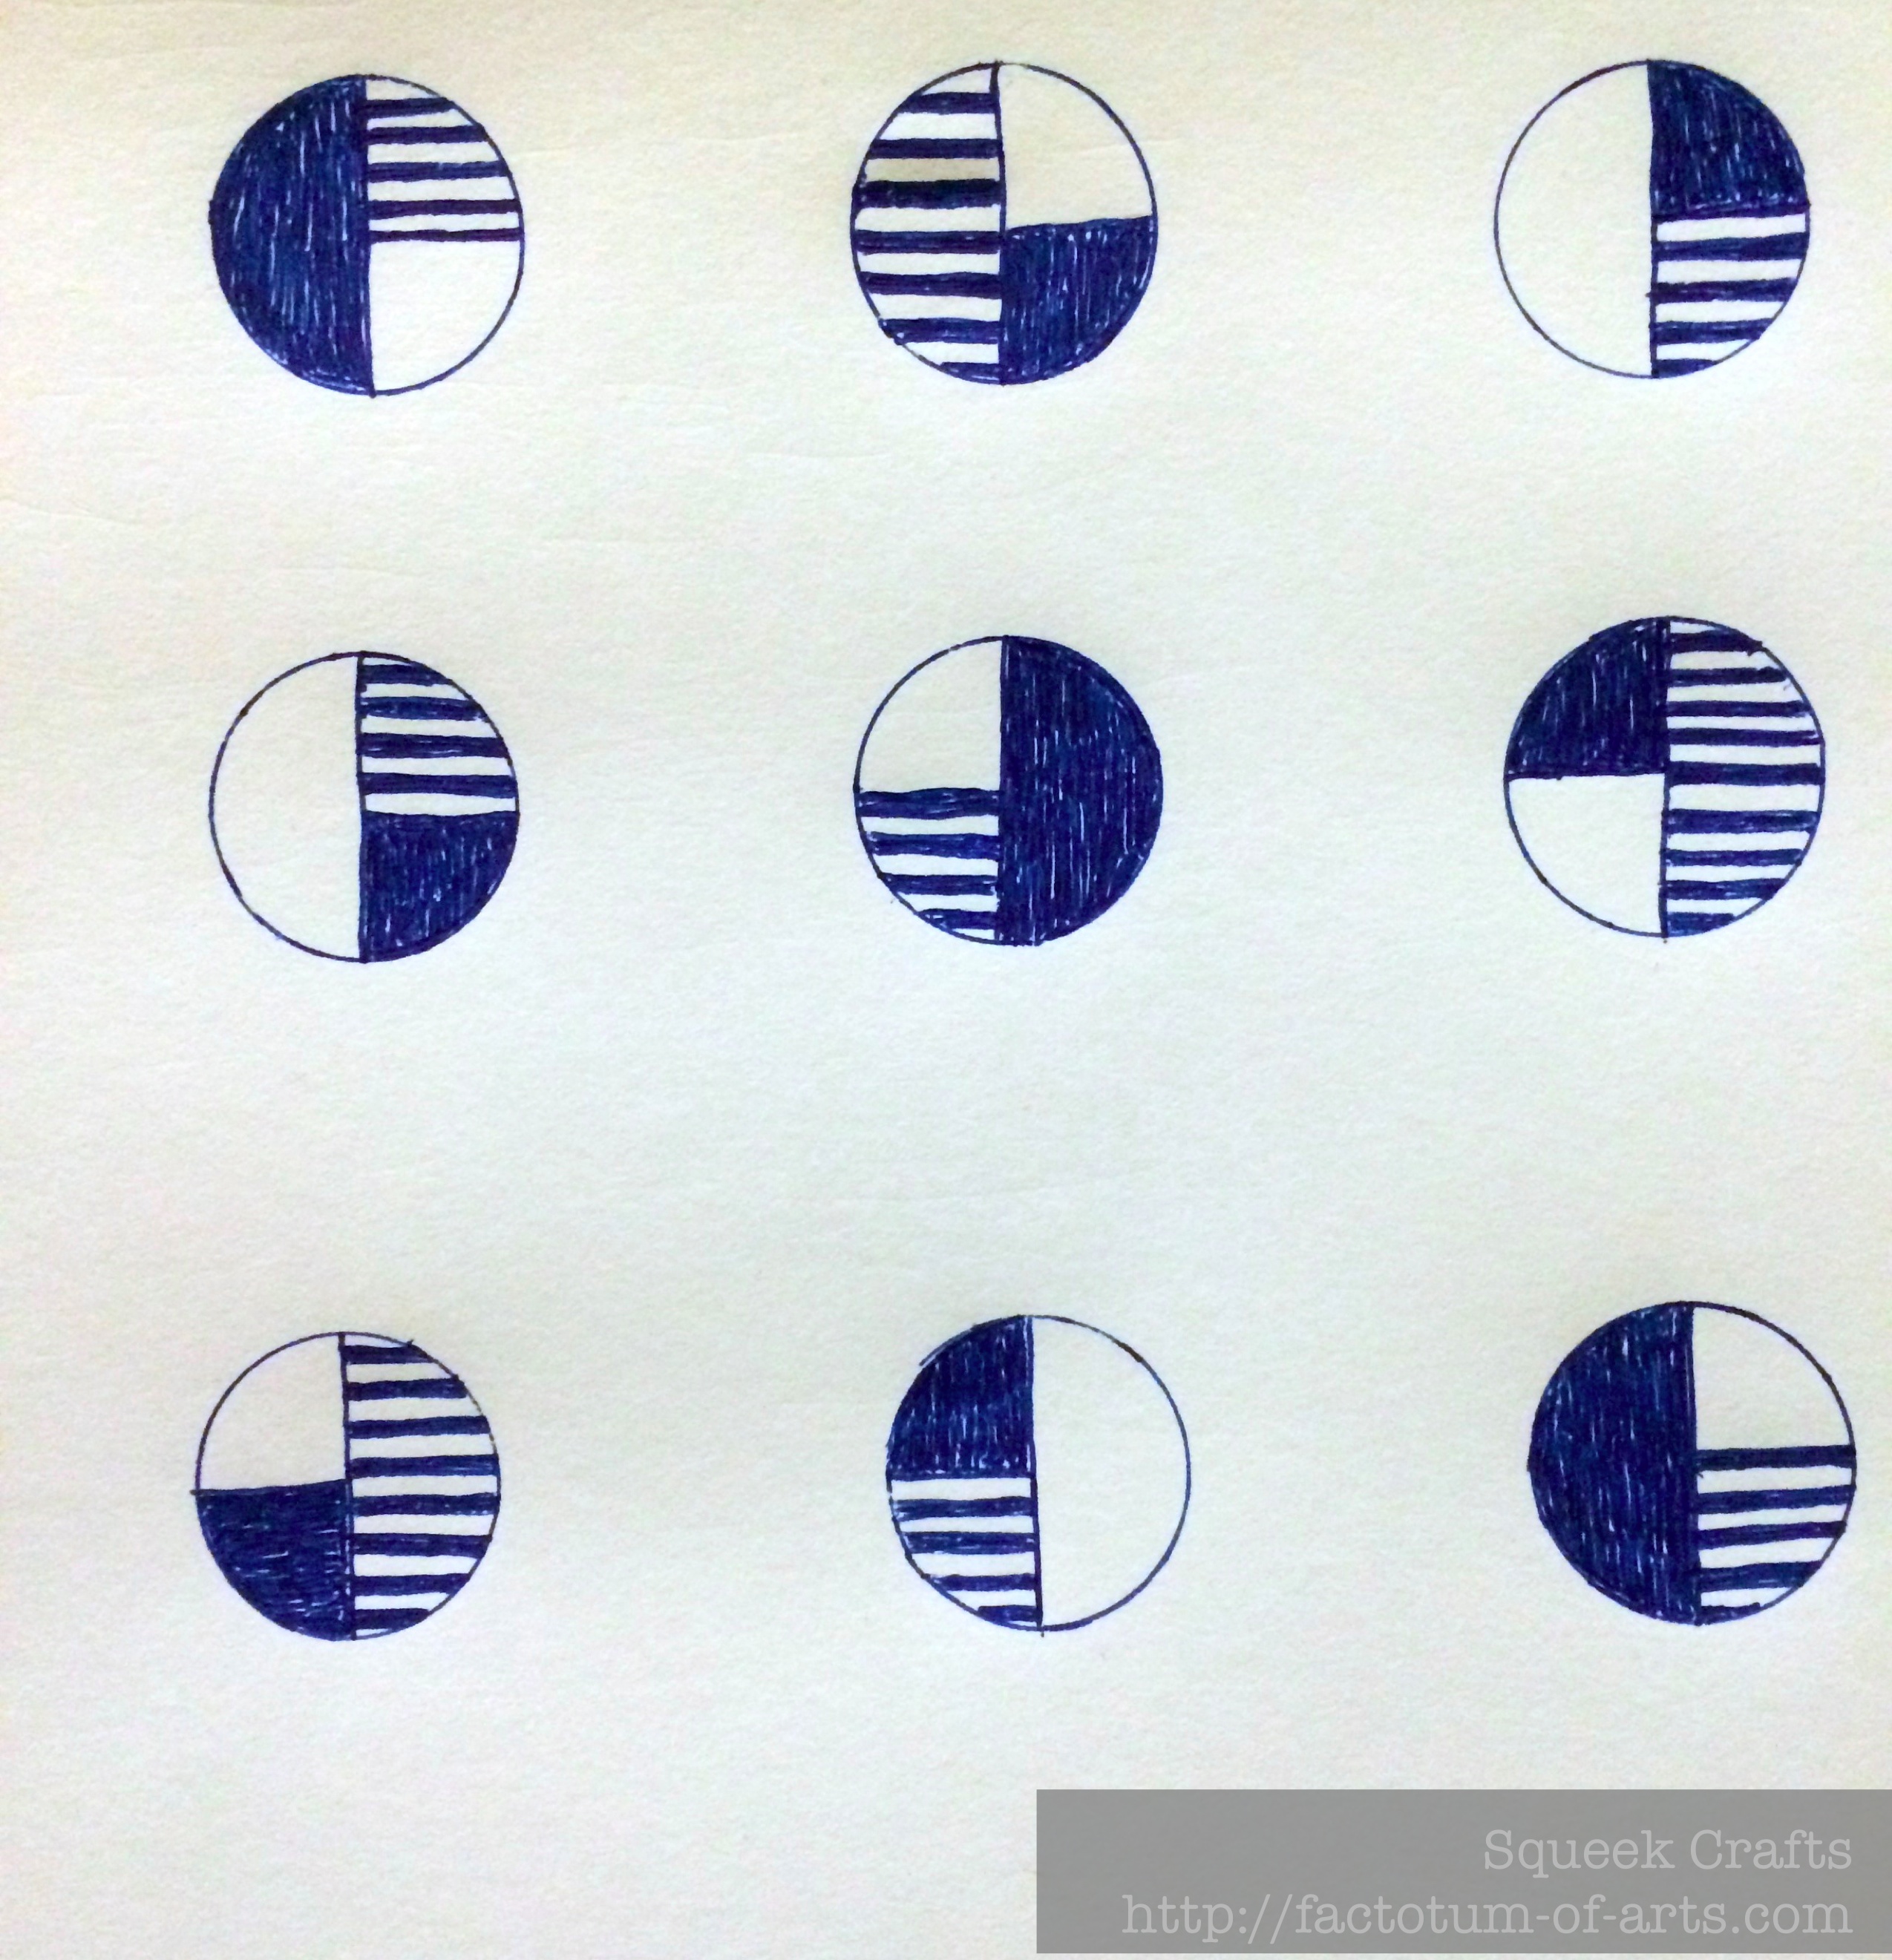
1. First off, deciding on fabric, lead to the color choices for the circles and the design only being made with 6 circles.
I really wanted to use my Carolyn Friedlander Architextures and Botanics in this quilt. She has 6 main colors across these lines. The solids were chosen to match or complement these colors.

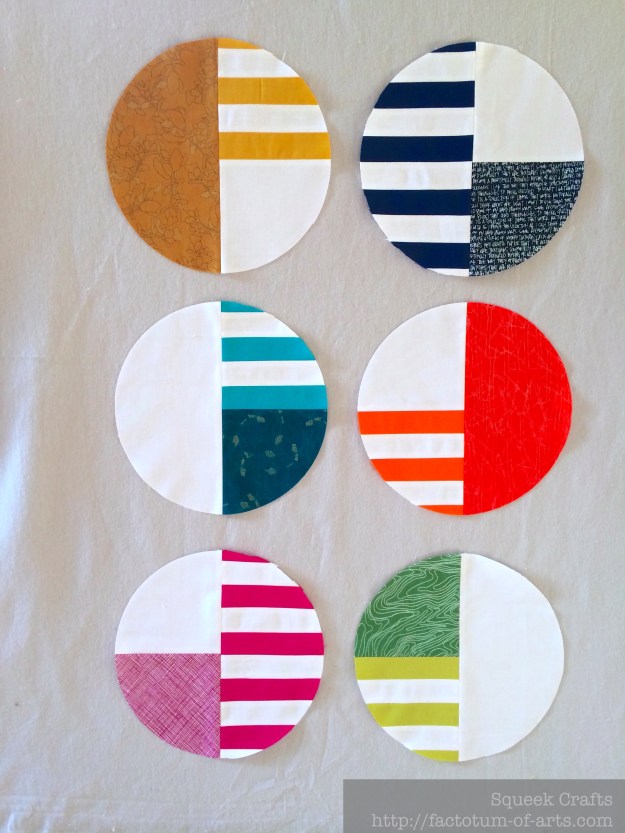
2. Placement of each color was the next decision.
After playing with the circles on my design board, I decided I liked a warm color placed with a cold color on each row. The other thing I had decided at this point was to switch out the light green print with the darker green topology print.
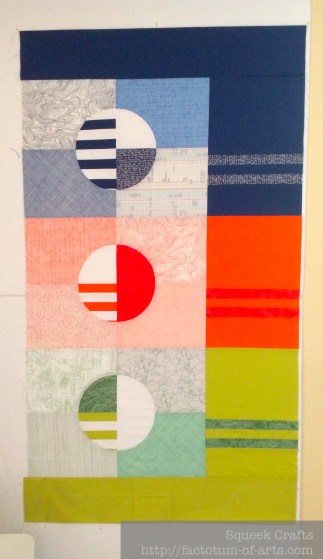
3. Background colors for the circle blocks.
At first, I was contemplating all grey prints, since I liked the grey background on my design board. Then what if I tried the low-volume or lighter Carolyn Friedlander prints that matched each of the key color of each circles. Yes, there were enough different prints that I could go this route except for the plum/pink…this one I stayed with low-volume grey prints.

4. Stripes or no strips in the outer border.
Should the border be just solid or should I pull the prints from the circle out to continue the stripes?


5. Size of the outer border
I had finished the first 1/2 started to think that the 10″ border I had chosen was too large and maybe I should cut it down to 5″. Well, I left it and decided that I needed the whole top before I could make that decision. The 10″ border was the perfect size with the whole quilt top, so it stayed.

6. The back
I really wanted the back to complement the front, which I could do either with fabric or with shapes. I still had most of Carolyn Friedlander Black, White and Grey prints left. Since there was so much color on the front, wouldn’t it be cool to use a lack of color on the back as a contrast to the front. I also liked that these prints could be used to give an ombre look.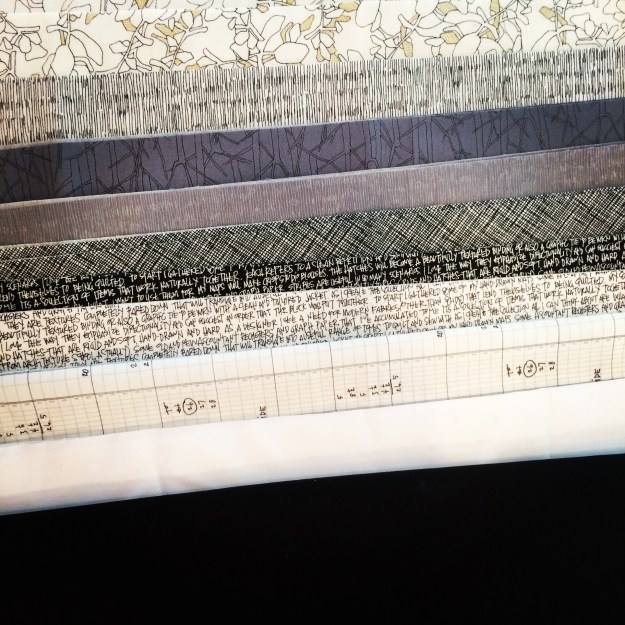
7. The quilting design
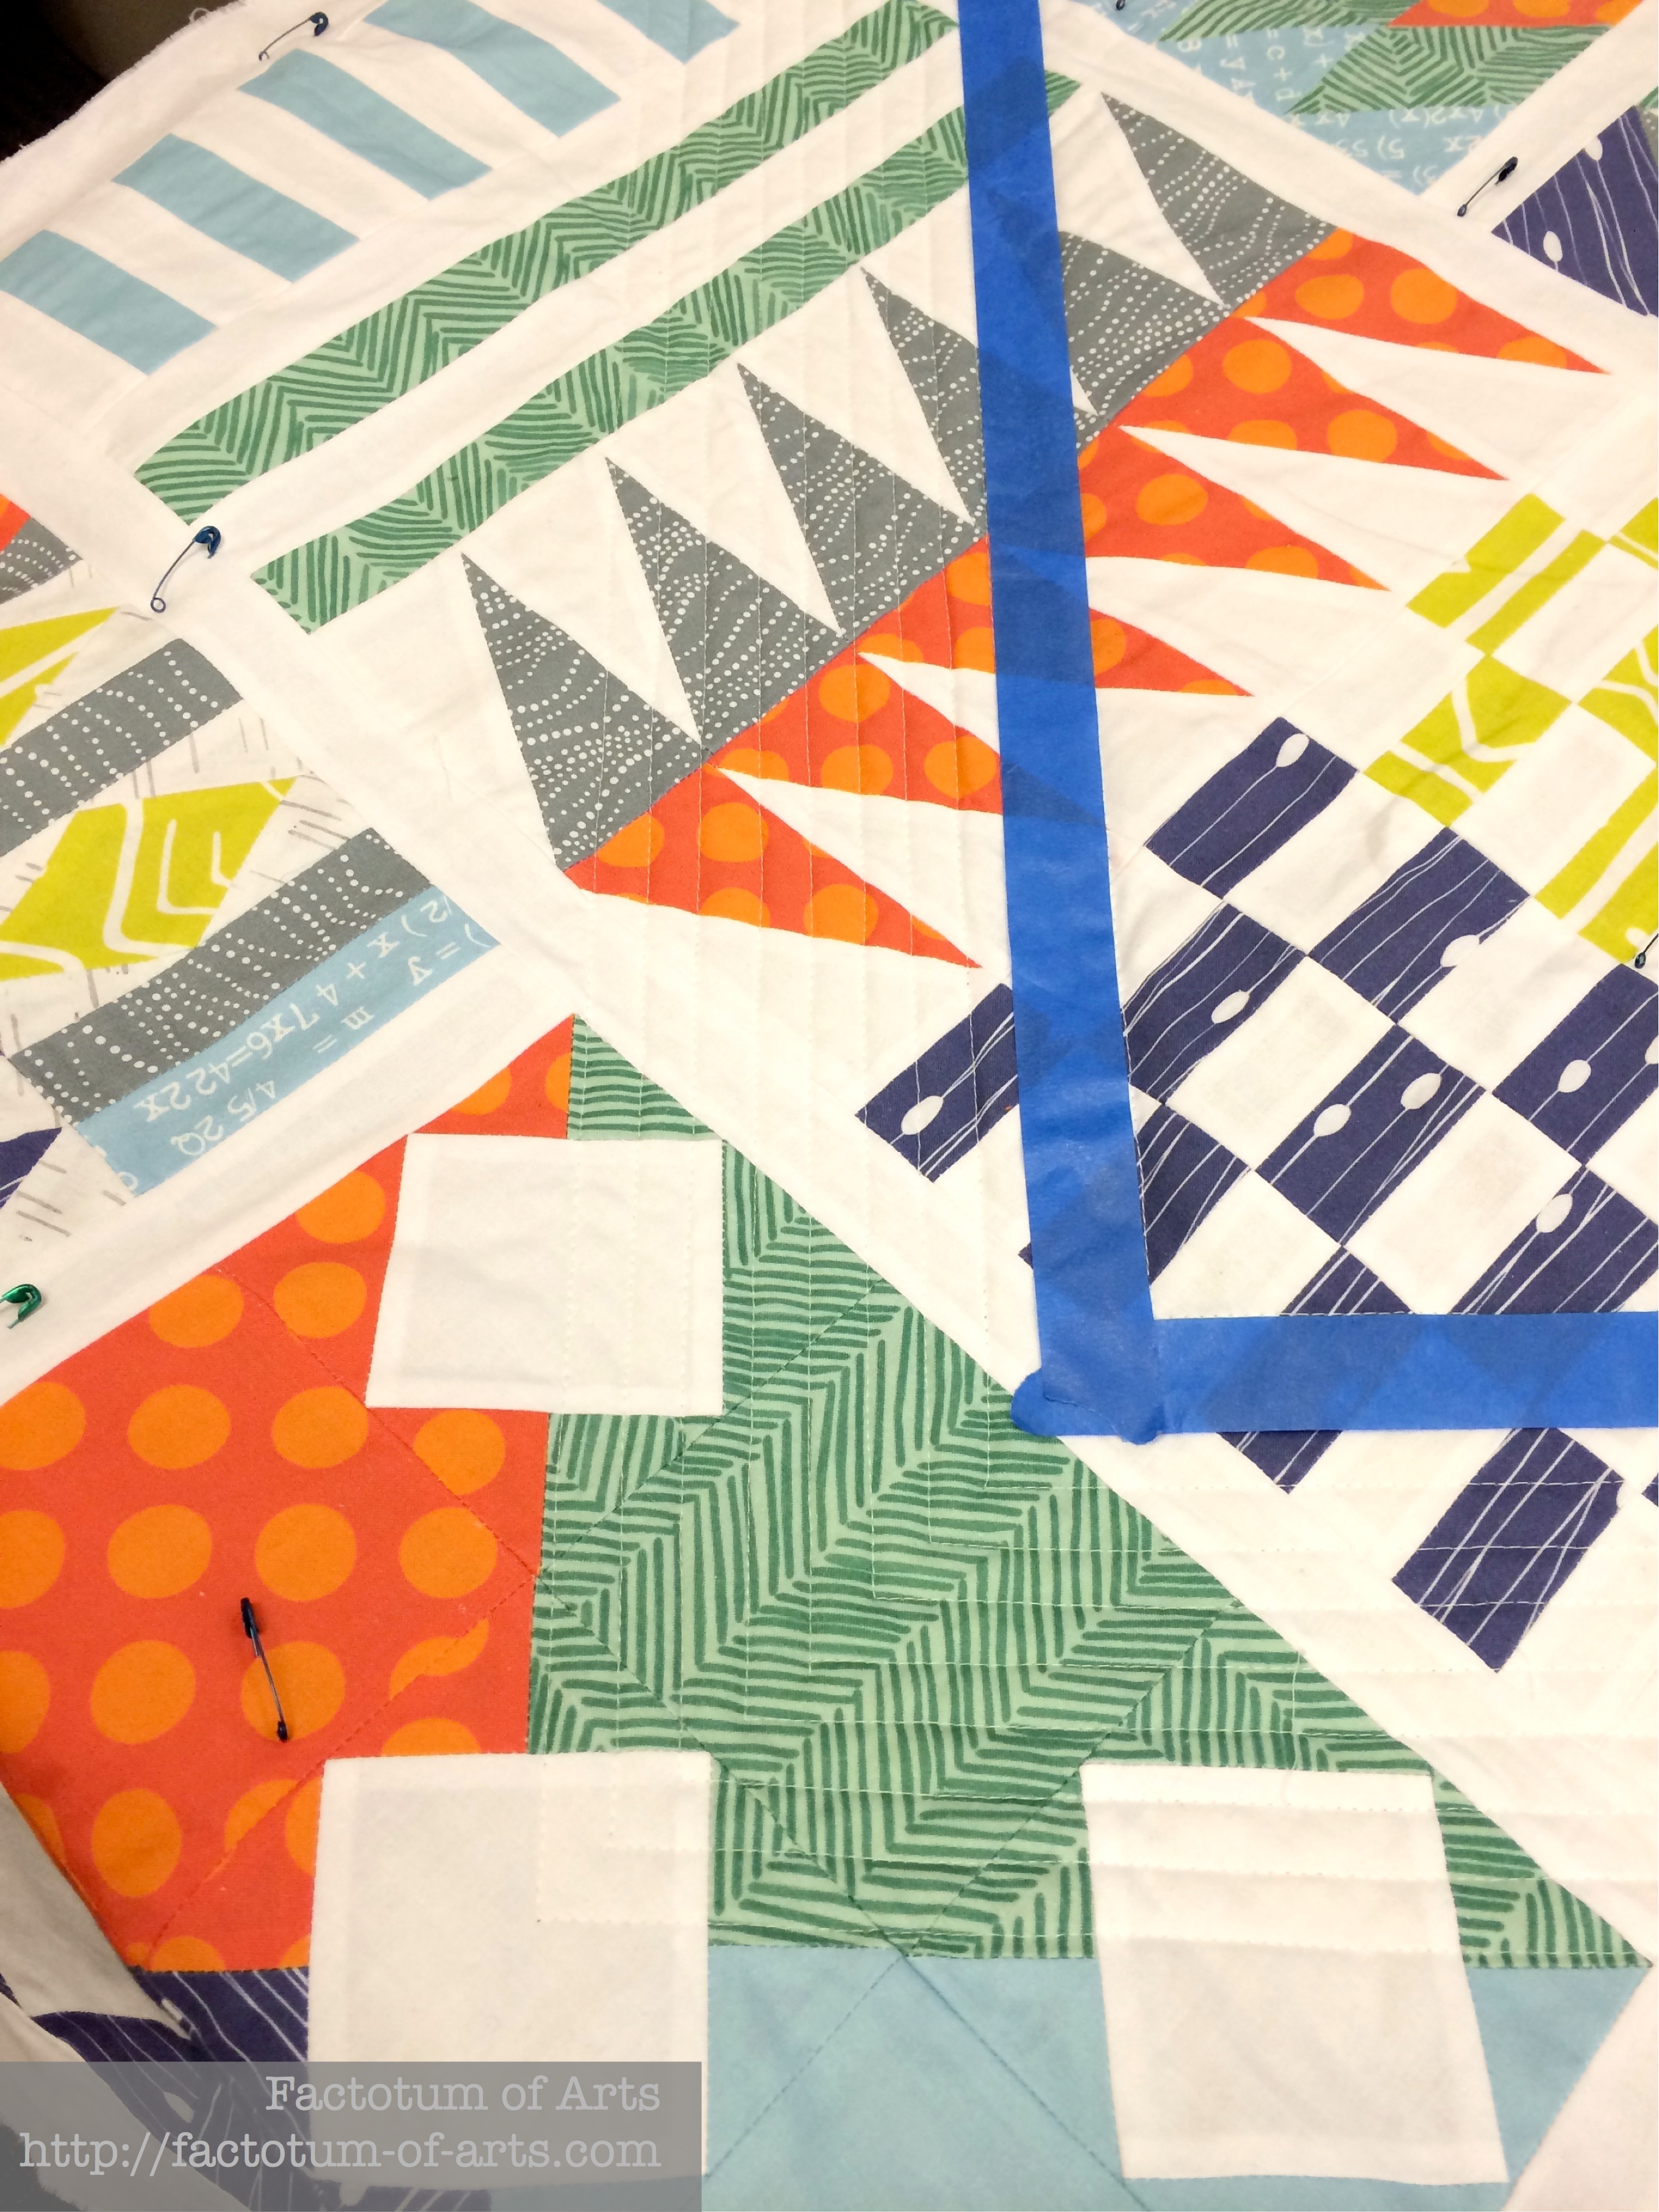
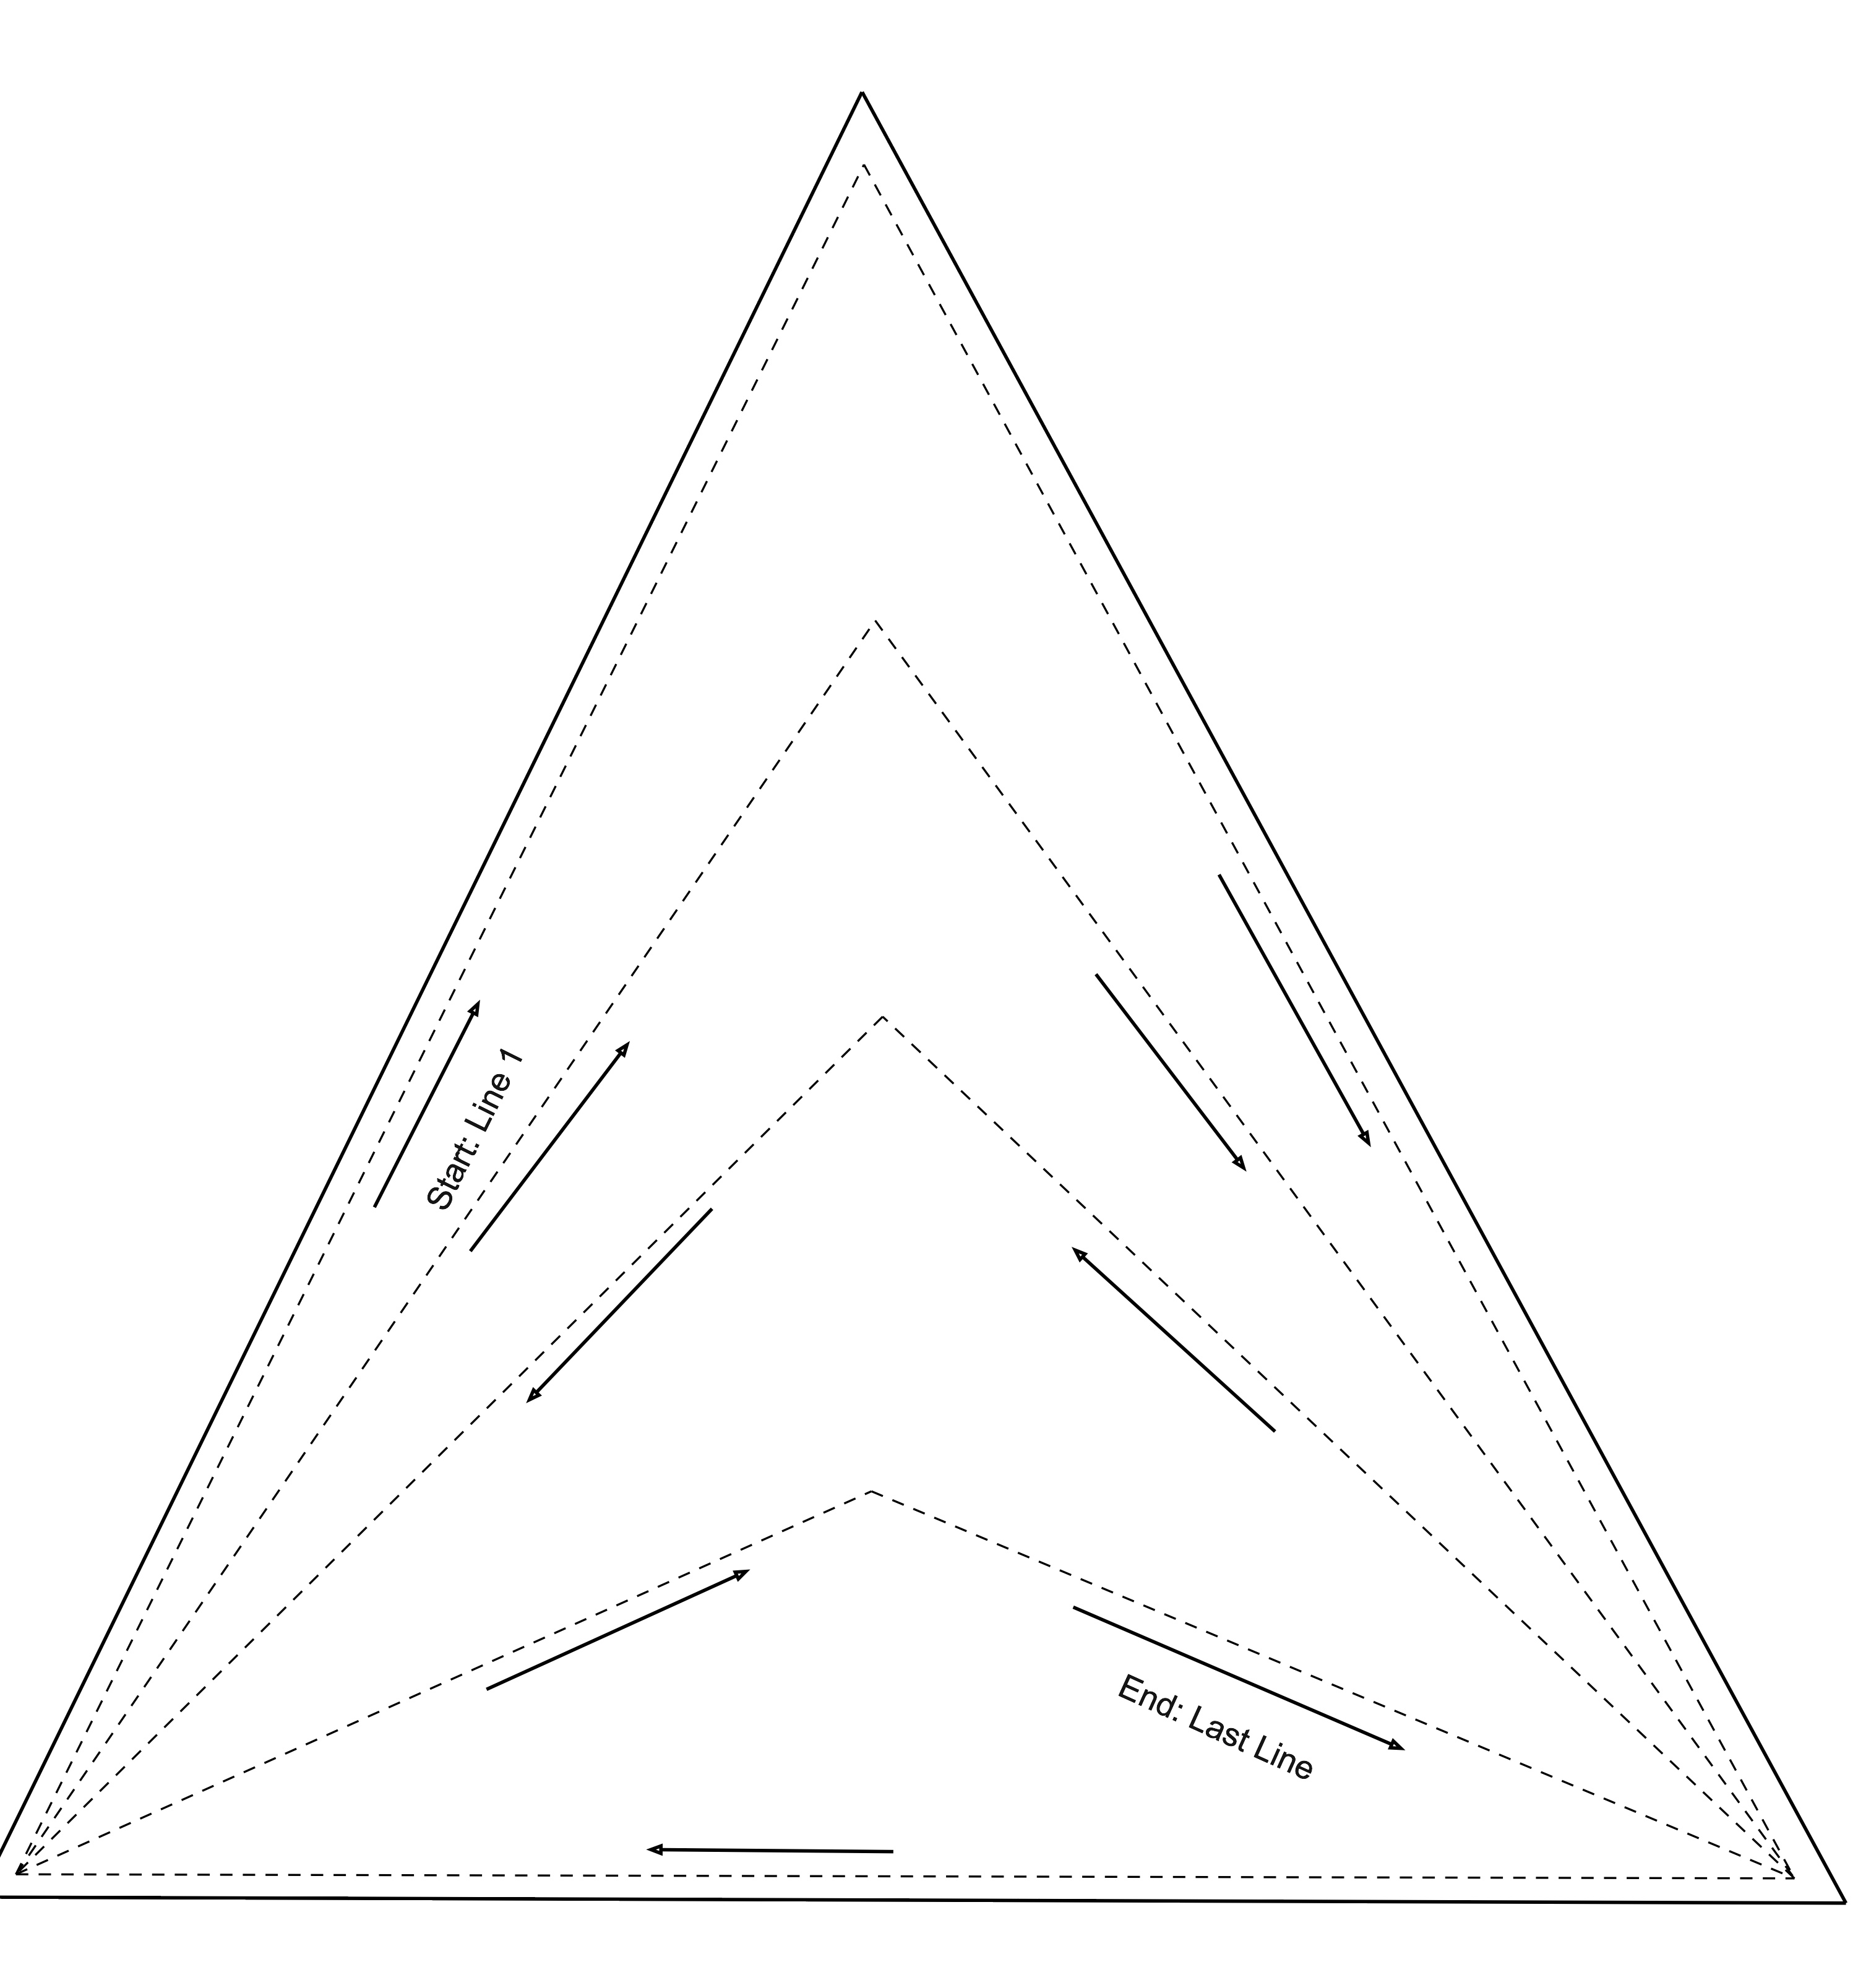
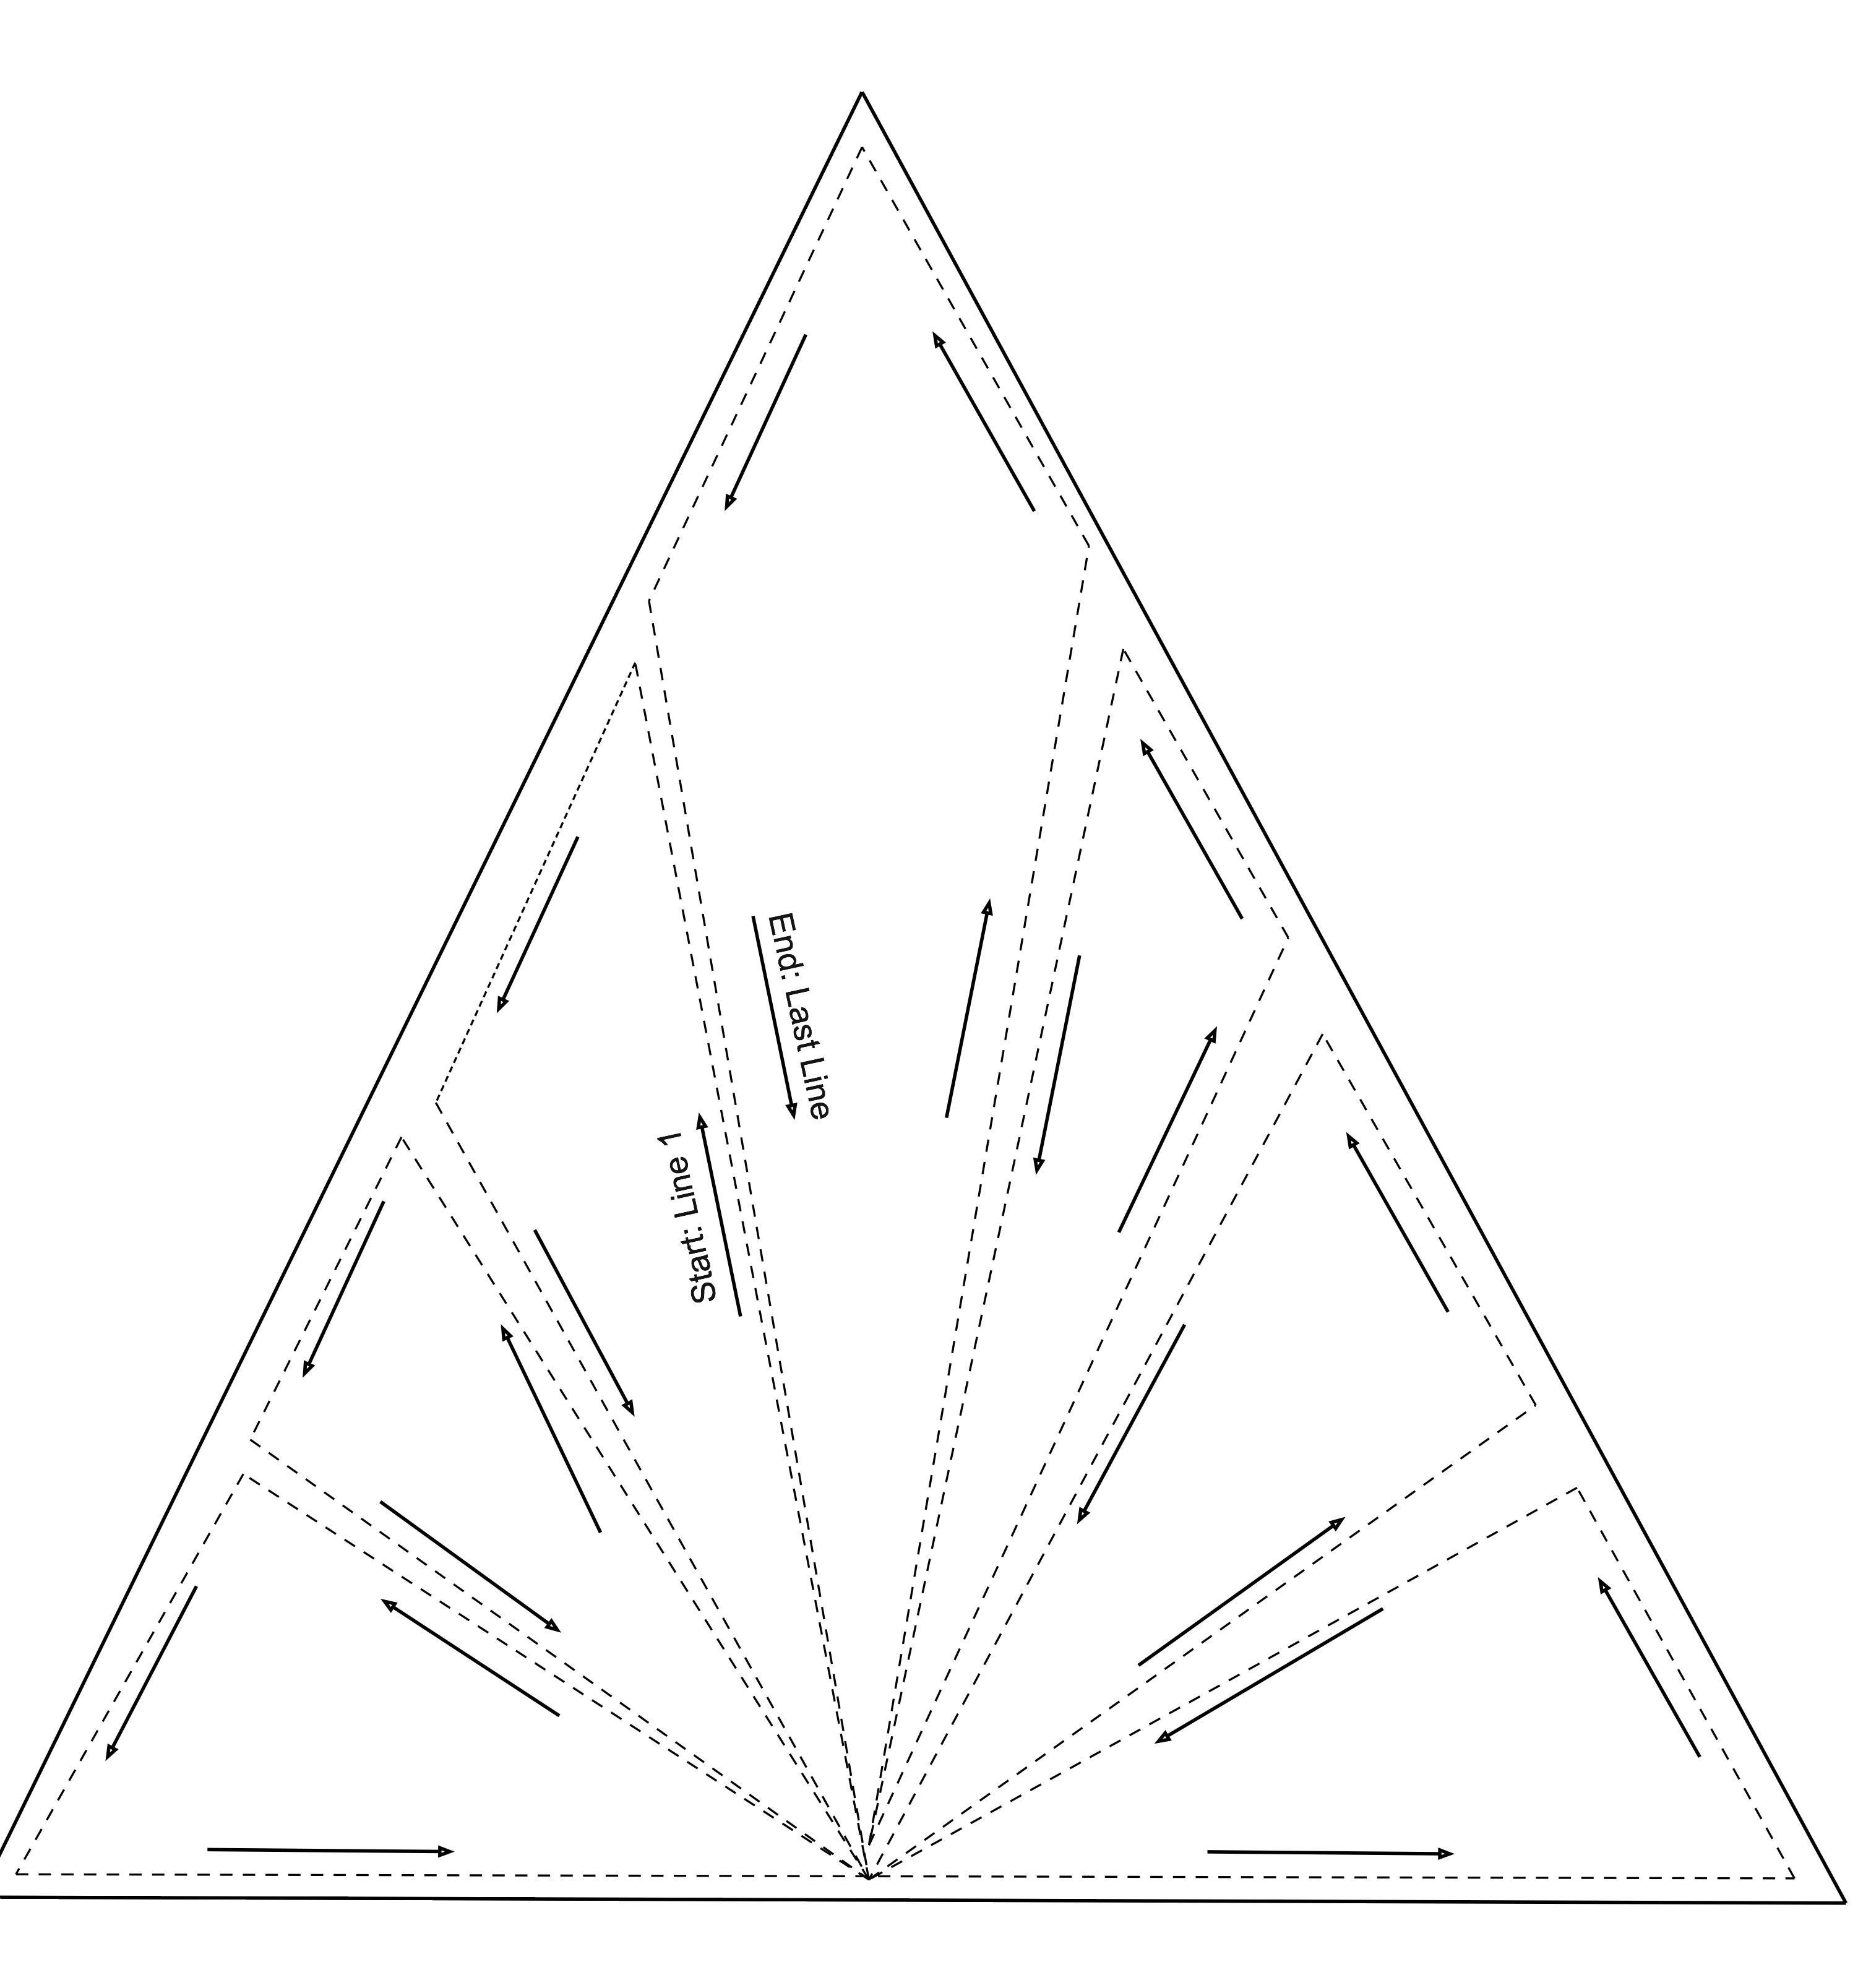
The original decision for the quilting was going to be 1/2″ lines that moved around the circles and then the borders were going to have FMQ’ed straight line mixed border (similar to what you see in Carolyn’s quilts). The more I though about it the more this changed. Finally, I decided on matchstick quilting for the blocks at both vertical and horizontal directions, while the border was a simple 1″ straight lines.

The crosshatch (gridded) quilting was introduced as I finished the second block….I decided I needed a break and that this would be a great complement to the overall design.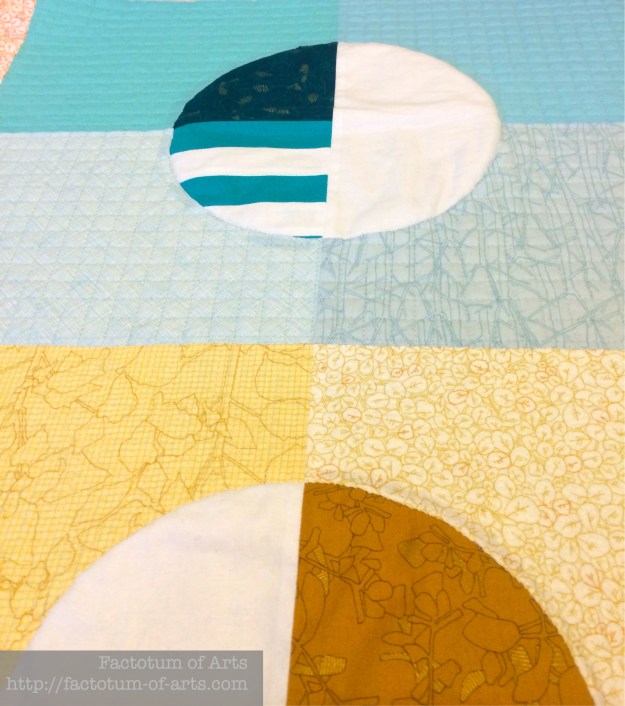
8. The binding
The last design decision was the fabric for the matching binding. I wanted it to be color blocked from the start. All solid? All prints? In the end I chose a mix; I decided that the jade and the green blocks would be the solid color, since the print was dramatically different from the solid. The other 4 blocks were bound in the matching print used in the border and circles.
They were the key decisions made in my design process. Obviously, they happen throughout the creative process, and I always try to stay open to changing my mind in the process.
Linking up with Lorna @ Sew Fresh Quilts for Let’s Bee Social.