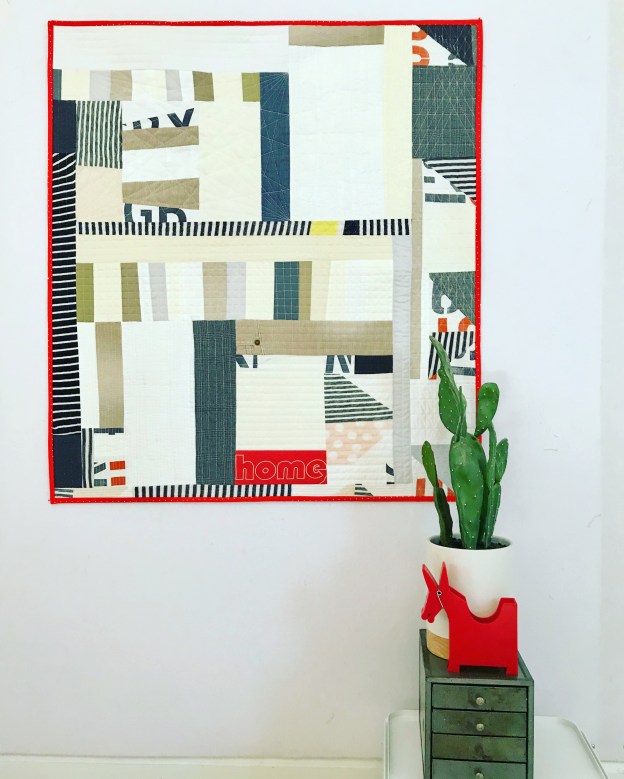
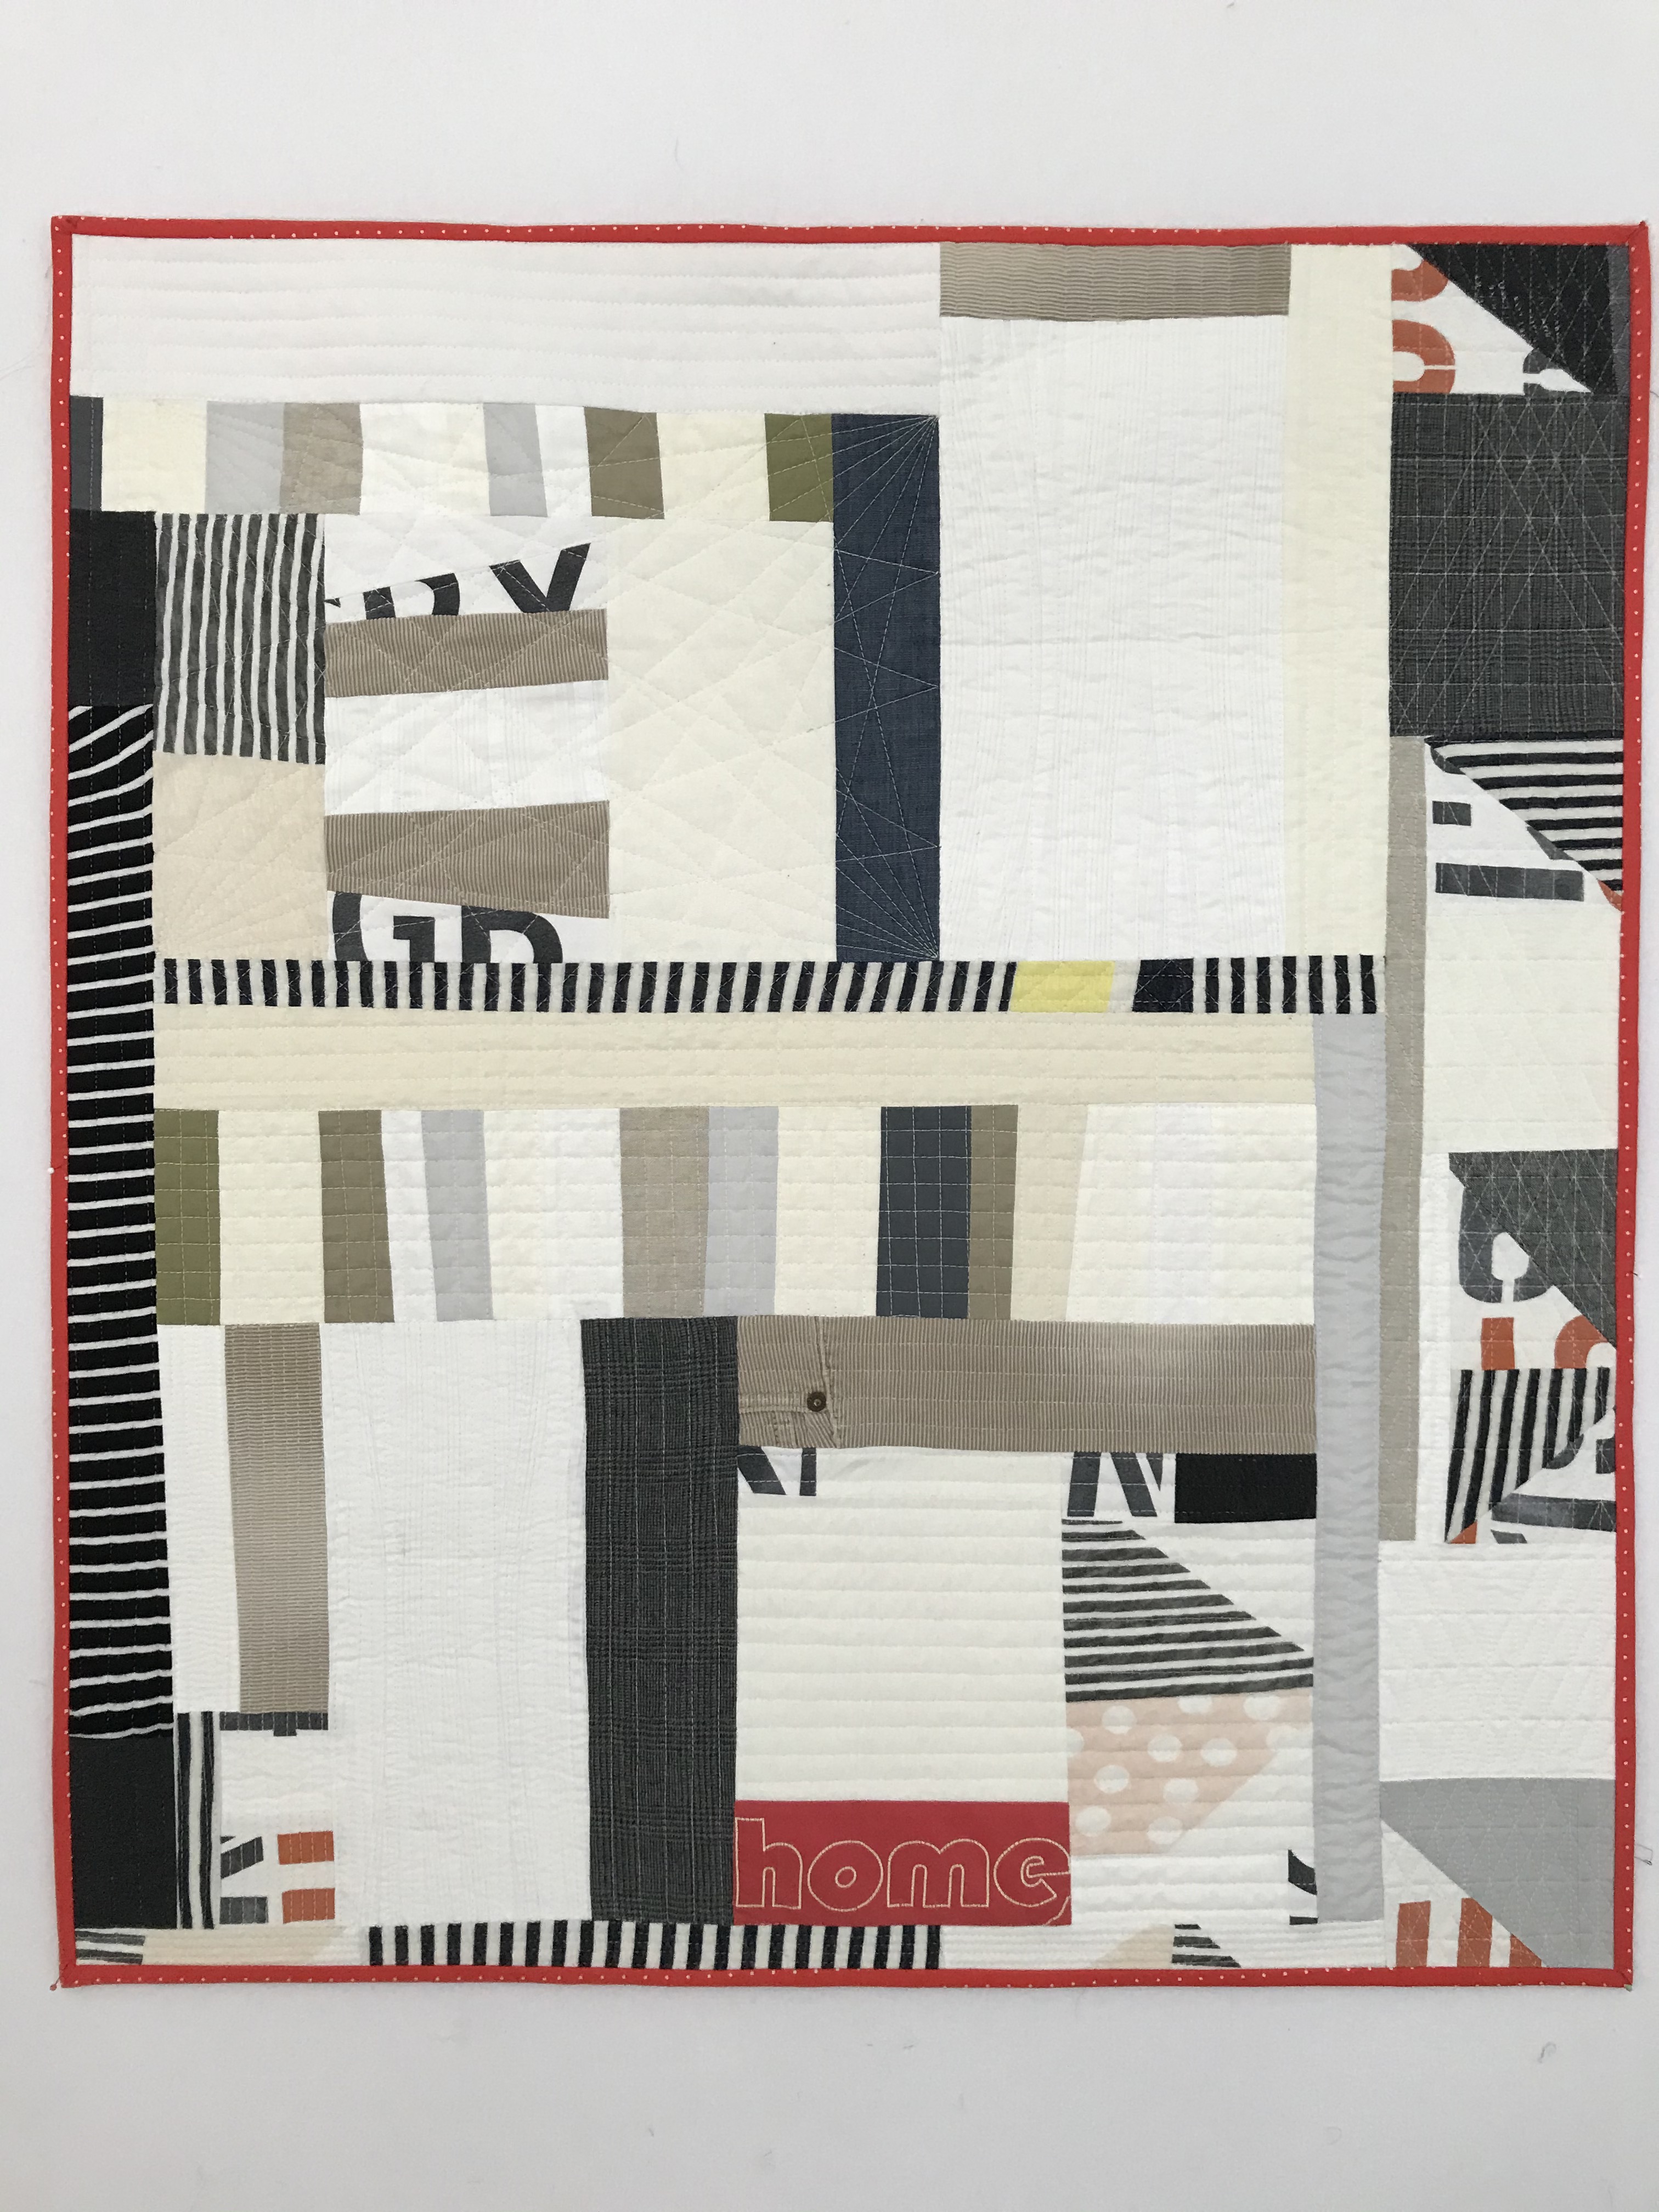
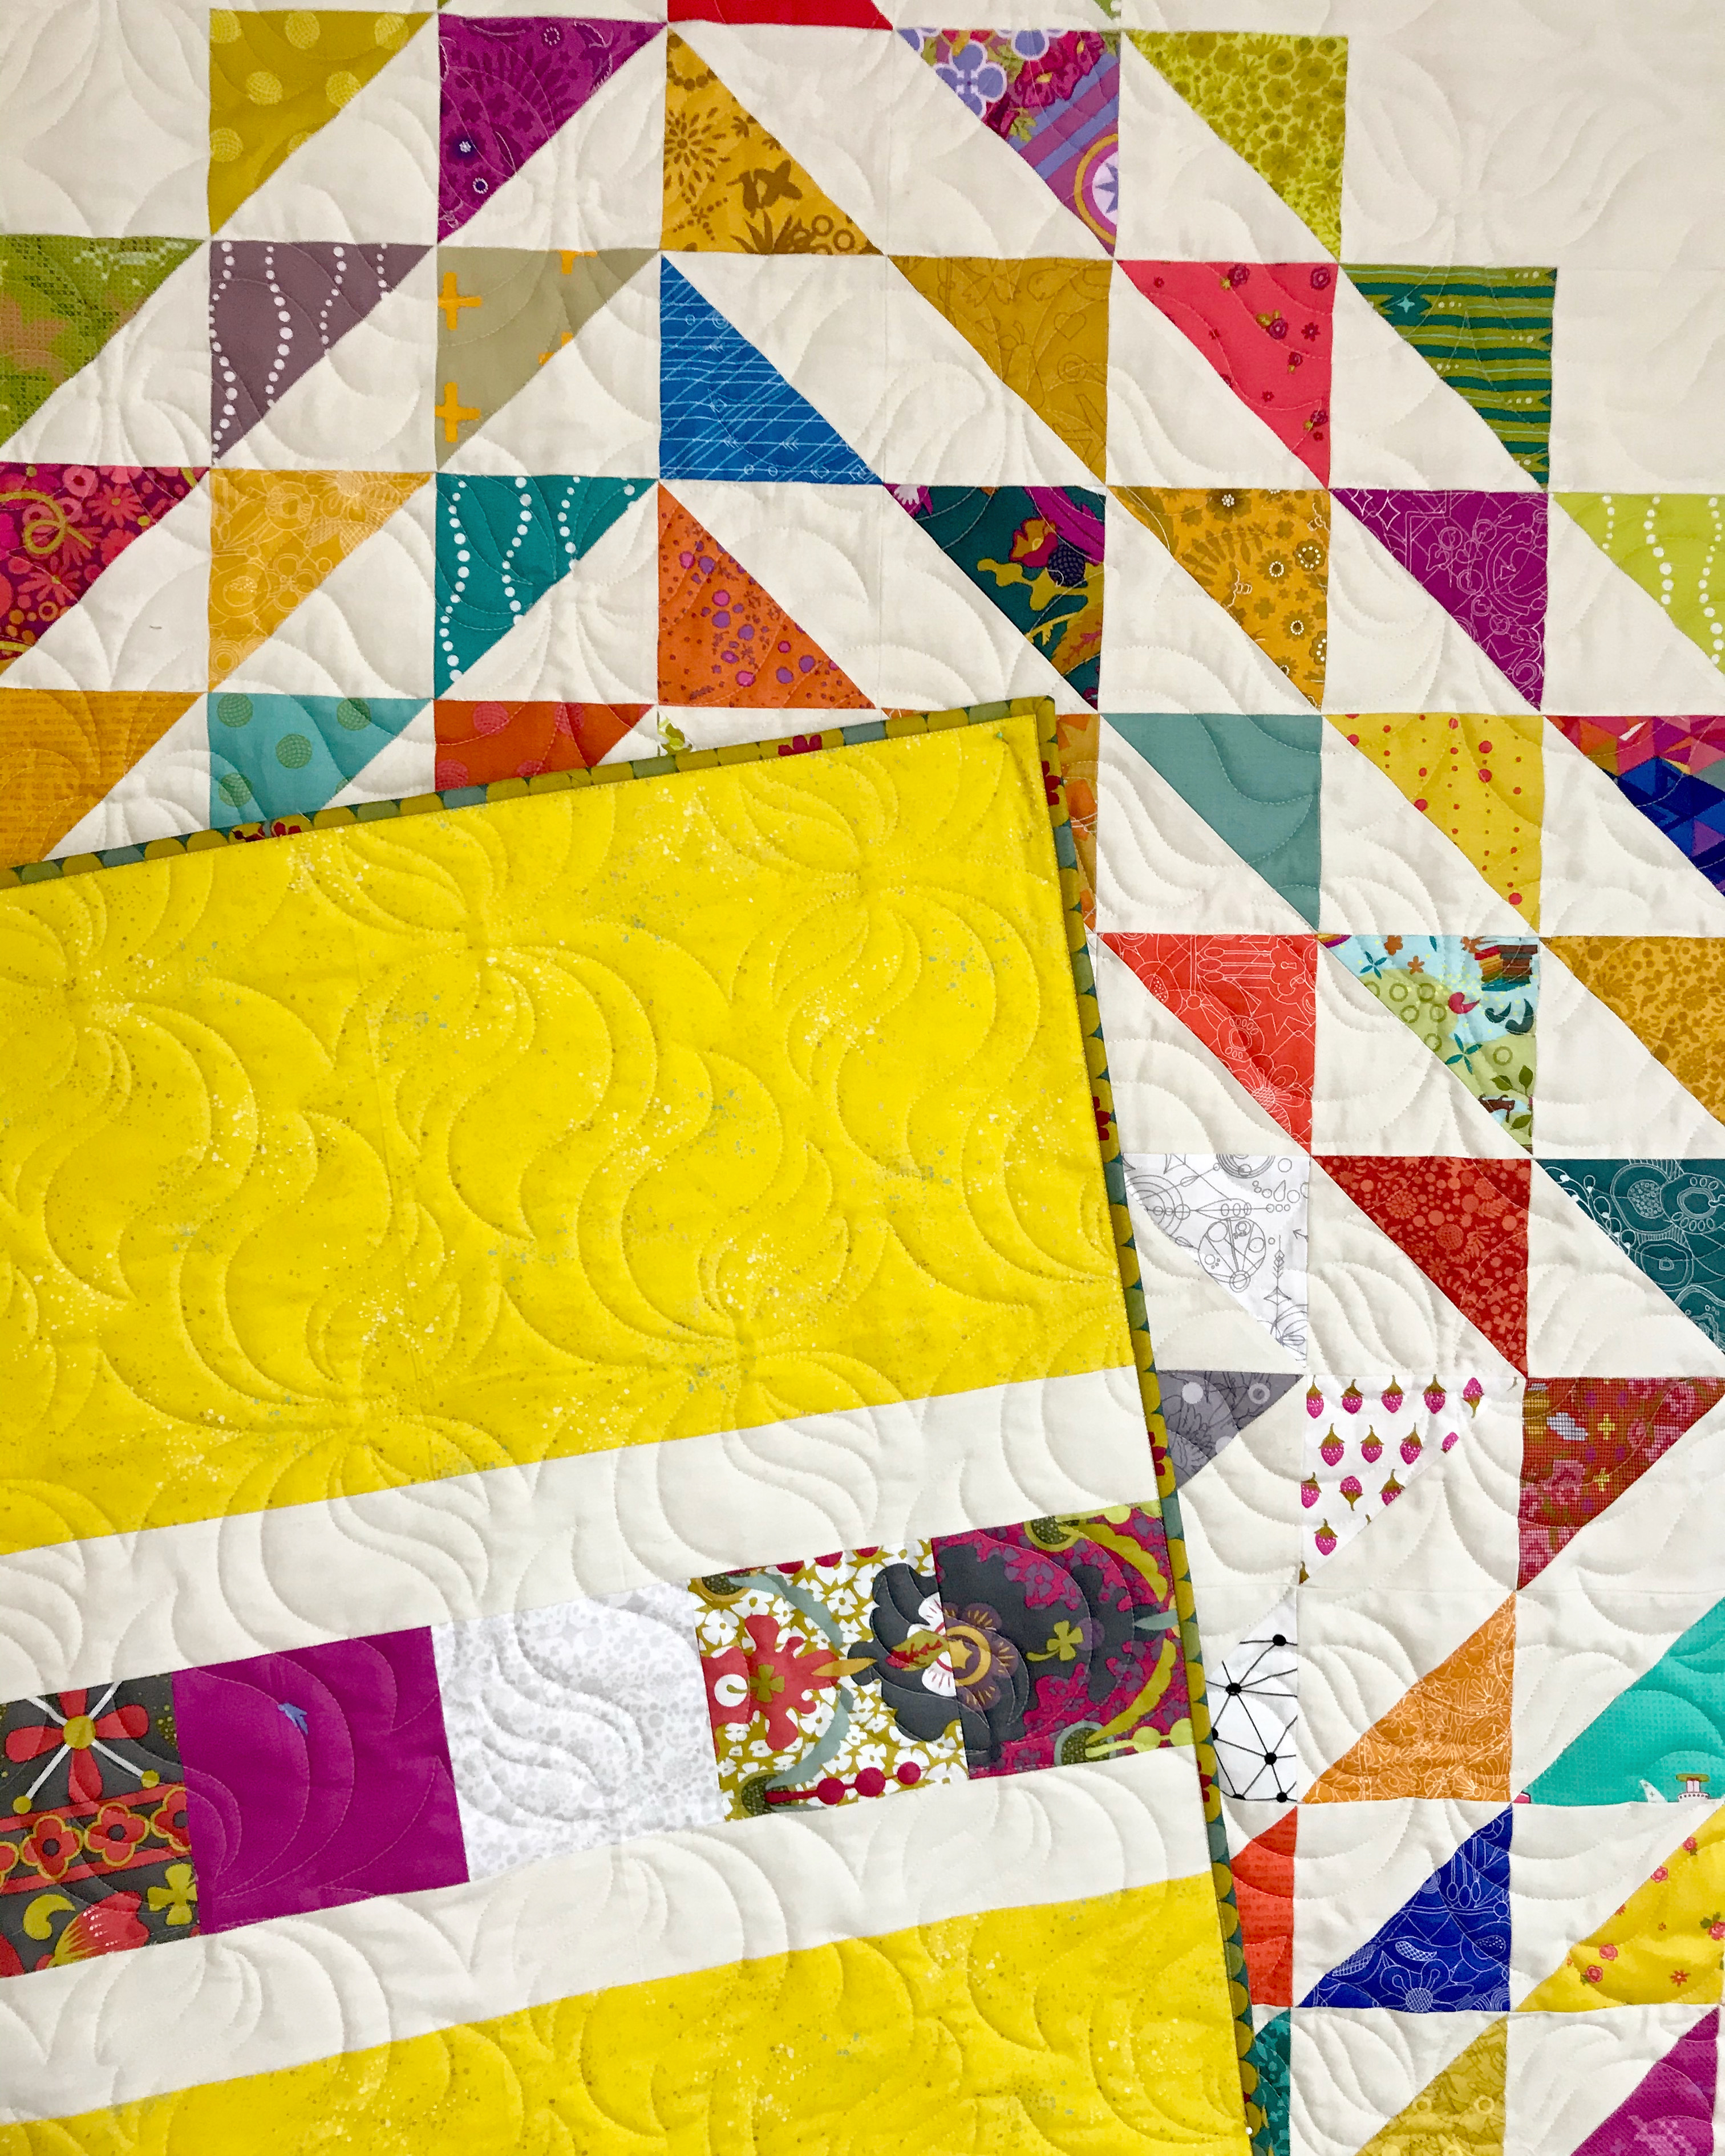
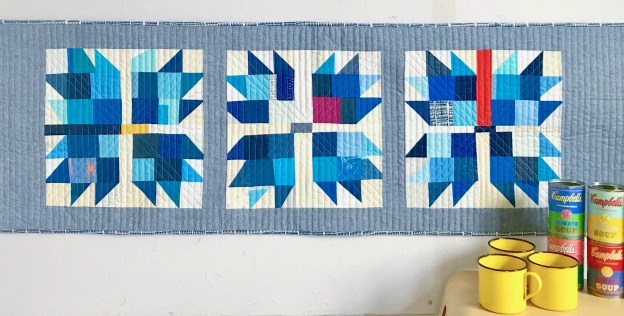
What do you do when some of your favorite clothes are no longer useable due to wear? This quilt started as my favorite New Zealand t-shirt (red with map of NZ and the word “Home” on it), two striped t-shirts that I associated with my mum, and my favorite work trousers (a pair of woolen plaid trousers) had holes and had worn thin in places that could not be mended.
I really did not want to part with these four items, in particular. I don’t know why but I had an emotional attachment to these pieces of clothing but I did. I had been following Sherri Lynn Wood and her artist in residence program at Recology in San Fransisco, where she focused on reusing fabric that had been thrown out. Watching her work develop, made me realize I could reuse these clothes in a quilt, and hang onto them forever.
Close-up of fabric selections + my Home t-shirt
I added corduroy’s and a rugby shirt as well into the mix. As I was cutting my clothes up and looking at placement, I really wanted to have the a balanced composition. I found as I placed and auditioned fabric on my design wall, I needed to include more negative space. I really enjoyed the final placement and happy with the mix of solid fabrics (or ones that read as solid), stripes, prints and text fabrics and then the light, medium and dark tones of the fabric. I think the word home is placed well too, towards the bottom and really happy its offset than in the middle. It helps you move from top to bottom and then back up again as you look at the details.
Note: most of the t-shirt’s I used Pellon 911F interfacing to stabilize the shirts before cutting and piecing, making that process much easier.
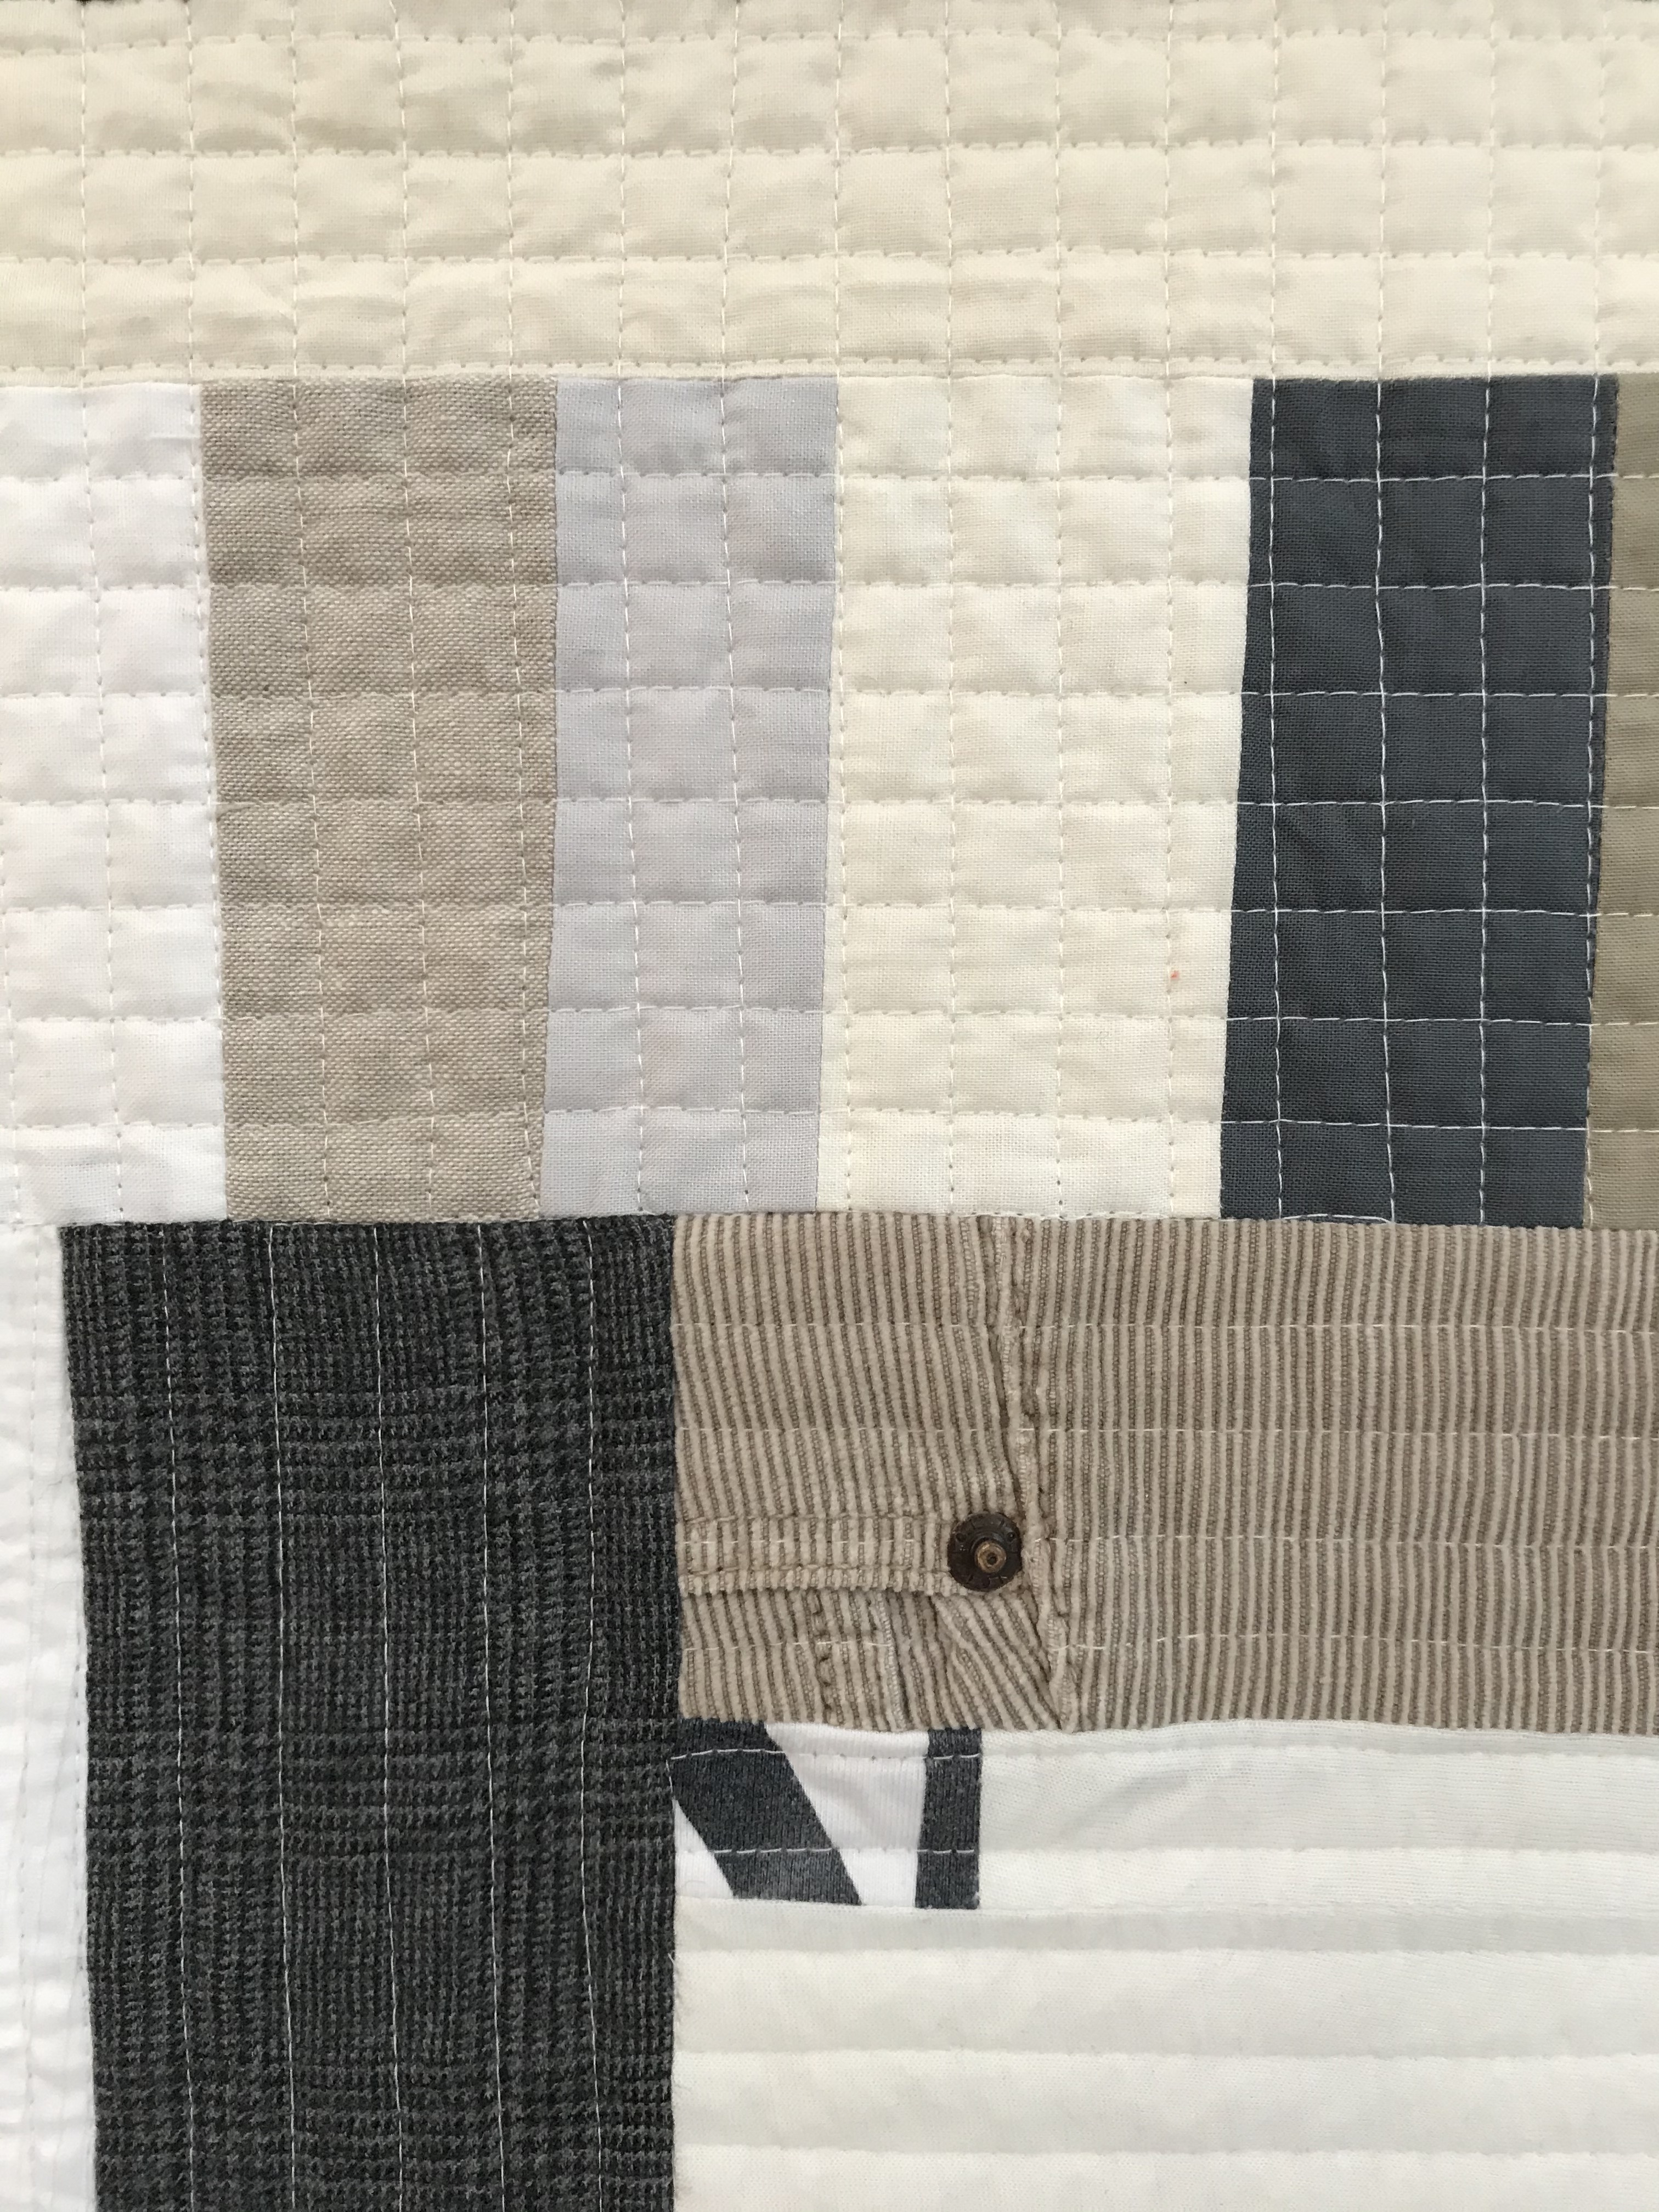
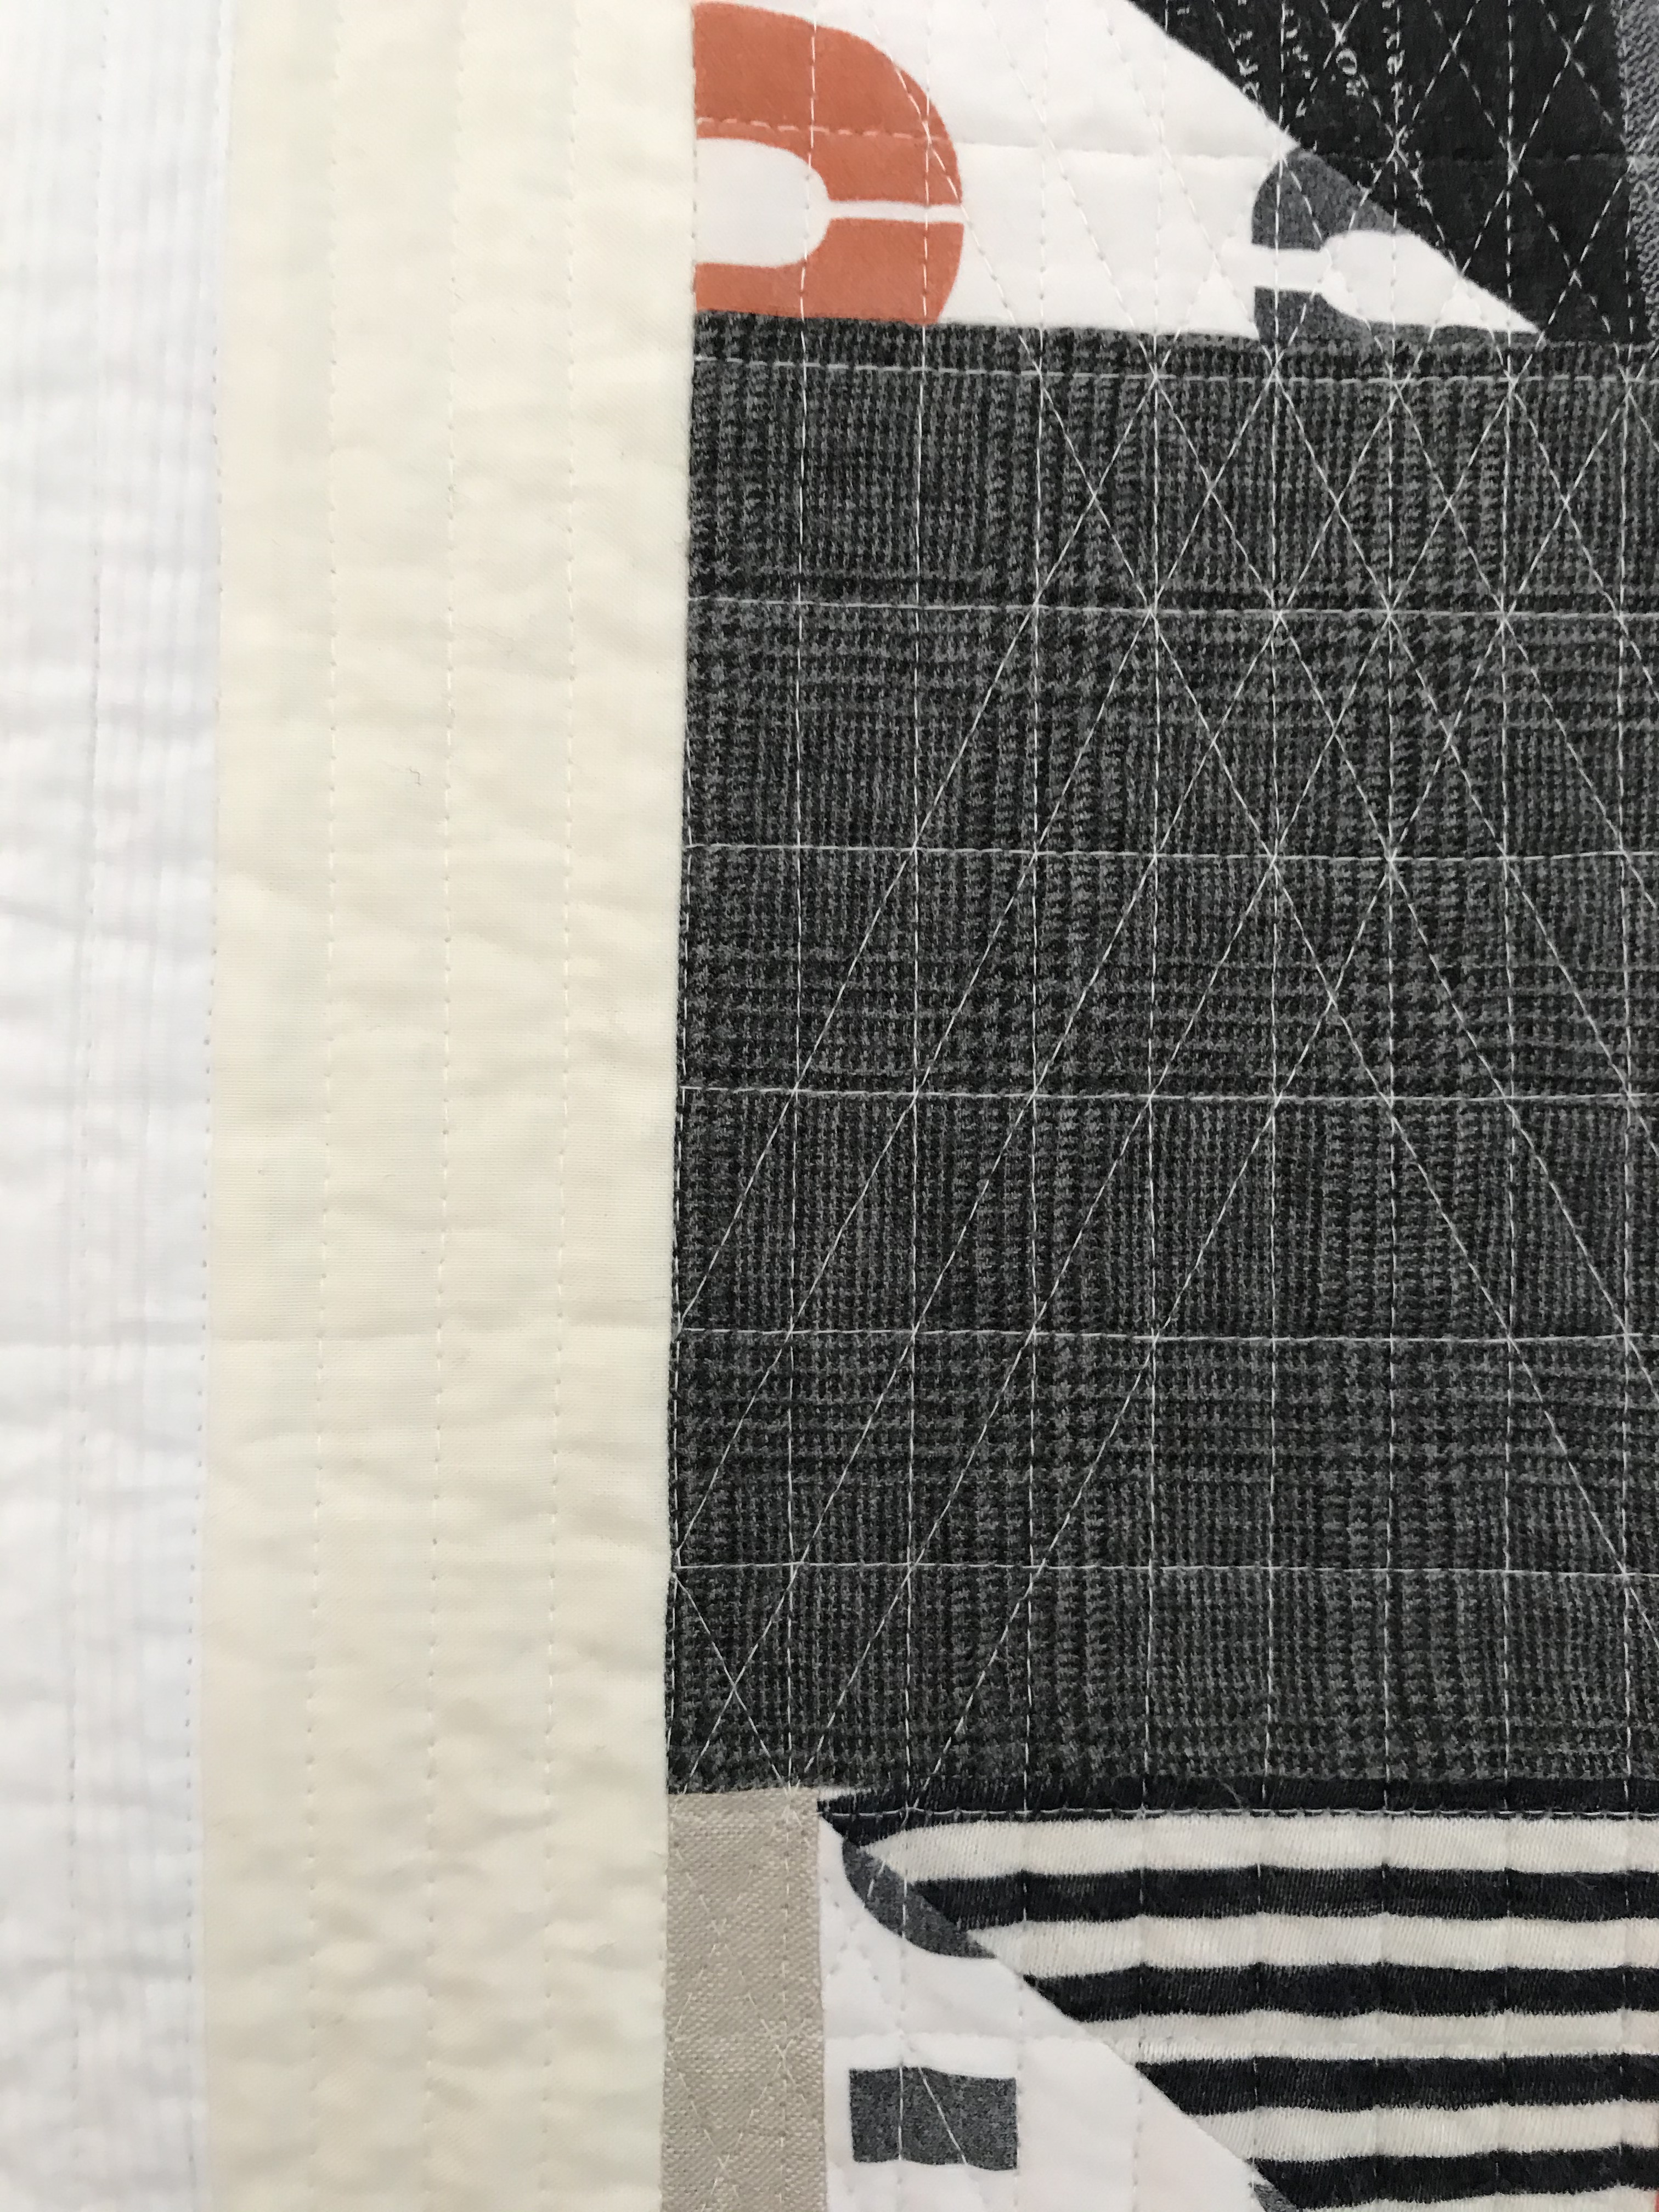
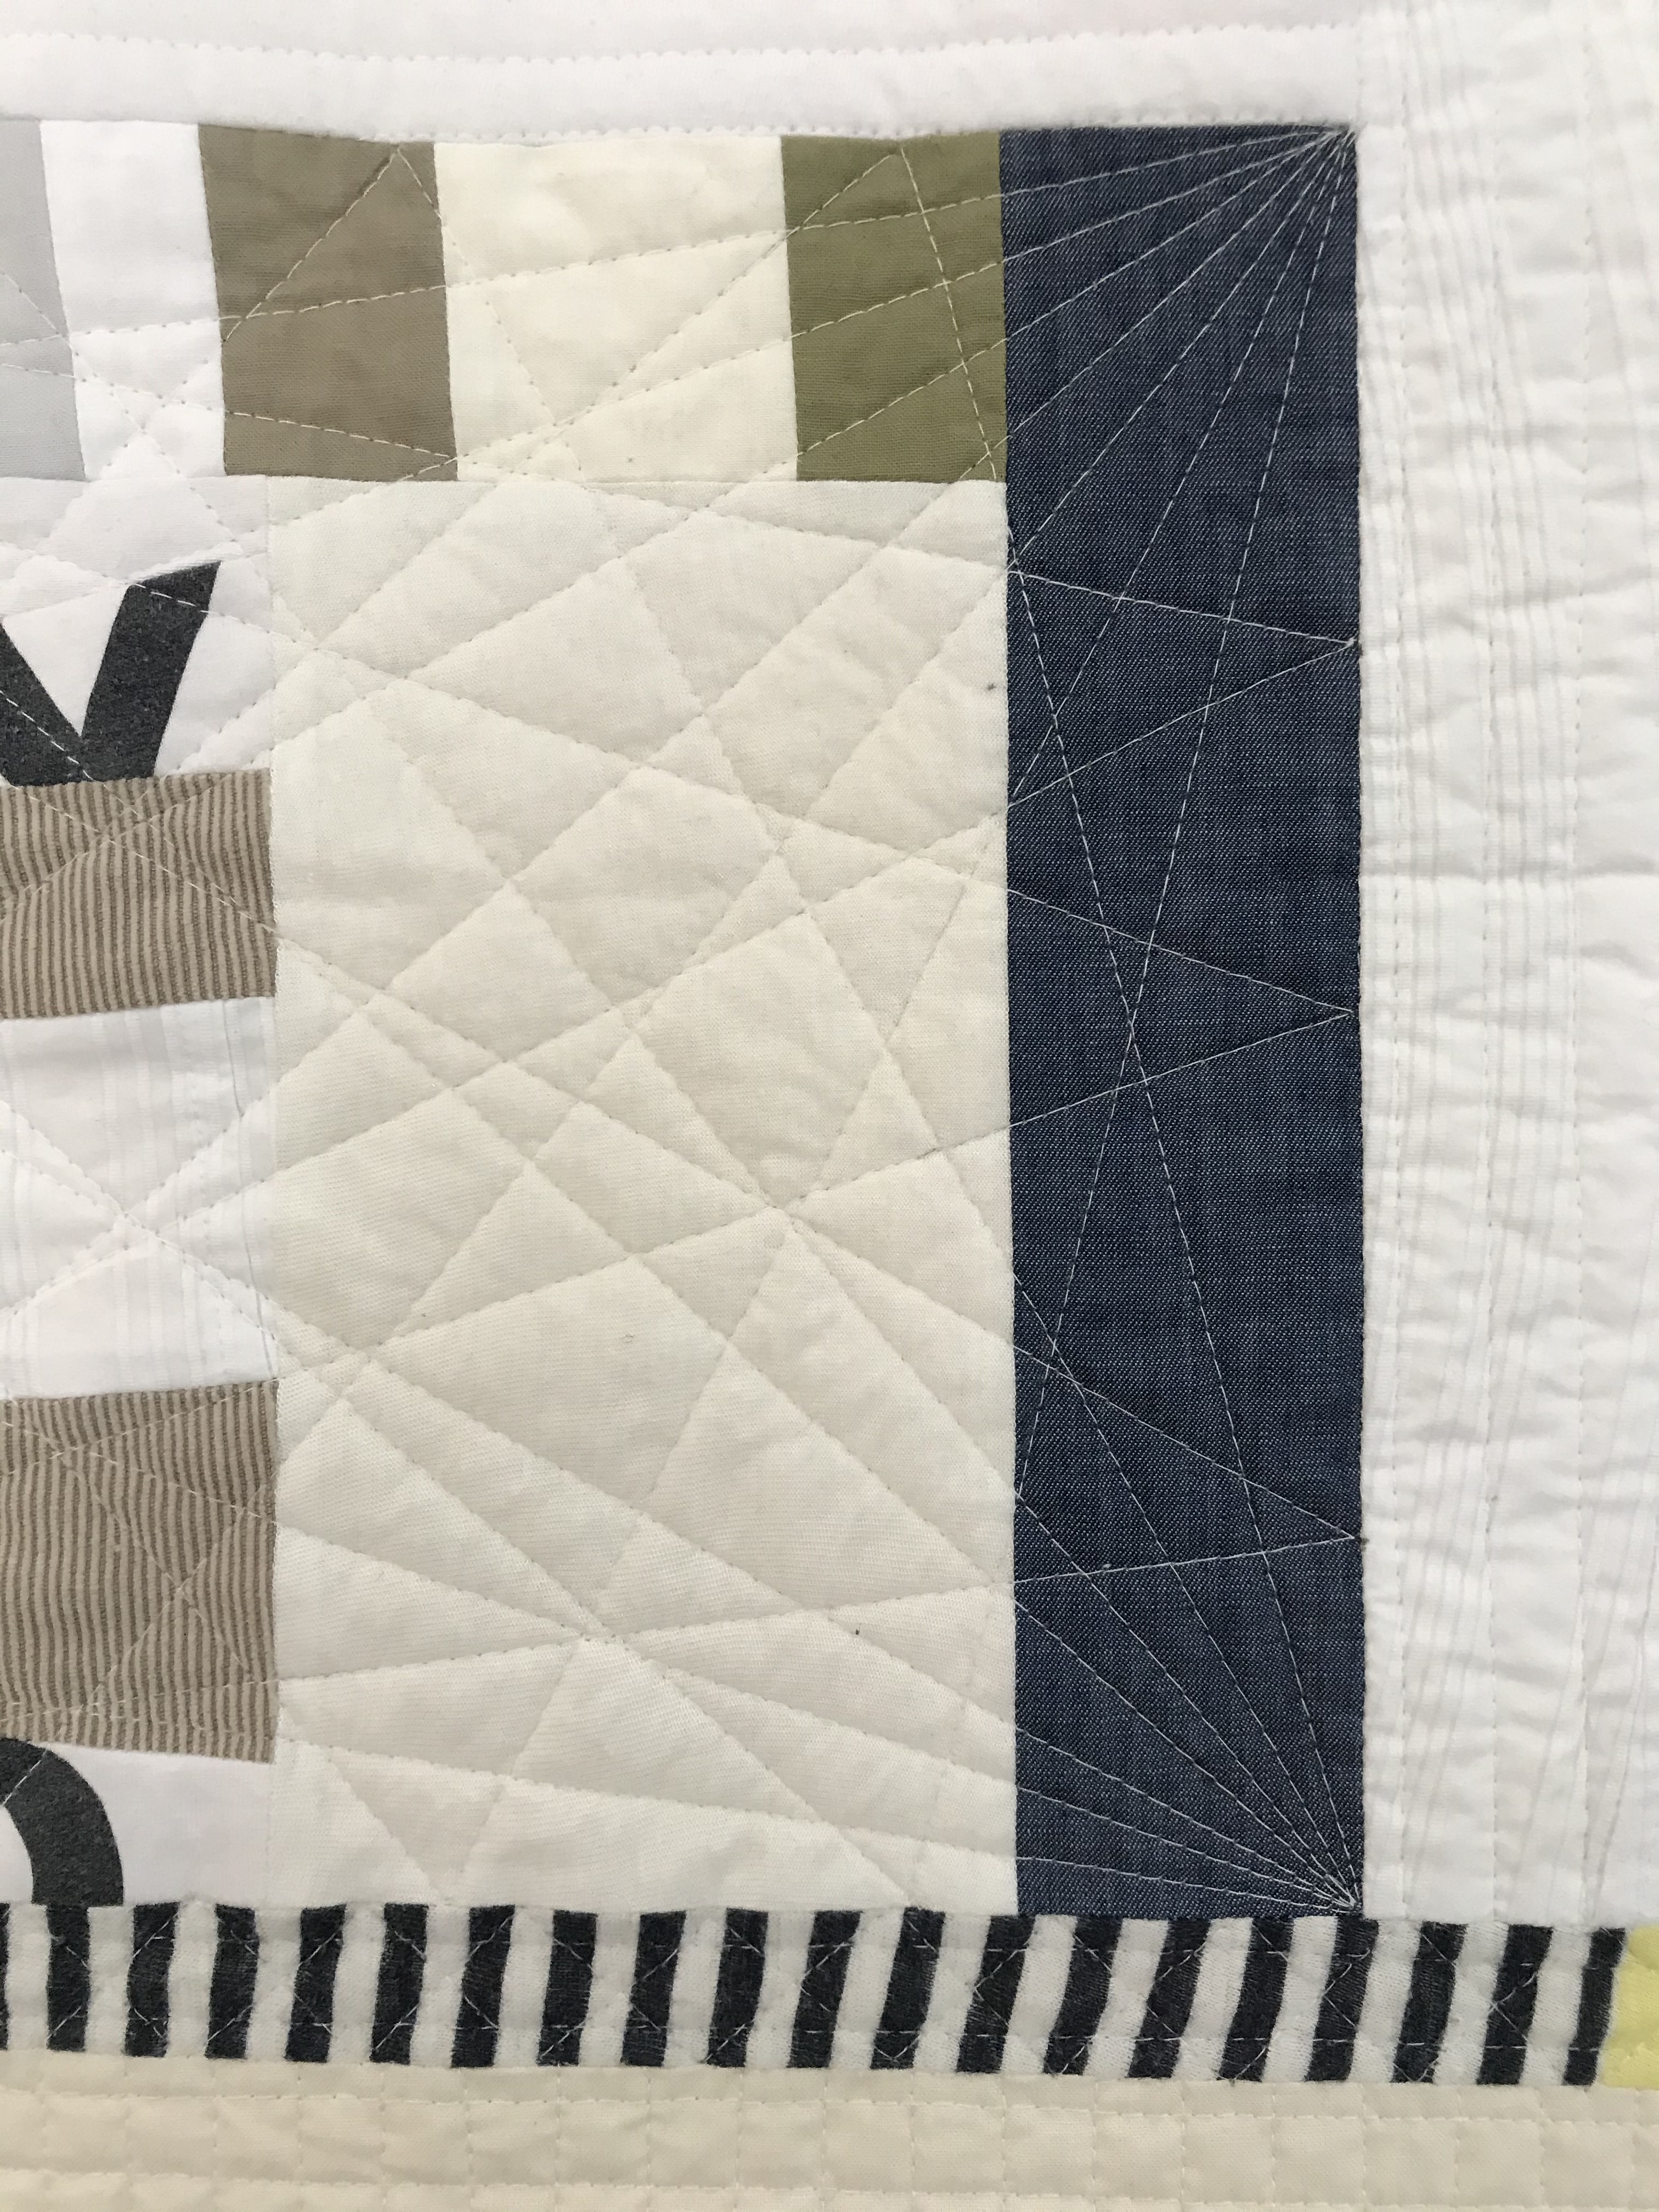
Once I felt the top complete, I was so excited about the quilting (which is not normal for me as this is my least favorite part of quilting). I decided to do some of my usual straight line work but also experiment with some of Jacquie Gering’s Walk & Walk 2.0 designs.
Example of straight line and grid quilting work.Experimenting with Crosshatch mash-up (pg. 46 Walk)Experimenting with Four Corner Radiating (pg. 52 Walk)
Finally to finish up the quilt, I auditioned several bindings and this Cotton + Steel dot print landed up being the best red and framed the quilt well.
Details
Name : Home Design: Original Design Fabric: Variety of up-cycled clothing and scraps of Kona Cotton Binding: Cotton + Steel, Kicks, Cleats Red Backing: Moda, Zen Chic, Modern Backgrounds Paper Dimensions: 30″ x 35″ Quilted: With 50wt Aurifil #2021, using domestic machine walking foot, straight lines.
A few years ago, I first started writing patterns for Sew Mama Sew, and did 5 patterns based on Quilt Design a Day designs. Sew Mama Sew blog is no longer available but I still get asked about some of the patterns.
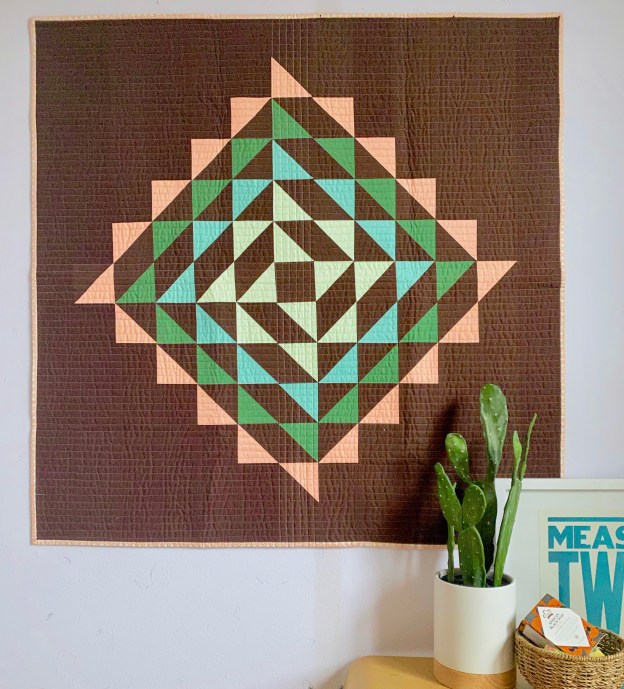
I’ve decided to republish those free patterns here. First one, is Succulent (renamed as Succulent Star for this post).
Inspiration
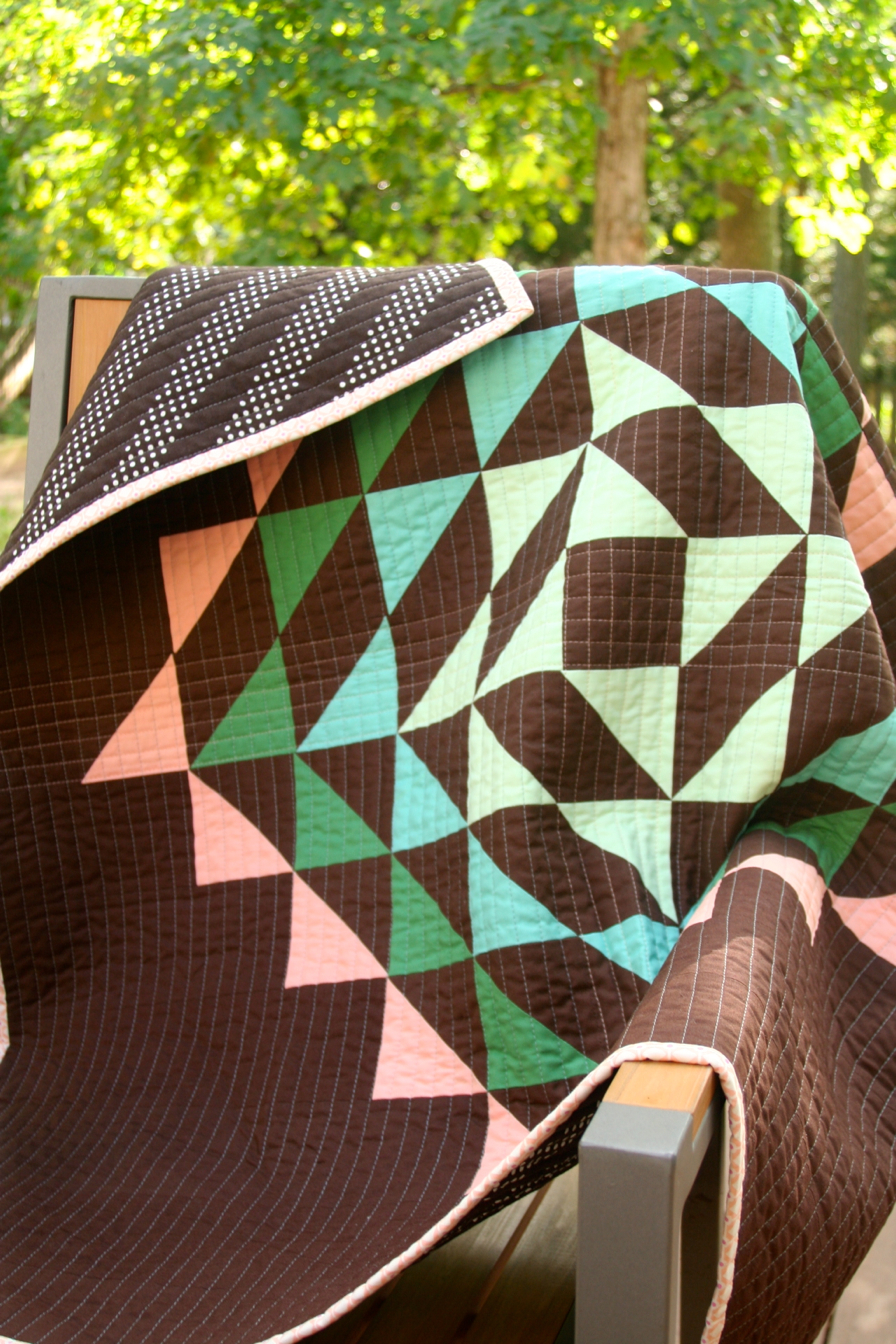
Succulent Star, is inspired by the design seeds color palette and image for 30 July 2014. This is one of my favorite designs as it is simplistic in nature, but it took me out of my comfort zone. The color palette is not my typical chose of palettes – Brown, Greens and Coral.
Fabric Requirements (40″ square quilt)
Fabric A (Kona Mint): Fat Eighth (21″ x 9″) yard Fabric B (Kona Candy Green) : Fat Eighth (21″ x 9″) yard Fabric C (Kona Leaf) : Fat Eighth (21″ x 9″) yard Fabric D (Kona Peach) : Fat Quarter (21″ x 18″) yard Fabric E (Kona Chocolate) : 2 yards Backing fabric and Batting: 48” Square Binding: 190” (of your desired binding width, I use 2 1/4″)
Cutting Instructions
Fabric
Cutting Instructions
A
Six (6) 4.5” squares
B
Six (6) 4.5” squares
C
Eight (8) 4.5” squares
D
Ten (10) 4.5” squares
E
Thirty (30) 4.5” squares
One (1) 3.5” square (Center)
Four (4) 3 1/2” x 3 3/4” (E7)
Four (4) 3 1/2” x 6 3/4” (E6)
Four (4) 3 1/2” x 9 3/4” (E5)
Four (4) 3 1/2” x 12 3/4” (E4)
Four (4) 3 1/2” x 15 3/4” (E3)
Four (4) 3 1/2” x 18 3/4” (E2)
Two (2) 40” x 3 1/2” (E1)
Table 1: Fabric Cutting instructions
Terminology
HST – Half Square Triangles WOF – Width of Fabric RST – Right Sides Together Seam Allowance: 1/4” seam allowance
Creating the HST
First step, is to make the HSTs. There are many ways to do this. I like to make mine two at a time. Each HST will measure 3.5″ unfinished (3″ finished).
Take all the 4.5” square pieces. Match each of Fabric A, B, C, D squares RST with a square from Fabric E. Right sides together. Make sure you line up all the corners of the two squares.
On the lightest fabric, draw a line with washable fabric marker across one of the diagonals.
Sew a ¼ inch seam on either side of the diagonal line.
Cut on the diagonal drawn line (marked line, solid in the image above, goes from corner to corner). Press open. Repeat with all squares, until you have a total of 60 HSTs.
Using a square ruler with a 45 degree line on it, trim the HST to 3.5”, by lining up your seams with the 45 degree line on the ruler.
NOTE: I like to trim my blocks down for accuracy, so I do make them slightly larger. The equation I used to get the final HST is:
Final block size + 1” = 3.5+1 = 4.5 (others may use 3.5 + 7/8)
Assembly of the quilt top
Quilt Top Assembly Map
Assemble the quilt row by row. I start with E1 from the bottom and work my way up. Press seams as you finish each row. NOTE: Pieces marked with A, B, C and D refer to the HST combination. Make sure you notice in which half the letter donation is (top or bottom) as this helps orient the block correctly. The center is a single 3.5″ square of E.
Once all individual rows are sewn, as depicted in the diagram above, sew each row together. Put each row RST and line up the HST starting from the center of the row, moving out each direction. Use pins to hold them in place. Stitch and press each row.
When all rows are joined and all seams are pressed, baste and quilt your sandwich using the technique of your choice. Square your quilt and bind it to finish your quilt.
Larger Option (76″ square)
I have also used this pattern in a larger lap-sized quilt of 76″ x 76″. I had an Alison Glass Charm pack and the HST were 5″ charm pack friendly. Below are some of the differences to consider when adapting the pattern for this 76″ squared quilt.
The starting square size for the triangles were 5″, this meant the HST’s when trimmed measured 4.5″ and 4″ finished.
This quilt used a different color in each spiral. From outside to inside: Green, Pink/Purple, Yellow, Blue/Teal, Orange/Red, Low Volume, Black/Gray.
There are extra 3 spiral rows around center, making the widest row 19 squares wide instead of 13 as above in the wall hanging version of the quilt. This means the you will need 12 (yellow) , 14 (pink/purple), 16 (green) square of each color (2 extra squares for 4 extra HST per spiral).
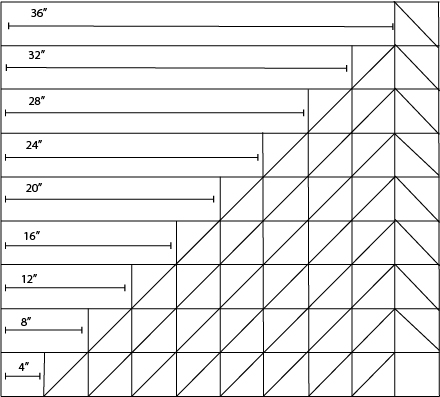
Measurements for the outer strips can be seen in this diagram below (which are finished sizes so add 1/2″ for seam allowance). You will need 4 of each of these measurements (except the 4″ square as the others represent a quarter). You will also need 2 pieces of 76″ finished (76.5″ strips) for the top and bottom which are not on this diagram.
Diagram for outer strip measurements for 76 x 76″ Succulent quilt.
Once you have the layout worked out for this larger quilt, you stitch rows together, quilt and bind as you wish.
I hope you enjoy the pattern. I would love to see the final quilts on Instagram, so feel free to share with #succulentstarquilt.
For Christmas, I wrote out an ultimate gift list of items, I thought I would enjoy. There is a mix of bought gifts and hand made options in the list. I tried to buy local or small shop owners or directly from the artist. I actually used this in a 12 Days of Christmas activity. I think any one of these gifts would be a great gift for someone that has interest in quilting or arts and crafts.