Tag Archives: gifts

Ultimate Gift list

For Christmas, I wrote out an ultimate gift list of items, I thought I would enjoy. There is a mix of bought gifts and hand made options in the list. I tried to buy local or small shop owners or directly from the artist. I actually used this in a 12 Days of Christmas activity. I think any one of these gifts would be a great gift for someone that has interest in quilting or arts and crafts.

Printed Material/ Reference

Quilting with Liberty (Book)
Essex Fabric Color Card (Reference guide)
Half Baked Harvest Cookbook (my favorite cookbook at the moment)

Notions / Tools

Keep Going Lisa Cogdon Mugs
Applipops (Reuseable applique circle templates)
Fish Museum + Circus Pin Cushion / Needle holders (need to sign-up for her newsletter)
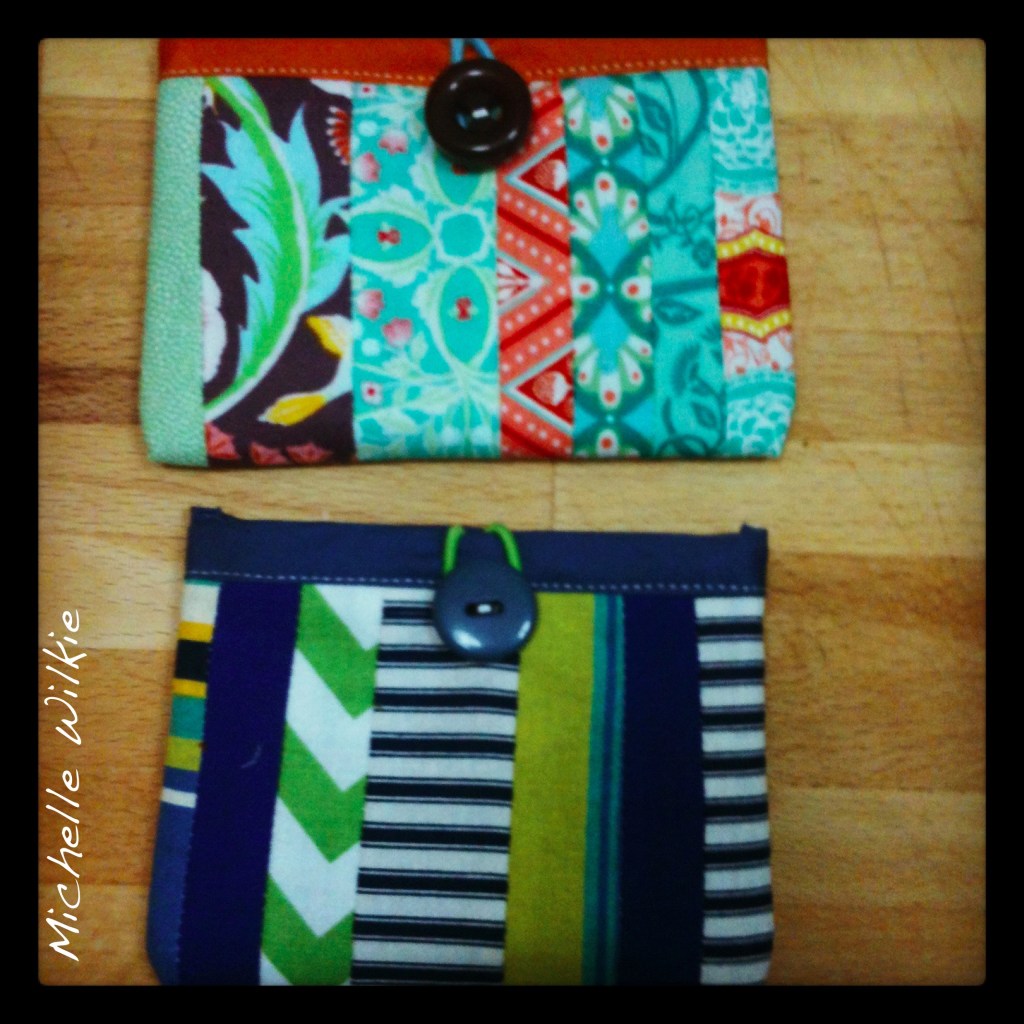
Scrap Bags (pulled and made scrap bags from left over fabric I had = free)
Kiriki Press Embroidery Plushies (for kids)
Alison Glass Wonderfil Perle Cotton Thread

Activity

Anna Maria Horner Clubs (Applique and quilt options)

Food/ Beverage

Chapel Hill Toffee (Chocolate)
King Bean Coffee (Beverage, my favorites La Dolce Vita, Southern Pecan)
Make a meal – Dinner (Coq au Vin) + Dessert (Rustic French Apple Tart)

Hand made Options

Homemade Oven Mitts (pattern free)
Noodlehead Bag Projects (I chose Redwood Tote Pattern and purchased hardware)
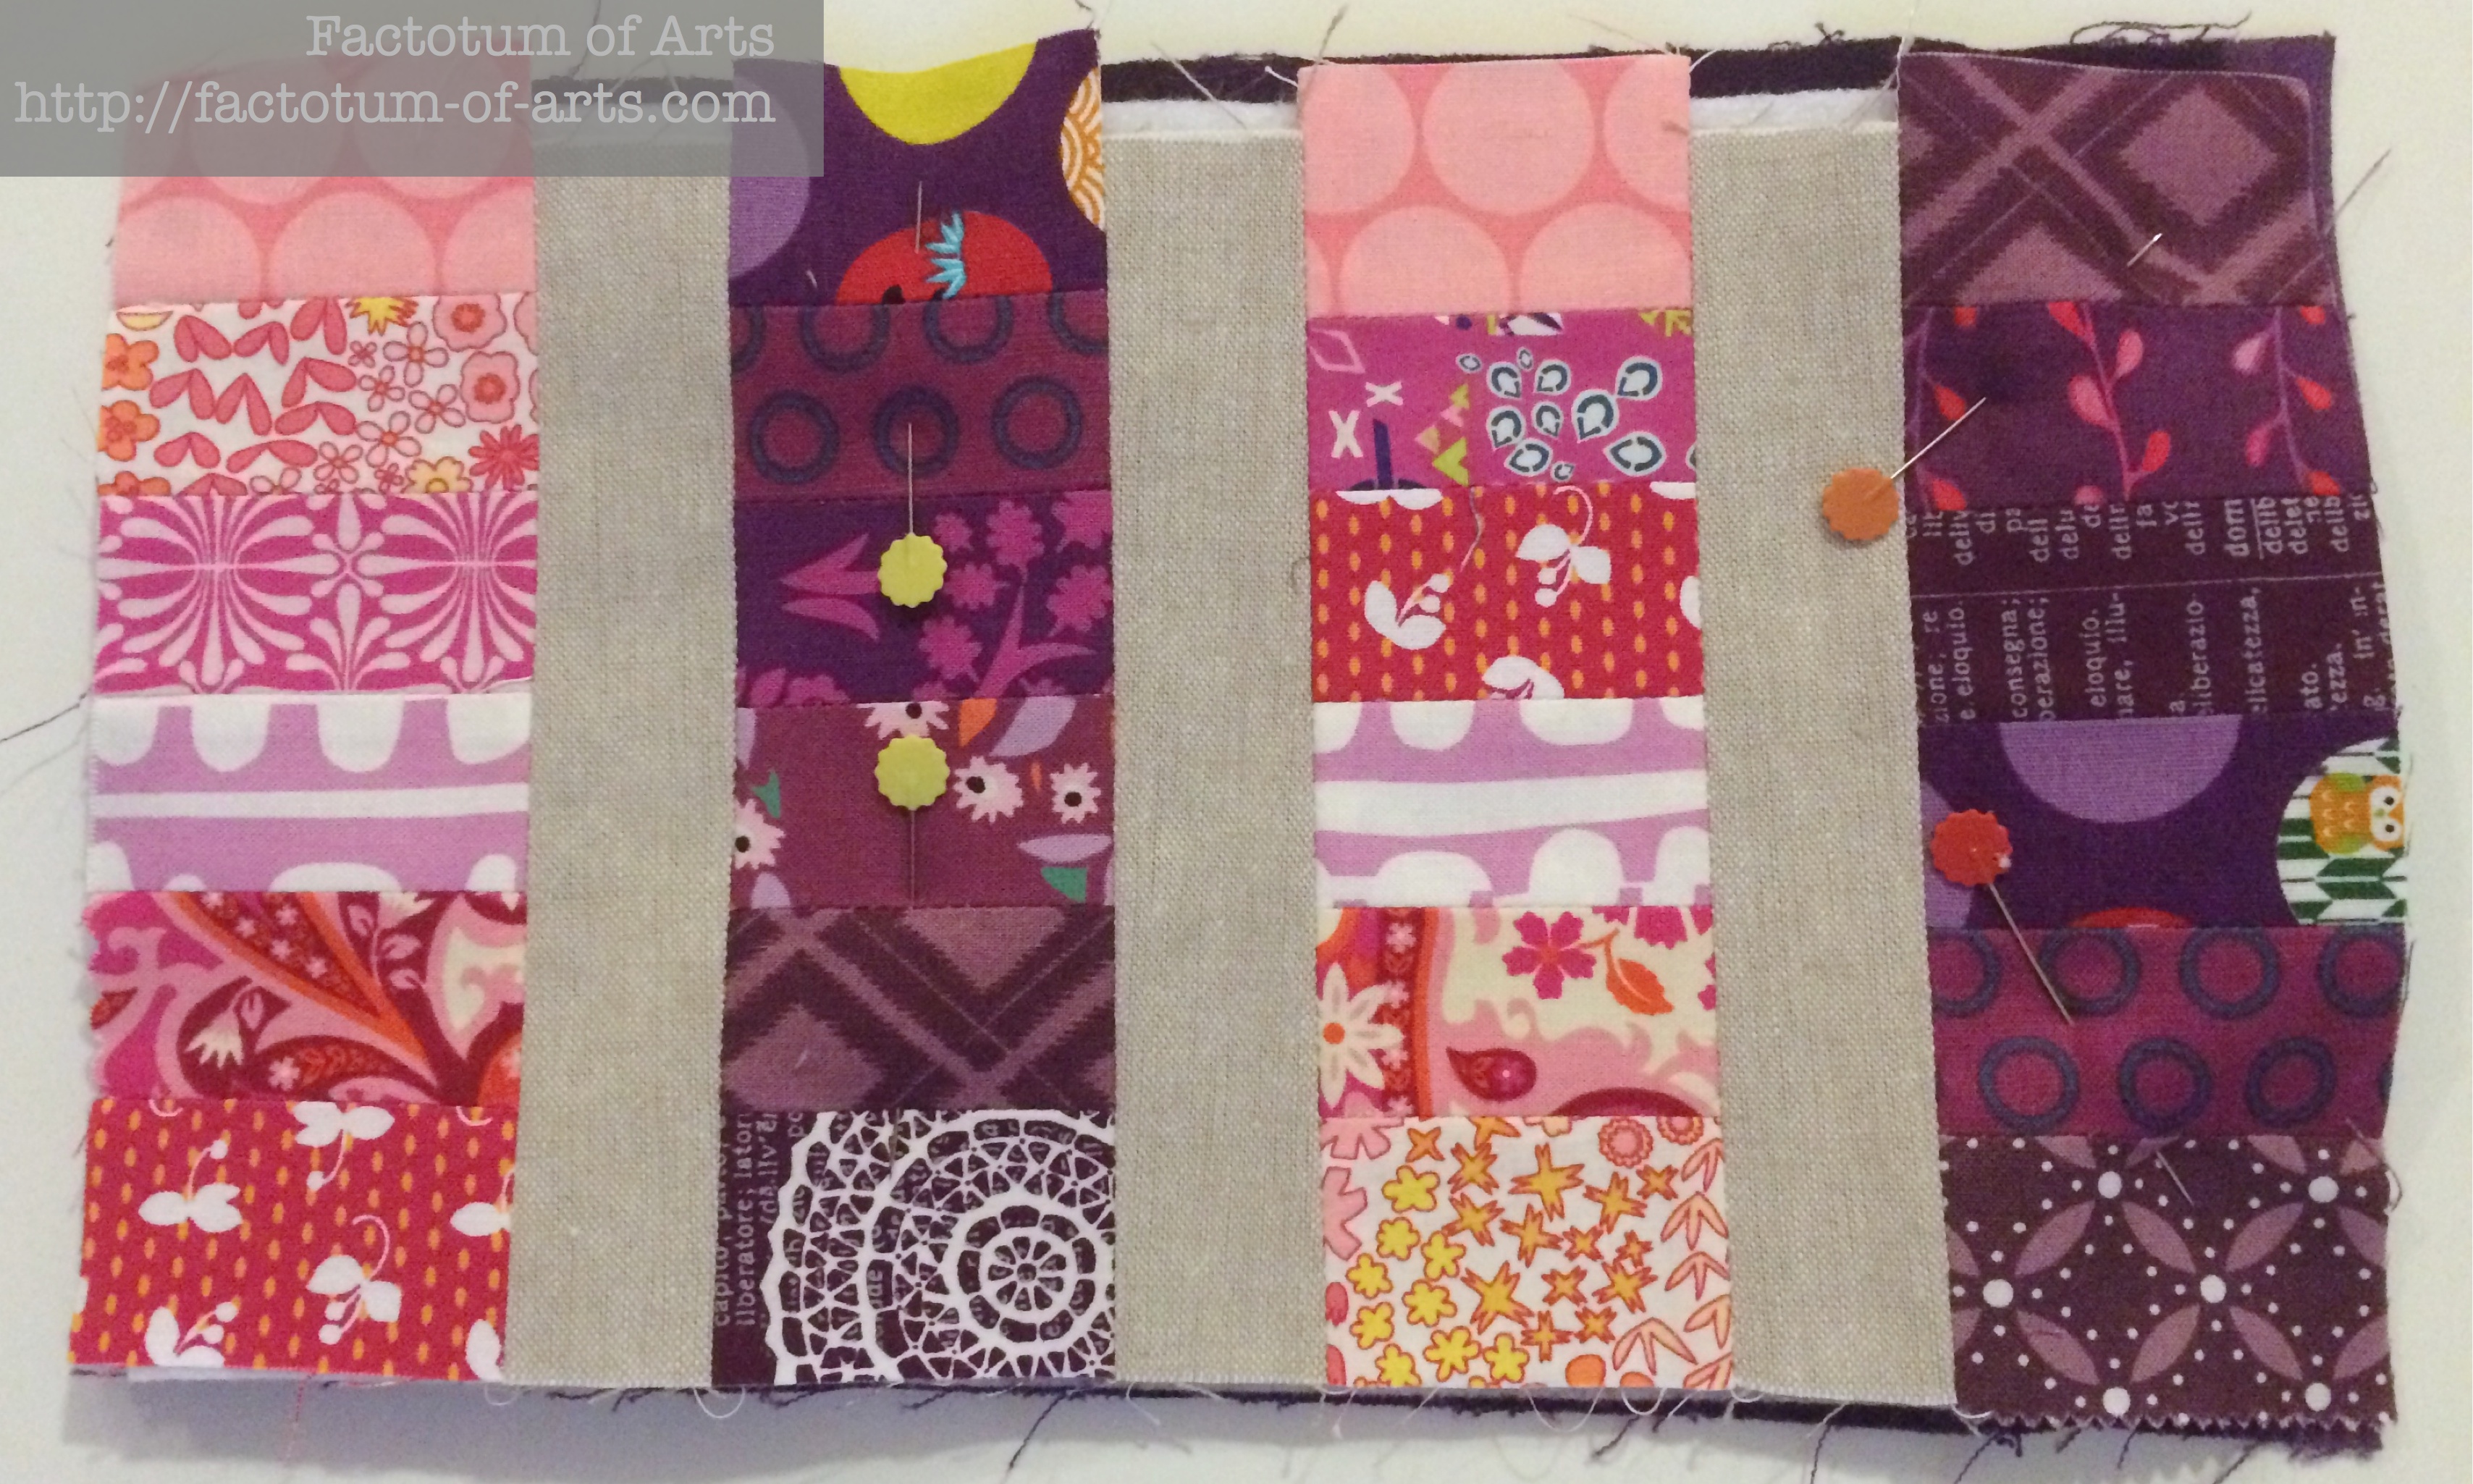
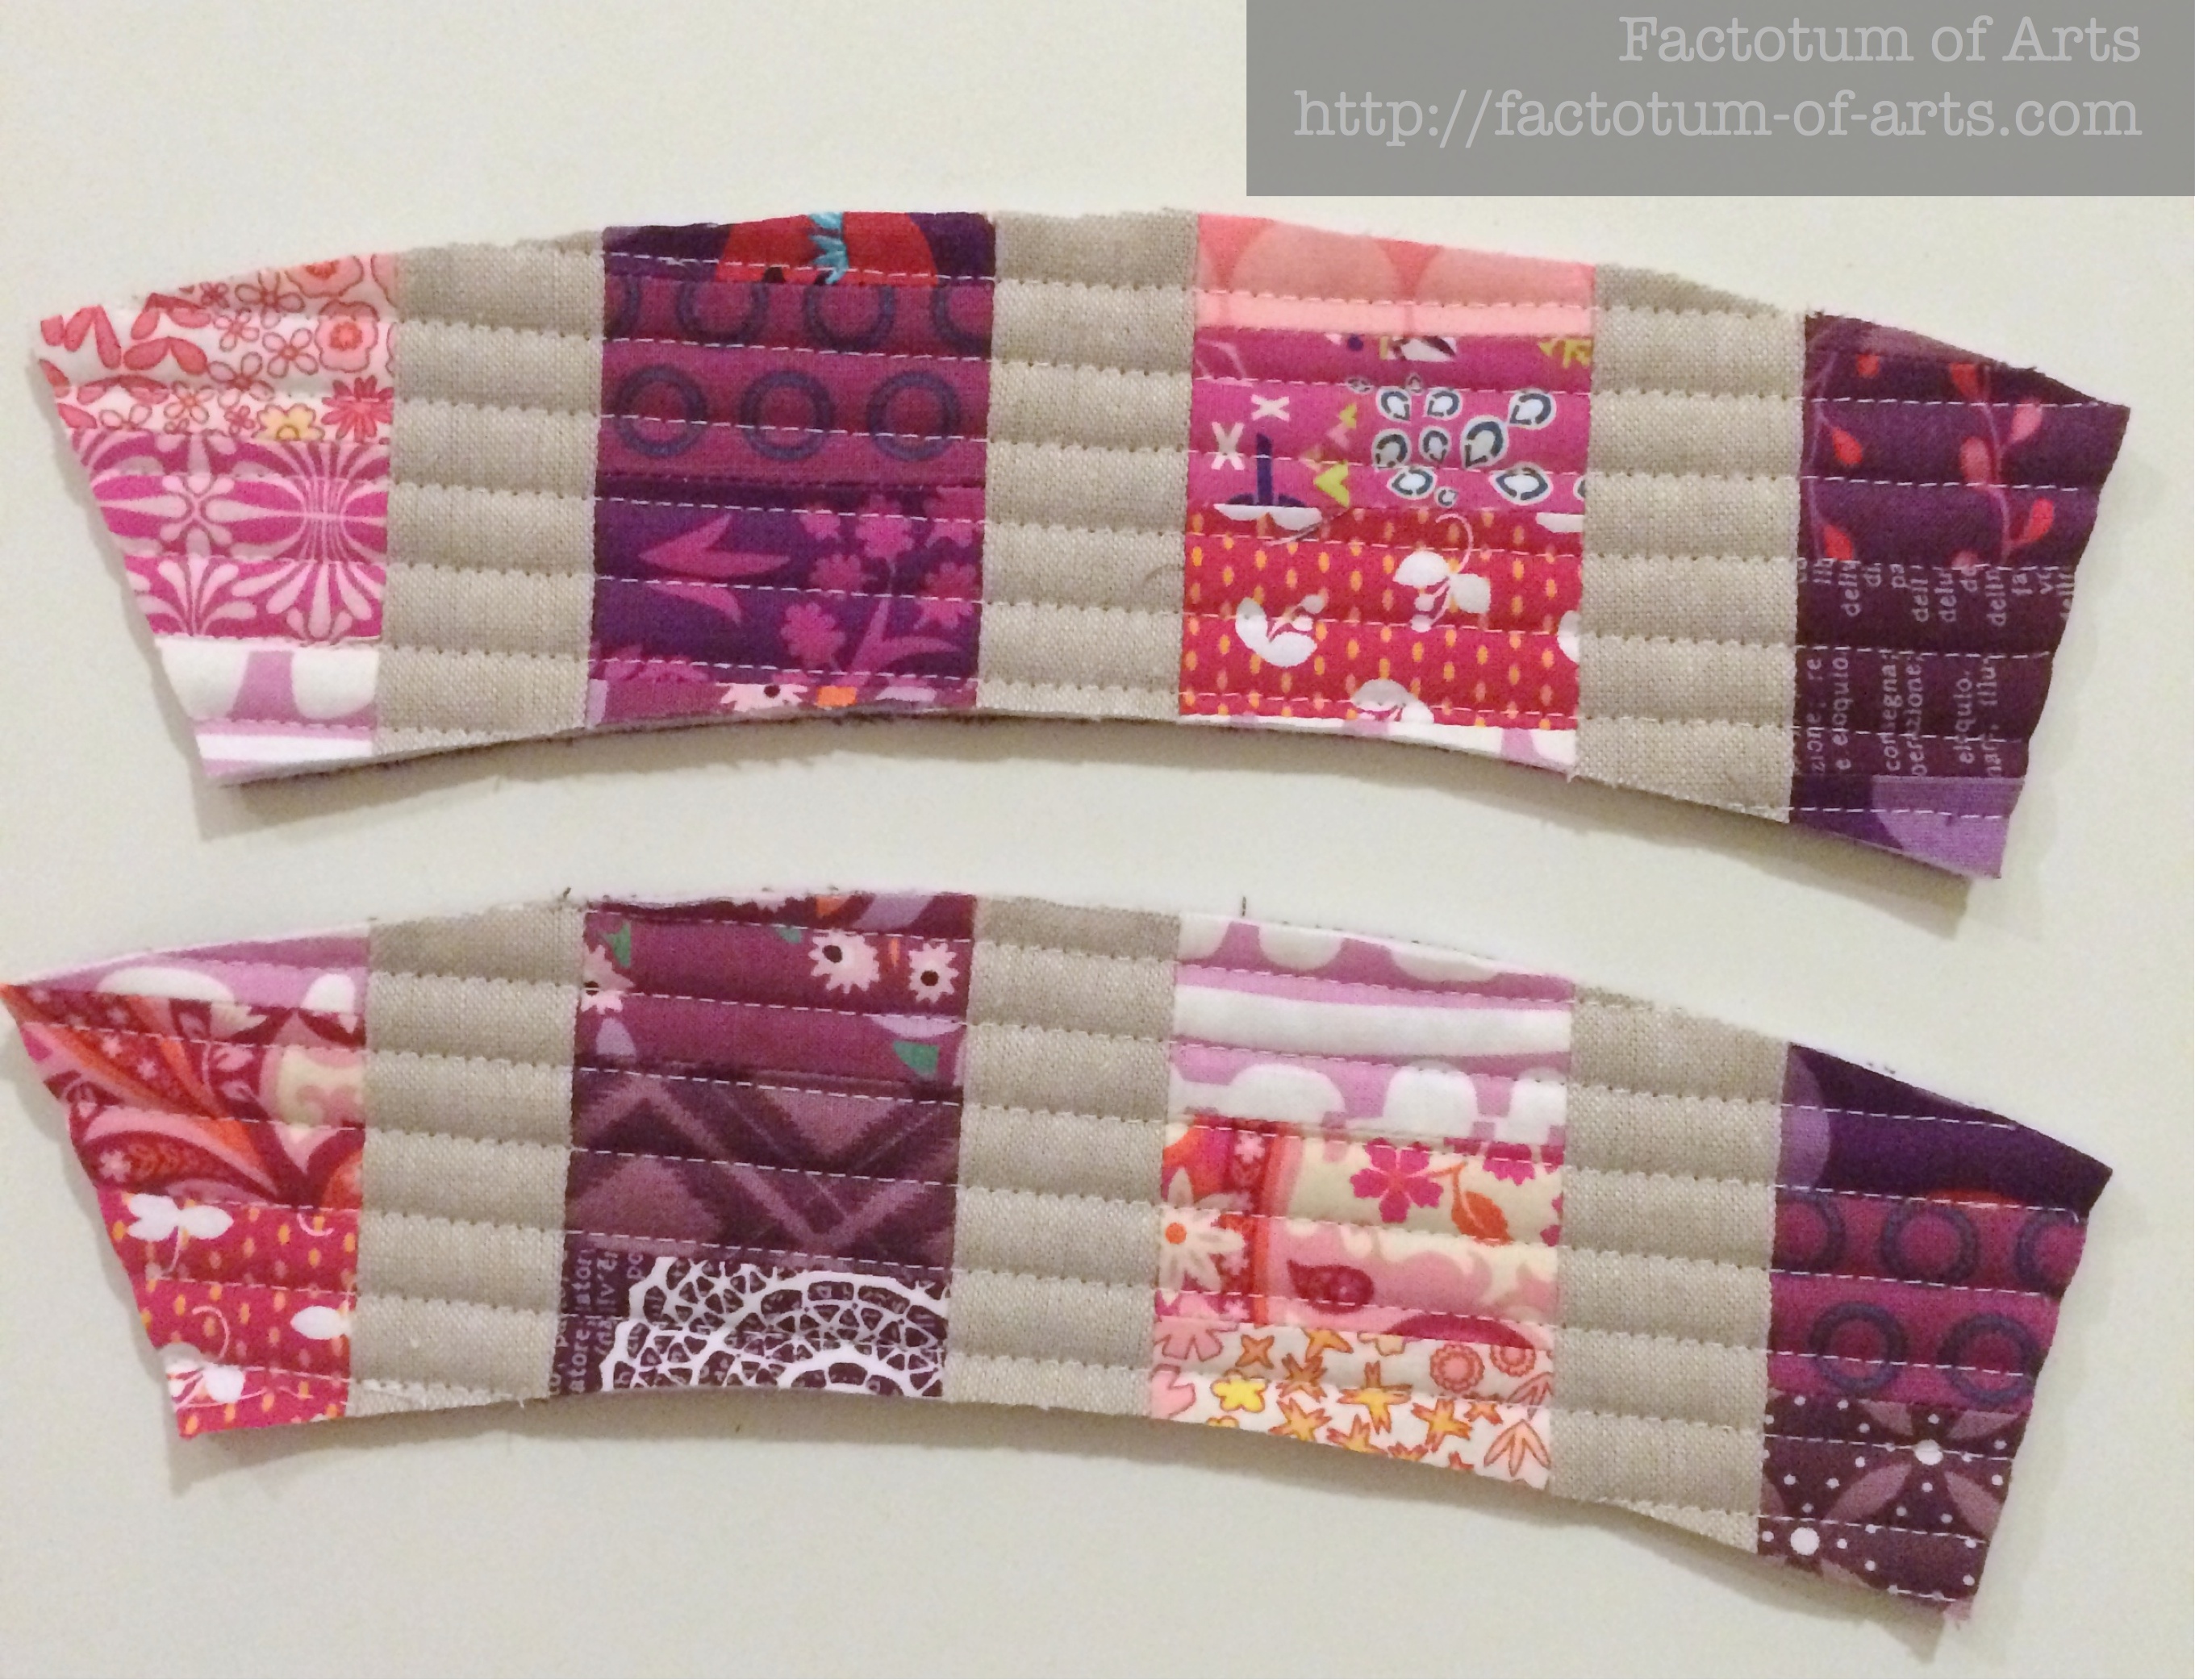
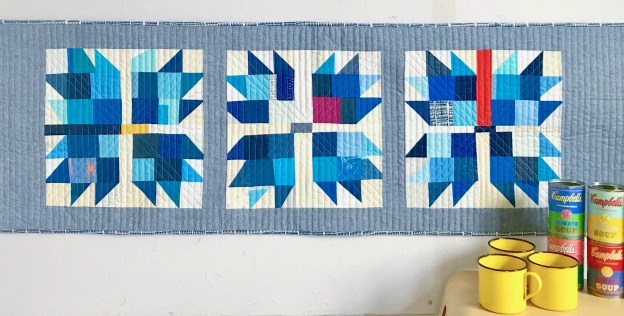
Handmade Table Runner (made by own patterns, Rotating Spokes & Improv Bear Claw)
Carolyn Friedlander Coasters
Japanese Linen Apron (purchase handmade or pattern other options also on Esty)

Art + Stand

John Pedder Wood Prints
Suzy Ultman Nested Dolls
Single Print Wood Art Stand

Tutorial: Coffee Cup Sleeves

My first year sewing, I decided to make coffee cup sleeves for Christmas gifts and a Christmas fair. They were so successful, and after making about 40 of these, I thought y’all would enjoy them too.
FinalSleeve_front

Materials:

  • 24 2.5″ x 1.5″ Scraps (I am using pink and purple scraps which could be any size)
  • 3 6.5″ x 1.5″ Linen strips
  • 1 6.5″ x 10″ Corduroy (for backing, you could also use felt)
  • 2 6.5″ x 10″ fusible fleece ( you could use one piece fleece, one piece insul fleece; I use both pieces of fleece, so that I can use it for cold drink sweat as well)
  • 1/4″ binding (Wrights double folded bias works well)
  • 1 Elastic hair tie
  • 1 button
  • 1 Paper Coffee cup sleeve (use as template)

    Scraps

  1. Sew the 2.5″ x 1.5″ pieces into 6.5″ x 2.5″ strips and trim. Layout the your sleeve. Sew the scrappy strips together with the 6.5″ x 1.5″ linen strips. This will make a block of ~10″ x 6.5″.

    ScrapsSewn_Layout
  2. You now have 4 pieces to make your quilt sandwich. Iron one piece of the fusible fleece to the corduroy, the other to the scrappy block (front). Pin the layers together and trim the top edge, so that you have a good guide for quilting. QuiltSandwich
  3. Quilt the sandwich. I used my foot edge for even distance between the straight-line quilting.
    Quilted
  4. Pin the template on the quilted sandwich. Cut out your coffee cup sleeve.
    CutFirstSleeve
  5. You may actually be able to get two out of your block. Line the template up with the arc of the previous cut.
    CutTwoSleeves
  6. You now have two sleeves.
    TwoSleevesCut
  7. Take one of the sleeves and the 1/4″ double folded bias. Open the bias folds, and iron the edge in about a 1/4″. This will be where you will fold the edges of the binding within itself.
  8. Use a machine binding technique with your sleeve,  that means, you will start sewing the binding to the back. Unfold one edge of the binding and use the fold as a guide to your sew line. Sew approximately 1″ at a time, making sure you line up the edge of the bias with the sleeve edge. Use mitered corners.
    SewingBinding_Back
  9. To finish up the binding on the back, overlap the edges of the binding about 1/4″ and sew. Unfold the bottom edge (leaving the 1/4″ “hem”),  and nest the other edge, refold.
  10. Turn over the coffee cup sleeve and fold over the binding. Stitch about a couple of mm from the edge all the way around. At the corners make sure you make the mitered corners fold the opposite way of the back.
    SewingBinding_Front
  11. Once the binding is on add the finishing details. On the slightly angled edge, pin the middle of the hair tie together, and pin it to the middle of the sleeve.
    PlacingElasticTie
  12. Turn the coffee cup sleeve over and sew along the top stitching of the binding to mask the stitching. Back stitch, back across the hair tie to add strength to the securing stitches.
  13. To finish off securing the hair tie, add about 10 stitches attaching the end of the hair tie to the back. Make sure your stitches do not go through the front. Use a thread color to match the corduroy.
    Finishings
  14. Last step, is attaching the button to the straighter edge of the coffee cup sleeve. I use a 4 hole button, as it is more stable than a 2 hole which is needed with the pull of from the hair tie.FinalSleeve_FlatView
  15. That’s it, the only thing left is to try it on your cup. It should fit a Starbuck’s cup and their $1 recycle cup and Caribou Cafe etc.
    FinalSleeve_back

I hope you enjoy, and I would love to see any you make up. If you have any questions let me know.

Small Giveaway

Now, for a small giveaway…I have an extra coffee cup sleeve of the one above and I will throw in some recent scraps as well, whatever I can fit in the envelope. Just leave a comment below on what handmade gifts you are making for Christmas. If you are a follower you get a second entry – just let me know below. I will randomly draw a winner next Sunday at 6pm EST.

Linking up with Sew Cute Tuesday and Let’s Bee Social (see buttons on the right).

Making Gift cards a little more personal

It’s coming to the end of the year, and I was thinking about what to give my two employees who are reporting to me. I wanted to keep it simple so I decided on gift cards, even though I am torn, since they are a little impersonal.

At the recent craft fair I participated in, a customer asked if I made gift card holders (pockets) that can be reused for storing business cards or credit cards. Of course I said yes. Yesterday, I posted that customers finished order.

That request/order inspired me to make the same pockets for my employees – what a great way to make it more personal. I have one male and one female employee, so for the male pocket I tried to make it male appropriate (the blue one below). Here are their two pockets filled with a gift card, which they will receive tomorrow 🙂

EmployeeGiftCardPockets

I wanted to highlight the top pocket in the picture above, as I am very thankful to one of my husband’s colleagues who provide me scraps from one of her quilts; this is what I made from those scraps.ReusableScrapsGiftCardPockets

I don’t really use a pattern and I just randomly piece the straps together, sometimes with a color in mind. I make the pockets with strips of 7 inch fabric pieces that can be from 1″-1.5″ wide. The final width of the block is 5″ (so  7″x5″ block). I lined them with left over corduroy scraps I had, from making the chair pockets and coffee cup sleeves. Finally, I add the binding on the two ends and sewed the sides together. They take between 20-30 minutes to make (including cutting time).

Linking up with Crazy Mom Quilts – Finish it up Friday