Keep on sewing, keep on sewing…

Quilts_basted

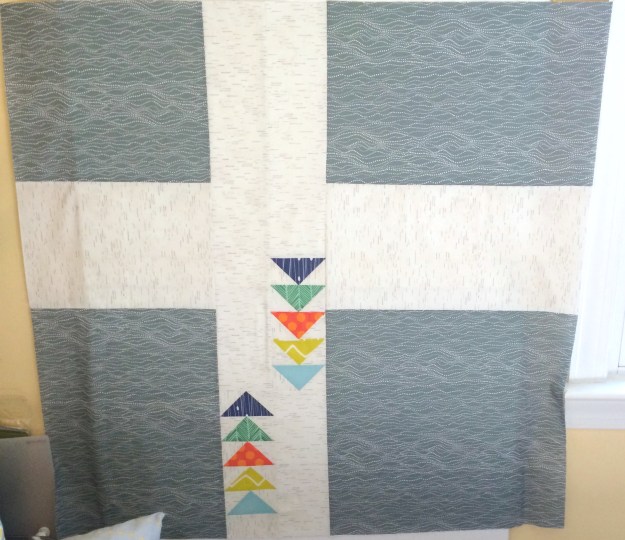
I have been doing pretty well with my tracking for my January projects. I basted 3 of my projects that I had listed in my to do list/goals for the year.

Monthly plan Project Current Status
 31 January  Spoonflower Sampler Quilt TOP, BACK, BASTE, QUILT (UNDERWAY), BIND
 16 January  Sew Mama Sew (Project 5)  TOP (UNDERWAY), BACK, BASTE, QUILT, BIND
 31 January  Bjorn the Bear TOP, BACK, BASTE, QUILT, BIND
 31 January  Jungle Ave Tapa TOP, BACK, BASTE, QUILT, BIND
 16 January  Schnitzel & Boo Mini Quilt TOP, BACK, BASTE, QUILT, BIND (COMPLETE)

In addition to the listed projects, I have also been distracted by a couple of other projects:

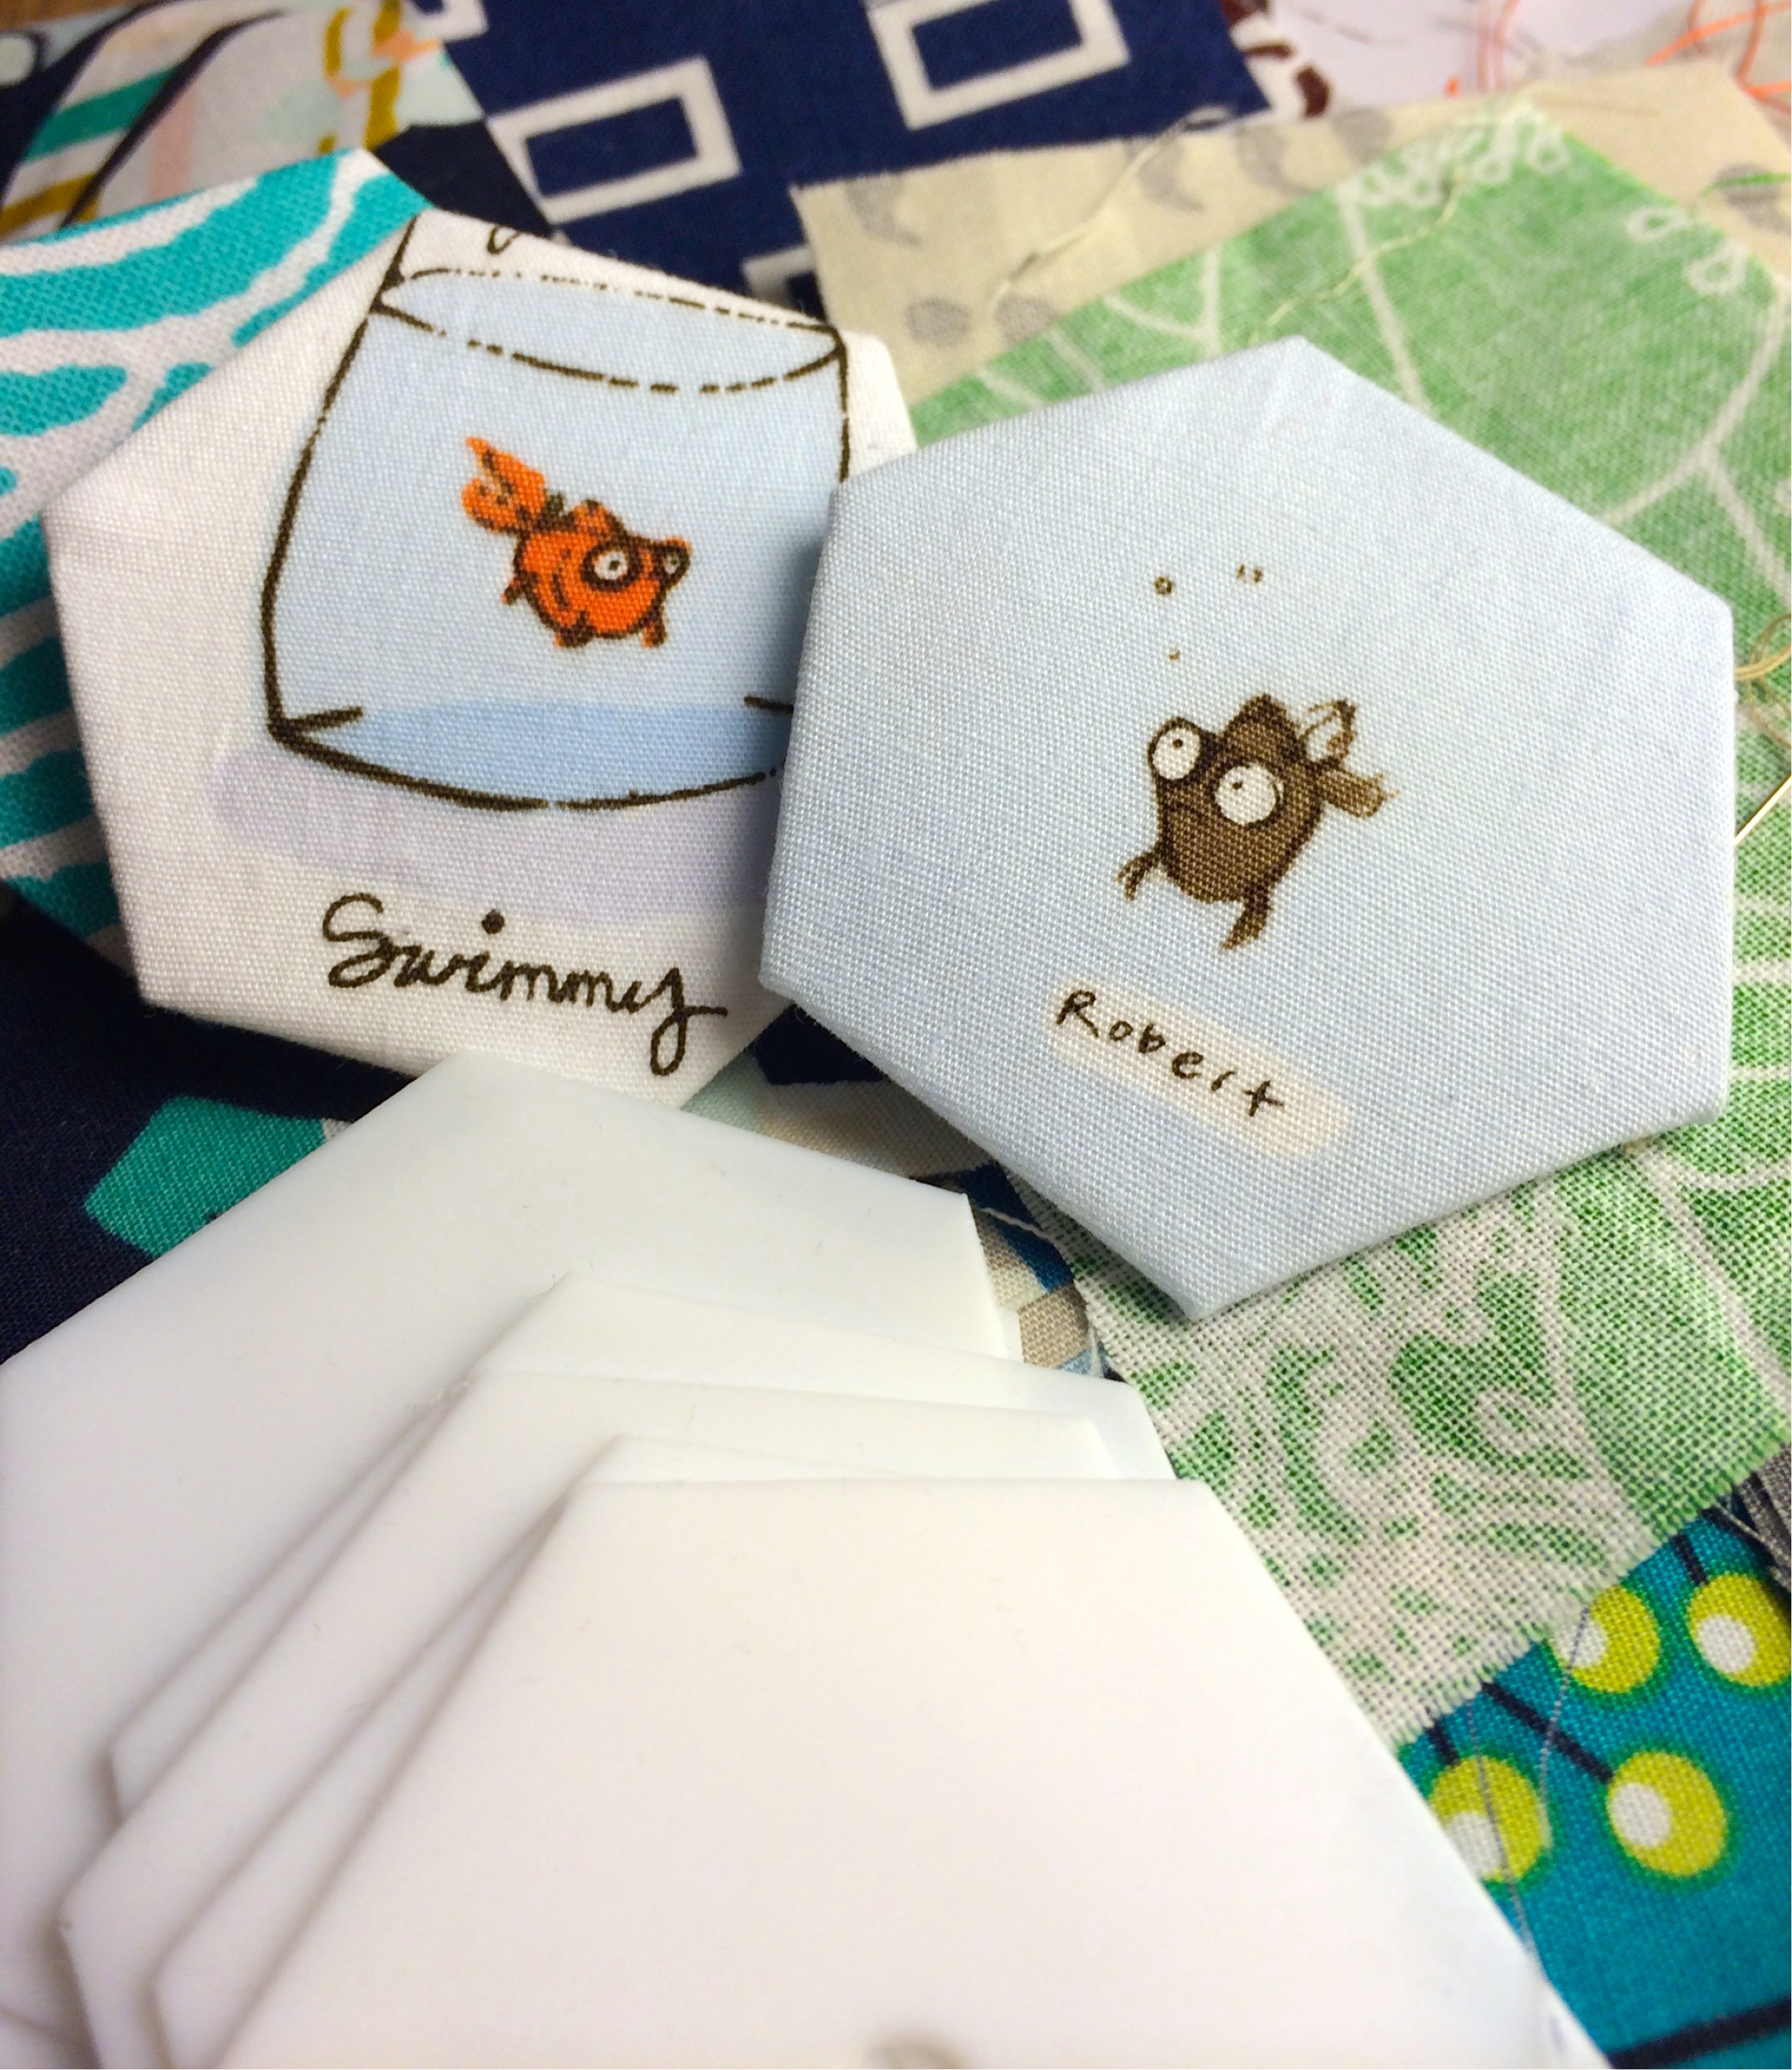
  1. “Forever” this is my hexie quilt which I started way back in May 2013.HeatherRossHexiesHexagons1
  2. Belated Christmas gifts (Electronics cable caddy, and a necklace travel case)
    IMG_3209

So, a busy week (well weekend ahead). Linking up with Lee over @ Freshly Pieced for WiP Wednesday (see button on the right).

January news + giveaway

After my big clean up of my sewing room, I am feeling very productive. To keep the productivity up, I need to set my “A lovely year of finishes goals” for January.

My ButtonMy focus this month is to finish my Spoonflower Sampler quilt and write-up the pattern for each of the blocks. I have already made some progress on this quilt (sorry for the quality of the photos…we have had some grey and miserable weather over the last week).

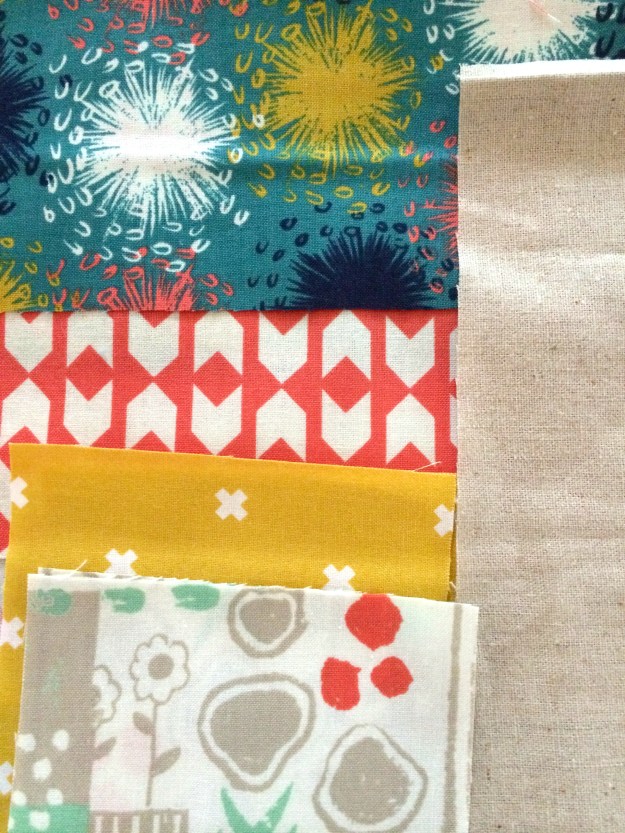
  • The back is made:
    IMG_3156
  • The quilt sandwich is basted and some straight line quilting is underway.SpoonflowerSampler

My Blog and a Give away
Those that use WordPress hosted environment, knows that you get an annual report on how your blog went this year. In 2014,

  • If my blog was an exhibit at the Louvre Museum, it would take about 4 days for that many people to see it.
  • My top posts were the iPhone/iPad stand tutorial, and Gypsy Wife QAL (final link up of the finish is happening now)
  • My blog was viewed by 137 countries
  • I posted 190 times this past year

The best news though, and the reason for running a give-away today is I now have 1,000 blog followers. I want to say a big  thank you to those that follow me, who make me feel part of a community and who have become close friends. hawthorne_threads_200_225I will randomly select a winner Tuesday 13 January 6pm EST….for a $30 gift card to Hawthorne Threads. Leave a single comment if you are a follower letting me know  the one big thing you want to accomplish this year. Mine … to “Sew my Stash” in the first 6 months of this year.

Additionally, based on WordPress annual report for my blog, I am sending a $30 gift card to these top commenters.

Screen Shot 2015-01-06 at 11.54.11 AM

Thank you all !!!

Tutorial: Design to Reality – Escaped

Last week, I posted the tutorial for Trapped which was featured on Sew Mama Sew.

Trapped_Displayed

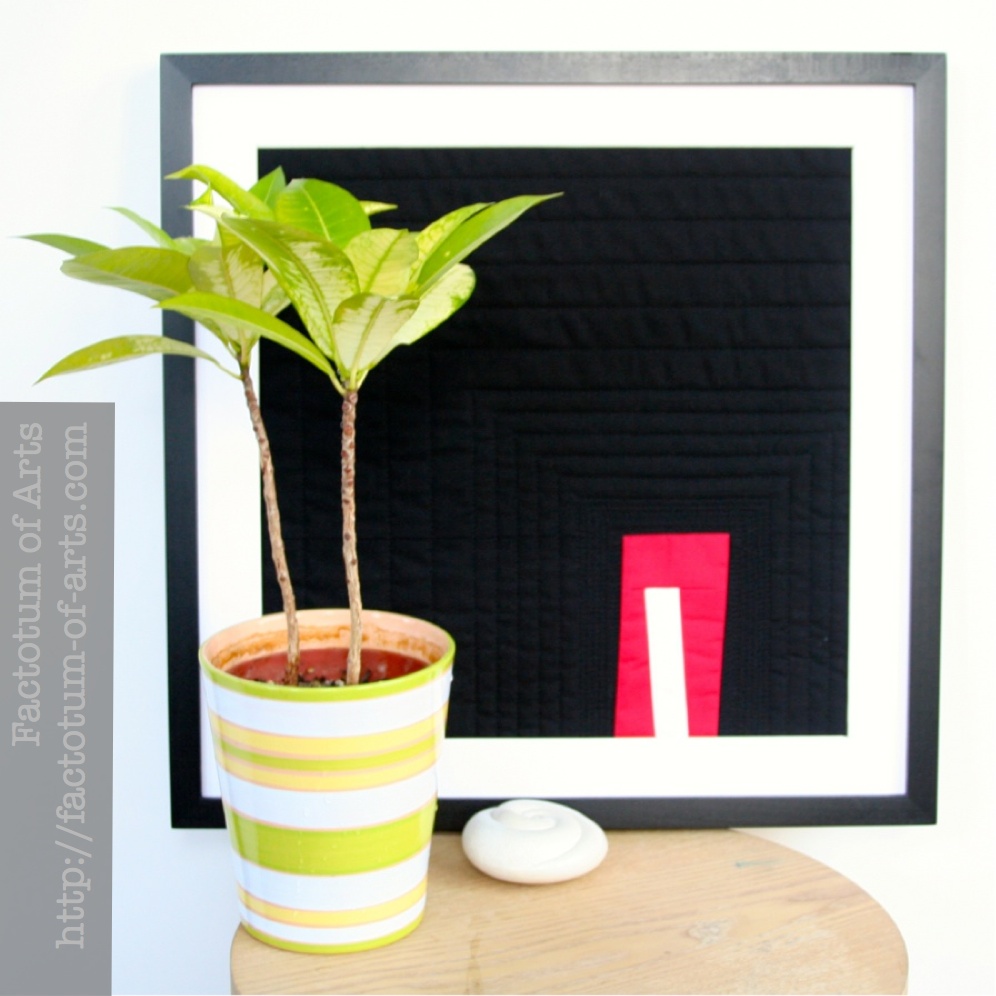
This was the first of a series, I am calling “Houdini”. The other block is Escaped. Here is the tutorial for the second block.

QDAD_Escaped3_22September

Fabric Requirements

Fabric A: (Kona Red, A)

  • 1 4” x 6.5” rectangle (extra inches included)

Fabric B: (Kona White, B)

  • 1 5” x 1.5” rectangle

Fabric C: (Kona Black, C)

  • 1 6.5” x 17.5” rectangle (extra inches included)
  • 1 5” x 9.5” rectangle
  • 1 5” x 7.5” rectangle
  • 1 7” x 17.5” rectangle

Batting: 17.5” square
Muslin: 17.5” square

Additional Materials:

Frame: 18” square frame

Escaped Block Assembly (Finished Size 17”)

Always use a ¼” seam allowance while piecing.
QDAD_Escaped_22September_Template

  1. Take Fabric A (red, A1), measure from the bottom right corner place your ruler at this mark, at the top have your ruler move in ¼” (as shown in picture above) and cut.
  2. Place your ruler along the outer edge of A1, and measure 3” and cut the same parallel outer angle.
  3. Use the 6.5” x 17.5” strip of fabric C, and cut a piece 6.5” x 9.5“. This will be for piece A3. Overlap A1 outer edge (minimal overlap) and the right edge of A3, lining up the bottom and top edges. Both pieces should be right sides facing up. Using A1 edge as the template, line your ruler up along the fabric edge and cut the below black fabric. This is now the inner angle/edge
  4. Sew A3 to A1. Press the seam.
  5. With the remaining fabric (6.5” x 8.5”), this will be A2. Overlap A1 outer edge (minimal overlap) and the left edge of A2, lining up the bottom and top edges. Both pieces should be right sides facing up. Using A1 edge as the template, line your ruler up along the fabric edge and cut the below black fabric. This is now the inner angle/edge.
  6. Sew A2 to A1–>A3 piece. Press the seam. Now the bottom 1/3 of the block is complete. Trim if need be, the bottom ½ should measure 6.5” x 17.5”.
  7. Sew the 7” x 17.5” rectangle to the bottom 1/3. Press the seam. A1–>A2–>A3–>C1
  8. Next step sew B2–>B1–> B3
  9. Sew this last piece to the other 2/3 of the block, to complete the block.
  10. Create a quilt sandwich using your completed top, your batting and the muslin for the backing fabric. Baste using your preferred method.
  11. Choose how you would like to quilt your block. I used straight line quilting techniques, and having those lines get denser as they closed in to the red and white boxes. Trim your block to 17” square.
  12. Once quilting is complete, it is ready to be framed. I used a 18” square frame, with a mount board of ~2” wide.