We are very fortunate to be able to afford to go on vacation at least once a year. We try to do two things each year:
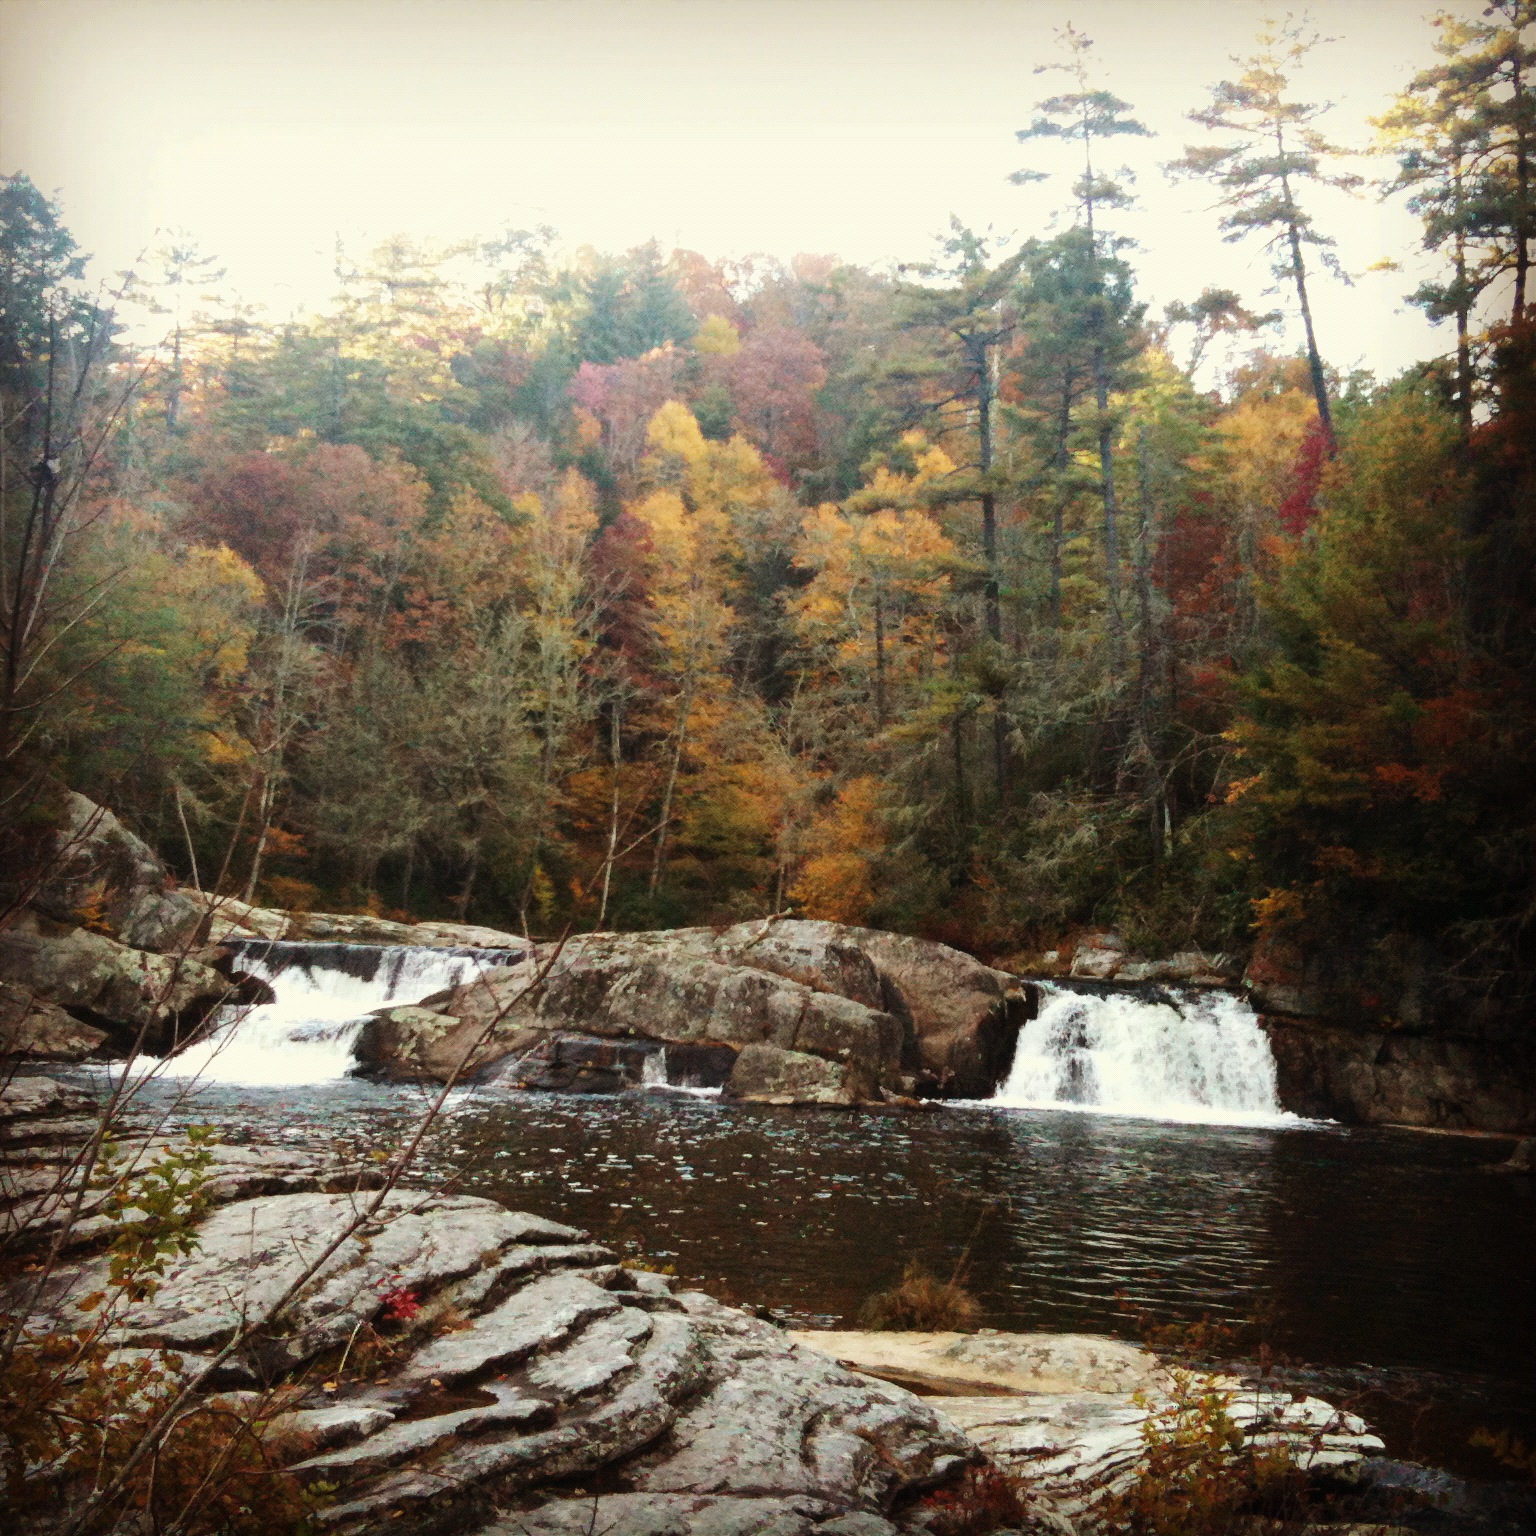
- Go once a year to somewhere in North Carolina (state in which we live) – this usually means the beach or the mountains and
- Since half the family lives in Germany and the other half in New Zealand we get to travel internationally often.
This means we have lots and lots of photos, which I never seem to get around to putting into albums – this seems even more true in a digital age.
North Carolina Photos


New Zealand Photos


Here are some ideas, we have been using over the last 12 months to preserve the memories.
- I will always send a selected set of photos for the year to grandparents ~10 photos. We provided them albums a couple of years ago, so now they just have to add the photos.
- We also have photo albums of our big trips; I have memory albums of France (Paris), Italy (Rome, Florence, Pisa and Isle of Capri), UK (England, Scotland and Wales), Czech Republic (Prague) and Portugal (Lisbon). I mix the photos with other items I collected during the trip – coins, or other currency items; post cards, ticket for rides or museums, brochures; anything that explains or adds to the memories. I will say that it took me a long time to put these together and I took about 5 years before I even started them ;-). I have not yet got around to our Pacific trips.
- I have a photo wall going up the staircase of the family. I know this is common in the US – when I saw this I thought it was a great use of space that otherwise would remain empty. Take a look at this pinterest site for ideas for arranging your photos on the wall. I use different frames and sizes on my wall.
- I use simple glass frames (9×11) for key photos of vacation areas and use them to add visual interest to my office at work.
- I discovered Shutterfly last year, and loaded up photos, and made calendars for the grandparents and aunt. I loved the result and it was so inexpensive, the best thing was I also got 50 prints of photos for free.
- For birthday “Thank You” cards, I try to always include a picture from the birthday party, of the child, who gave the present. This way the parents and child also keep hold of the memory.
- I think one of the coolest things I made last year, was a collage of our vacation in New Zealand, previously that year. I gave this to my husband for Christmas. I’ll go into more detail how I made this one.
Making Art from Vacation Photo’s (#6 above)
I was searching online one day and came across some visual arts using photo collages and that reminded me of the CSI episode where the stalker had created a beautiful photo collage to preserve the memories, and had given it to his object as a gift (I know weird – but the idea of the collage was cool).
I decided that we had so many cool photos from our trip to New Zealand that year that I photo collage of the trip would make a great gift to my husband. Pictures below show the collage before and after Framing.


Materials I used:
- 1x white board
- A paper cutter (I used this one from AC Moore which landed up to be free with coupons)
- Clean T-shirt or soft cloth
- 40 Selected photos of various colors (NOTE: I had lots of left overs and could have used only 20 photos but to get the color results I wanted I went with more photos)
- Glue stick
- Matt board and foam board for framing the end result
- On your white board, draw in pencil (so you can rub out later) a straight rectangle that will be the area boundaries that you will be gluing the photos into.
- Decide on the thickness of the strips you are going to cut the photos. I cut my photos to 1 cm (~1/2 an inch) and I cut them parallel with the short end of the photo. This way I got approx. 12 strips per photo.
- Start cutting your photos. Depending on your design, if the photo images are going to be random as they are in mine, just throw the strips into a box.
- Decide on how you are going to lay out your photo strips – i.e.. the design. In the one I made I used a zen-zag design (chevron design).
- Start glueing the strips onto the white board. Start at one of the boundary pencil lines that way you can ensure your strips are straight. Also, leave a slight consistent gap between your photo strips for visual effects.
- As you glue use the cloth to smooth each strip down and wipe off excess glue. I use a glue stick with photos since it is a solid – it won’t destroy the photo, if you use wet/liquid options the photo ink will be damaged.
- Continue until you fill in your area.
- At this point you can either – buy a frame with a matt board if it’s the right size; if it’s a custom shape you can use matt board and foam board to frame out your picture (this is what I do) or you can get you custom framer to do this for you. I use the custom framing, option to only do the glass and frame as it saves money (~$50-$120) to do the matt and backing board yourself
I would love to know ideas on what you do, so leave a comment and let me know.