Tag Archives: sewing

Four Season Quilt update and another pot holder

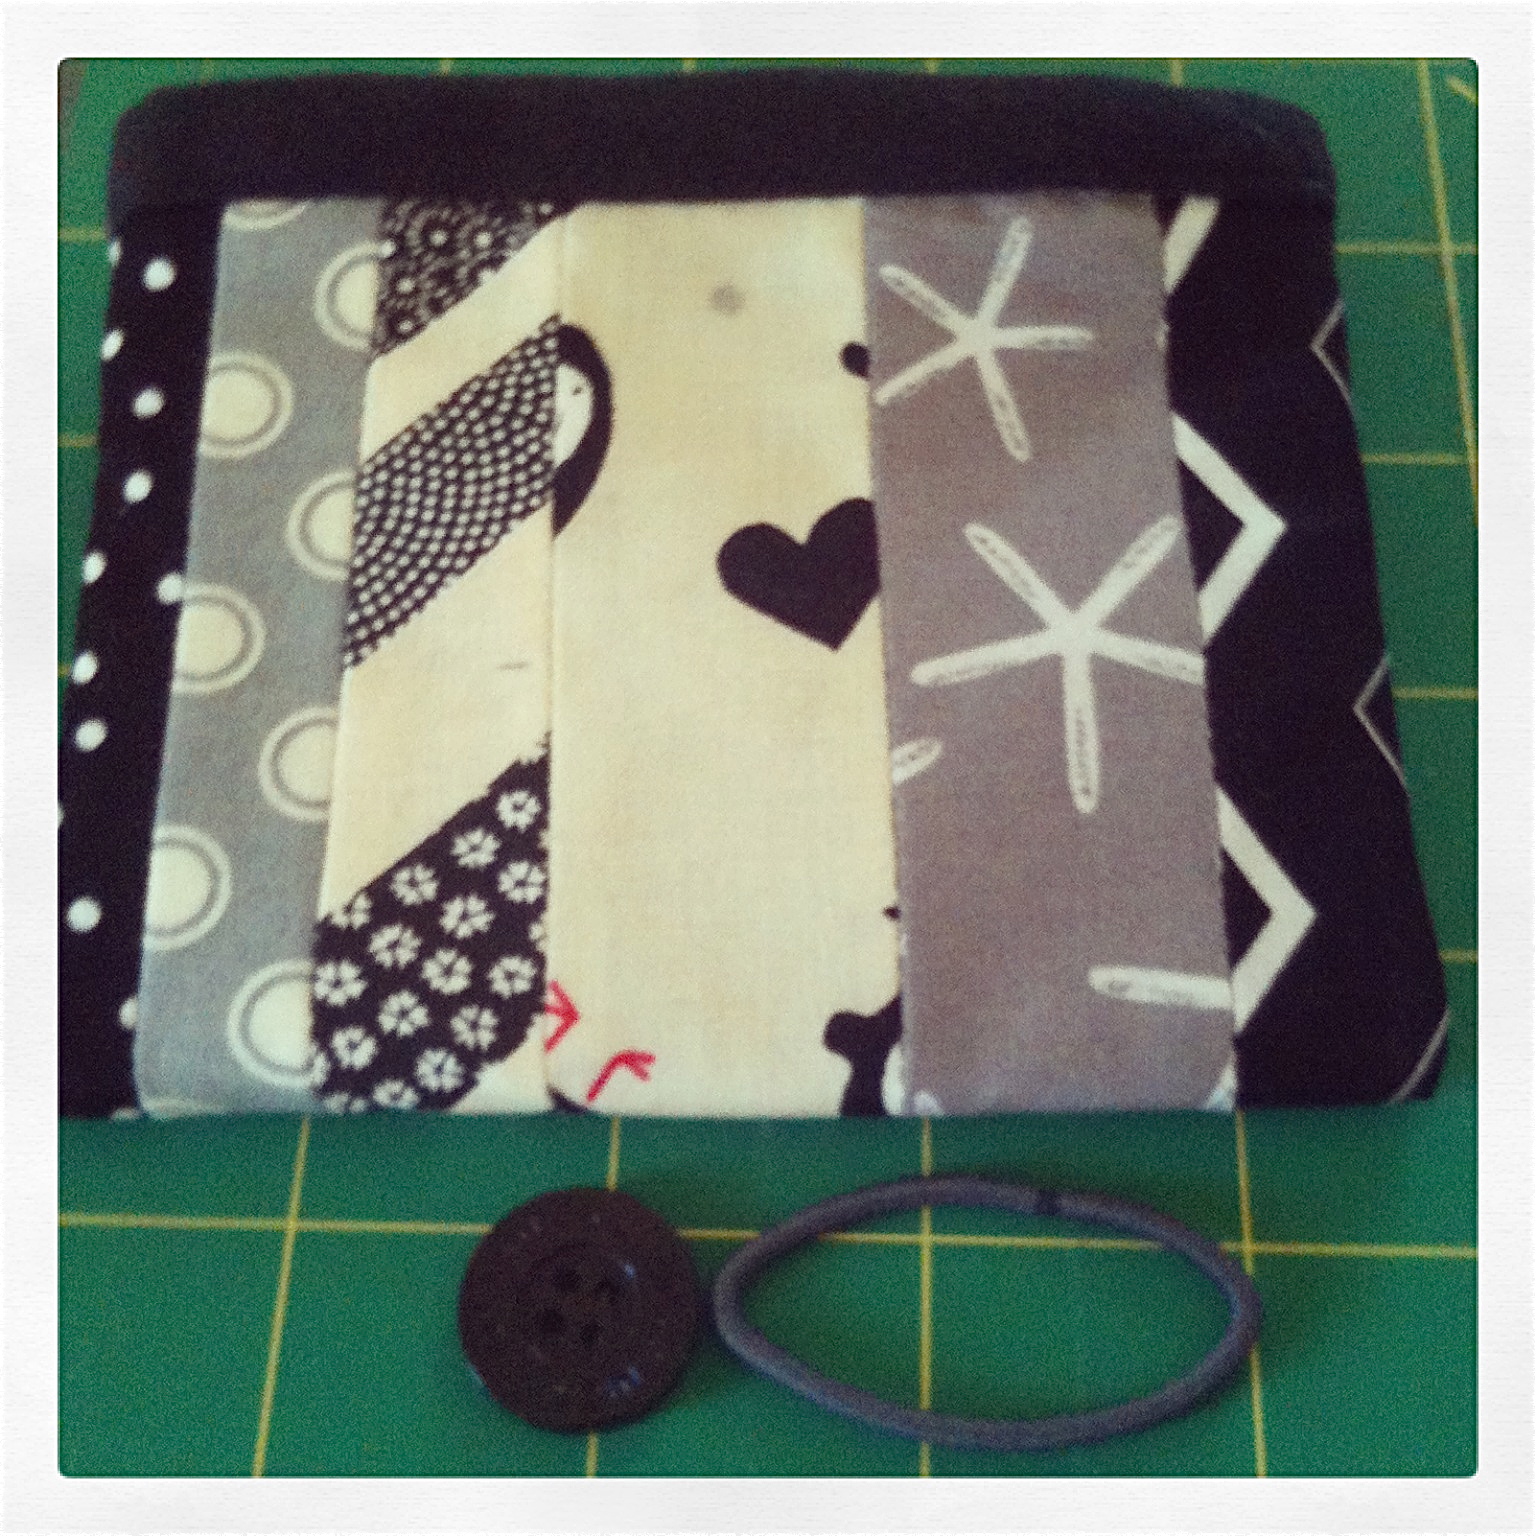
This weekend was very productive. I was able to make some progress on my must finish projects and finish off another pot holder (which I must so turned out well).

WIP Wednesday at Freshly Pieced

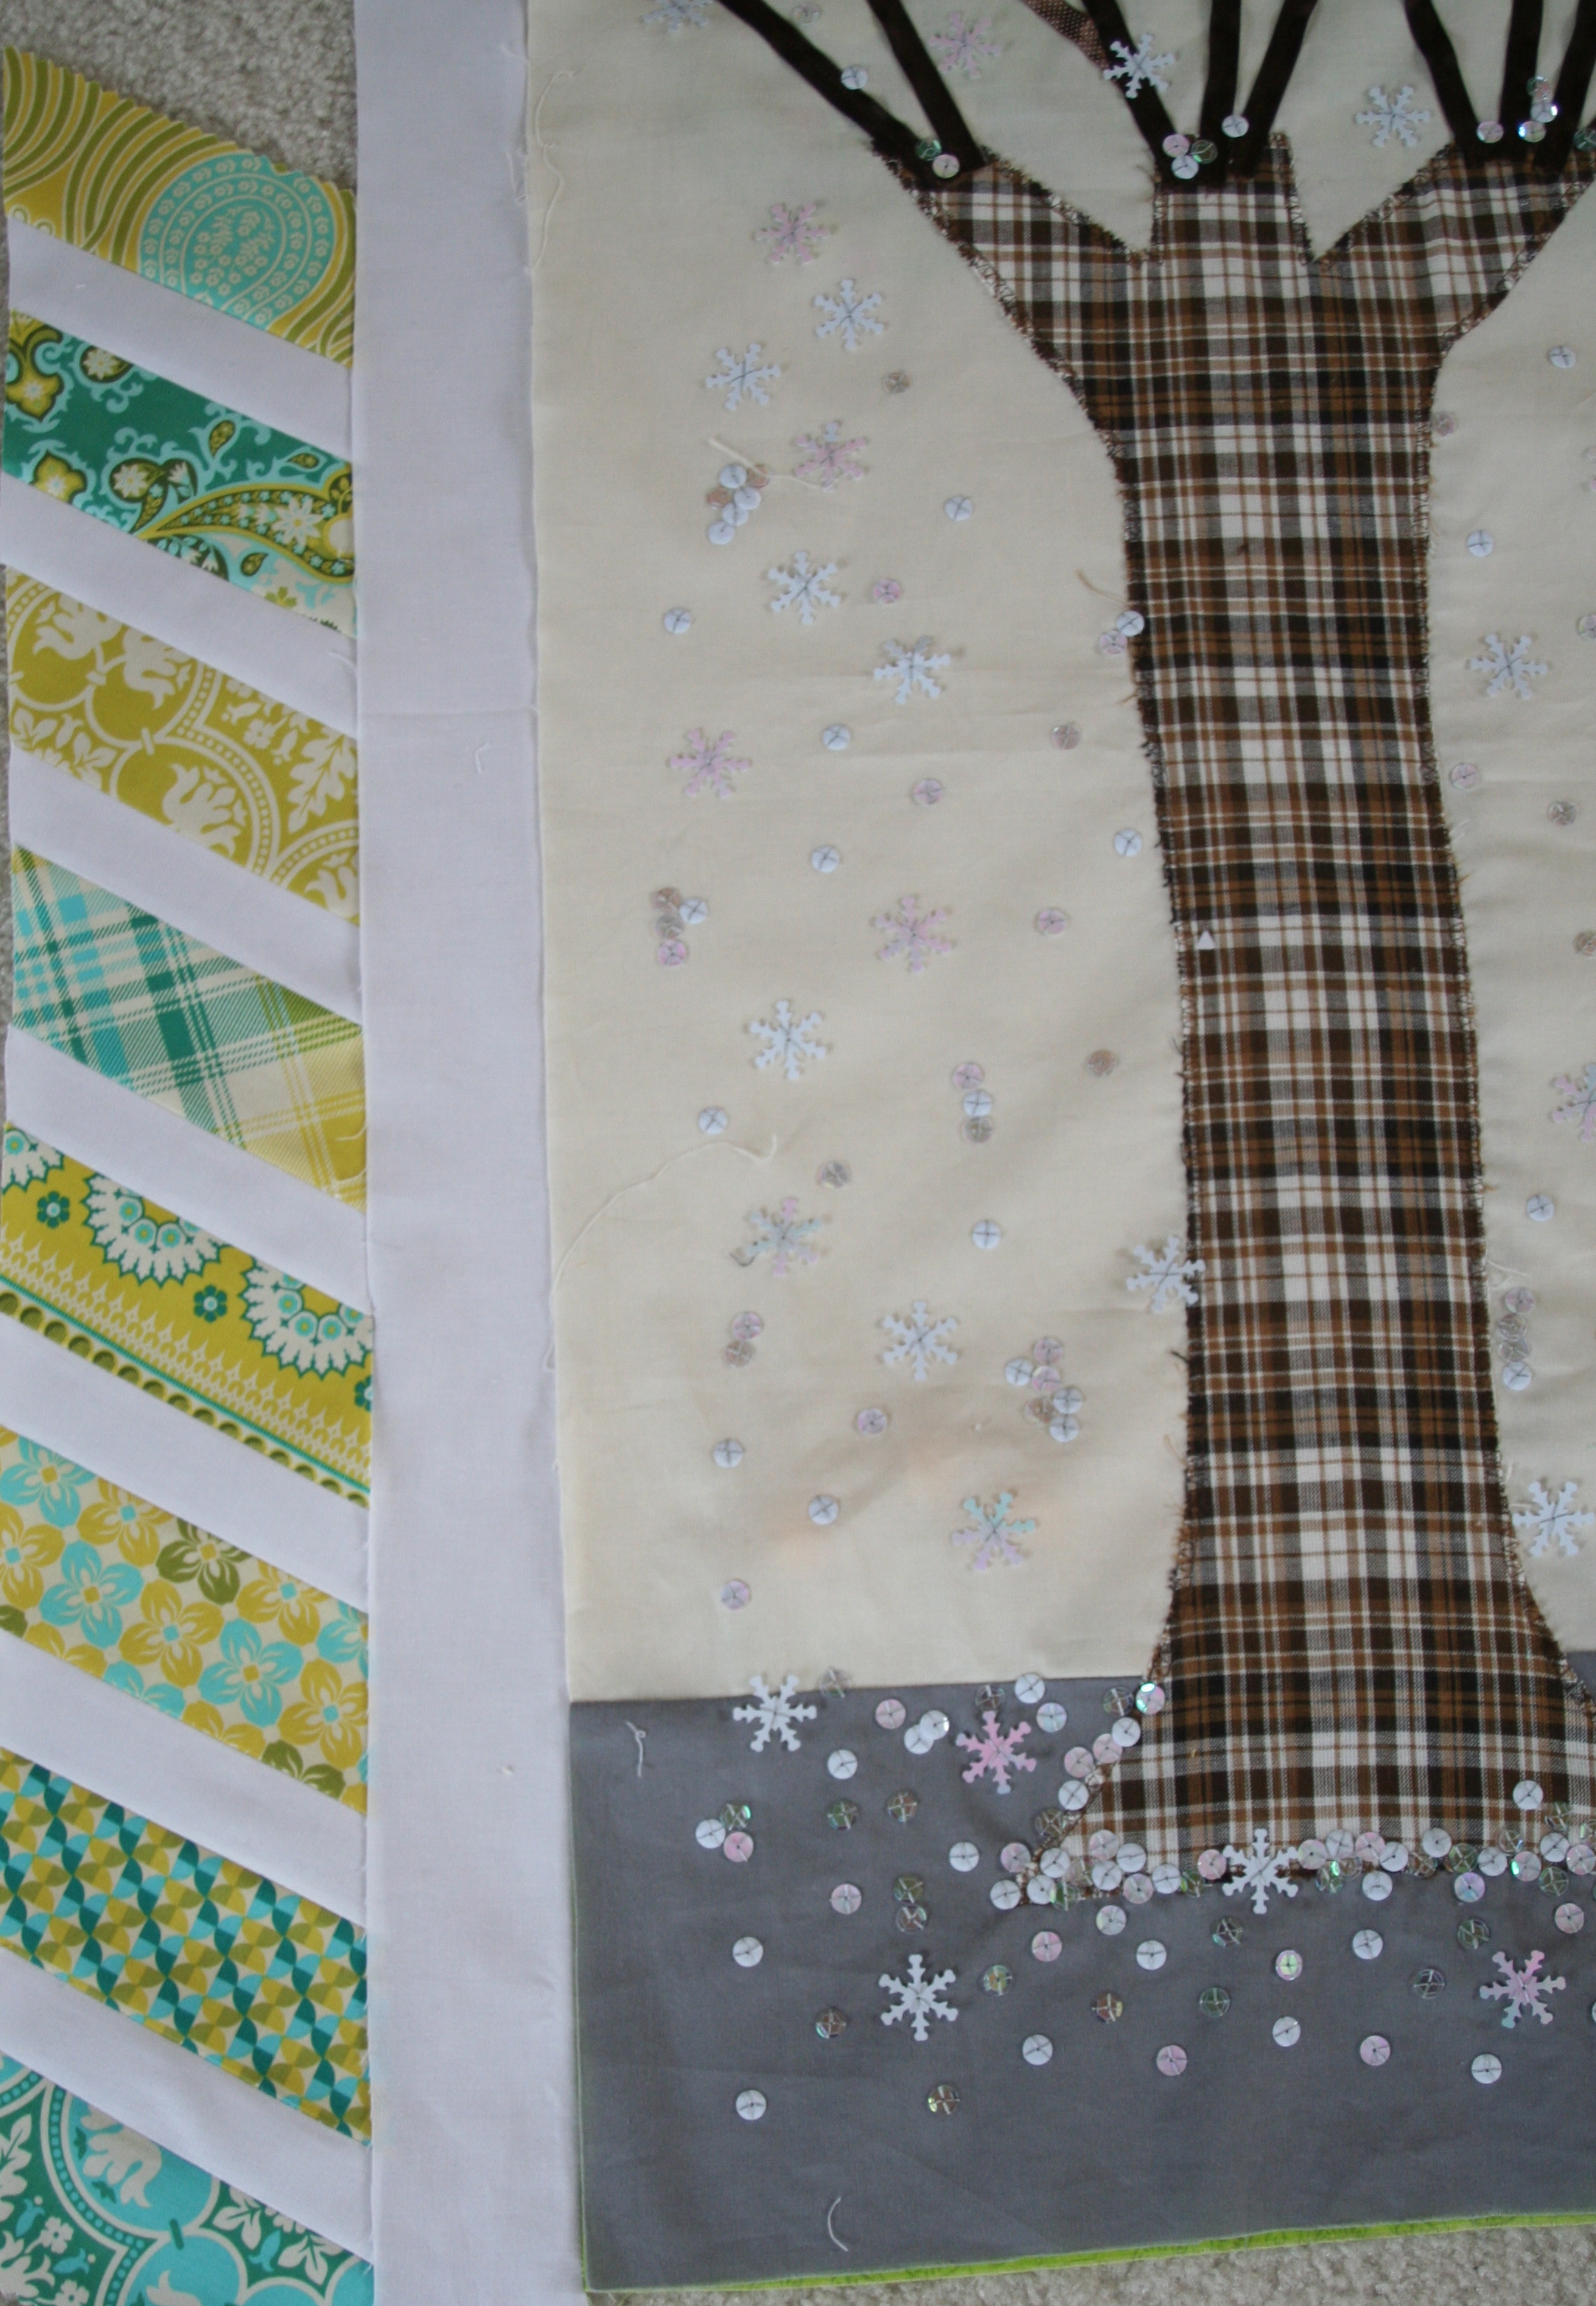
  • I started the framing of my four seasons quilt I am going with low-tone yellows, creams and beige. I have now decided to use the jelly roll of Notting Hill design by Joel Dewberry for Free Spirit.
    IMG_6850 IMG_6849
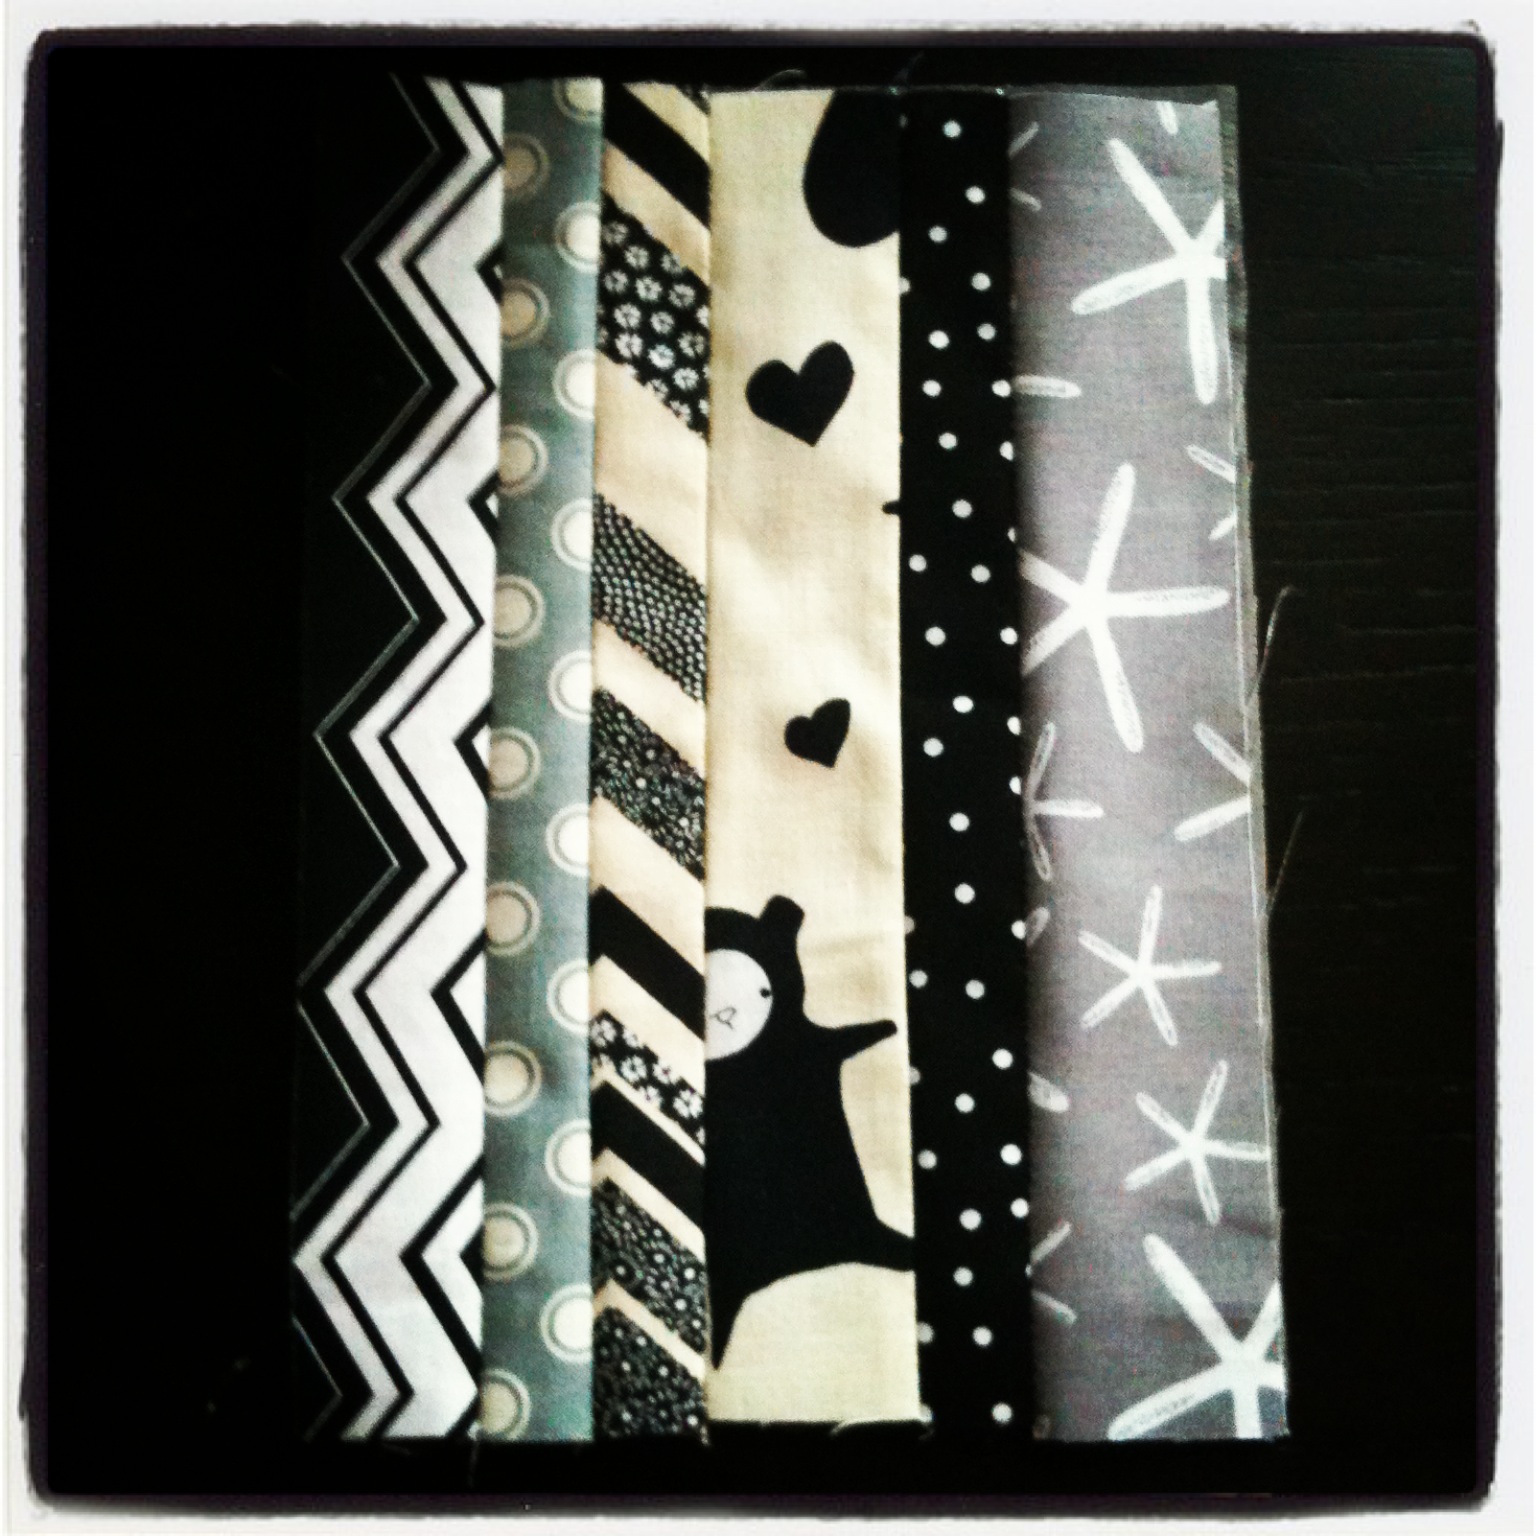
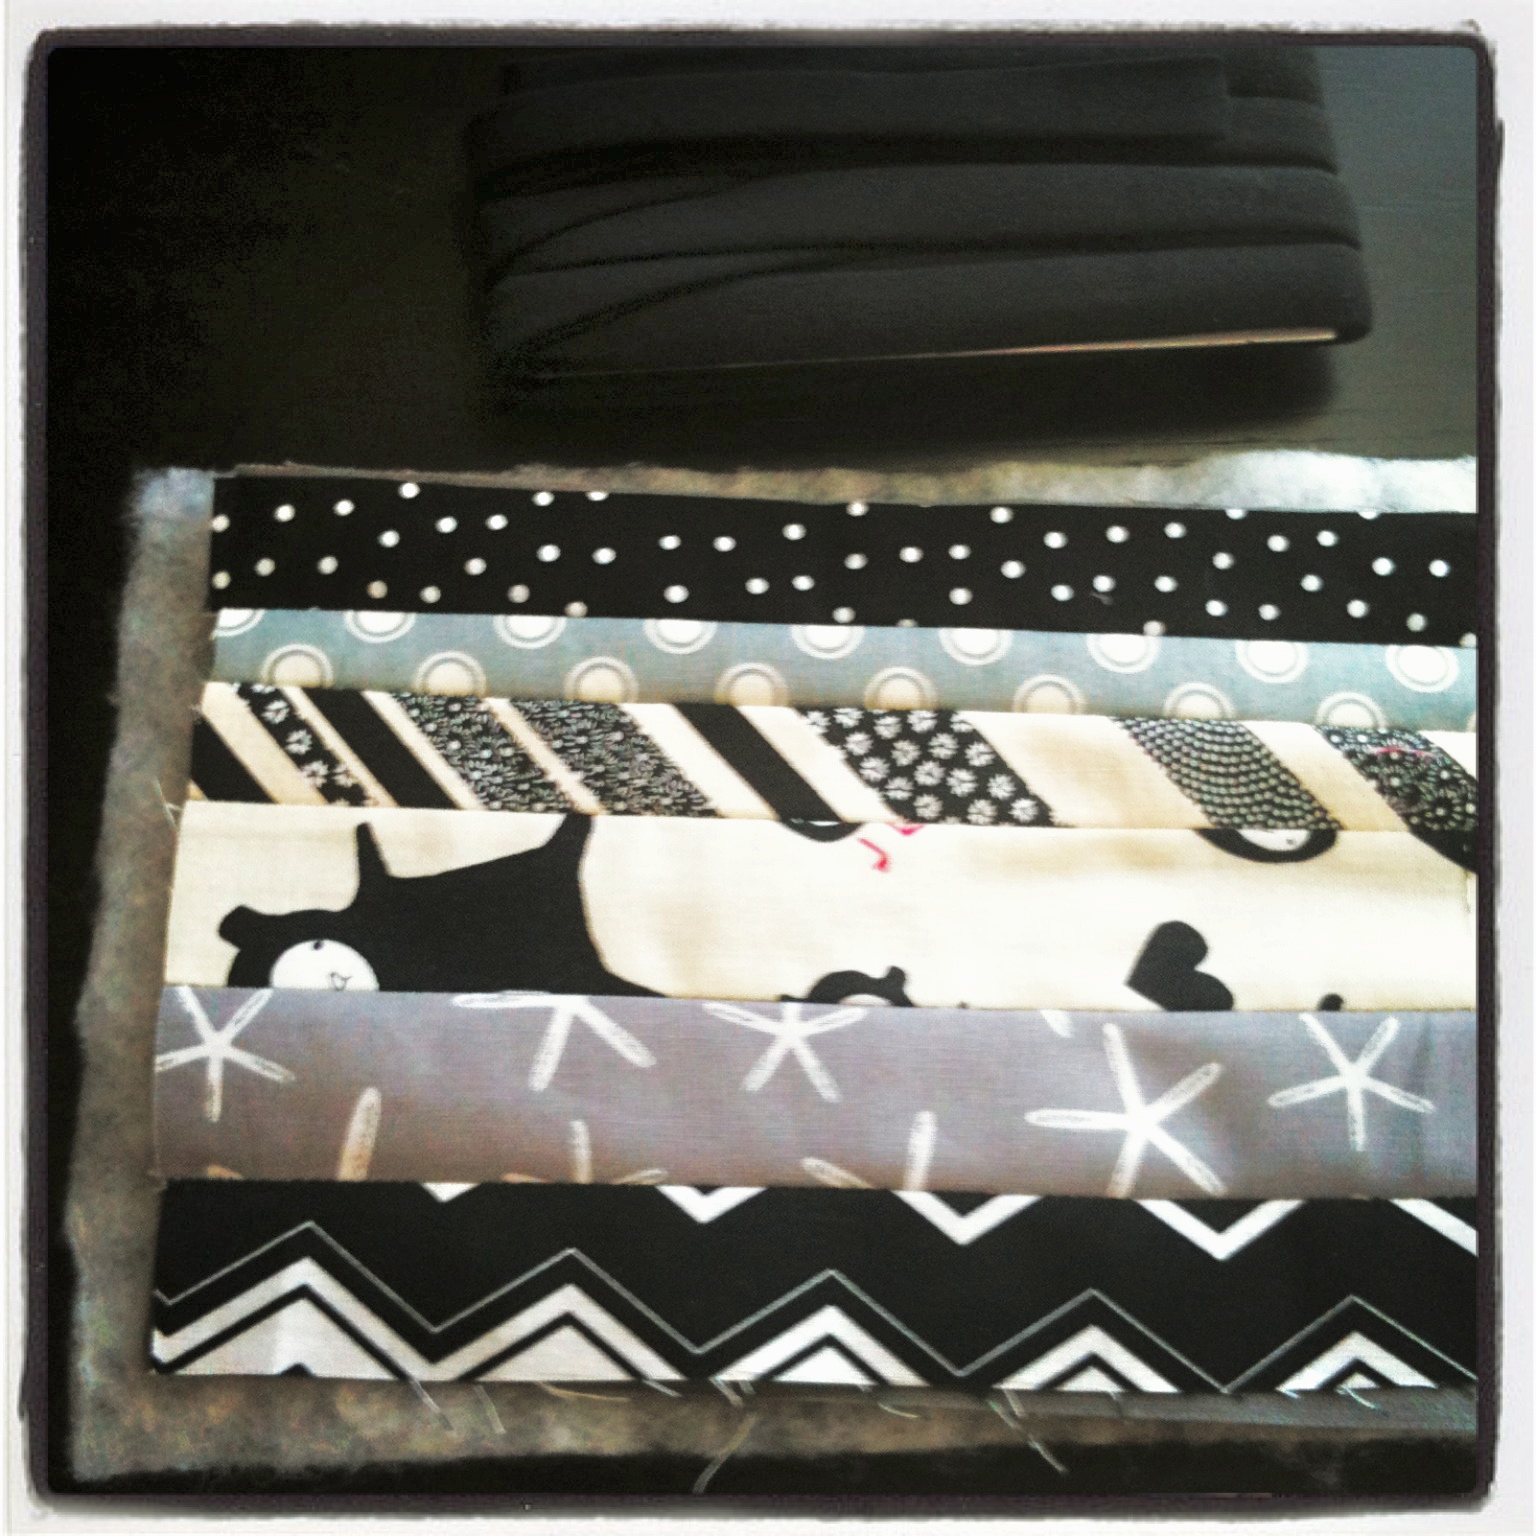
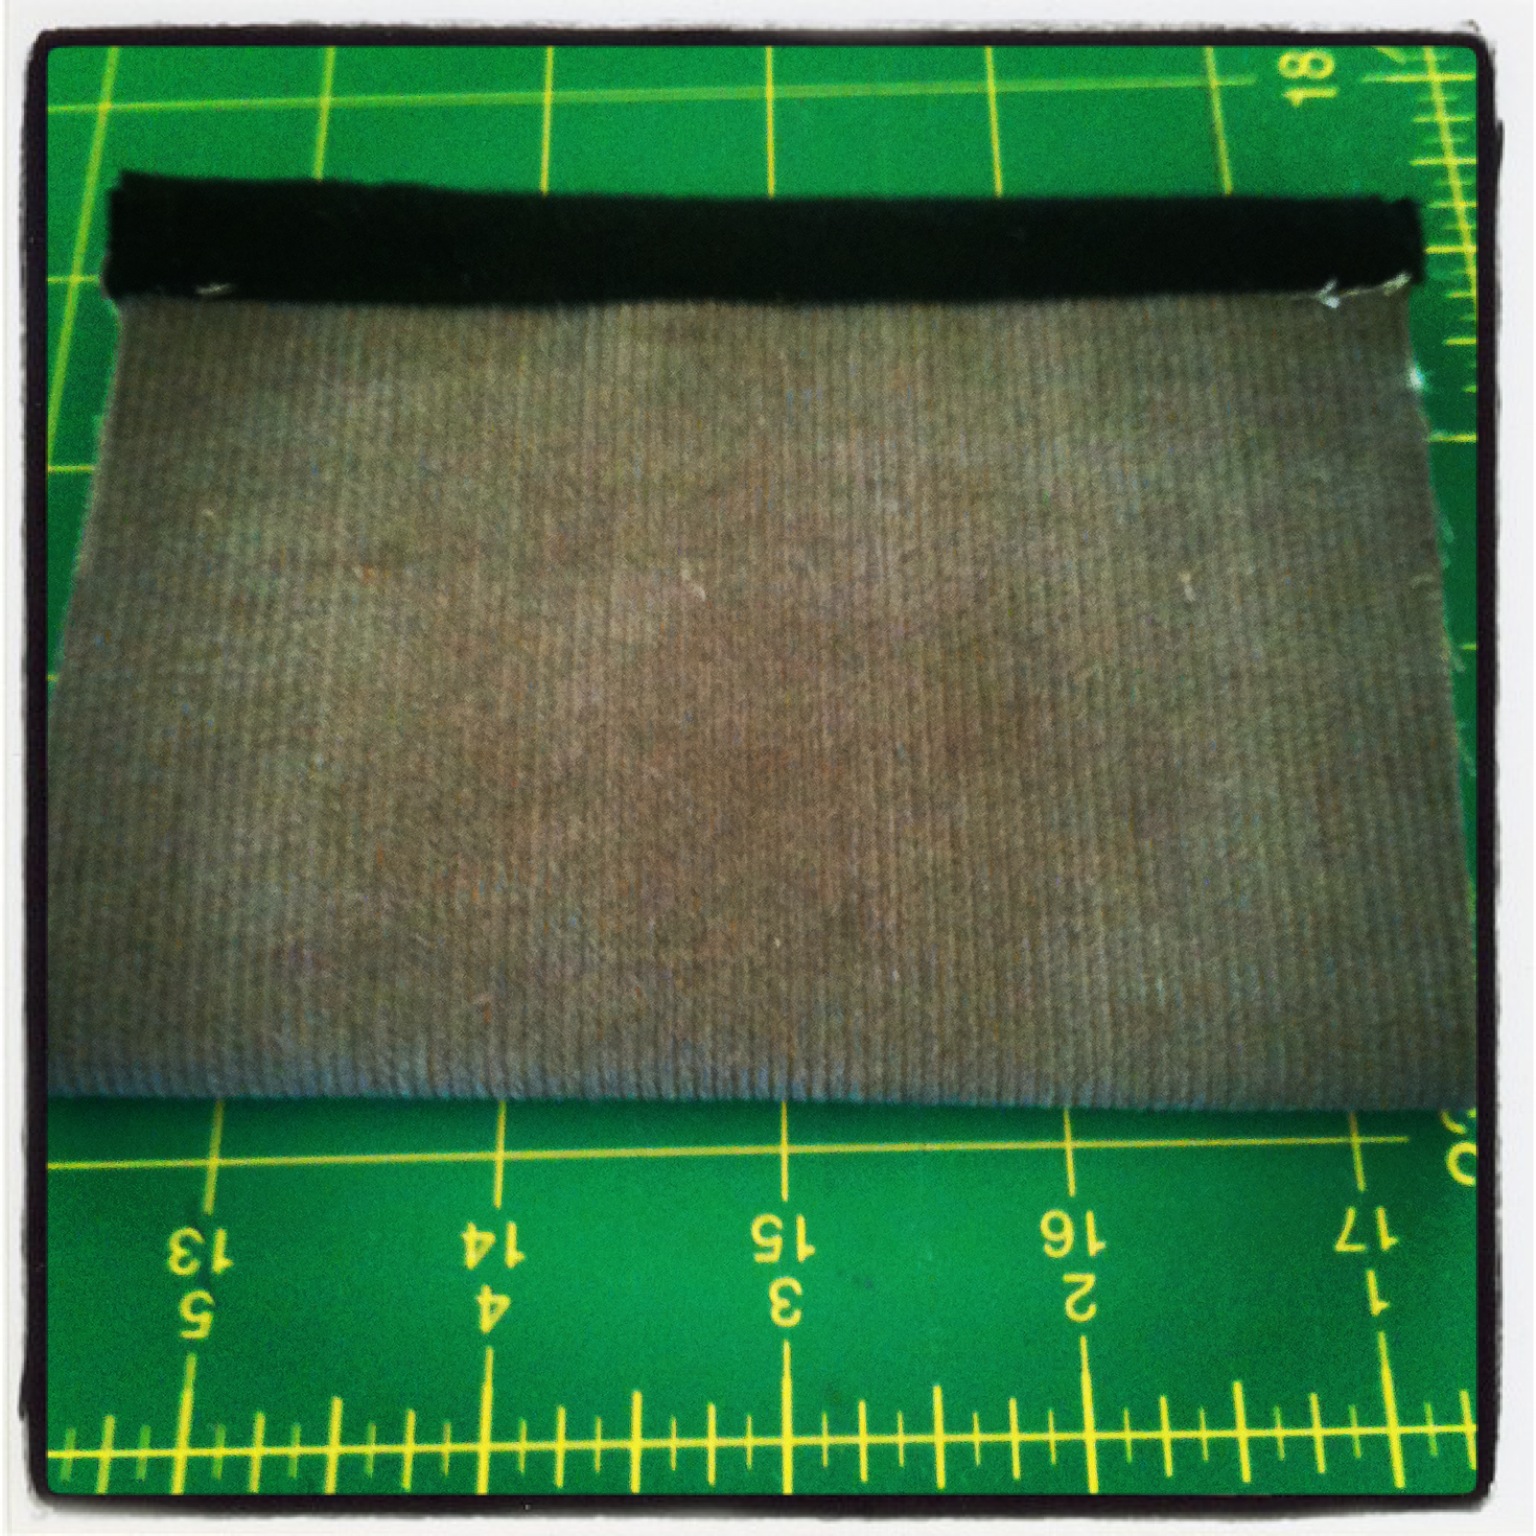
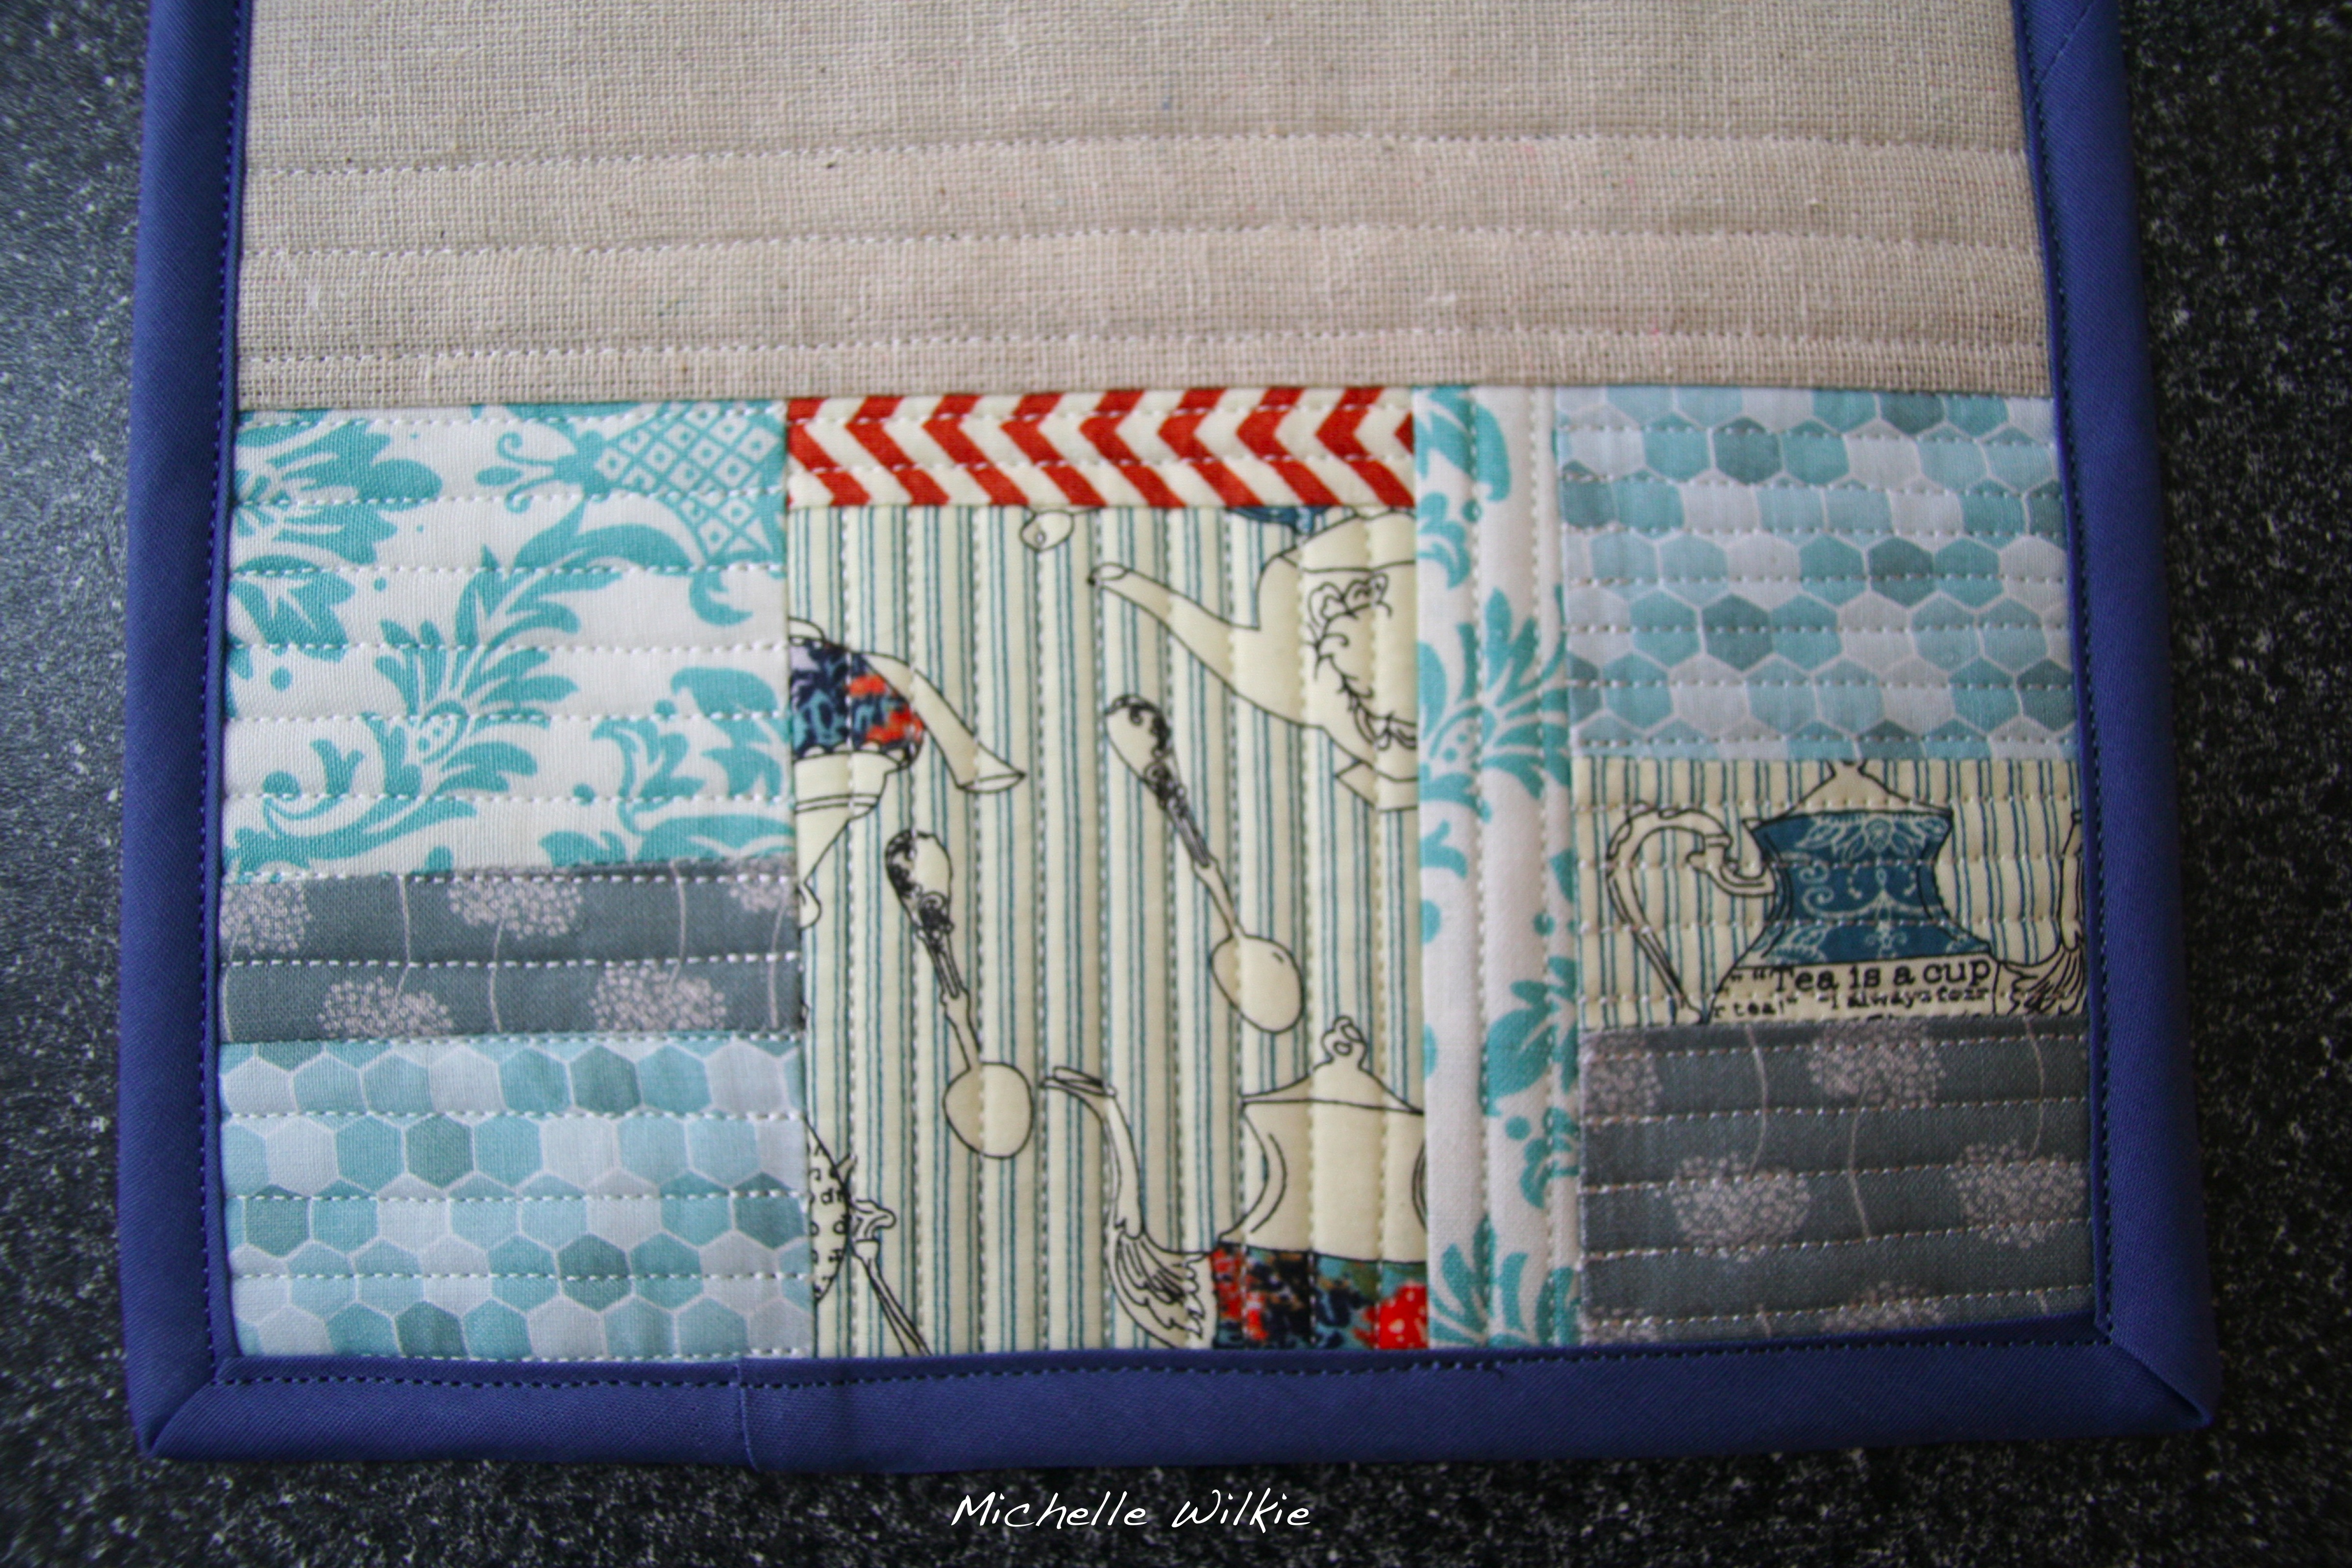
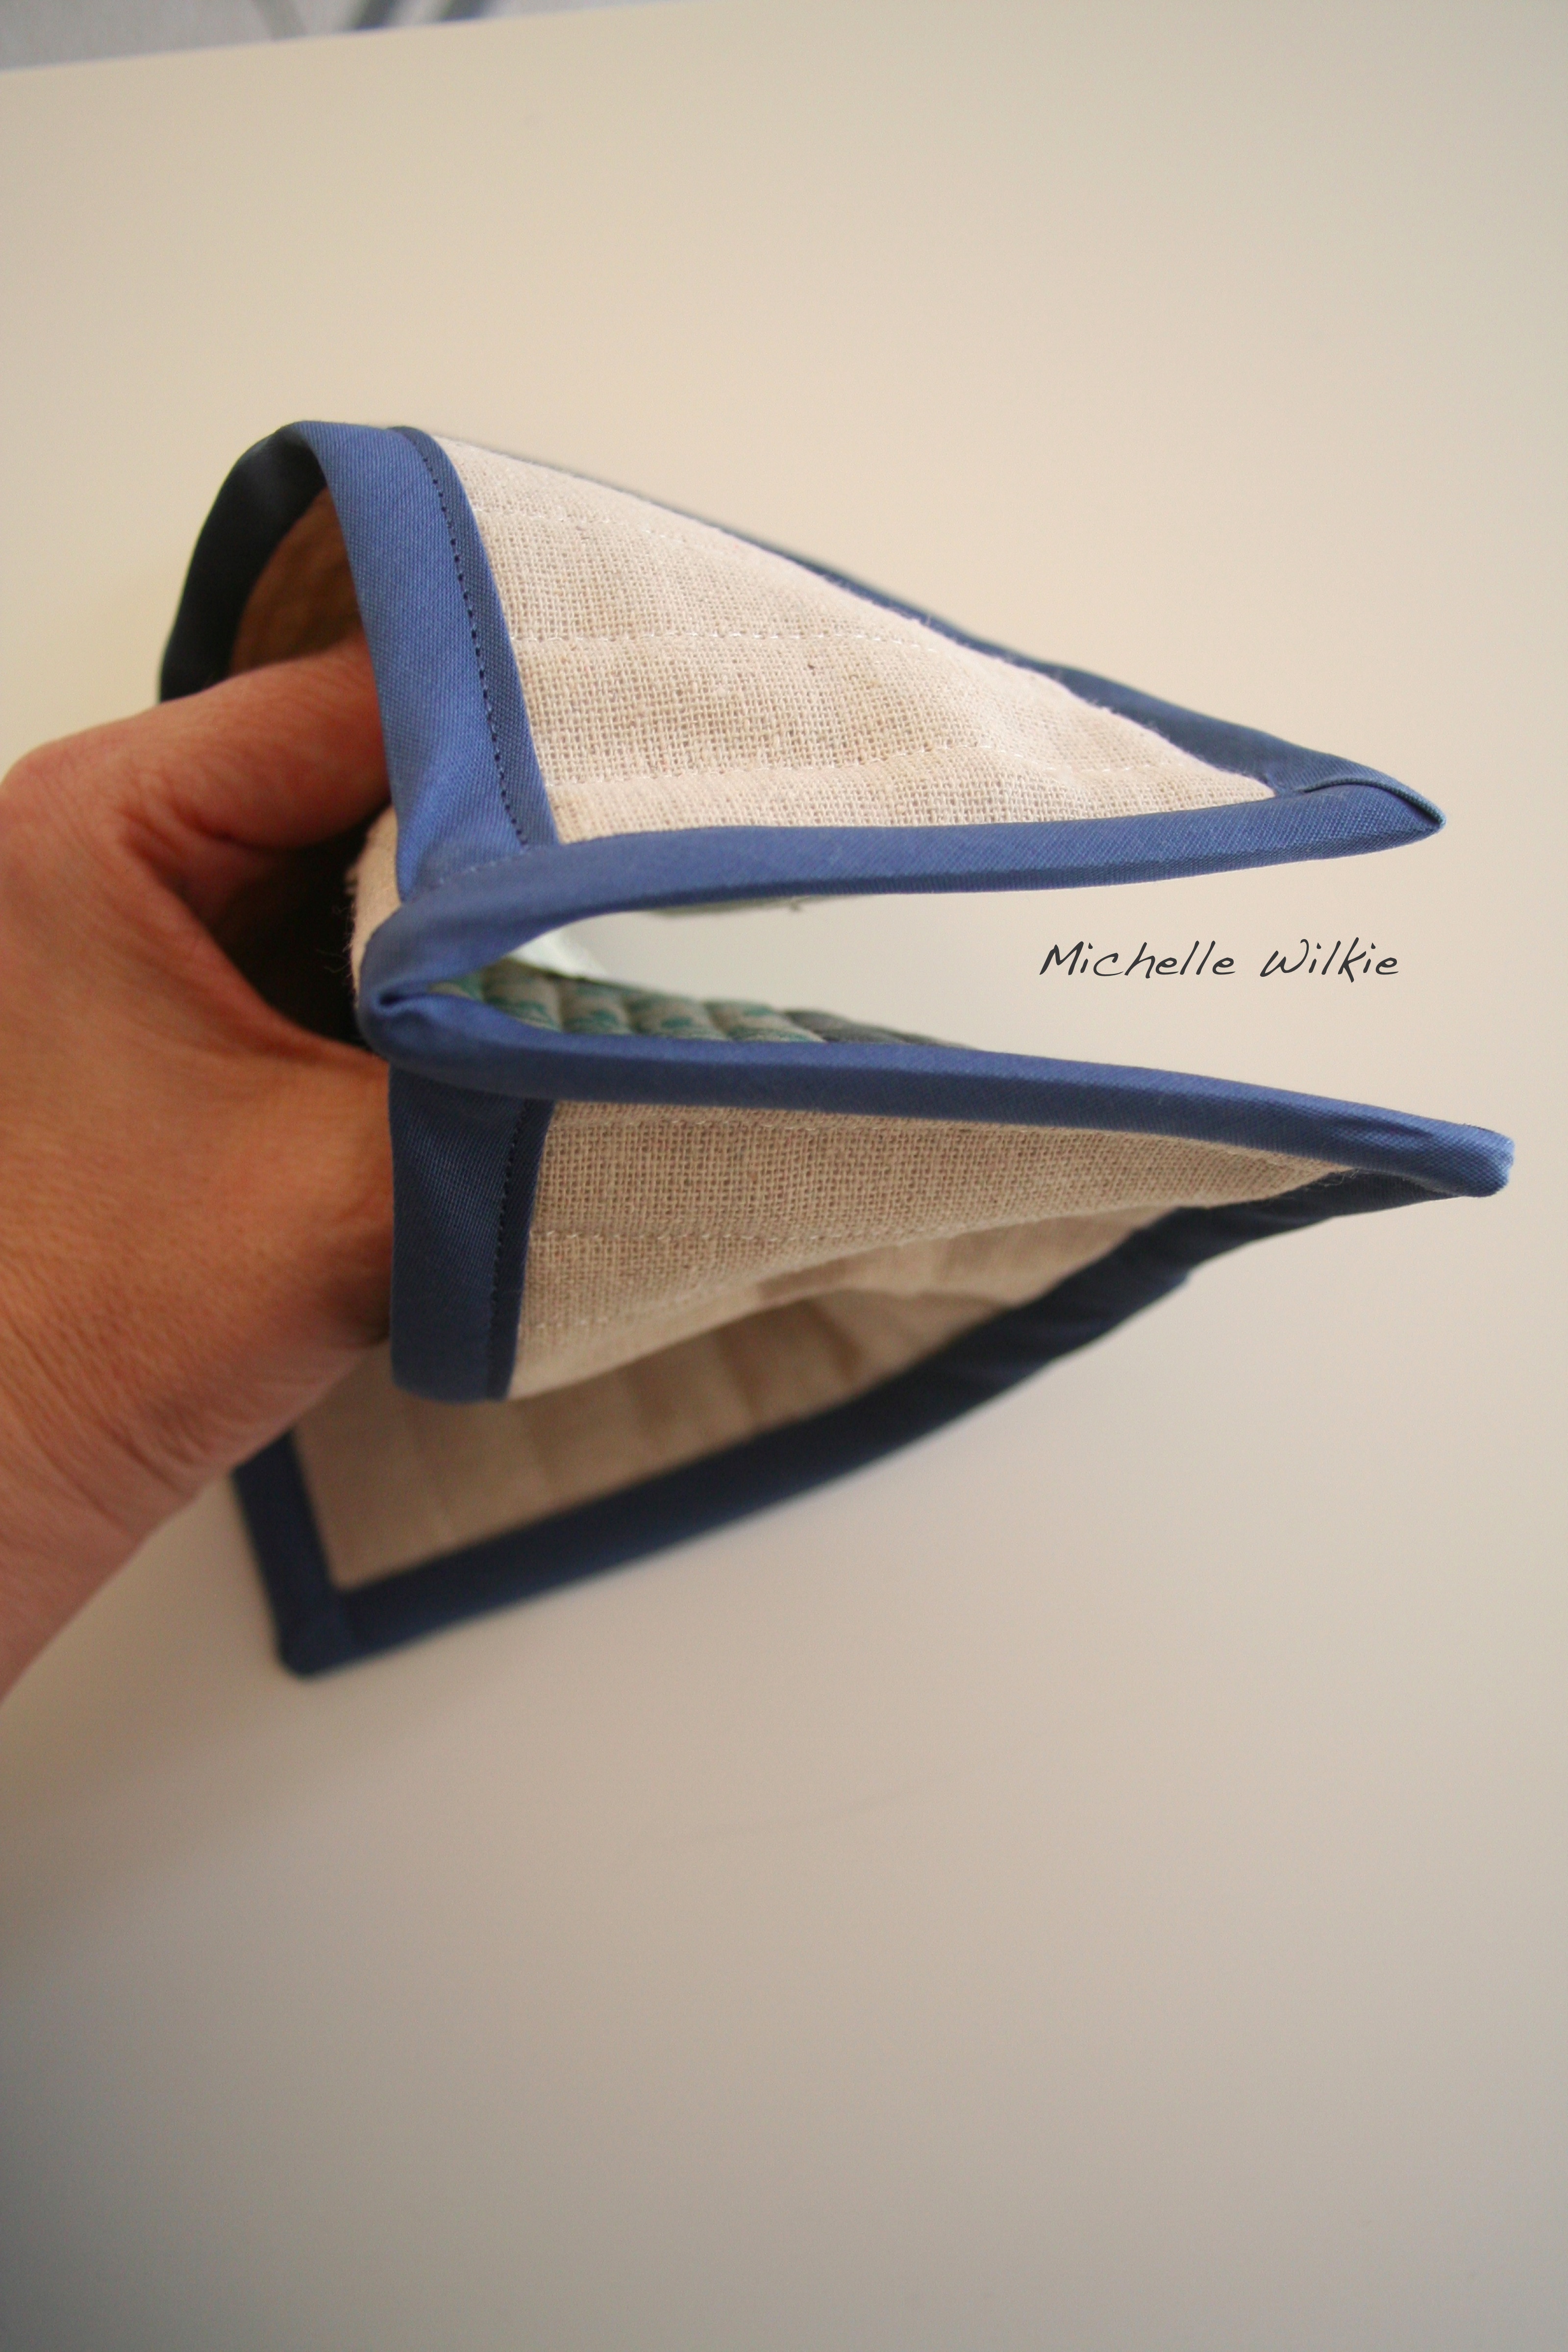
  • I tried out the “quilt-as-you-go method” described in this tutorial by Elizabeth Hartman on Oh, Fransson blog site by making this pot holder.I loved this method.Materials
    I love the teapot fabric (“Tea Delights in Jam from Splendor 1920 by Bari J. for Art Gallery Fabrics”) and the natural look with natural Osnaburg fabric. I bought it in blue and the yellow mustard (“Tea Delights in Honey”). The dandelion fabric is from Spoonflower, and the rest of the fabrics used in the pot holder are from Joann’s.
    Blue_Pot_Holder_Front Blue_Pot_Holder_Quilting Blue_Pot_Holder_Back Blue_Pot_Holder_inUse
    Ultimately, I want to make a Amy Butler’s weekender bag like in Elizabeth Hartman’s Blog, as one of my new projects on my 2013 goals. My pattern arrived last week, so these pot holders are allowing me to test out the quilt-as-you-go method.

2013 Goals – Progress report

  • Blog a minimum of 3 times a week (Doing well for January)
  •  Finish my four seasons quilt (In progress)
  • Try 12 new sewing/quilt or patchwork projects (1 down – Pot holders using quilt-as-you-go-method)

New project using Spoonflower fabric purchase

I have been so swamped this week at work, this has been the first day I was able to do anything on my many projects, I have in mind.

A while back, I discovered this cool hen fabric by maker_maker at spoonflower.com. I knew this fabric would work for a kitchen item, then I saw pot holder projects in so many books and online. That’s it….a pot holder would be perfect. Here is my first pot holder.

The Front:
IMG_6823 IMG_6822

The Back:
IMG_6824 IMG_6825

Linking up with Crazy Mom Quilts – Finish it up Friday.

Another pot holder finish complete this weekend as well.

Tutorial: Gift card pockets

This is my first go at writing a tutorial. This is how to make gift card pockets. It’s a cute and easy project if you are starting to sew, it would make a great project for kids. You can use some of your scraps as well.

Materials:

  • 1 x Backing fabric piece 5 x 7.5 inches
  • 1 x Front piece 5x 7.5 inches (in the tutorial I use 6 different scrap pieces each between 1-1.5 inches)
  • 1 x Low loft batting 5 x 7.5 inches
  • Coordinated binding, you will need 10.5 inches (I use shop bought binding but you can make your own)
  • 1 x coordinated button
  • 1 x coordinated hair tie
  • Cotton

Tools:

  • Sewing Machine
  • Chalk pencil
  • Needle
  • Rotary cutting tool, Ruler, Cutting board

1. Cut all your fabric pieces out, iron pieces if necessary (I always do).IMG_0764

2. If using scraps, stitch the pieces together with a 1/4 in. seam. Once sewn, press the seams down (this is a great tutorial on techniques for pressing seams by SewMamaSew).IMG_0766

3. Put the back piece, batting and front piece together. Press with the iron.IMG_0777

4. Trim the edges to create a straight block of 5 x 7.5 inches.
IMG_0779

IMG_0781

5. On one of the short edges of the block (5 inch side), stitch the binding onto the back of the block.IMG_0783

6. Once the binding has been stitched onto the back, cut the binding to the edge of the block. Turn the block over, fold the binding over the top of the block and stitch the front of the binding along the bottom edge.IMG_0785

7. Repeat on the other short edge of the block. Press the block.IMG_0787

8. Fold the block in half, right sides together. Press again. Sew along both edges. I start at the bottom and stitch towards the top as the bottom is thinner and easier place to start. Sew three stitches and then back-stitch, continue to the end, back-stitch 3-5 stitches.IMG_0789

9. Turn in the right way. Press again.IMG_0793 IMG_0795

10. Measure the pocket at the top to find the center (~2.25 in.) and mark with a chalk pencil – the width is now 4.5 inches (for the button position). Repeat the measurement on the binding on the back inside binding (for the hair tie placement). IMG_0797

11. Stitch the hair tie into the inside of the pocket. Stitch a few stitches on the top and bottom of the binding.IMG_0799

12. Hand-sew the button in place. This will complete the gift card pocket.IMG_0801 IMG_0803

Have fun with your color combinations – see these posts for ideas (Making gift cards a little more personal, Customer Order). Additionally, instead of binding you can use a zip.

Linking up with Finish it up Friday at Crazy Mom Quilts.