Tag Archives: sewing

Monsters: Stuffed Toys

As mentioned previously my son and I make monster birthday cards together. This weekend we decided to take that one step further.

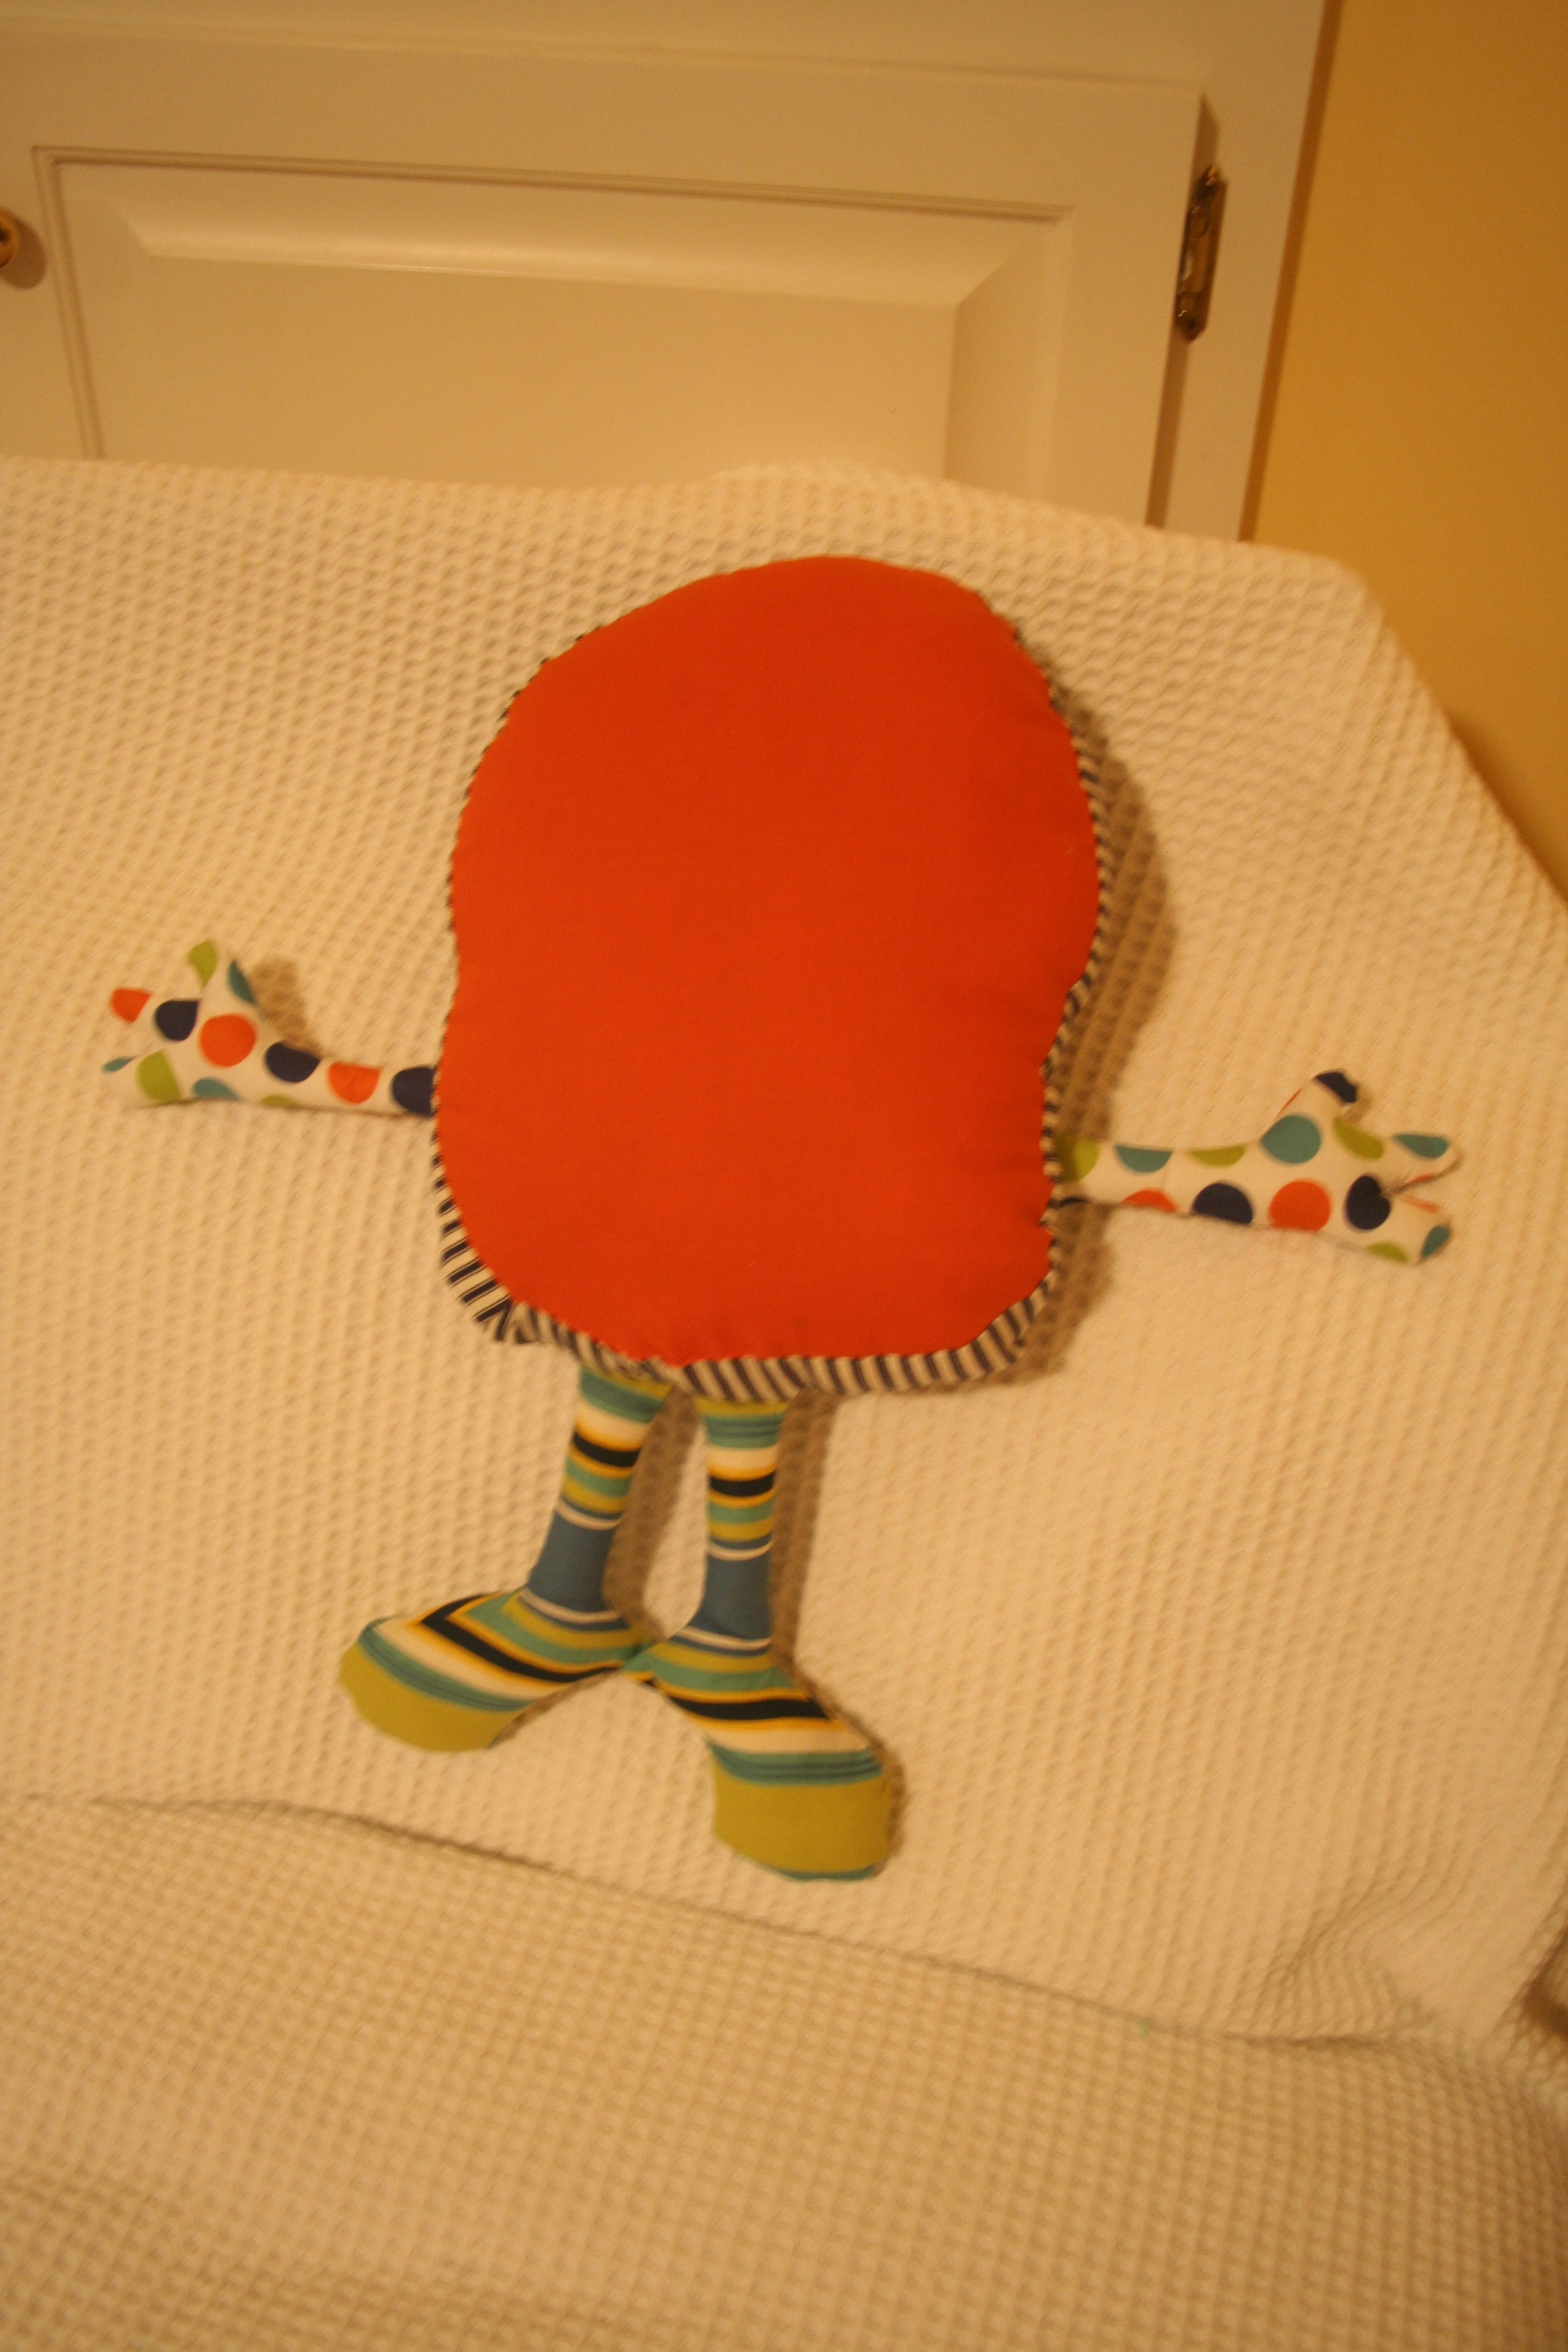
Based on monster drawings made by my son, I transformed one of those pictures into a stuffed monster toy. Some of the things my son designed/choose includes the 3 fingers, all his drawings at present have 3 fingers, his favorite color is orange, and he chose the buttons for the eyes.

Here is our first monster.
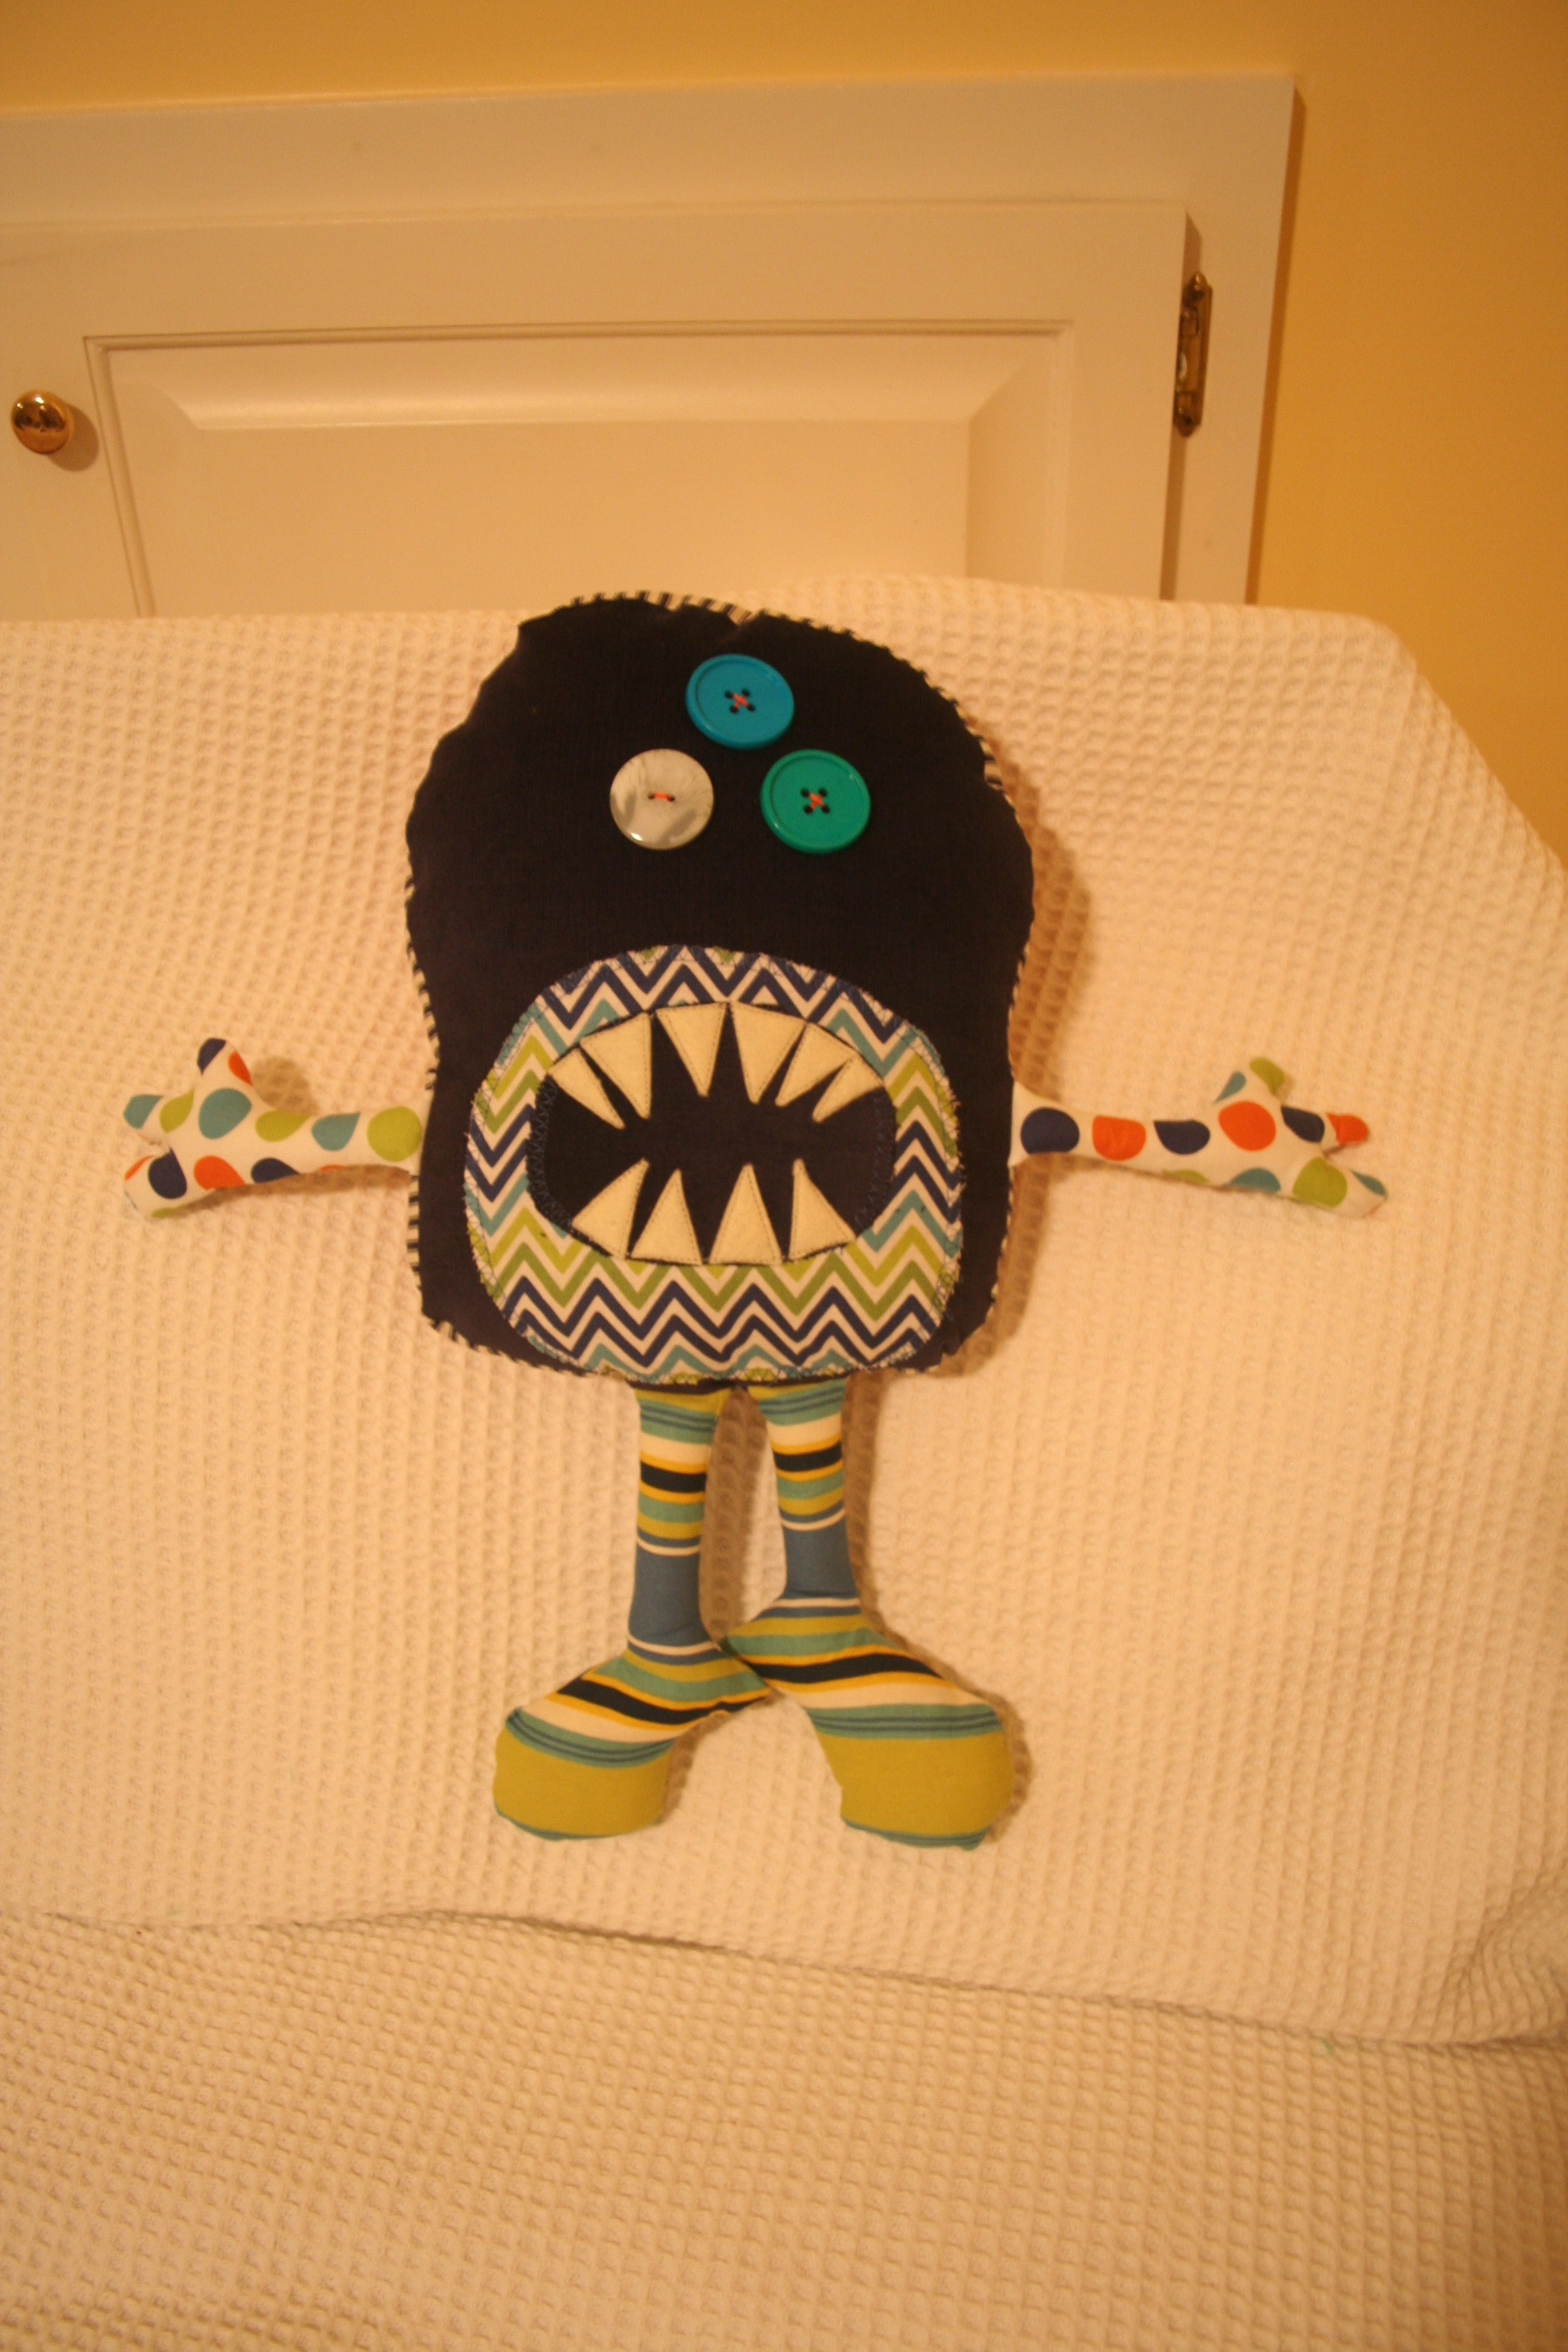
  

It was very cute – he slept on it as a cushion the first night and then he carried it in the car to track out camp – he is very proud of his monster 🙂
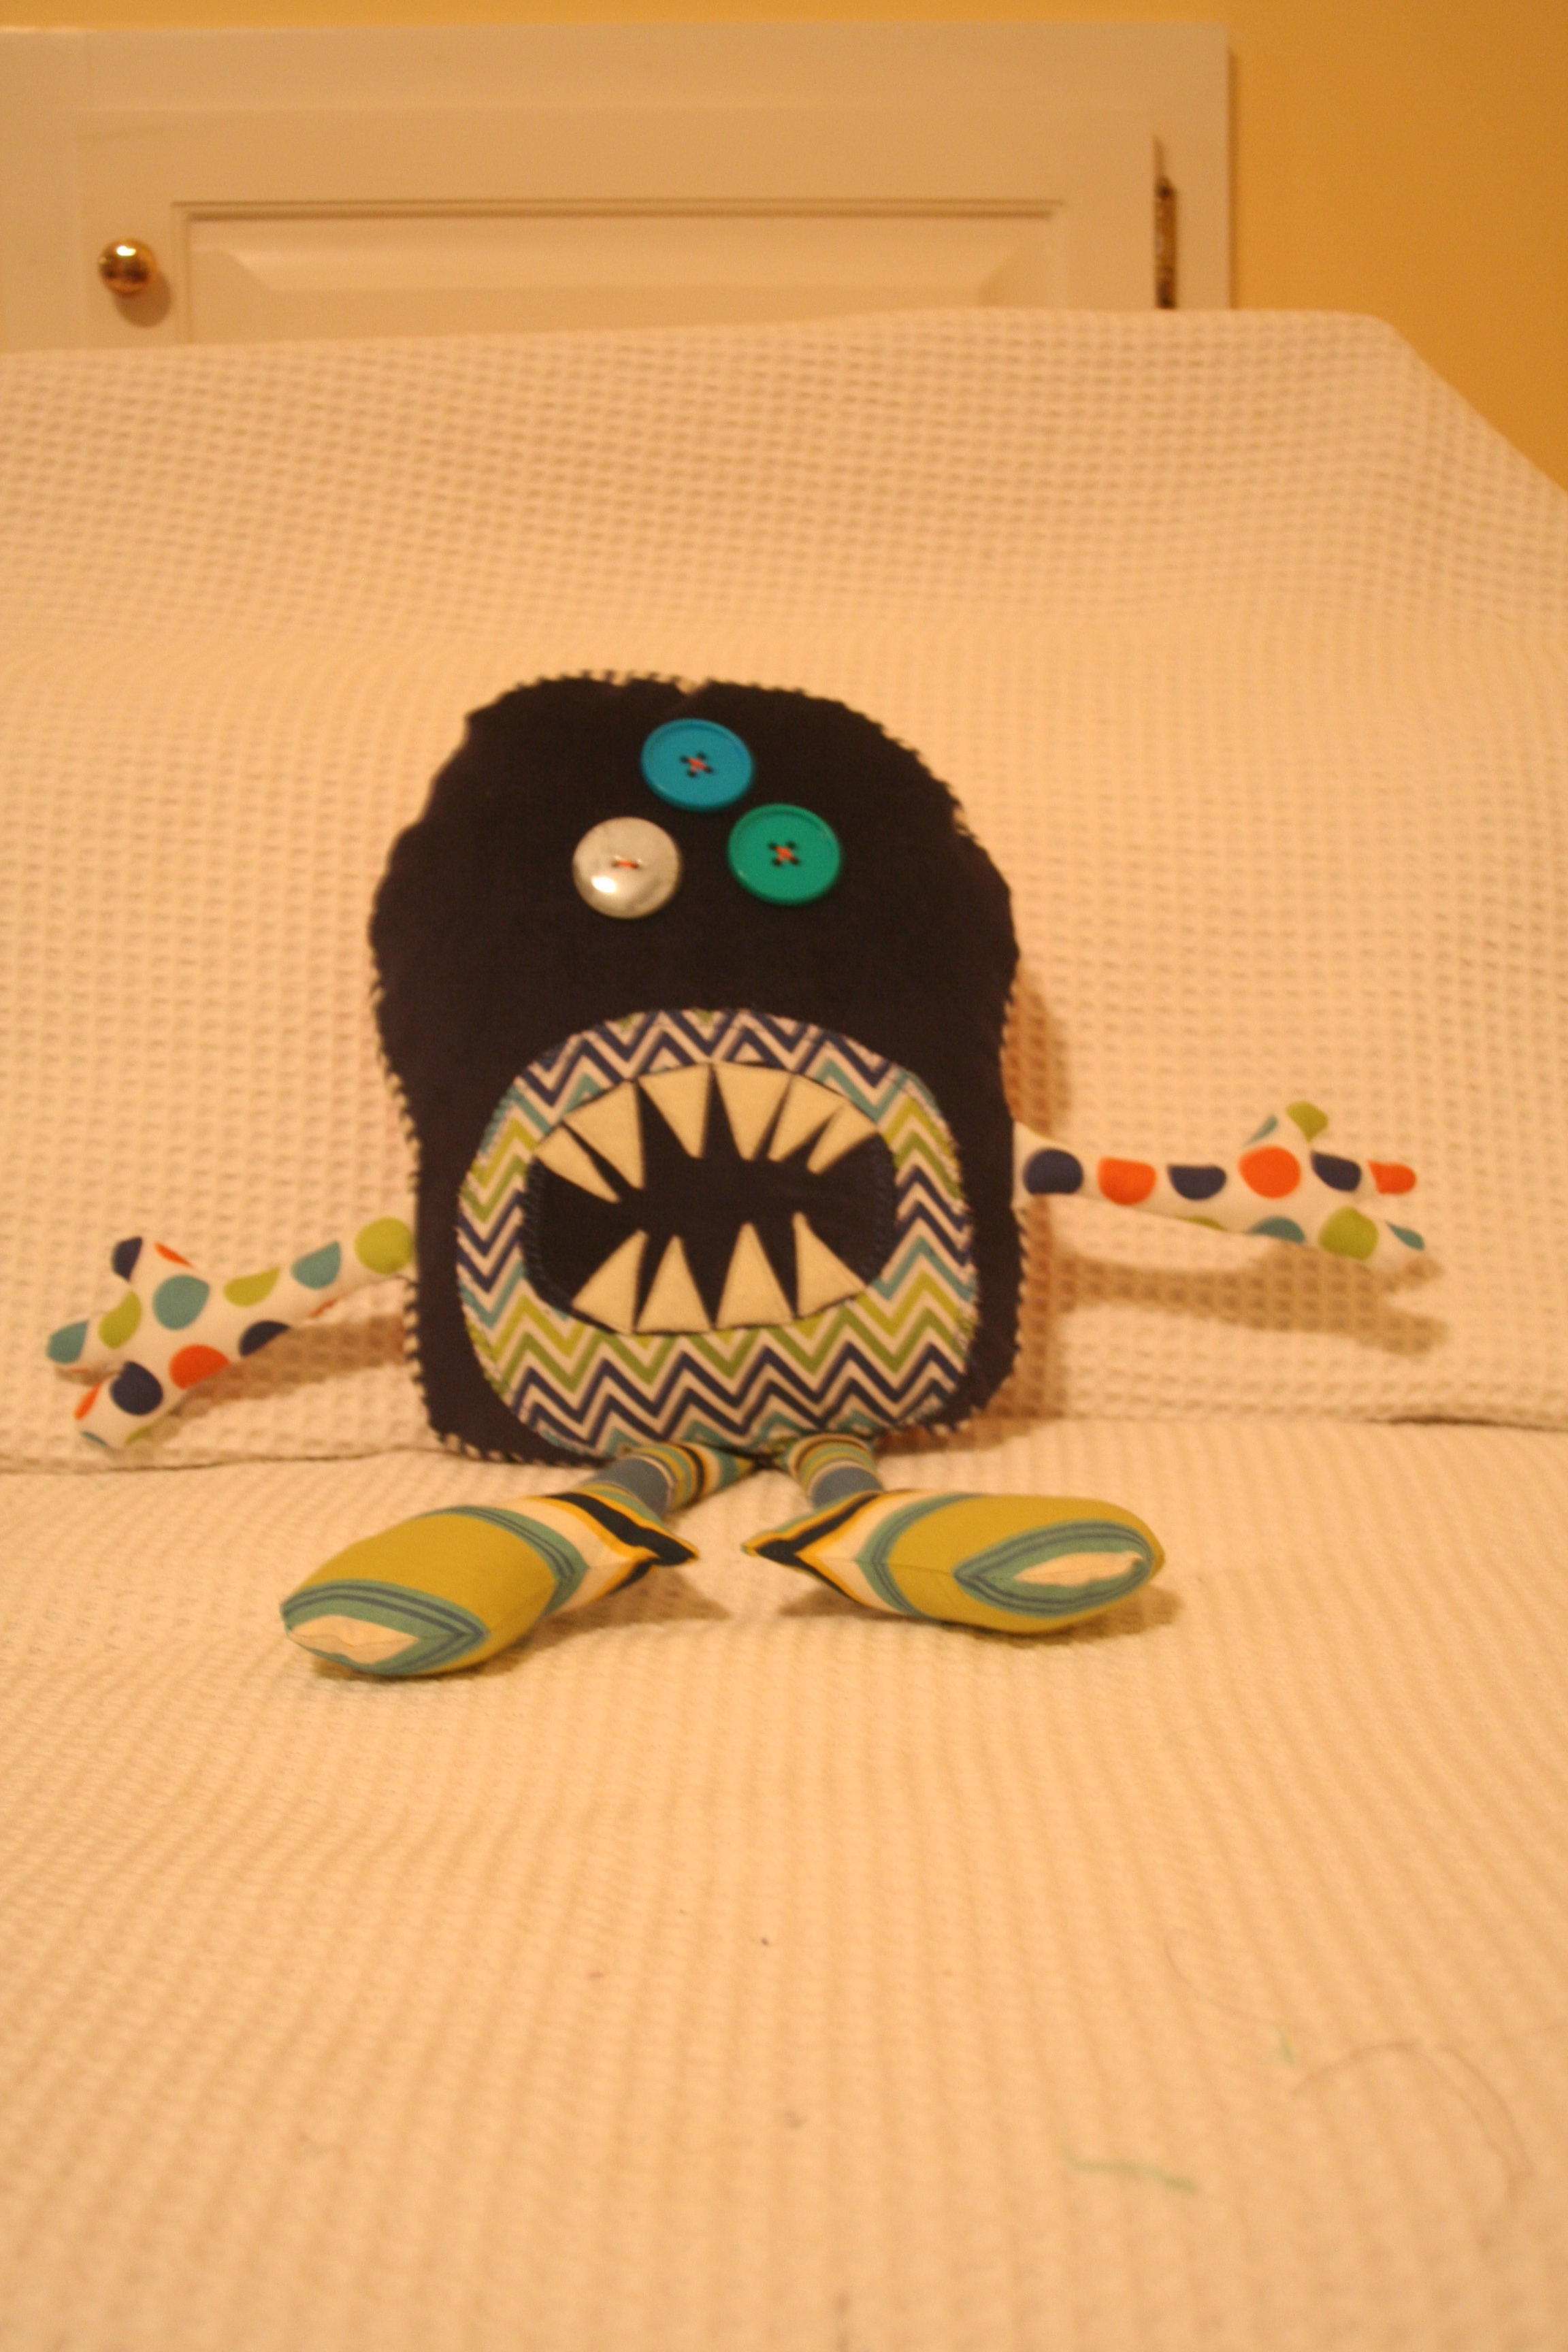
Some of the materials and steps I used to make these:

  1. I drew free hand the shape of the body onto scrap-book card, from that original shape I got out a stomach shape….this way ensuring that it fits in the main body. I pinned the body shape onto dark blue corduroy, and on orange kona cotton for the back body and cut out the two shapes together.
  2. The other two templates I used, were one for the legs and one for the arms. I pinned the leg and arm templates to patterned fabric which I folded into quarters so when I cut the shapes I would have 4 pieces (2 pieces in each direction).
  3. I cut the mouth free-hand using the stomach fabric as a guide out of the same dark blue corduroy.
  4. I cut the teeth out of white felt, using the opposing triangles so they can be top and bottom teeth.
  5. I sewed the hands and feet inside out using a 1/4 inch seam. I then turned them in the right way, stuffed them with stuffing. I sewed the top of each limb close leaving about 1/4 inch so that I had room to sew the limb into the body.
  6. The pieces for the body – the stomach, and the mouth I used zig-zag stitch to attach them, and the teeth I just used a normal walking stitch. I sewed on the buttons.
  7. I cut a piece of straight 2 inch blue stripped cotton fabric – this is used for the width of the monster and joins the front and back together.
  8. I pinned the front and middle edging together, with the arms and legs placed between the front and middle piece. The fabric was pinned together in reverse. I sewed a 1/4 inch seam. I ironed the seams.
  9. Now for the back piece, I put all the limbs in the middle of the body, I pinned the back to the unsewn middle edge, so everything was inside out. I sewed a 1/4 inch seam leaving about 2-3 inches on the bottom open.
  10. From the opening, I turned everything in the right way, and started stuffing the body. I hand stitched the opening closed to finish the monster.

Progress on Quilting Projects

I am back at work, finally, after about 3 weeks of work. I was definitely very tired in the evenings this week, and I couldn’t post as often as I wanted. I enjoyed being be back at work though and no longer just lying around the house.

Today, I thought I would update you on my quilting projects I started couple of weeks ago.  I previously had posted about my 3 projects I undertook while recovering from surgery. I wanted to show you the progress on these projects, which have been moving slow but steady. Feel free to give feedback or I would love to hear other ideas or see pictures of any of the projects you are working on.

Quilt 1: Four Seasons Quilt

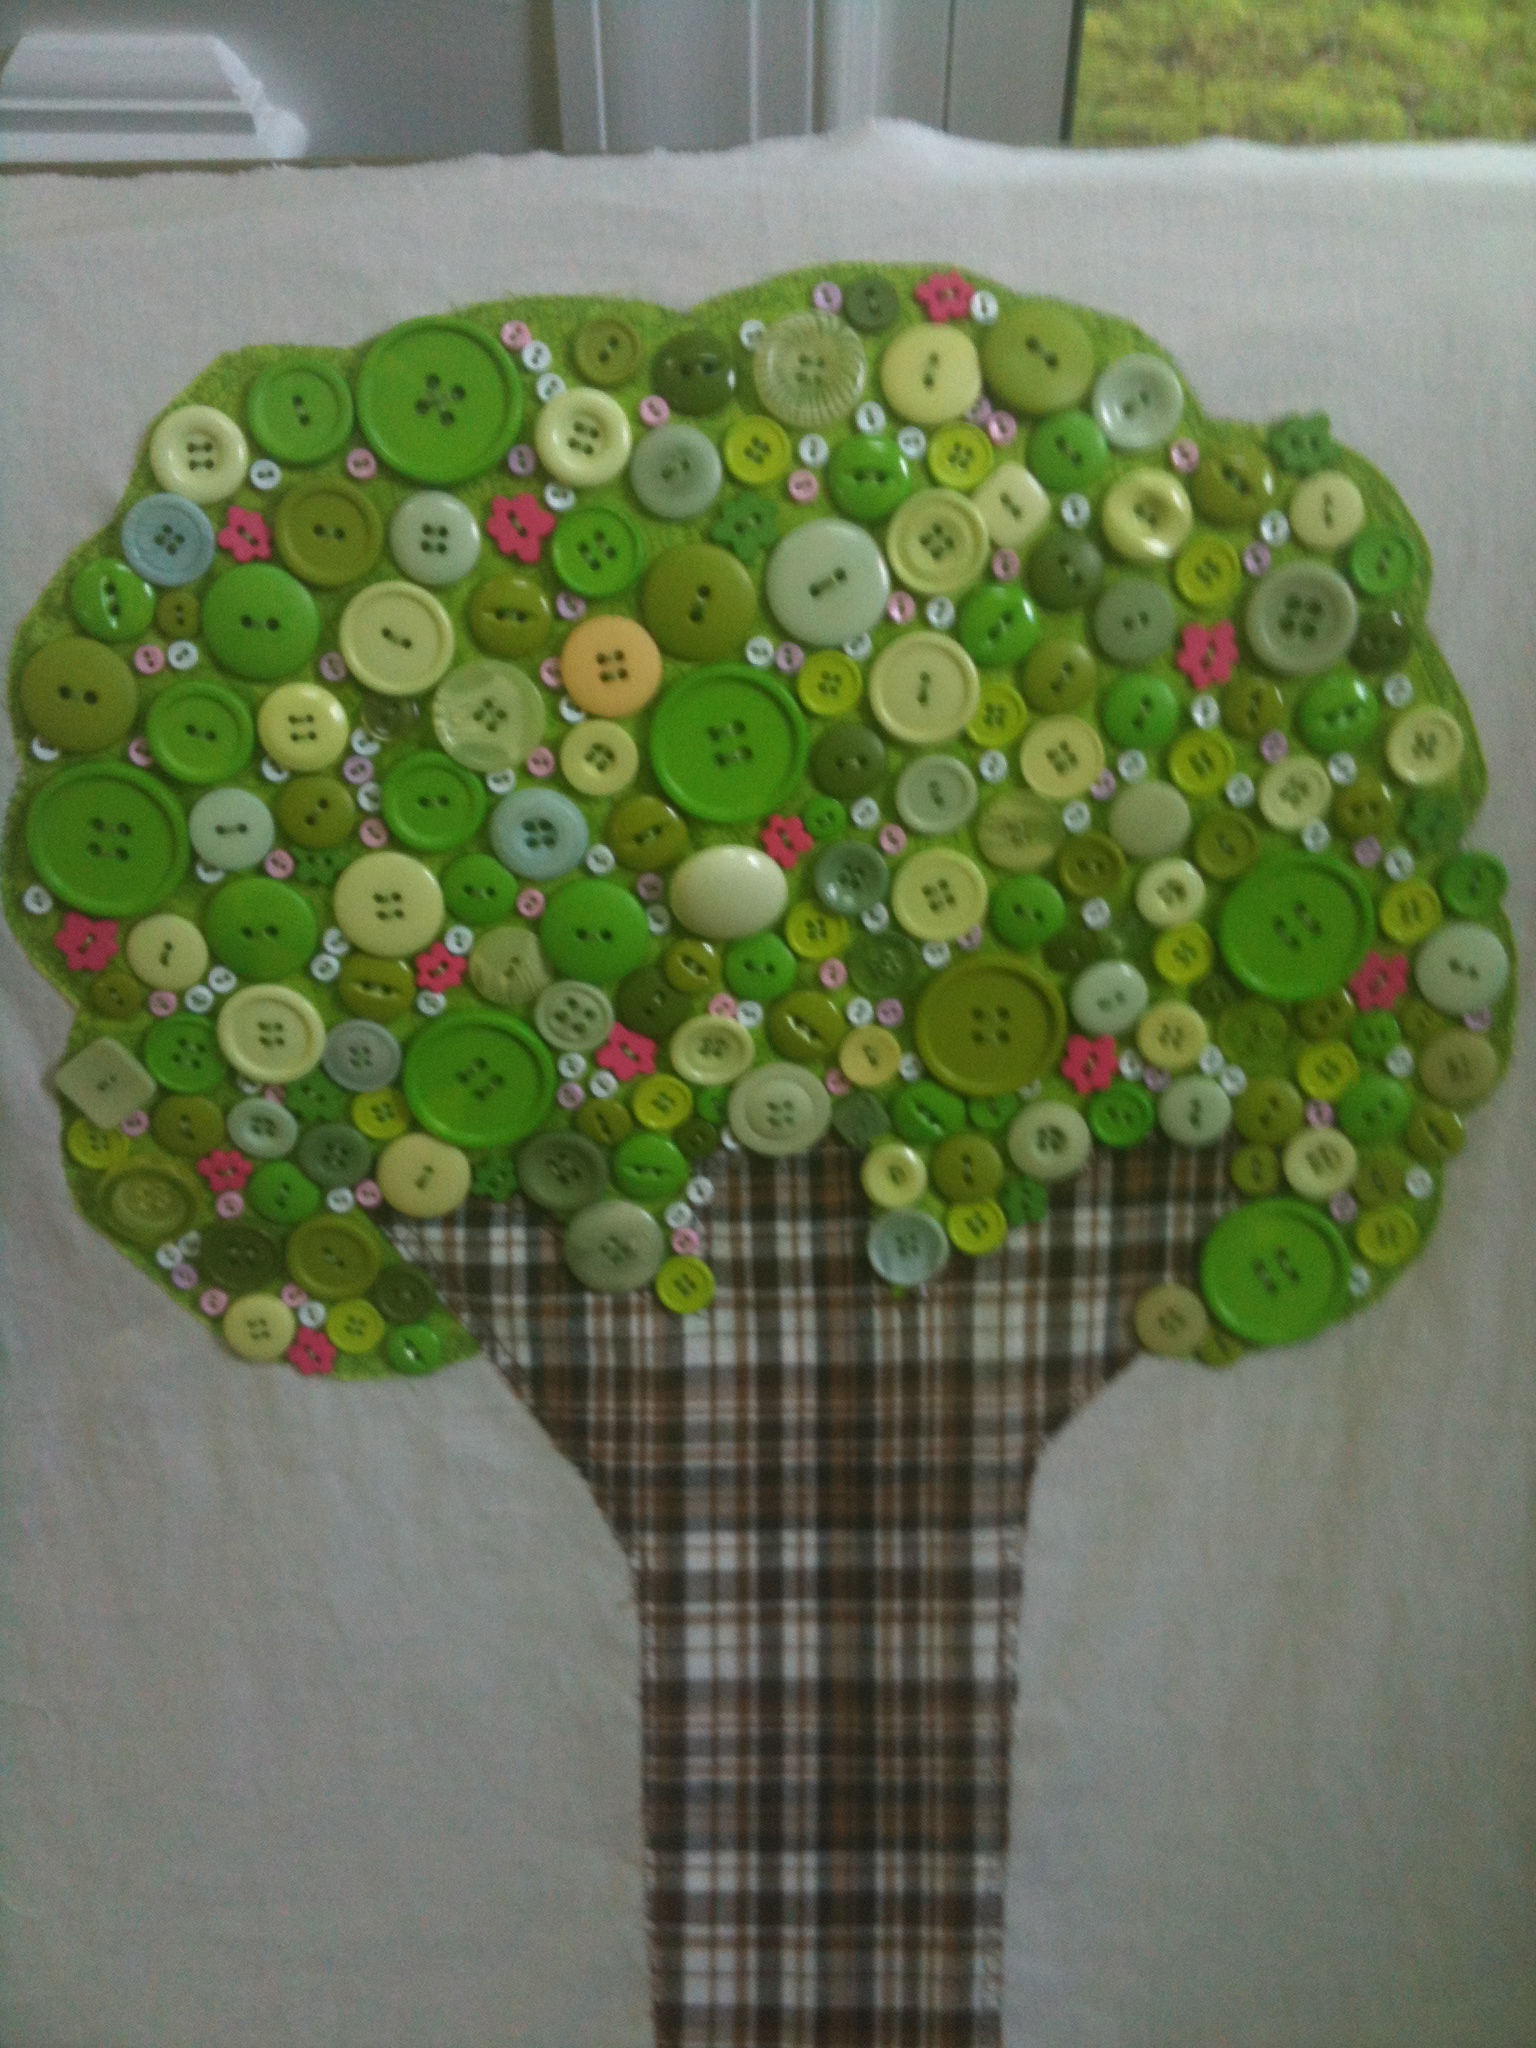
The four seasons quilt has been enjoyable project. I love working with texture and seeing the panels come to reality. The story of an apple tree through the four seasons, Spring, Summer, Autumn (Fall), and Winter has started to come together. I have two panels completed; Spring and Winter.

I designed Spring for the apple tree to be in full blossom with new leaves, and at the bottom new grass and dandelions. The one thing I will say, is I have a long road ahead to sew on all these buttons (yes, there are about 250 buttons to make the leaves and blossoms).


The Winter Panel, represents a leafless tree and snow has started to fall. I used two types of brown ribbon for the branches and sequins (snowflake and circle sequins) for the snow.

Each of the trees (the canopy and trunk), and the ribbon grass/branches were machine sewn on. All the sequins, buttons, flower buds are hand-sewn.

Two panels to go – Summer and Fall, which I have finished the machine sewing, I just have to do the hand sewing. Each of these panels will have ~250 buttons for leaves and the apples are red wood beads.

Quilt 2: Our Quilt – Grey and Orange 

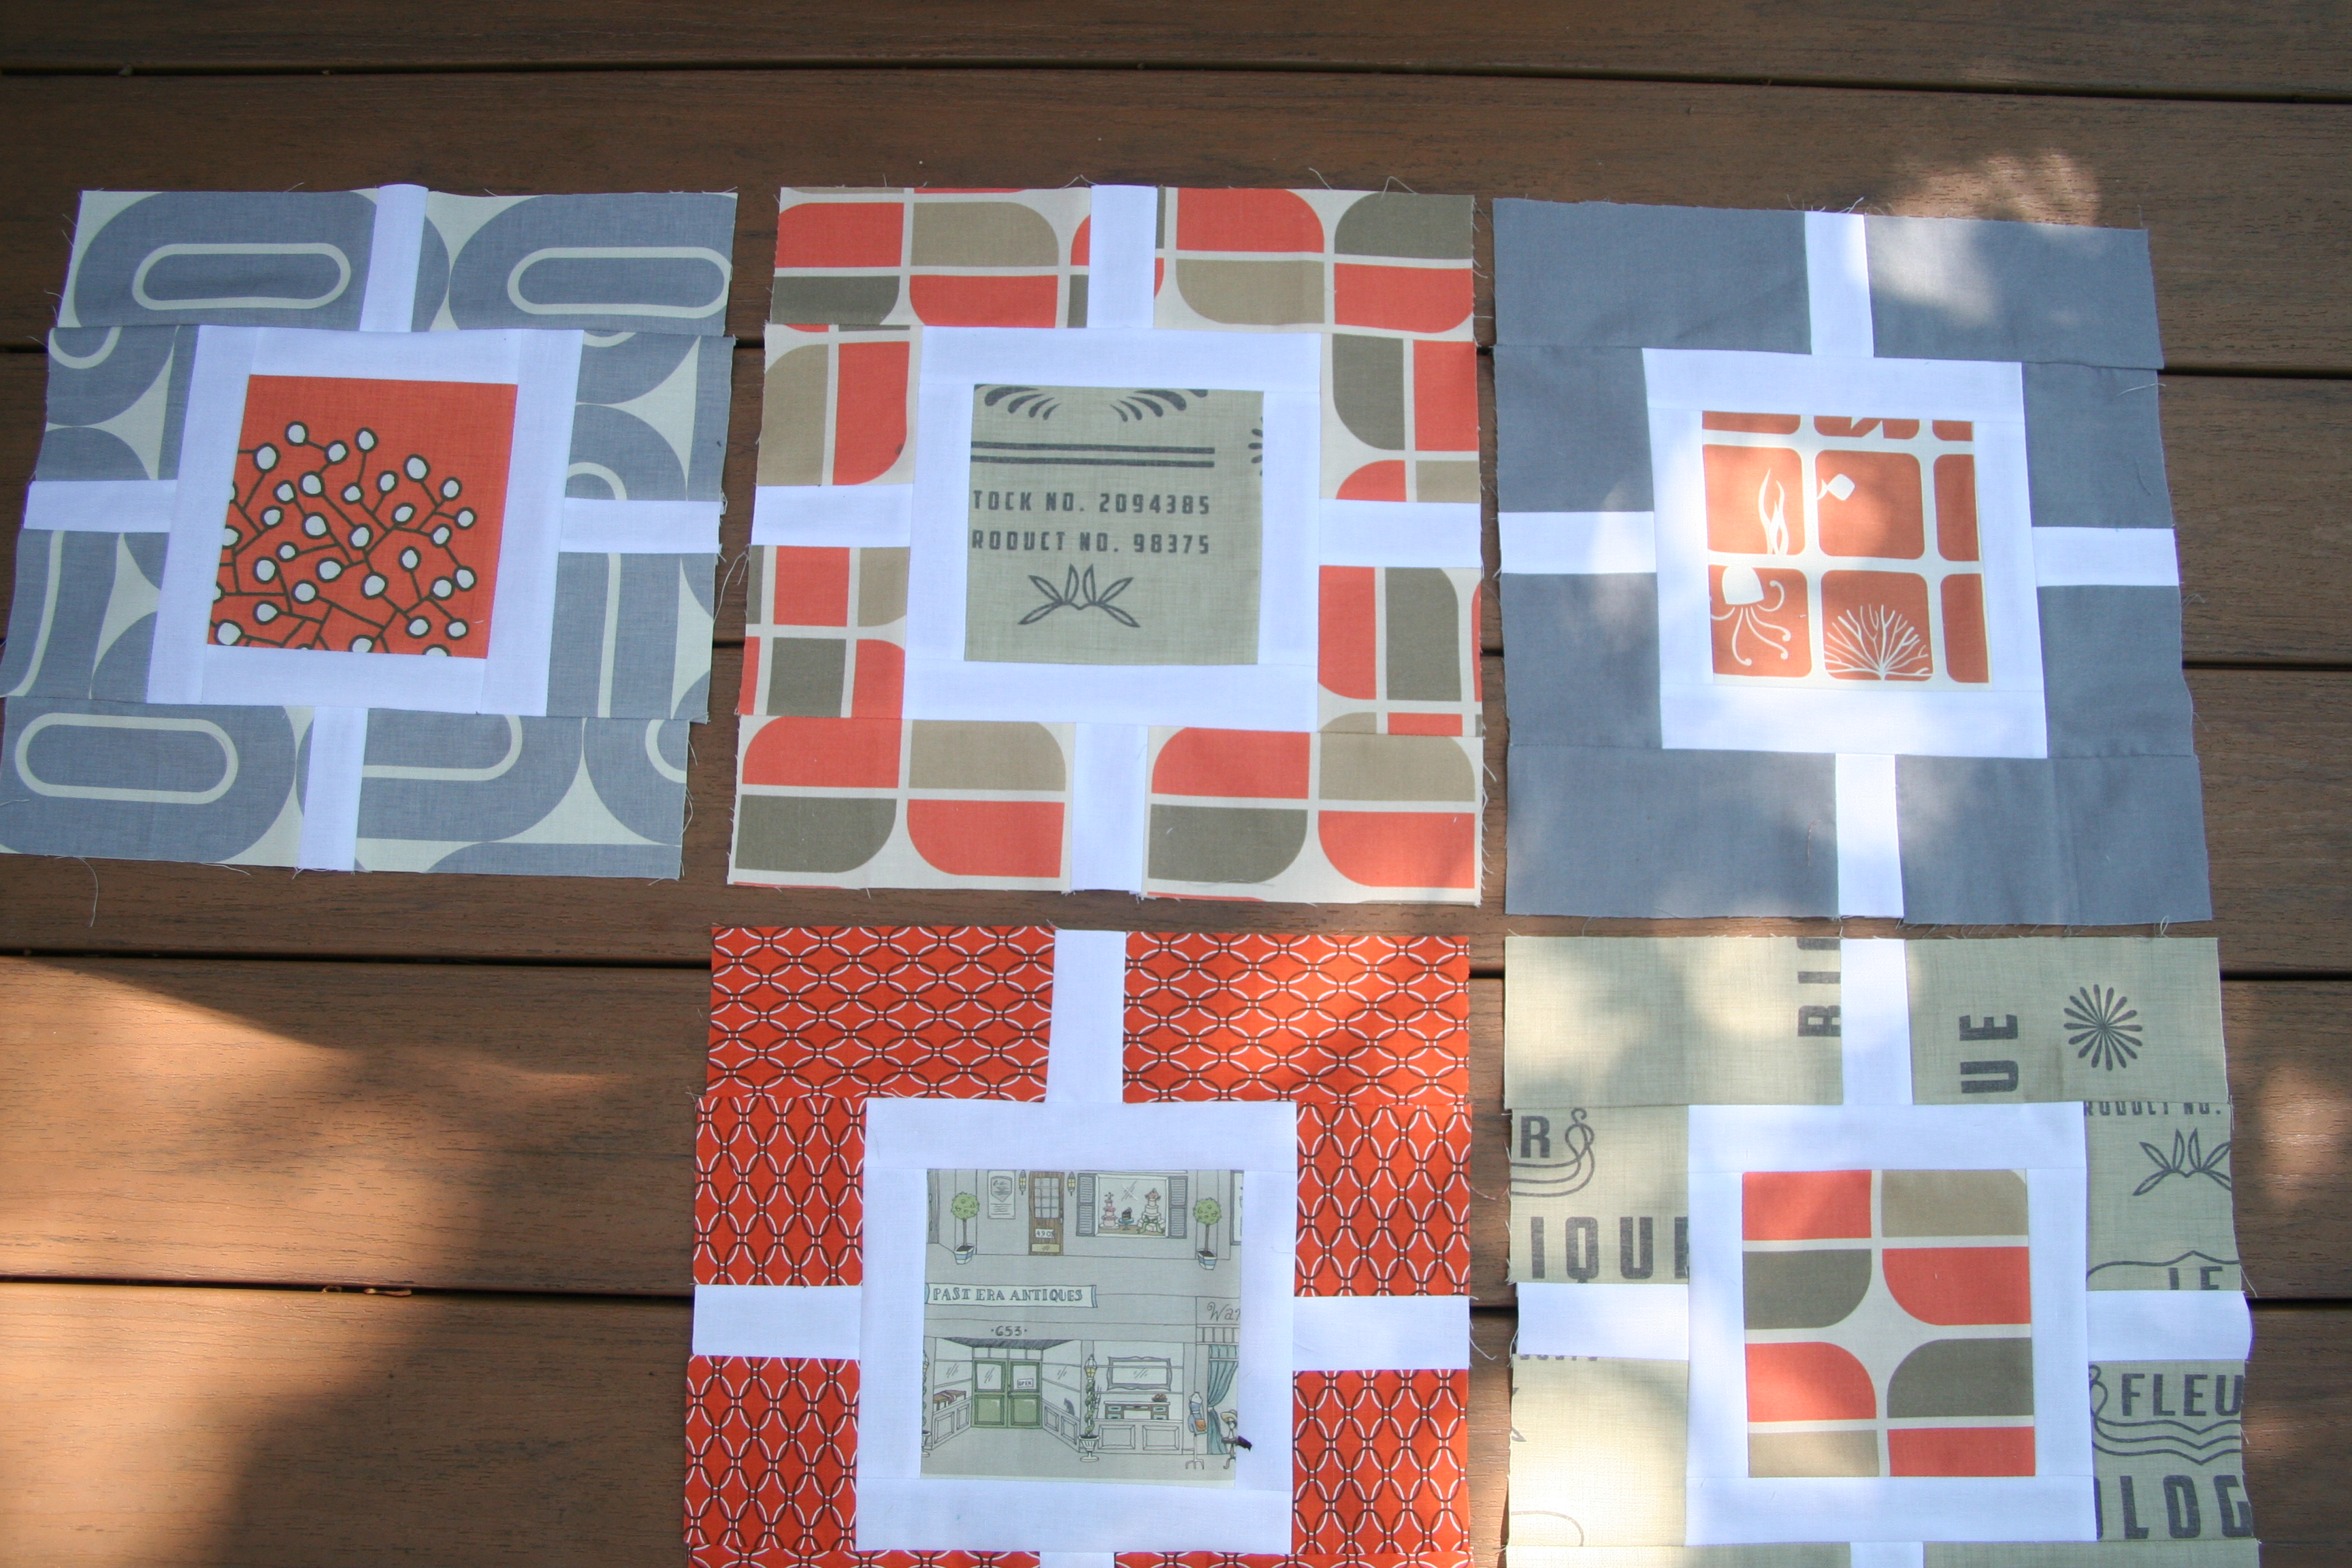
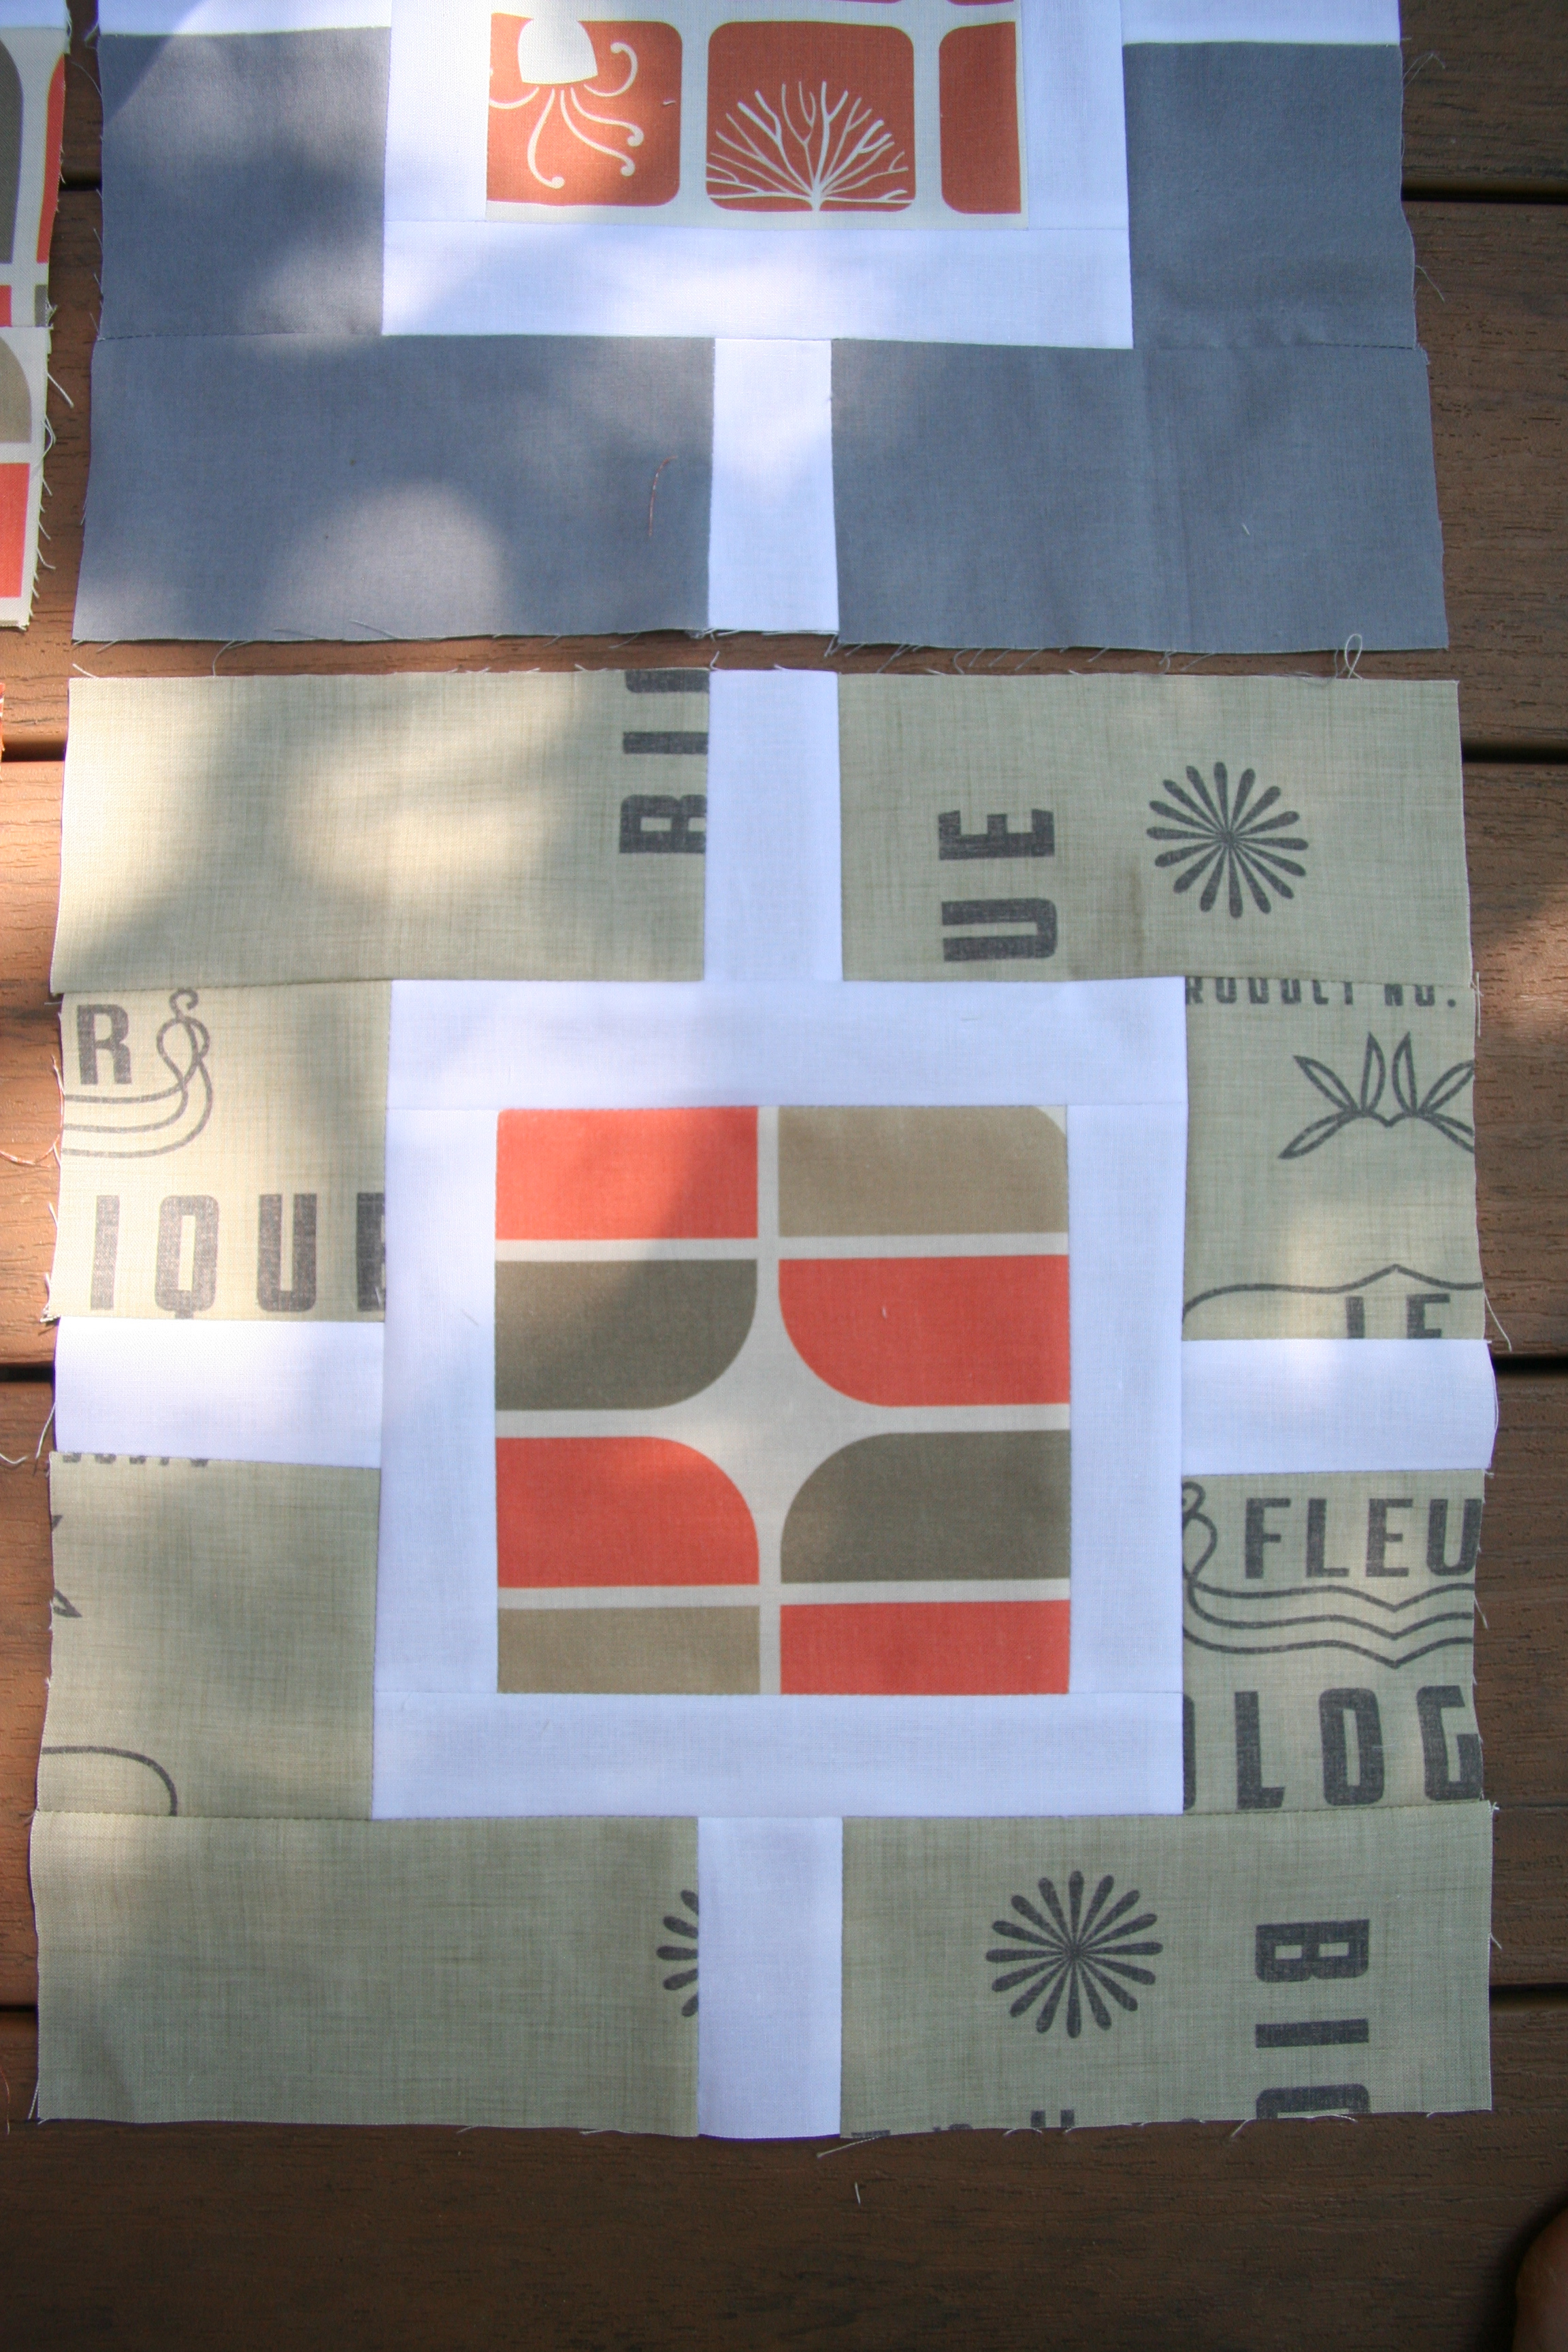
To get started, I got an idea based on an image of a square design I liked, while searching google. From there, I worked out the measurements I would need to mimic the design, as there was not a pattern with the image I saw.

I am using a 12 inch square and I am making a king size quilt. I will post the measurements and design once I complete it.

Now, with the recent arrival of fabrics from spoonflower.com, I have been able to start the grey and orange quilt for my husband and I. I love the new fabrics. Here are pictures of the first squares.


NOTE: It was so hard to find good grey and orange modern looking fabrics. If anyone knows of any other fabric stores that have a good selection I would love to know about them :-).

Tea Towel Sofa Cushions

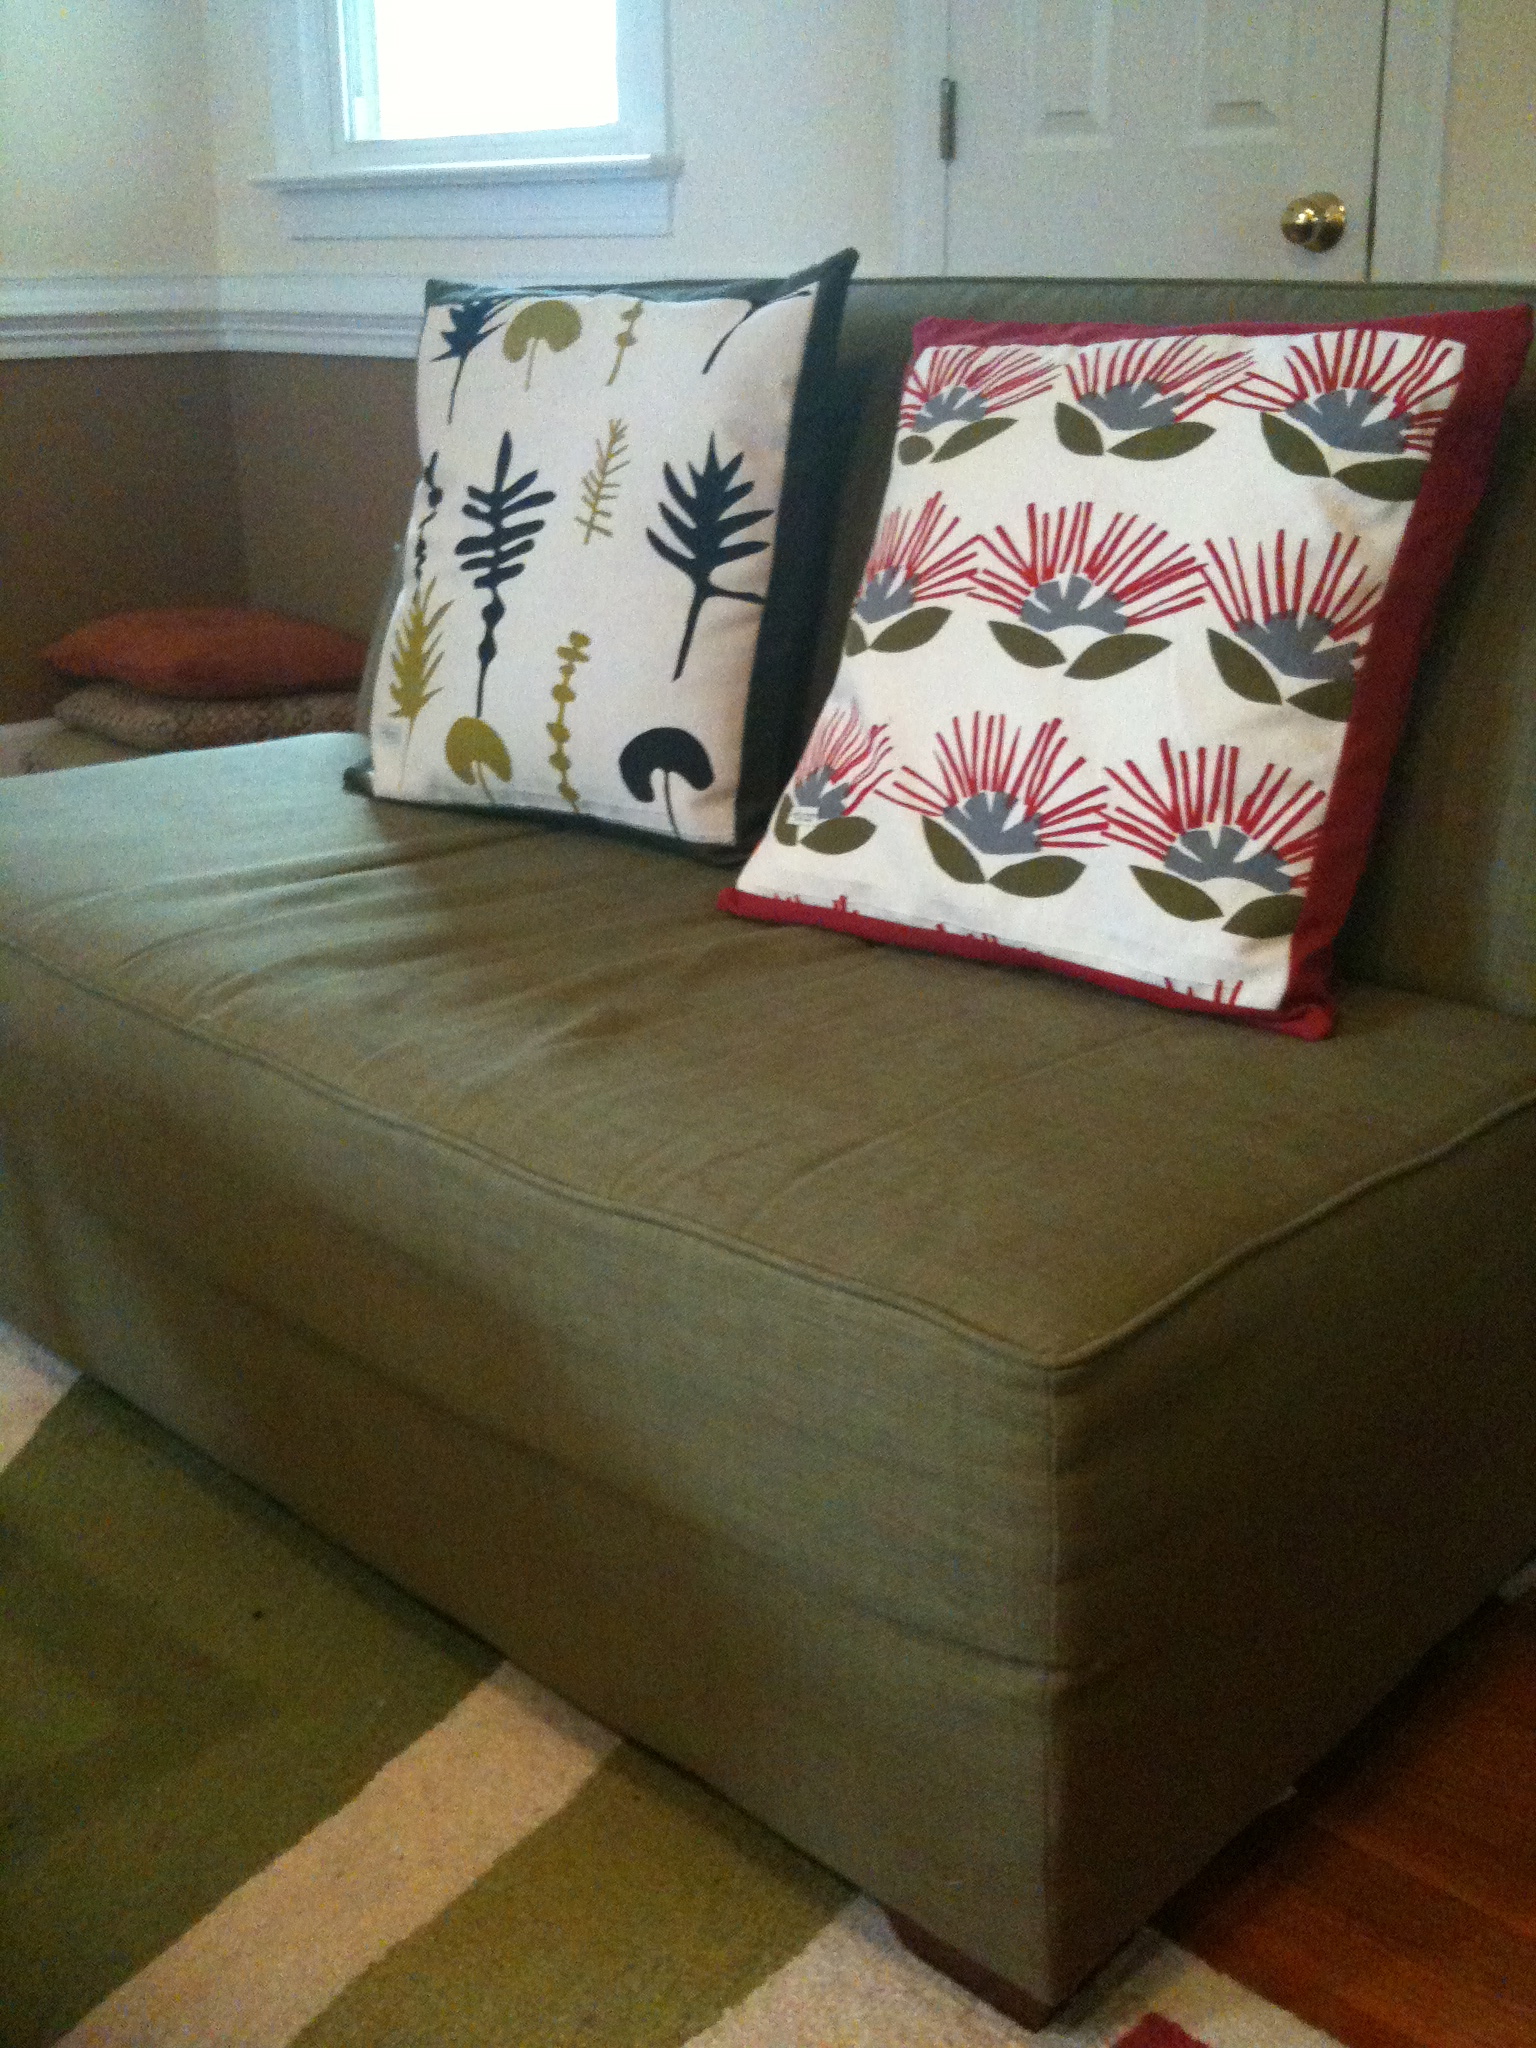
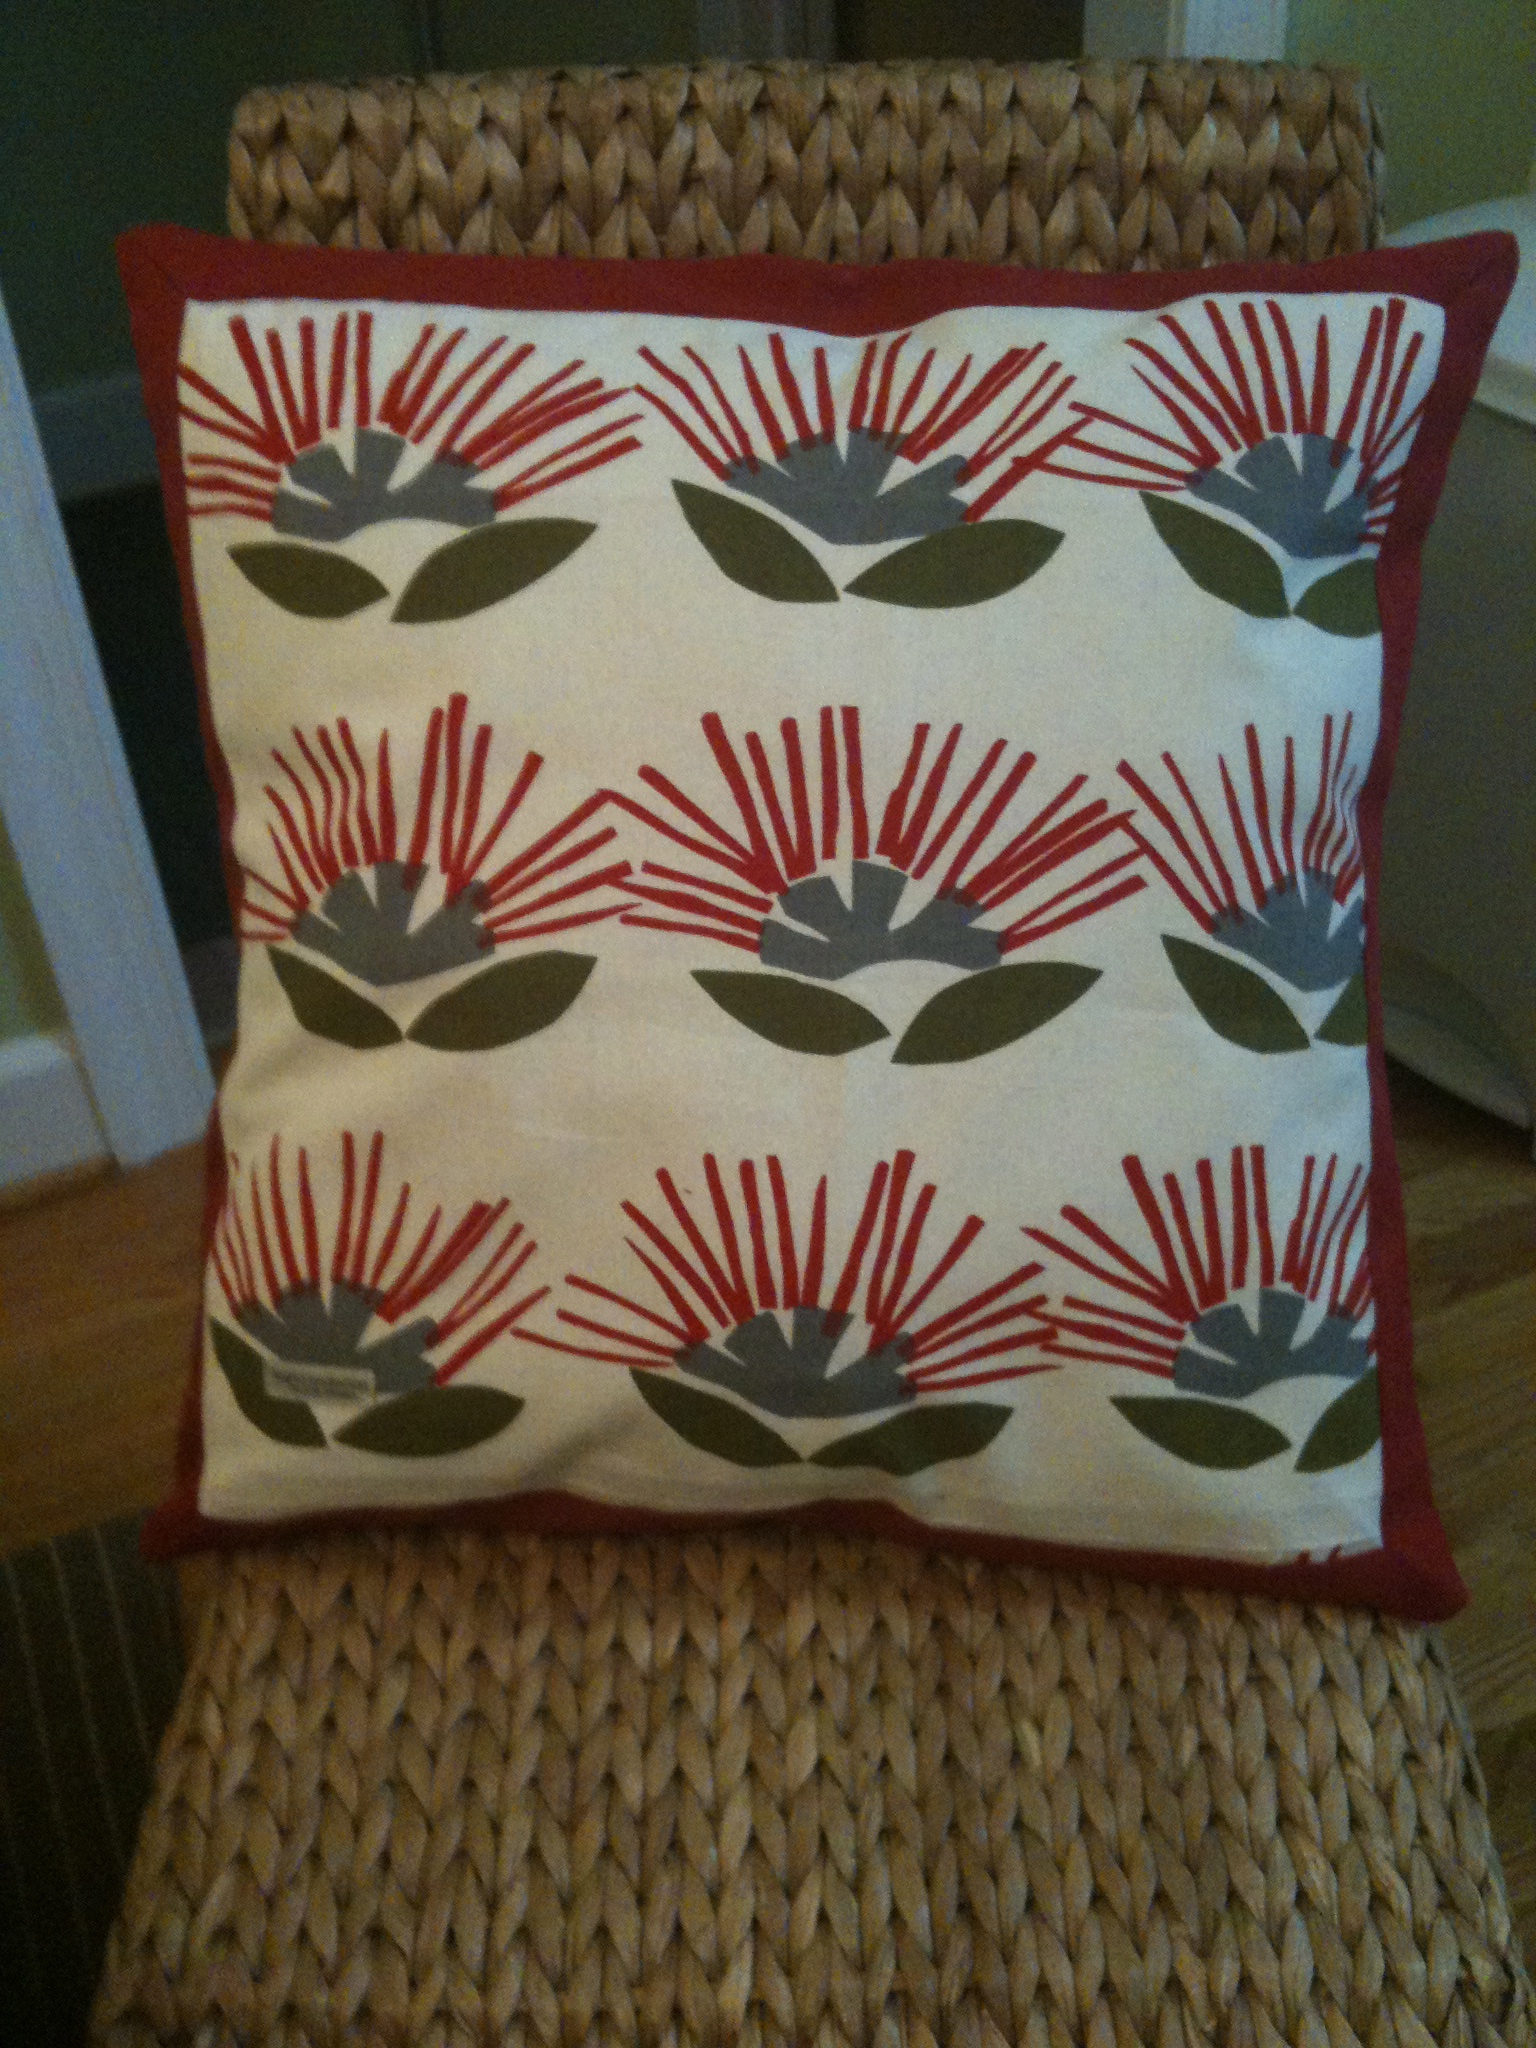
While vacationing in New Zealand, I found two great tea towel designs by New Zealand designer Ingrid Anderson (http://www.iatextiledesign.co.nz/showcase/index.html), that would make wonderful cushions for my kiwi green sofas.

I had the idea, but realized that I had not sewn since high school (over 20 years ago) and did not have a sewing machine. As projects stacked up, I bit the bullet ( so to speak) and purchased my first sewing machine a couple of months ago.

These cushions would make a great first project and I had the materials for 4 cushions, one set were red and the other green…..so here’s what I did.

Materials:
4x tea towels (I unpicked all the seams to give me as much allowance as possible)
2x 2 yards of solid colored fabric (I had 2 red and 2 green based cushions)
2x matching threads
4x 20 in. pillows
Cutting mat
Rotary Cutter

Dimensions for each solid fabric (2 x red, 2x green):
2x 13 in. by 21 in. pieces for the back of the cushion
4x  2 in. by 24 in. for framing edges on front of cushion

Dimension for each tea towel piece (x4):
18 in. by 18 in.


Steps for 1 cushion (repeat 4 times):

  1. First step was to sew the border pieces around the tea towel square which is to be the center. You will want to do each border one at a time; when you have two sewn on you will do a miter corner to connect the borders and give it a nice finish. Then add one border at a time and corner till finished. Make sure you iron the borders and corners. That’s the front side of your cushion and should measure 21 in. x 21 in.I found a great youtube video showing how to do easy miter corners for the borders – if I find it again I will update the blog.
  2. Now for the back…I took each of the two 13 in. x  21 in. pieces and on one of the long sides (ie. the 21 in.) I pinned about 1/4 in. over. I ironed this seam flat.  I folded over again 1/4 in. and re-pinned and ironed again. Now it is ready to sew a 1/4 in. seam starting and finishing with a few back stitches.
  3. The last step, sewing the cushion pieces together. Place the front piece tea towel up (so you can see the print). Now place one of the 13 x 21 in. pieces front down and line up the long rough edge to be at the top of the front piece. Repeat with the other 13 x 21 in. piece except the rough edge will line up at the bottom of the front piece. Pin in place – make sure you pin the overlap correct so that all pieces are seamed together.NOTE: If you have pinned correctly you will see all the inside of the cushion – no pattern should be seem. Remember you will be inverting the slip once sewn.
  4. Sew 1/4 in. seam around all 4 edges in one step. Start on one edge and when reaching the corner, pause, lift foot and change the direction of the fabric to sew the next edge…continue until seams meet.  Also as you sew the two sides – check that the seams of the overlapping edges are included.NOTE: I always start and end my seams with back stitches to avoid any unravelling of the seams later.
  5. Once complete iron all seams, invert your cushion slip and I iron again to get the look I want. Now slip in the cushion – and you are done.

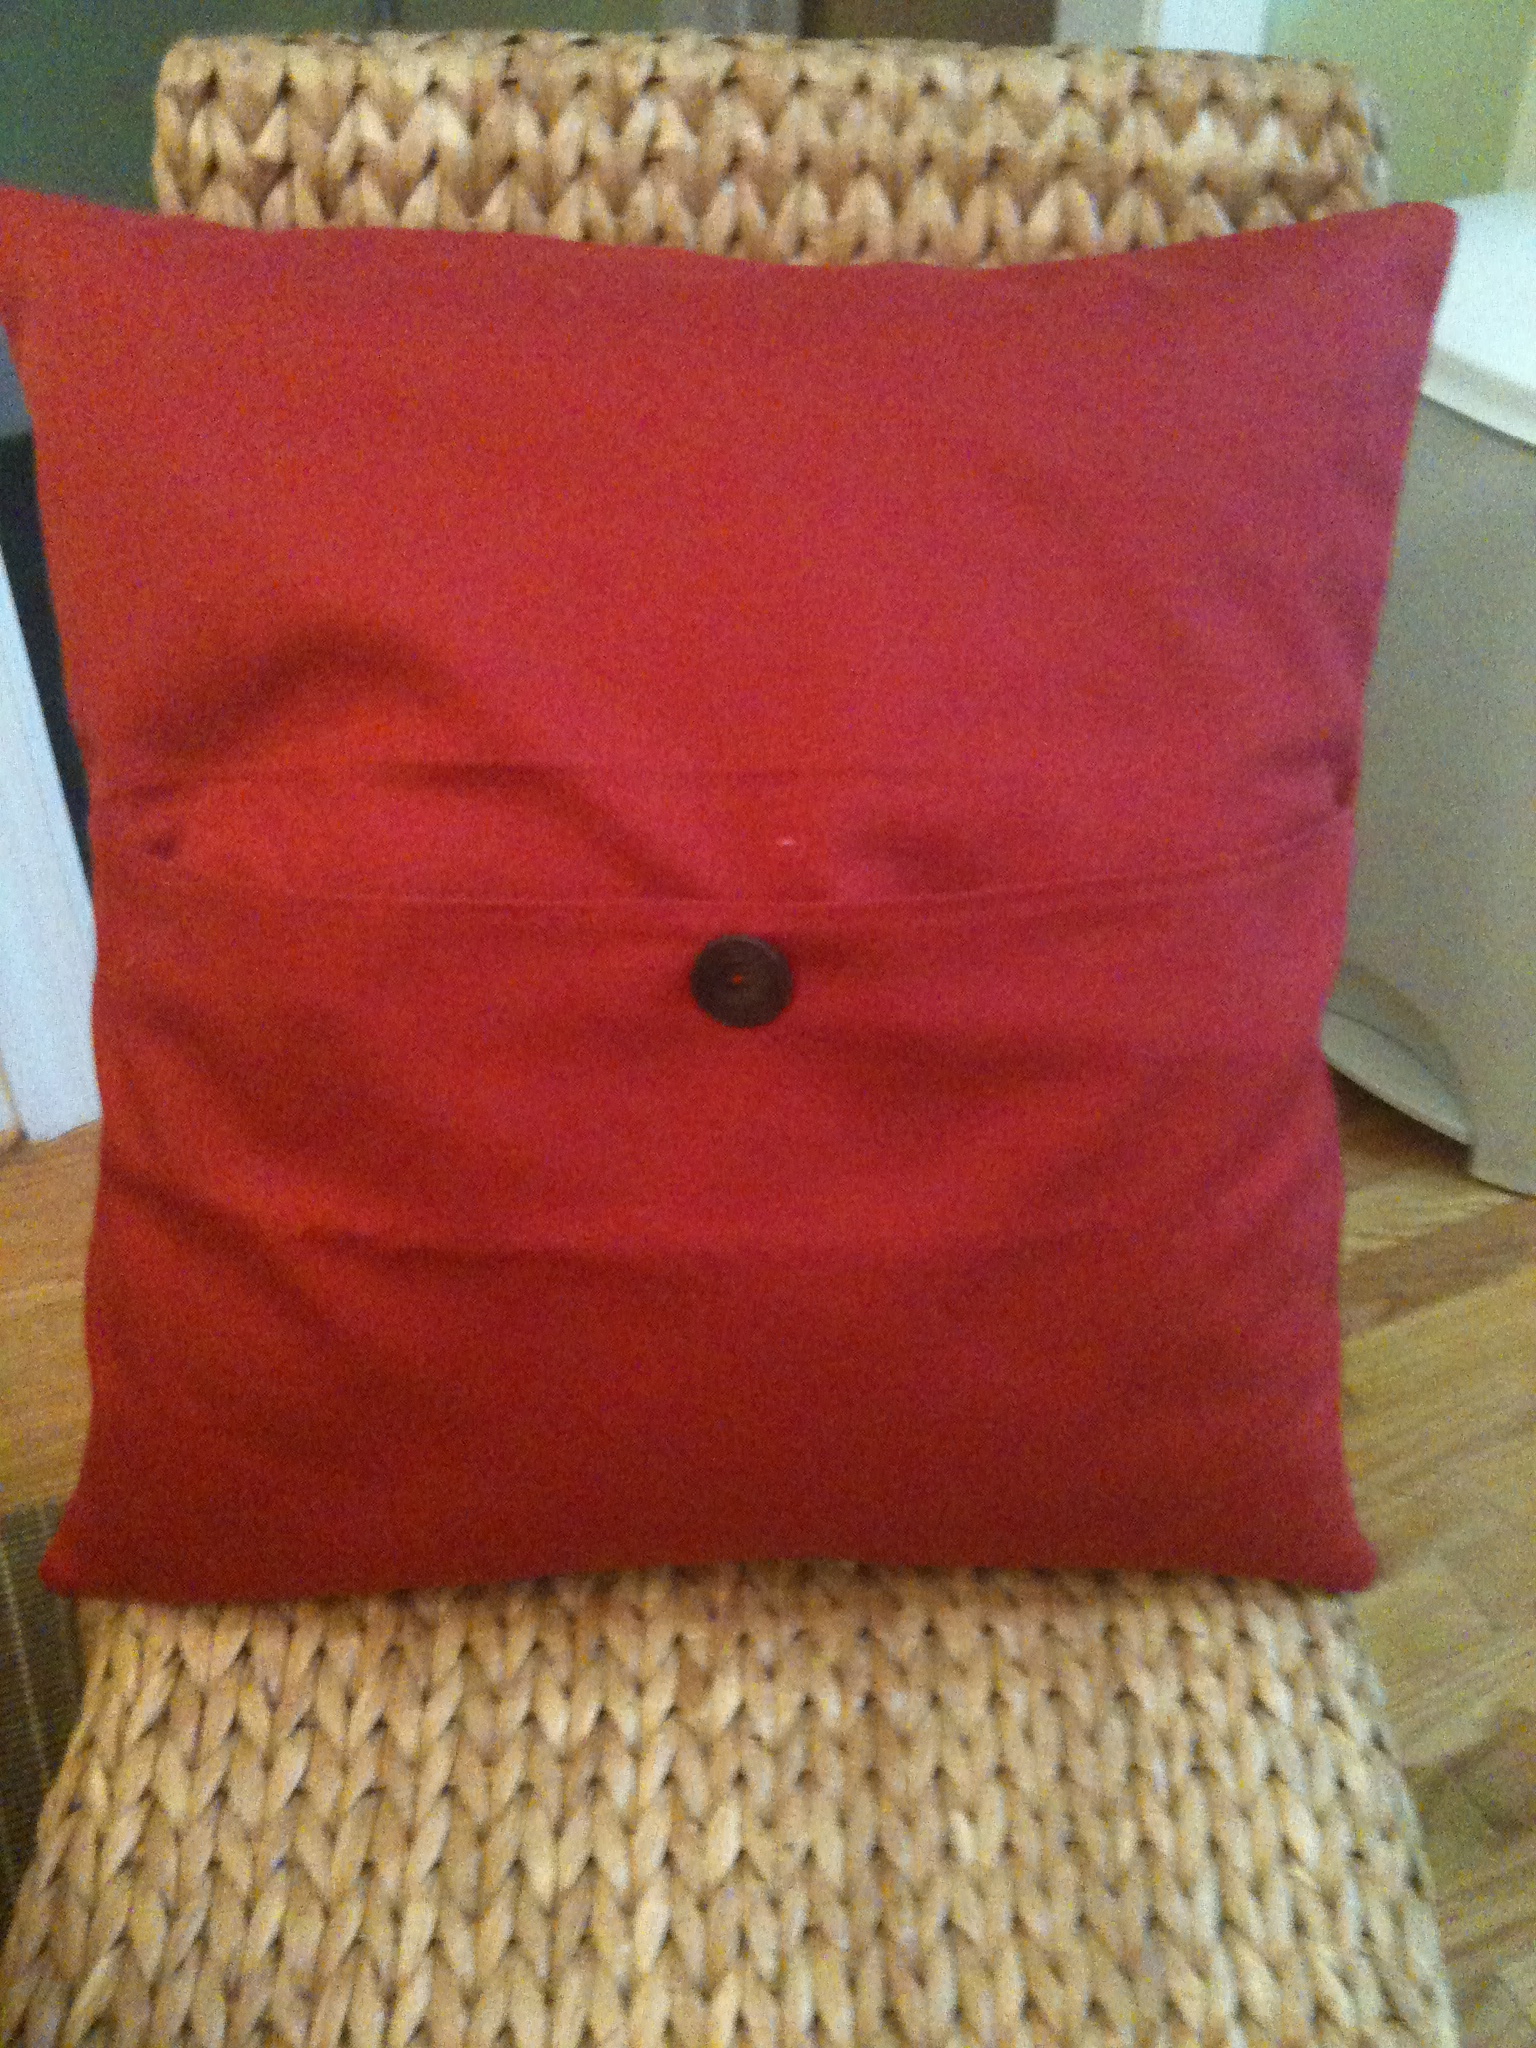
I found that the cushion slip held fine without buttons but if you are feeling more creative add a button-hole on the outer most 13 x 21 in. piece and a button on the inner one.