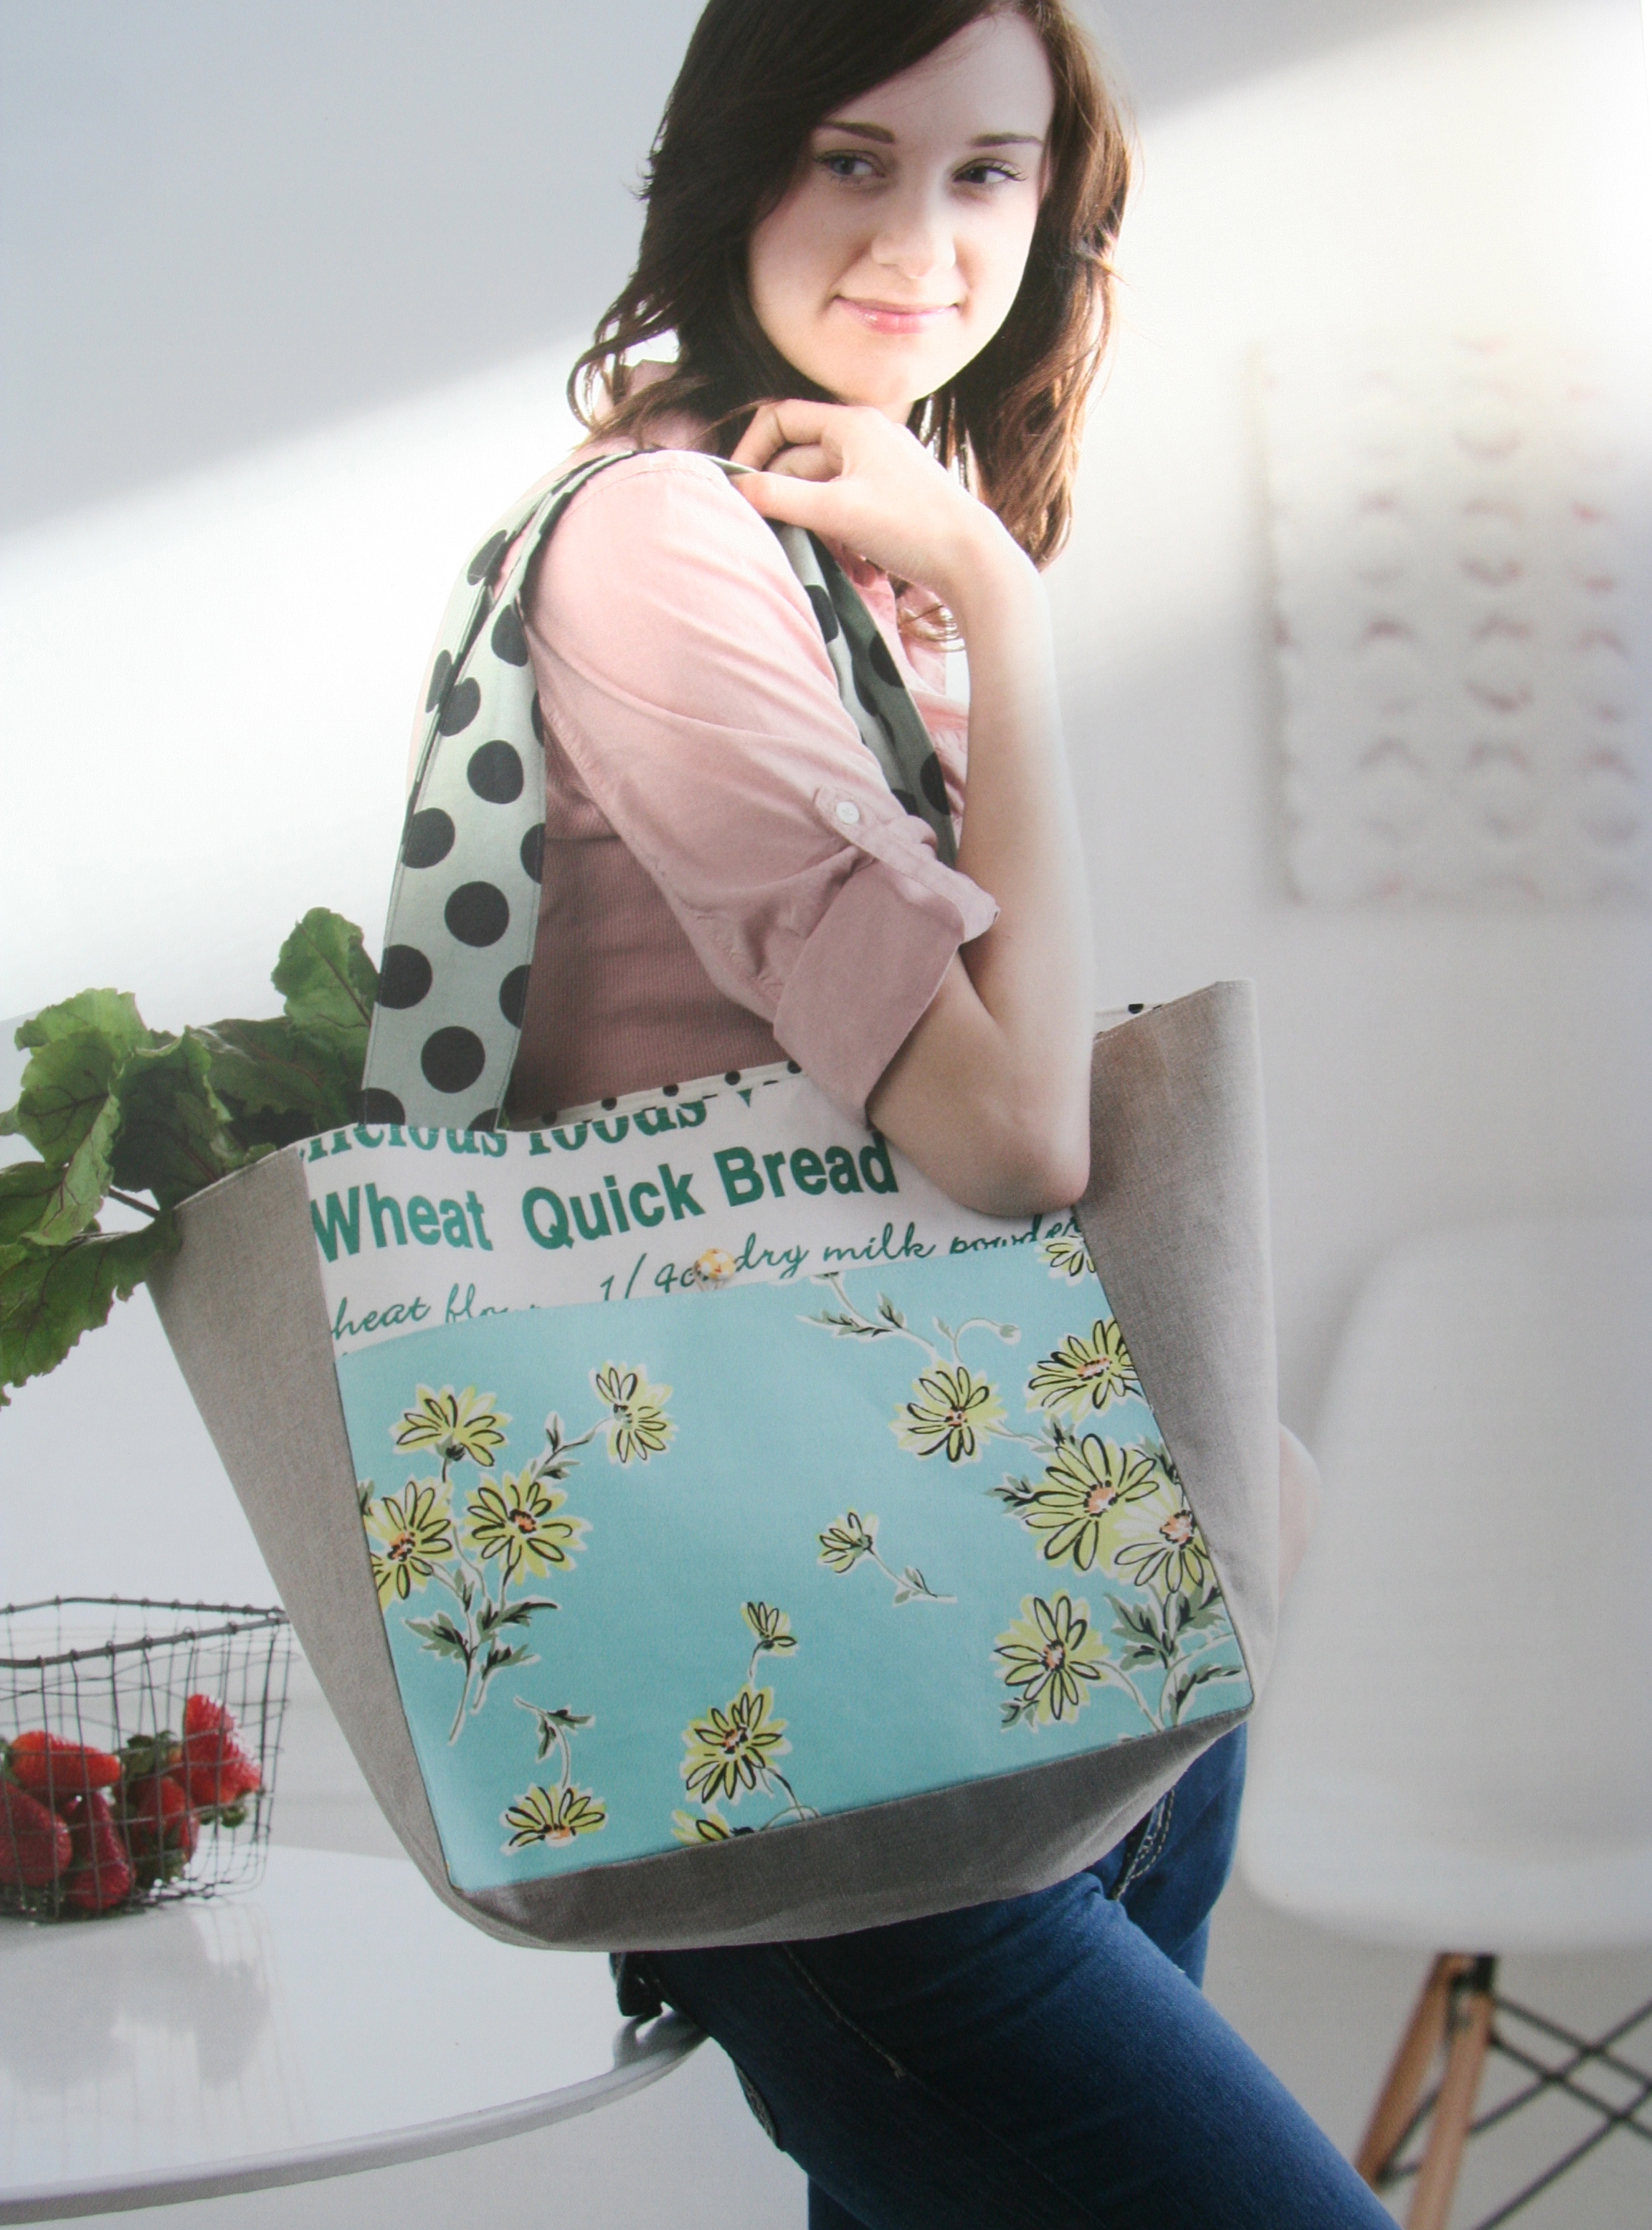
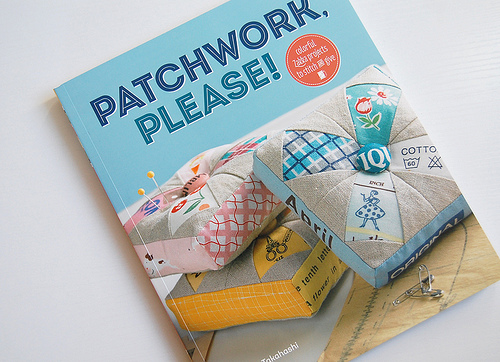
In this post today, I wanted to take some time to fill in how I made the Market tote from the pattern in Patchwork, Please.
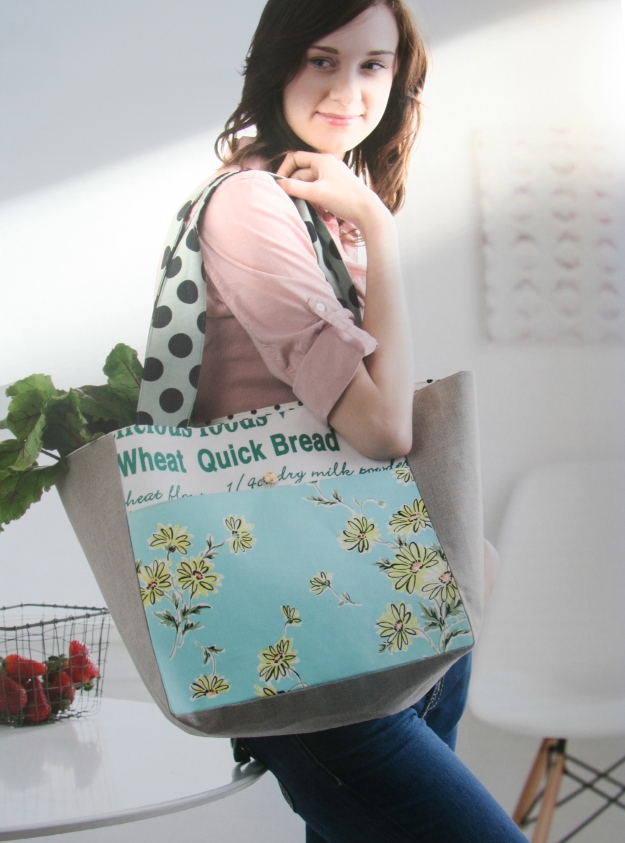
Here are the other two post associated to the overall process:
1. Designing and thoughts
2. Finished Product
Purchased Materials + their usage:
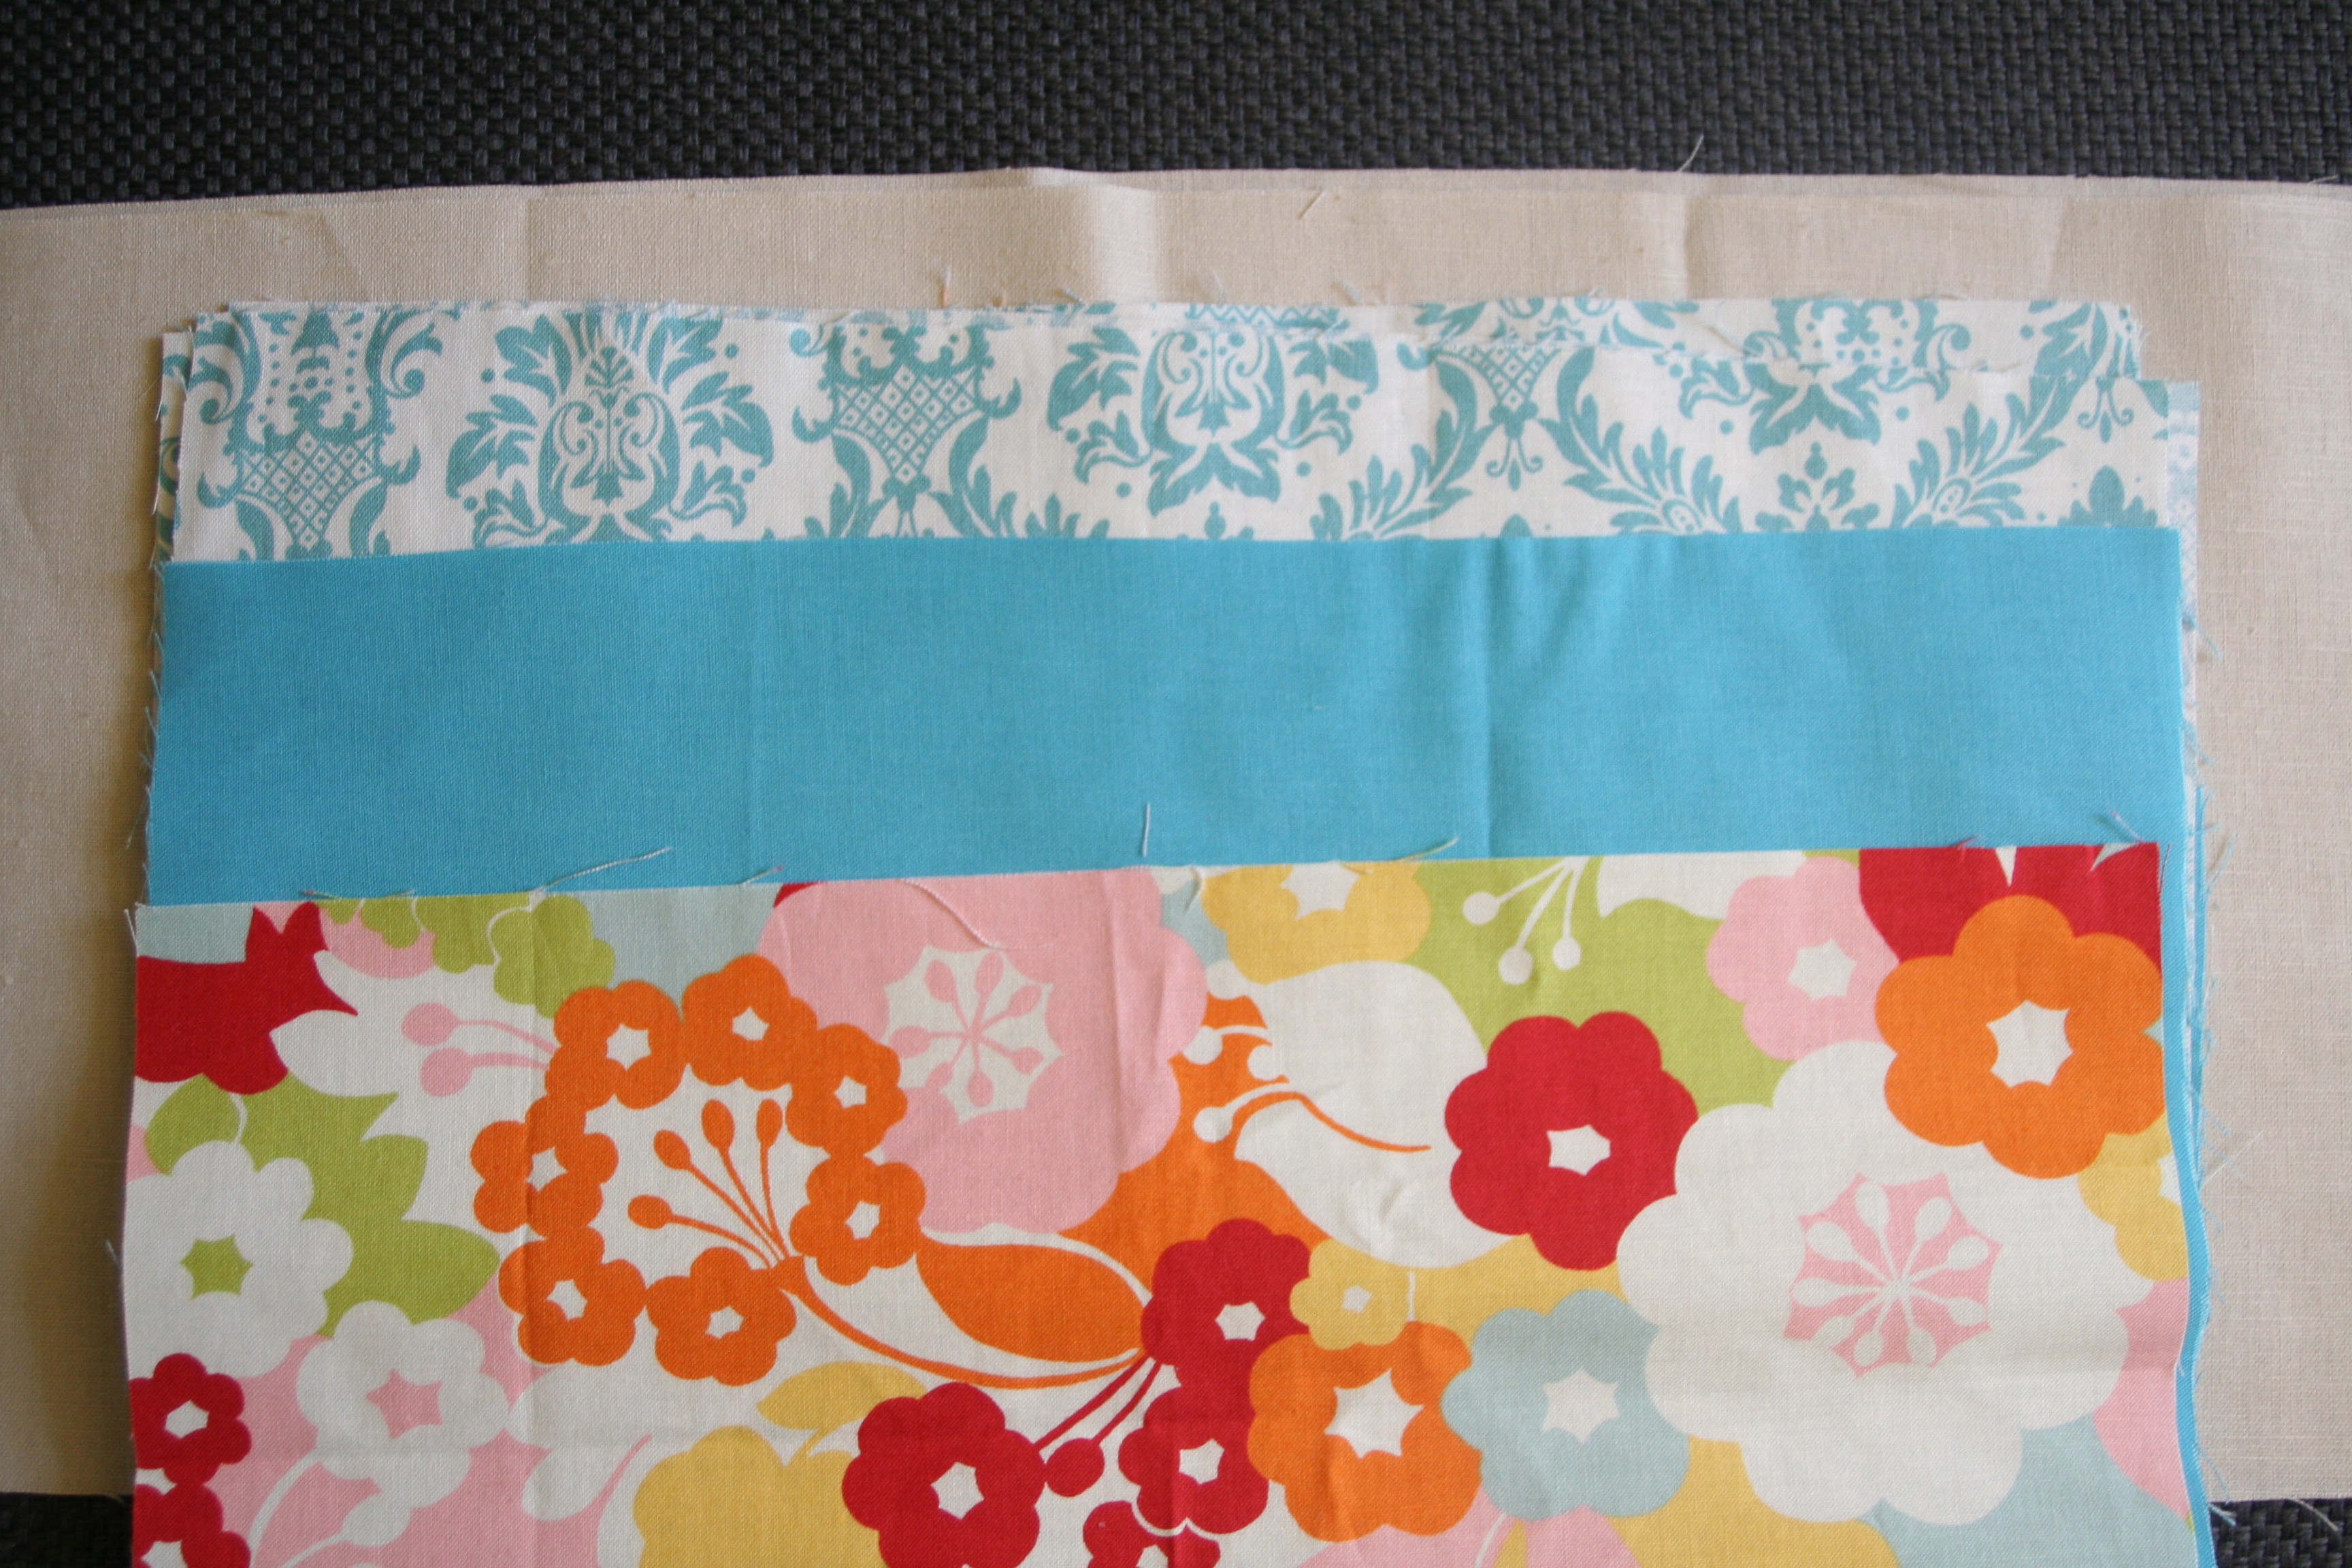
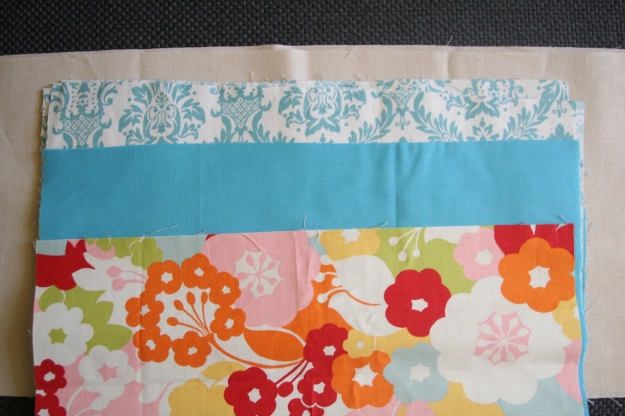
- Sand Essex Linen (one piece – bottom and side exterior)
- Kona solid fabric (front exterior, and backing/edging of inside pocket)
- Keepsake Calico Fabric from Joann (lining and inside pocket)
- Oh Deer by Momo for Moda Fabrics (exterior back)
- Quilted Osnaburg from Joann (handles)
All the materials here were cut and prepared…ready to start. This project does require quite a bit of fabric. I used approximately $40 to make the bag.
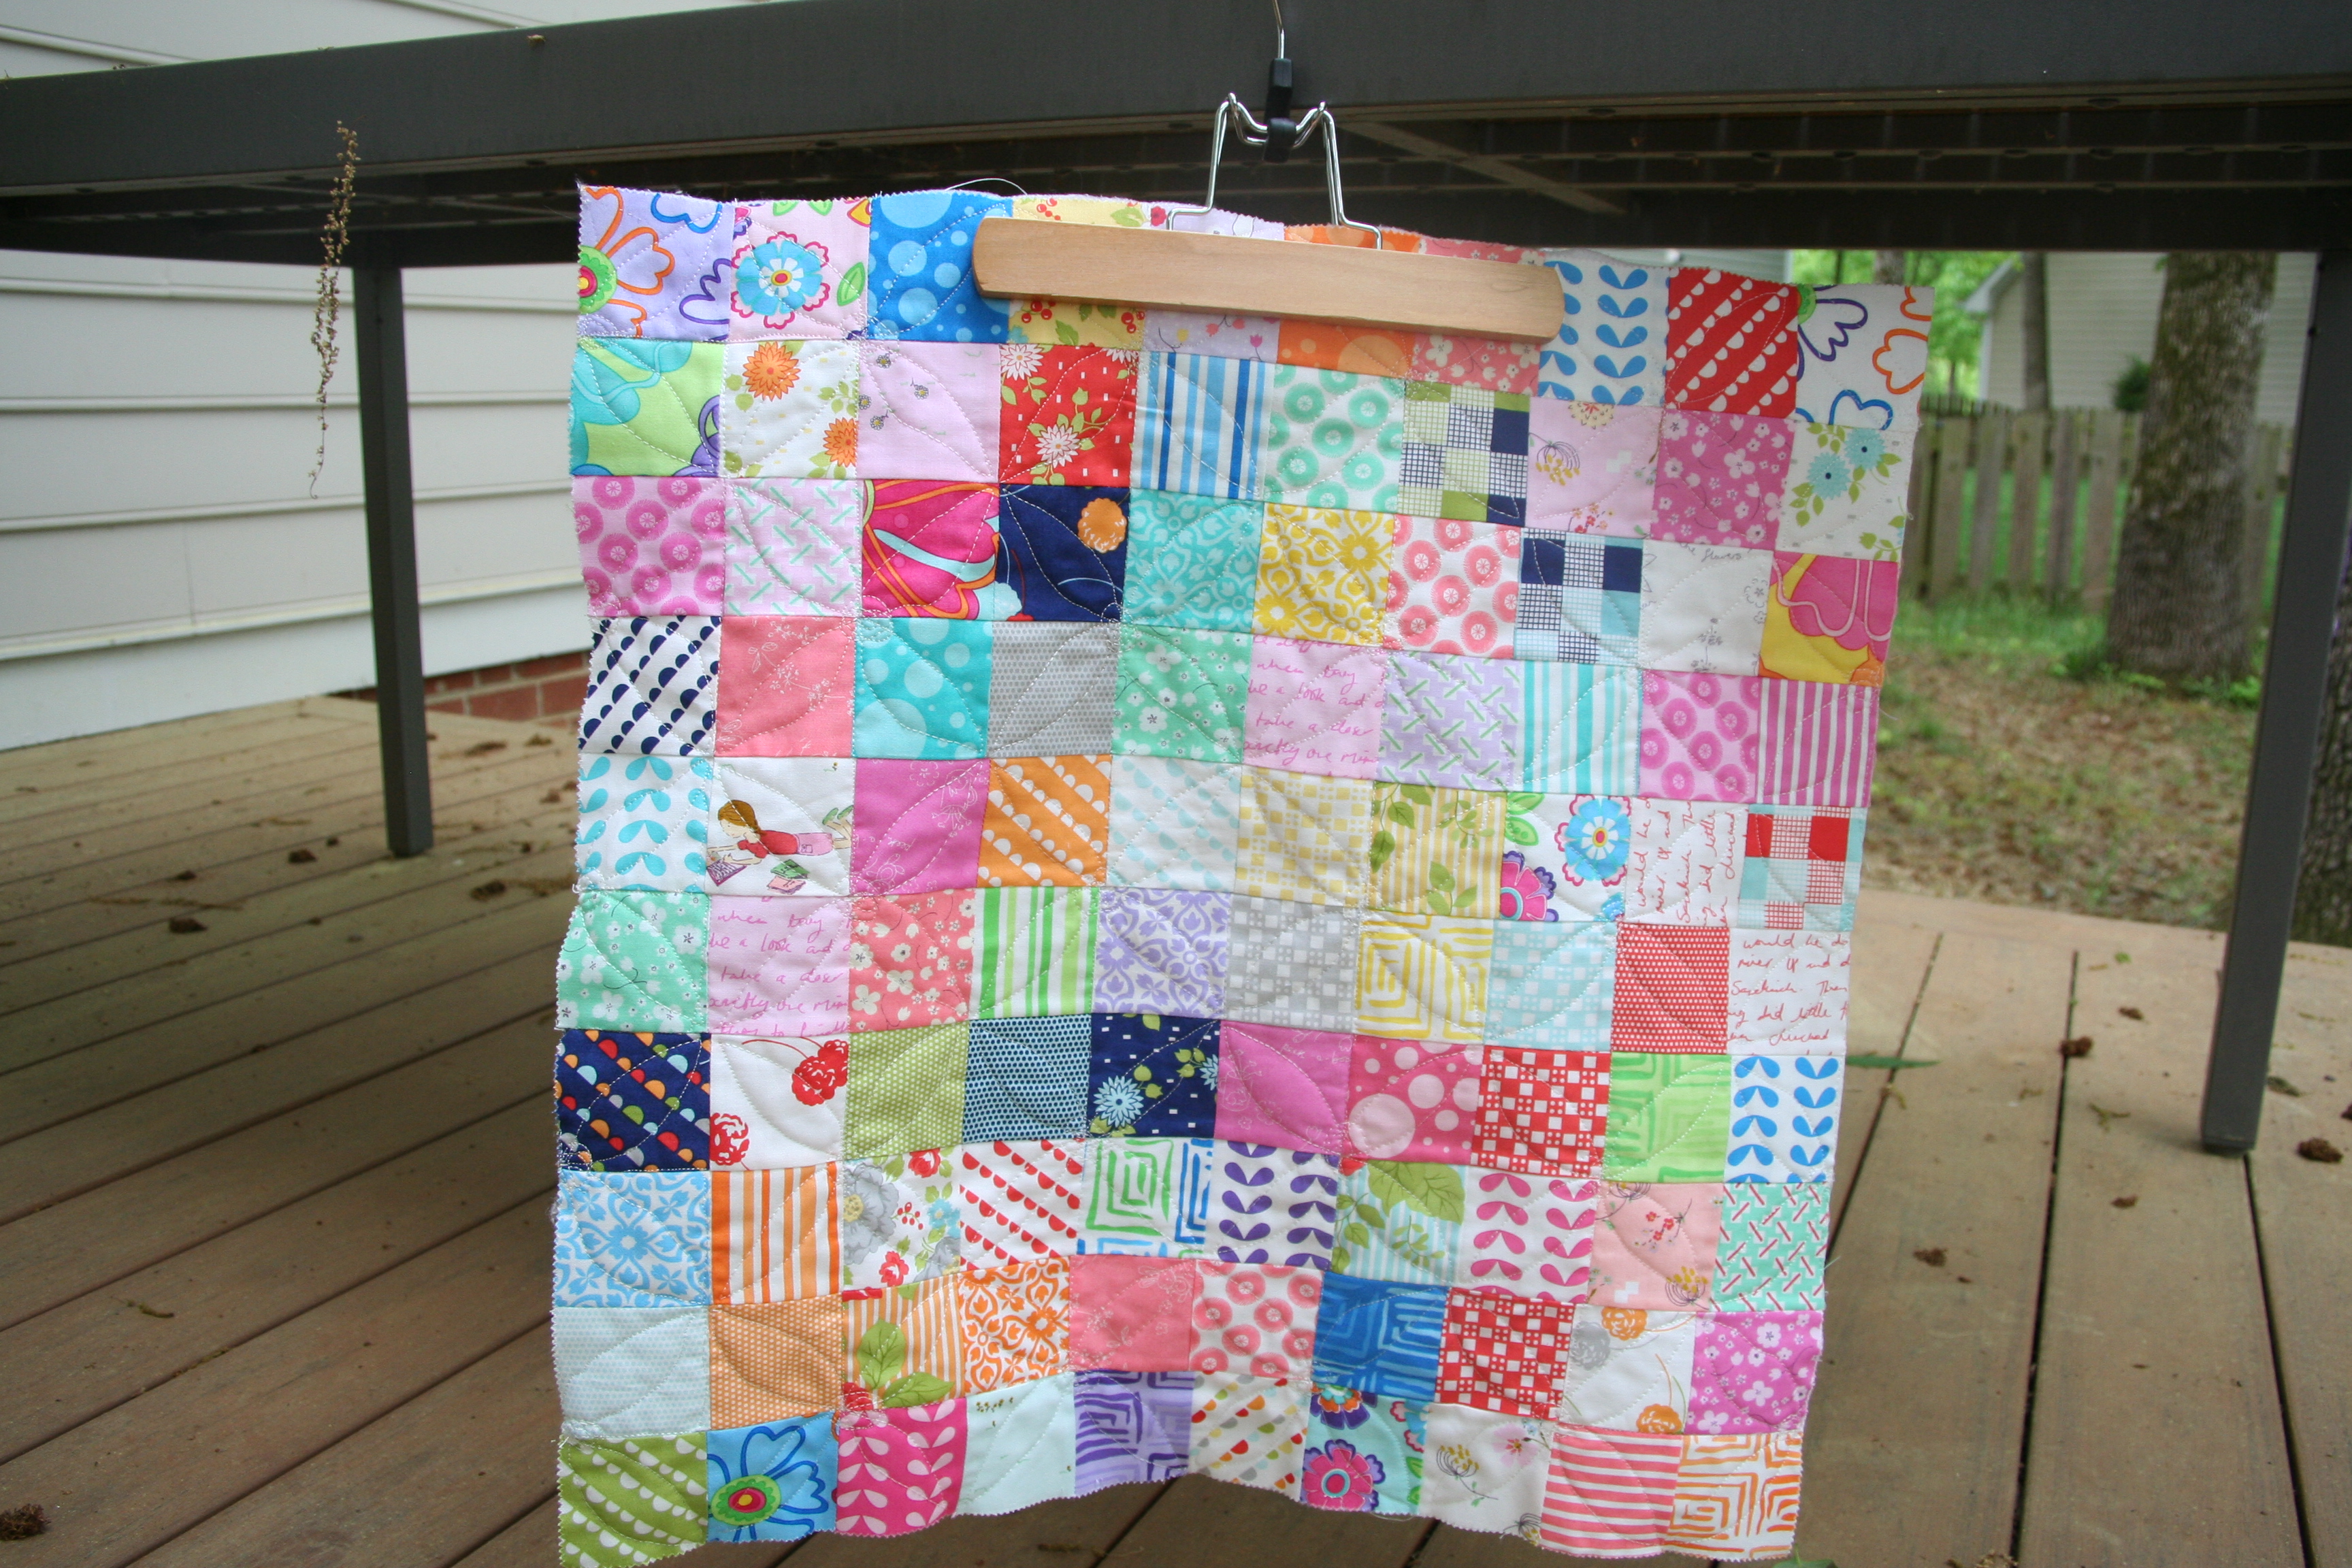
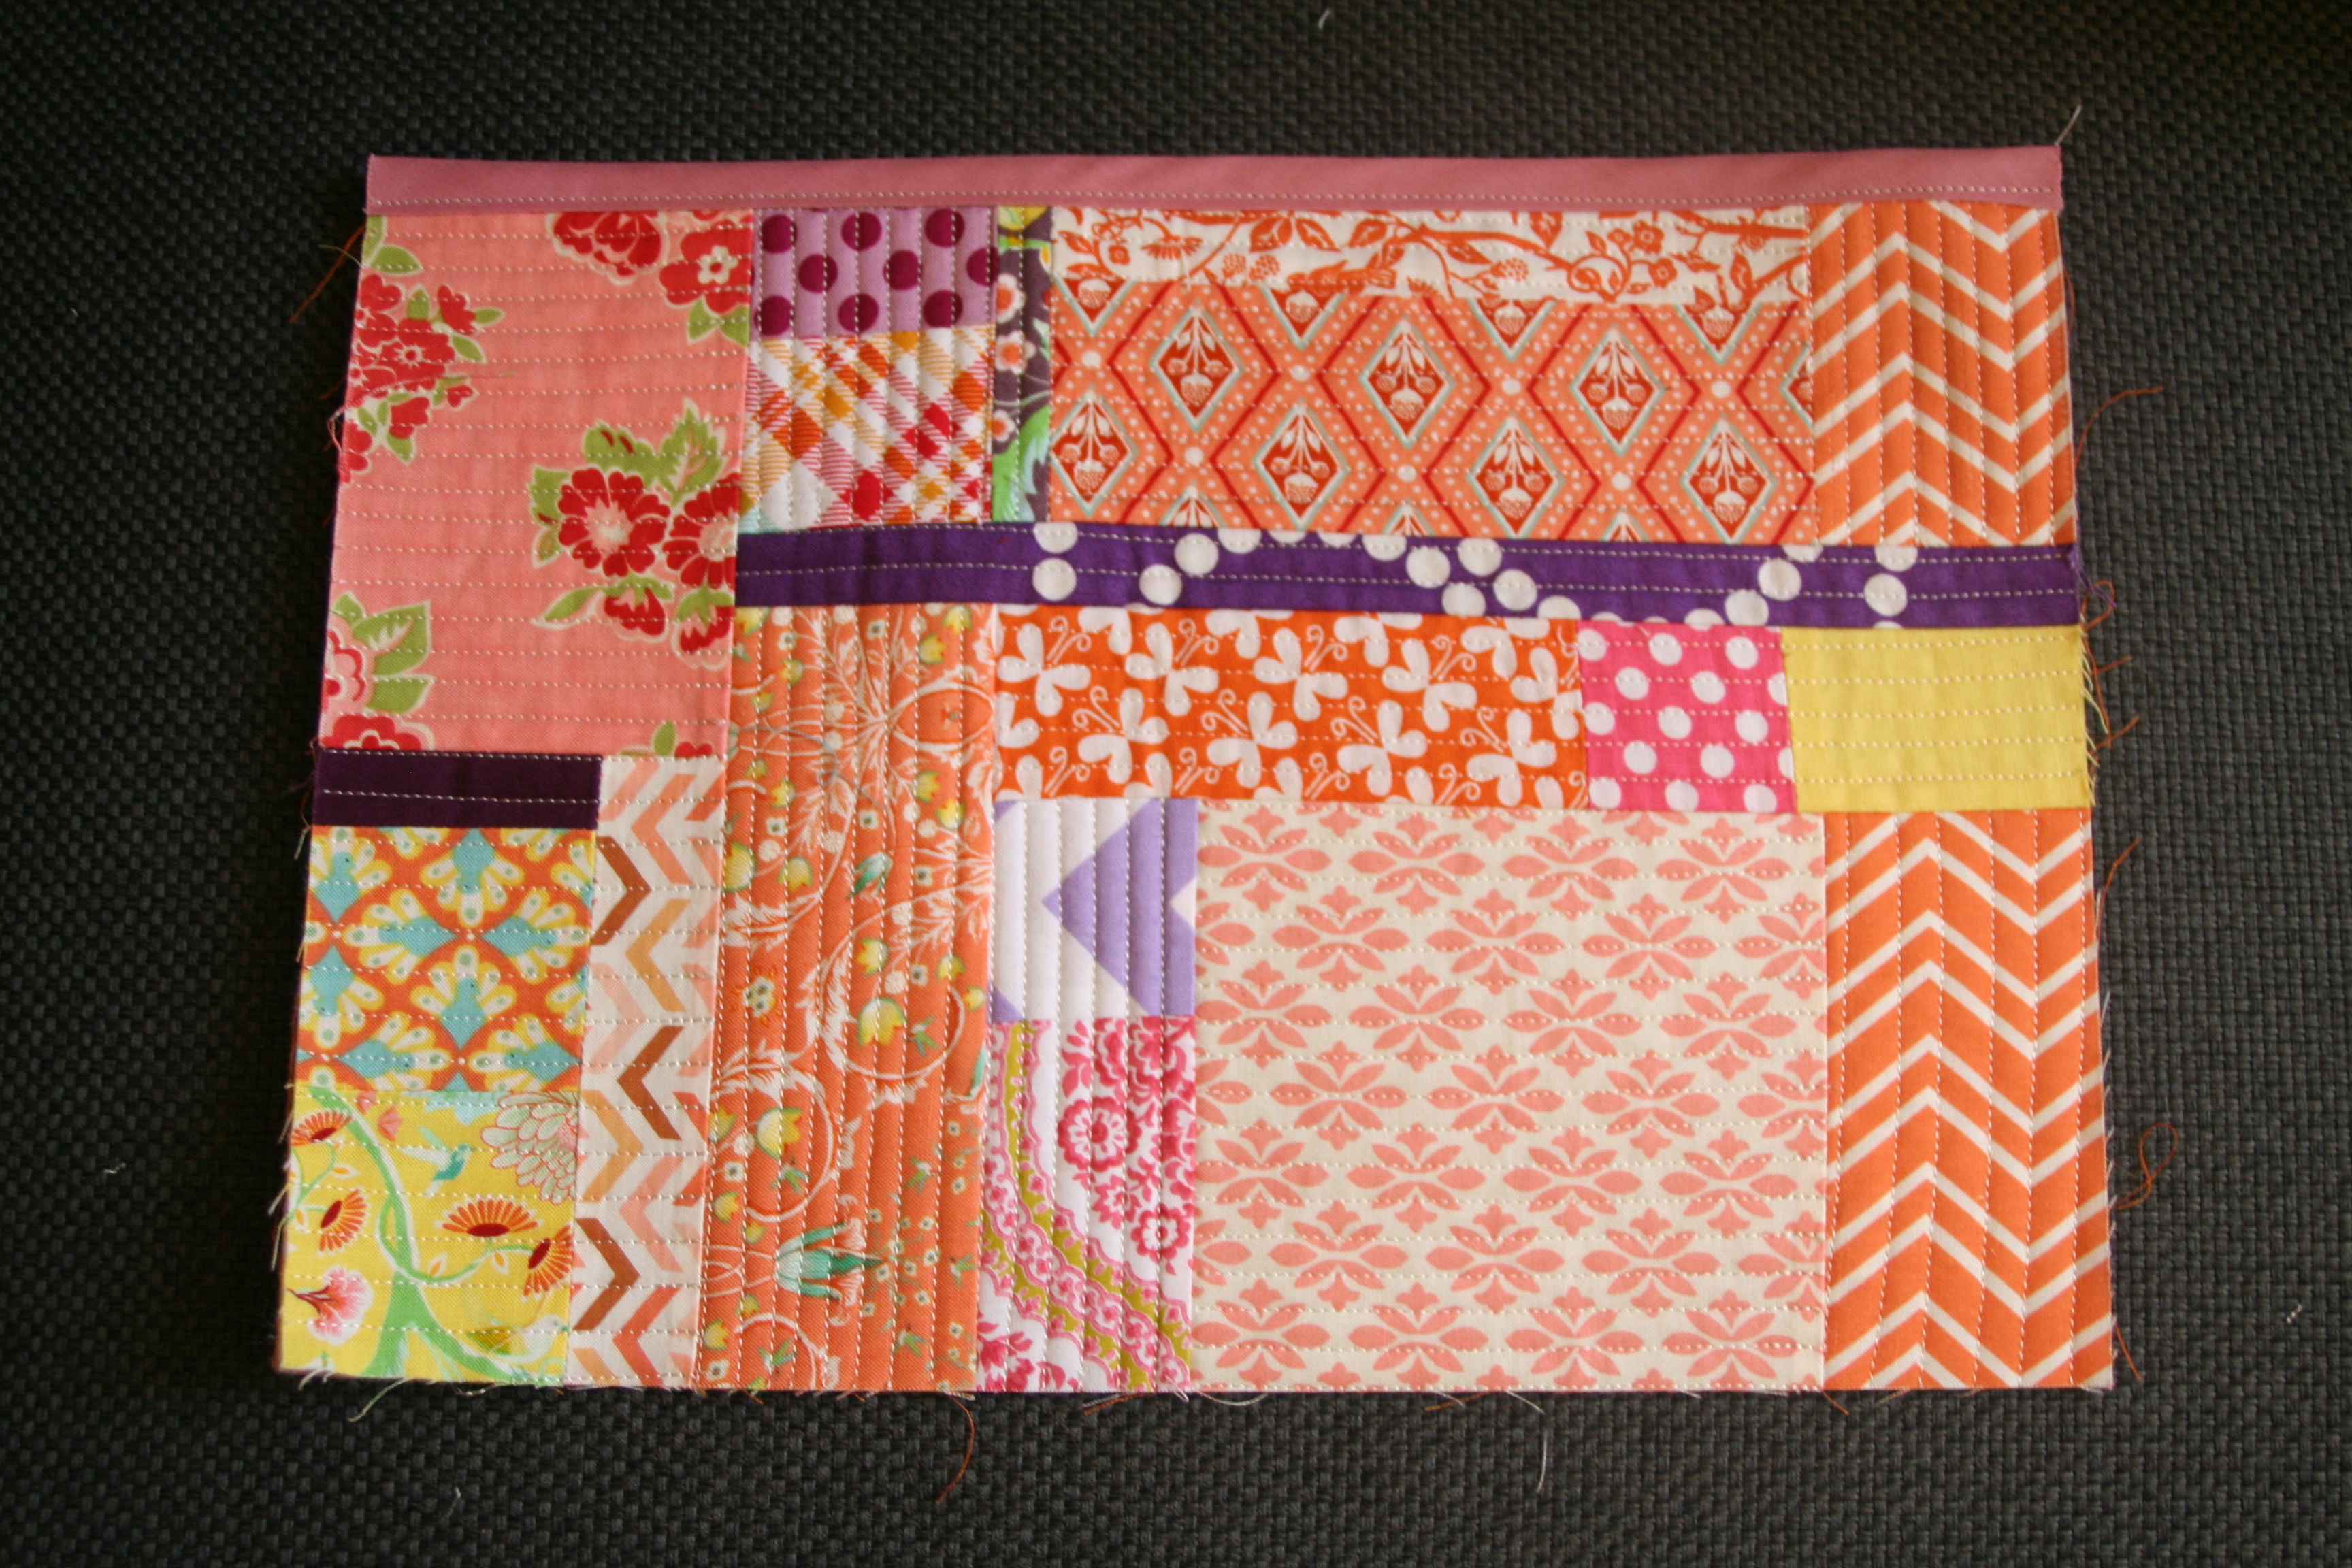
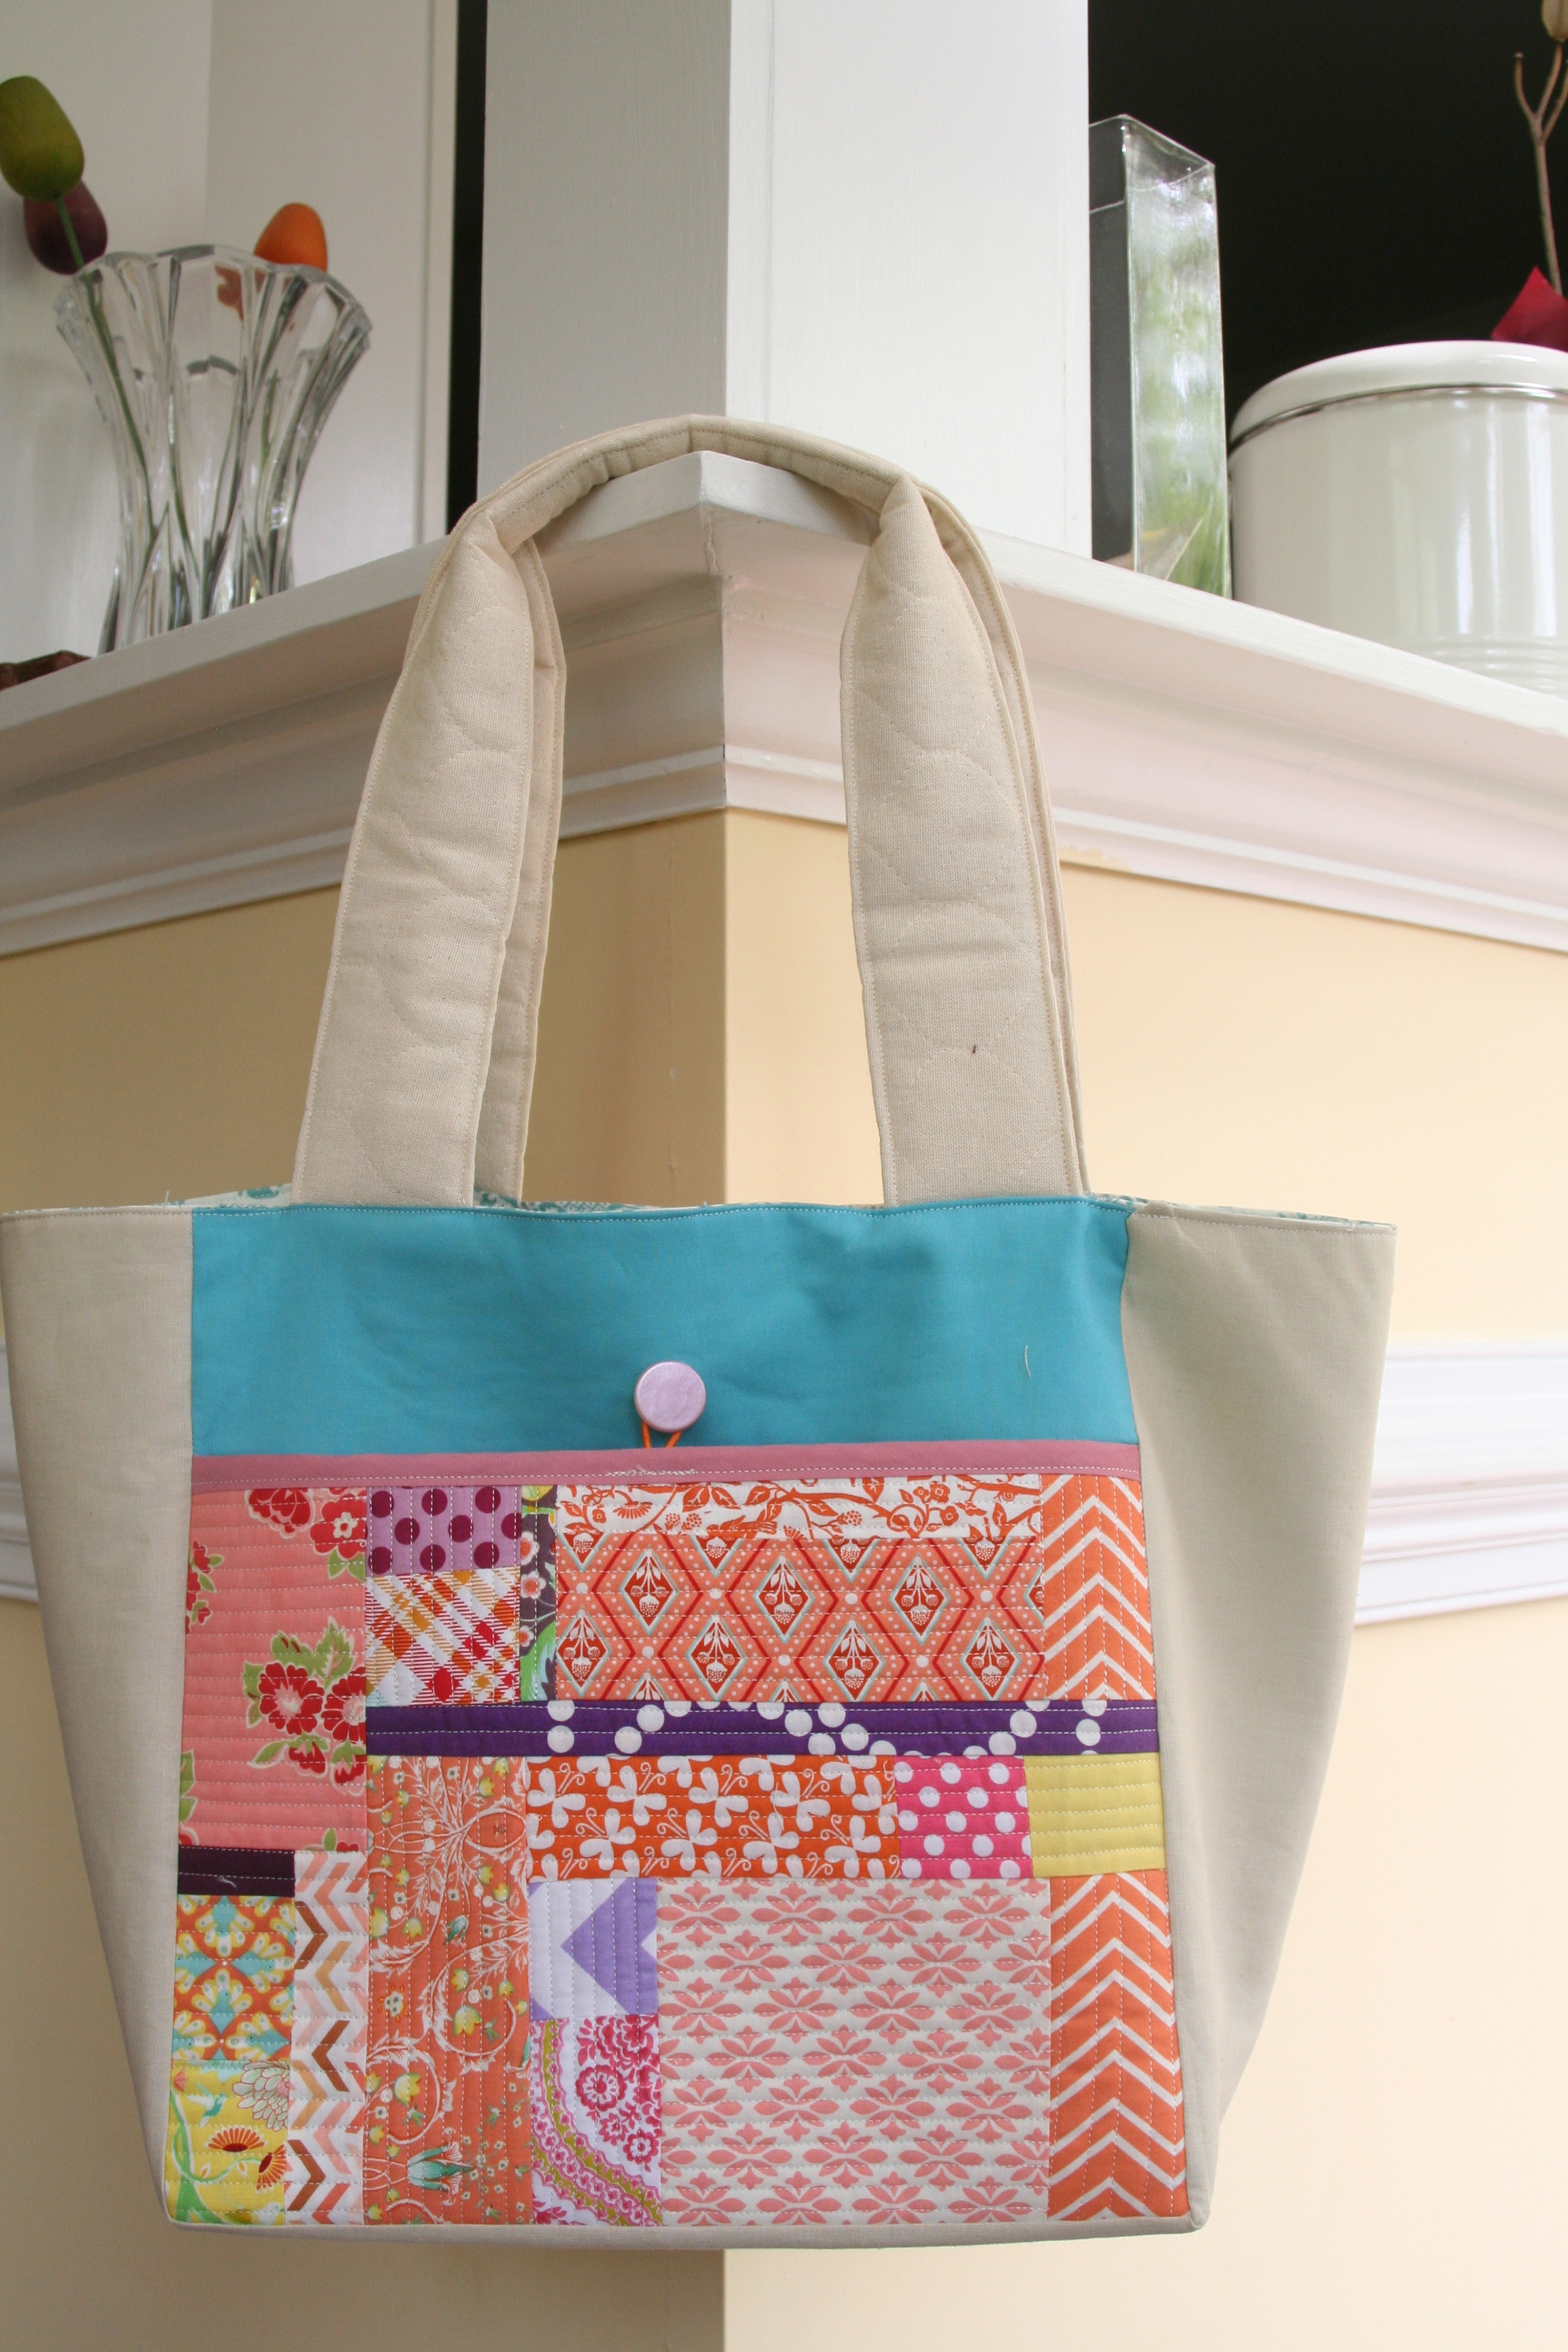
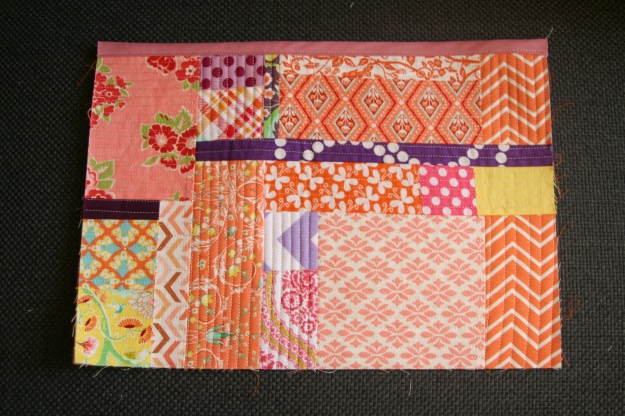
All the above pieces were chosen to work with the “quilt as you go piecing” I did for the front exterior pocket (shown below). This pieced pocket was completely using scraps from my warm scrap bucket. What is even more impressive, much of this is made from samples I have received when buying fabric or been gifted to me (that is $0).
I had no plan when selecting the fabric from my scraps, I just wanted to keep within the same spectrum of color, with a touch of purple. I finished of the panel by adding binding, which was purchased and machine sewn on.
I was a little confused by the instructions in the book but I got the general idea and it worked well. Now looking back, it may have simply been to the fact, this was my first bag I had made. I had a lot of fun making the bag….the actual construction (minus the quilt as you go project) took about two hours.
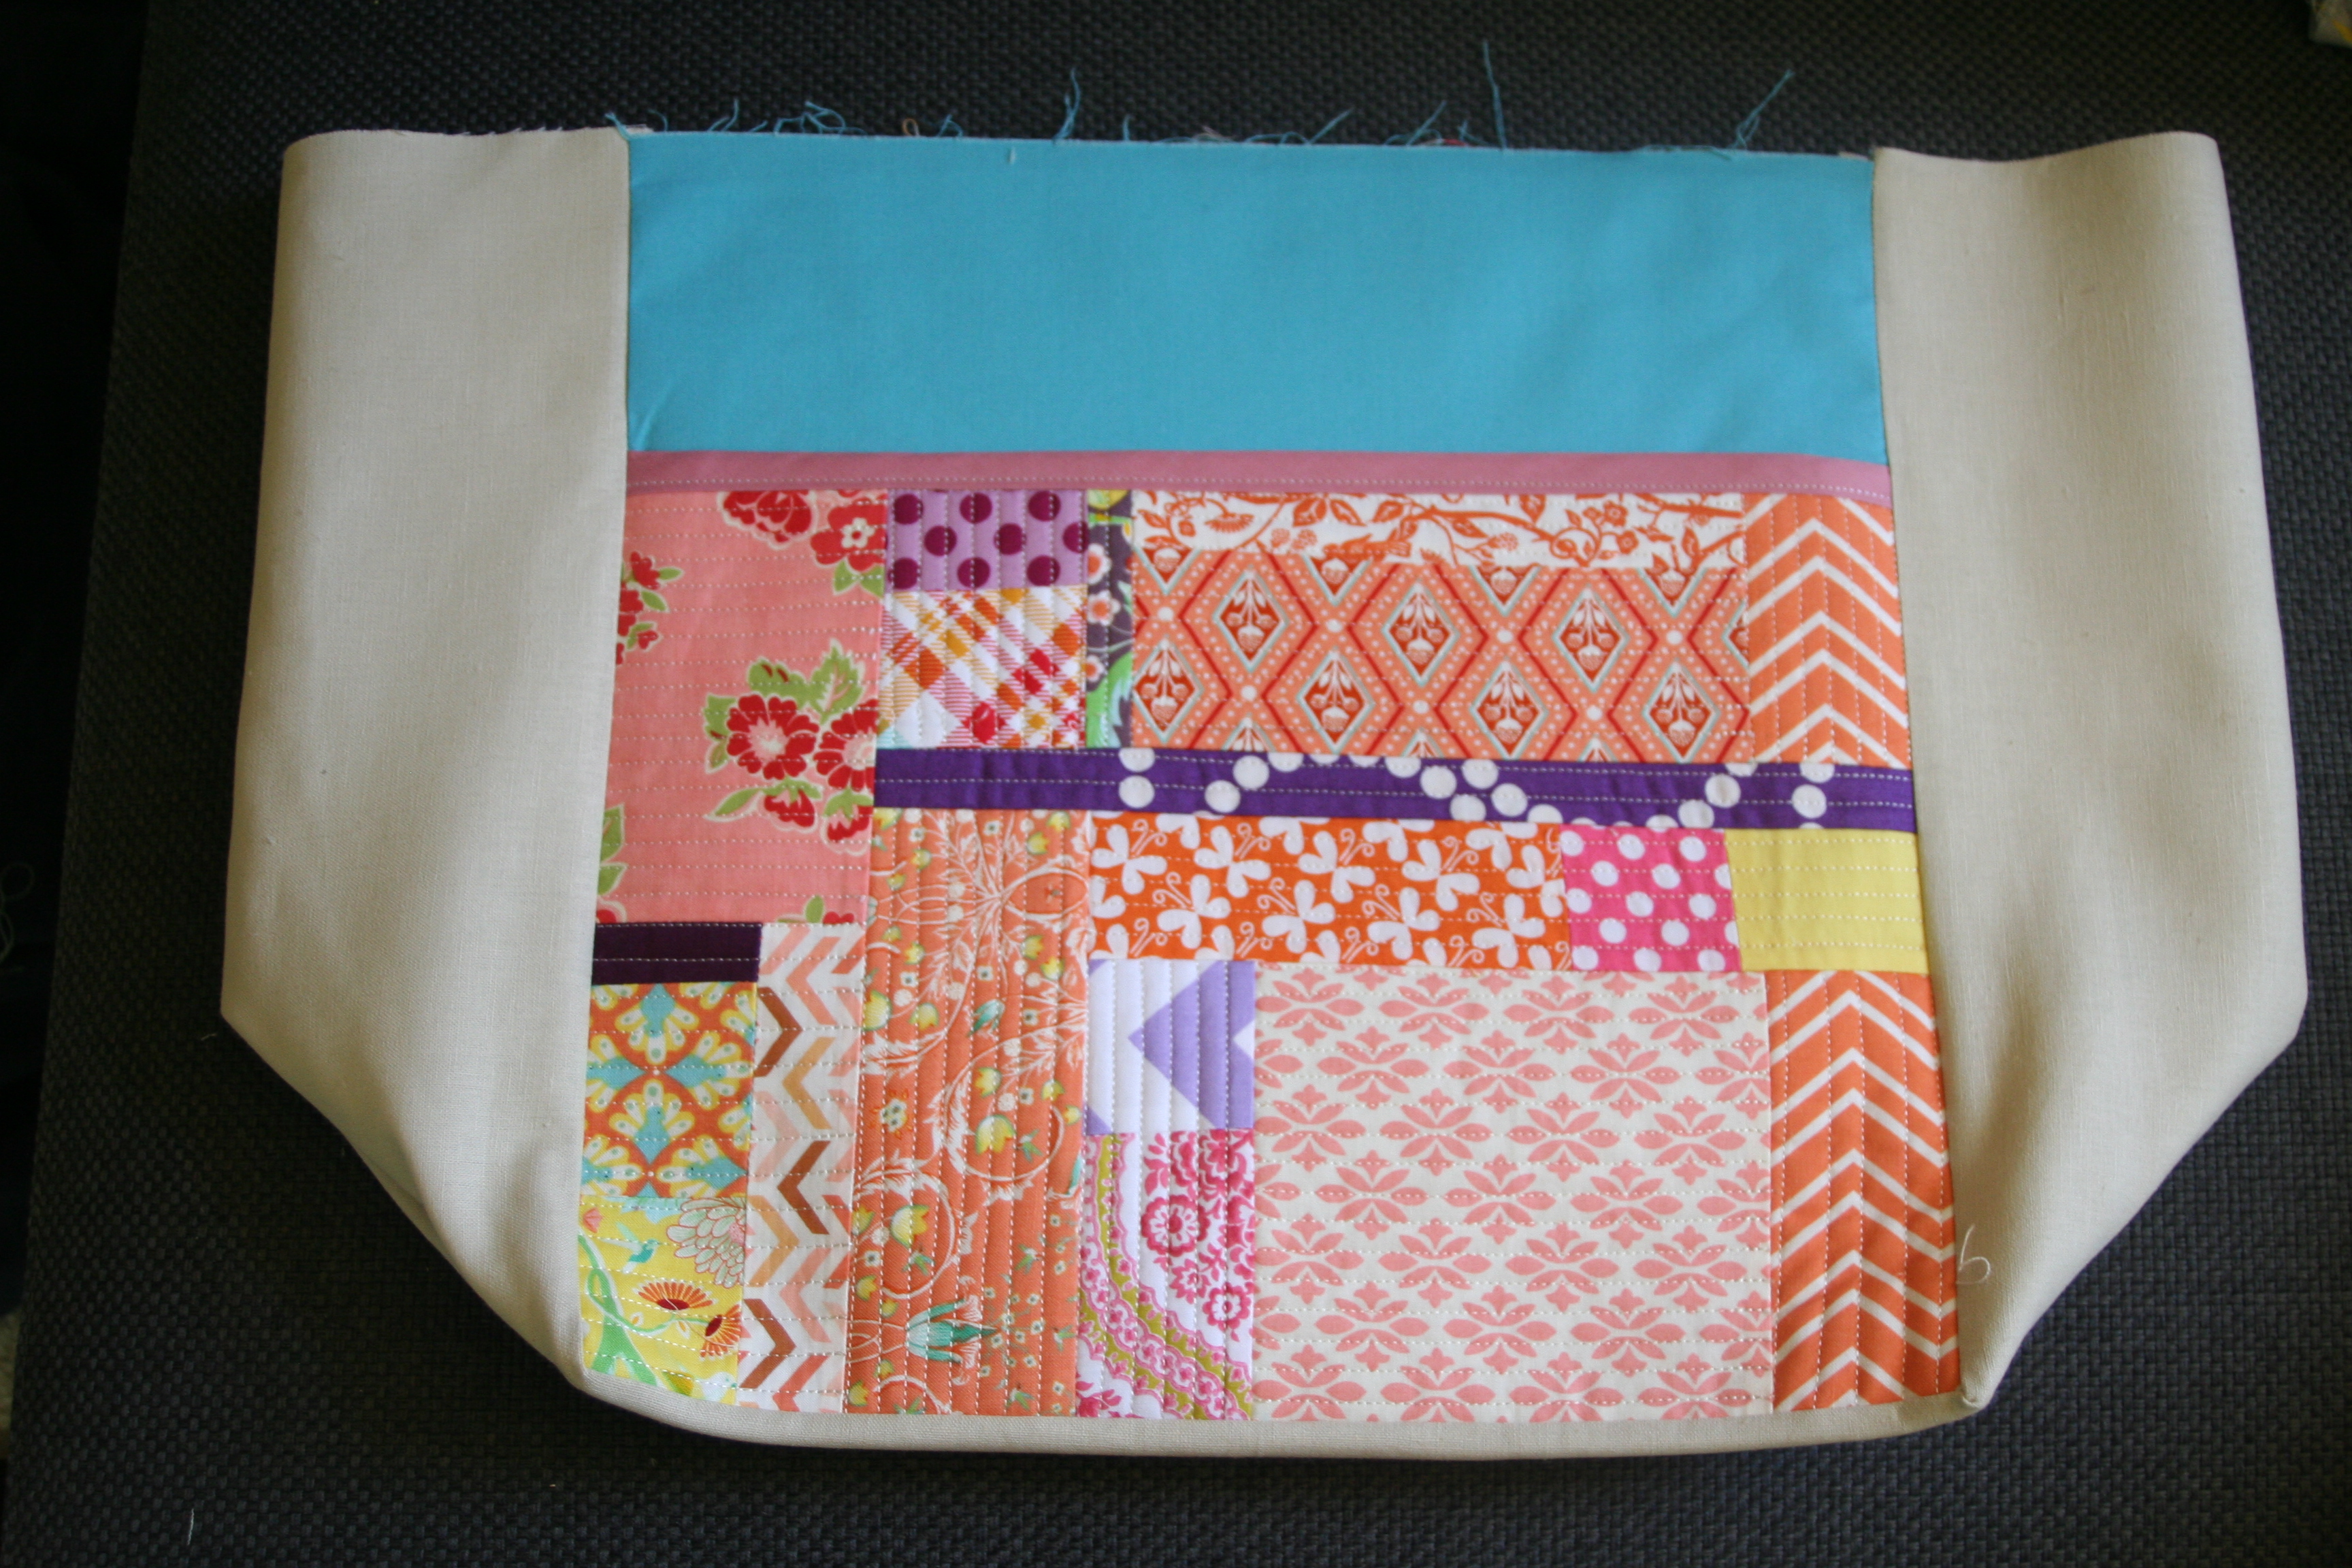
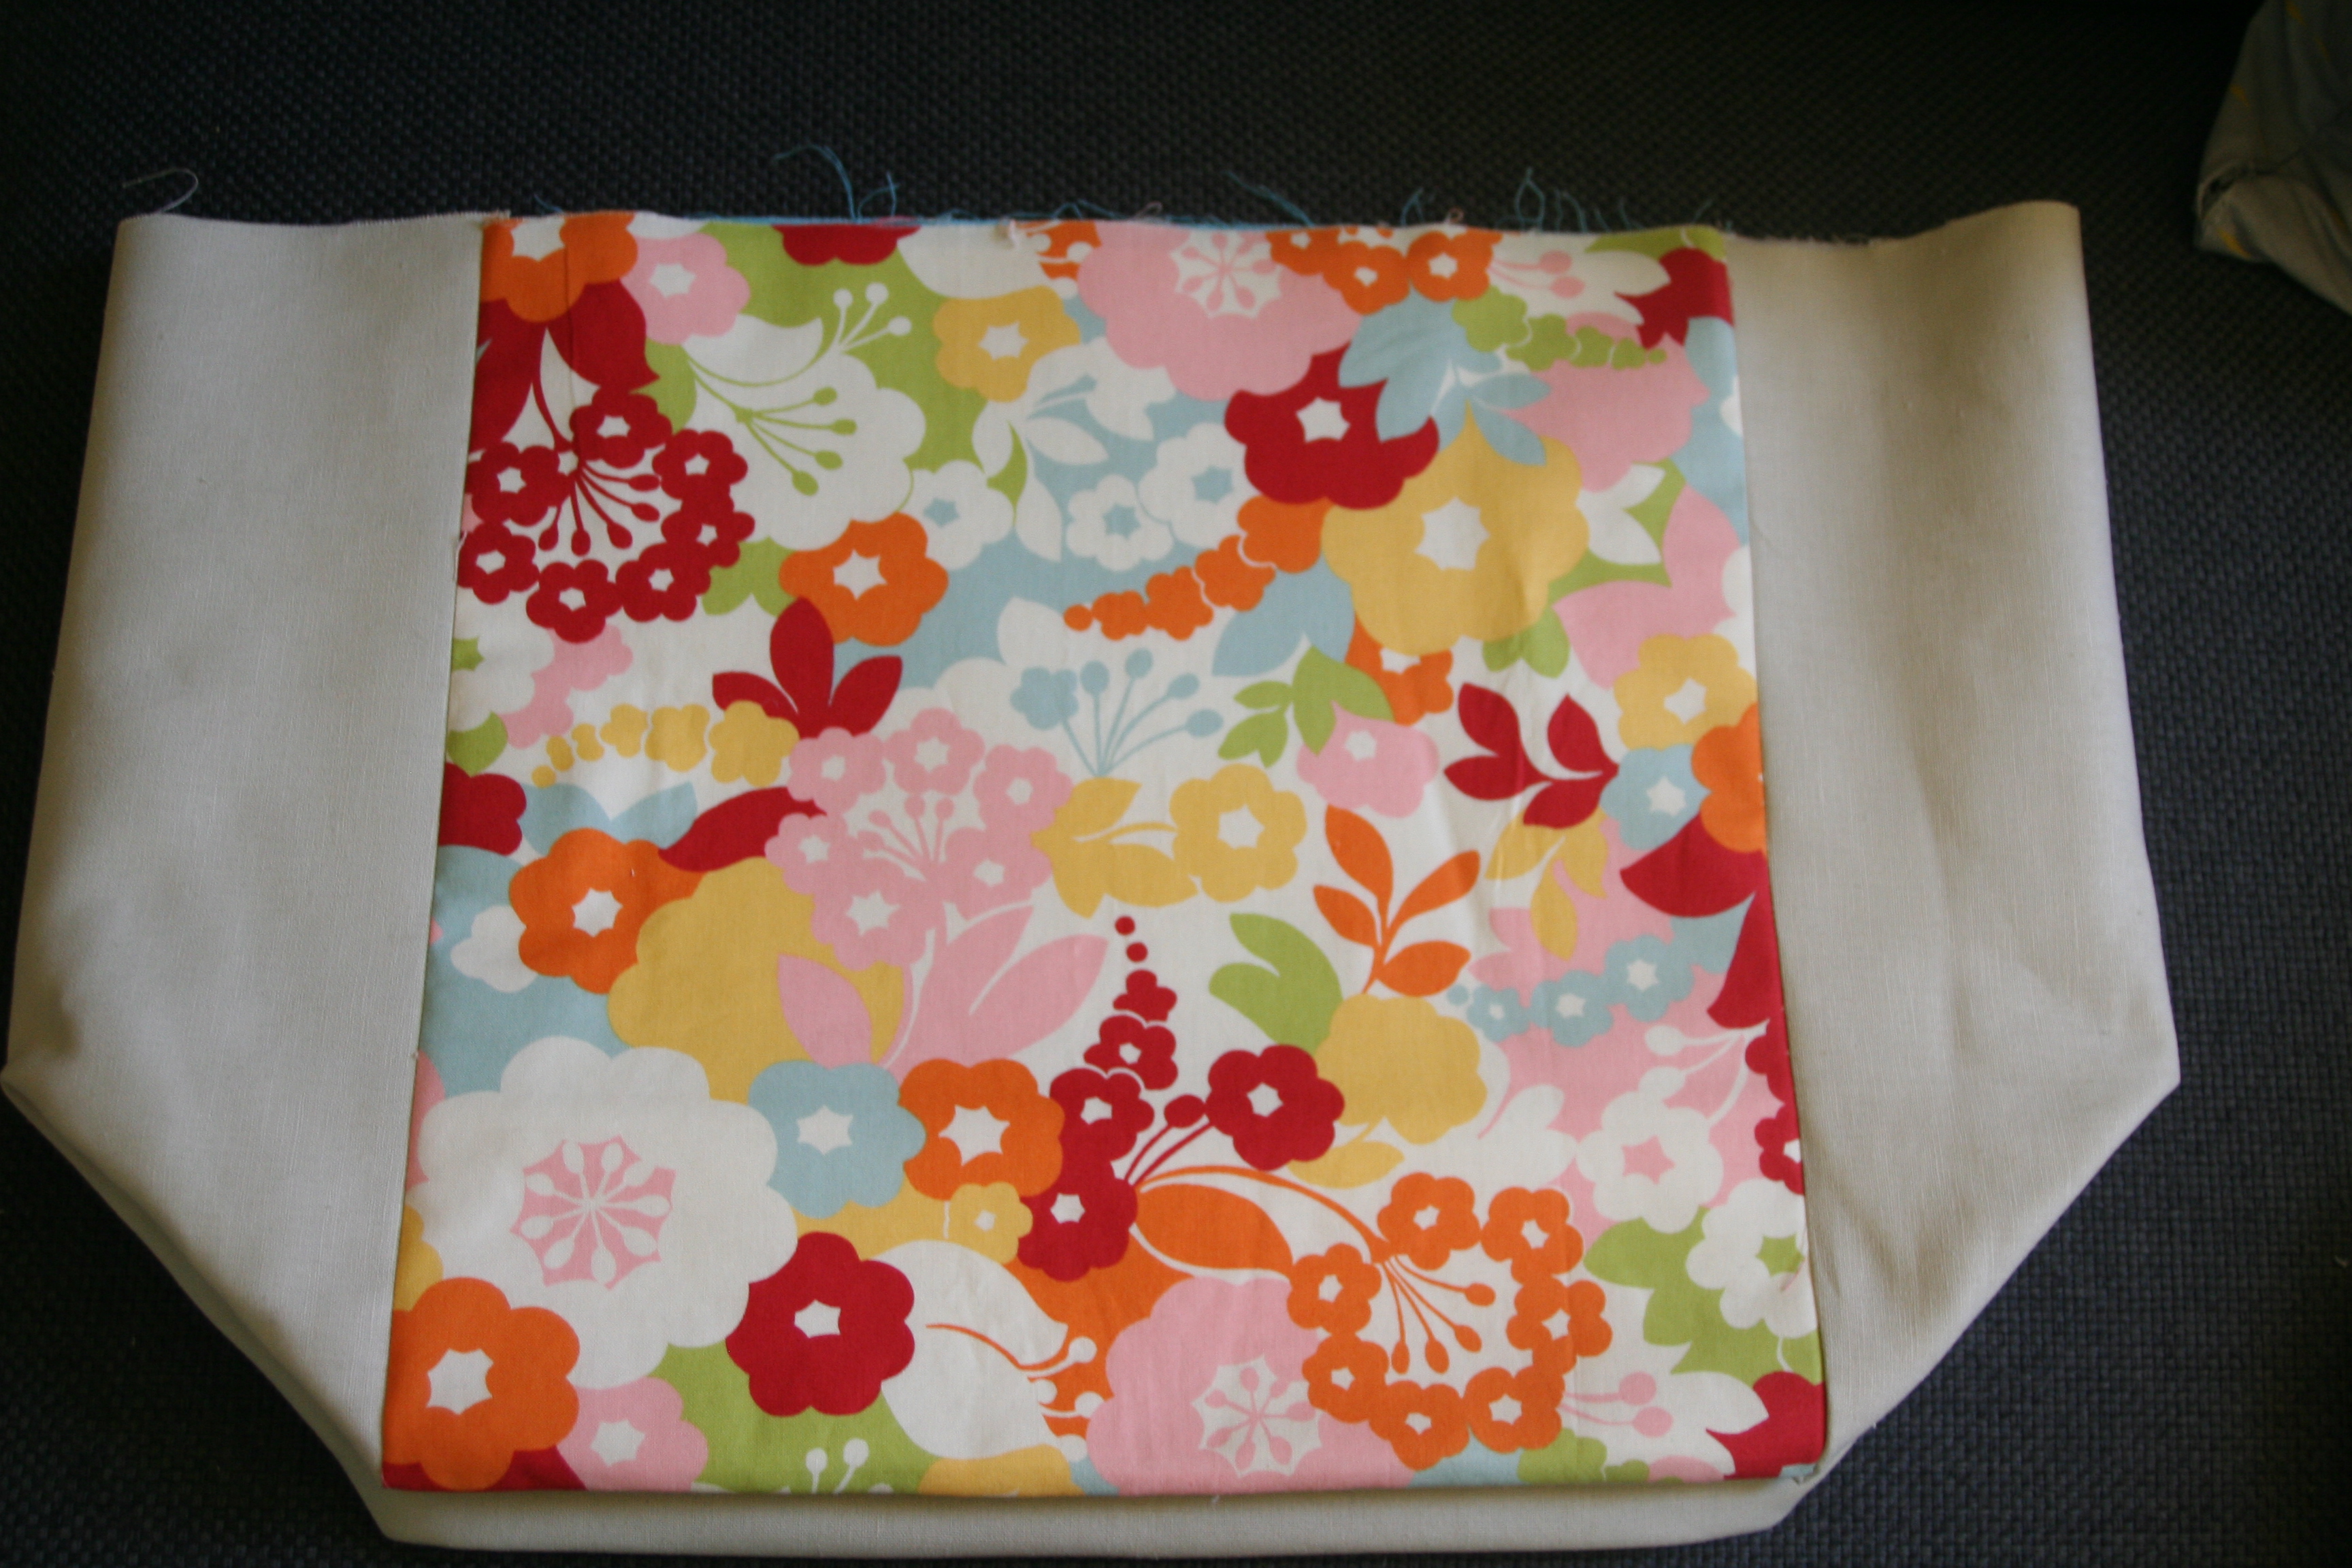
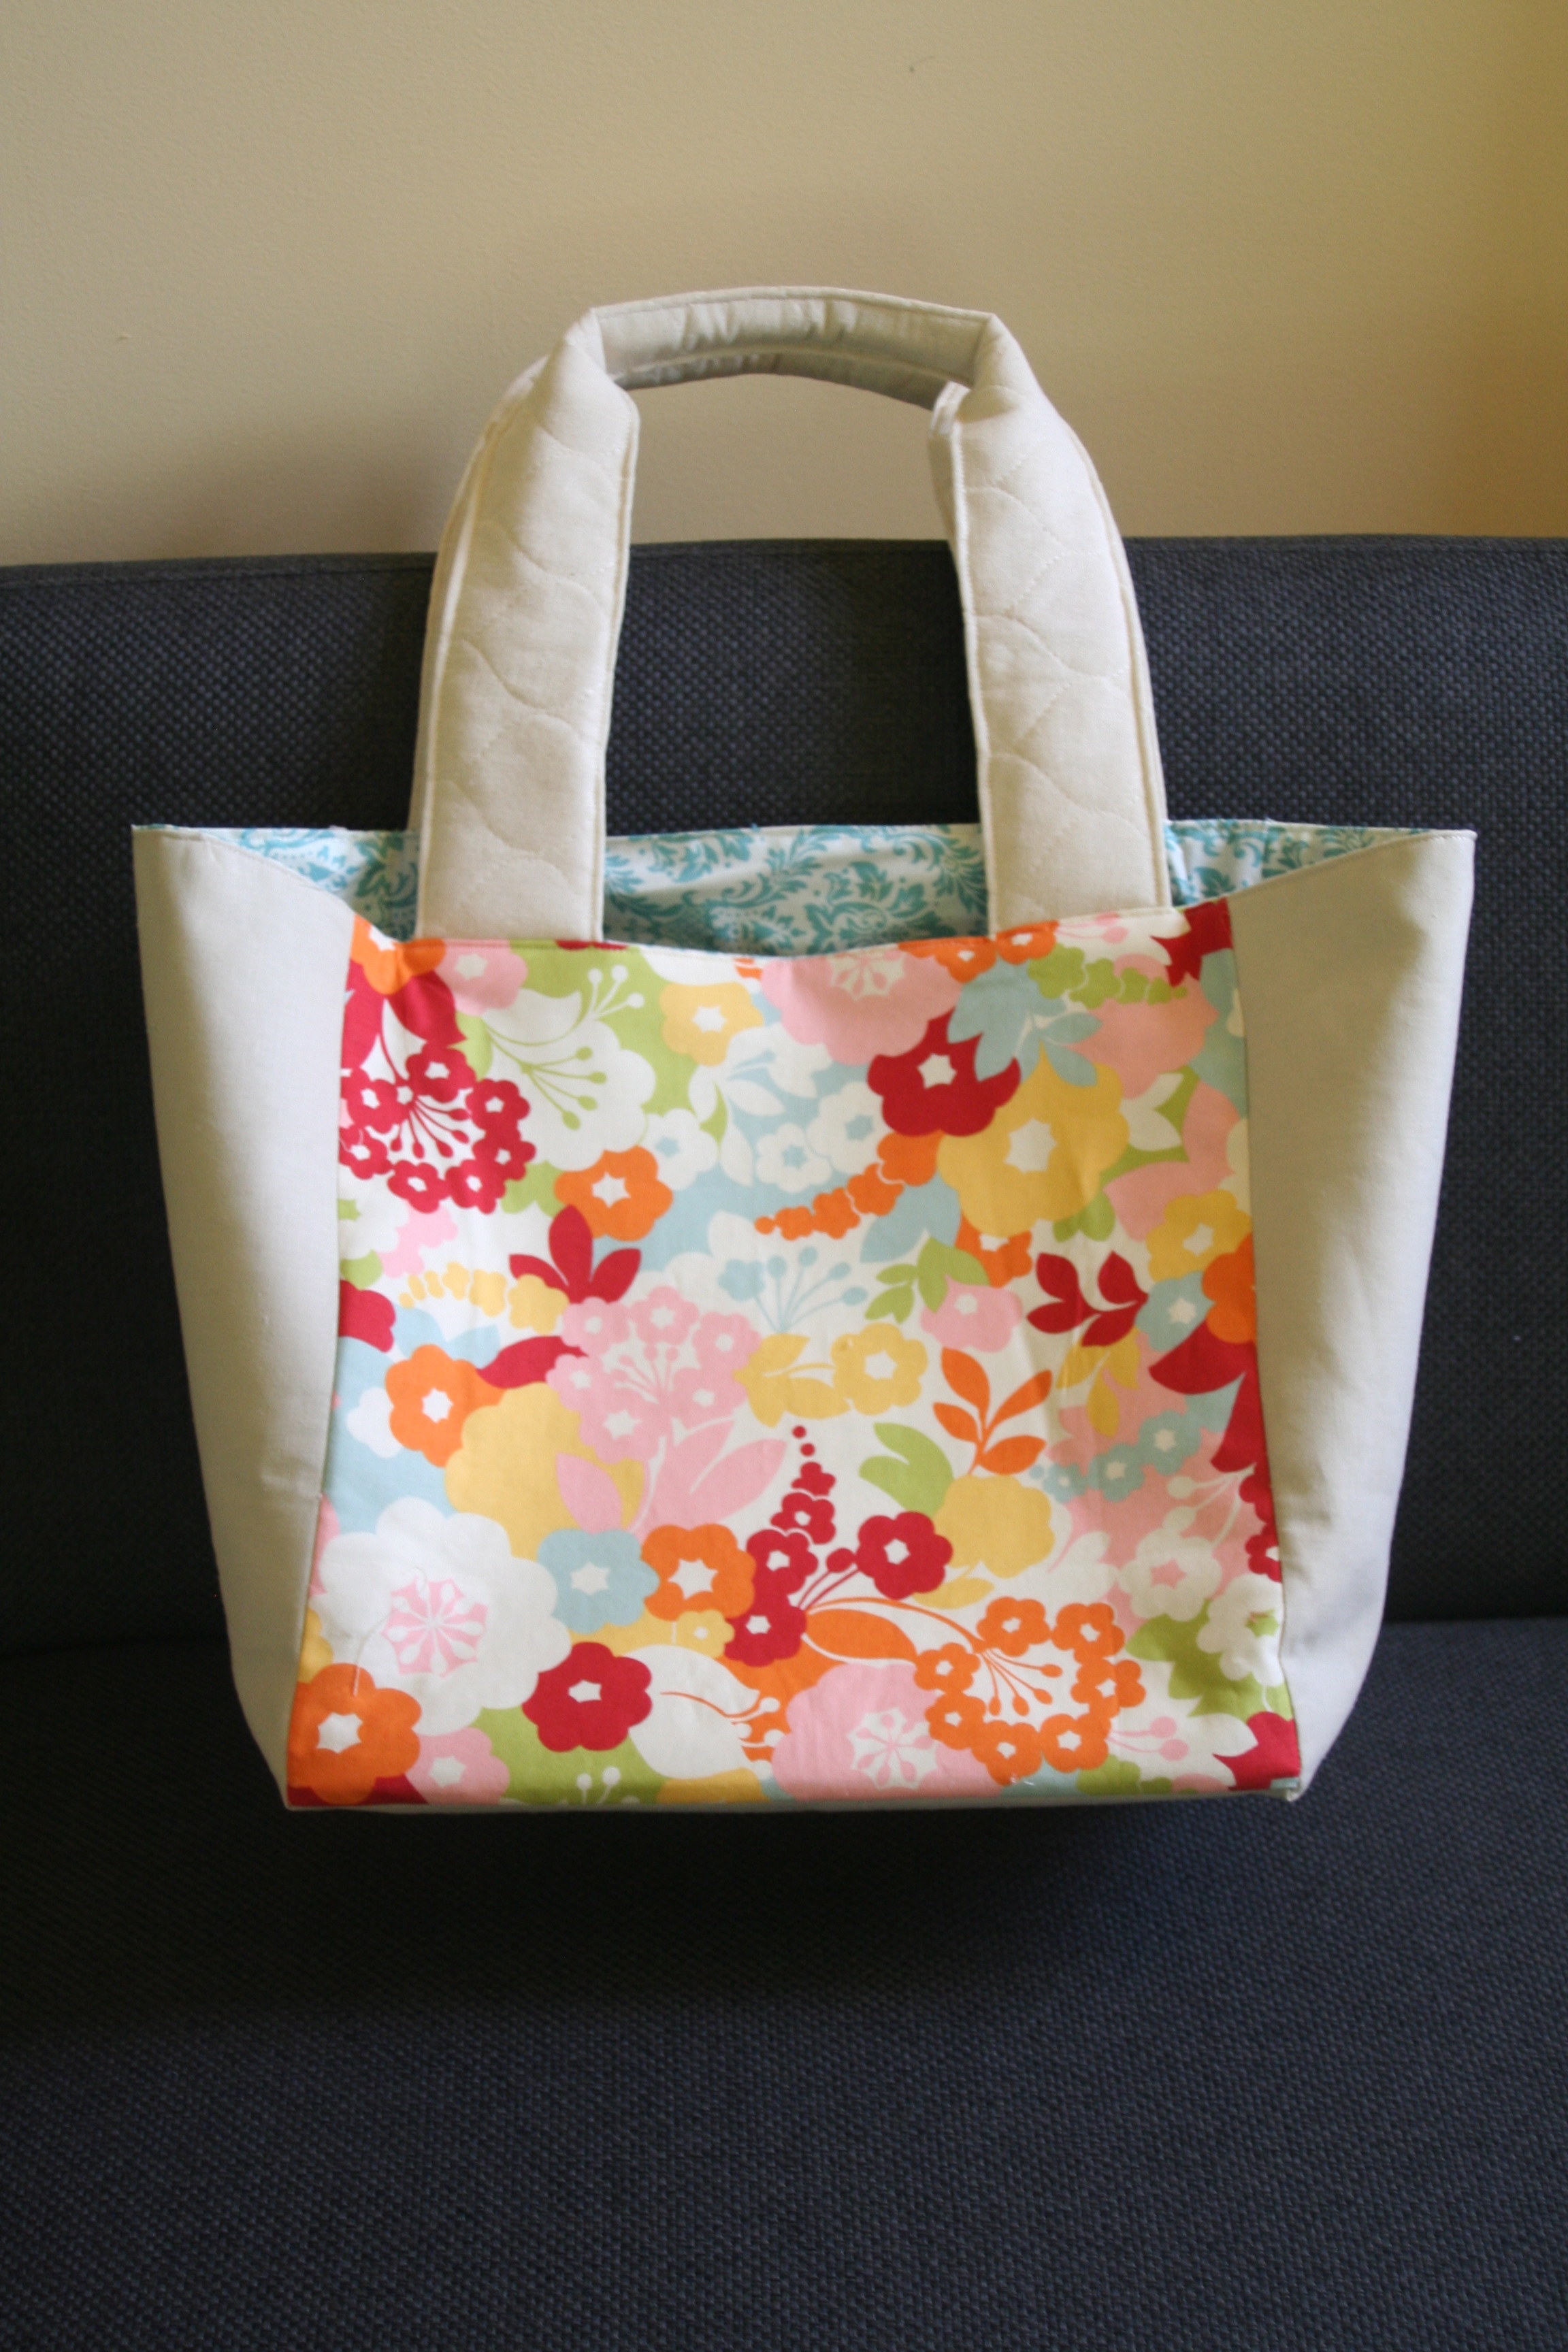
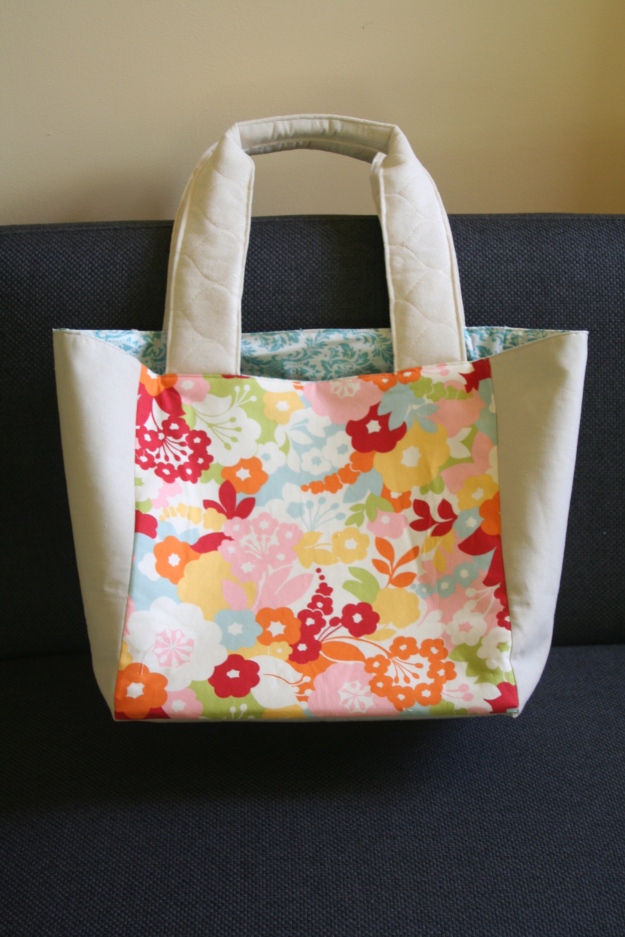
I loved the teal/aqua exterior front solid. It complemented the front pieced pocket and it keeps with my original design to keep it bright and celebrate Spring. Below are the pictures for the completed front and back exteriors of the back.
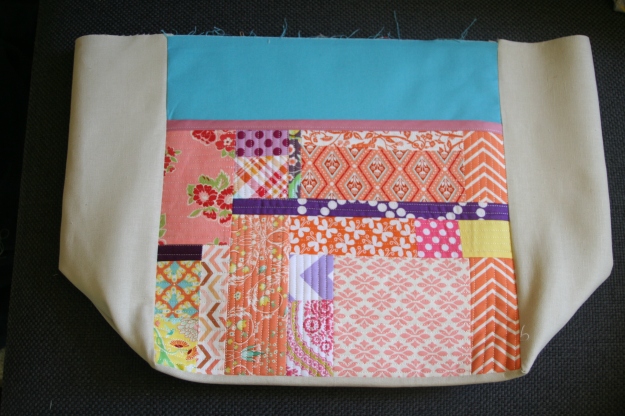
Note that I only used 1 exterior pocket even though the book makes two. I decided to use an all over print t give enough visual interest…the Oh, deer! fabric was perfect and kept within the color selection I was using.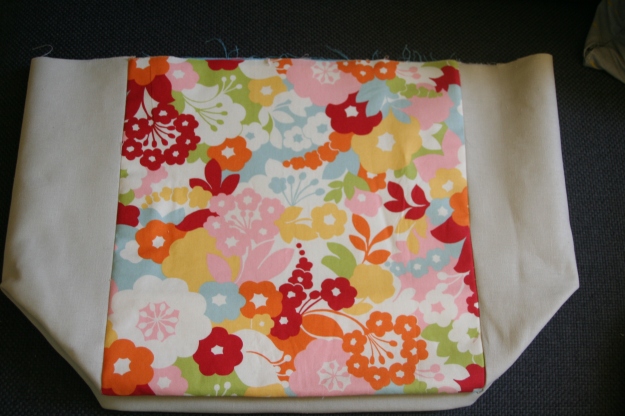
To get to this finished product, I made a couple of changes. The bottom you see is very structured and flat. I used a piece of template plastic which I inserted in under the seam folds, between the exterior and the interior lining before I sewed the bottom of the lining together.
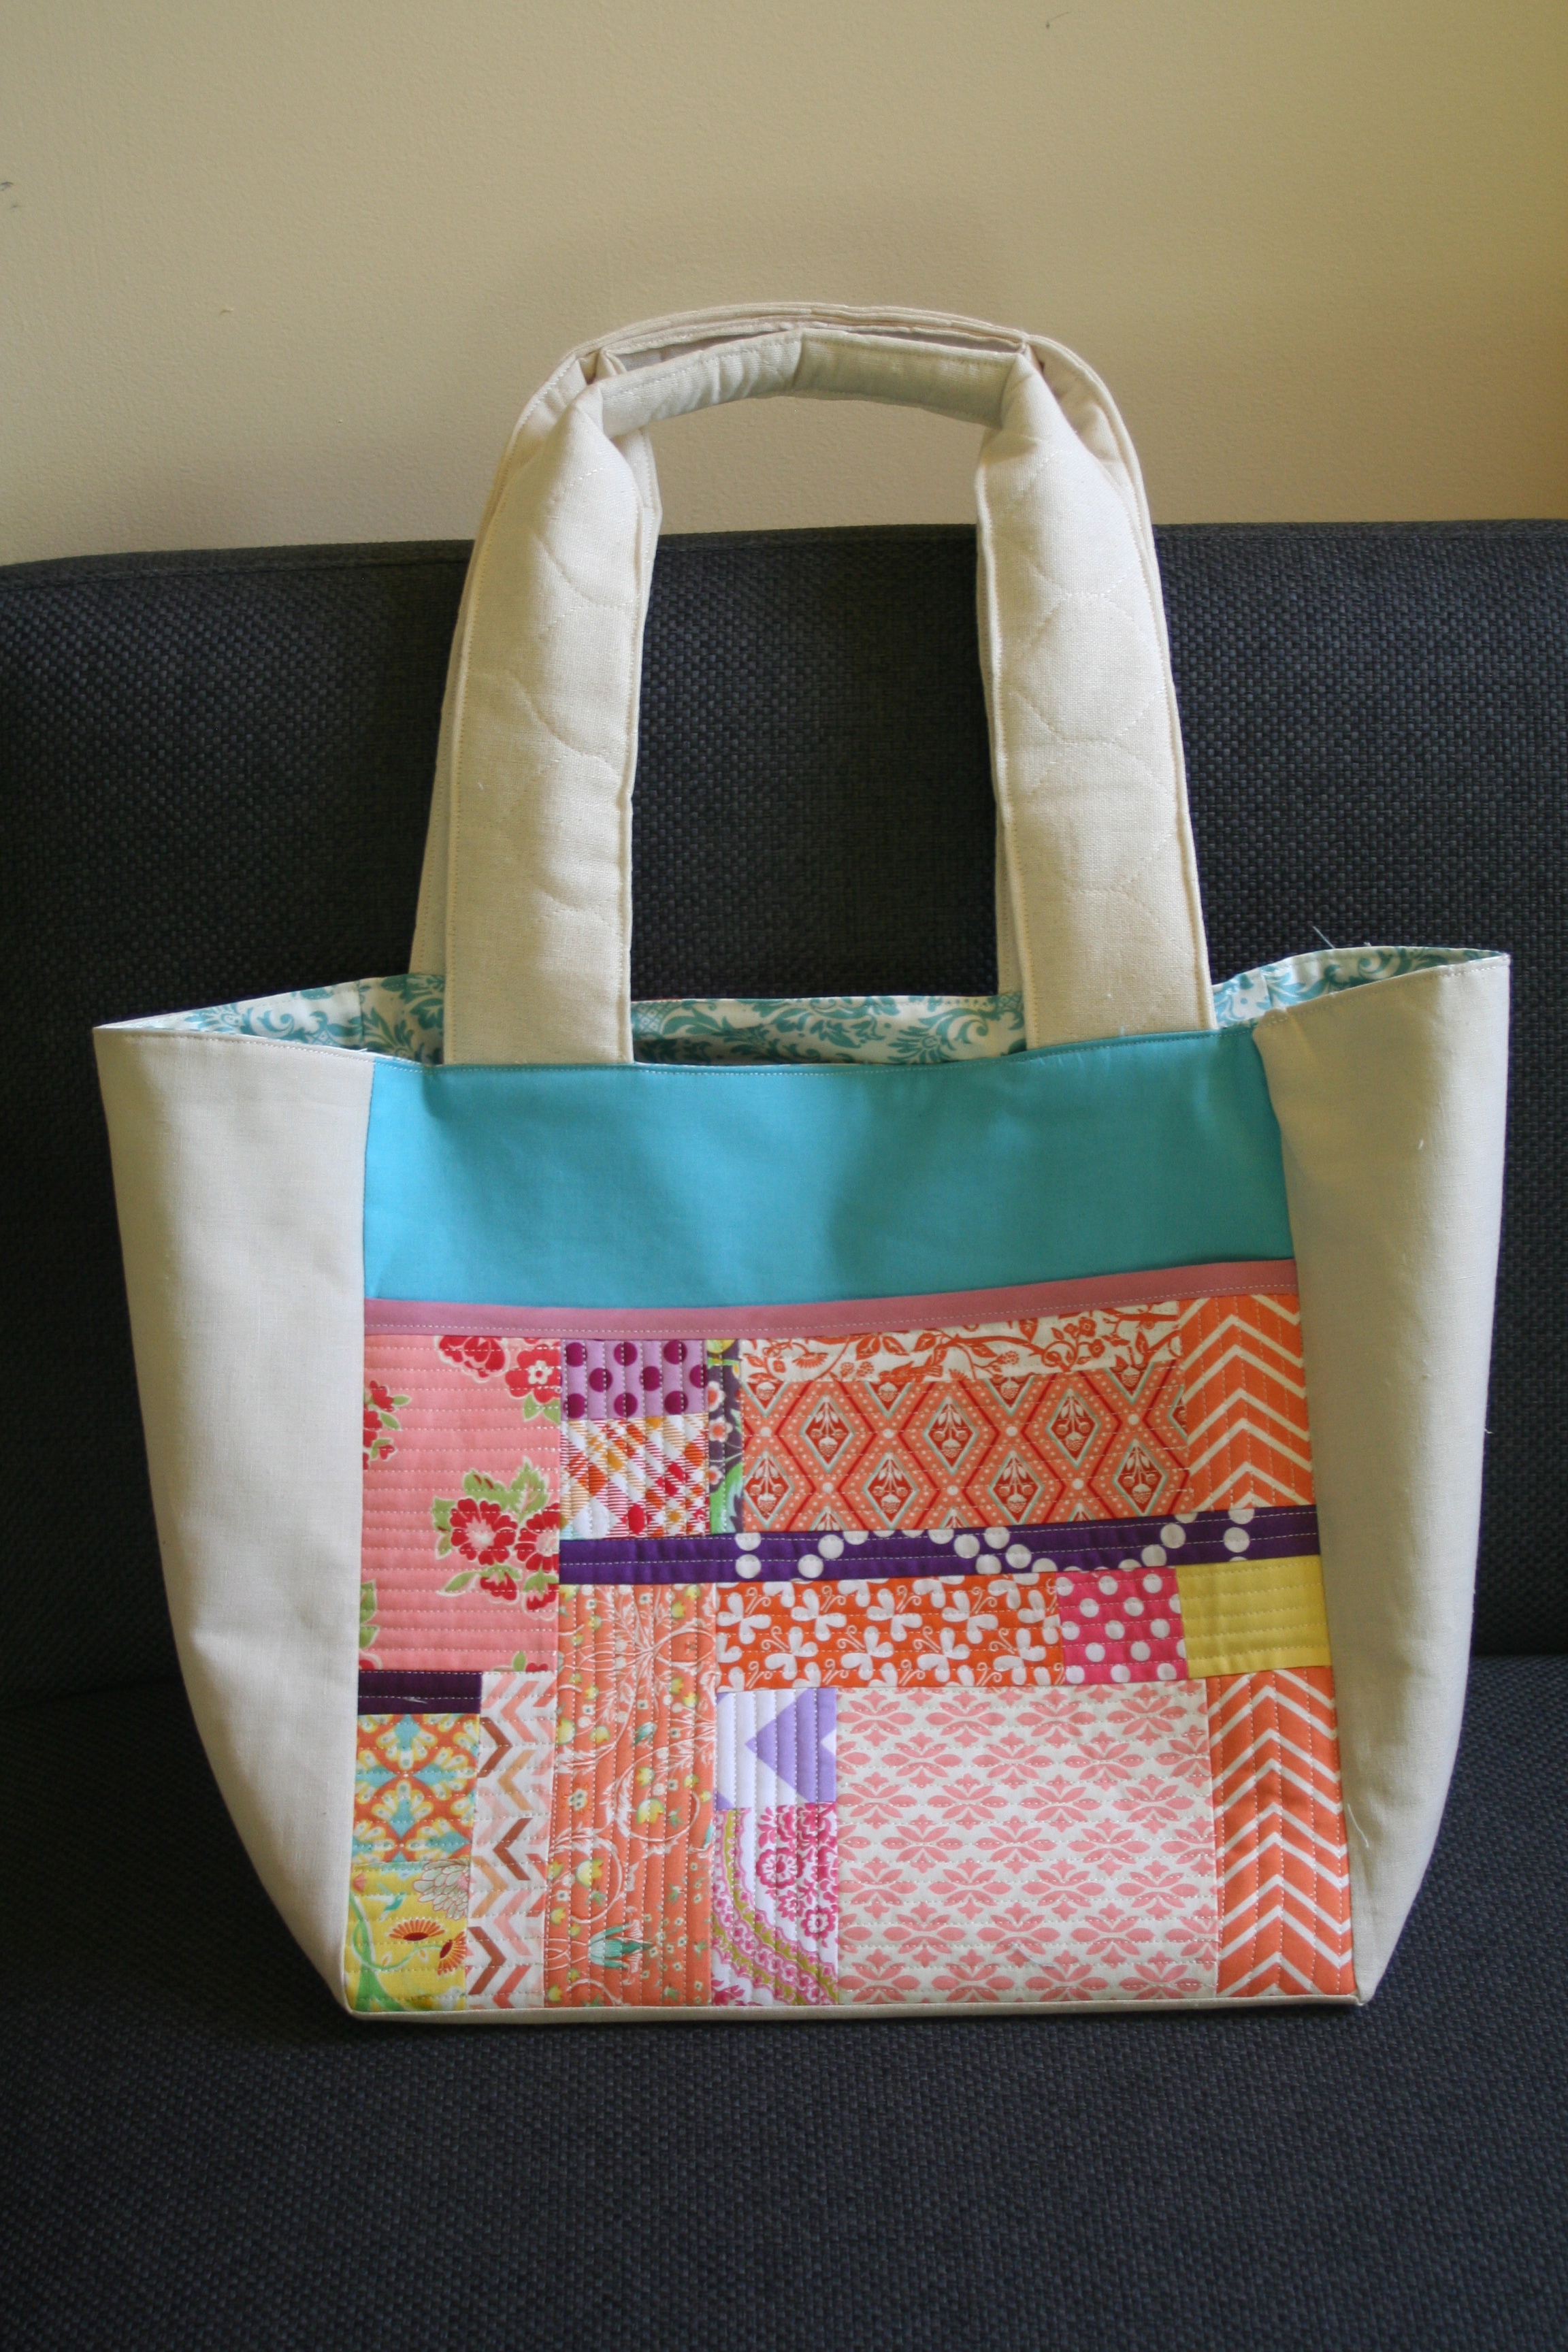
The handles are extra padded (at least x2 the requirement in the book), this is due to the fact that I used pre-quilted Osnaburg I purchased from Joann’s. It was a little difficult to topstitch the top part of the handles since it was thick, but my needle (90/14) worked well through the layers for the top-stitching (with a little appropriate handling).
I would recommend pinning the lining and the exterior to ensure the corners align. It will make it much easier. 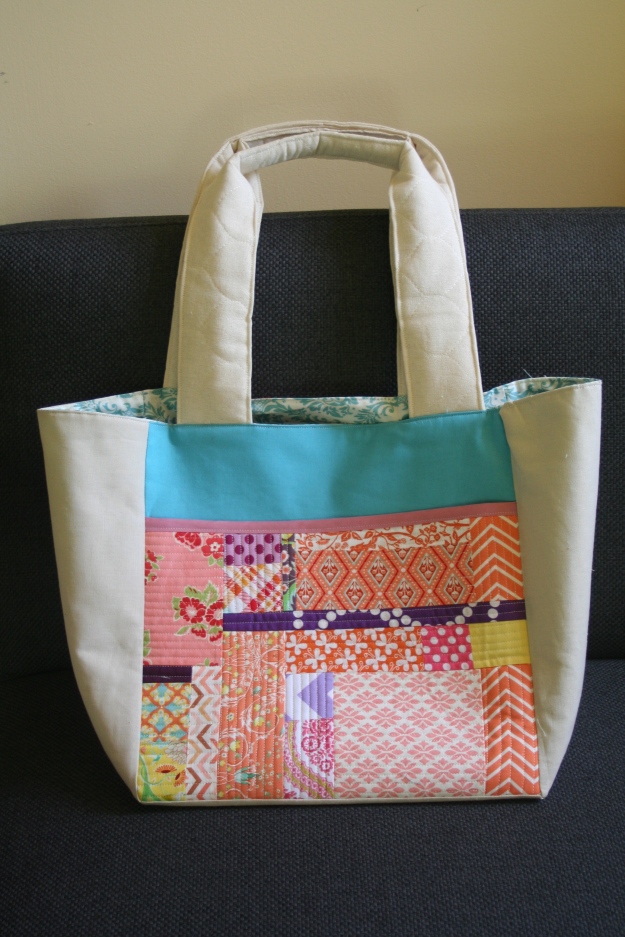
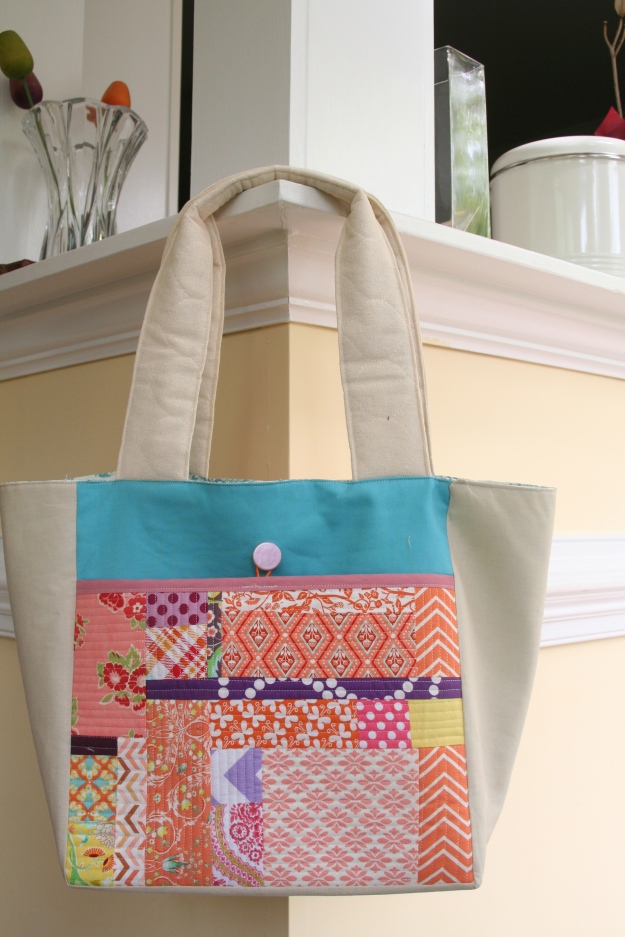
The book does include an elastic and button to close each exterior pocket. I just used a colored elastic hair tie and a antique button I had in my button stash. They can be seen here:
I would definitely recommend making this tote. It was a fun project, in fact, I plan on making one for myself, since I used this one in our swap on Sunday.
Don’t forget to check out “Zakka Along 2.0::Patchwork, Please” that is starting June 3rd. You can join on flickr here.
Linking up this week with: