Today, it is my turn on the New Blogger blog hop. This post has been one of the hardest posts, I have had to write so far. I had fun writing it, it gave me some time to reflect on how far I have come and how much things have changed, since my blogging journey started. I am so excited, I have some great news to tell you and just want to blurt it out…. but first I should share some information about me 😉
Why did I start blogging?
I enjoy sewing/crafts, fine arts and cooking/baking and I wanted to share what I was doing with people of similar interest and join a community. Facebook just didn’t quiet have enough room for all my thoughts. That is what let to me blogging in September 2012.
How did I come up with my blog name?
When looking for a blog name I wanted Jack/Jill of all trades but that was taken, with a little use of google I found “Factotum”. Factotum is Latin, and in english means “a person having many diverse activities or responsibilities”. Perfect!! Factotum of Arts.
What are 6 things most people don’t know about me?
- My banner for my blog is one of my chalk pastel drawings of a dried lily.
- I started sewing in August 2012, before that I had made a pillow case in home ec. class when I was 13.
- I studied in New Zealand, my undergrad is in Biology and Statistics, my Masters in Marine Science
- I really like science fiction and fantasy. I am currently reading Finale, Becca Fitzpatrick; Clockwork Princess, Cassandra Clare; and Shadow of Night, Deborah Harkness. Buffy the Vampire, and Supernatural are two of my favorite shows.
- My favorite places I have visited are Lisbon, Portugal; Prague, Czech Republic; Rarotonga, Cook Islands; Tahiti, French Polynesia
- I grew up in New Zealand, lived in Sydney, Australia; Heidelberg/Mannheim, Germany and now live in Cary, North Carolina, USA and I love to travel.
What are my favorite aspects in quilting/sewing?
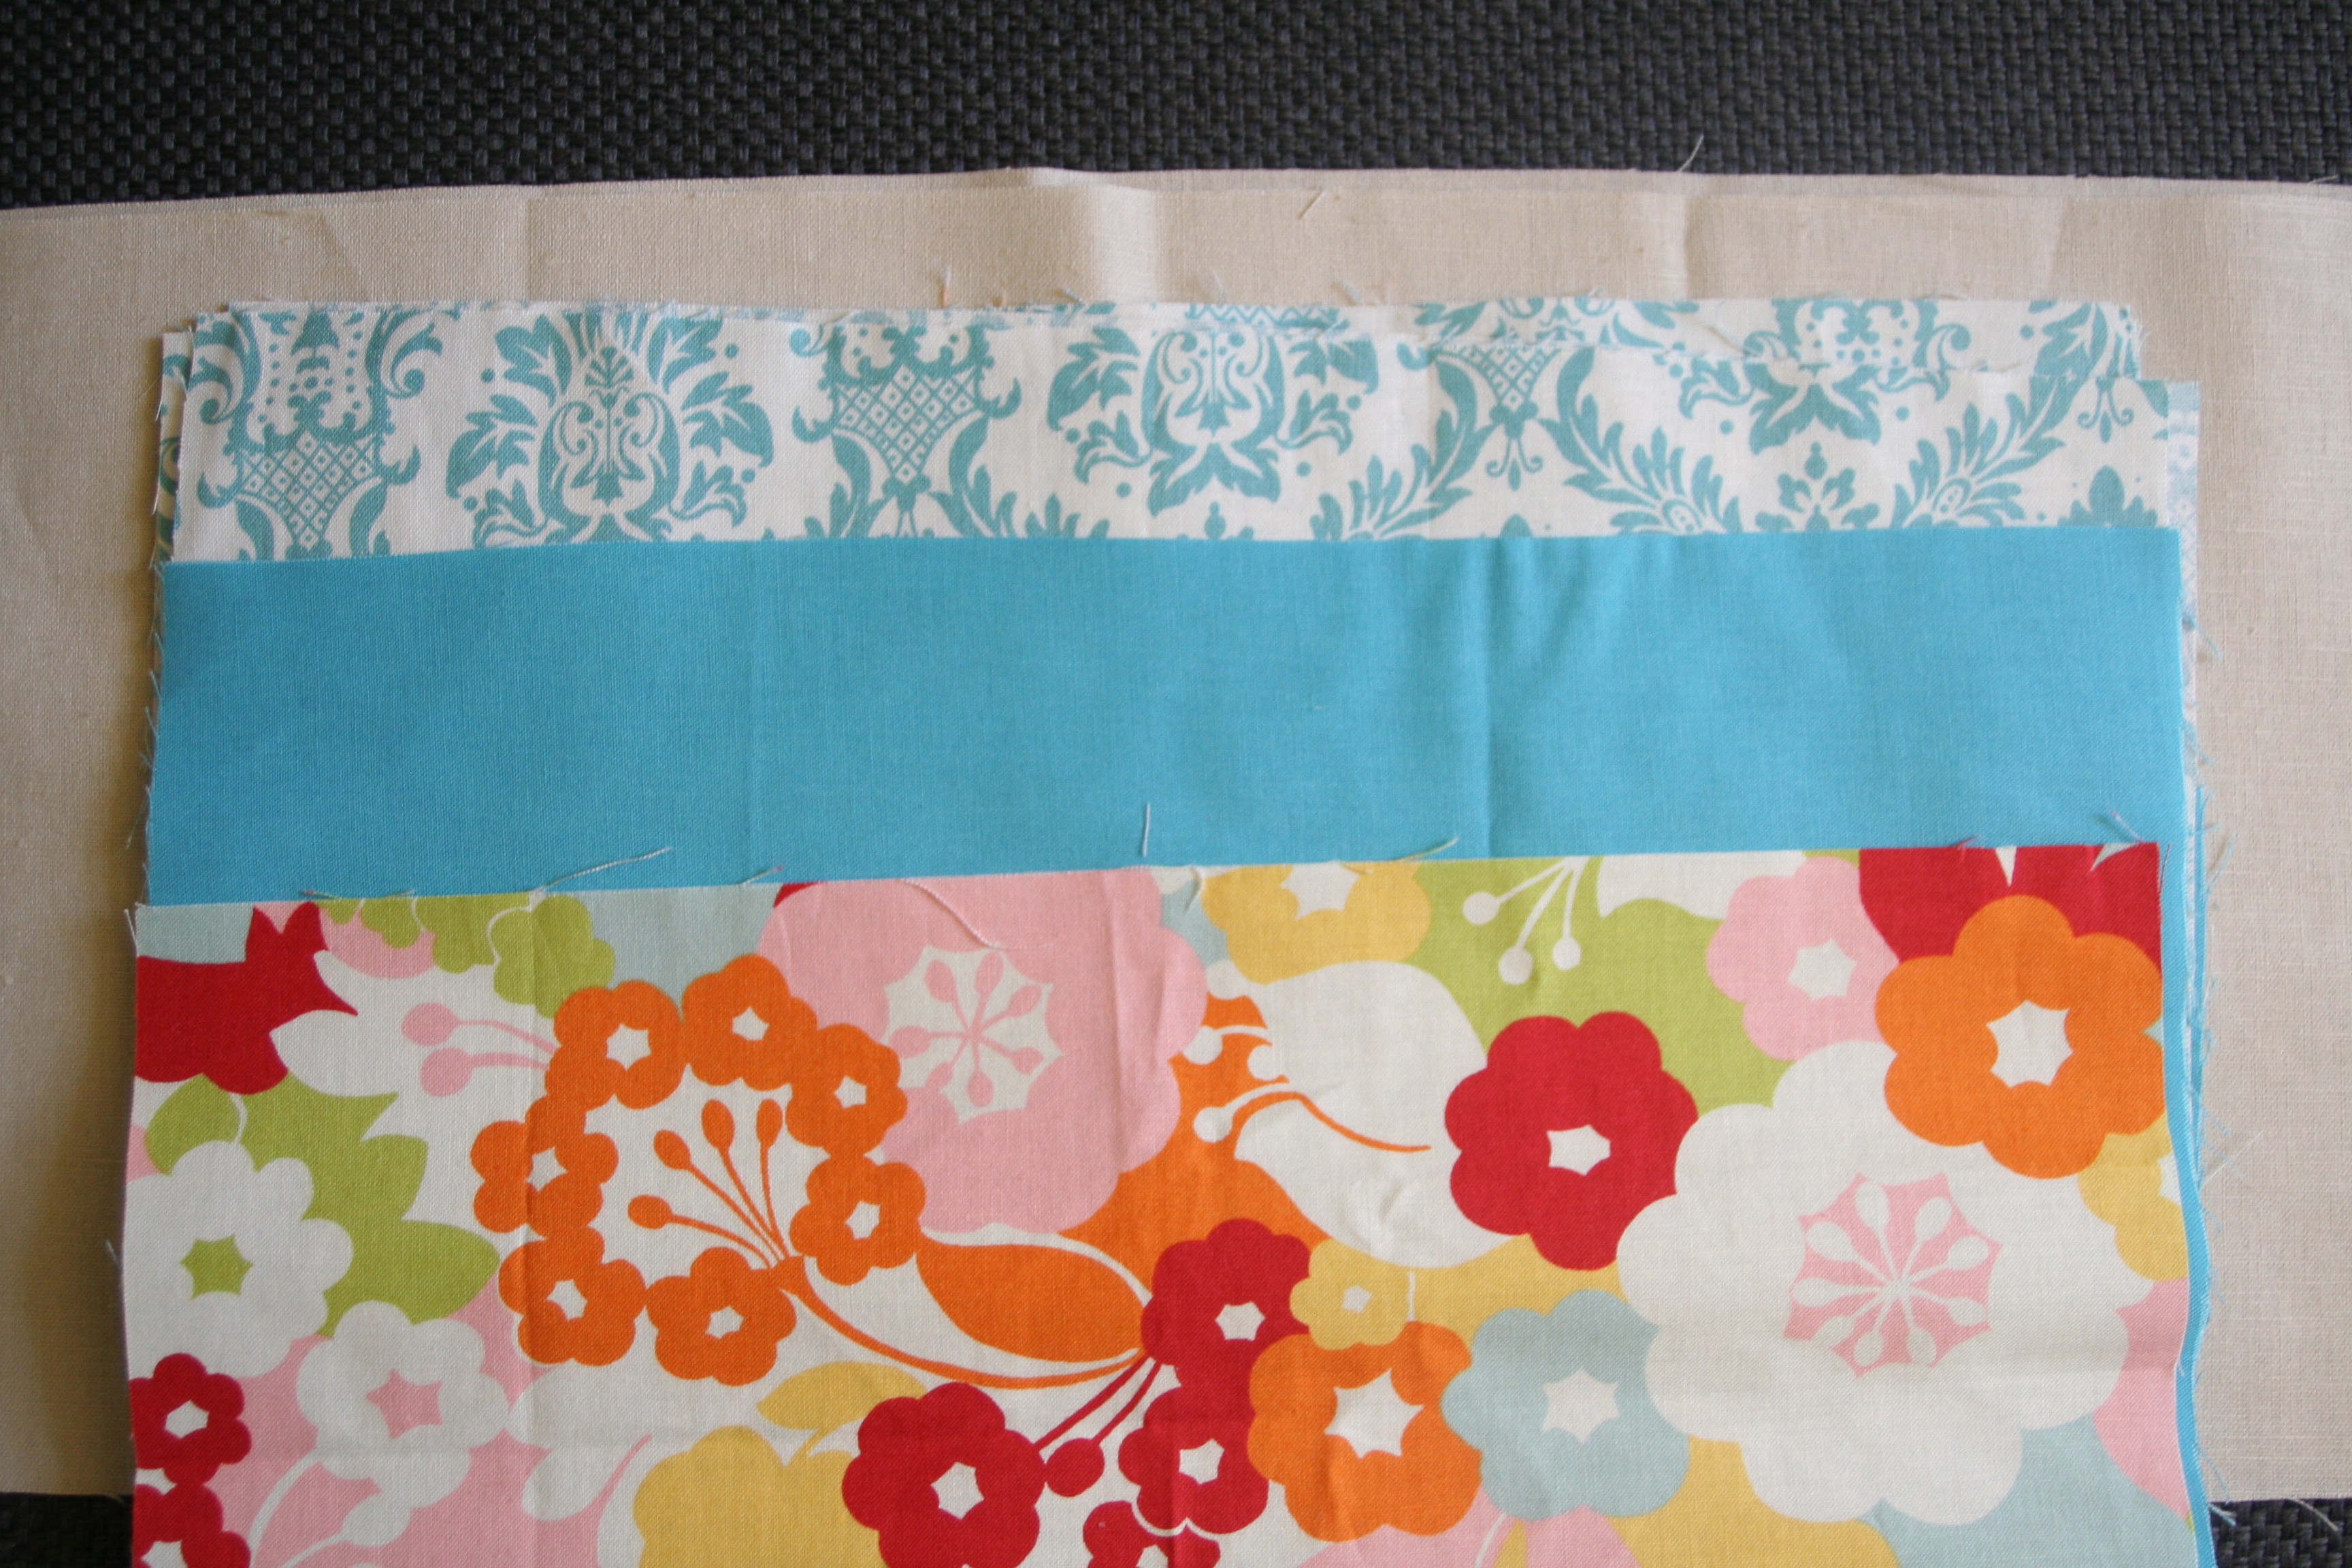
Fabric: I think my favorite thing, and somewhat an addiction…is fabric!!! I see a project in every fabric line.
Color: I really like being visually stimulated by color and then playing and using color when designing projects.
Ideas/Designing: I love taking an idea to the final product. My head is always full of projects floating around and I try to write or draw these down, so I don’t forget.
Best tip, so far: I was having trouble lining up rows for a postage stamp cushion, and Adrianne from “On the Windy Side” came to my rescue. Using her tips definitely helped in so many projects….here are her tips.
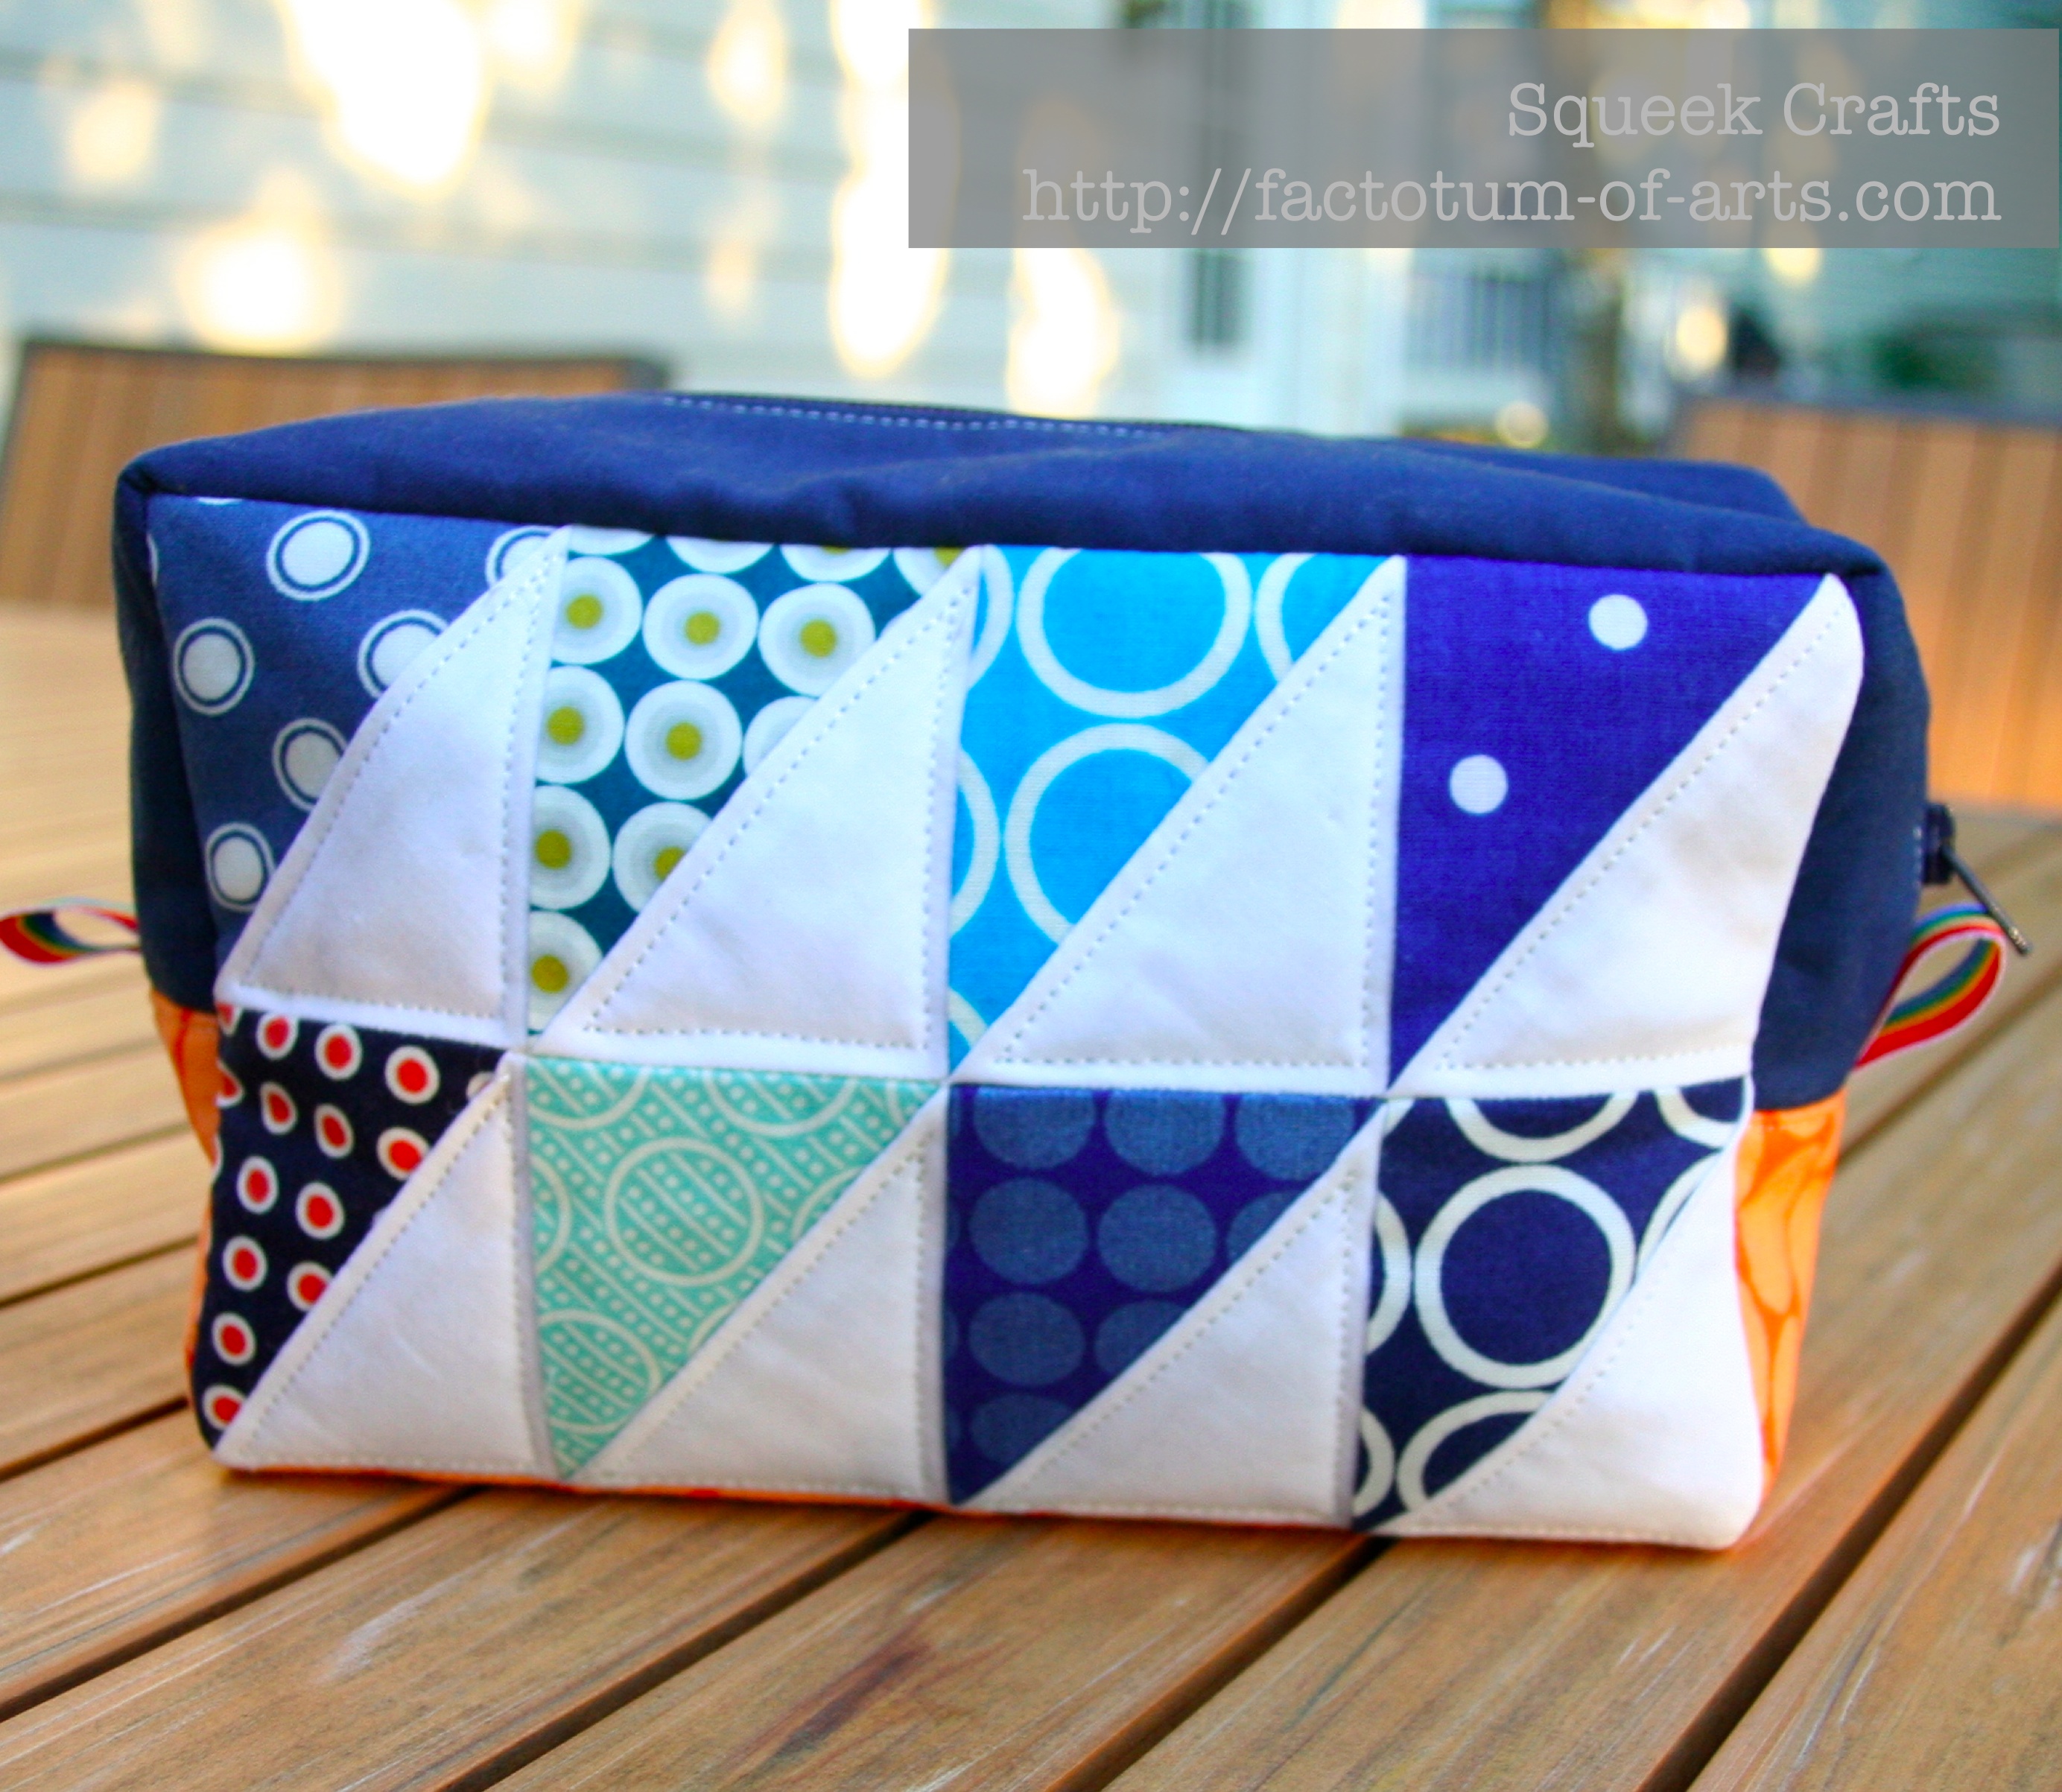
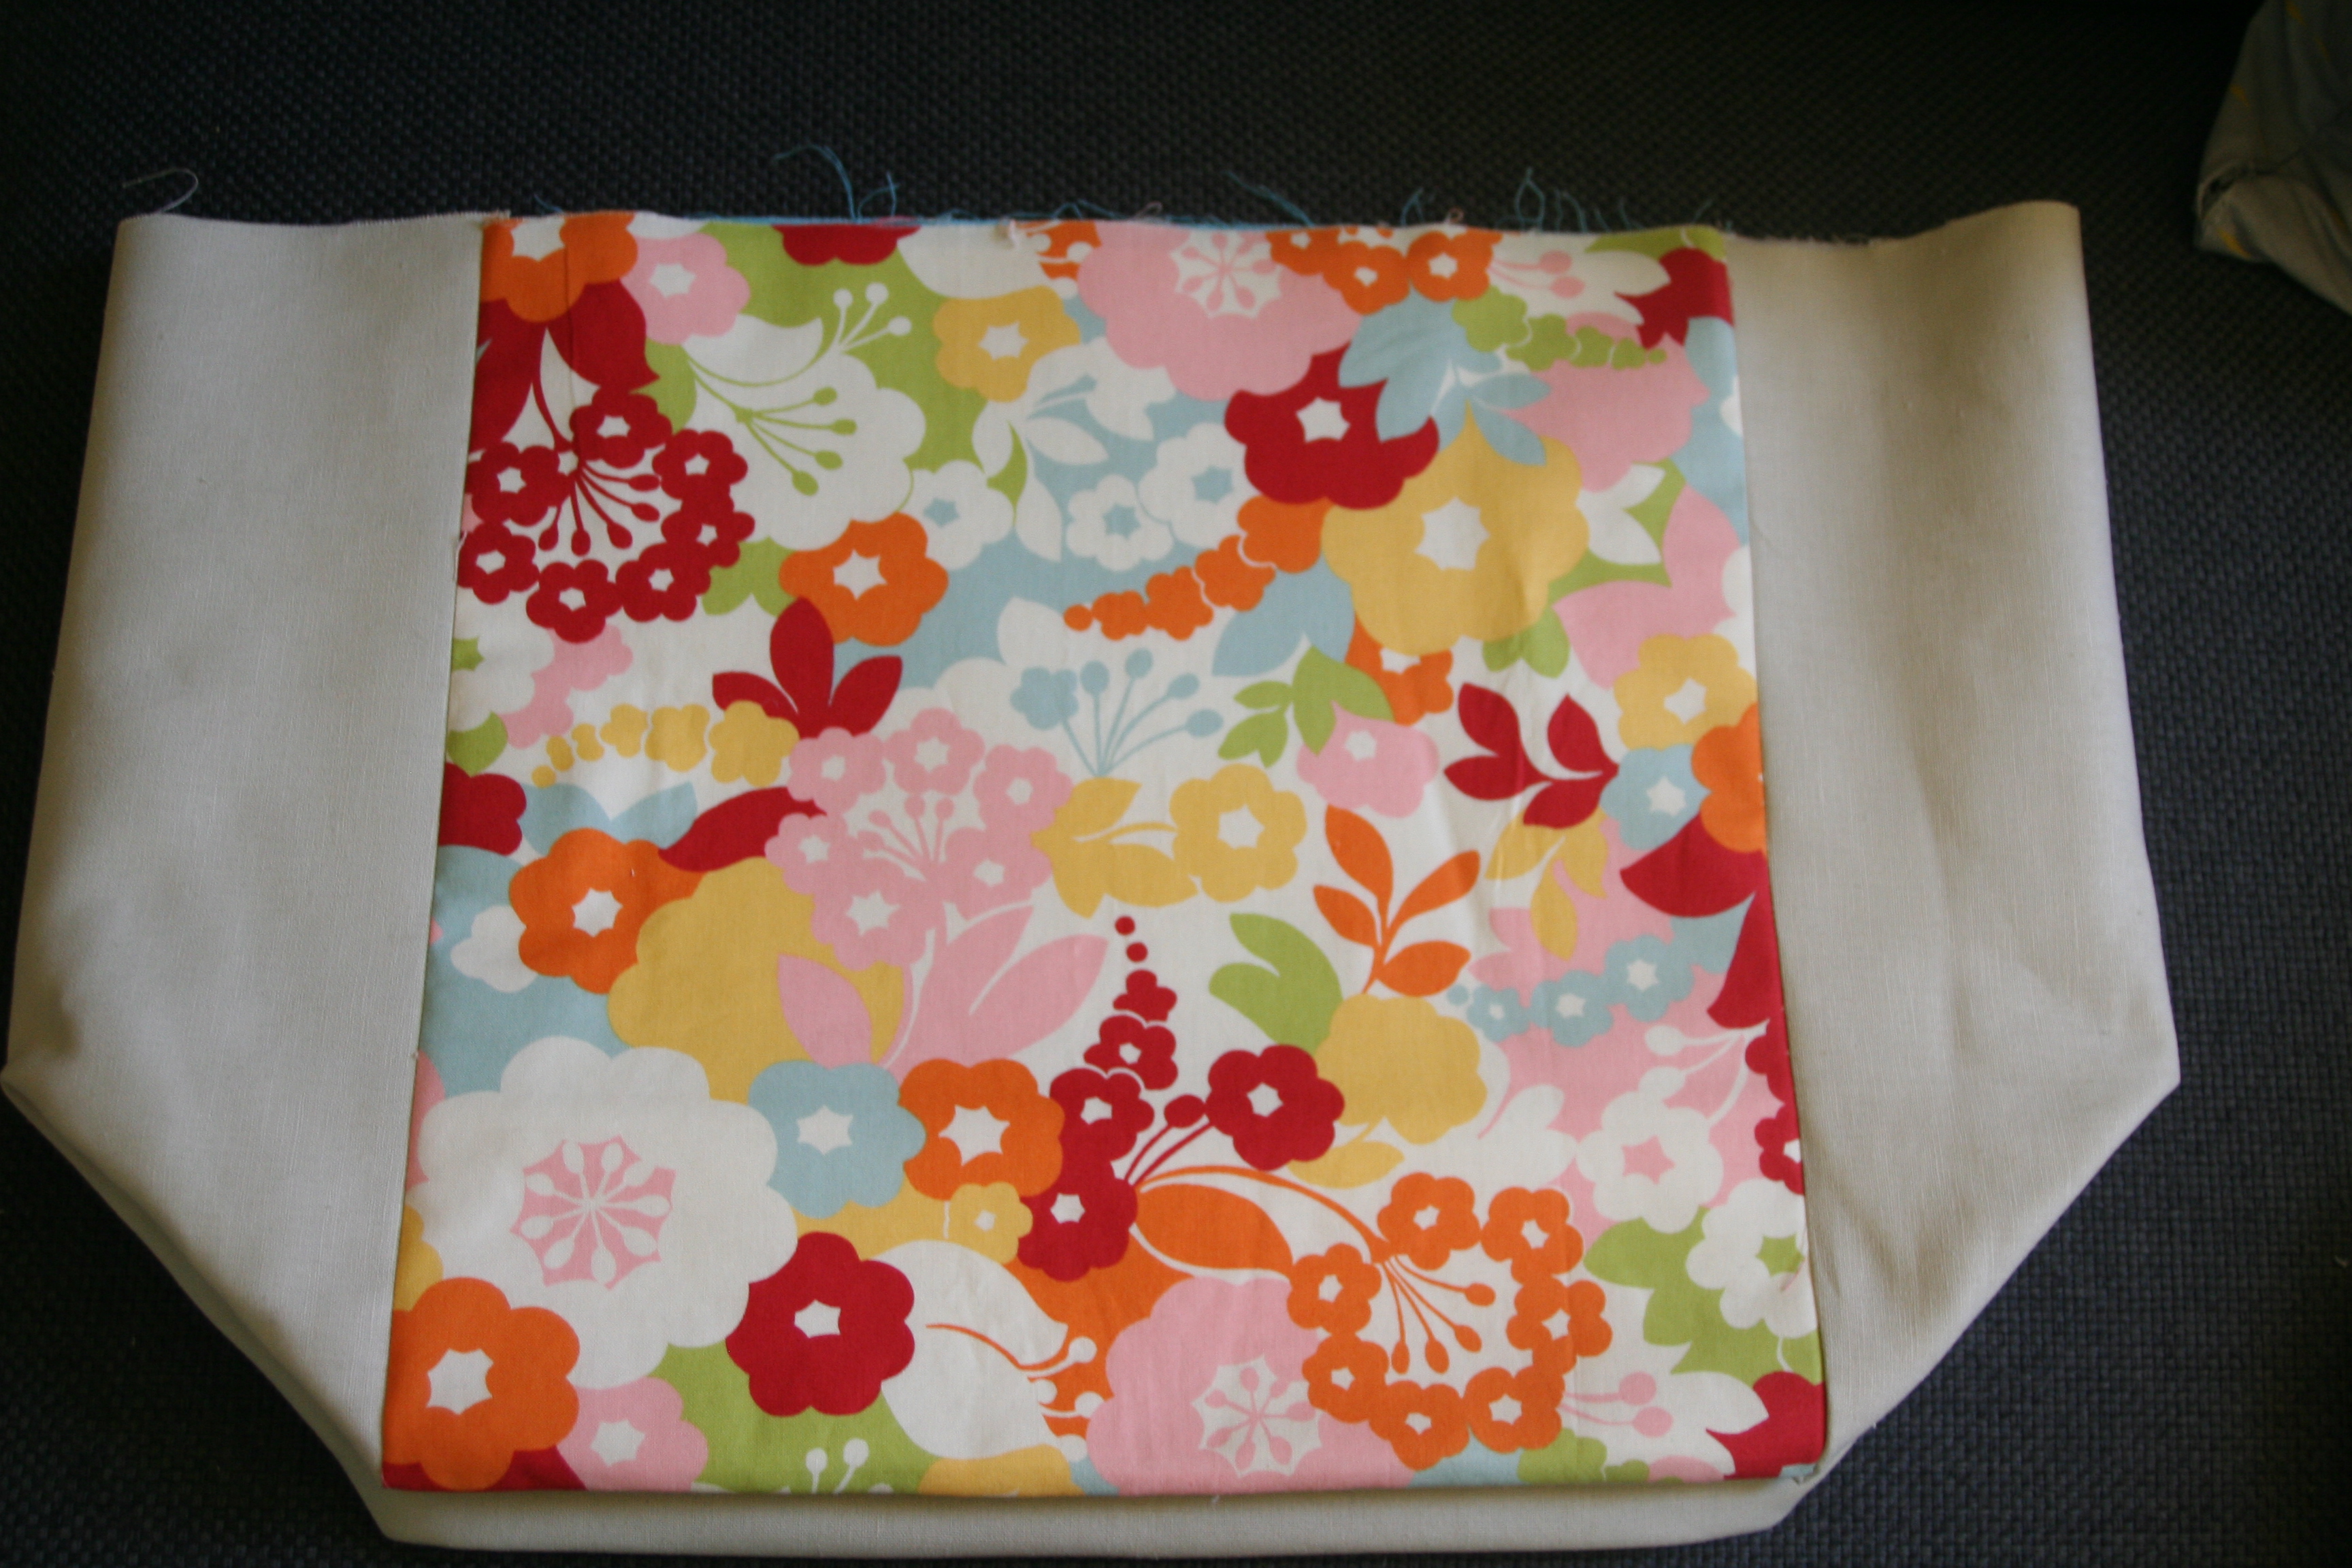
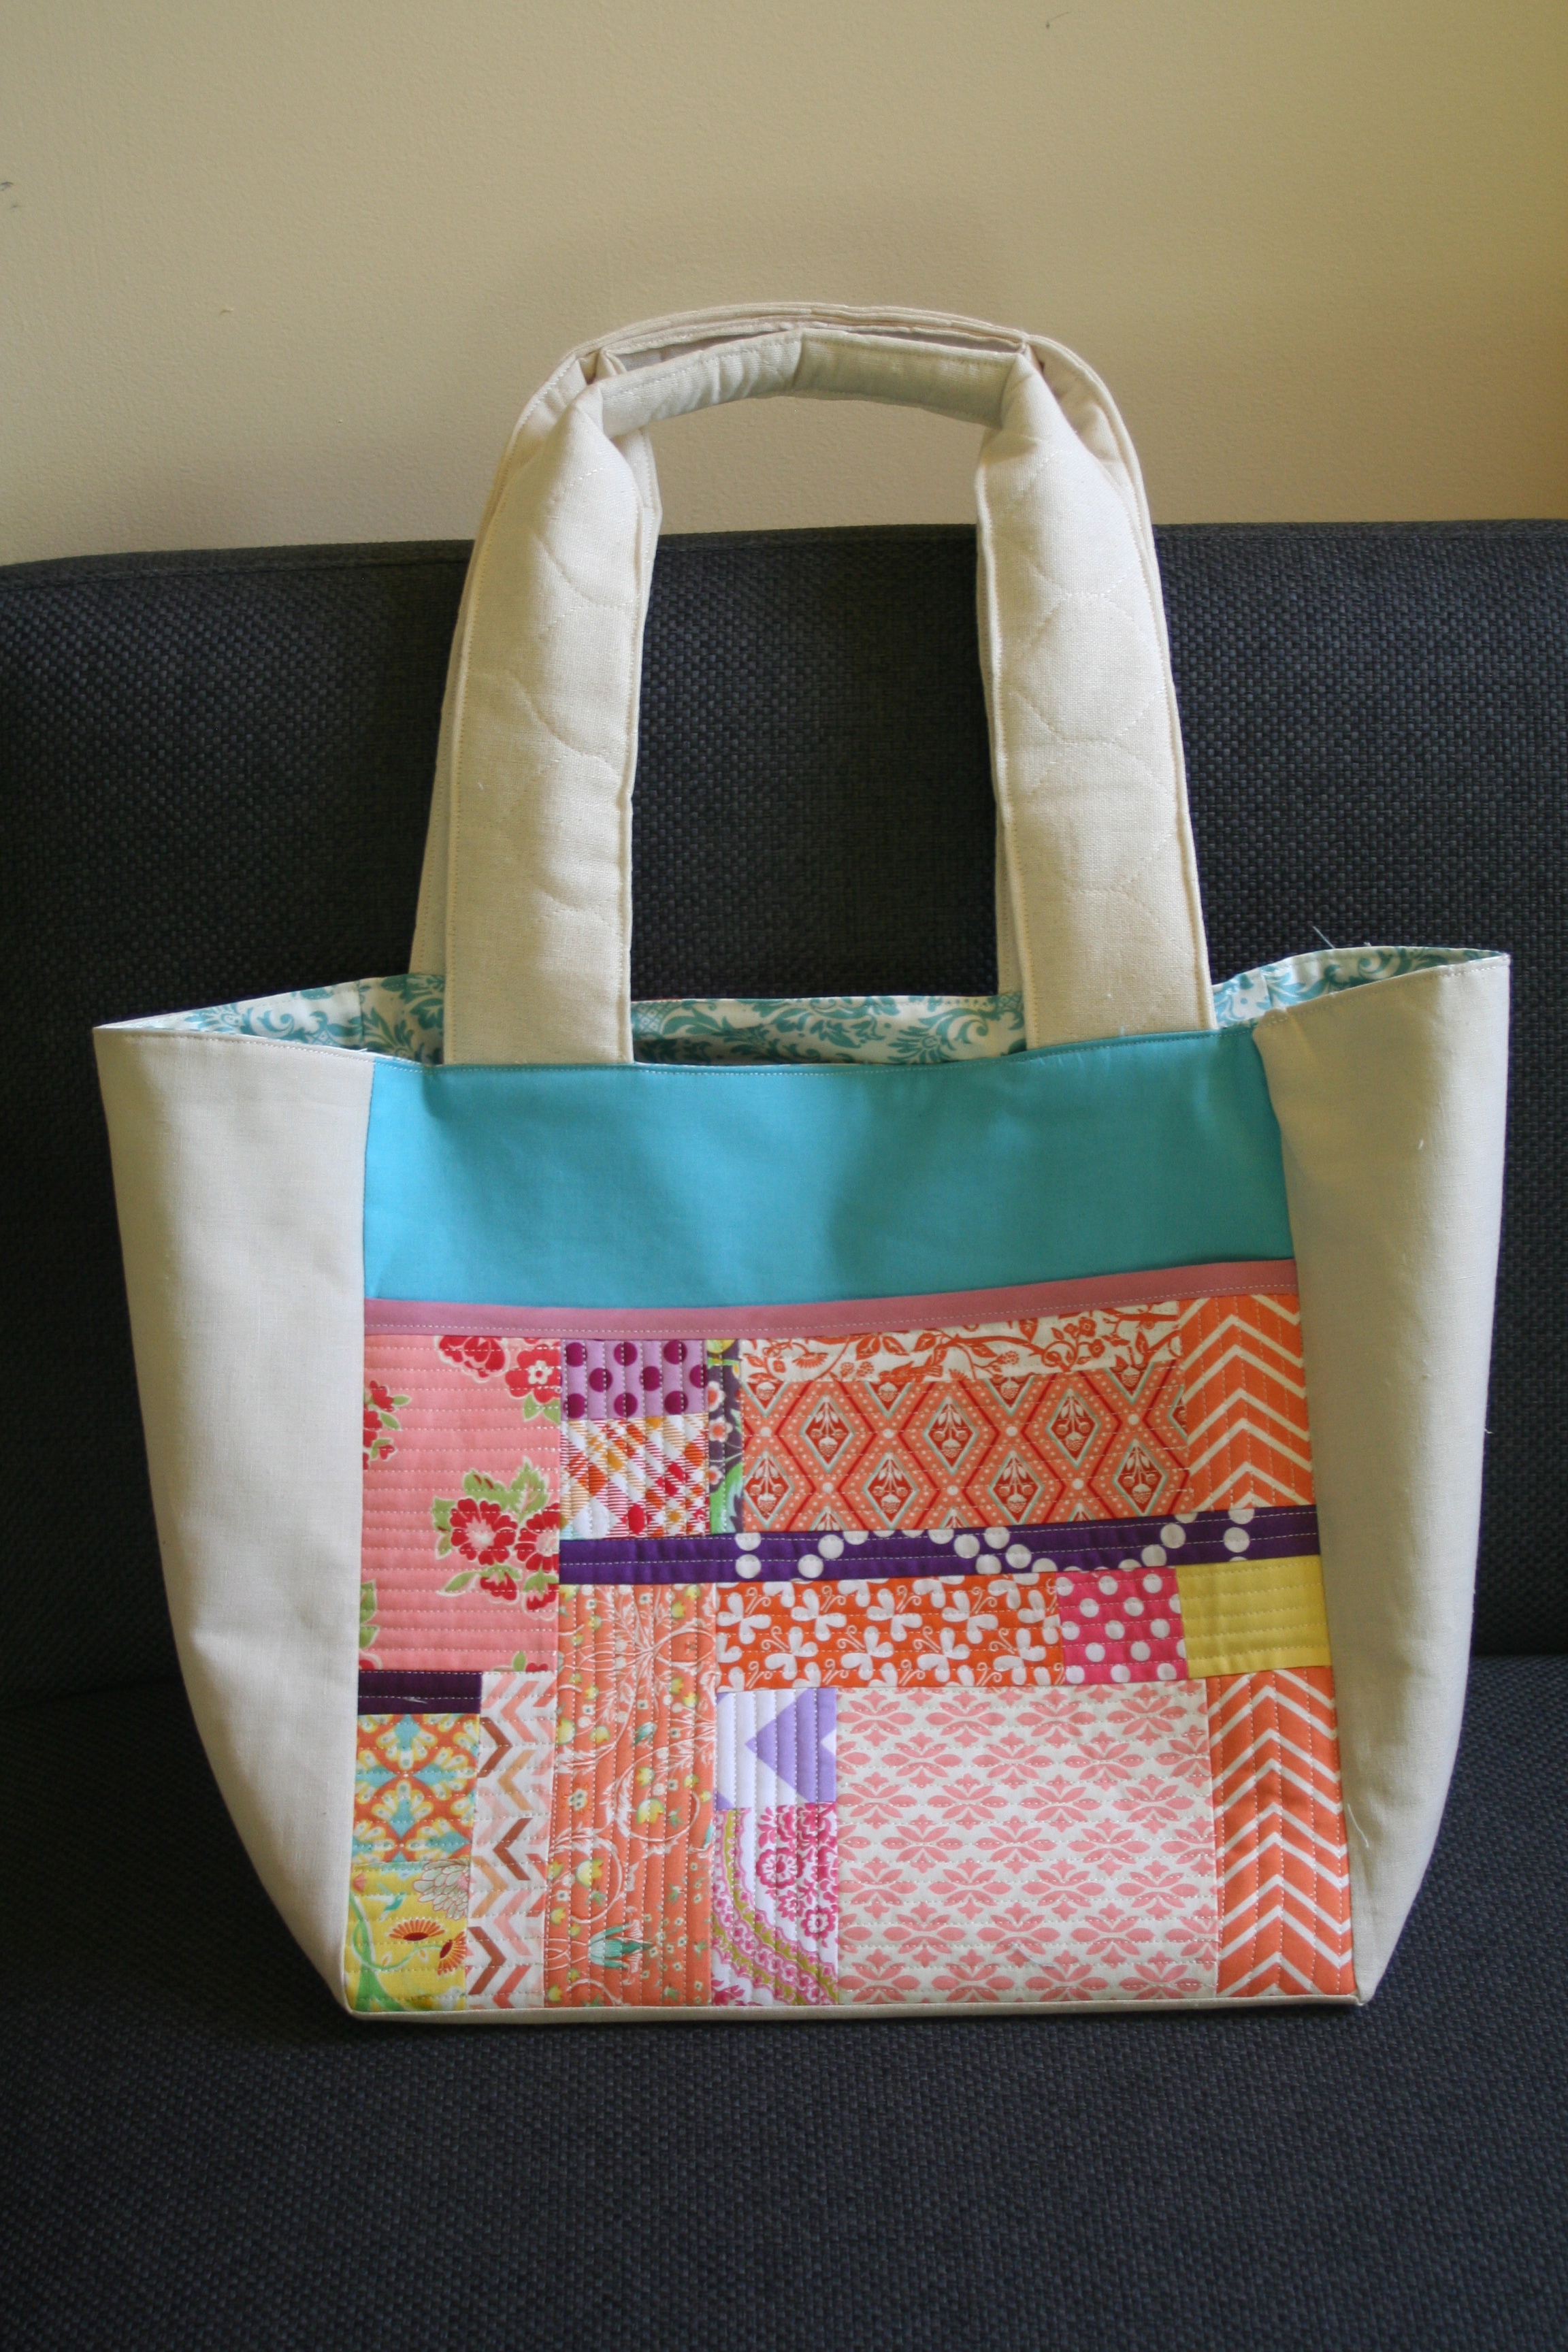
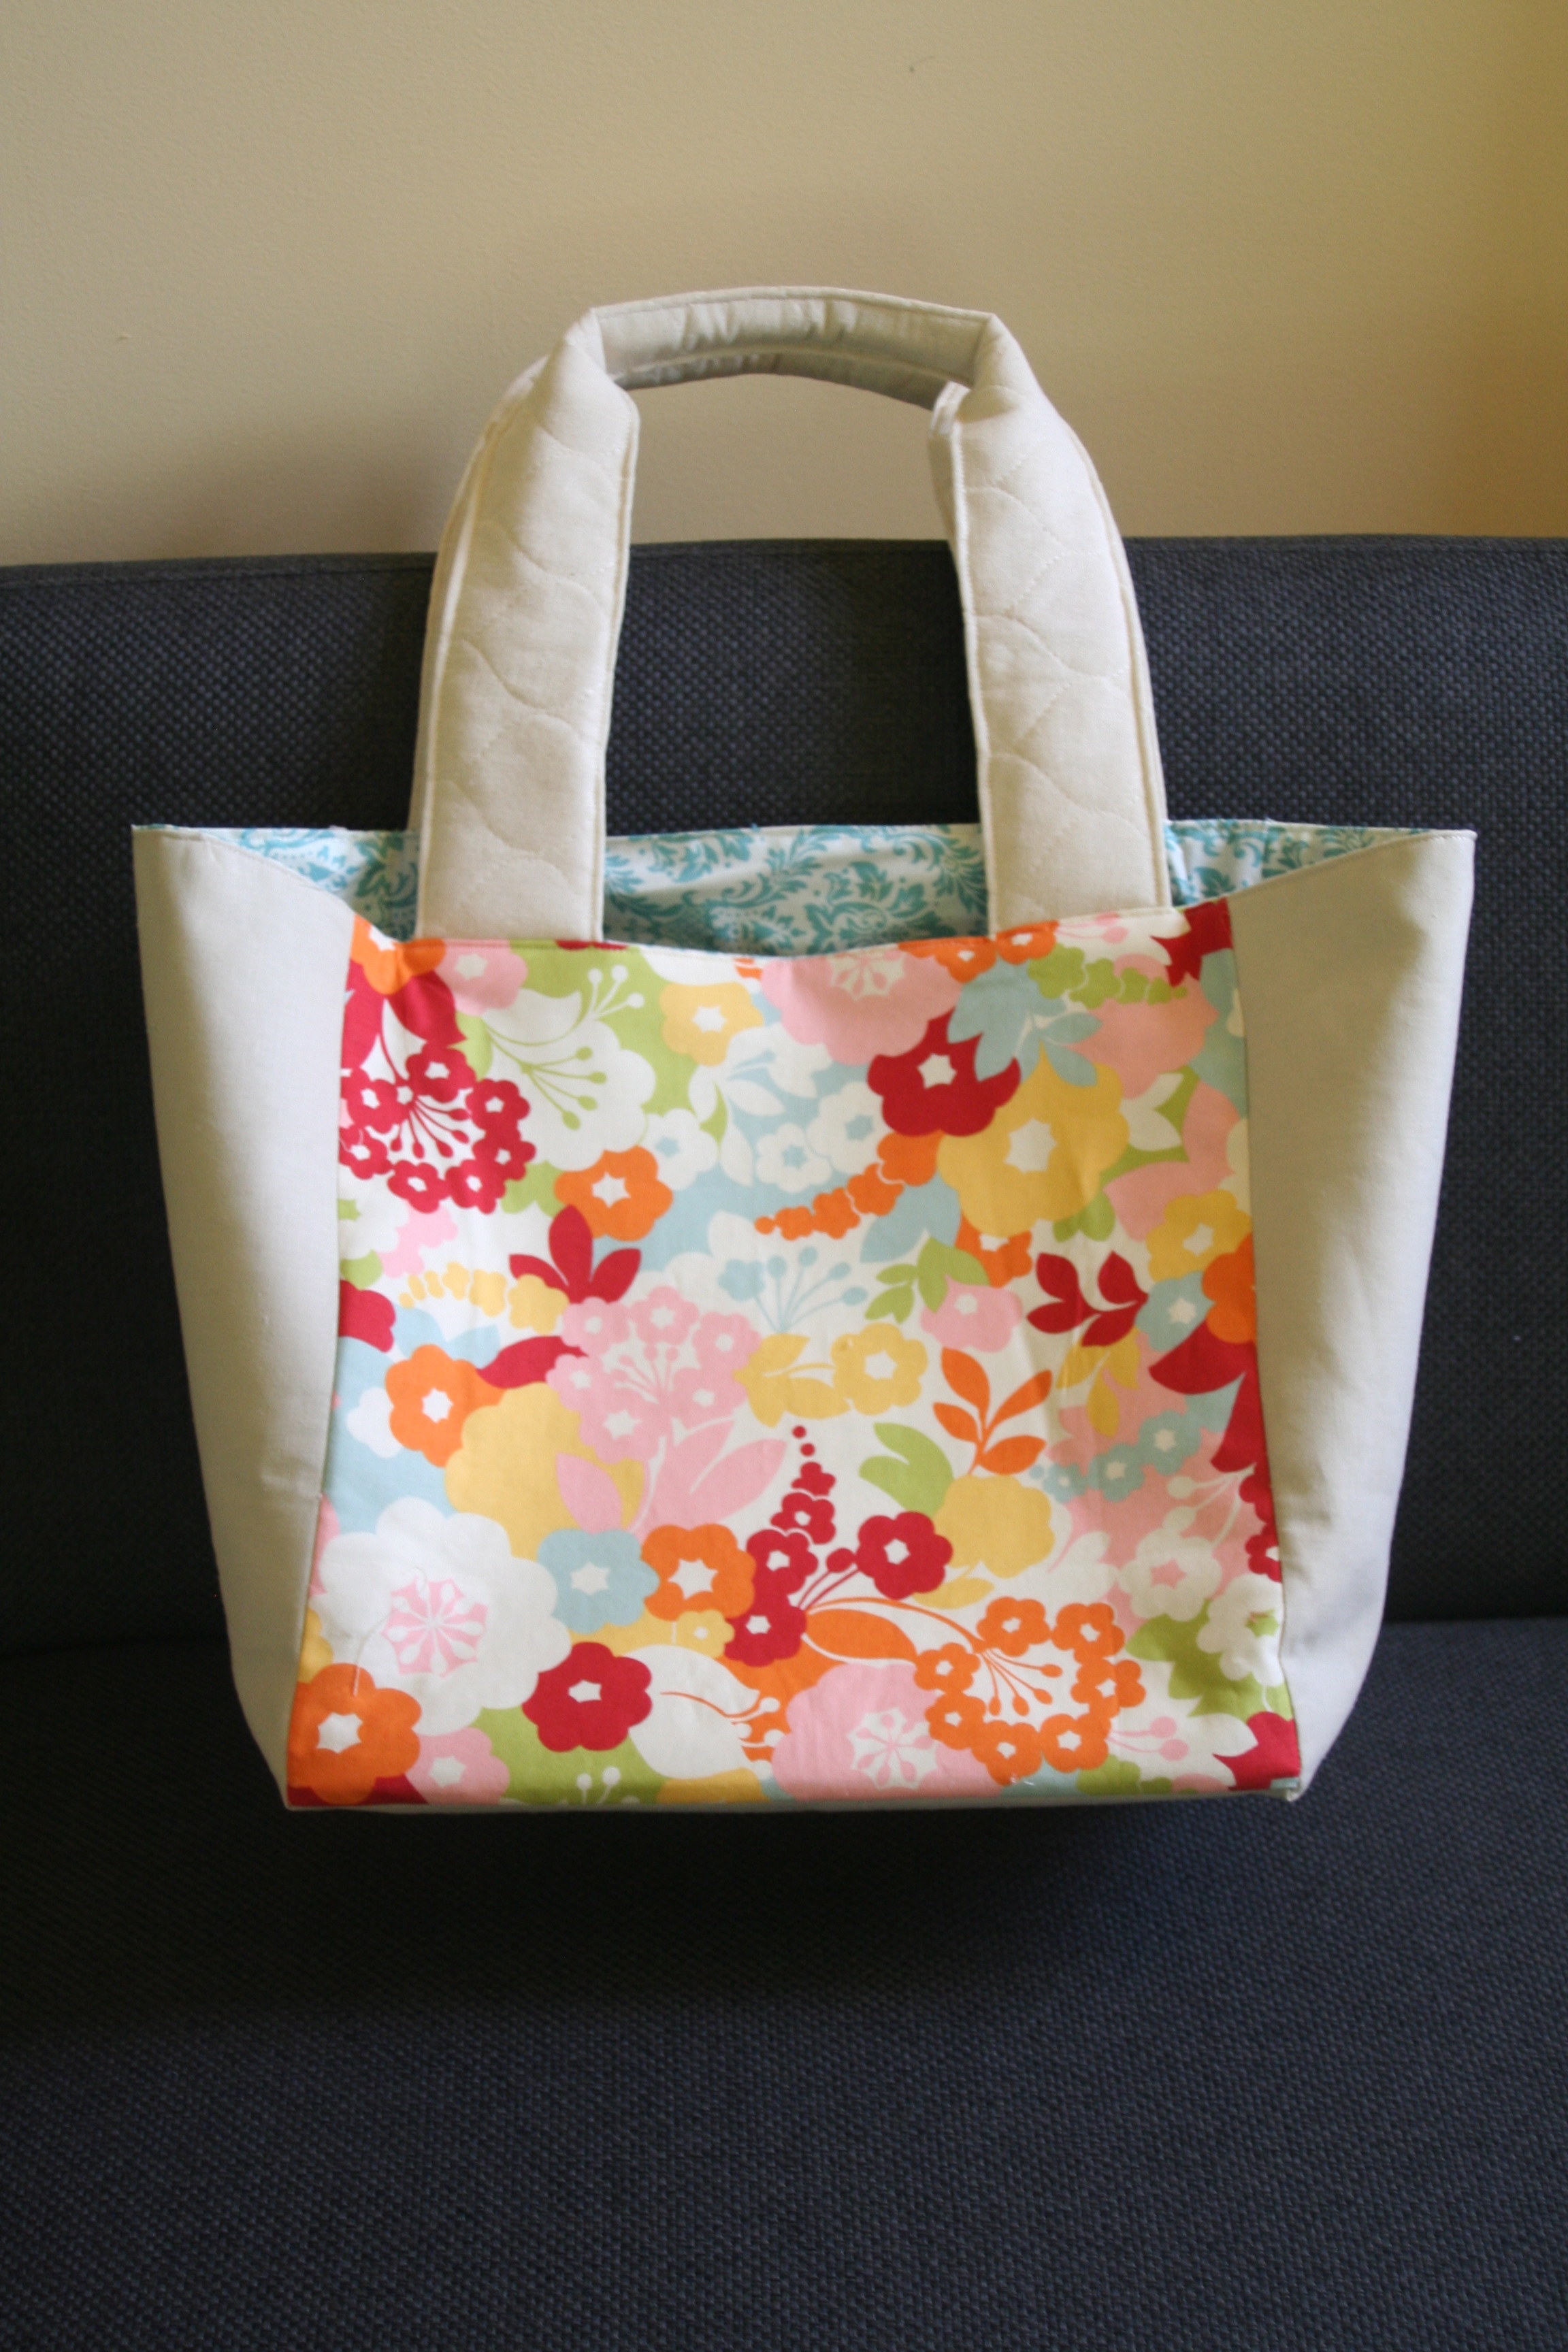
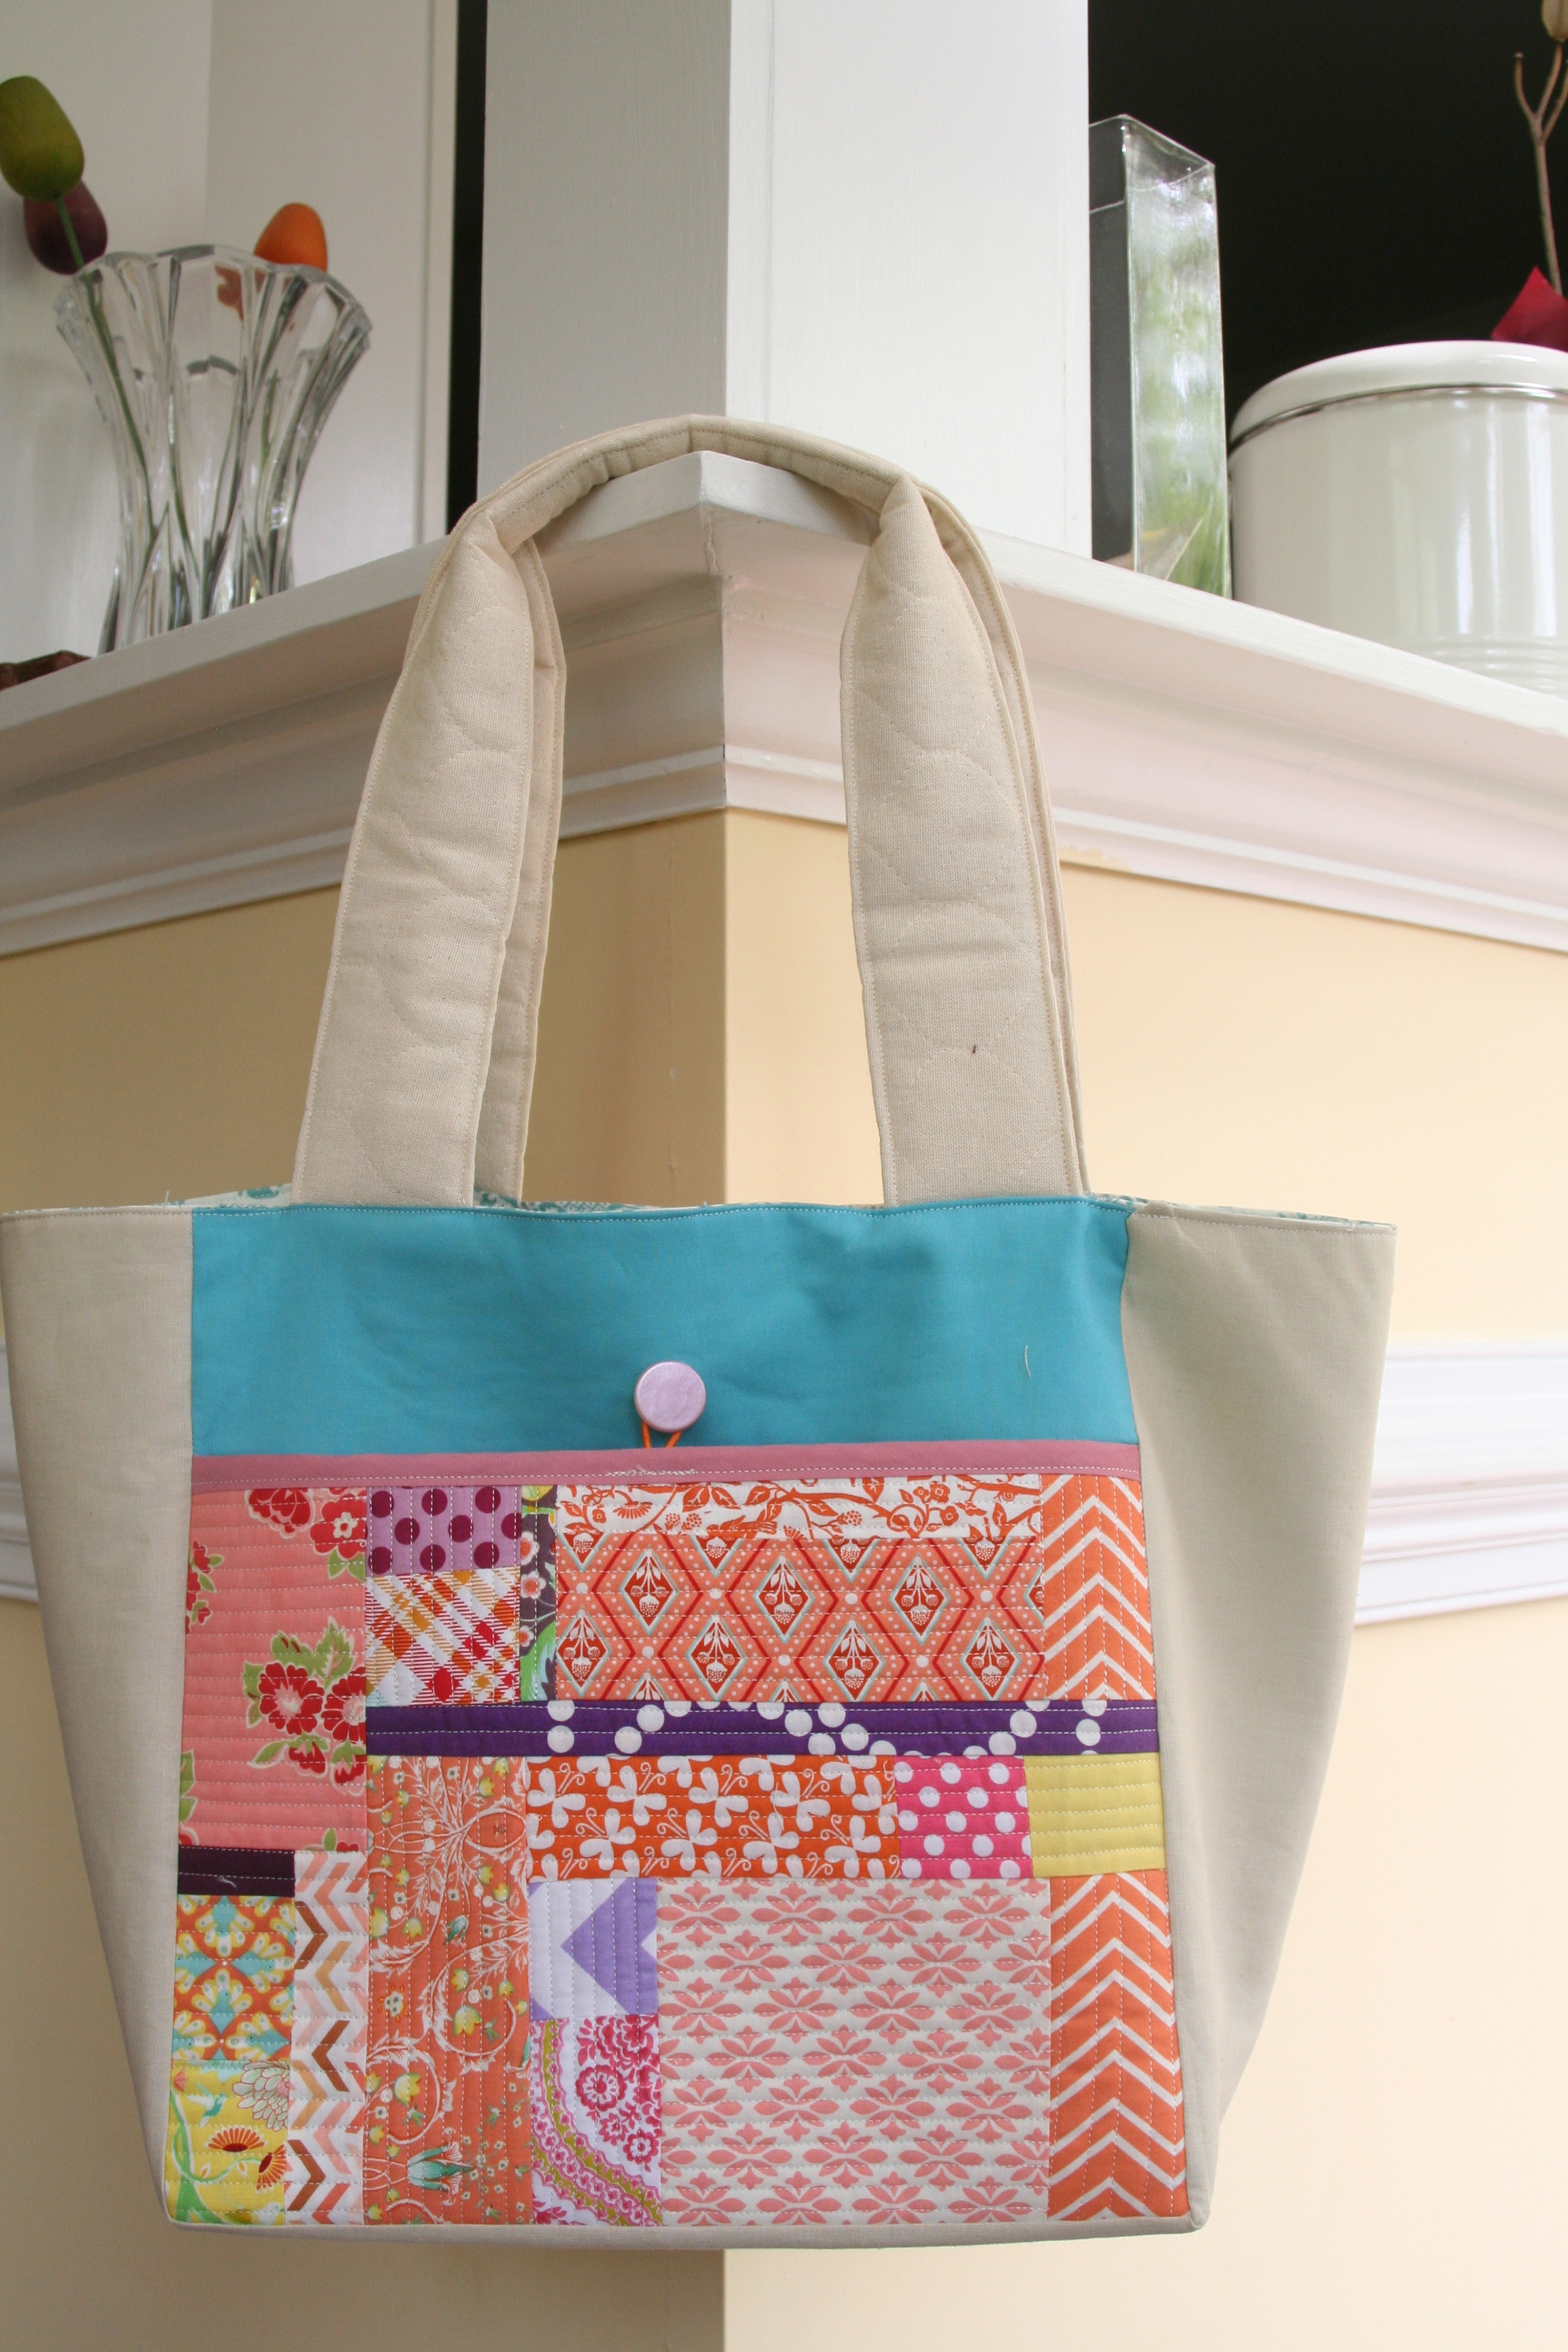
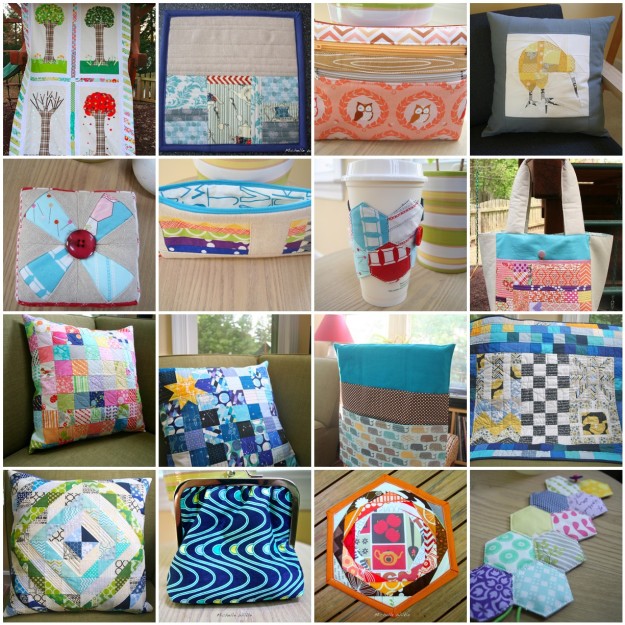
Projects: I love projects that can be done in a couple of hours and interspersing these with long-term quilting projects. It gives me a sense of accomplishment, and keeps me going on the longer projects. Here are some of my 2013 projects:
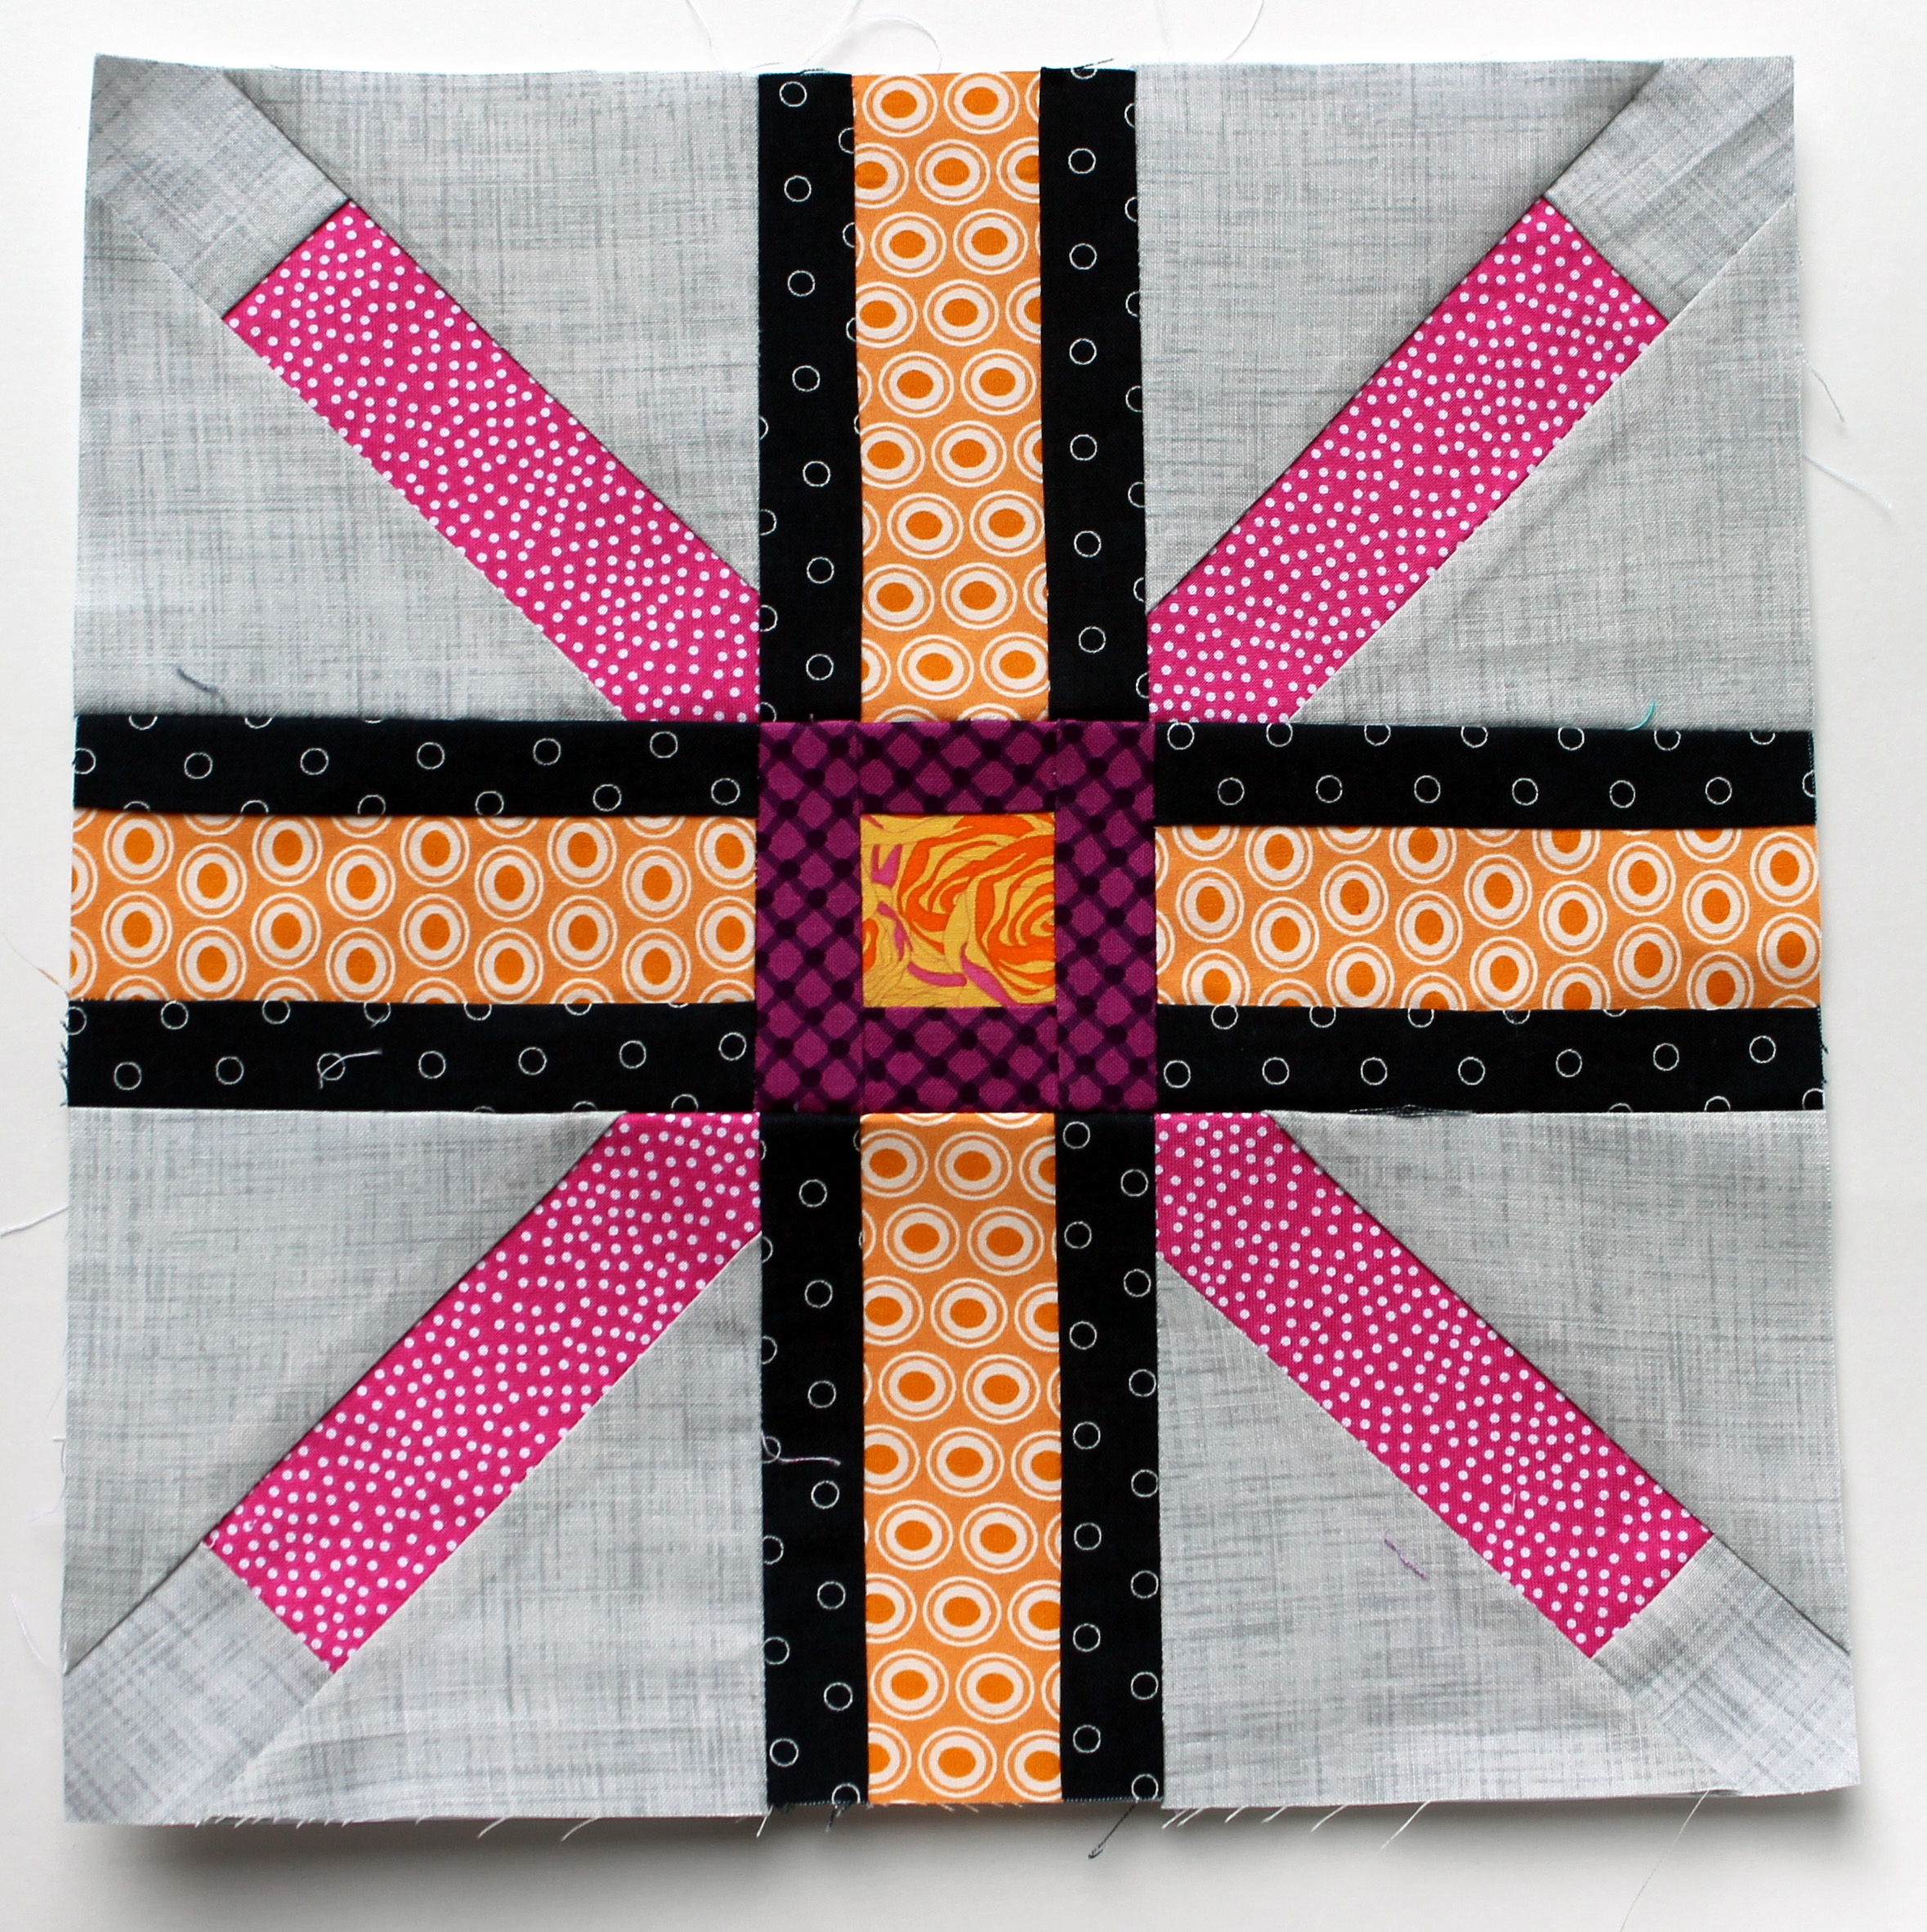
Now for my exciting news….I am introducing my first paper piecing pattern…
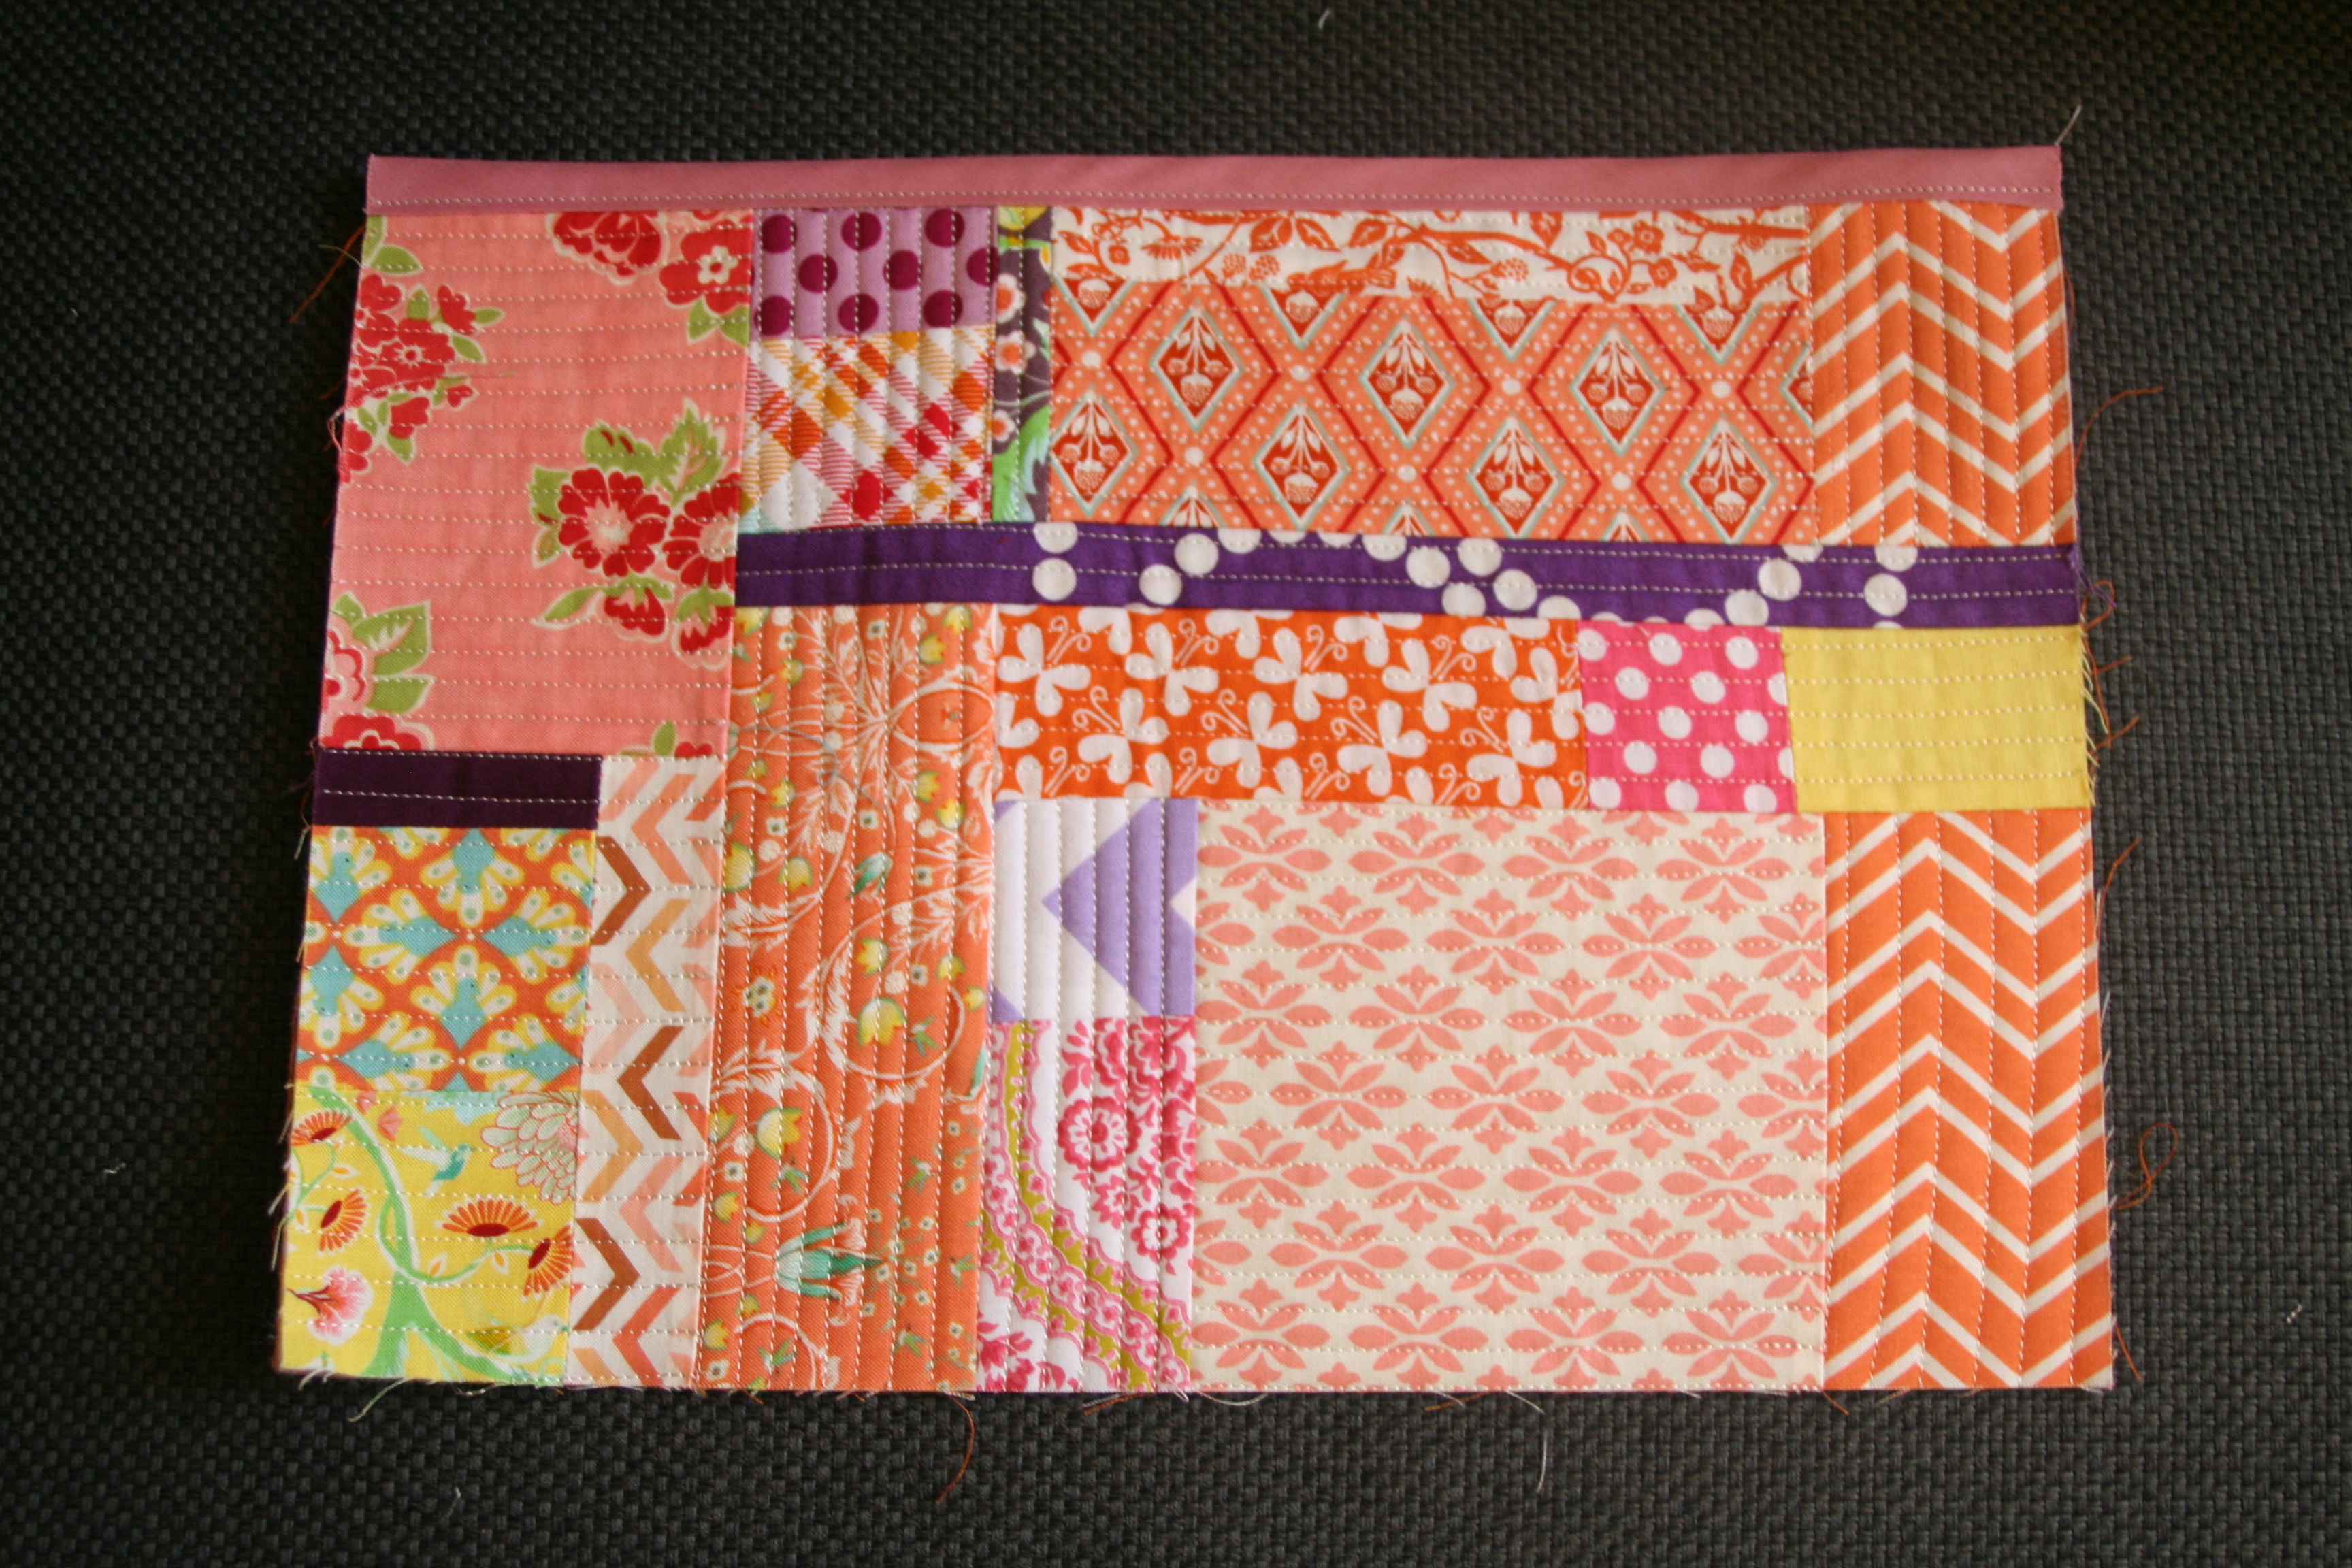
“Royal – X – Plus Block”
The block reminds me of a mashup of a union jack and the X & + Block (hence the name). It was inspired by a floor tile. I would consider this Intermediate due to the joins but an easy sew since they are all straight lines. The biggest tip I can give, is when joining the 3 sections using opposite pressed seams to match the pieces up (like you would matching up a row of squares).
I reached out to others participating in the New Bloggers blog hop and a big thank you goes out to my three testers that tested my pattern. I am so appreciative of the work and great feedback. Here are their blocks:
Cath @ Wombat Quilts, who posts a paper piece block every Monday which are always amazing!! She made her block 11.5 x 11.5″. 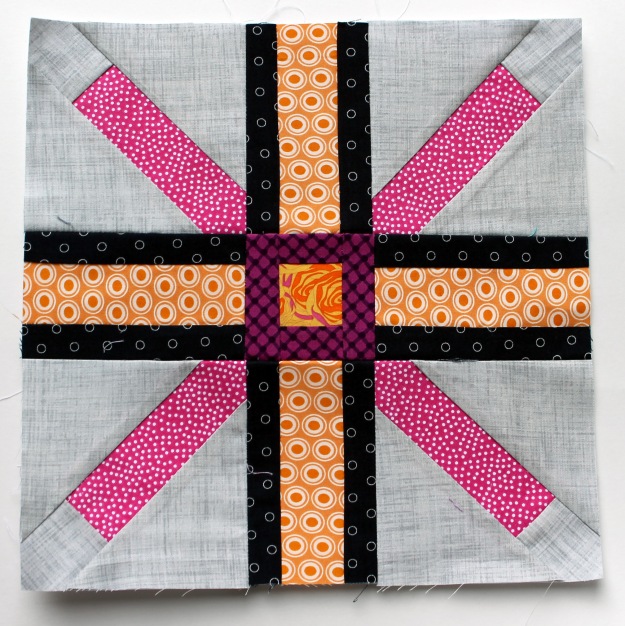
Alison @ Making Happyness, who is a newbie at paper piecing. Her first paper piecing was a beautiful rose.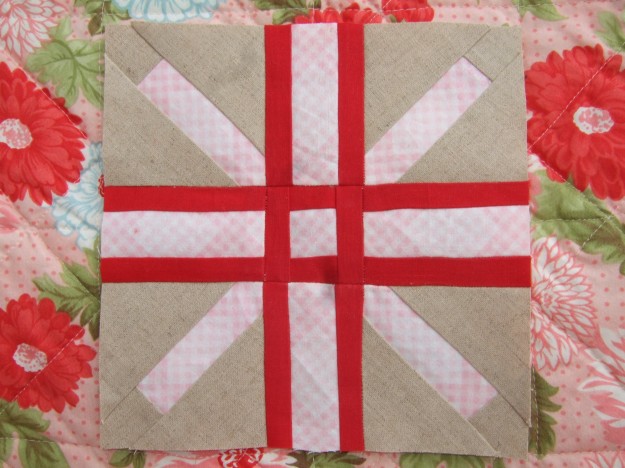
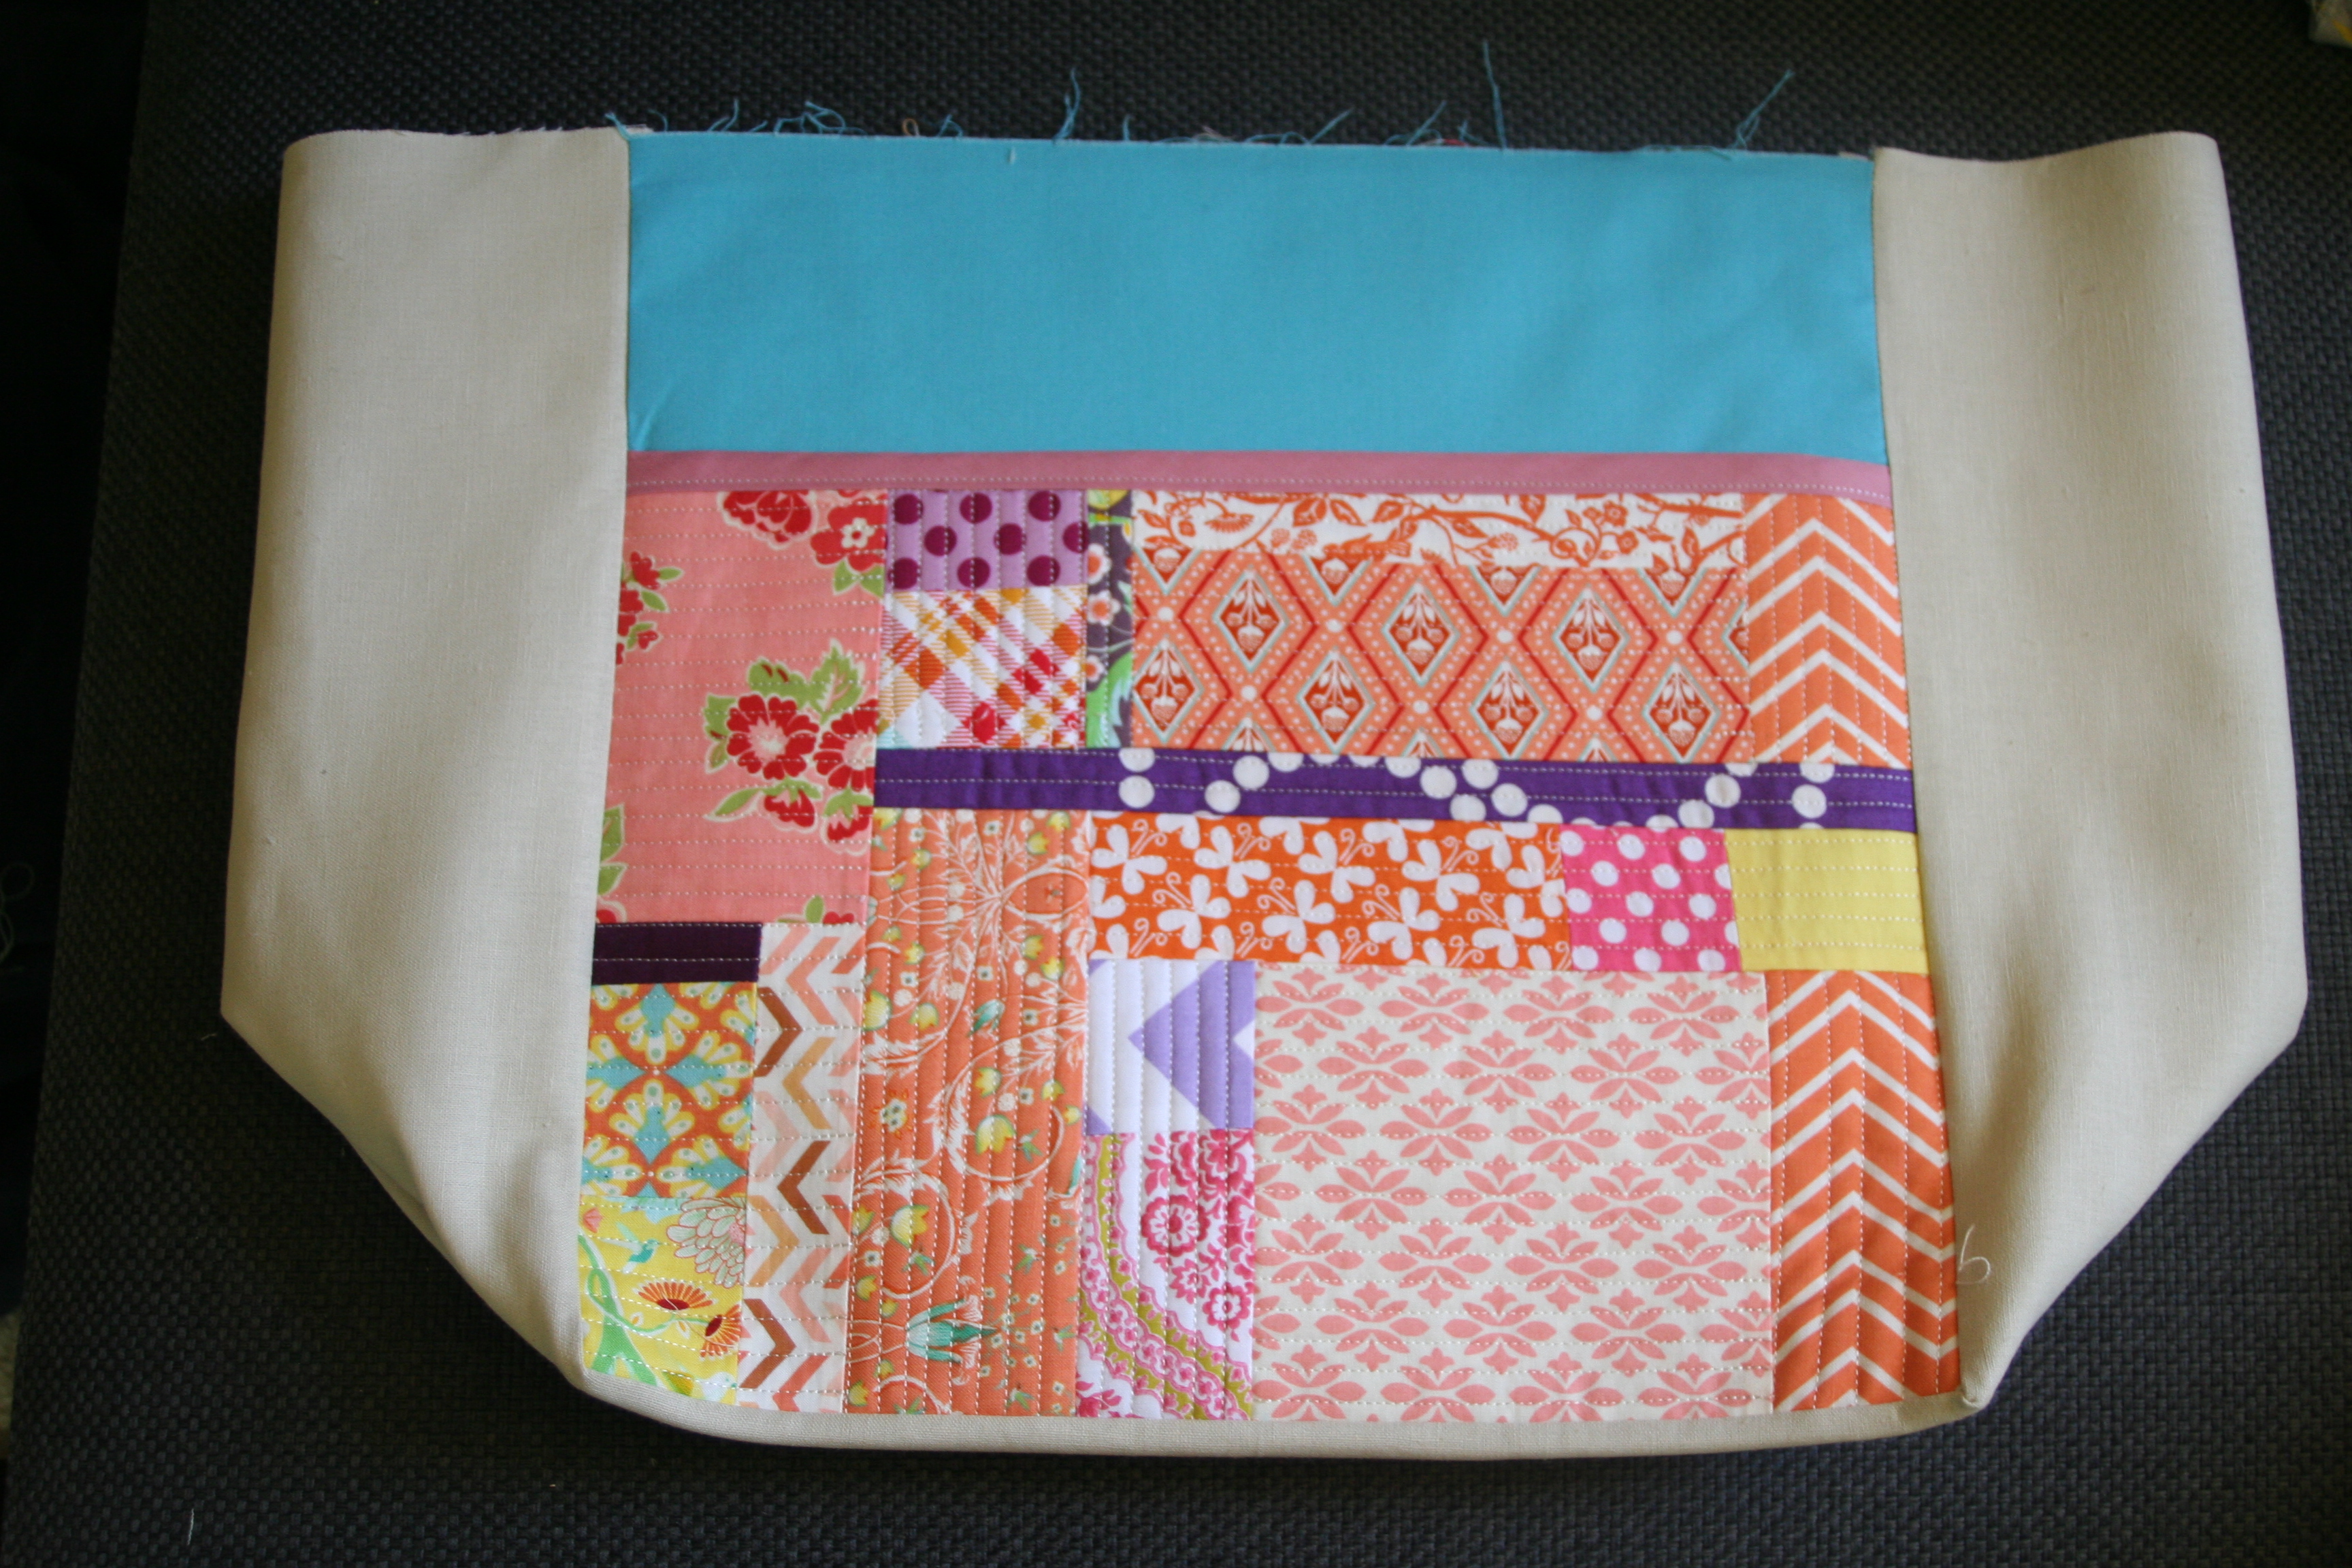
Lisa @ Hilltop House Creative Works, made this very cute mini quilt from the block. I could definitely use this as a mug rug or a pot holder/trivet….don’t you think??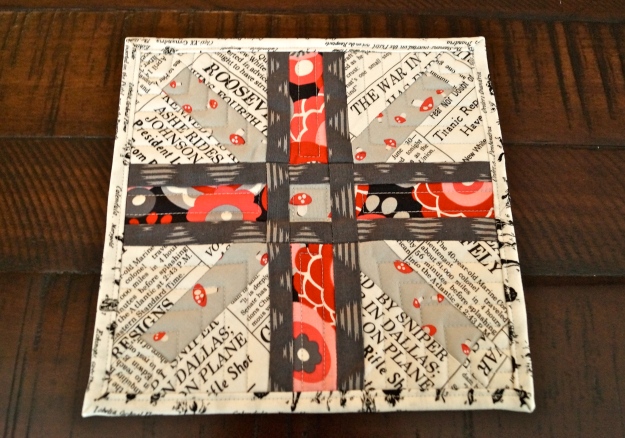
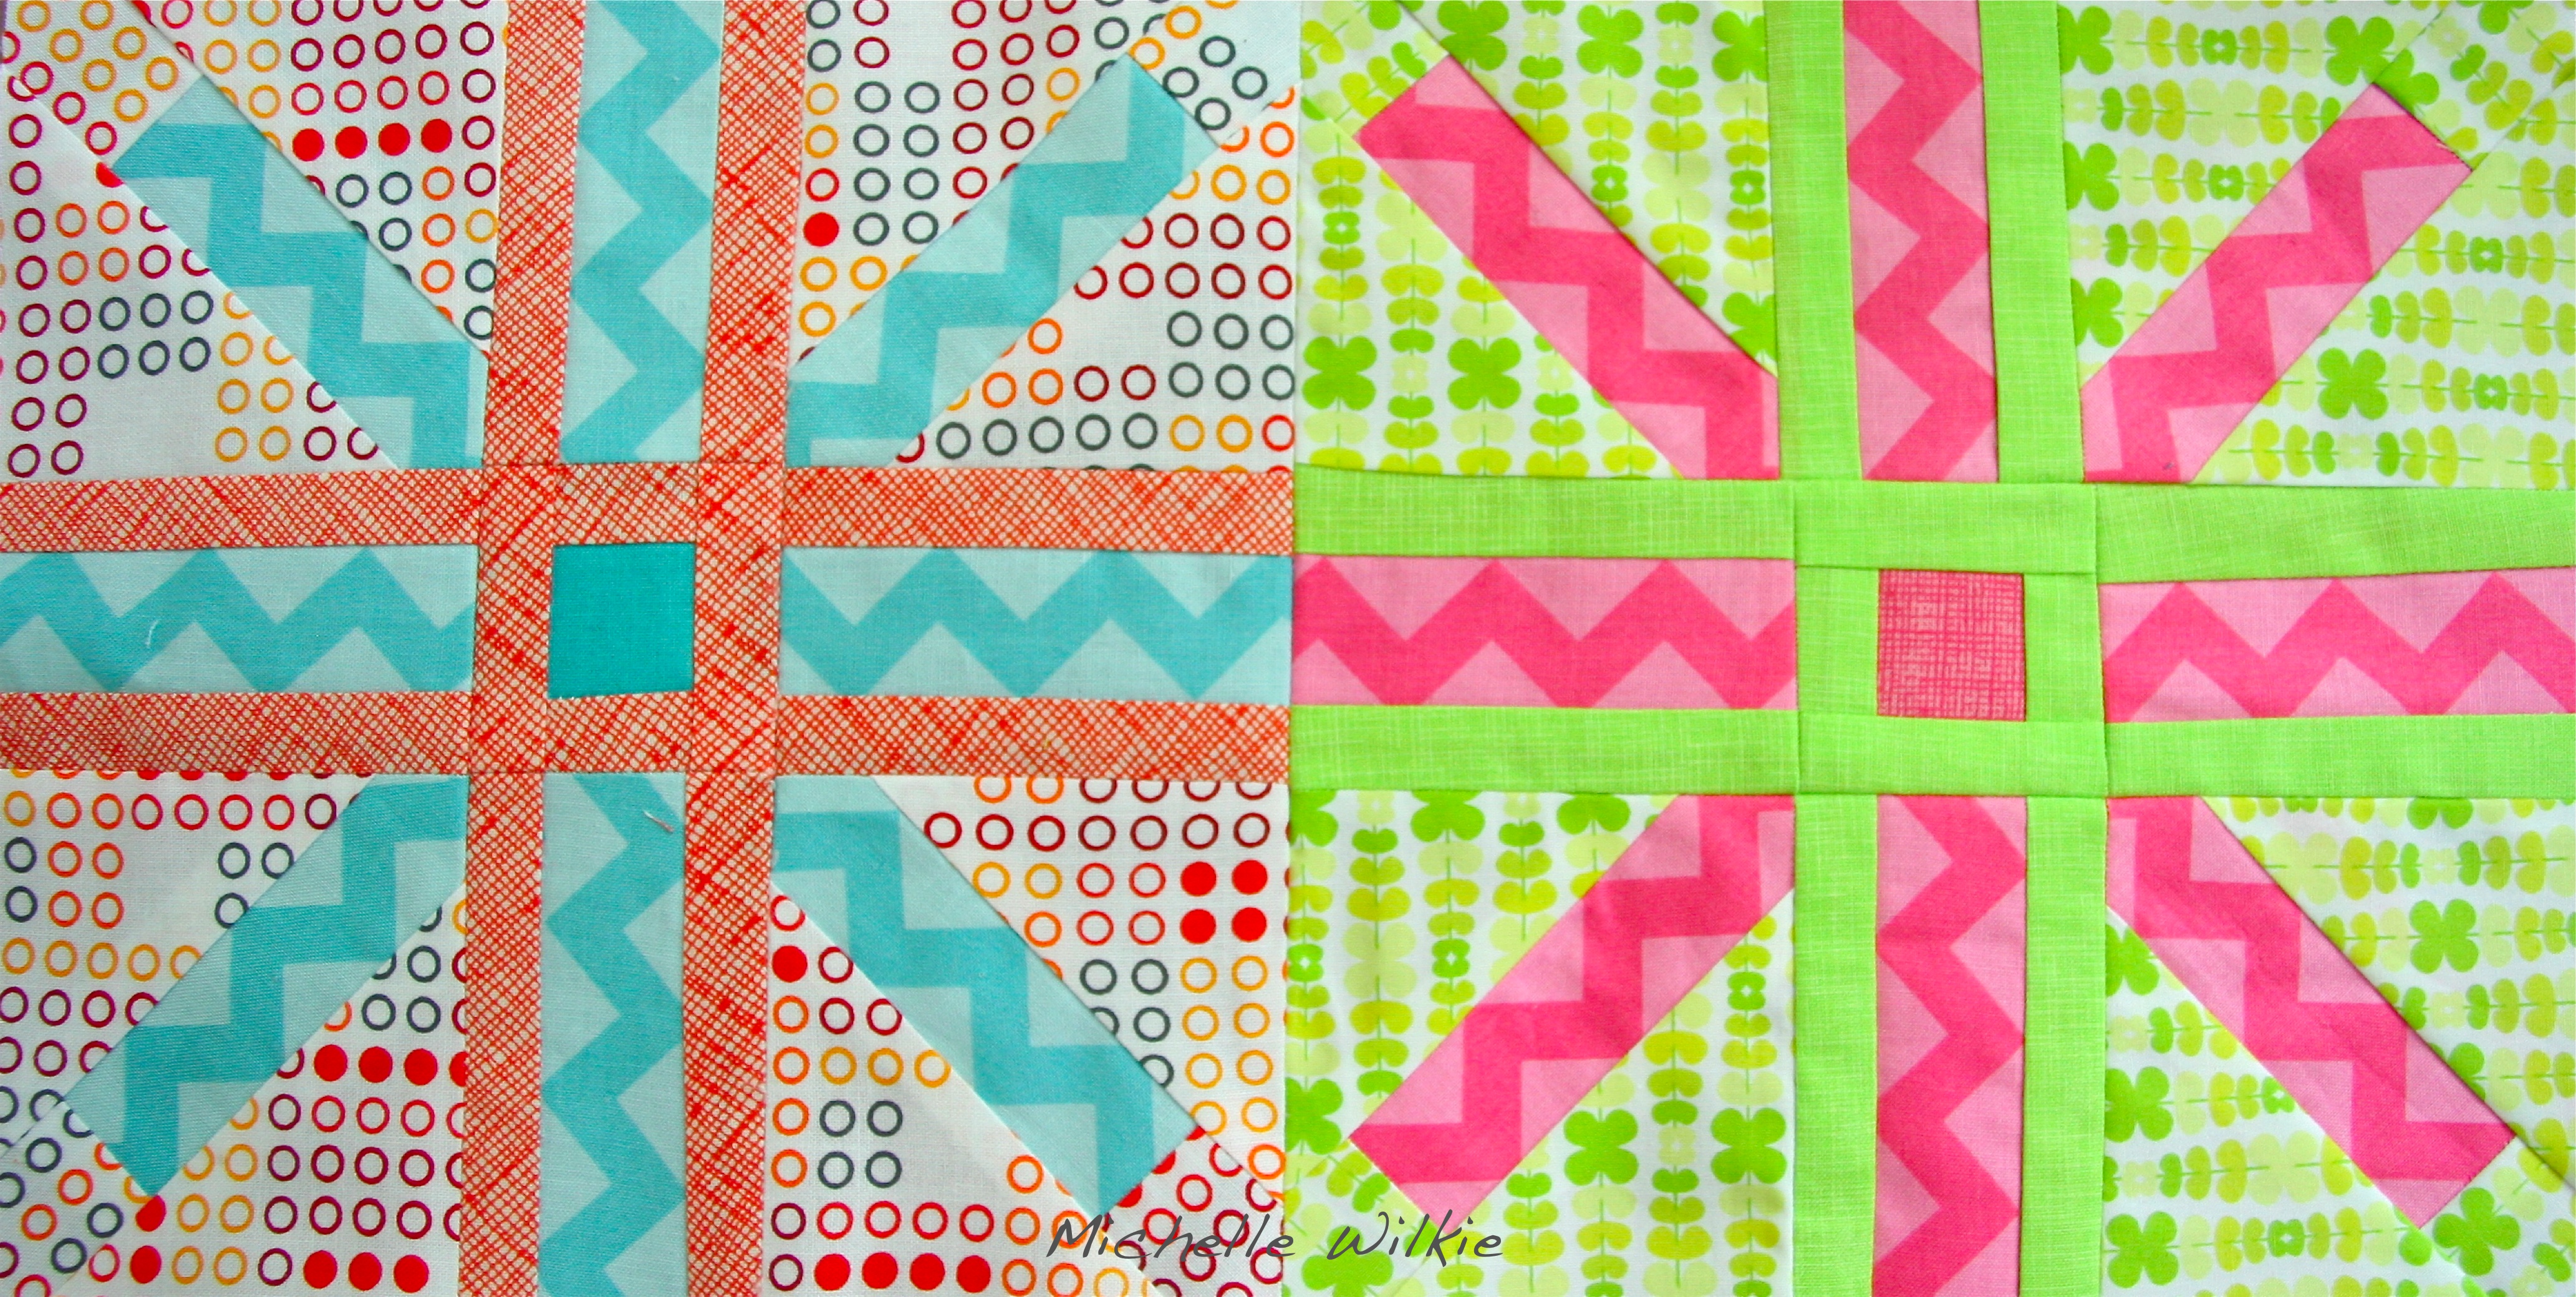
In the process of making the pattern I tried a couple of blocks, and after feedback from Alison I wanted to show you all how a couple of blocks would work together.
You can get the free pattern from Craftsy, here. If you try it out I would love to know, so I invite you to post photo’s of your finished block on my Paper Piecing Flickr Group.
Finally, check out the other modern quilting new bloggers participating in the blog hop:
Friday, June 7th
Nancy @ Owen’s Olivia
Amy @ 13 Spools
Ashley @ Wasn’t Quilt In A Day
Casey @ The Studiolo
Nanette @ Yeah, I Made That
Ange @ Heart Of Charnwood
Kim @ Robot Mom Sews
Erica @ Kitchen Table Quilting
Friday, June 14
Julie @ Jolie Maxtin
Melissa @ Melia Mae Quilting
Adrianne @ On The Windy Side
Molli @ Molli Sparkles
Laura @ Little And Lots
Sarah @ Duck Egg Threads
Kelly @ My Quilt Infatuation
Cari @ There’s A Thread
Valerie @ Between Quilts
Friday, June 21
Leigh Anne @ Ella’s Cottage
Stacey @ The Tilted Quilt
Sarah @ Quilt Candy
Jackie @ NW Patchwork
Liz @ Beadqueene’s Bits And Baubles
Erica @ Happy Fabric
Stephanie @ Simple Sewendipity
Lauren @ Seraphym
Amy @ Cloud CouCou Crafts
Friday, June 28
Green @ So Sew Green
Gwendellyn @ The Rainbow Revolts
Jessica @ Stitched In Thyme
Amira @ Little Mushroom Cap
Kathy @ Kayak Quilting
Michelle @ Factotum Of Arts
Paula @ The Sassy Quilter
Kris @ Sew Sunshine
Camilla @ Faffling
Friday, July 5
Christa @ Christa Quilts!
Alyce @ Wonderland By Alyce
Anna @ The Crooked Banana
Rachel @ Sew Happily Ever After
Stephanie @ Quarter Incher
Shayla @ Sassafras Lane Designs
Caroline @ Carolines Craftiness
Lisa @ Hilltop House Creative Works
Friday, July 12
Leona @ Leona’s Quilting Adventure
Karen @ Karen, {Novice} Quilter
Anne @ PlayCrafts
Rachel @ Let’s Begin Sewing…
Jan @ Sew And Sow Farm
Anna @ Quilting Along The Grain
Cath @ Wombat Quilts
Sarah @ {No} Hats In The House
Friday, July 19
Karen @ Little Birdie Quilting Studio
Kathy @ Kwilty Pleasures
Katie @ Snuggle Up With A Dish From Karma
Alison @ Making Happyness
Ella and Nesta @ Ella & Nesta’s Little Room
Adrienne @ Chezzetcook Modern Quilts
Nicole @ Modern Handcraft
Aylin @ AyliN-Nilya
Kelsey and Amanda @ Everyday Fray
Friday, July 26
Vicki @ A Quilter’s Mission
RobinSue @ RobinSue Quilts
Elisa Lea @ Lovelea Designs
Elizabeth @ In The Boon Docks
Jenny @ A Note To Follow Sew
Lorna @ Sew Fresh Quilts
Sonia @ Fabric & Flowers
Emily @ Sew E.T.
Em @ Sewing by Moonlight