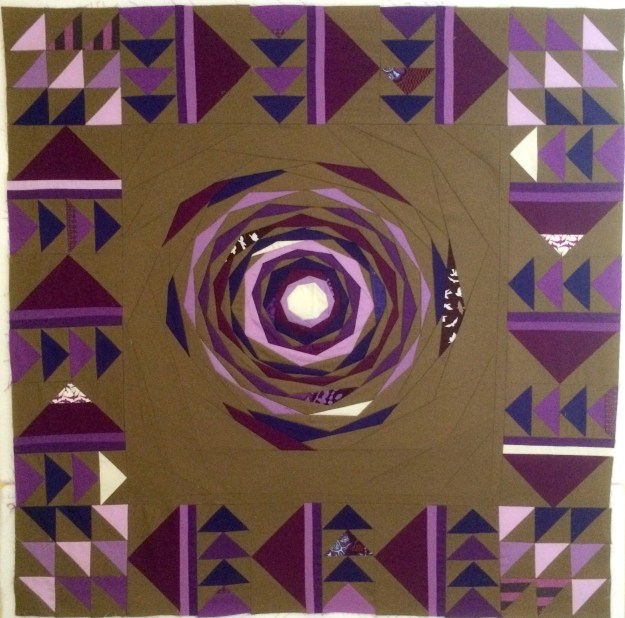
I have finally finished the quilt, I have been working on for my Mum. Making something for someone you love has been very humbling experience. Even more so, since my mum (as mentioned previously) has a brain tumor and currently undergoing Chemotherapy. This quilt “Daughter’s Love”, I hope will bring her comfort as I can not be with her.
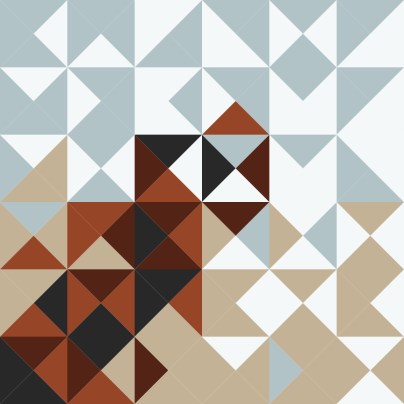
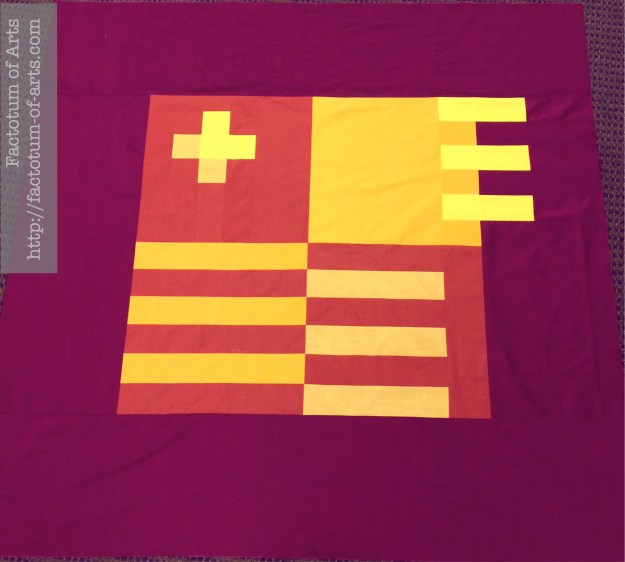
The original design was inspired by the crosses/pluses that are in the stained glass window of a Scottish Castle.

I thought the plus blocks in the original design looked a little heavy, so I removed two of the corners. Alternating the direction, also gave this great secondary square design.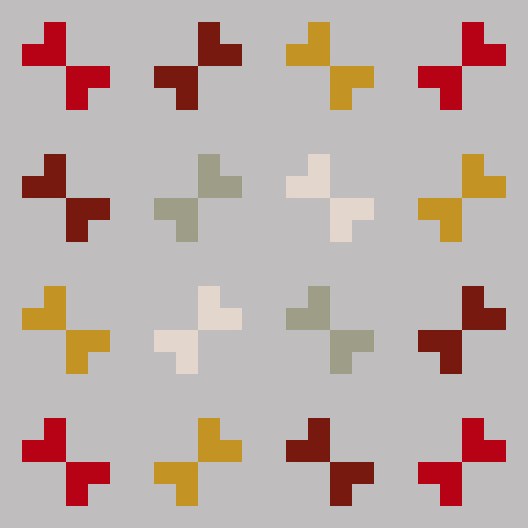
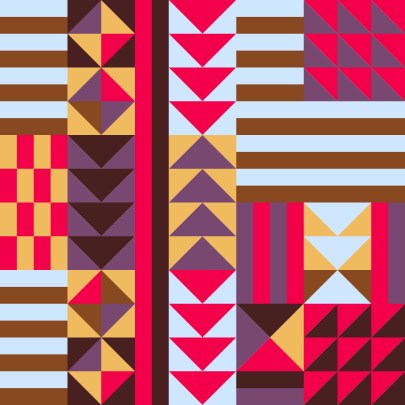
While I love the color palette in the original design, I decided to change it to suit my Mum more. Her favorite colors are orange and purple, hence the final colors of orange, purple, yellow, coral/peach, and magenta. There are 98 different colored prints used, 20 white on neutral prints for the background with 4 neutral solids.

For the backing I used Tula Pink’s wide back print, Free Fall. It worked as such a great complementary print to the front of the quilt.
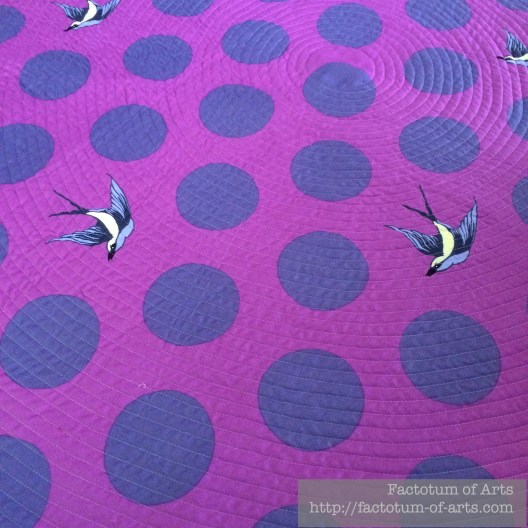
I decided that, I didn’t want to continue the squares and lines with the quilting, so a spiral design it was. Little did I realize it would take a huge ~120 hours for the quilting but I love the end result. Thanks to everyone in the Instagram community that encouraged me through this 🙂 One of the other design decisions, was starting the spiral quilting in an off centered location, which just happened to be one of my favorite combinations of prints. The spiral quilting was 1/2″ lines using Aurifil #2021.
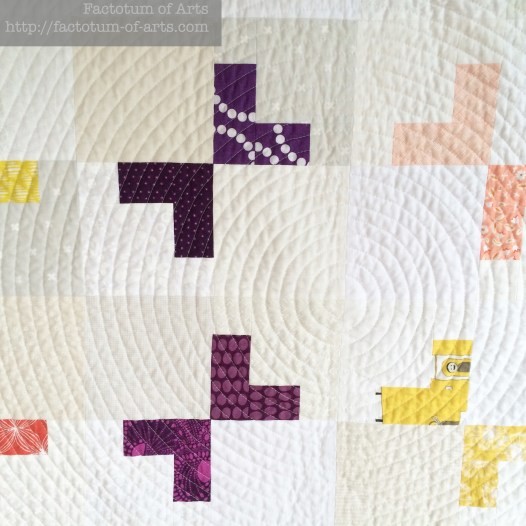
In this close-up of the quilting center you can also see the use of some of the white on neutral prints. The binding was not as easy a decision as I thought it would be. I was trying a dark orange but it did not work. I landed up using a coral based print with orange stripes (Carolyn Friedlander).

I will be releasing the pattern (pdf) for this quilt, in various sizes, August 8th via my payhip shop. All sales, in the first month, will be donated to Cancer Society, New Zealand who help provide services to my Mum including accommodation while she was having treatment away from home.
Details
Name: Daughter’s Love
Design: Designed by me
Fabric: 98 different colored prints, 20 white on neutral prints, 4 Kona solid neutrals
Backing: Tula Pink Free Fall wideback
Binding: Carolyn Friedlander, Carkai, Grid Diamond in Creamsicle Metallic
Dimensions: 70″ x 70″
Quilted: Spiral design, 1/2″ spacing, Aurifil #2021

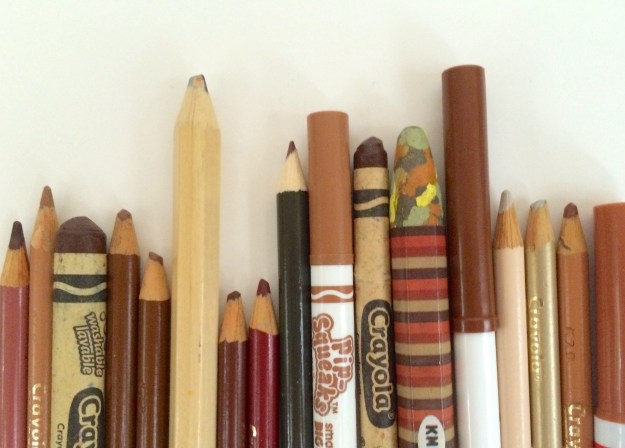 Brown is not an obvious color choice when it comes to modern quilting. It could be though. Brown has a lot of variations to consider, from chocolate to marsala to tan to bronze. Through