Category Archives: Quilt Design a Day

30 days of quilting – Week 2

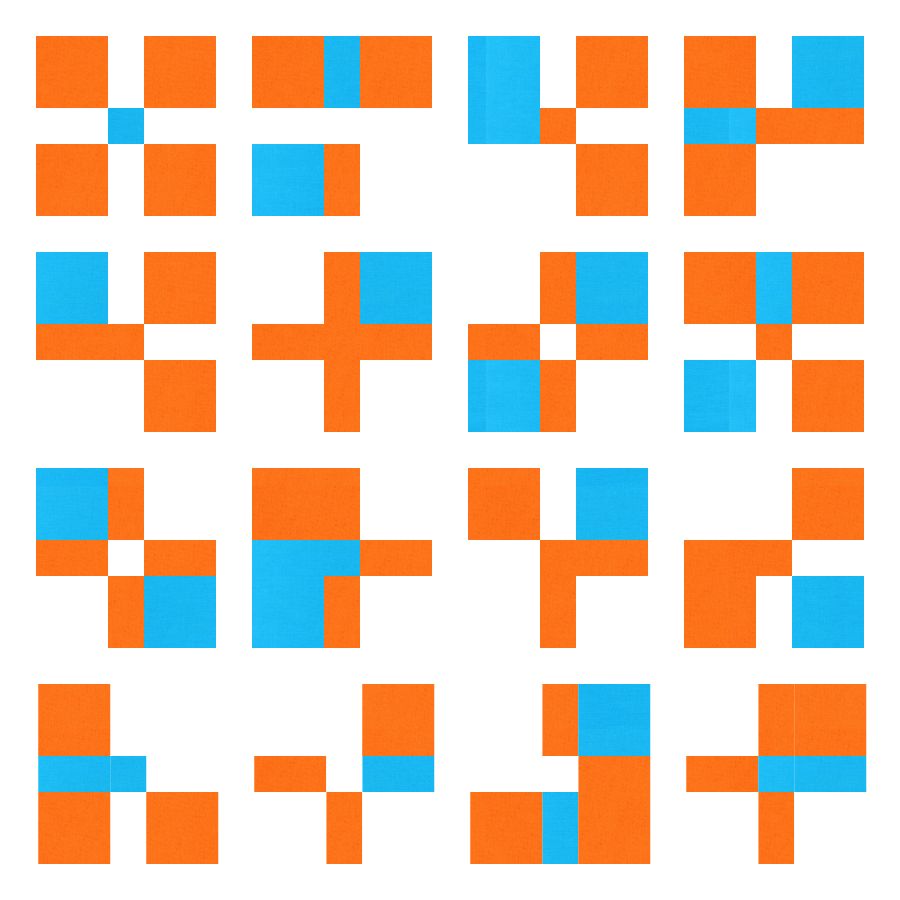
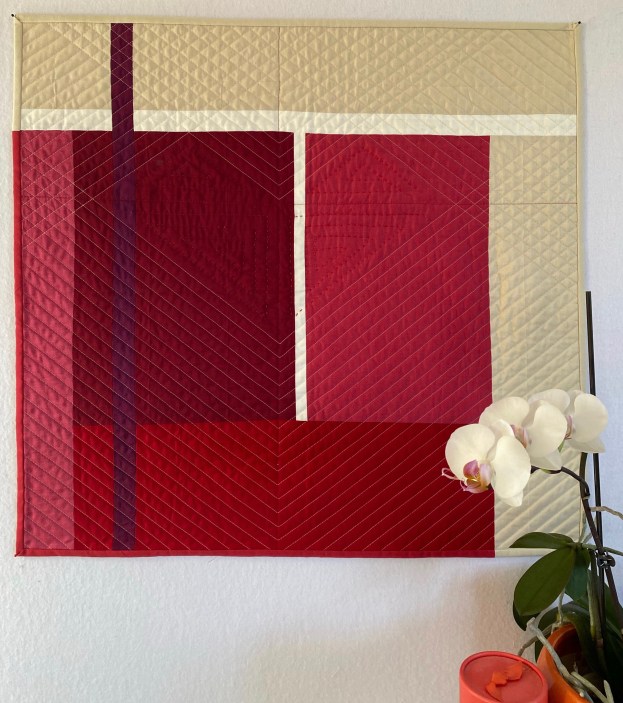
Check out week one on my 30 days of quilting experiment. This week’s project was Beating Heart. It is an abstract piece that shows the 4 chambers of the heart and the arteries.

I choose to finish this piece as it has more meaning now, than when I originally made the top. Since I turned 45, I started having panic attacks. These occur mostly at night for me and I really think I am dying from a heart attack. It could start with a twinge and then my mind jumps straight to I’m dying. Of course, logically I know I am going to be ok. Most of the time, I can talk (in my head) myself down and also use a variety of relaxation methods. Once I get to sleep I know that I’ll be ok if I wake up in the morning.

It is so hard when you know your body and its signals so well and then all of a sudden you can’t trust it. It’s definitely been a journey. I have talked with friends and did you know that panic attacks are common in females in their 40’s and related to peri-menopause. Once I found this out I spoke with my doctors and we worked on a solution together. It is so important for us to share and tell our stories. No shame, no more hiding. I think it offers great support for others.

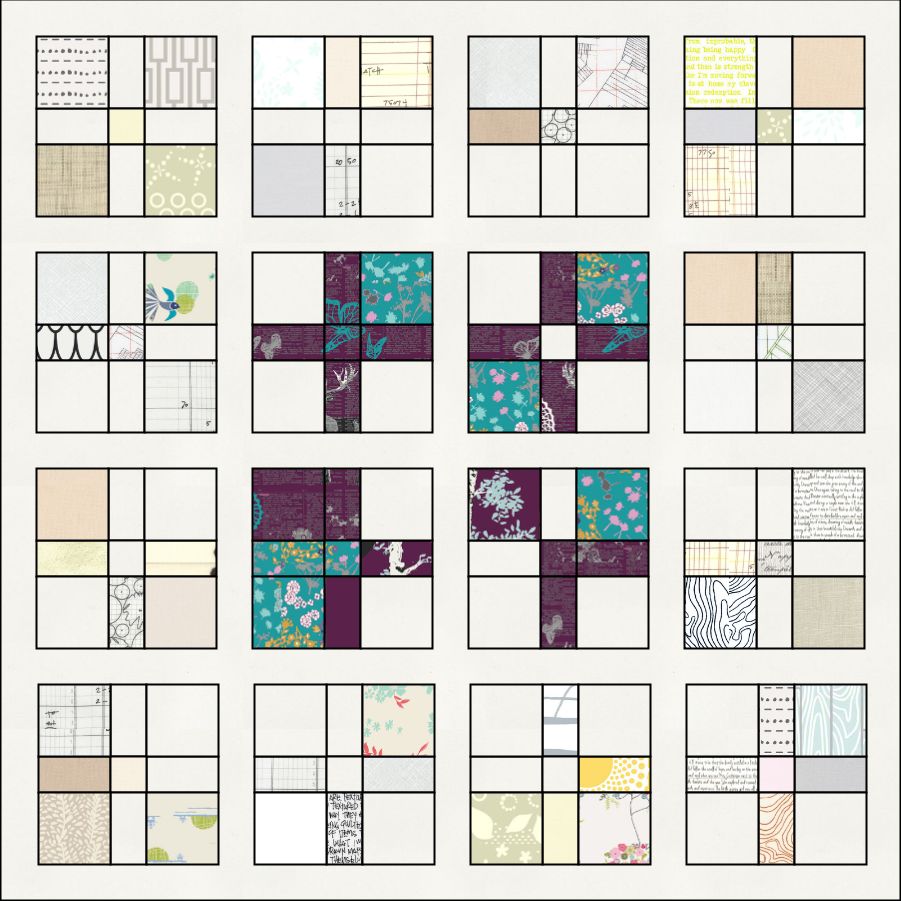
Beating heart, is made from beautiful Oakshott Cottons (an amazing cross weave that adds another dimension to this quilt when you see it in person). I had always wanted to make this secondary design of a heart, off center, with the quilting.

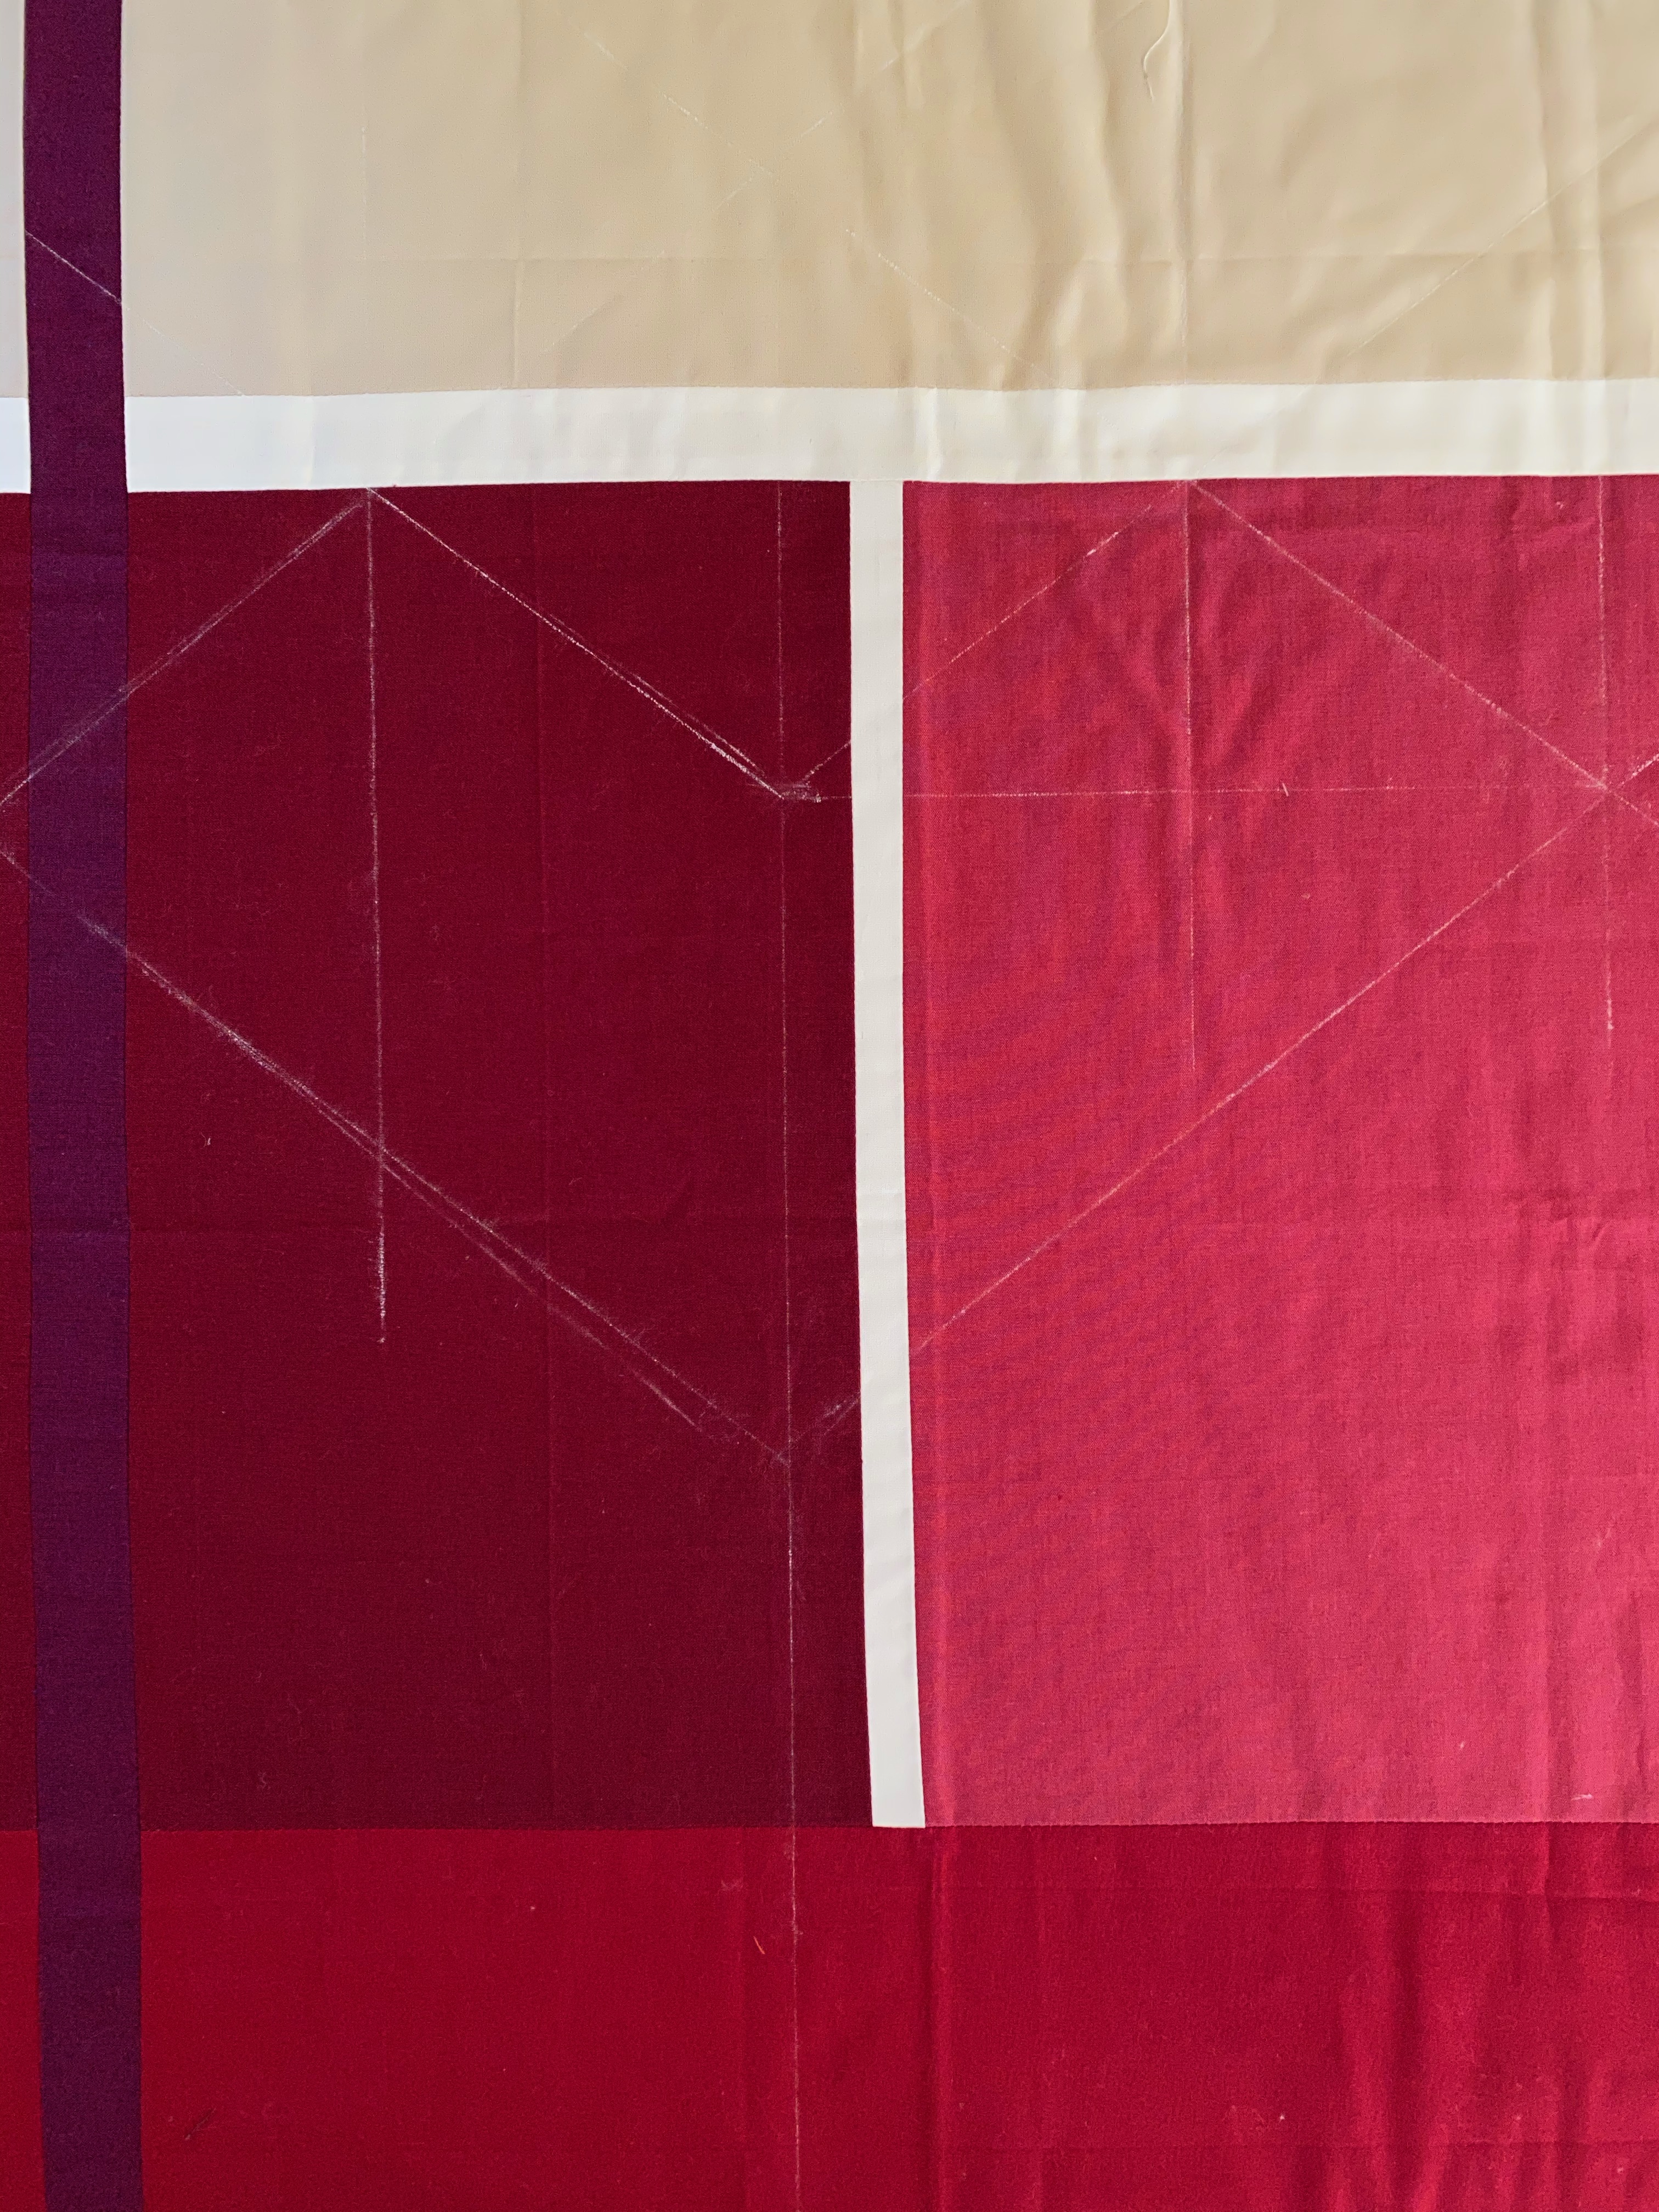
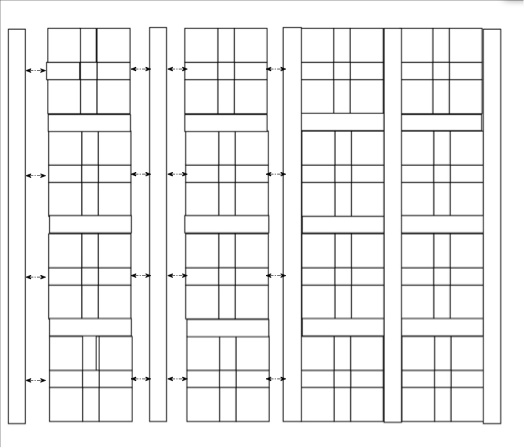
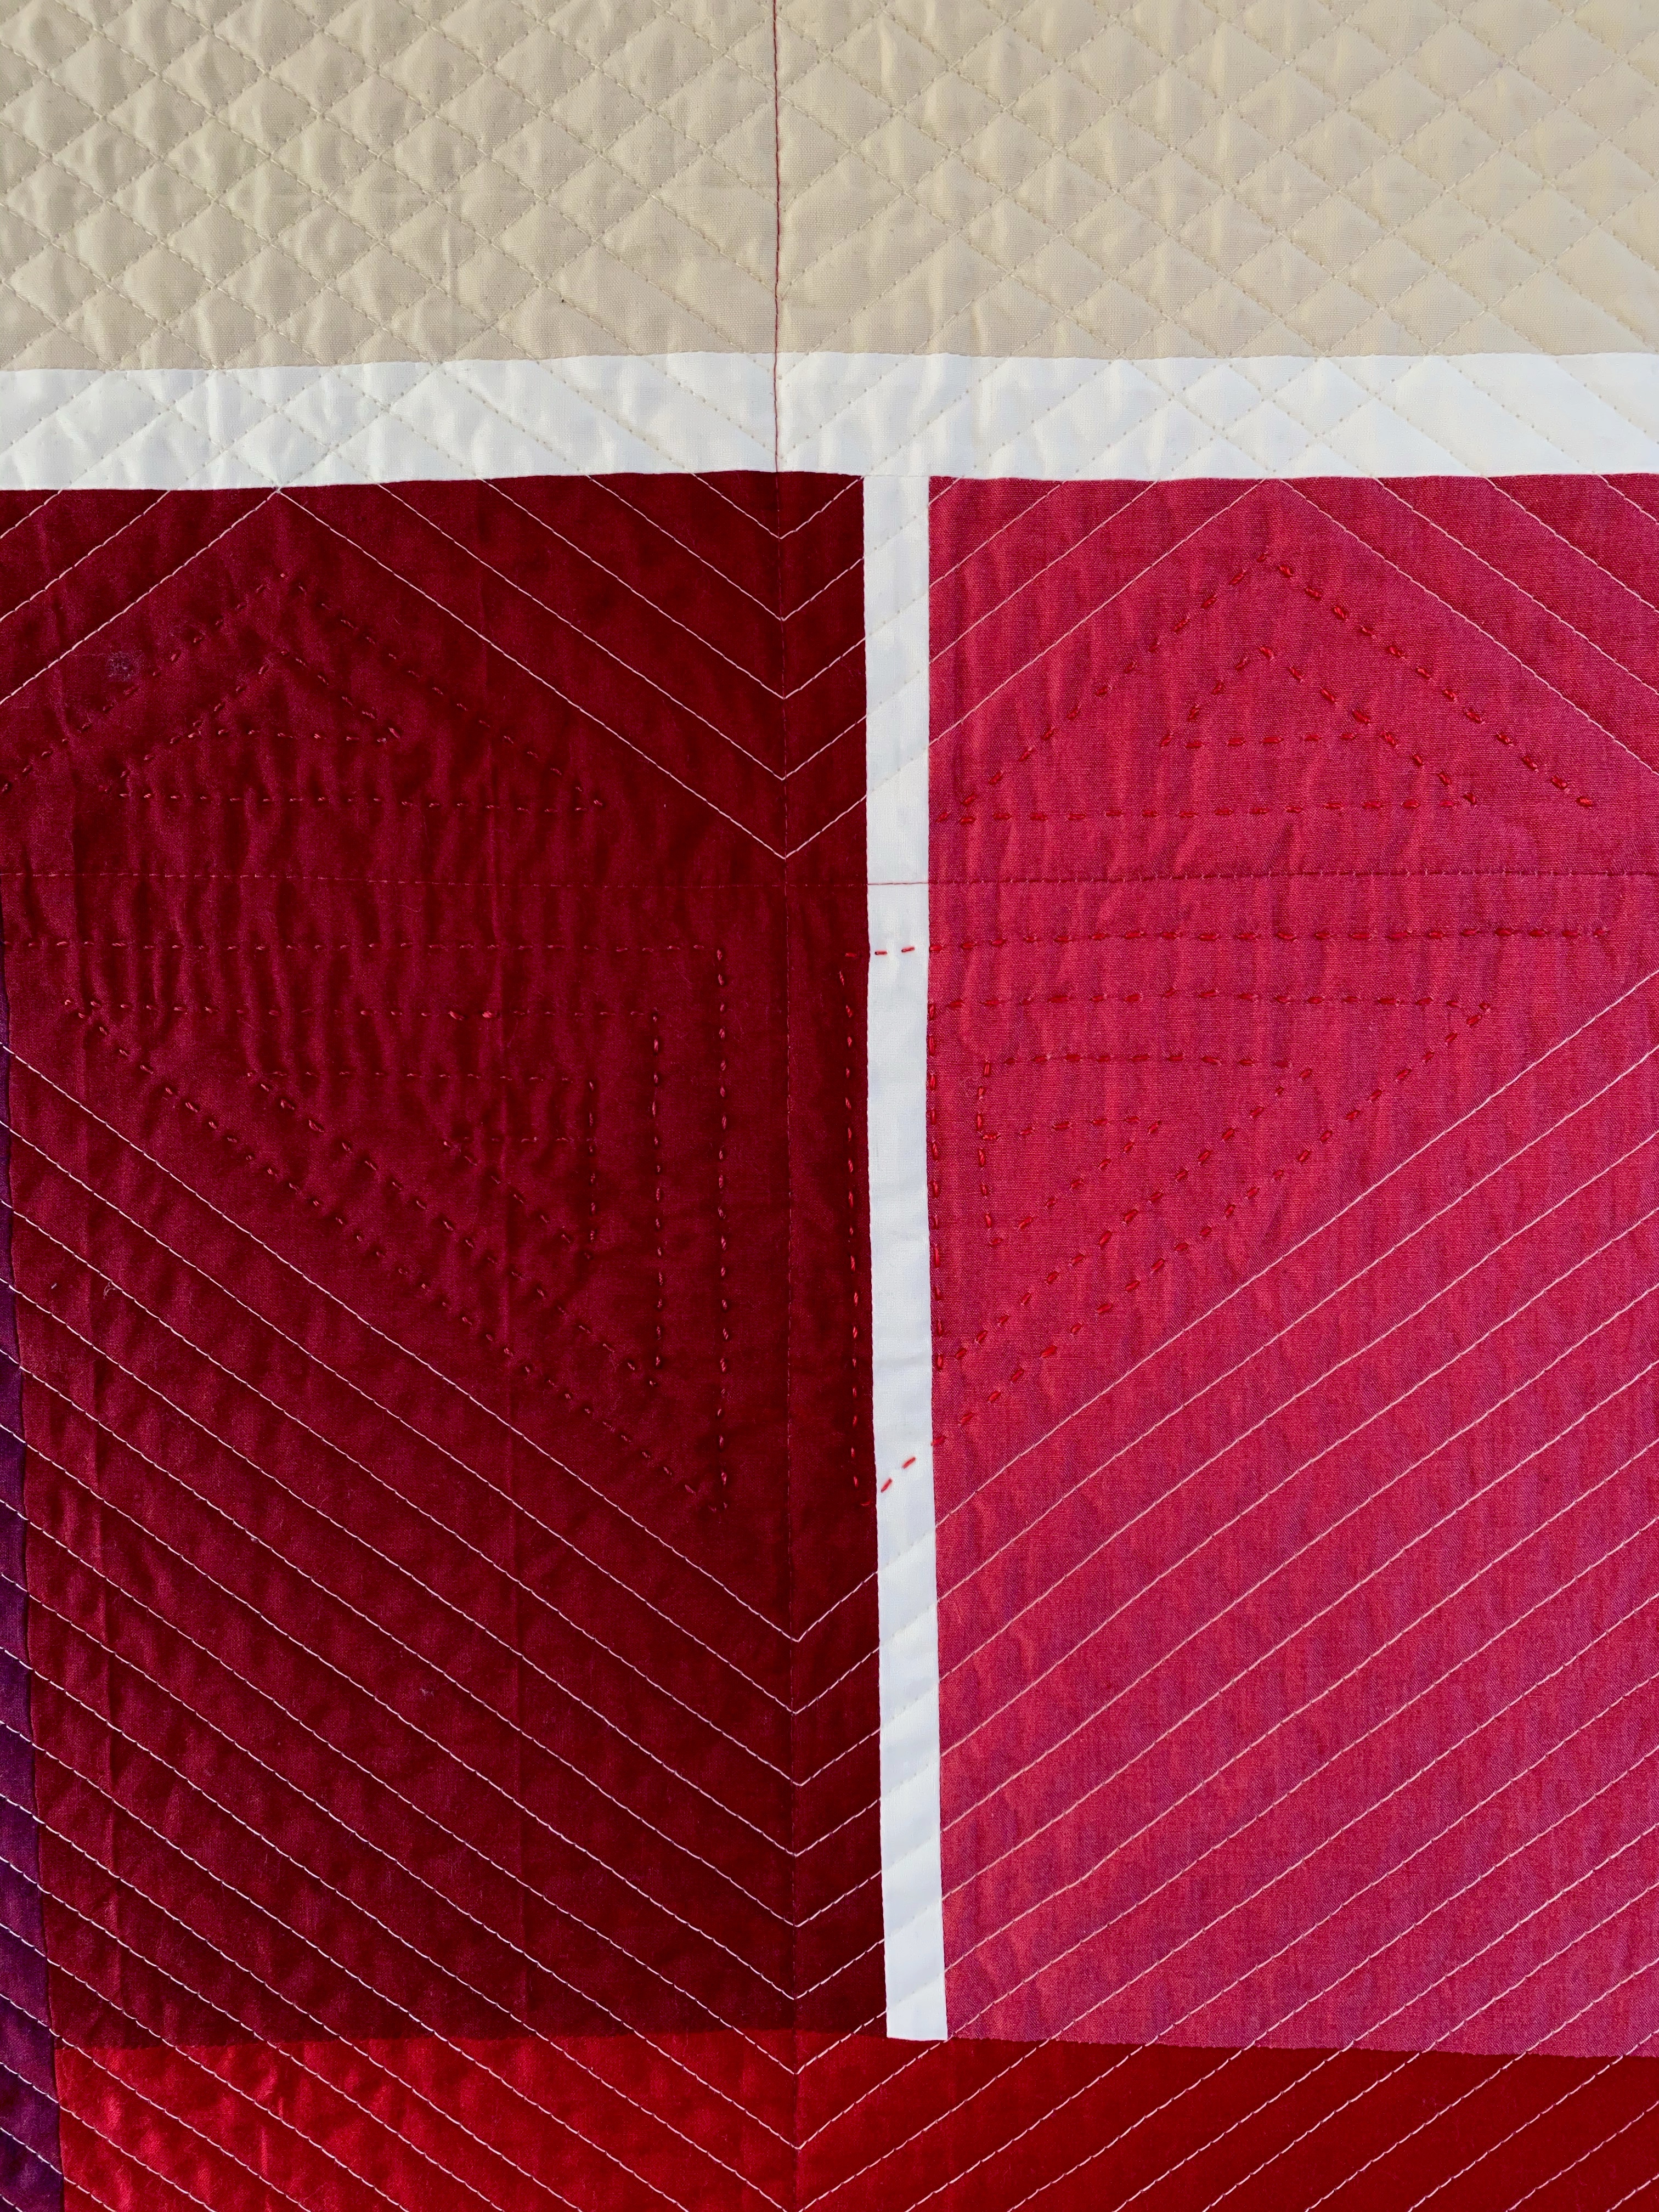
Once that initial markings of the geometric heart was mapped I used straight line quilting around the shape.

I didn’t like the puff though in the middle where the negative space was so I added some hand quilting lines into each of the quadrants of this geometric heart. I used Wonderfil’s Razzle 8wt thread for this.

Also this one for binding I did block match the binding, so that the binding is color matched with the quilt. I think that is one of my favorite parts of the quilt.

Details

Name : Beating Heart
Design:
 Original Design (one of my QDAD designs)
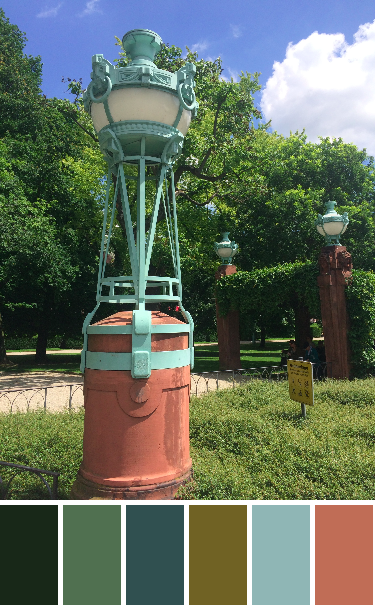
Fabric: Oakshott Cotton (mostly Ruby Red bundle)
Backing: Kona Cotton Neutral
Binding: Kona Cotton (Putty, Lipstick)
Dimensions: 
25 x 27 in.
Quilted: Straight lines walking foot quilting, Aurifil # ; Hand quilting Wonderfil Razzle
Start date: 02 March 2016
Finish date: 11 March 2021

Mod Squares {free pattern}

This is the second pattern I am releasing here as a free pattern, as it is no longer available on Sew Mama Sew (published 2014). Mod Squares is basically using a traditional 9 patch block, where I played with both size and color placement of the pieces.

This was an early quilt I had made (so not perfect), I think it was the first time I tried free motion quilting. It is, however, one of the most loved lap-quilts and lives in my son’s room. I hope you enjoy the pattern too, as it would make a great baby gift.

How it started…

The original color palette (Design Seeds) was very vibrant and strong, but highlighted different ways color can be used to make a block very different.

For this quilt though, I wanted a softer look. After playing with the fabric selection and introducing the use prints, low volume prints and several neutral solids, the look of the design completely changes. 

Quilt Details

Size: 54” x 54”

Terminology

WOF – Width of Fabric
RST – Right Sides Together
Seam Allowance: 1/4” seam allowance

Fabric Requirements

Fabric A (Variety of Low Volume Fabrics): 1 yard (largest 2 pieces must be 24″ square)
Fabric B (Variety of Neutral Fabrics): 1 yard (eg. Kona Cotton inBone, Parchment, Silver, Stone, White PDF, largest piece must be 24″ square)
Fabric C (Kona Oyster): 2 yards
Fabric D (Doiland Gloss in Plum, Indelible, Katarina Roccella): 1 yard
Fabric E (Floret Stains in Tealberry, Indelible, Katarina Roccella): 1/2 yard (18″ x WOF)
Backing fabric and Batting: 60” Square 
Binding: 226” (of your desired binding width, I use 2 1/4″) 1/2 yard

Cutting Instructions

FabricCutting Instructions
Fabric ATwenty-four (24) 5” squares
Five (5) 2 1/2″ squares
Fifteen (15) 2 1/2” x 5” strip
Two (2) 24” square (for the Back)
Fabric BNine (9) 5” squares
Three (3) 2 1/2” squares
Eight (8) 2 1/2” x 5” strip
One (1) 11 1/2” x 24” strip (for the Back)
One (1) 24” square (for the Back)
Fabric CTwenty-four (24) 5” squares
Five (5) 2 1/2″ squares
Twenty-seven (27) 2 1/2” x 5” strip
Two (2) 2 1/2” x 54” strip (for sashing)
Five (5)  2 1/2” x 50” strip (for sashing)
Twelve (12) 2 1/2” x 11 1/2” strip (for sashing)
One (1) 11 1/2” x 24” strip (for the Back)
One (1) 24” square (for the Back)
Fabric DTwo (2) 5” squares
Two (2) 2 1/2” squares
Thirteen (13) 2 1/2” x 5” strip
One (1) 24” square (for the Back)
One (1) 11 1/2 ” x 23 1/2” strip (for the Back)
Fabric E Five (5) 5” squares
One (1) 2 1/2″ squares
One (1) 2 1/2” x 5” strip
One (1) 11 1/2” x 24” strip (for the Back)
Table 1: Fabric Cutting Instructions

Preparation

It is important to plan your layout for your blocks. You can also available for download your own planning map here. Once you have your placement as you want it, take a picture.

Fabric Layout Map (by assigned letter)
Fabric Map Placement showing Print placement

TIP: Once you cut your blocks and decide on placement, pin and label all block pieces until you are ready to sew them together.

Block Assembly

  1. Each block consists of four (4) 5” squares, four (4) 2 1/2” x 5” strips and one (1) 2 1/2” square. The layout for all the pieces is represented below.
  2. Sew the pieces of each row  together. Press your seams. NOTE: My preference is to press my seams open.
  1. Sew the rows together (Row 1 to 2, Rows 1,2 to 3). Align the seams and pin in place to hold the alignment. Press seams. NOTE: To hold seam alignment in place, an alternative pinning method is glue.
  1. Repeat steps 1-3 for the other 15 blocks, keeping in mind placement of fabrics for each block.

Quilt Top Assembly

  1. Add the 2 1/2” x 11 1/2” sashing strips to the 11 1/2” blocks as depicted below. Press the seams.
  1. Add the 2 1/2” x 50” sashing strips to each of the block rows. Press the seams.
  1. Final step is to add the top and bottom 2 1/2” x 54” sashing strips to finish the top.

Quilt Back Assembly

  1. The quilt back is a larger version of the smaller blocks that are used in the quilt top. The back consists of four (4) 24” squares, four (4) 11 1/2” x 24” strips and one (1) 11 1/2” square. 
  2. To construct this block follow steps 1-3 above in section Block Assembly.
Back of quilt

Final Quilt Assembly

When the top and back are completed, baste and quilt your sandwich as desired. Square your quilt and bind it to finish your quilt.

This is a great quick quilt top to put together, perfect quilt for your sofa or for a kids blanket. Also, you can have fun with the fabric choices, color and placement. I would love to see the final quilts on Instagram, so feel free to share with #modsquaresquilt. Have fun!!

Park Lamps {a finish}

LQP_56_BLOG_projectdeco

Photo Credit: Love Patchwork & Quilting #56

Park Lamps was one of my last finishes of 2017. I had a lot of fun with this quilt. Firstly, interpreting the original inspiration of old gas lamps at the Mannheimer Wasserturm in Germany. The gas lamp was used as one of the quilt design a day prompts (sparks) and included the original color palette. I loved the geometry of the triangles in the light.

IMG_6390-palette

My interpretation of this spark, lead to this original Art Deco looking design.
01Nov2016

I was thinking about adding this design to my book but decided that it would be a better fit for a magazine submission. I submitted it to LPQ, and provided options for multiple color palettes to modernize the look of the quilt. This was fun playing with color. I really loved the final color palette (Kona Mint, Kiwi, Peach, Ice Peach and White – purchased from Stash Fabrics) and design (slightly simplified and re-scaled).

IMG_9426

I decided for accuracy, I would (foundation) paper piece this pattern. It involved a lot of repetitive but simple paper piecing. I loved how each of the blocks matched, as it was essential to the secondary design. For the quilting, I wanted to continue to highlight the secondary diamond shape the triangles made, so I used straight lines echoing that shape. I am very pleased with the finish.

depo_1a.jpg

Photo Credit: Love Patchwork & Quilting #56

Details

Name (Original): Park Lamps
Name (LPQ): Fruit Punch
Design:
Design by myself
Fabric: Kona Cotton (Mint, Kiwi, White, Peach, Ice Peach)
Backing: Carolyn Friedlander wideback – green
Binding: Lecien striped fabric
Dimensions:  60 x 60″
Quilted: Echoed Straight Lines (domestic sewing machine)