One of my favorite activities, that I have learned over the last year, is paper-piecing. I have thoroughly enjoyed this craft and thought this was the best time to pass on some of my tips.

1. Finished Kiwi Cushion – Front, 2. Royal-X-Plus Block, 3. Kea paper pieced block, 4. YellowEyedPenguin_FullBlock, 5. Kiwi – Paper Piecing, 6. Blooming Hot Paper Pieced Block
Tools
- My number one tool, unfortunately, is my small quick ‘n’ pick (seam ripper).
- For paper, I just use printer paper, I don’t use freezer paper…its just easier to get straight to the piecing.
- Sunlight or light is extremely important so you can place/alignment at the right place. I usually lift the piece and the adding fabric to the light and see through the paper and fabrics.
- My iron for pressing all those seams, essential.
- A ruler and rotary cutter for trimming 1/4 inch edges.
Tips
My main tips are mostly what I have learned to help avoid those silly mistakes:
- If you are making too many mistakes, take a break and come back to it. It really helps.
- After all the trimming etc., it can get a little messy. So, to help organize and clean as you go, I use two bins; a small scrap bin to put small reusable scraps into, and a bowl for rubbish/trash.

- I use a reduced stitch size (1.2 on my brother sewing machine) so that it is easy to tear the paper away at the end.
- Make sure your fabric is big enough and aligned correctly, to take into the consideration the angle of the seam (quick ‘n’ pick reason #1).
- Make sure your fabric is right side to right side (you won’t believe the number of times I go to check and its the wrong side up, quick ‘n’ pick reason #2).
- Make sure your fabric does not fold over when you sew, otherwise you will need to unstitch (hence the quick ‘n’ pick reason #3).
- Position needle and align the foot, sew seams from the inside to outside.
- Always trim seams with 1/4 inch.
- Always press each seam.
I thought I would now step through a tutorial for how I create a piece and join those pieces. I am using a block that was designed by Esther @ I patch and quilt – Blooming Hot (available on Craftsy).
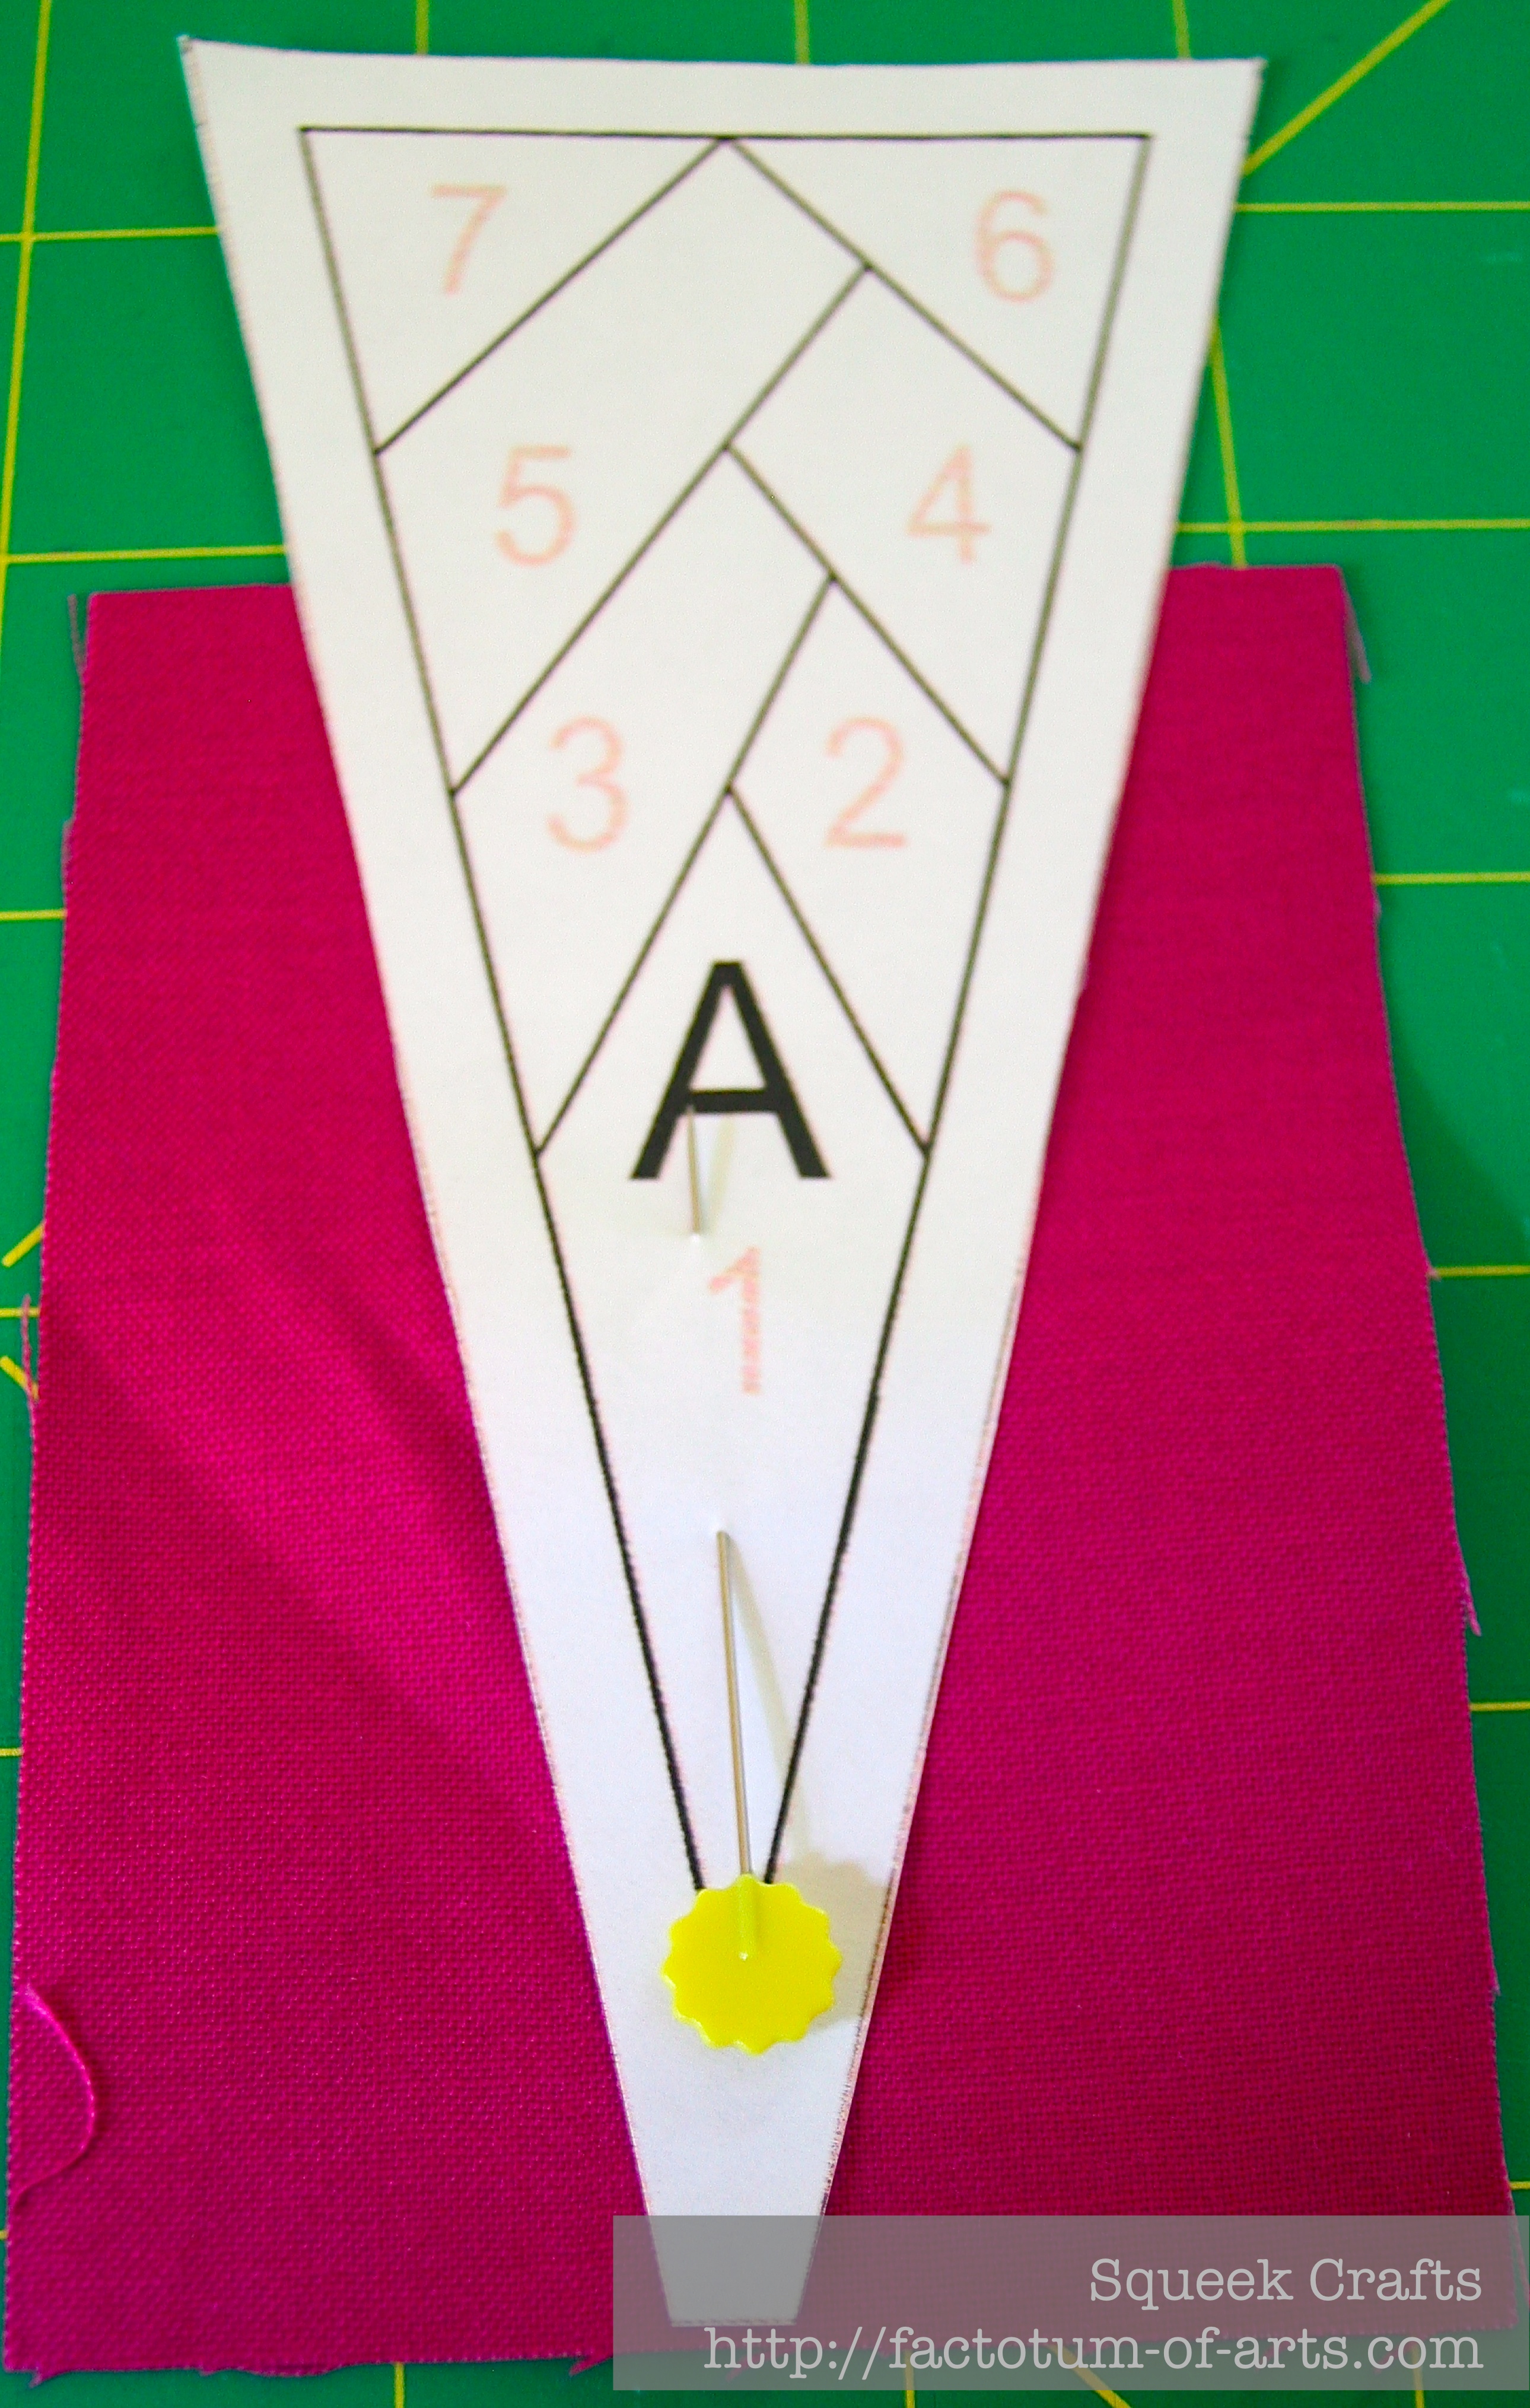
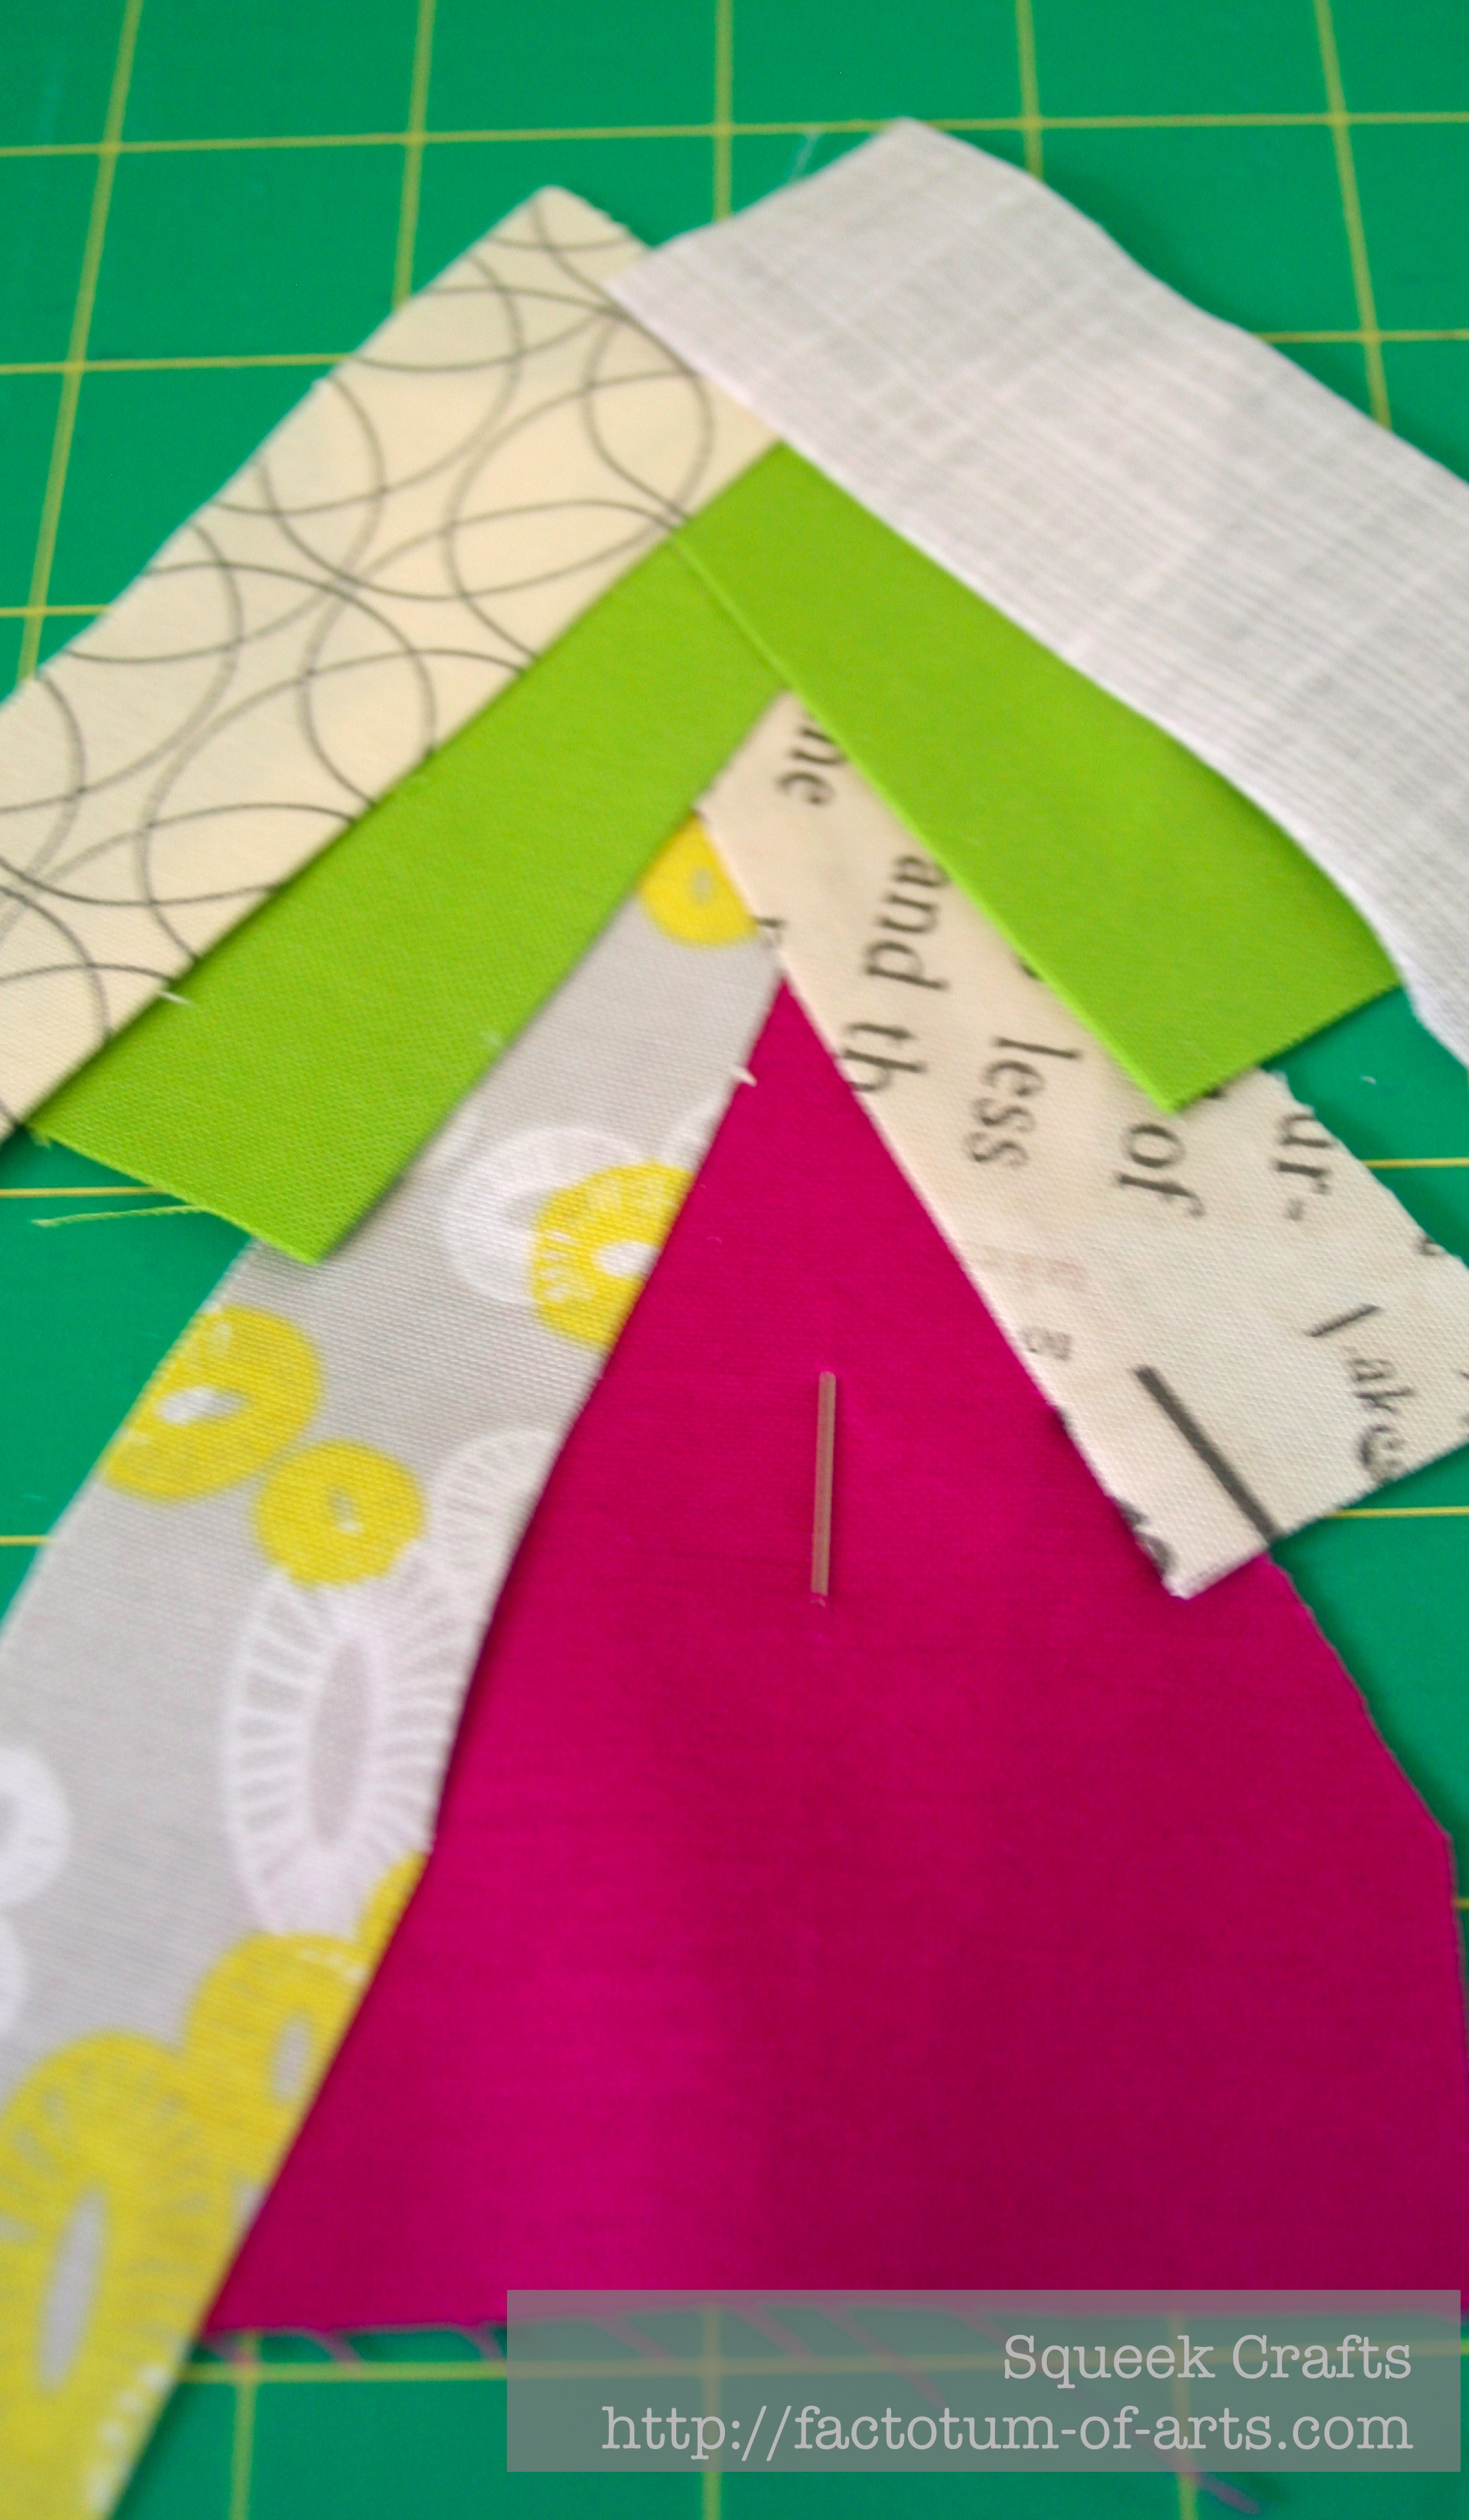
- If the first piece is large, I usually pin it to hold it in place.
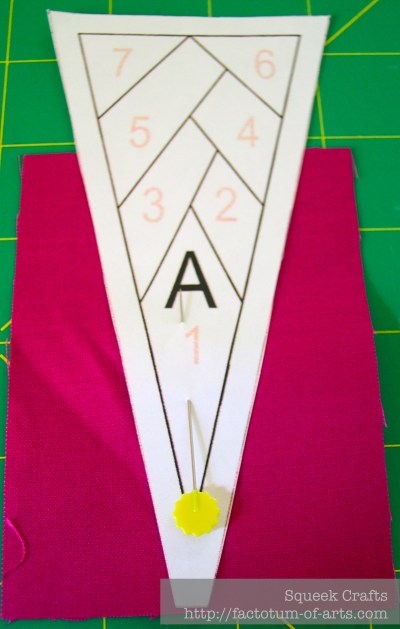
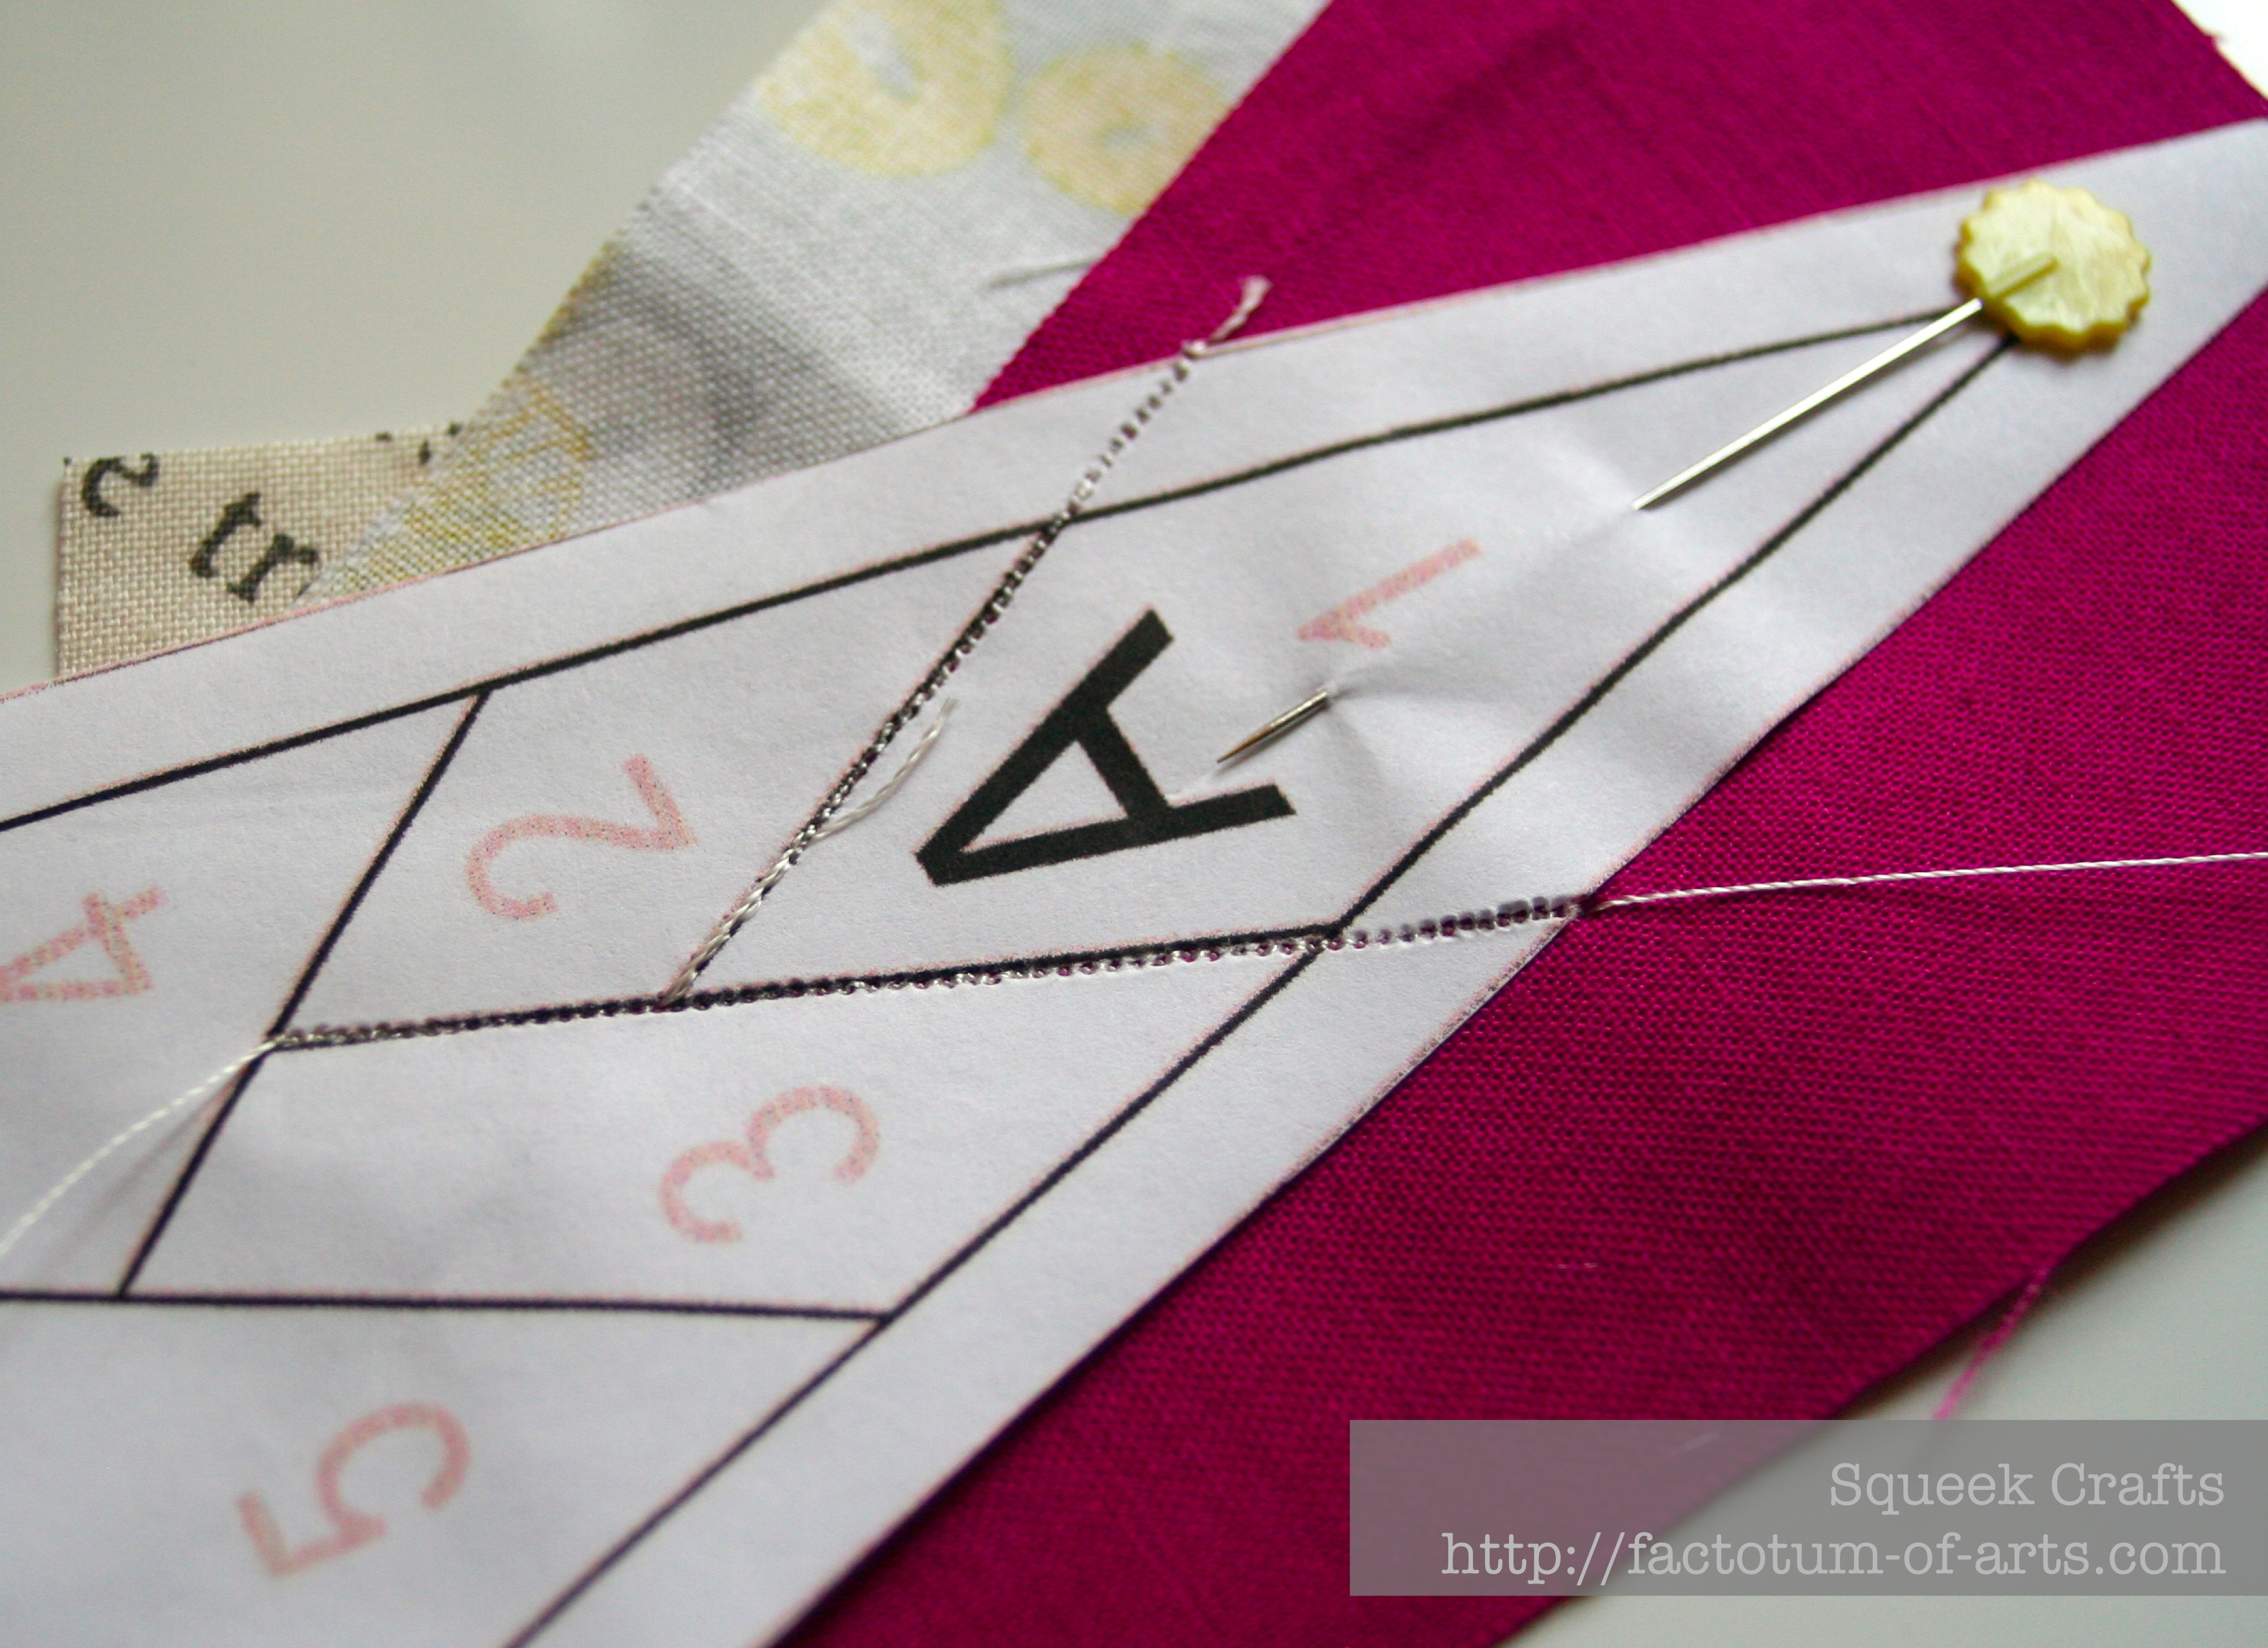
- Place and align the next piece of fabric so right sides are facing. Line up the needle point with the tip of the line you are sewing, sew from inner points to the outer points.

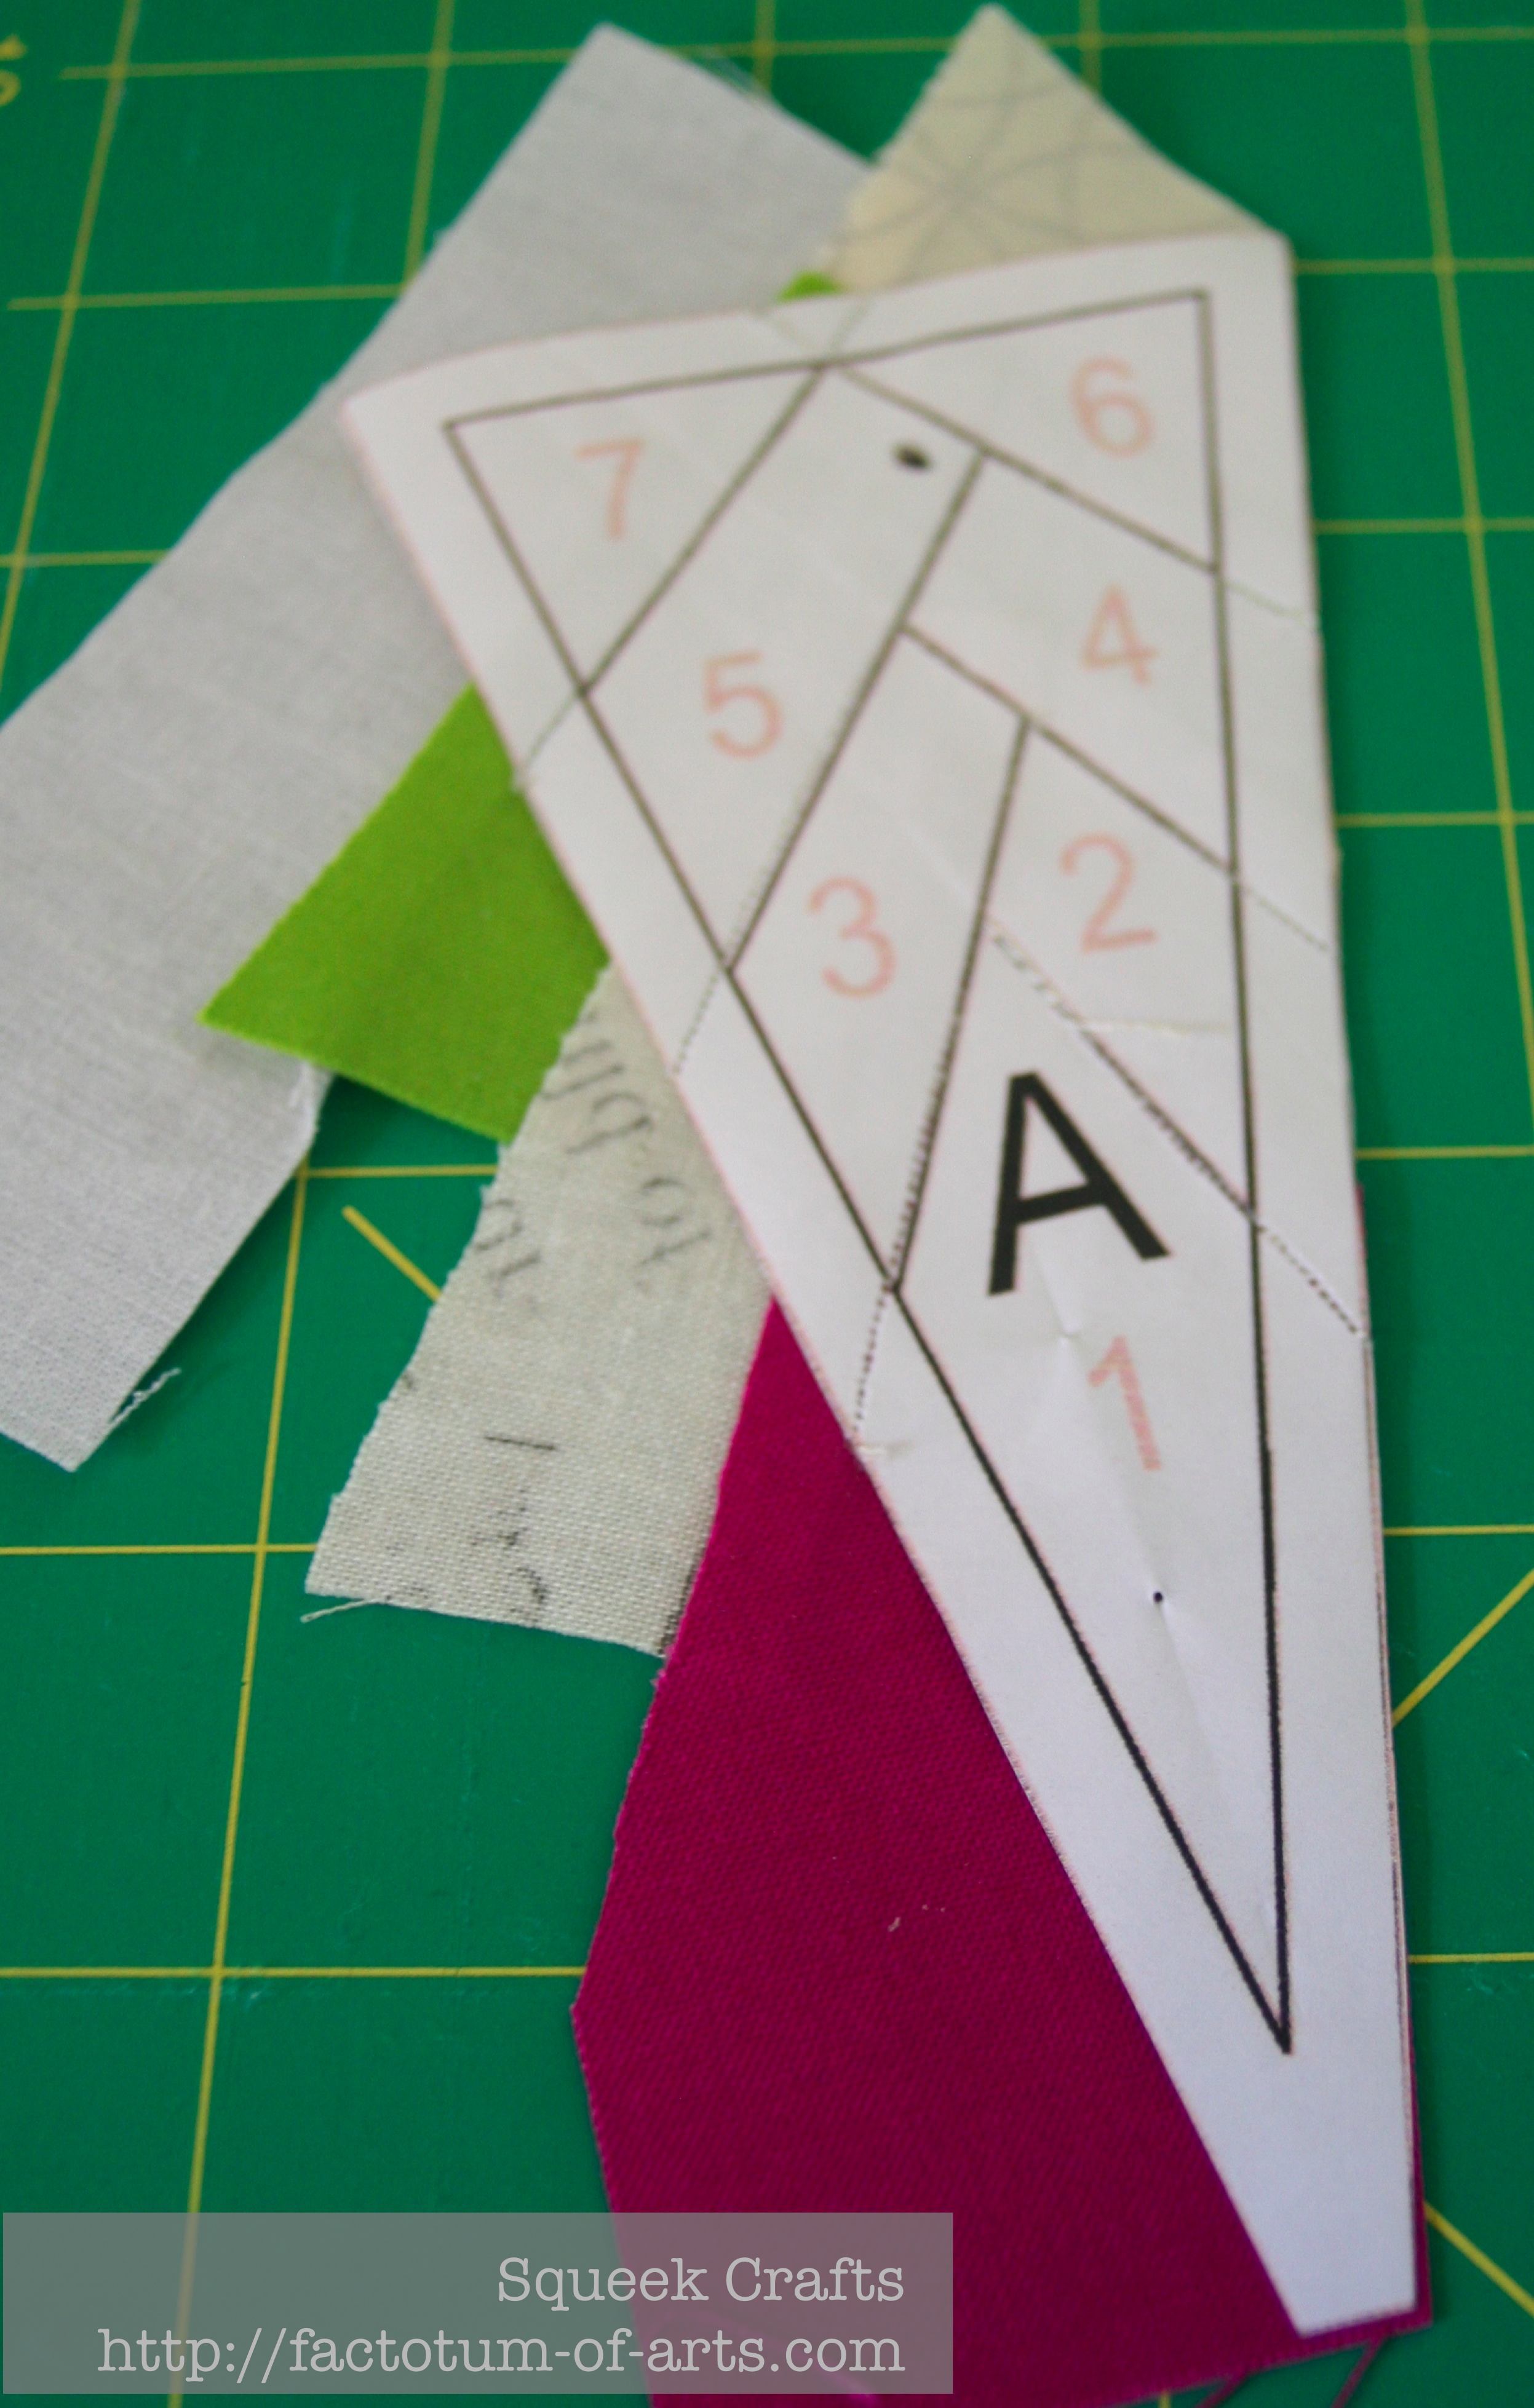
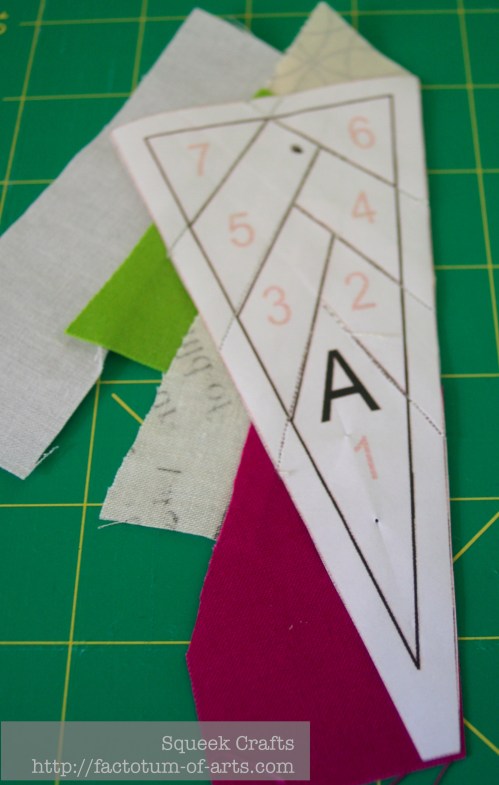
- Sew through a 1/4 inch seam markings to the edge of the paper. Here is an example of two seams (pieces 1 and 2).

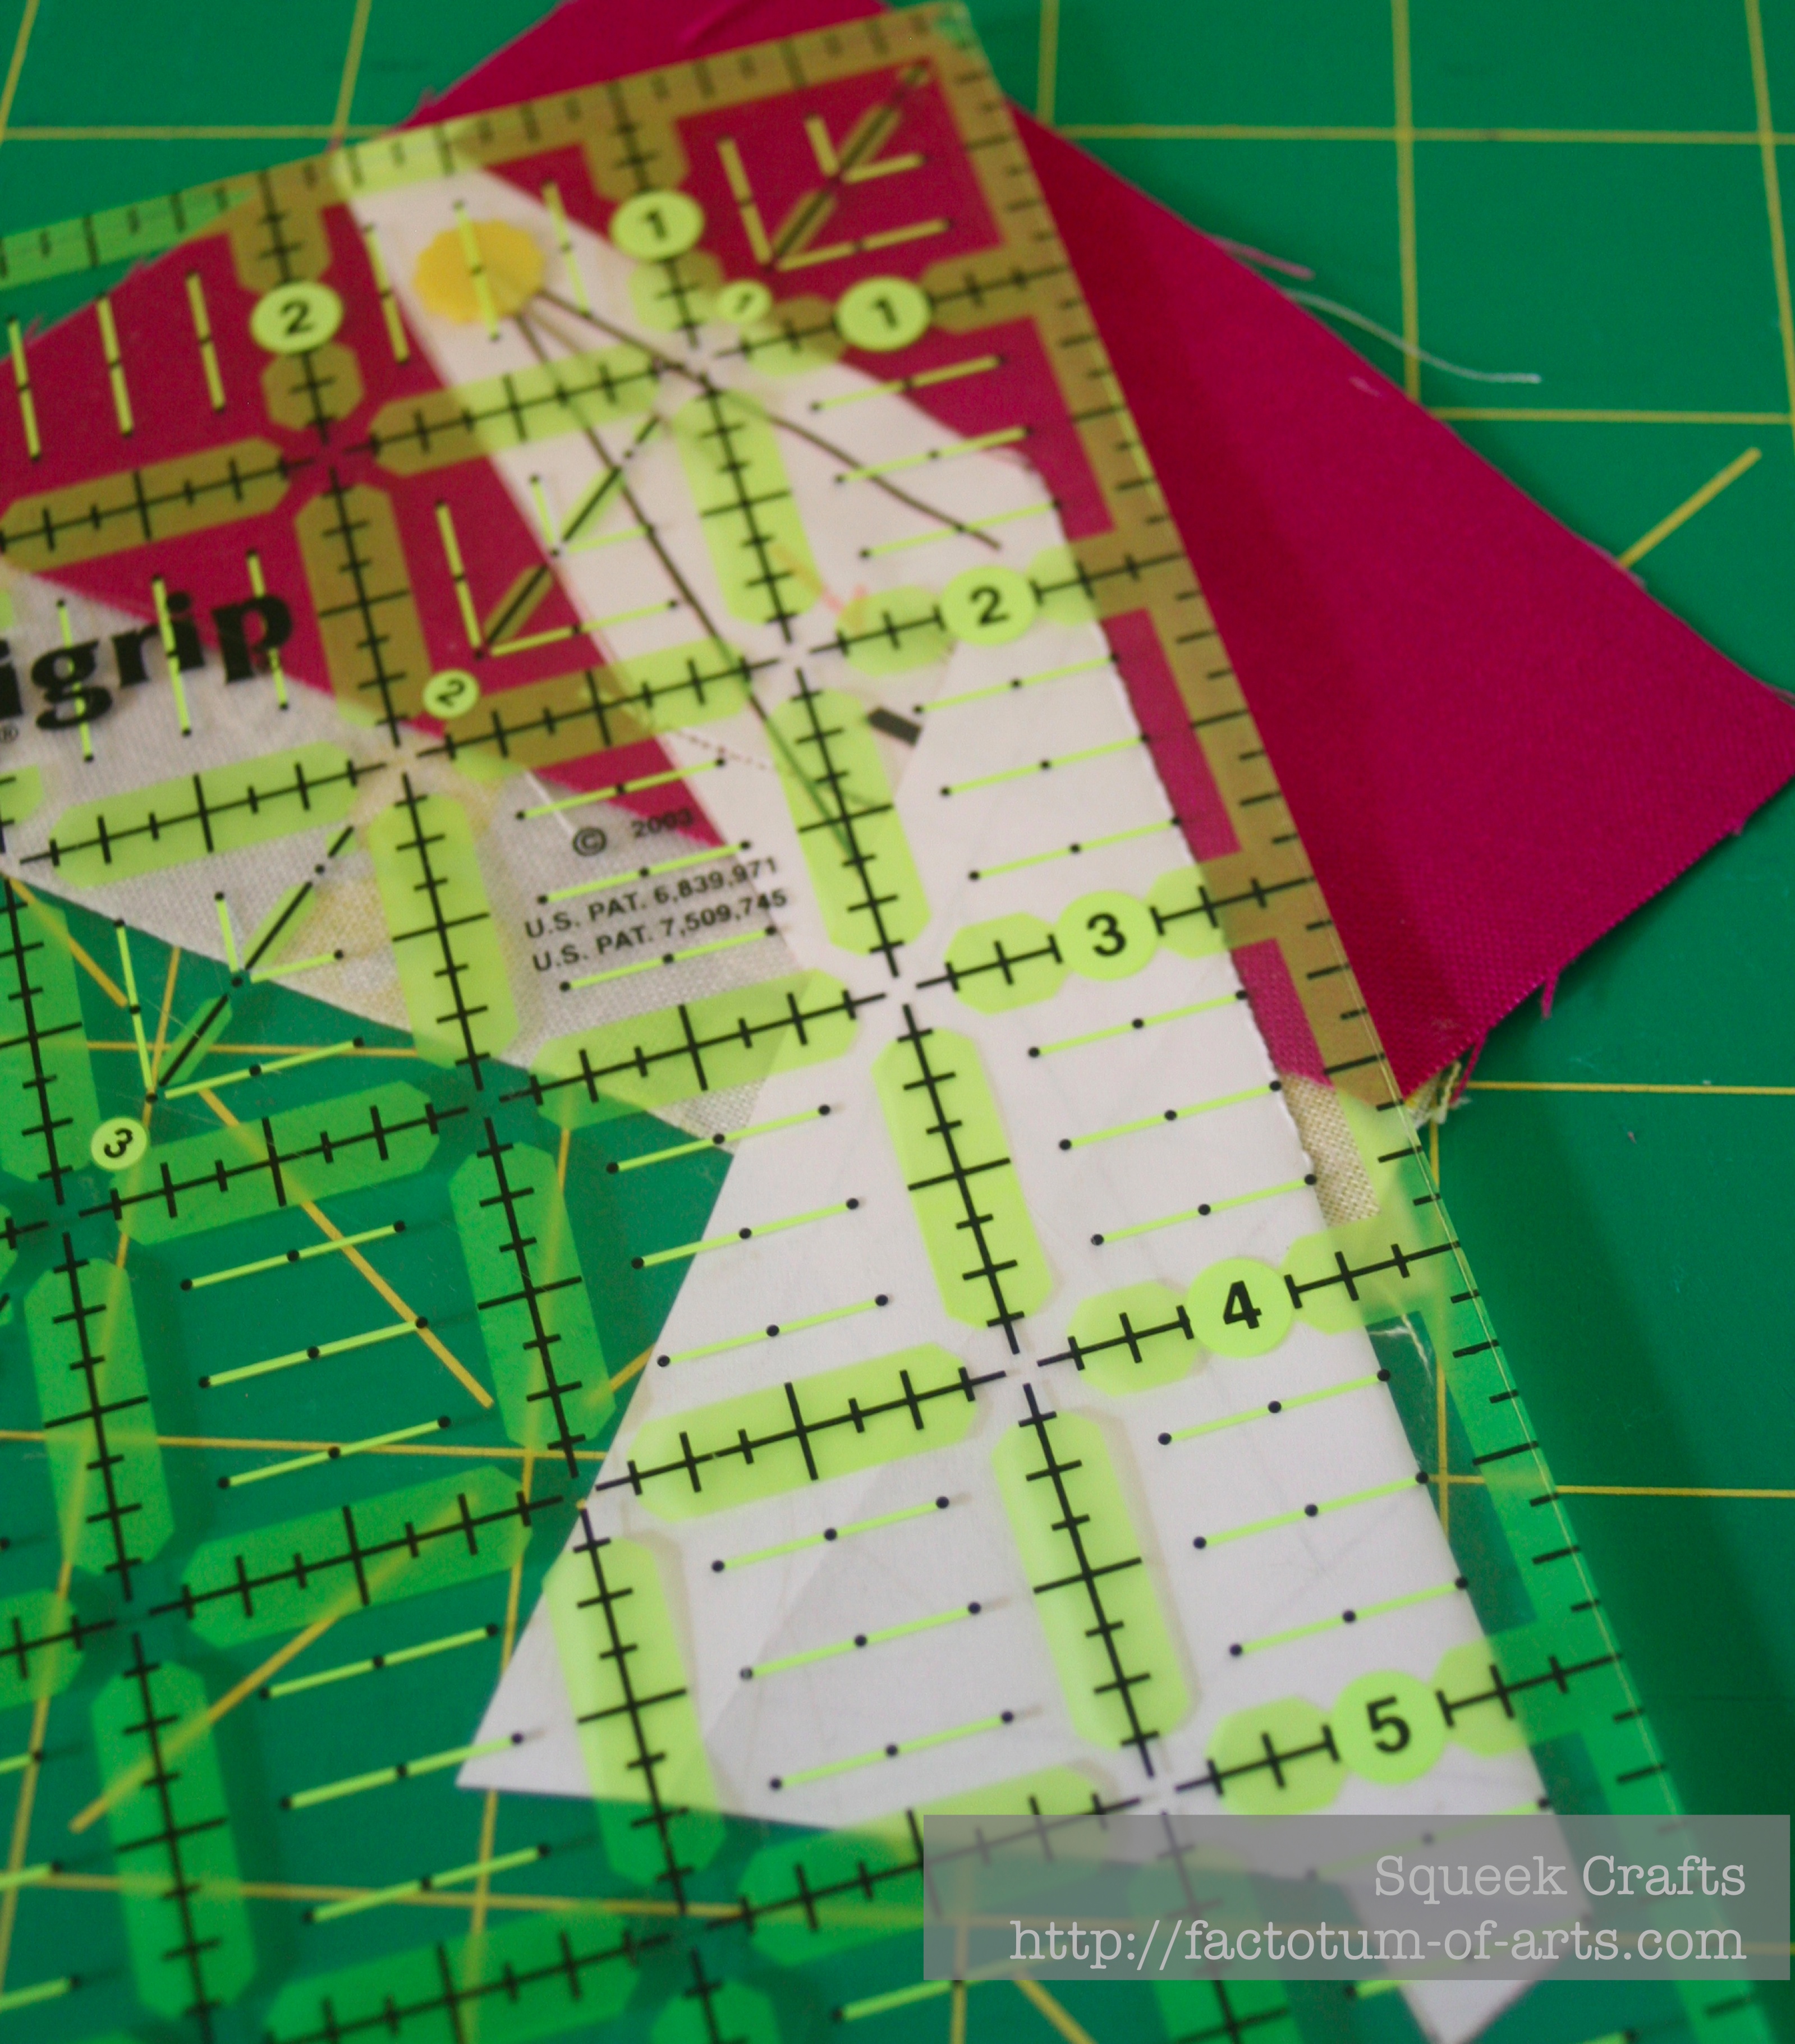
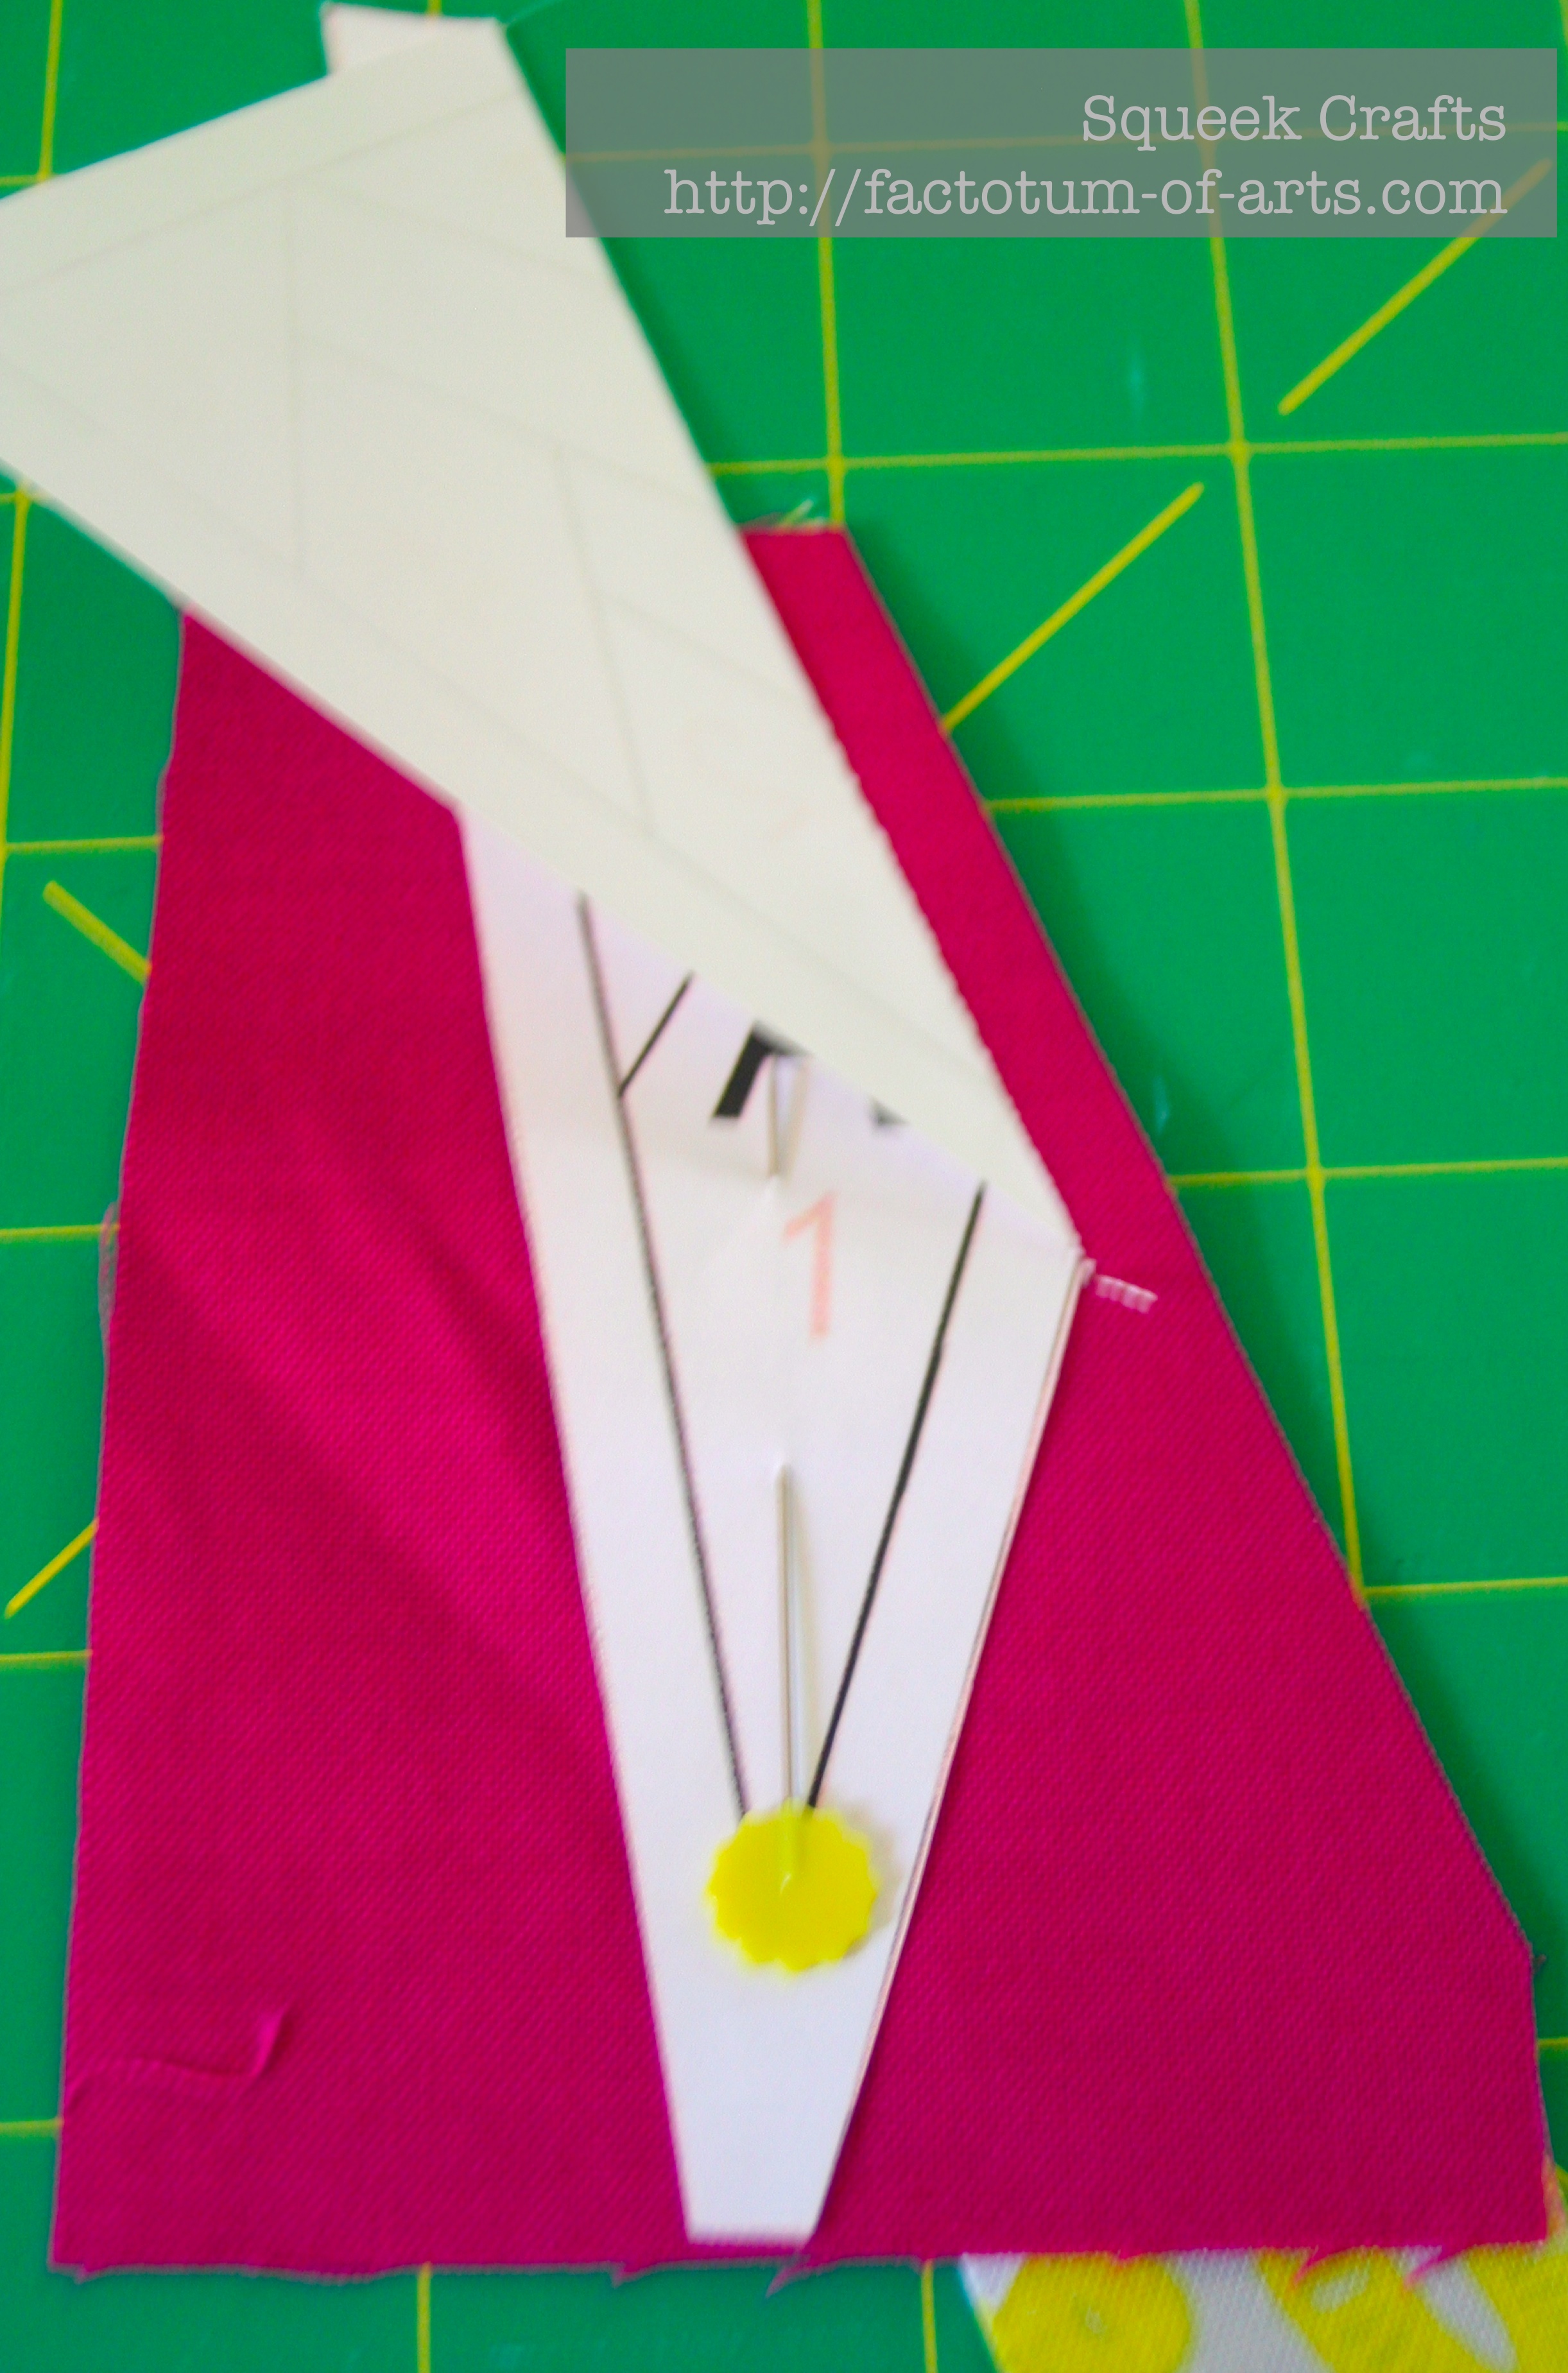
- After each seam, before pressing, measure and trim 1/4 inch from the seam to remove excess fabric. This keeps the piecing neat but also stops any dark fabrics from showing through.


- Turn piece over and press the fabric pieces back, all right sides are facing up.

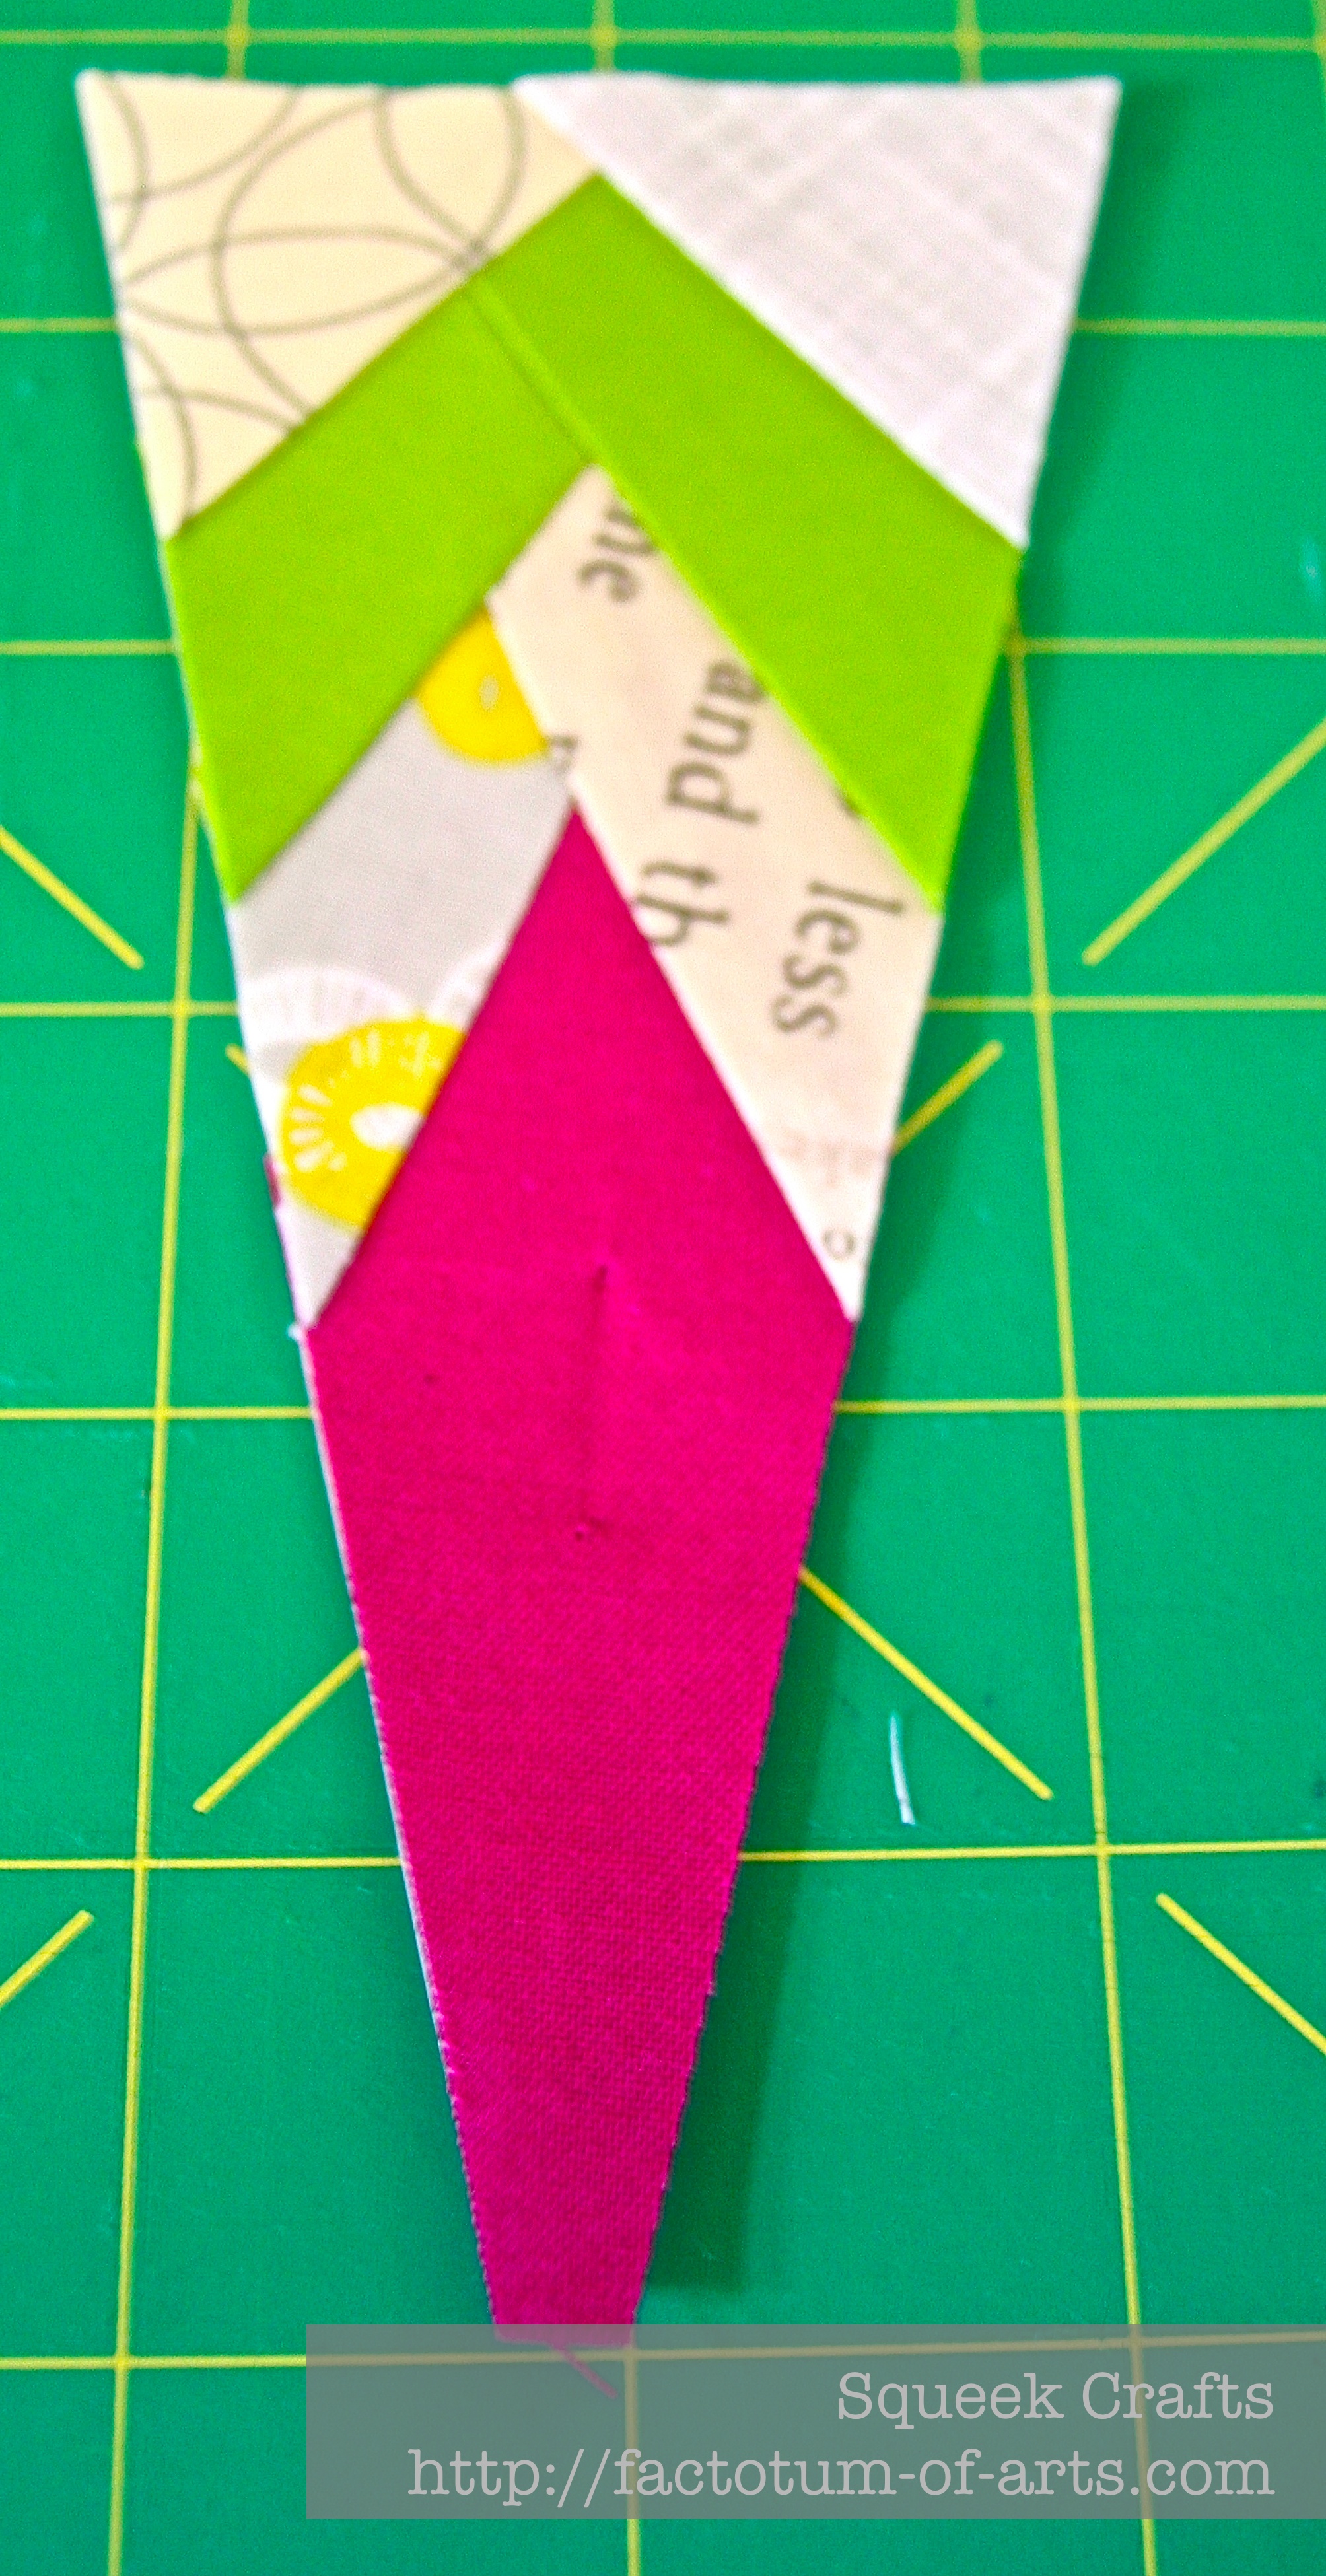
- Continue until all seams/pieces are sewed and pressed. Now, it is time to trim the piece.

- Use a ruler and measure a 1/4 inch seam from where the joining line/piecing line will be. You can’t always just use the print out as you may have decreased or increased scale. You need this to take into account the need for a 1/4 inch seam.
- Continue until all edges are trimmed.
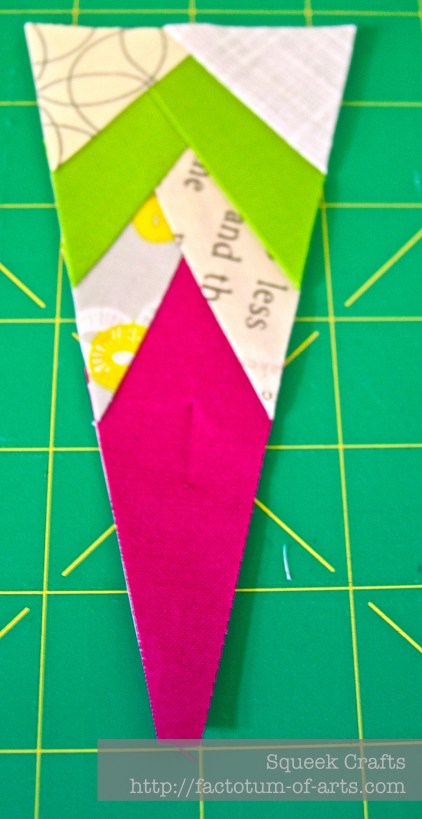
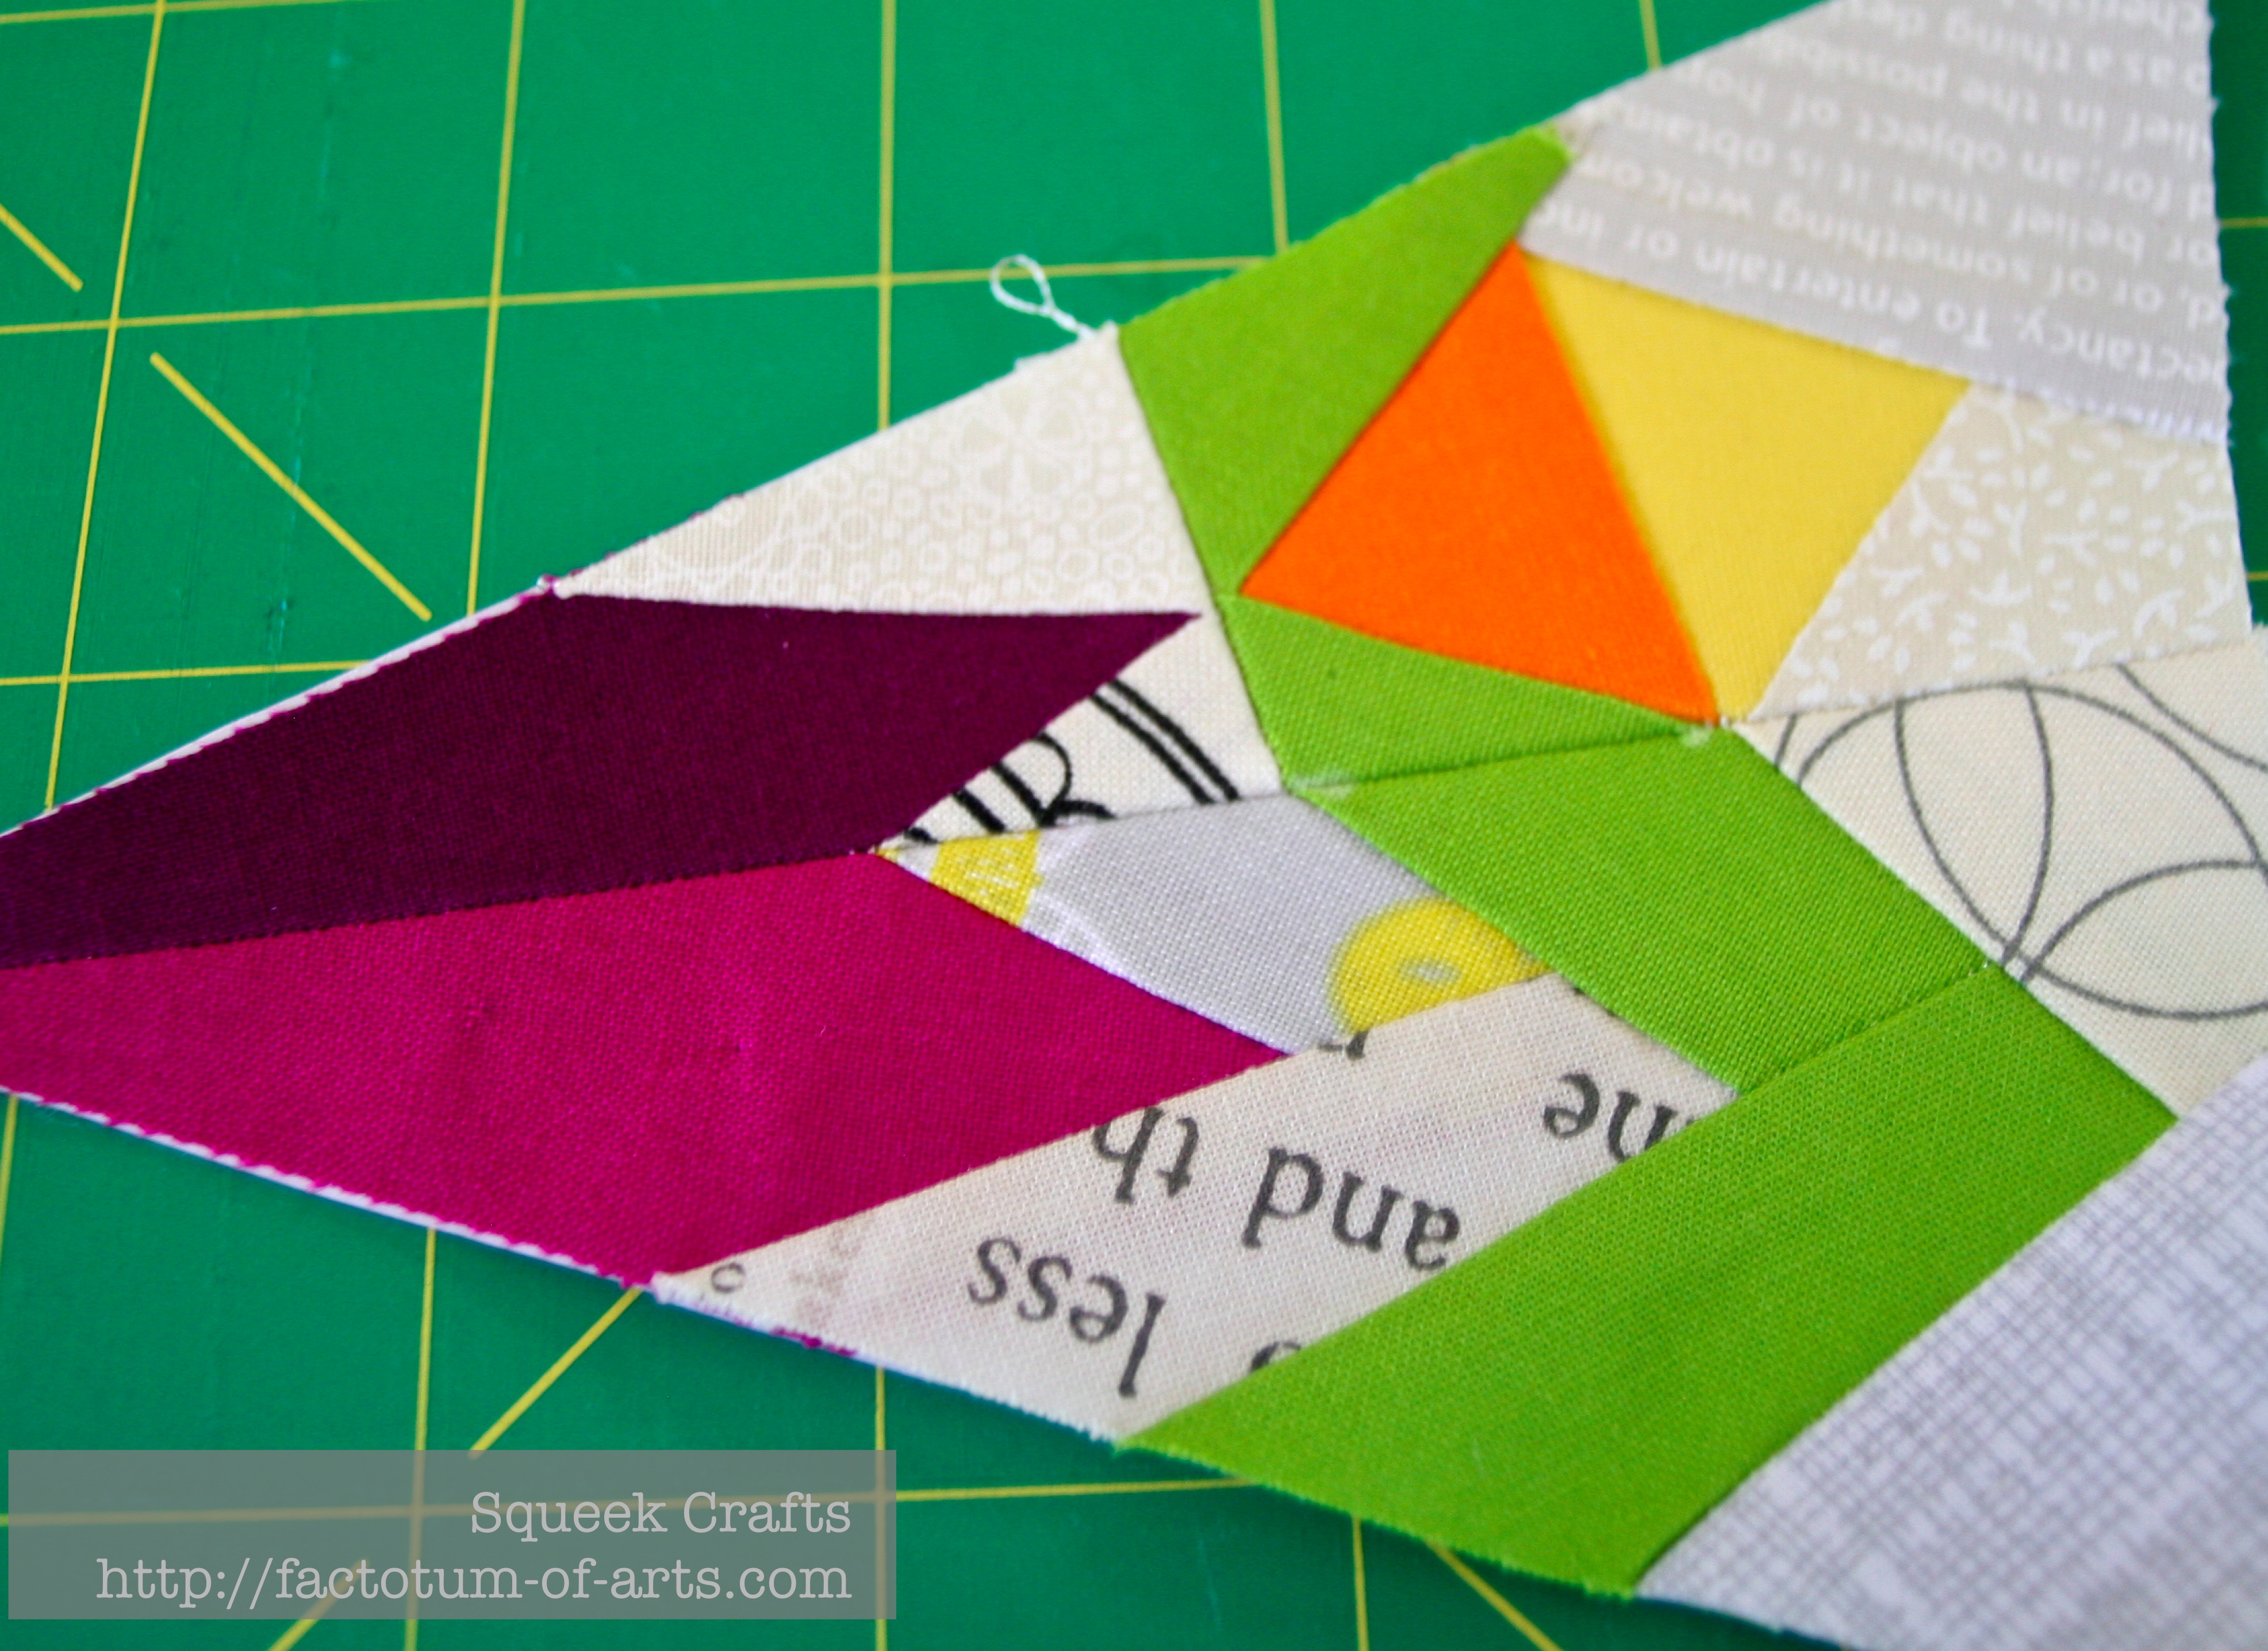
- For joining pieces, I think this varies depending on the designer and the pattern. Sometimes I can just line up the two ends and sew 1/4 inch in and the pieces line up well.For this particular block, I wanted to ensure the green pieces are aligned correctly. I measured a 1/4 inch from the edge and marked with chalk.


- I repeated this step with the second piece as well. I then matched up the white lines and pinned/held them in place, as I aligned the top and bottom of the edge as well. Sew a 1/4 inch seam and press. I tend to press seams apart when paper piecing to reduce the bulk.
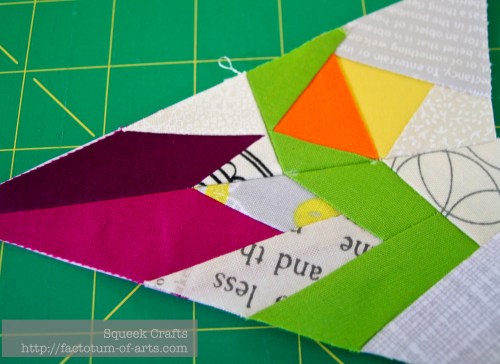
The final block looked like this:
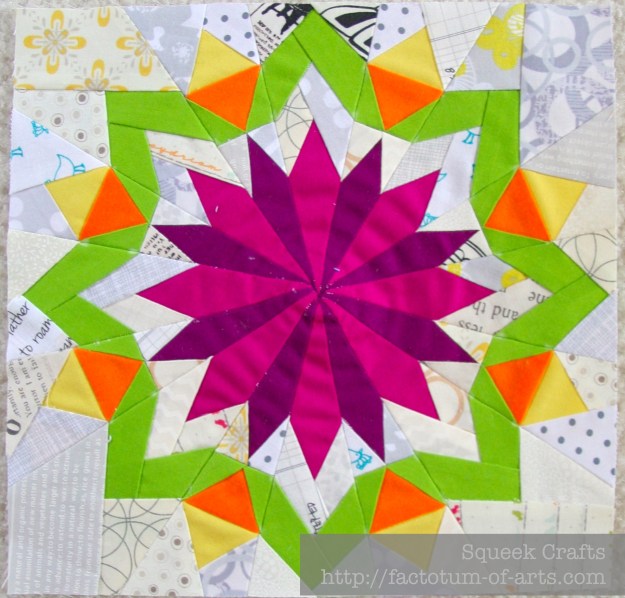
Block designed by Esther @ I patch and quilt – “Blooming Hot”
Linking up with Kristy over @ Quiet Play for her paper piecing party.