Monthly Archives: March 2014

Sunday Stash #8 -2014: A splash of spring

My latest purchase from Hawthorne Threads, reminded me today of Spring. Yes, you know that season that hasn’t quite arrived yet. It is actually teasing us. It was here today, gone tomorrow (snow/sleet is back).

So, to share with all those that desperately need a glimpse of Spring, here are a selected few prints from the line Meadow by Leah Duncan for Art Gallery Fabrics.

Meadows


Linking up for Sunday Stash @ Molli Sparkles (see button on the right).

Gypsy Wife February Recap and March Details

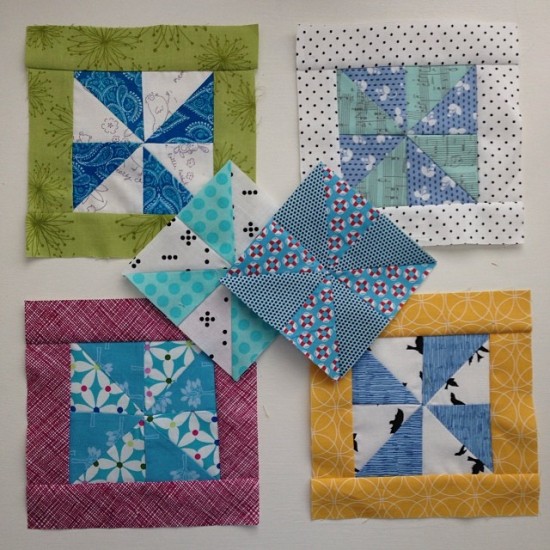
We now have an amazing 100 people, that have linked up on the Gypsy Wife Quilt Along. Some wonderful blocks have been produced, so don’t forget to link those up over at Jo’s giveaway.

Ashley’s Blocks: Wasn’t quilt in a Day

photo-57

Julie’s Blocks: 627 Handworks
pinwheel-fillers-550x550

I have created a summary page, with all the important information so it is easy to find for those that still interested in joining.

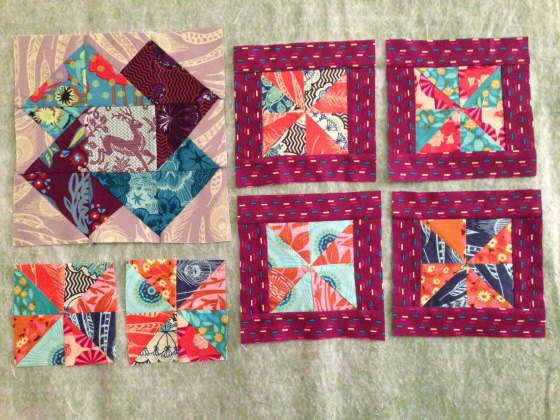
I am using my True Color fabrics for the Gypsy Wife Blocks. Here is my recap of my February blocks.

Pin Wheels Blocks
GypsyWife_Feb_PinWheels
Color Wheel Block
IMG_1252

This month, the March Schedule is:

MONTH MAIN BLOCK FILLER BLOCKS TOTAL BLOCKS
March: Pershing (1) Pinwheel Blocks (1 x3″, 2×2.5″),
Square in Square with Pinwheel center (2),
Square in a Square (1×3″)
7

Pershing BlockPershing Block

Some tips that might be useful for this months block:

  • Pressing your seams are going to be essential for the points and triangles to sit right.
  • The triangles pieces (B, C, E, F) are larger than they need to be for the block, so I fold them in half and then match the center triangle with the tip of triangle created from the previous layers.
  • Check out Jo’s Tutorial on how to sew the triangles (D & E pieces), taking into consideration the 1/4 inch seam.
  • When you get to the final E and D strips and matching the points with the layer below (here the grey and pink points), I used pins as markers of the tips and then matched the tips.
  • Once you have sewn the E and D strips to your block, I recommend trimming at this point. I had much more than 1/4 of an inch from the tip of the point for the orange triangles. I trimmed based on that 1/4 inch.

Scrappy Window Block Tutorial

This block tutorial comes from this quilt I designed “Through the shattered Looking-glass”. It uses a collection of scrappy improv blocks.
ThroughTheShatteredLookingGlass

A single block can be any size but is made up of scraps that are sewn together with 1/4″ sashing, like so.
IMG_8686

Tutorial:

Here are the steps I used to build a block.

  1. Depending on the size of your block, use painters tape to mark out the edges of your block on a design wall (in this picture I just used a piece of batting). This is a technique I learnt from Nicole @ Mama Love Quilts.
  2. Take scraps that are between 1 1/2 and 2 1/2 inches of various sizes, and shades/values of the color you chose and start laying them out within your marked area. Overlap your edges of your scraps to take into account for the 1/4 inch seams.
  3. Take a photo of the layout to use while you sew.laypout_block_pieces
  4. When laying your pieces out try to take into consideration the construction of the block, you want areas that can act as straight lines.
    Construction_Improv_Blocks
  5. Cut some white 3/4 inch sashing strips (Kona White). Based on your smaller quadrants you, take one blue piece and sew some sashing on one side. Trim. Take the next neighboring blue piece and sew to the other side of the sashing. Add sashing along your next side. Here are 3 quadrants (A, B, C) and the numbers represent the order in which I added the piece/sashing. Please Press your seams open as you go (this helps with the bulk of the seams).
    Improv_Piecing_Steps_Example
  6. Repeat, until block is at the size you want and trim to square the block.

That’s it, the block is done. Let me know if you have any questions.