Tag Archives: home

Bolster cushion for new sofa

WIP Wednesday at Freshly Pieced

In December, Spoonflower posted this great tutorial for a bolster cushion. I knew I had to make one for our new sofa. I ordered fabric and it arrived on Monday. I immediately cut out the fabric and started sewing last night….here’s my progress.

Fabric by Holli Zollinger Diamond Circles and Grey Diamond Linen – new sofa in the photo’s 🙂

IMG_6863 IMG_6866 IMG_6867

Tutorial: Gift card pockets

This is my first go at writing a tutorial. This is how to make gift card pockets. It’s a cute and easy project if you are starting to sew, it would make a great project for kids. You can use some of your scraps as well.

Materials:

  • 1 x Backing fabric piece 5 x 7.5 inches
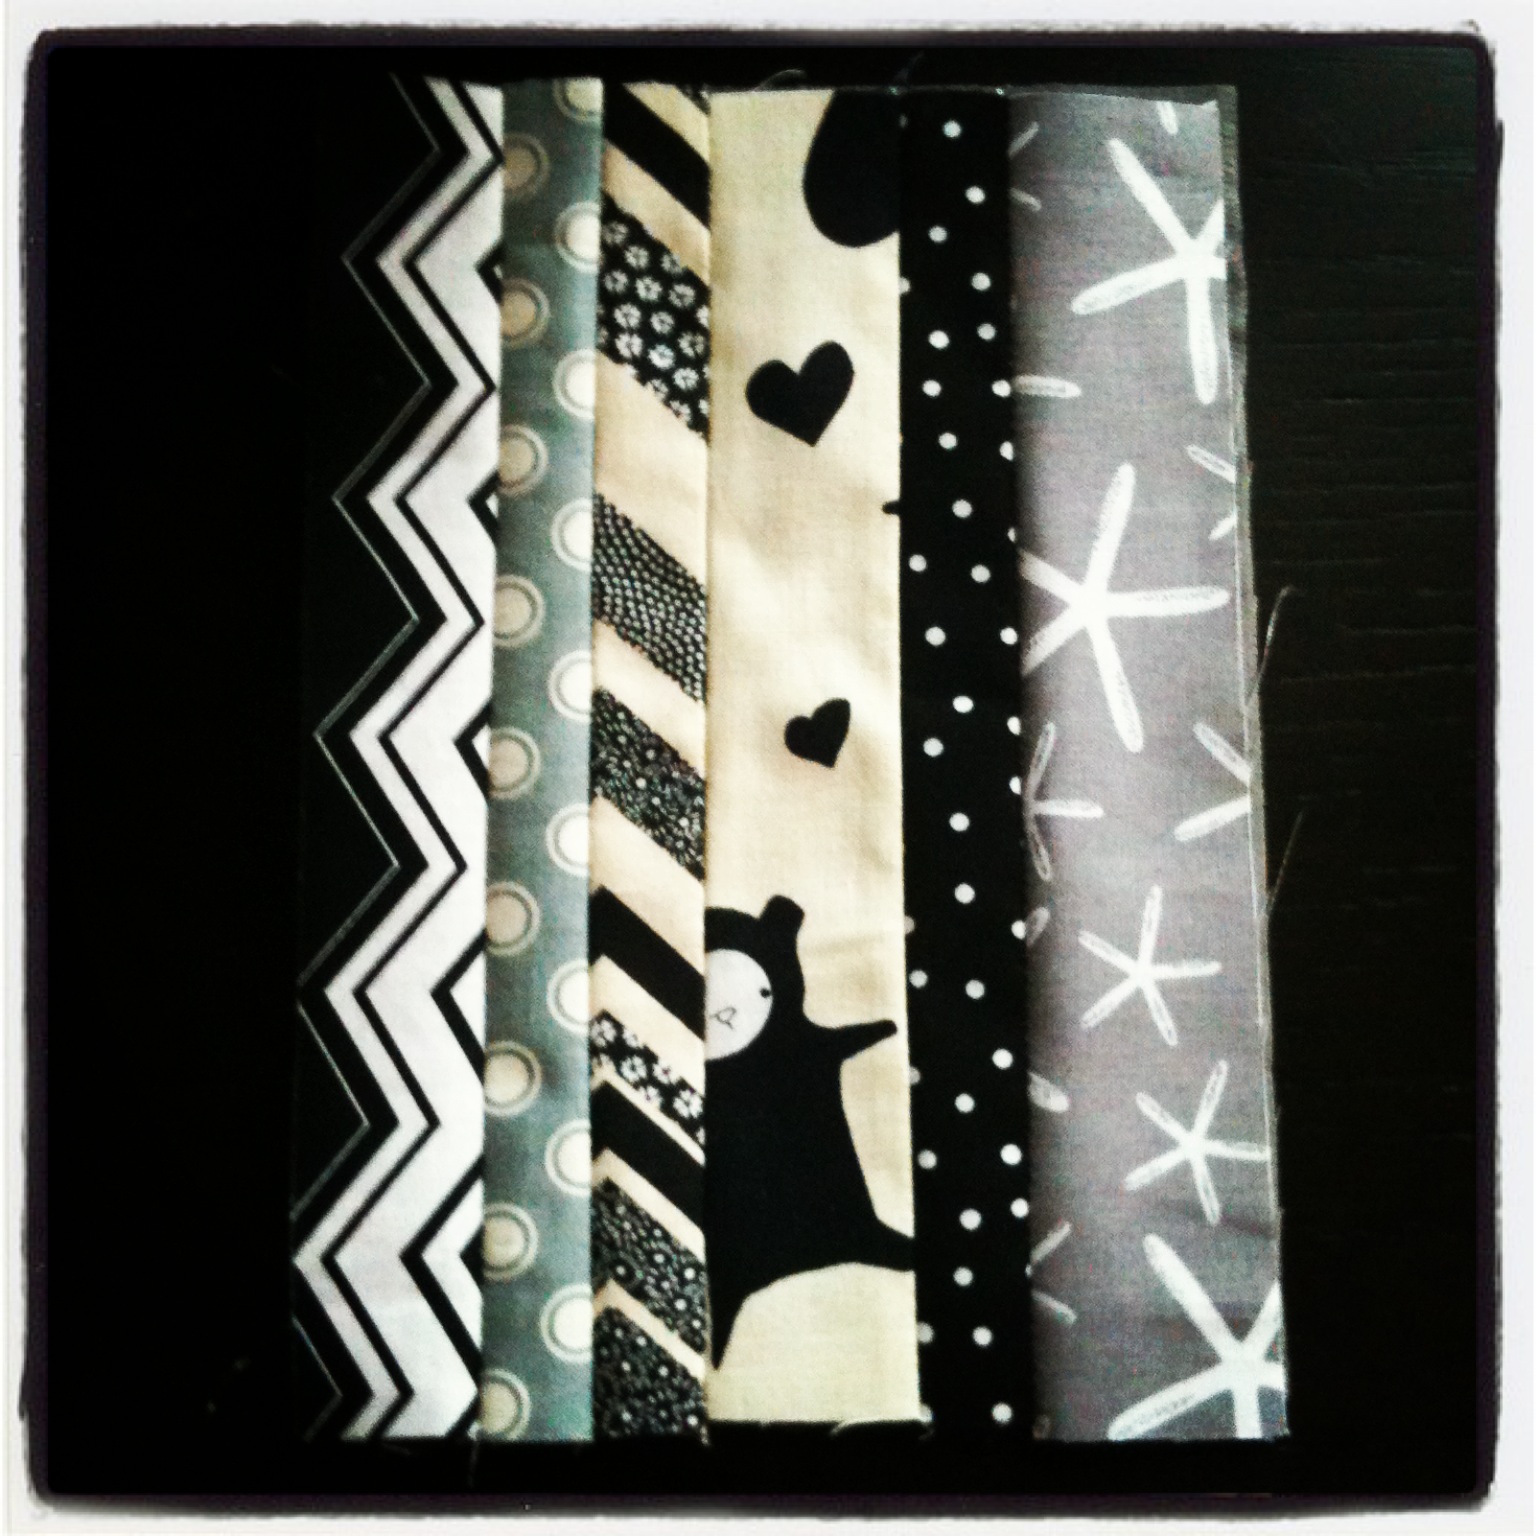
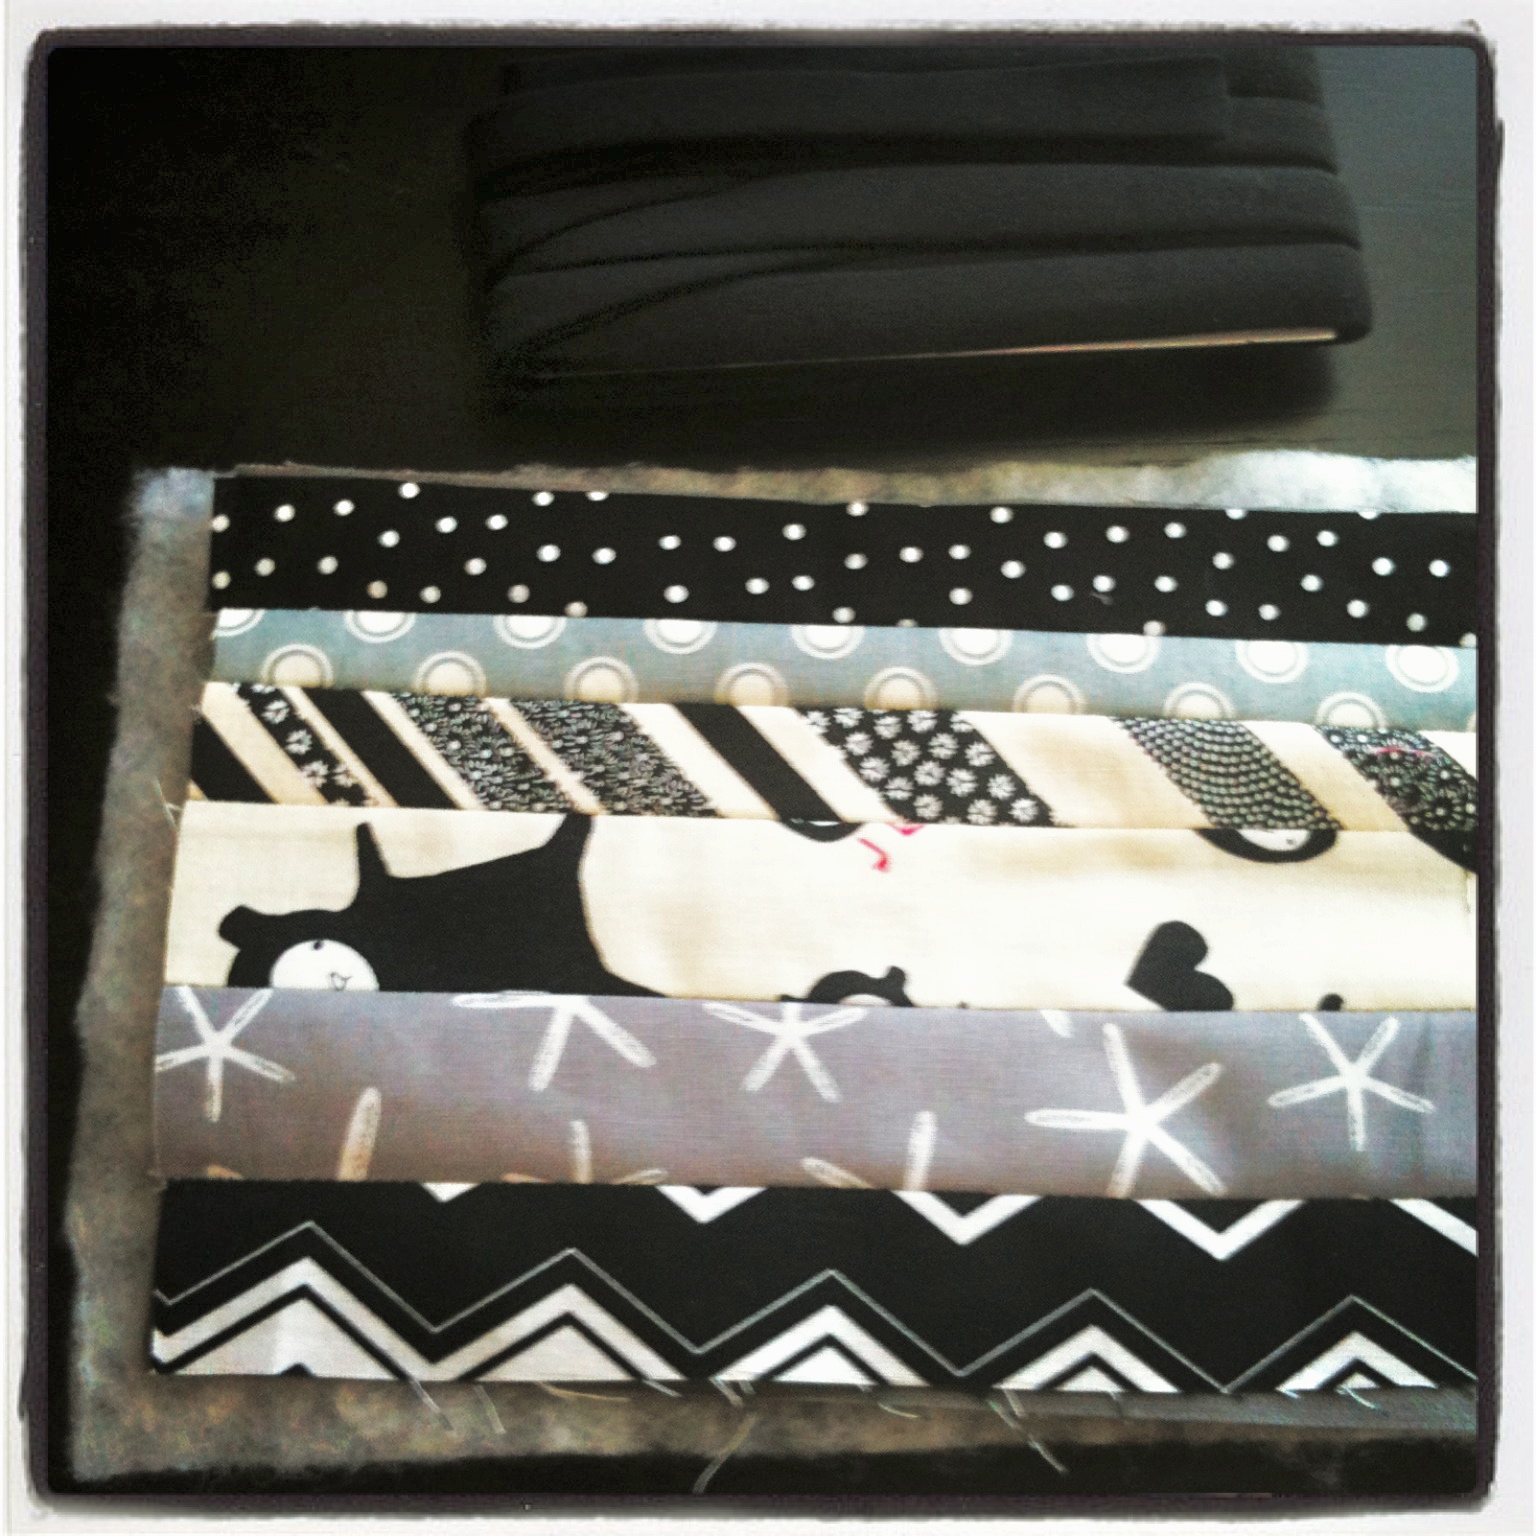
  • 1 x Front piece 5x 7.5 inches (in the tutorial I use 6 different scrap pieces each between 1-1.5 inches)
  • 1 x Low loft batting 5 x 7.5 inches
  • Coordinated binding, you will need 10.5 inches (I use shop bought binding but you can make your own)
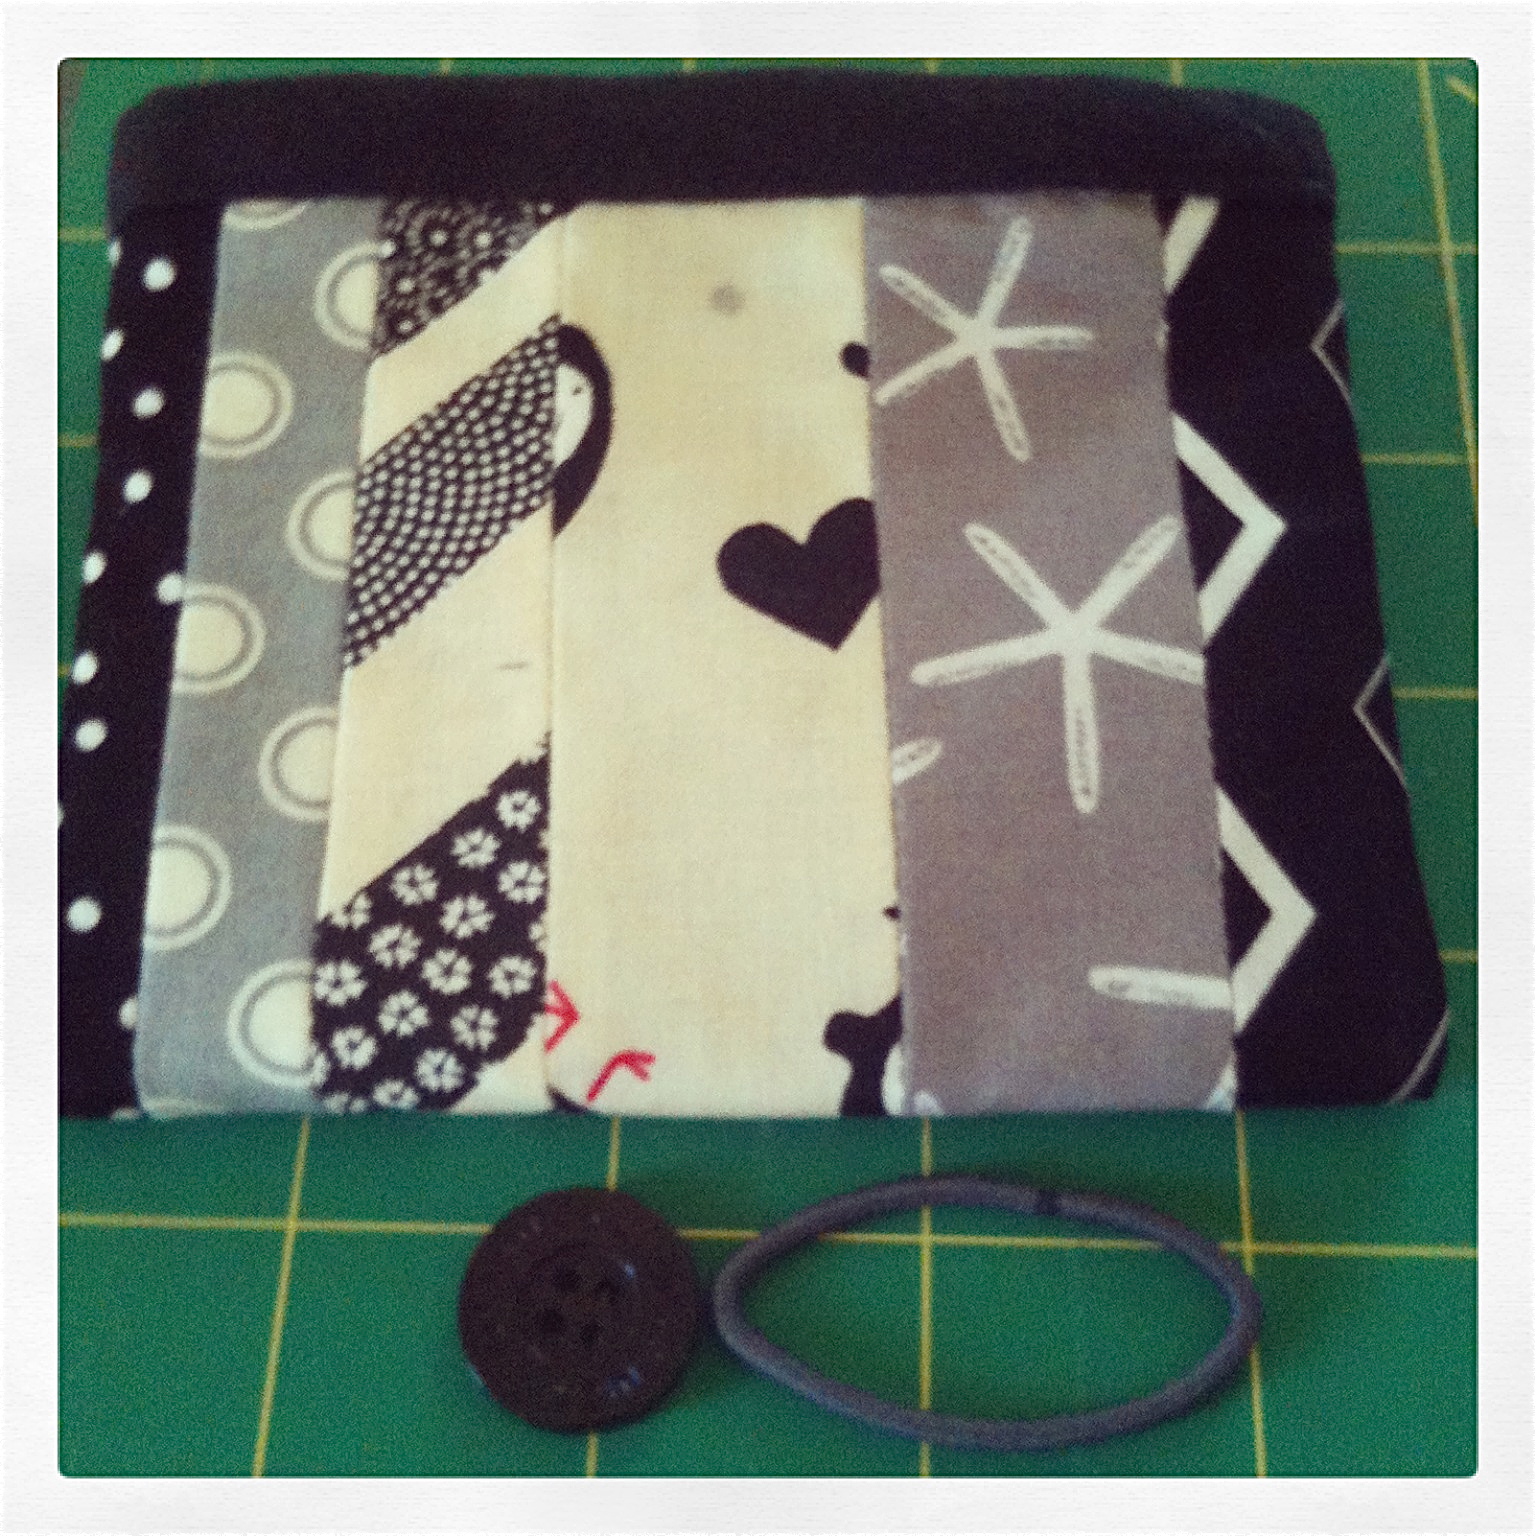
  • 1 x coordinated button
  • 1 x coordinated hair tie
  • Cotton

Tools:

  • Sewing Machine
  • Chalk pencil
  • Needle
  • Rotary cutting tool, Ruler, Cutting board

1. Cut all your fabric pieces out, iron pieces if necessary (I always do).IMG_0764

2. If using scraps, stitch the pieces together with a 1/4 in. seam. Once sewn, press the seams down (this is a great tutorial on techniques for pressing seams by SewMamaSew).IMG_0766

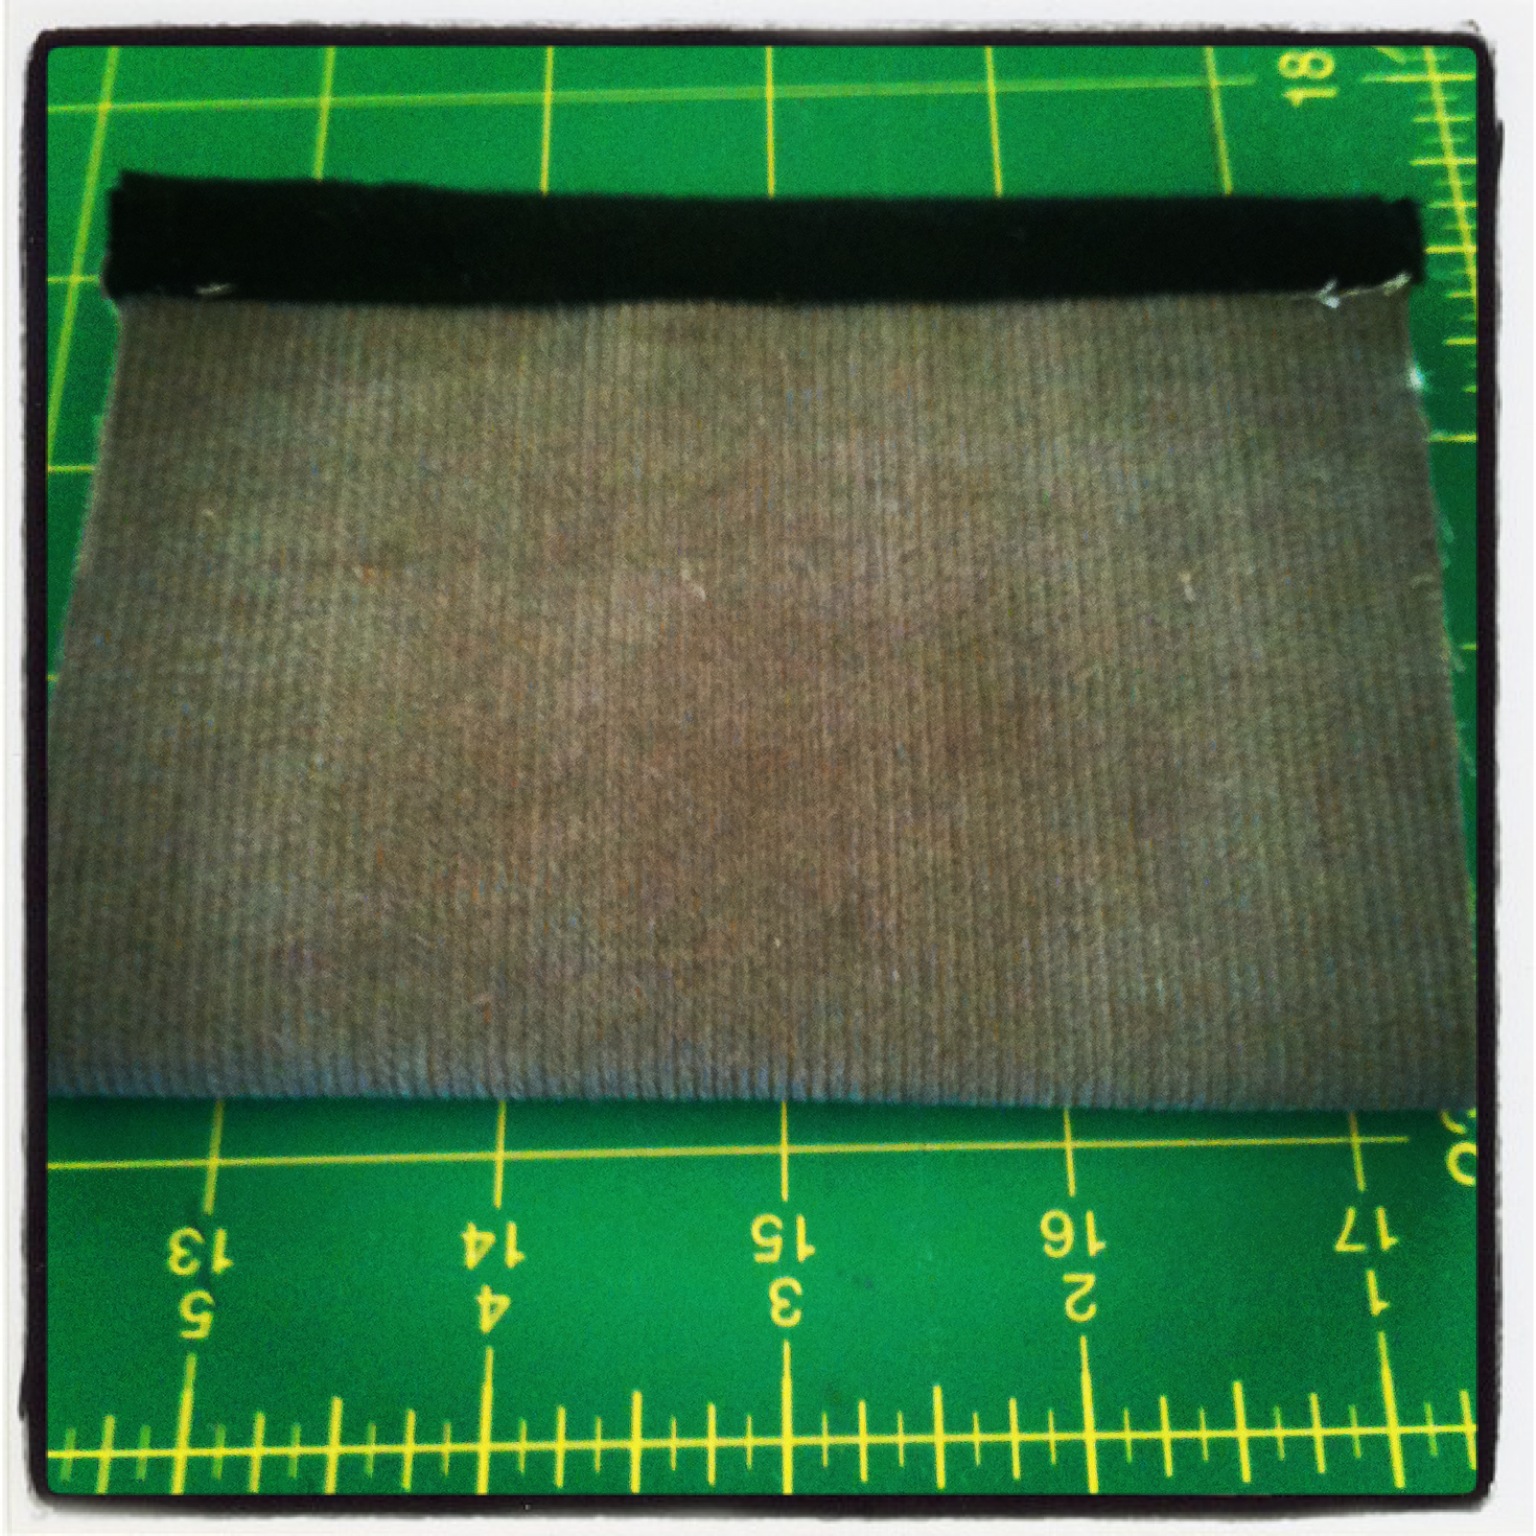
3. Put the back piece, batting and front piece together. Press with the iron.IMG_0777

4. Trim the edges to create a straight block of 5 x 7.5 inches.
IMG_0779

IMG_0781

5. On one of the short edges of the block (5 inch side), stitch the binding onto the back of the block.IMG_0783

6. Once the binding has been stitched onto the back, cut the binding to the edge of the block. Turn the block over, fold the binding over the top of the block and stitch the front of the binding along the bottom edge.IMG_0785

7. Repeat on the other short edge of the block. Press the block.IMG_0787

8. Fold the block in half, right sides together. Press again. Sew along both edges. I start at the bottom and stitch towards the top as the bottom is thinner and easier place to start. Sew three stitches and then back-stitch, continue to the end, back-stitch 3-5 stitches.IMG_0789

9. Turn in the right way. Press again.IMG_0793 IMG_0795

10. Measure the pocket at the top to find the center (~2.25 in.) and mark with a chalk pencil – the width is now 4.5 inches (for the button position). Repeat the measurement on the binding on the back inside binding (for the hair tie placement). IMG_0797

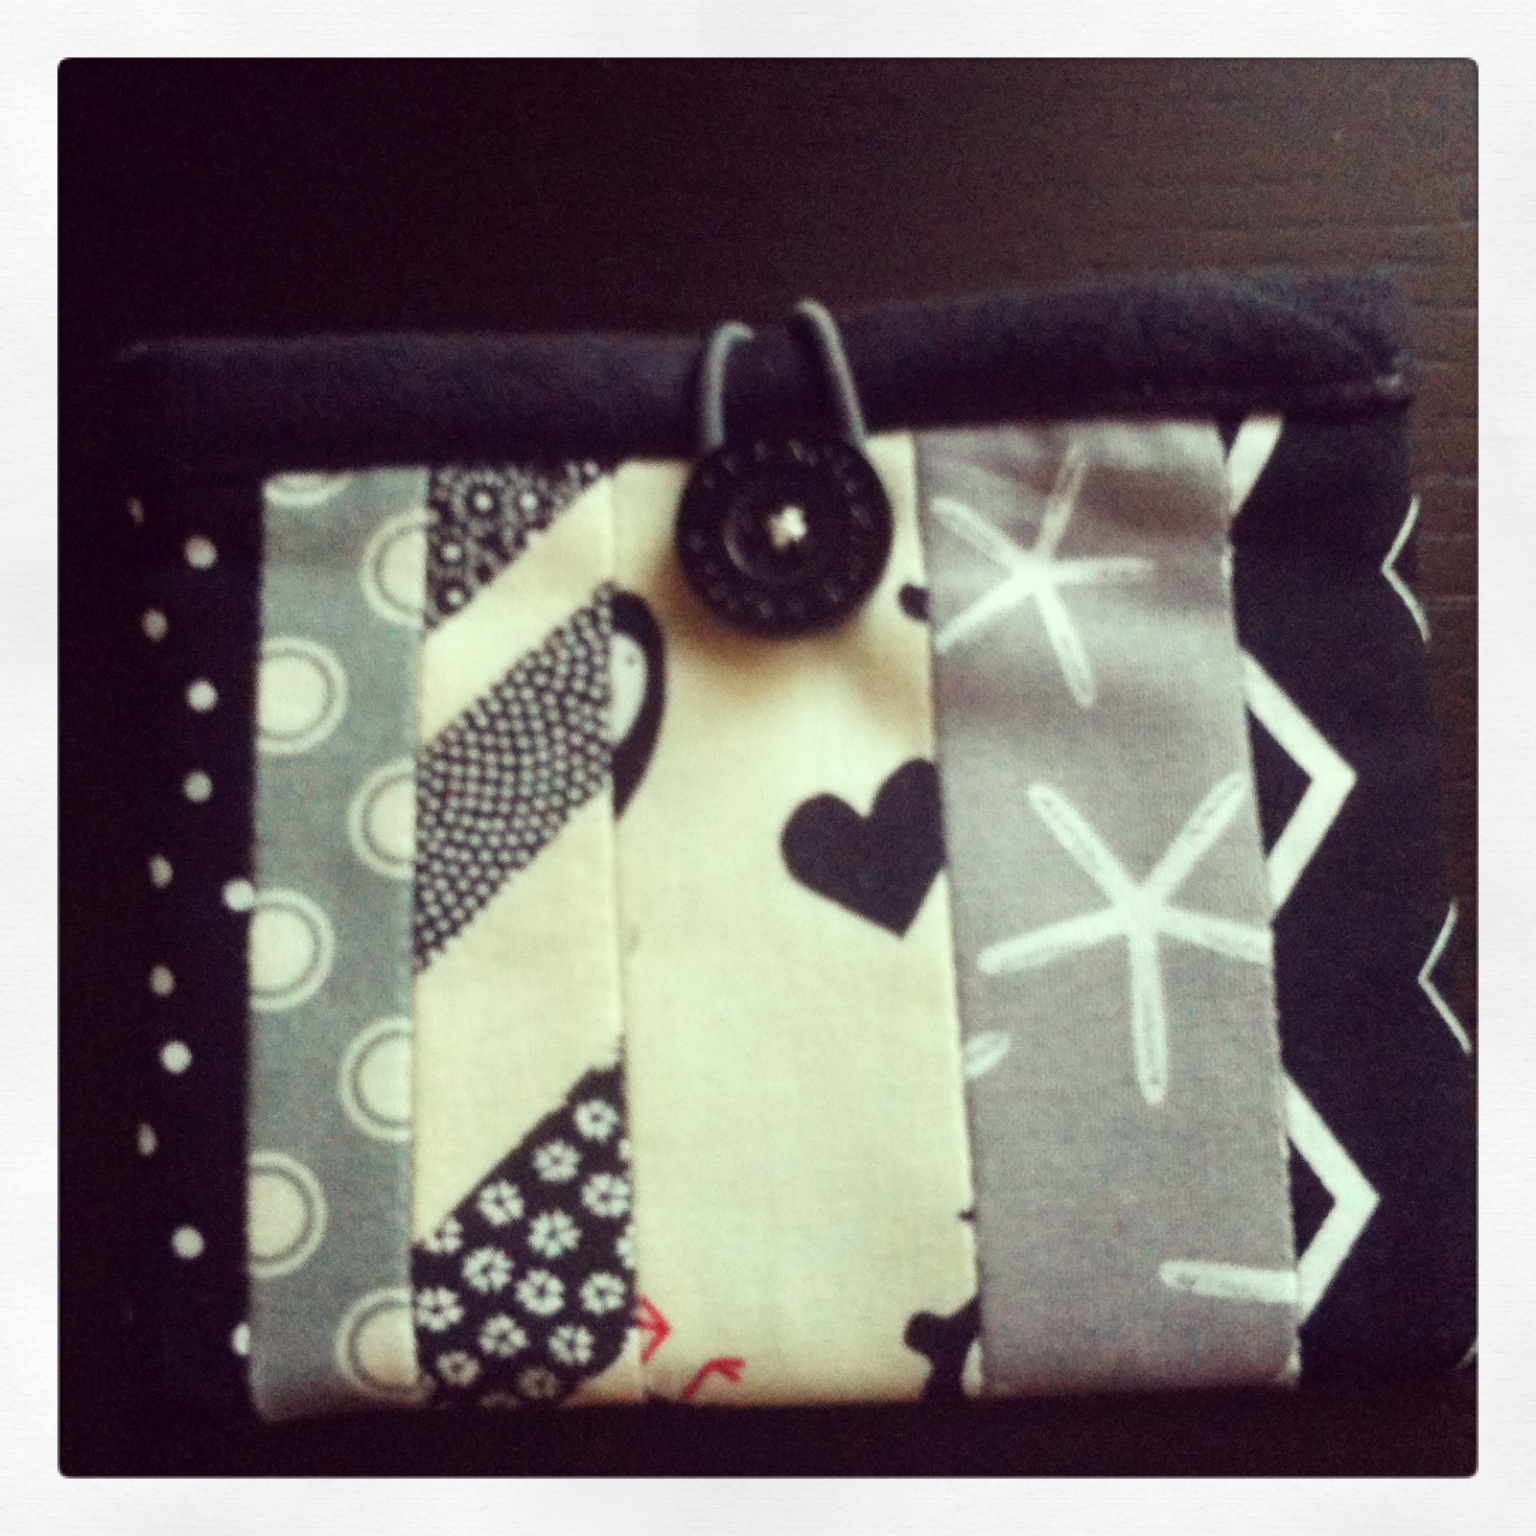
11. Stitch the hair tie into the inside of the pocket. Stitch a few stitches on the top and bottom of the binding.IMG_0799

12. Hand-sew the button in place. This will complete the gift card pocket.IMG_0801 IMG_0803

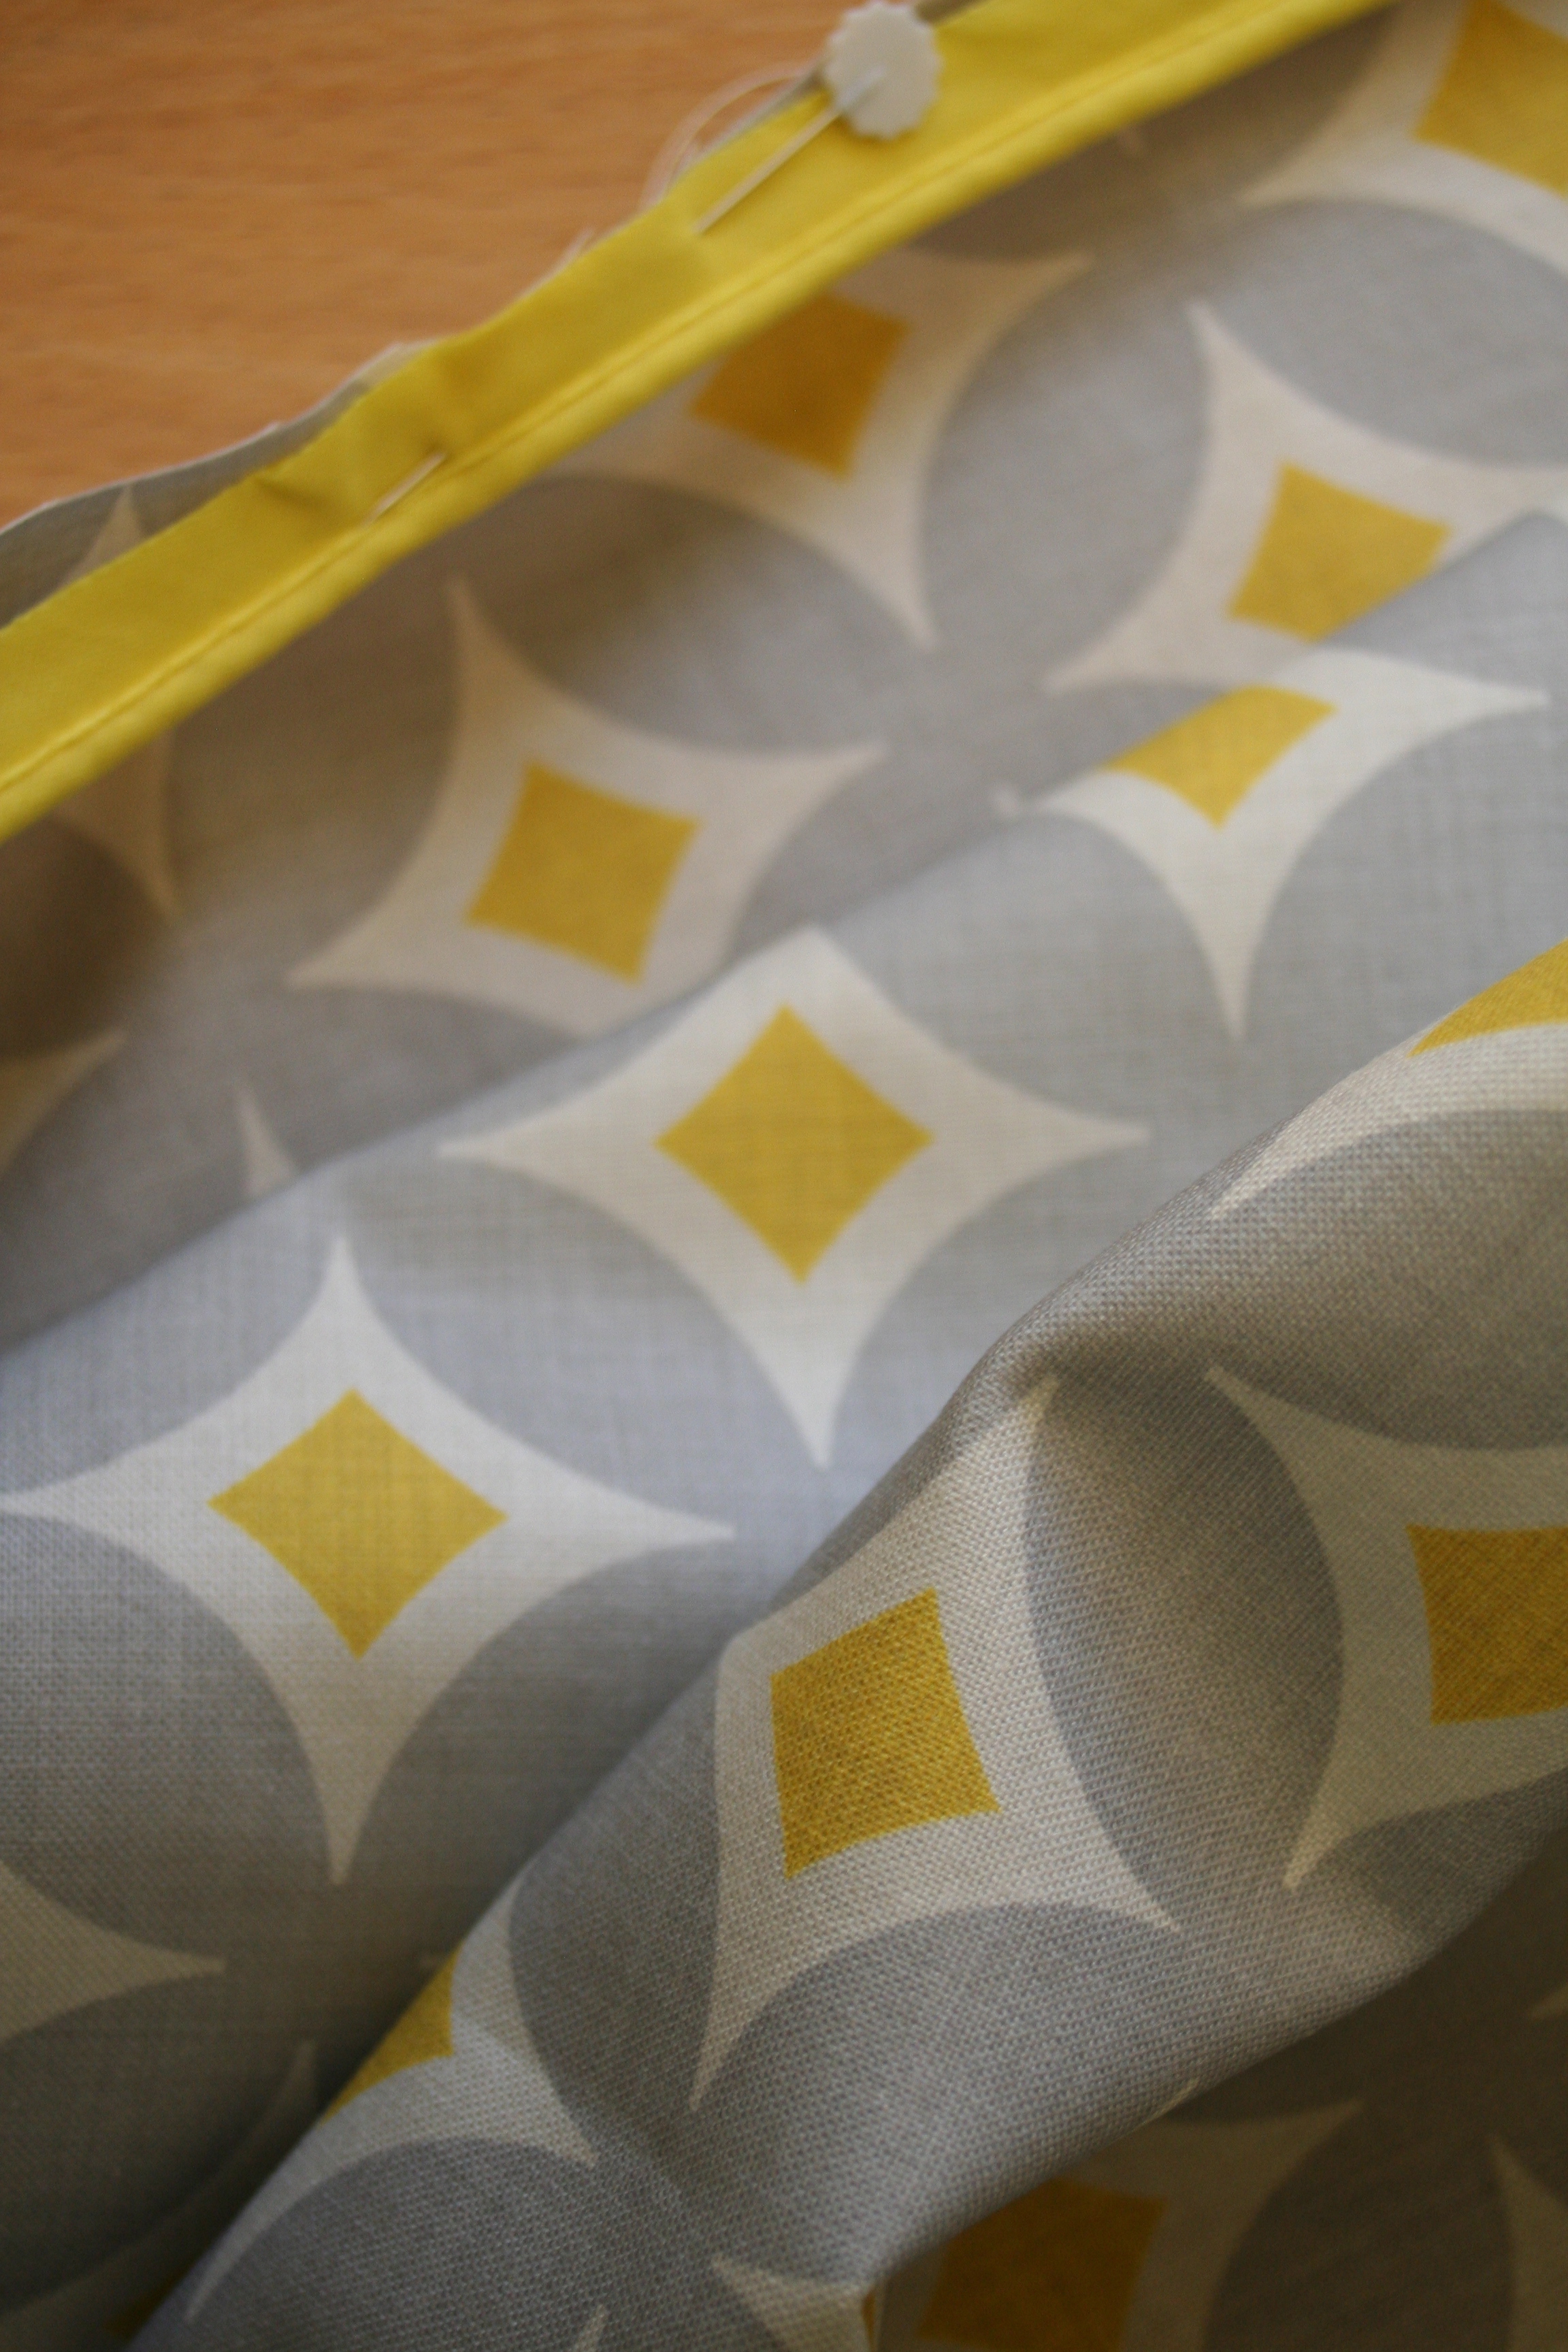
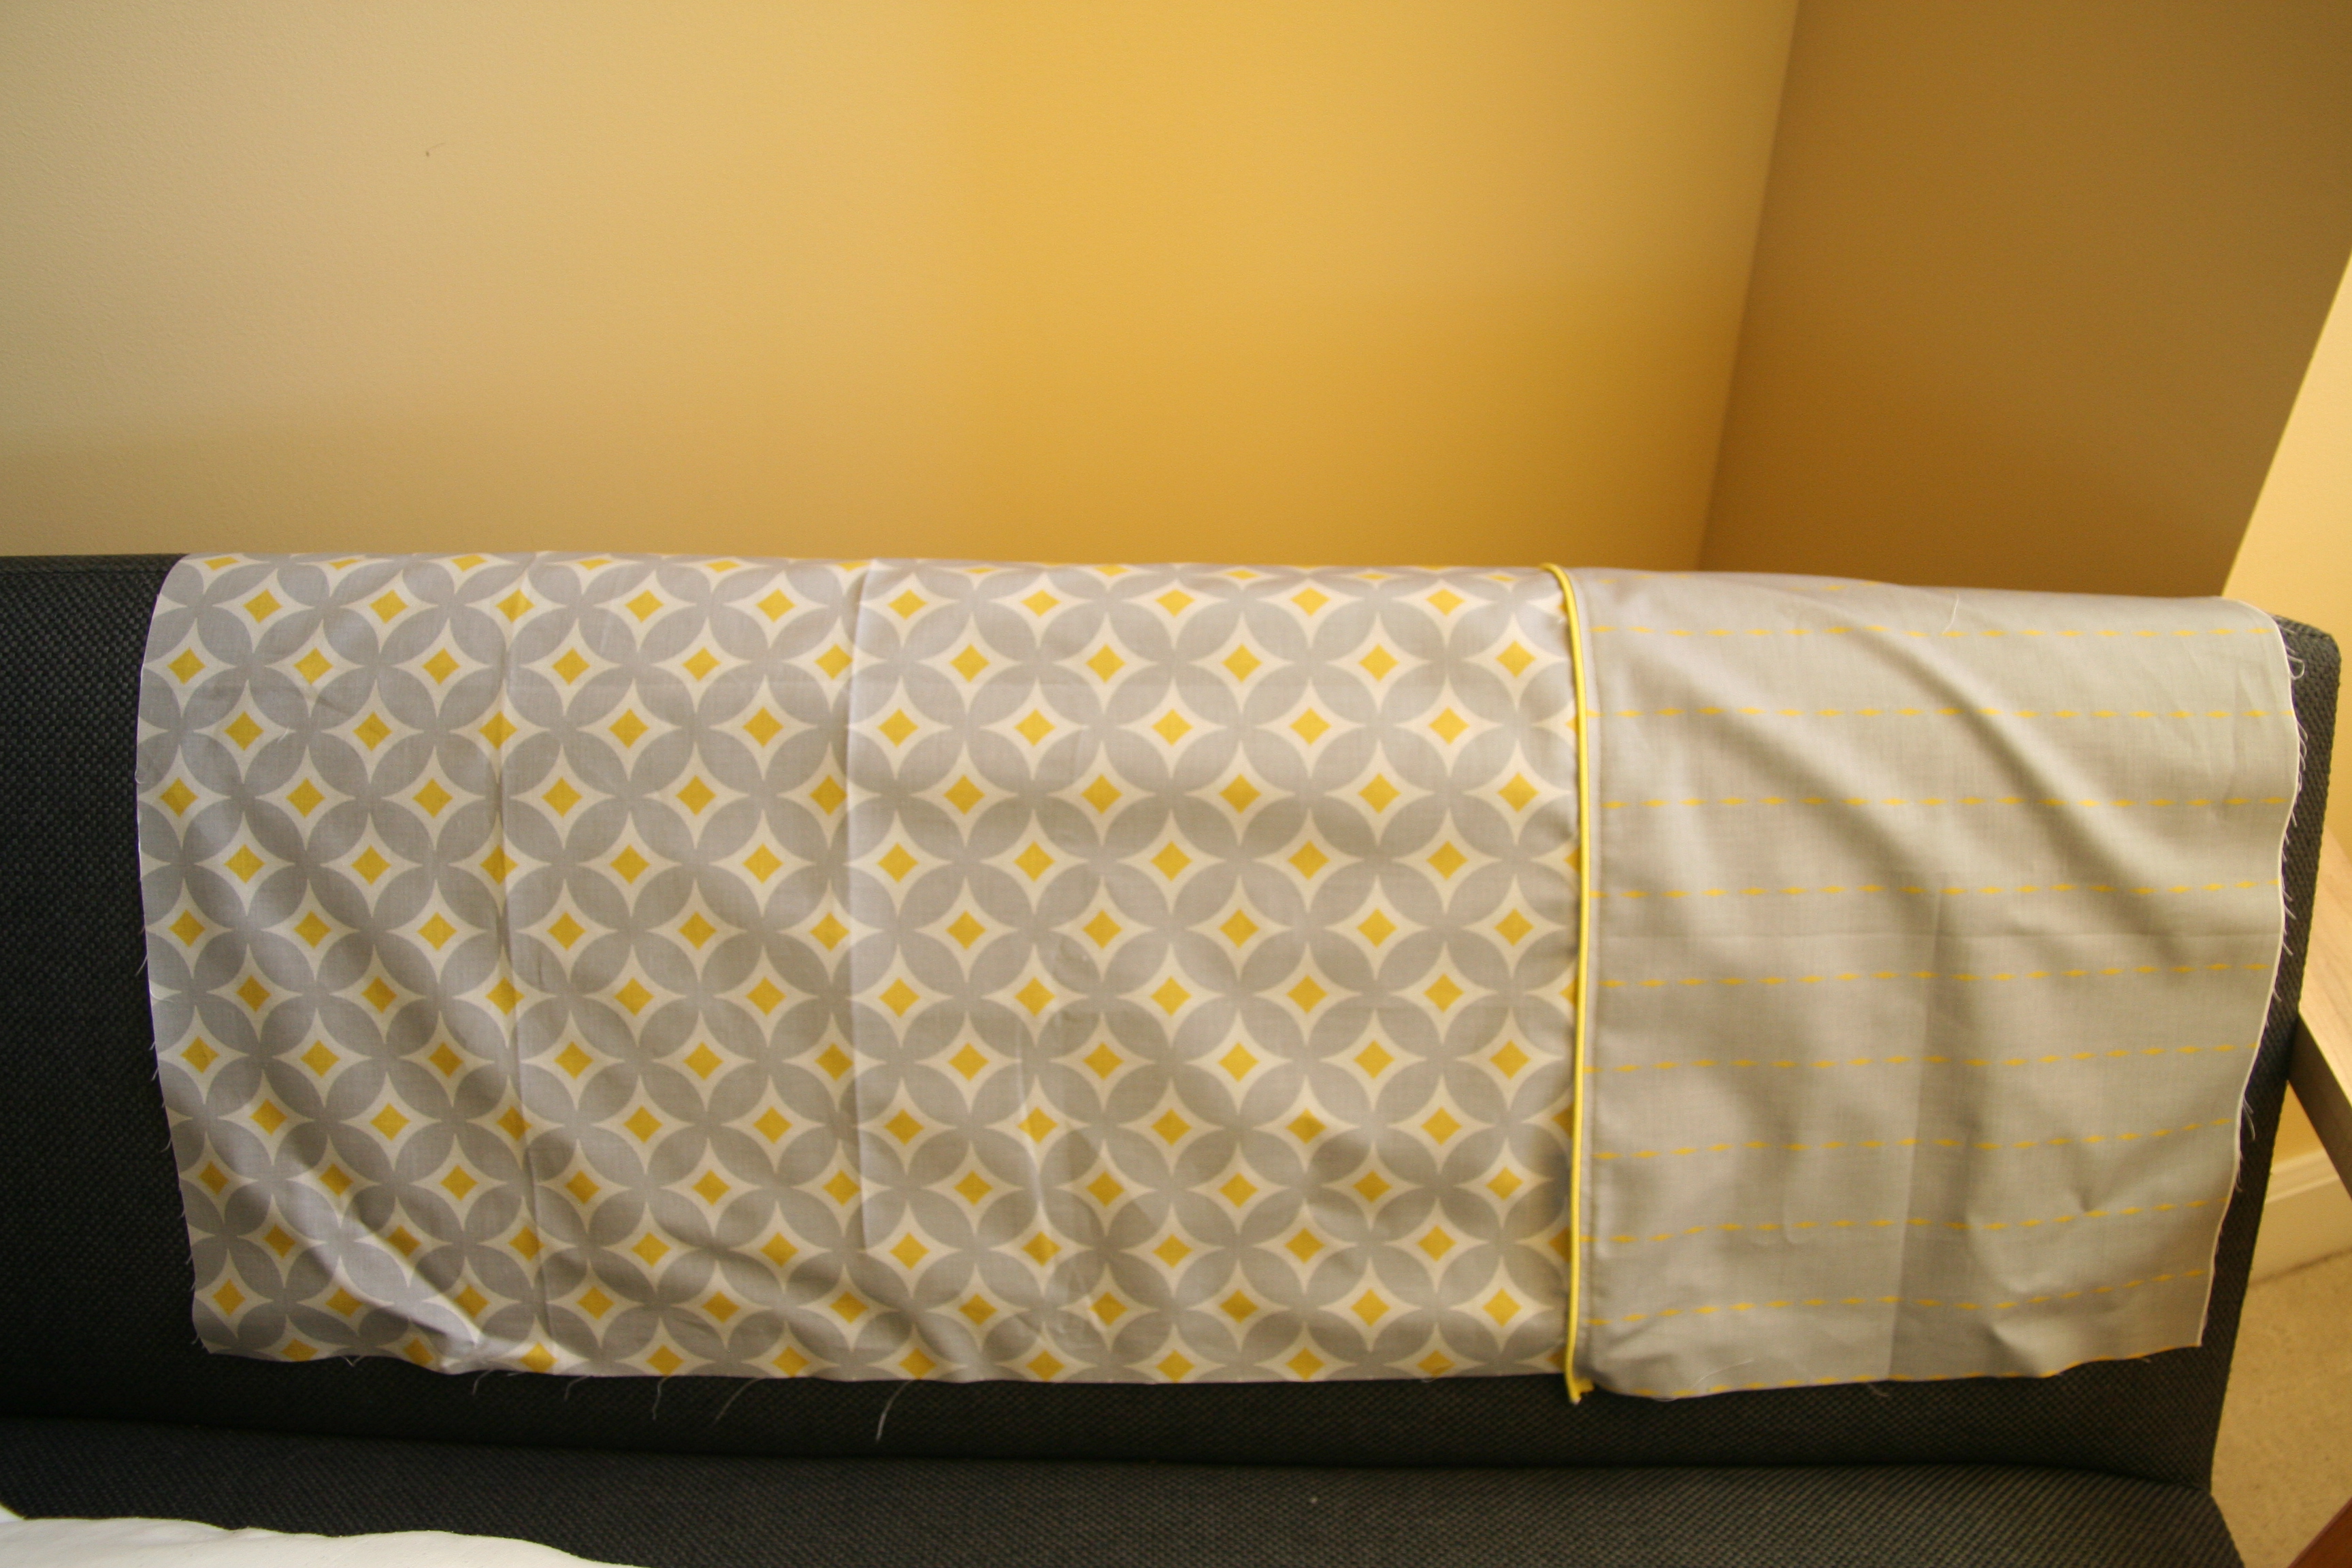
Have fun with your color combinations – see these posts for ideas (Making gift cards a little more personal, Customer Order). Additionally, instead of binding you can use a zip.

Linking up with Finish it up Friday at Crazy Mom Quilts.

Goals for 2013: Factotum of Arts, Squeek Crafts

All in all, I had a great last 4 months of 2012. For 2013, I would like to continue in much the same fashion. My goals are to:

  • Blog a minimum of 3 times a week.
  • Build up my stock in my Etsy store and sell $1000 worth of merchandise.
  • Participate in another craft fair.
  • Squeek Crafts section: Finish my four seasons quilt, a quilt for my son, and the orange and grey quilt for our room and my Christmas stocking.
  • Squeek Crafts section: Try 12 new sewing/quilt or patchwork projects e.g.. a weekender bag, something made from paper piecing.
  • Edible Delights section: Try three new recipes out per month and post them (36 in total for the year).
  • Framed section: Carve out some time to do some drawing and painting. I have 2 pieces in mind.
  • Home and Garden Design section: Finish our backyard, renovate our guest bathroom (as it desperately needs a lift).

Review of 2012: Squeek Crafts

  • I changed jobs to spend more time with my family (February)
  • Started my blog (September)
  • Opened my Etsy store – Squeek Crafts (October)
  • Participated in my first craft fair (December)
  • Sewing or Quilting Projects: Made chair bags (for my store), cushions/pillows, placemats, gift card pockets, Christmas stockings, lots and lots of coffee cup sleeves (for my store and craft fair), made my son a monster.
  • Craft Projects: Made recycled wine cork boards (for my store and craft fair), caterpillar wall display for a thank you gift at pre-school, and an Elmer growth chart (gift for a friend’s little girl), neck tie art piece (gift for my parents 40th wedding anniversary).

2012 Craft Collage

Review of 2012: Edible Delights

  • Shared some of my favorite recipes
  • Made pesto, bell pepper relish, bean salad from things in my first vegetable garden
  • Made Pies/Tarts – Bacon and egg pie, potato top pie, rhubarb apple pies, chocolate tarts, and pear tart
  • Stewed my first lot of fruit – cherries
  • Worked out to get the perfect chocolate coated strawberry without getting a flat edge
  • Got a new case of wine from my brothers vineyard – Moana Park

2012 Edible Delights Collage