Tag Archives: sewing

Finished!!!!

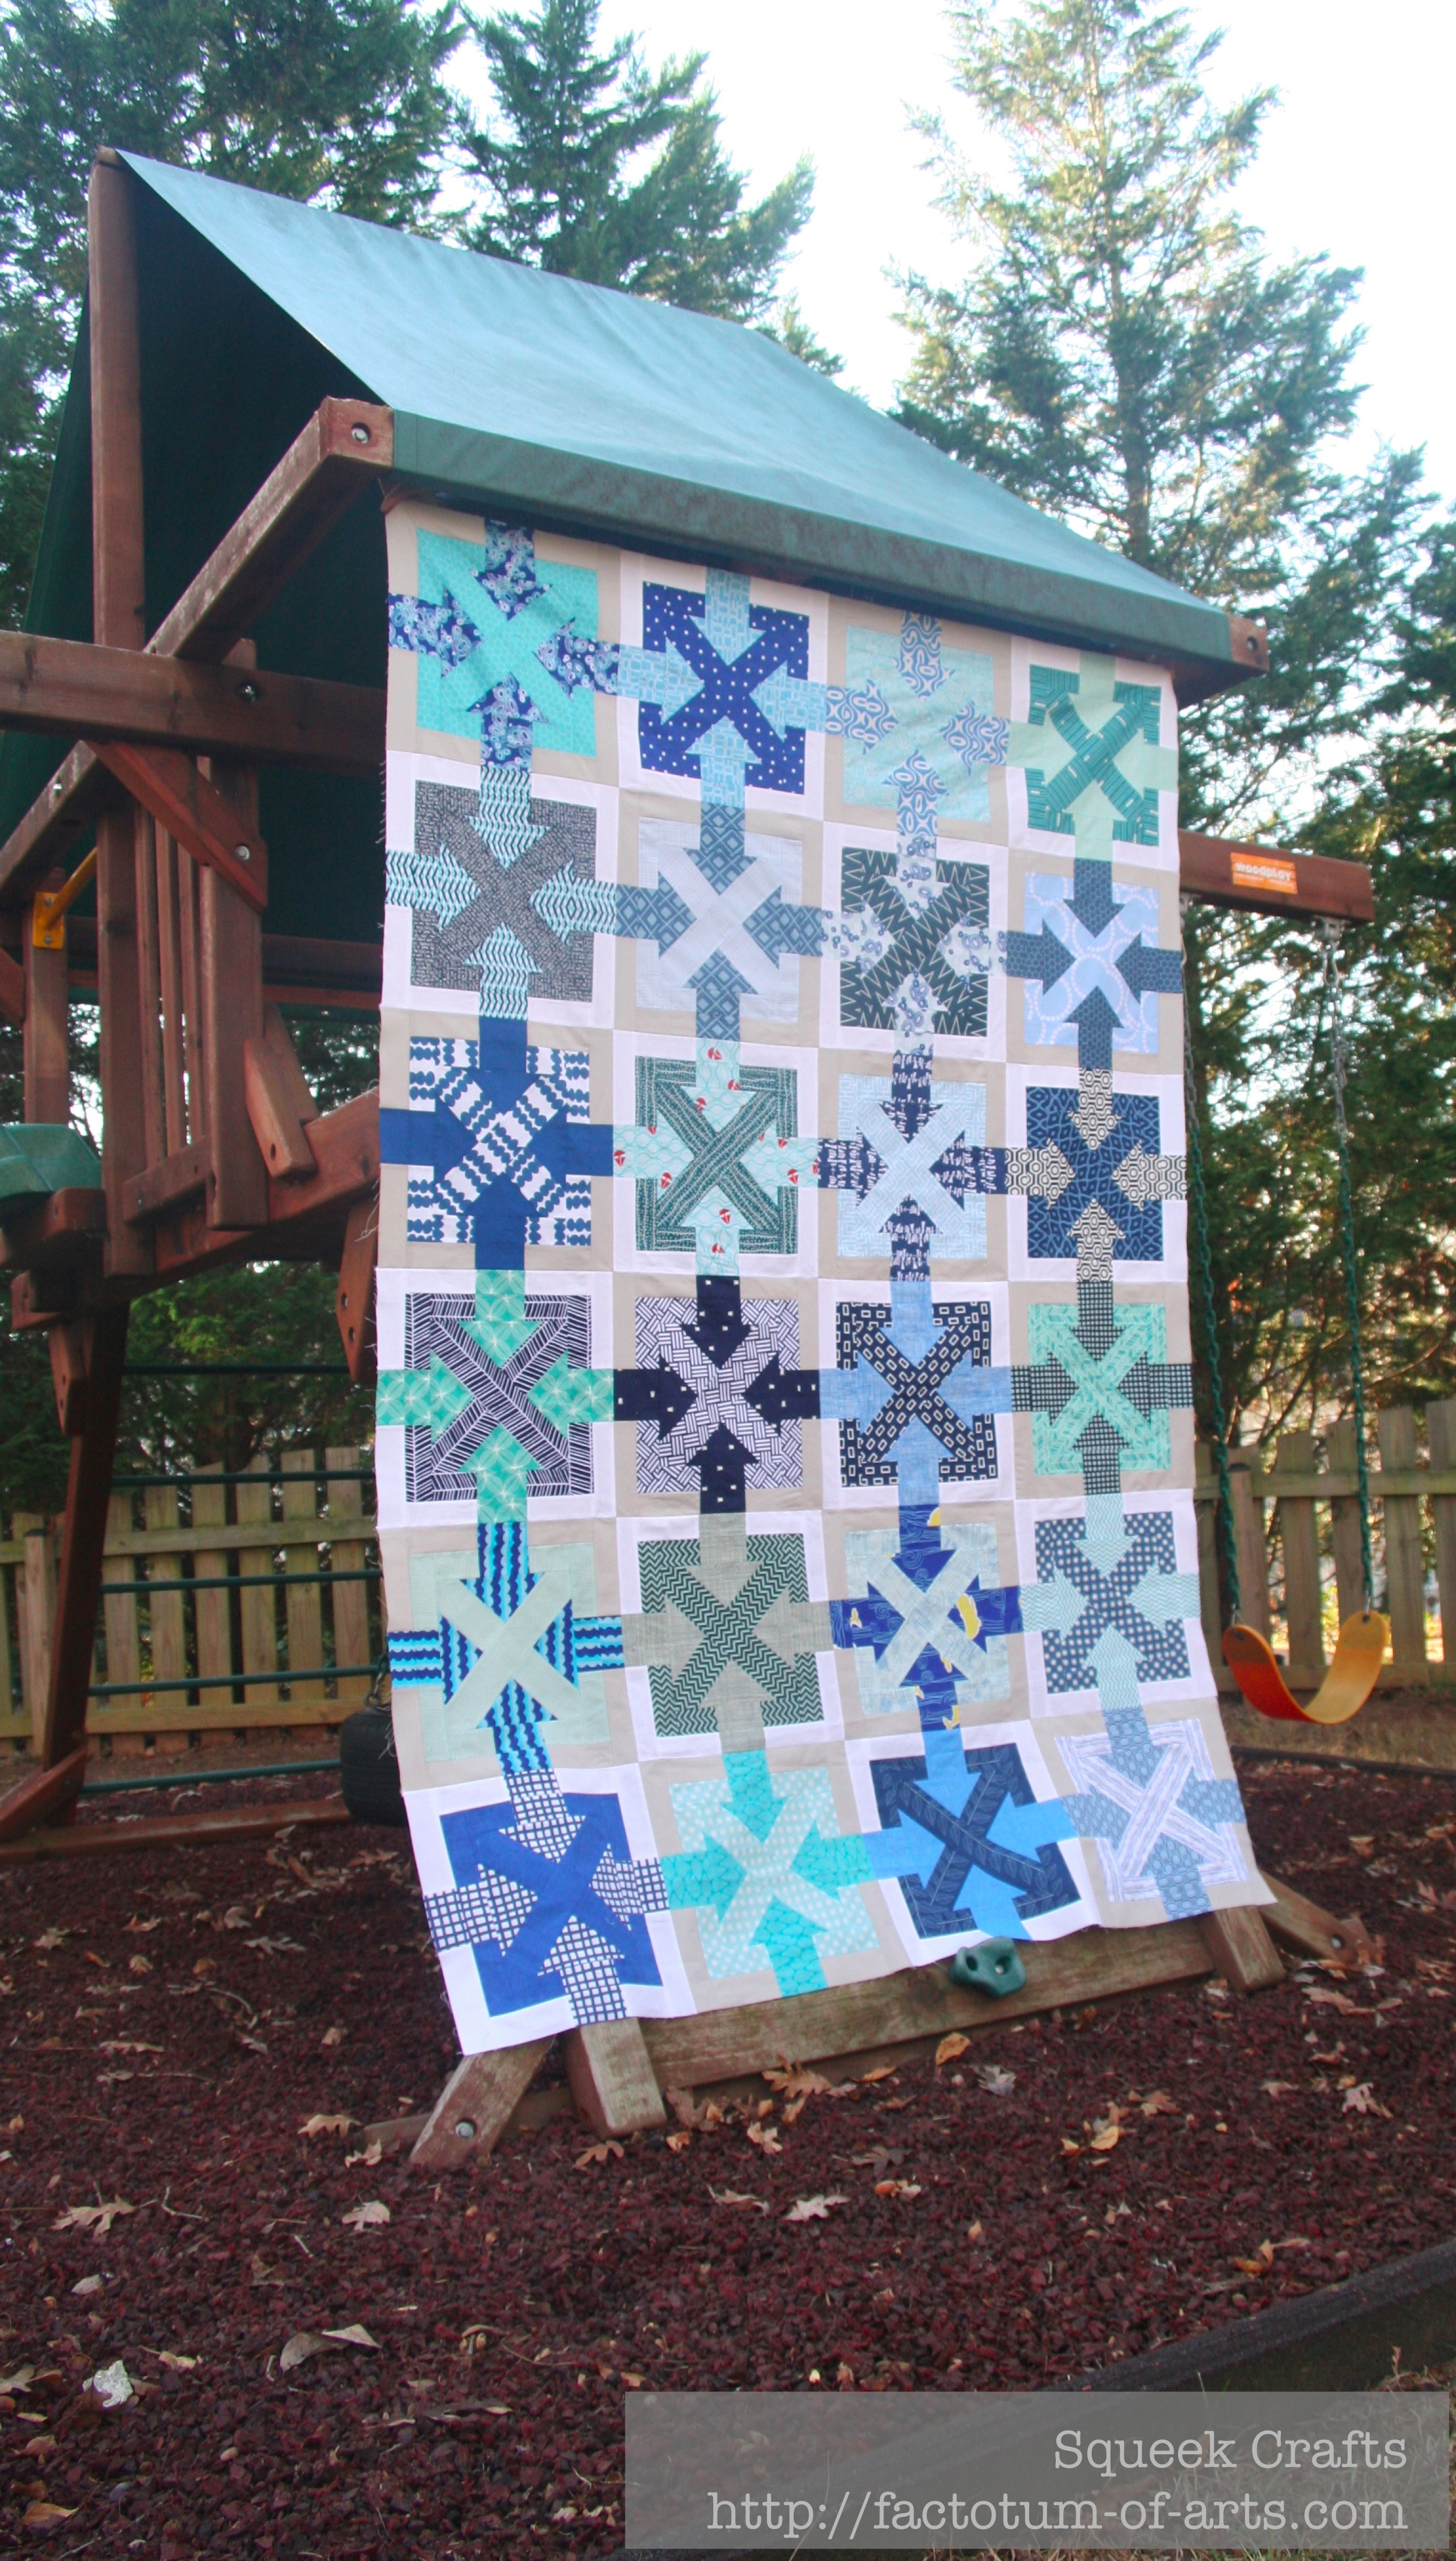
For my November goal in “A Lovely Year of Finishes”, I had set to finish the top of my Push me Pull me quilt. Well, it is 4 pm EST on the 30th November and guess what………….

I have FINISHED!!! Nothing like getting it in at the last-minute. Let’s just go directly to the photos.

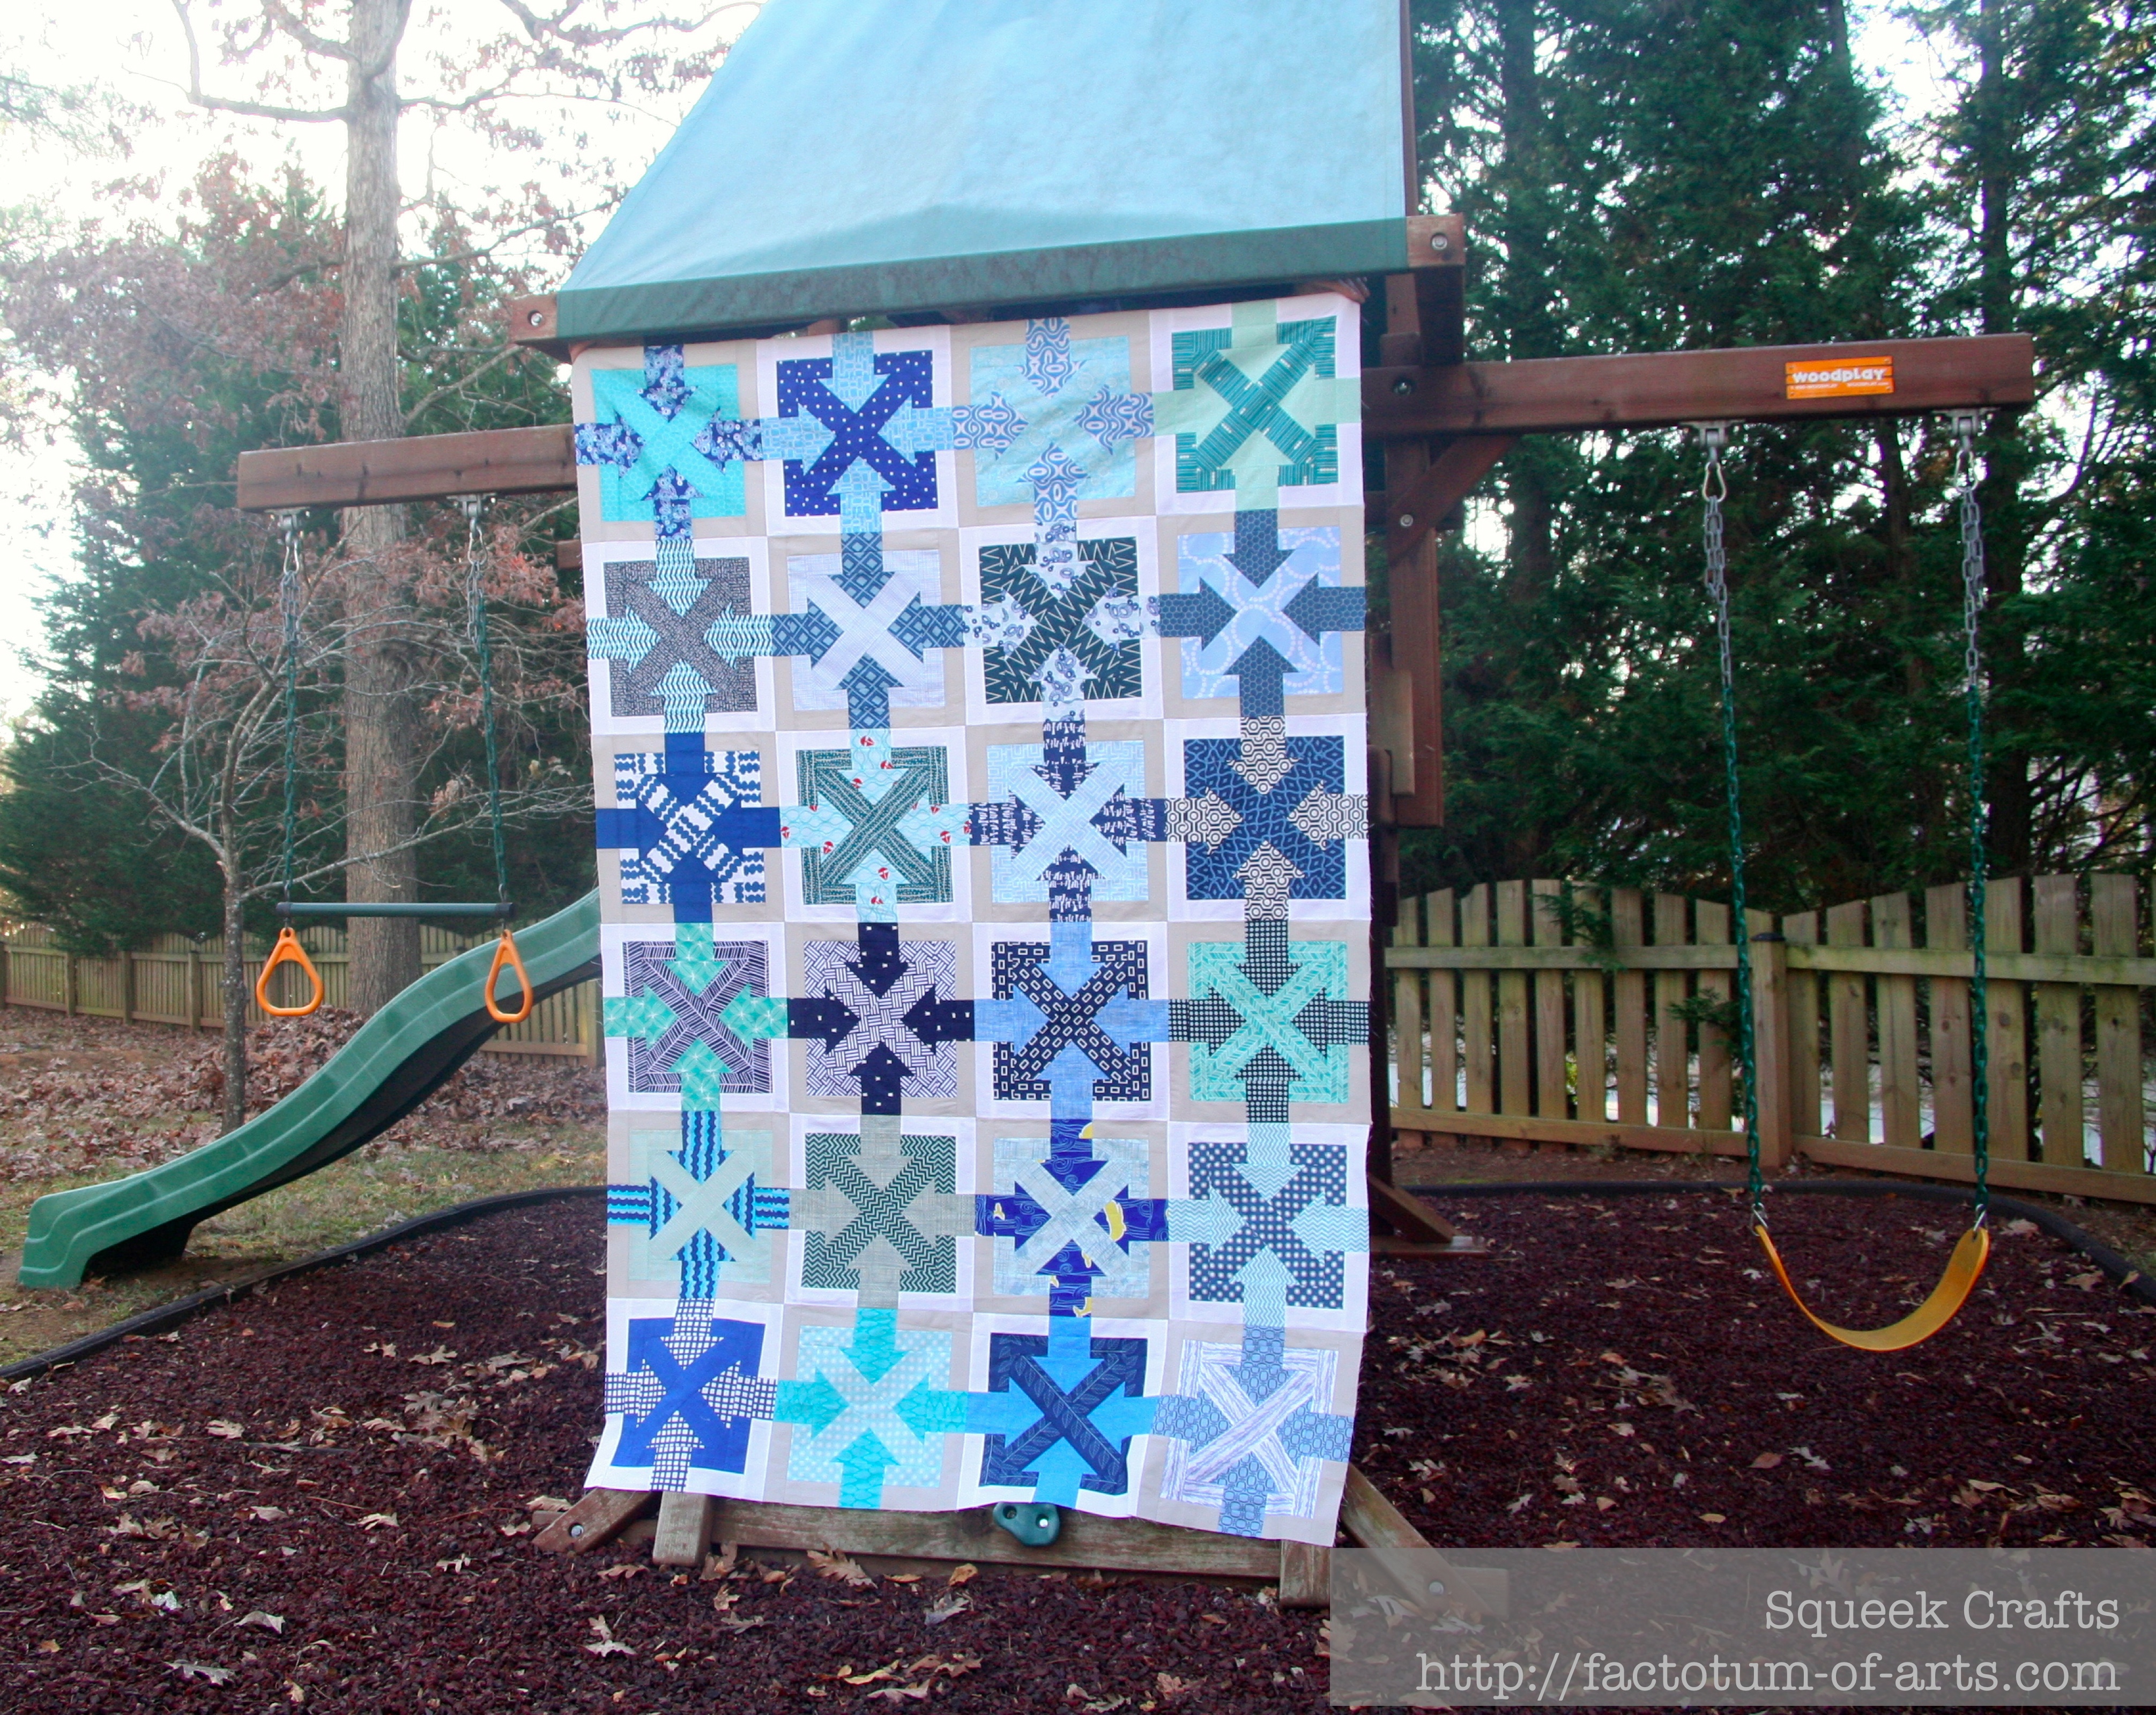
Front view, where the hubby is doing a great job holding it up on the playground).
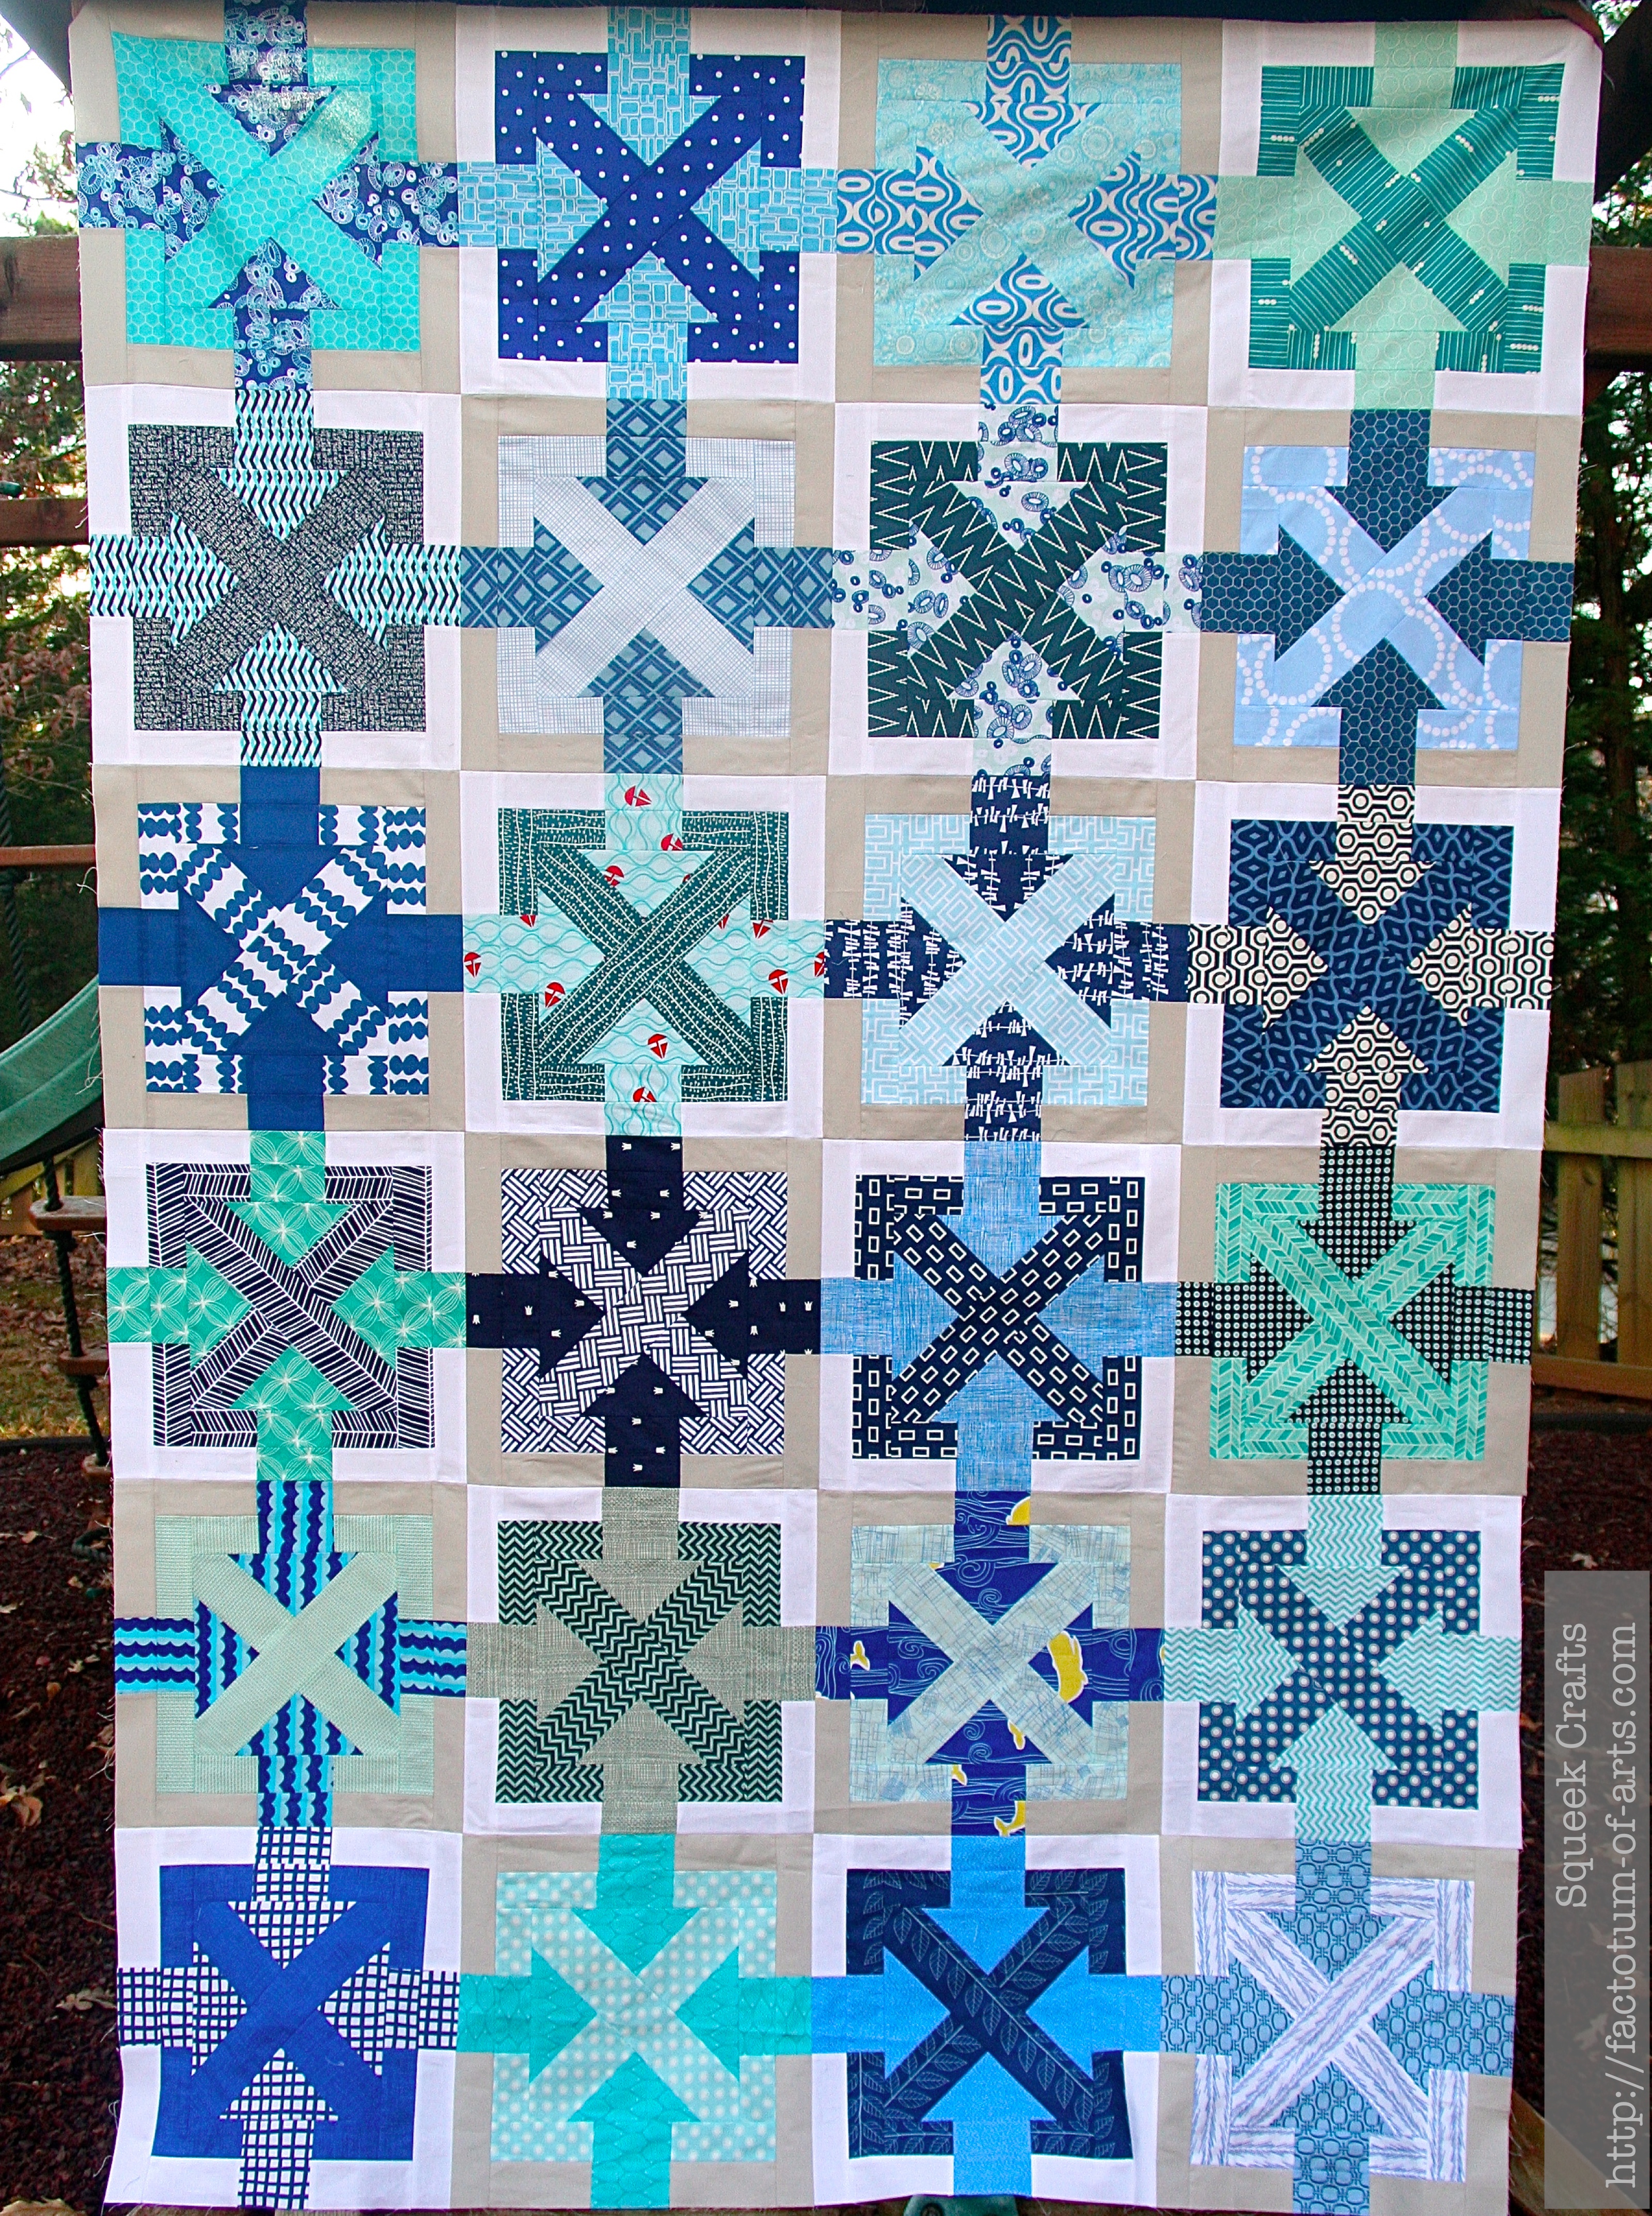
PushmePullme_Front_TopFinish

From the left…PushmePullme_LeftSide_TopFinish

And just to make sure I have all the light angles ;-), from the right.PushmePullme_RightSide_TopFinish
Materials:

  • 48 fat eighths of various blue quilting fabrics (this is one for the fabric addicts out there – how many of you can name them ??? LOL)
  • Sashing – Kona White + Kona Ash

Size:
~ 60 x 90 Inches (Twin Size)

The block pattern is on sale through next weekend. It can be found in my craftsy store (check out the menu item on the left) or my Etsy store. Hope you are all having a great Thanksgiving weekend.

For completing my goal, I will be linking up with:

My Button

Tutorial: iPhone/iPad Stand

As promised here is the Tutorial to make a iPhone/iPad (or other electronic device) stand I posted last week.

iPhone Stand

Materials:

  • Fabric 12″ x 9″
  • Cotton
  • 2-3 cups of rice
  • Pellon Ultra Firm 1 1/4″ x 5 3/4″
  • Polyester Fill
  1. Start with a piece of fabric that is 12″ x 9″. Fold in 1/2 and press (6″ x 9″  size once folded)Tutorial_Size
  2. Sew a 1/4 inch seam at the top, with a 1 – 1 1/2 ” gap, and the side of the folded fabric (refer to black lines).
    Tutorial_sew_sides
  3. Fold the fabric so that the side seam is now in the middle at the back. The top will form triangles. I press the seam open for a flat appearance later.Sew along the bottom to form a 1/4 inch seam leaving a 1 – 11/2 inch gap (refer to black lines).
    Tutorial_SewFront
  4. Through one of the holes, feed the fabric through to invert fabric to show right side. Use a chop stick (or other device to ensure the corners are turned completely.
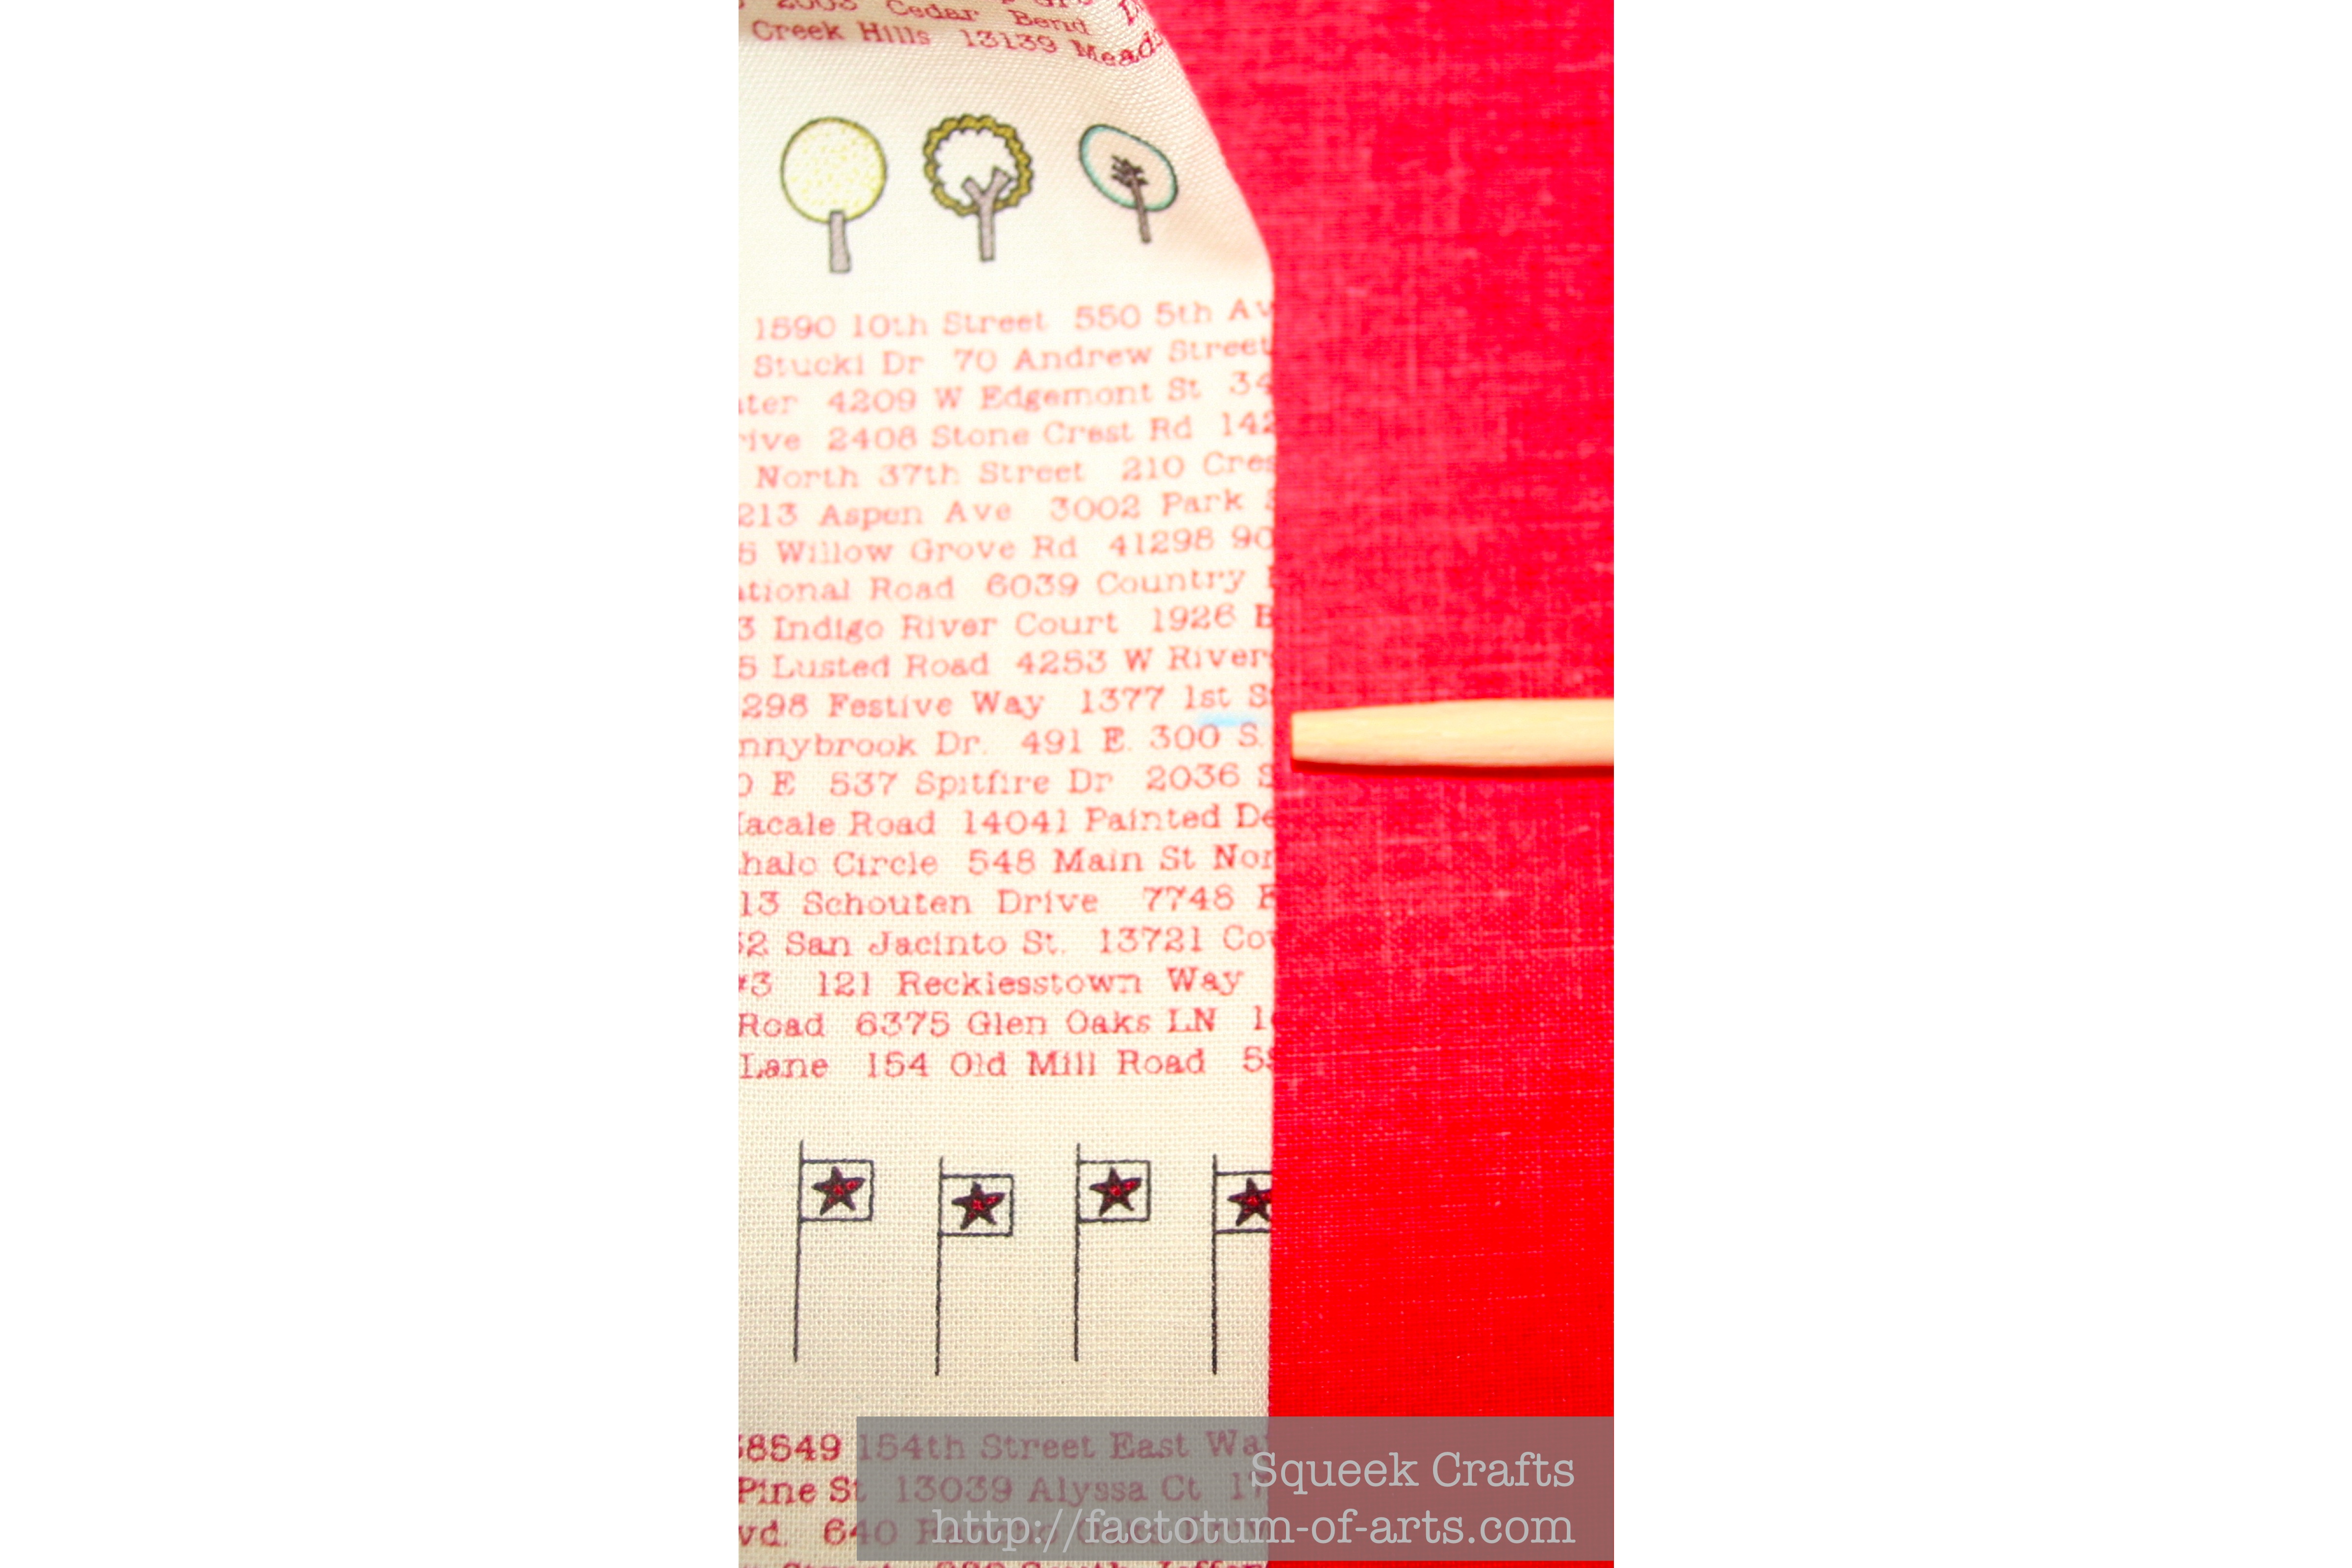
  5. Measure 3 inches from the bottom seam. Mark with chalk on each side (refer to where the chop stick is pointing). This will be the mark you will use to place the Pellon Ultra Firm Strip.
    Tutorial_MarkforUltraFirm
  6. Feed the Pellon Ultra Firm through the whole at the bottom.
    Tutorial_addUltraFirm
  7. Move The Ultra Firm Strip into position with the top aligned with the chalk marks. Pin strip. Sew a border around the strip to ensure it remains in place (refer to black lines).
    Tutorial_SewUltraFirm
  8. Through the hole at the bottom, stuff with polyester filling until fill.
    Tutorial_StuffingFront
  9. Hand sew the bottom hole closed. I use a slip stitch to close my openings.
    Tutorial_StitchFront
  10. For the main pillow, fill with rice. I use a Wilson piping bag to aid in adding the rice through the hole. NOTE: The rice will add a nice weight to the stand to make sure it will support the relevant electronic device.
    Tutorial_RiceFilling
  11. Fill as far as you can, approx. 3/4, or more, fill. You will have room at the top.
    Tutorial_RiceFinished
  12. Fill the rest of the space with the polyester filling.
    Tutorial_FinalStuffing
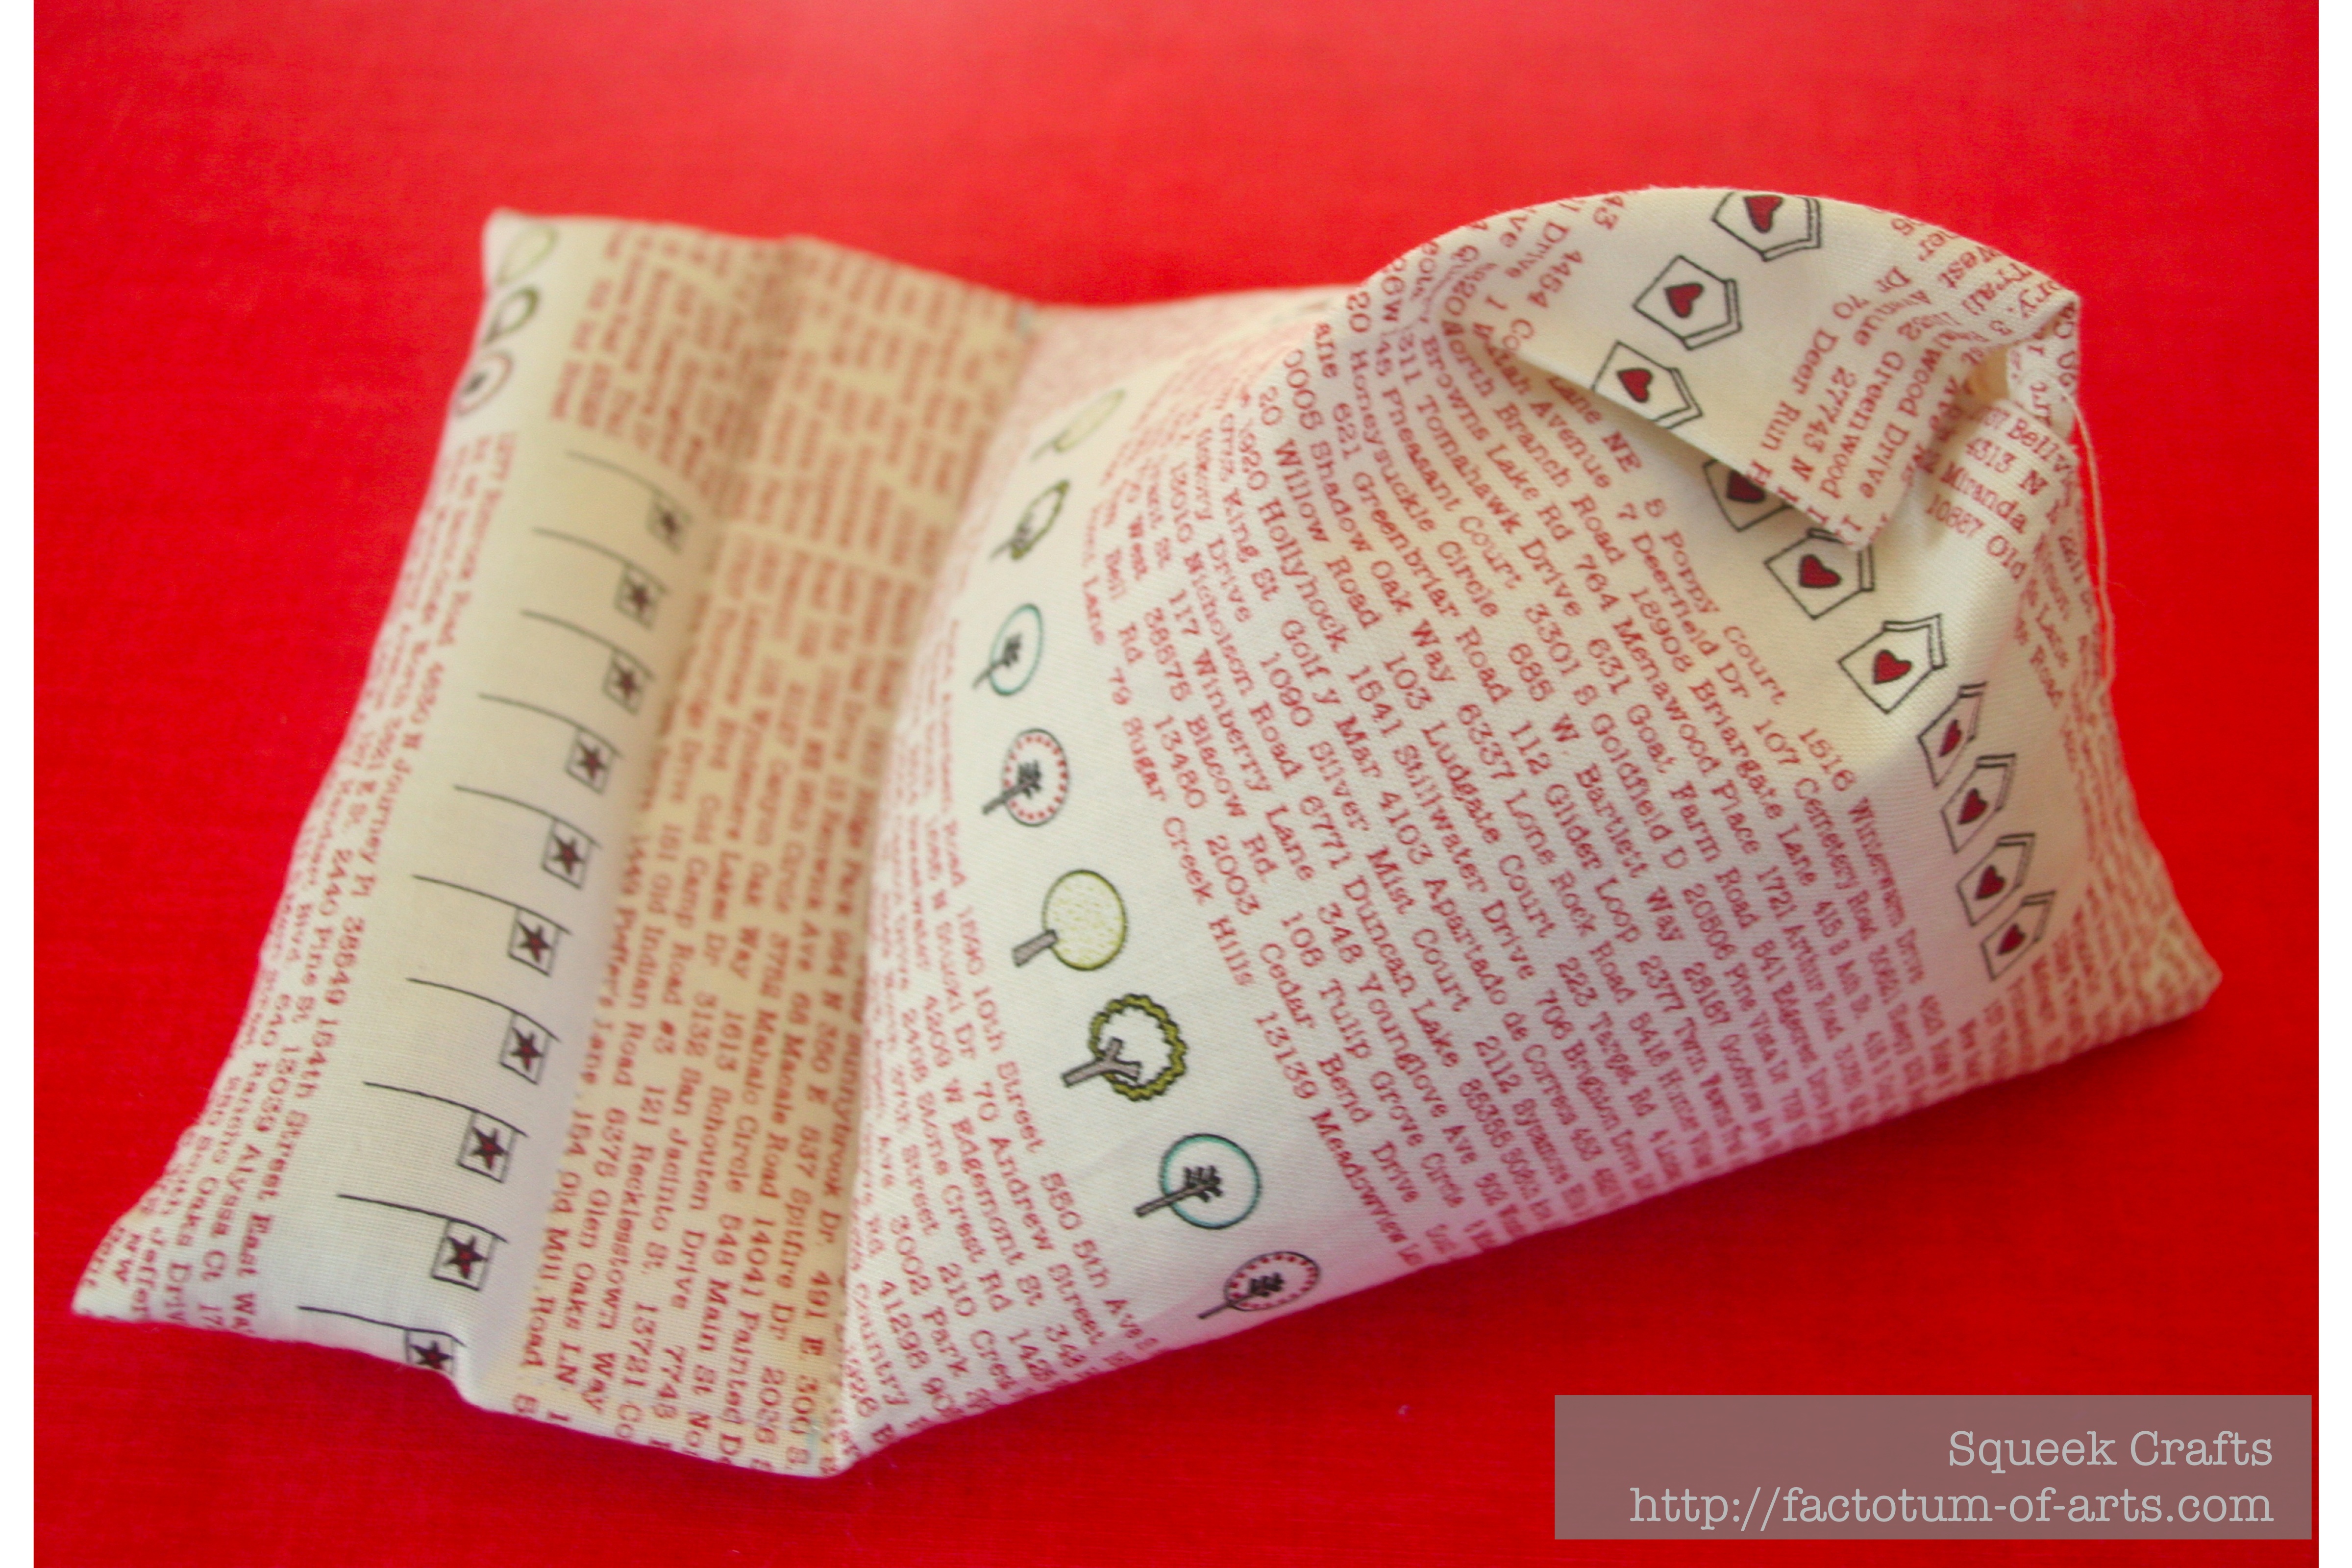
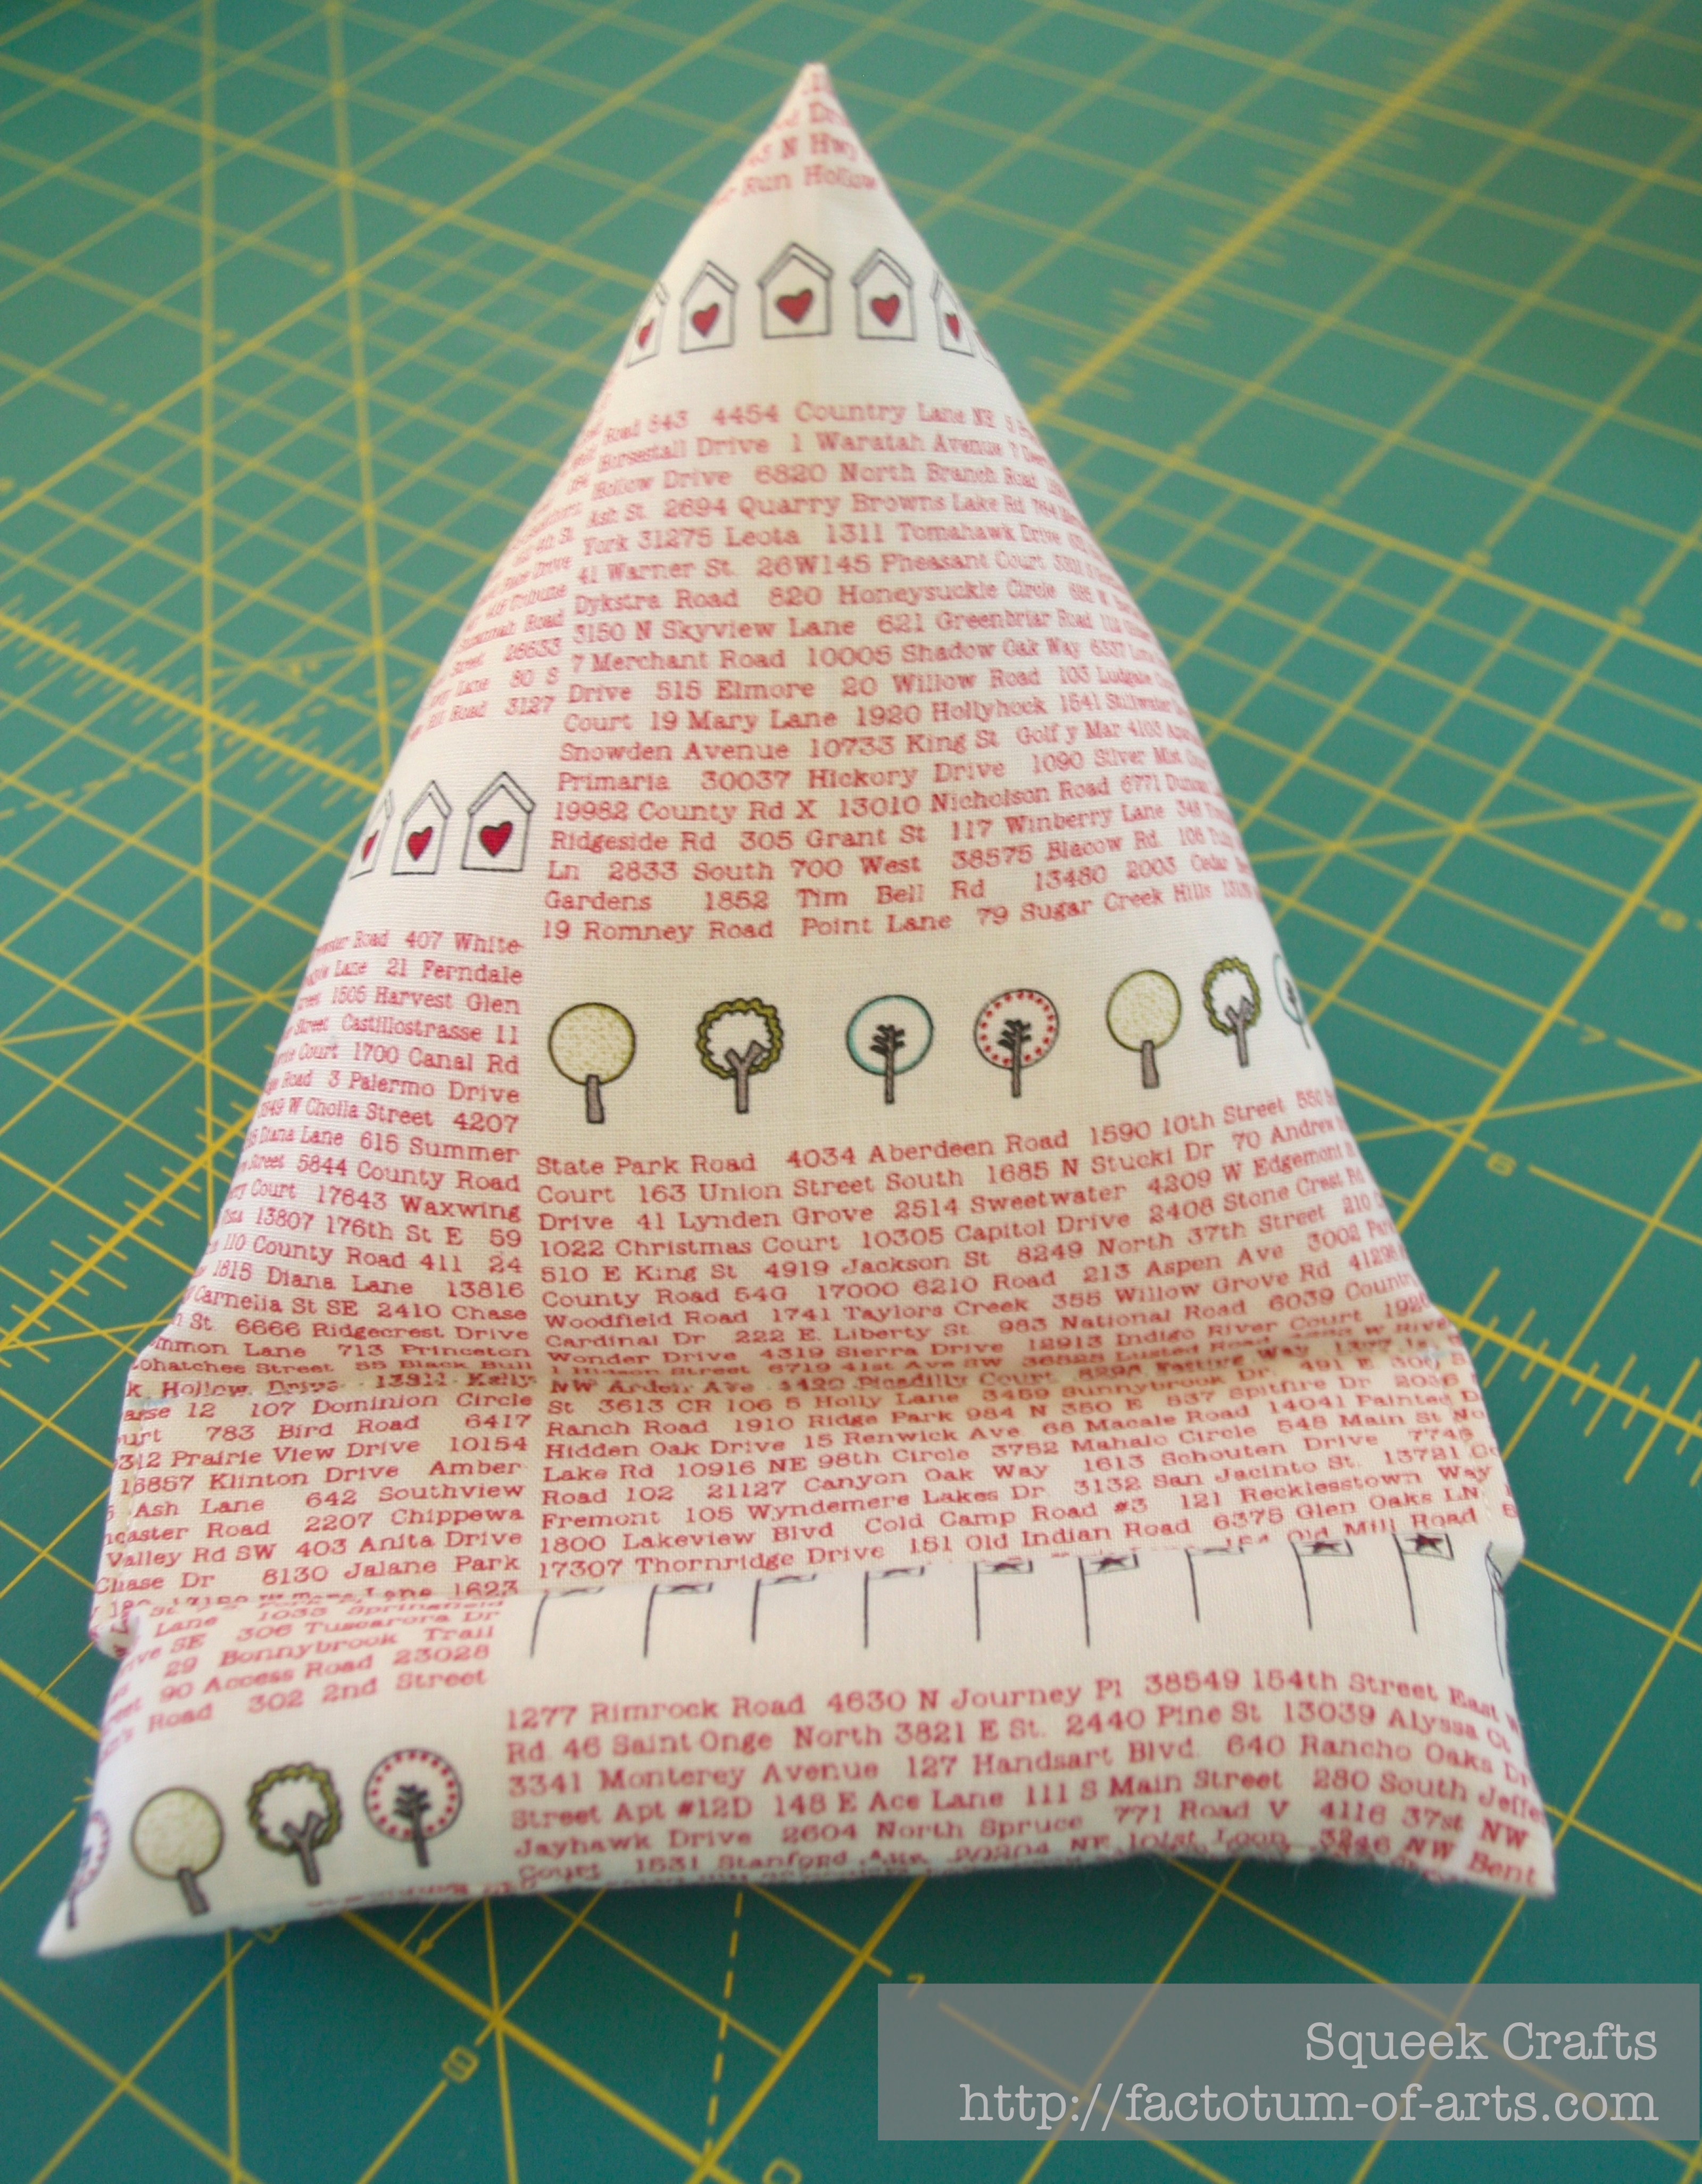
  13. Hand stitch top opening close.  You now have a complete electronic stand.
    Tutorial_FinishTutorial_FinishSide

My friends are loving these, so I hope your friends do to (or whoever you are gifting it to). If you have any questions or feedback let me know, leave a comment.

Update: I have had several people ask if they can use this also for an iPad. As mentioned in the title, we do use it for an iPad, which is usually used for Netflix/Videos. This means we typically have it in a horizontal position.
iPadStand
I would agree that this size stand would not work for an iPad if you were wanting to use vertically. I have not provided the measurements, if this is what you would like it for.

This tutorial is for personal use only.

Linking up with Amanda Jean @ Crazy Mom Quilts for Finish it up Friday.

Blocks, blocks, blocks + more blocks

Do you ever have one of those projects that you initial love but then the more you do it the less fun it is. The Pushme Pullme Quilt in blue is starting to feel a little like that. Luckily, I am almost there.

I made a huge amount of progress at the retreat last weekend and finished lots of blocks. This is my finish for the week. I am going to take the mini win, as I kept to my target for the weekend….sew everything I had cut. I will say, late nights/early mornings where I was up until 1-2 am sewing away.

Pushme_PullmeQuilt

So, what have I learnt so far about me and this quilt process?  I now hate cutting. I know, for sure, I will never make a quilt where I cut all the pieces first again. I definitely need the break in between….cut a few, sew a few. I have found a new appreciation of those that have all the block pieces all cut, photographed and ready to go.

The good news is, once I am sewing, I do like the block and construction. I like seeing how the different fabrics change the block completely. My favorite of the blocks above is that bottom most left block. Which one is yours?

Anyway, two rows to go and then the joining of the blocks and the quilt top will be complete!! I should hit my November goal….I know what I will be doing Thanksgiving weekend ;-).

Linking up with Amanda Jean for Finish it up Friday @ Crazy mom quilts + the mid check in for November’s goal “A lovely year of finishes”.

My Button