Tag Archives: christmas gift

Tutorial: iPhone/iPad Stand

As promised here is the Tutorial to make a iPhone/iPad (or other electronic device) stand I posted last week.

iPhone Stand

Materials:

  • Fabric 12″ x 9″
  • Cotton
  • 2-3 cups of rice
  • Pellon Ultra Firm 1 1/4″ x 5 3/4″
  • Polyester Fill
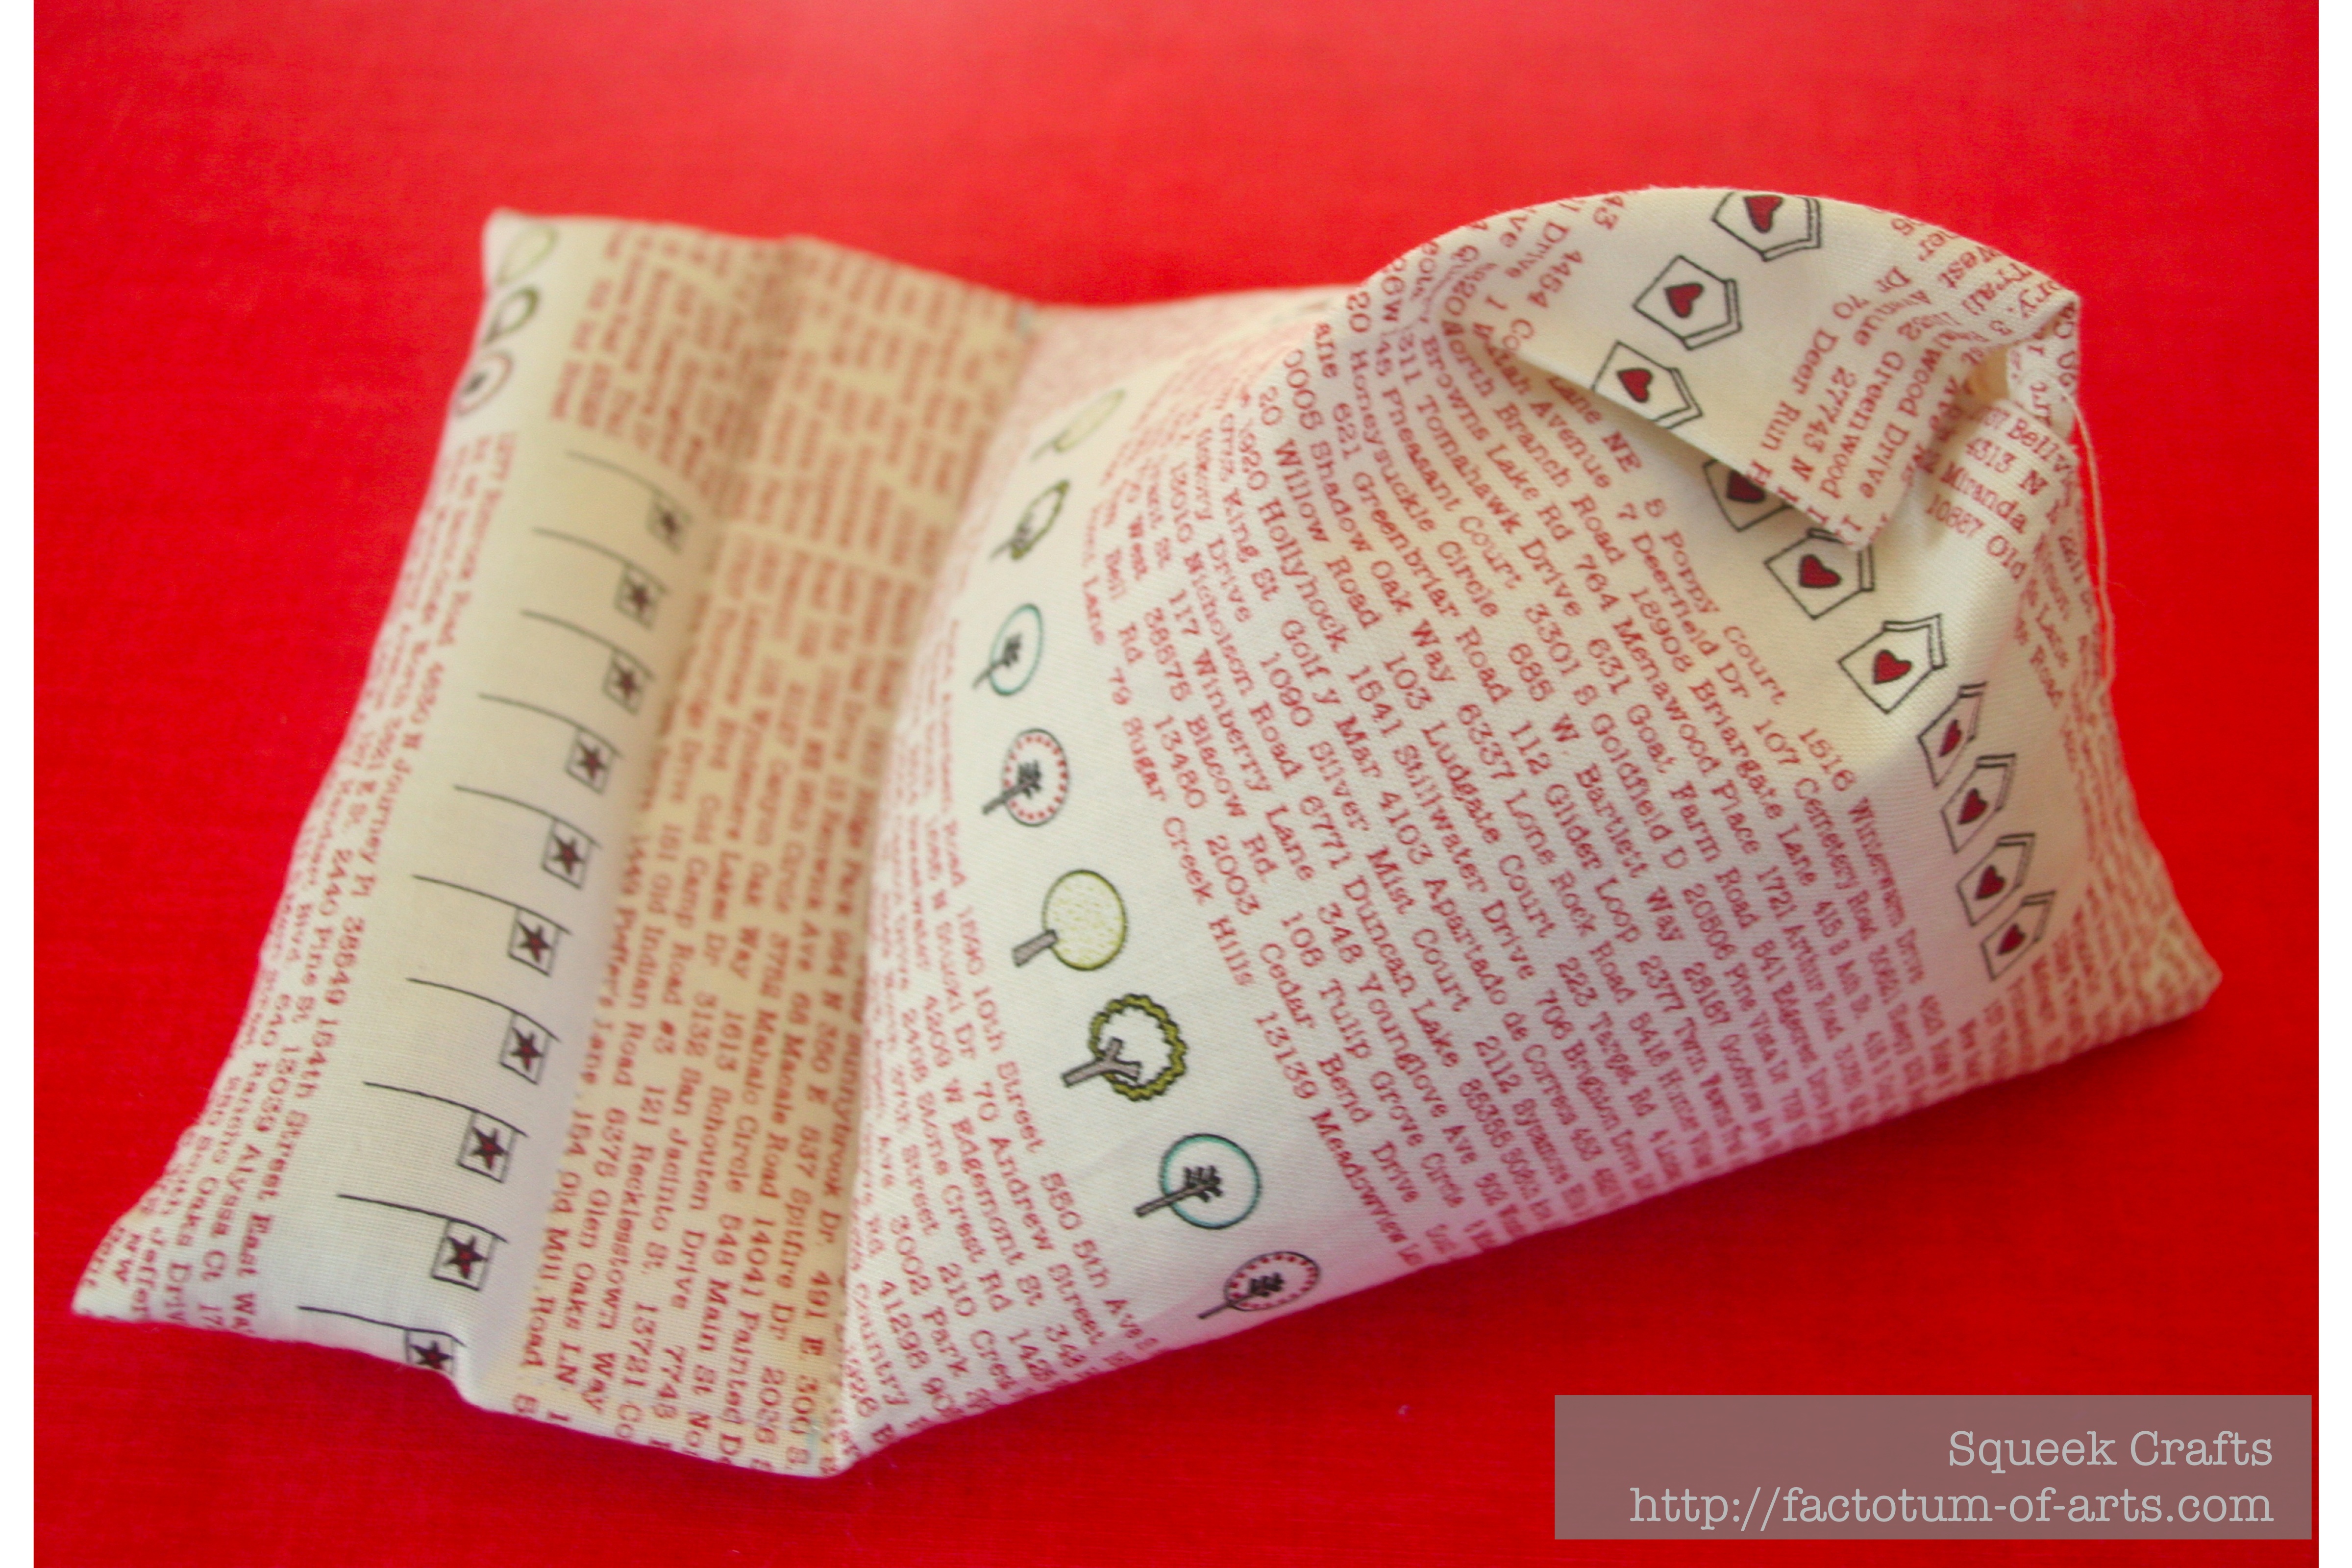
  1. Start with a piece of fabric that is 12″ x 9″. Fold in 1/2 and press (6″ x 9″  size once folded)Tutorial_Size
  2. Sew a 1/4 inch seam at the top, with a 1 – 1 1/2 ” gap, and the side of the folded fabric (refer to black lines).
    Tutorial_sew_sides
  3. Fold the fabric so that the side seam is now in the middle at the back. The top will form triangles. I press the seam open for a flat appearance later.Sew along the bottom to form a 1/4 inch seam leaving a 1 – 11/2 inch gap (refer to black lines).
    Tutorial_SewFront
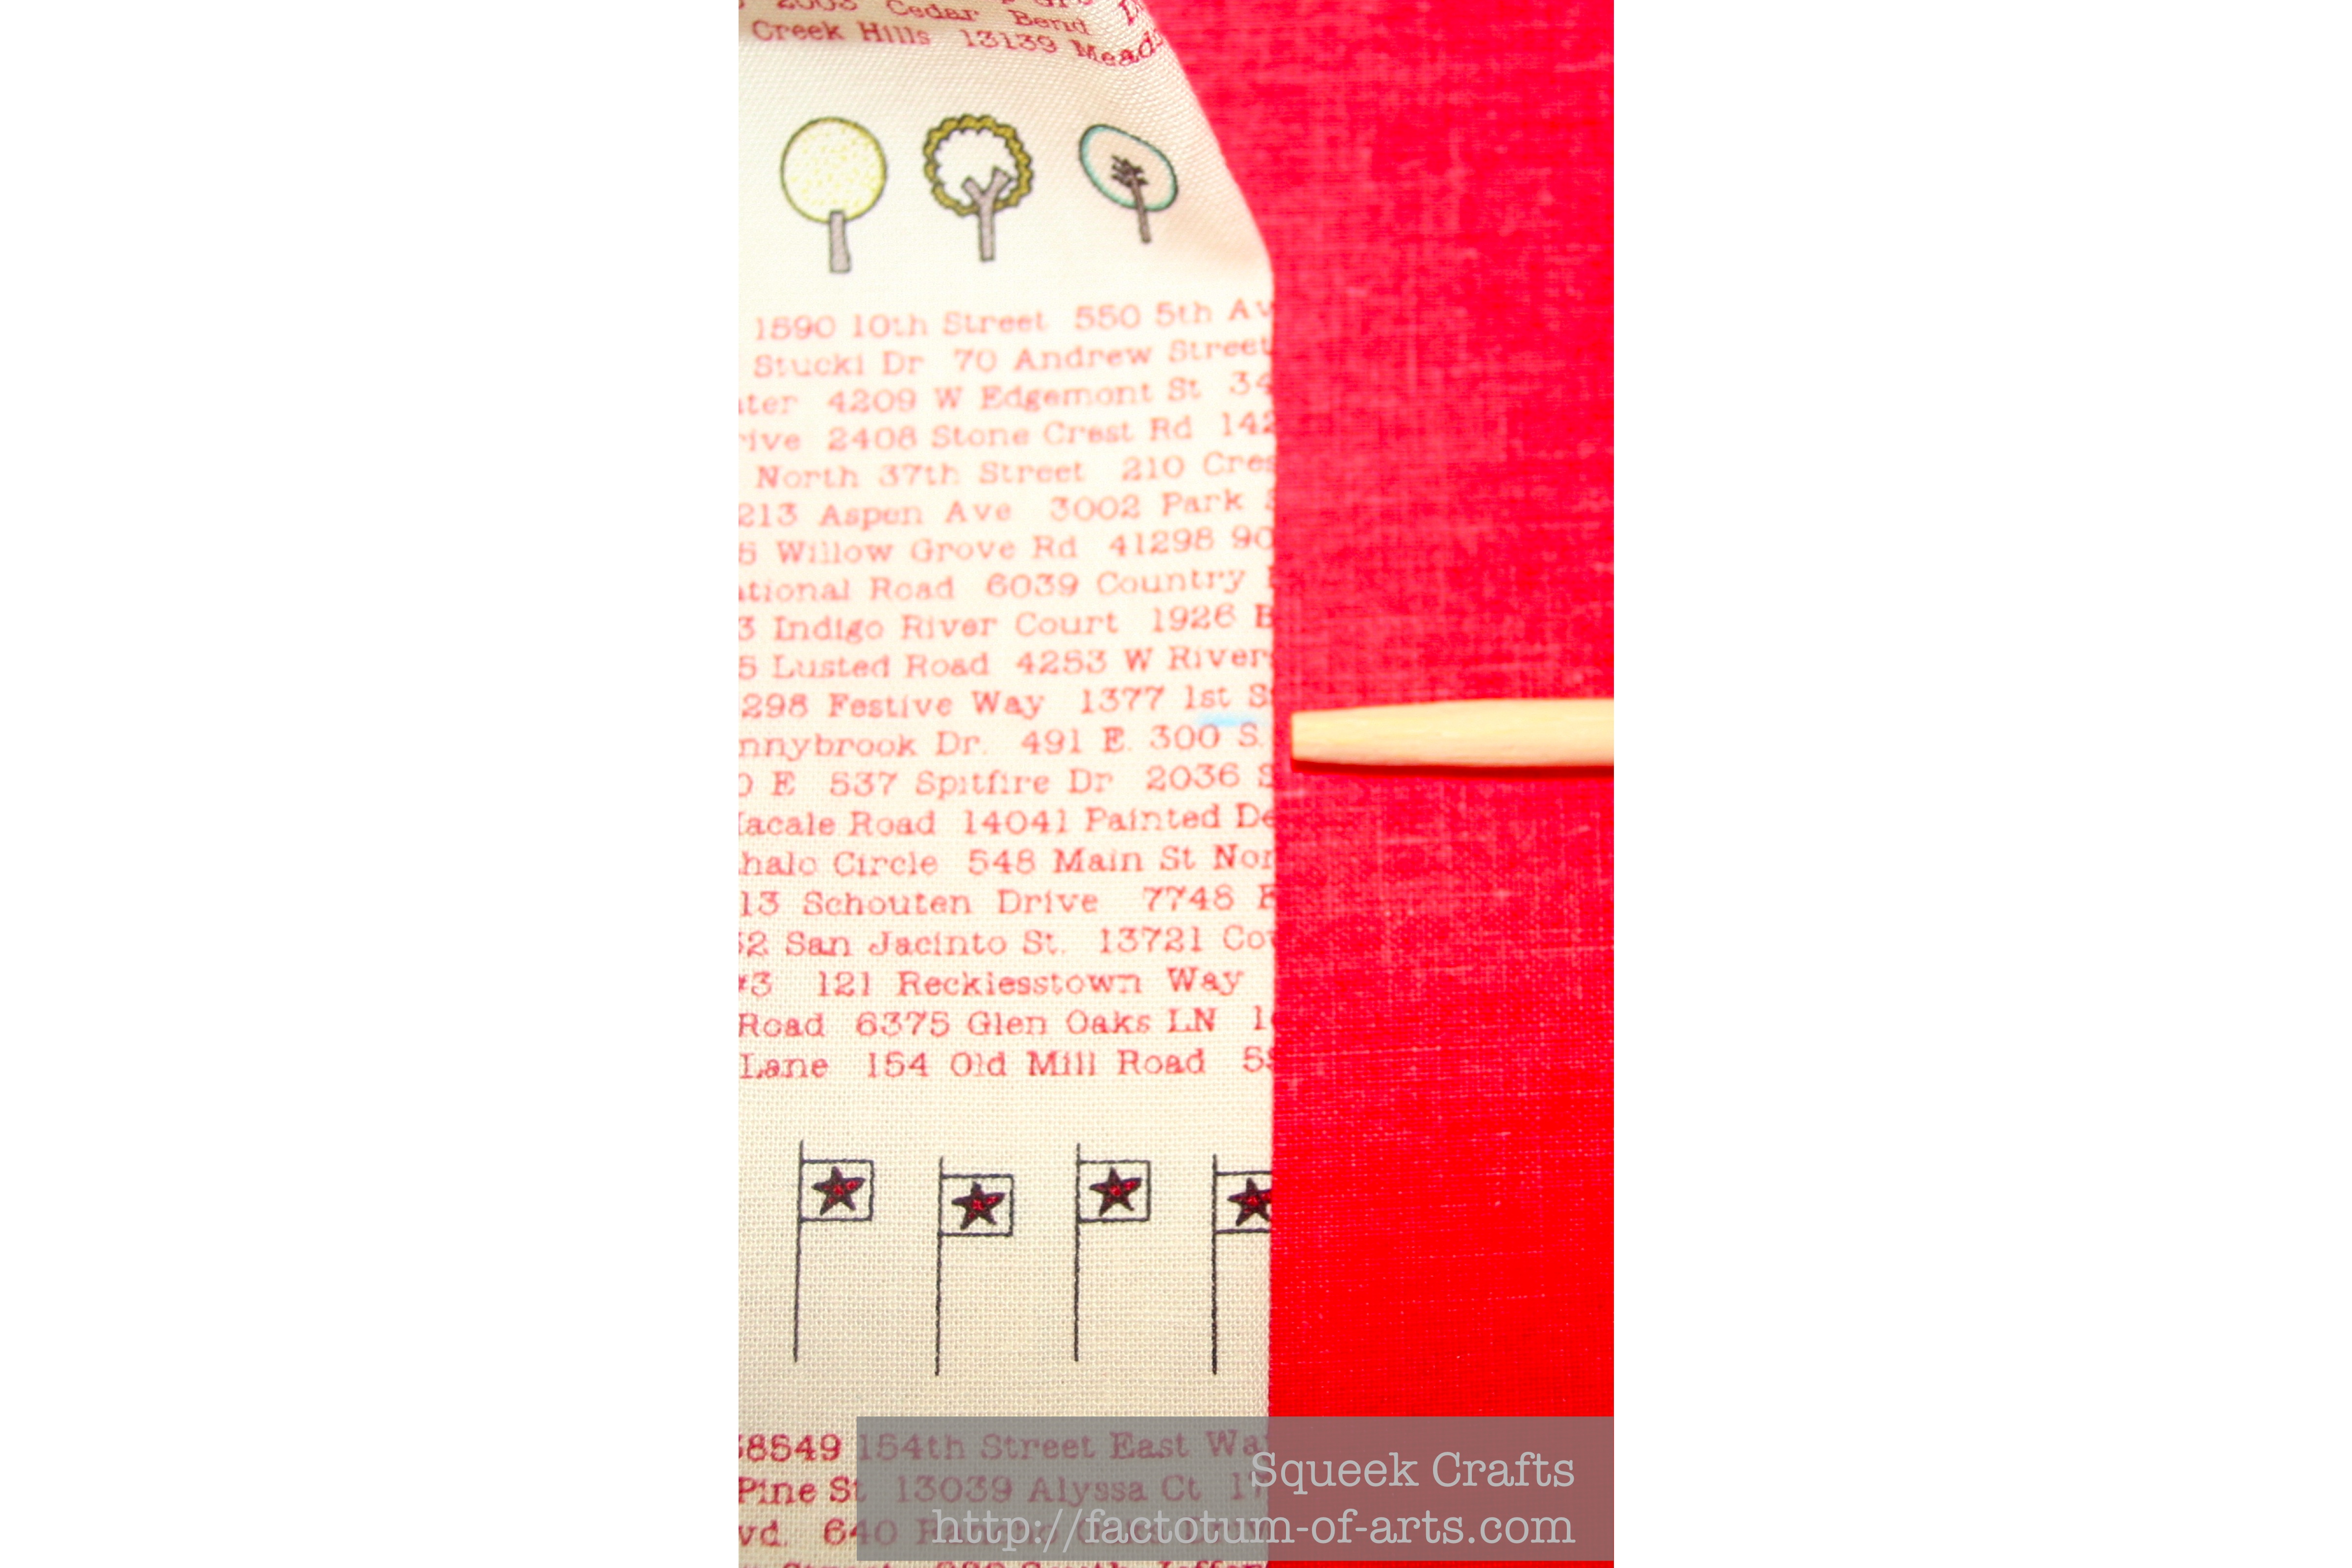
  4. Through one of the holes, feed the fabric through to invert fabric to show right side. Use a chop stick (or other device to ensure the corners are turned completely.
  5. Measure 3 inches from the bottom seam. Mark with chalk on each side (refer to where the chop stick is pointing). This will be the mark you will use to place the Pellon Ultra Firm Strip.
    Tutorial_MarkforUltraFirm
  6. Feed the Pellon Ultra Firm through the whole at the bottom.
    Tutorial_addUltraFirm
  7. Move The Ultra Firm Strip into position with the top aligned with the chalk marks. Pin strip. Sew a border around the strip to ensure it remains in place (refer to black lines).
    Tutorial_SewUltraFirm
  8. Through the hole at the bottom, stuff with polyester filling until fill.
    Tutorial_StuffingFront
  9. Hand sew the bottom hole closed. I use a slip stitch to close my openings.
    Tutorial_StitchFront
  10. For the main pillow, fill with rice. I use a Wilson piping bag to aid in adding the rice through the hole. NOTE: The rice will add a nice weight to the stand to make sure it will support the relevant electronic device.
    Tutorial_RiceFilling
  11. Fill as far as you can, approx. 3/4, or more, fill. You will have room at the top.
    Tutorial_RiceFinished
  12. Fill the rest of the space with the polyester filling.
    Tutorial_FinalStuffing
  13. Hand stitch top opening close.  You now have a complete electronic stand.
    Tutorial_FinishTutorial_FinishSide

My friends are loving these, so I hope your friends do to (or whoever you are gifting it to). If you have any questions or feedback let me know, leave a comment.

Update: I have had several people ask if they can use this also for an iPad. As mentioned in the title, we do use it for an iPad, which is usually used for Netflix/Videos. This means we typically have it in a horizontal position.
iPadStand
I would agree that this size stand would not work for an iPad if you were wanting to use vertically. I have not provided the measurements, if this is what you would like it for.

This tutorial is for personal use only.

Linking up with Amanda Jean @ Crazy Mom Quilts for Finish it up Friday.

Bell pepper relish – end of the summer crop

So my bell peppers are now all finished. I had about 60 bell peppers (green and purple) to use. What can I do to store bell peppers??? I found a Sweet Bell Pepper Relish recipe which sounded interesting and went to work making it.

I plan on using the relish as Christmas gifts and also for ourselves as a condiment for meatloaf, pork and sandwiches.

Ingredients (taken from southern food about.com)

  • 20 large bell peppers, red, yellow, orange, green, stems and seeds removed, about 6 pounds
  • 1 1/2 pounds sweet onions
  • 1/4 cup kosher salt or pickling salt
  • 5 cups sugar
  • 2 cups white vinegar
  • 2 cups cider vinegar
  • 1 tablespoon yellow mustard seeds
  • 1 tablespoon sweet Hungarian paprika, optional
Wash peppers and cut in large chunks; you’ll have about 6 pounds of chunks. Finely chop about 1/2 to 2/3 of the peppers. Grind or finely chop the remaining peppers using a food grinder or food processor. Coarsely chop about half of the onions and add the remaining onions to the grinder or food processor. Combine in a large bowl with the salt; toss to mix thoroughly. Cover with ice and let stand for 3 hours.Drain peppers, squeezing to get as much moisture out as possible. In a large nonreactive kettle, combine the vinegars, sugar, mustard seeds, and paprika, if using. Add the well drained pepper mixture and bring to a boil. Reduce heat to medium low and simmer, uncovered, for 50 to 60 minutes, until thickened. Stir occasionally.Meanwhile, fill a boiling water bath canner about half full. Add clean canning jars to the water and bring to a boil. Reduce heat to low and keep jars warm.

In a saucepan, bring water to a simmer, turn to low and add the flat lids. Keep the lids in the hot water until ready to use.

When the pepper mixture is finished cooking, ladle into the hot drained jars. With a damp clean cloth, wipe the rims of the jars. Using tongs, lift lids from the water and let excess drip off of them; place on the clean jar rims. Screw on the jar rings firmly. Lift jars into the canner. Bring to a boil, cover, and boil gently for 10 minutes.

Makes about 5 to 6 pints.

More placemats for Christmas – Project 2

I was asked by a friend to make some placemats for a christmas gift. We found some great New York themed Home Essential Fabric from Joann’s which will work great for the recipients.

These are simple placemats – New York fabric used for the front, Striped fabric for the back, dark brown binding and straight line quilting used to join everything together.