Now feeling re-energized and inspired by QuiltCon, I am all ready to tackle March Madness head on (In North Carolina, with the basketball, March is known as March Madness).
So, here is an updated list of my projects…which this month mostly included secret projects, so not much to show yet. I think, I am tracking well for my month of March, but don’t be too surprised if I add a project here or there :-). I am really surprised that I have two projects 1/2 way through quilting…one of these will be my ALYoF projects for March.

| Project | Dates | Current Status |
|---|---|---|
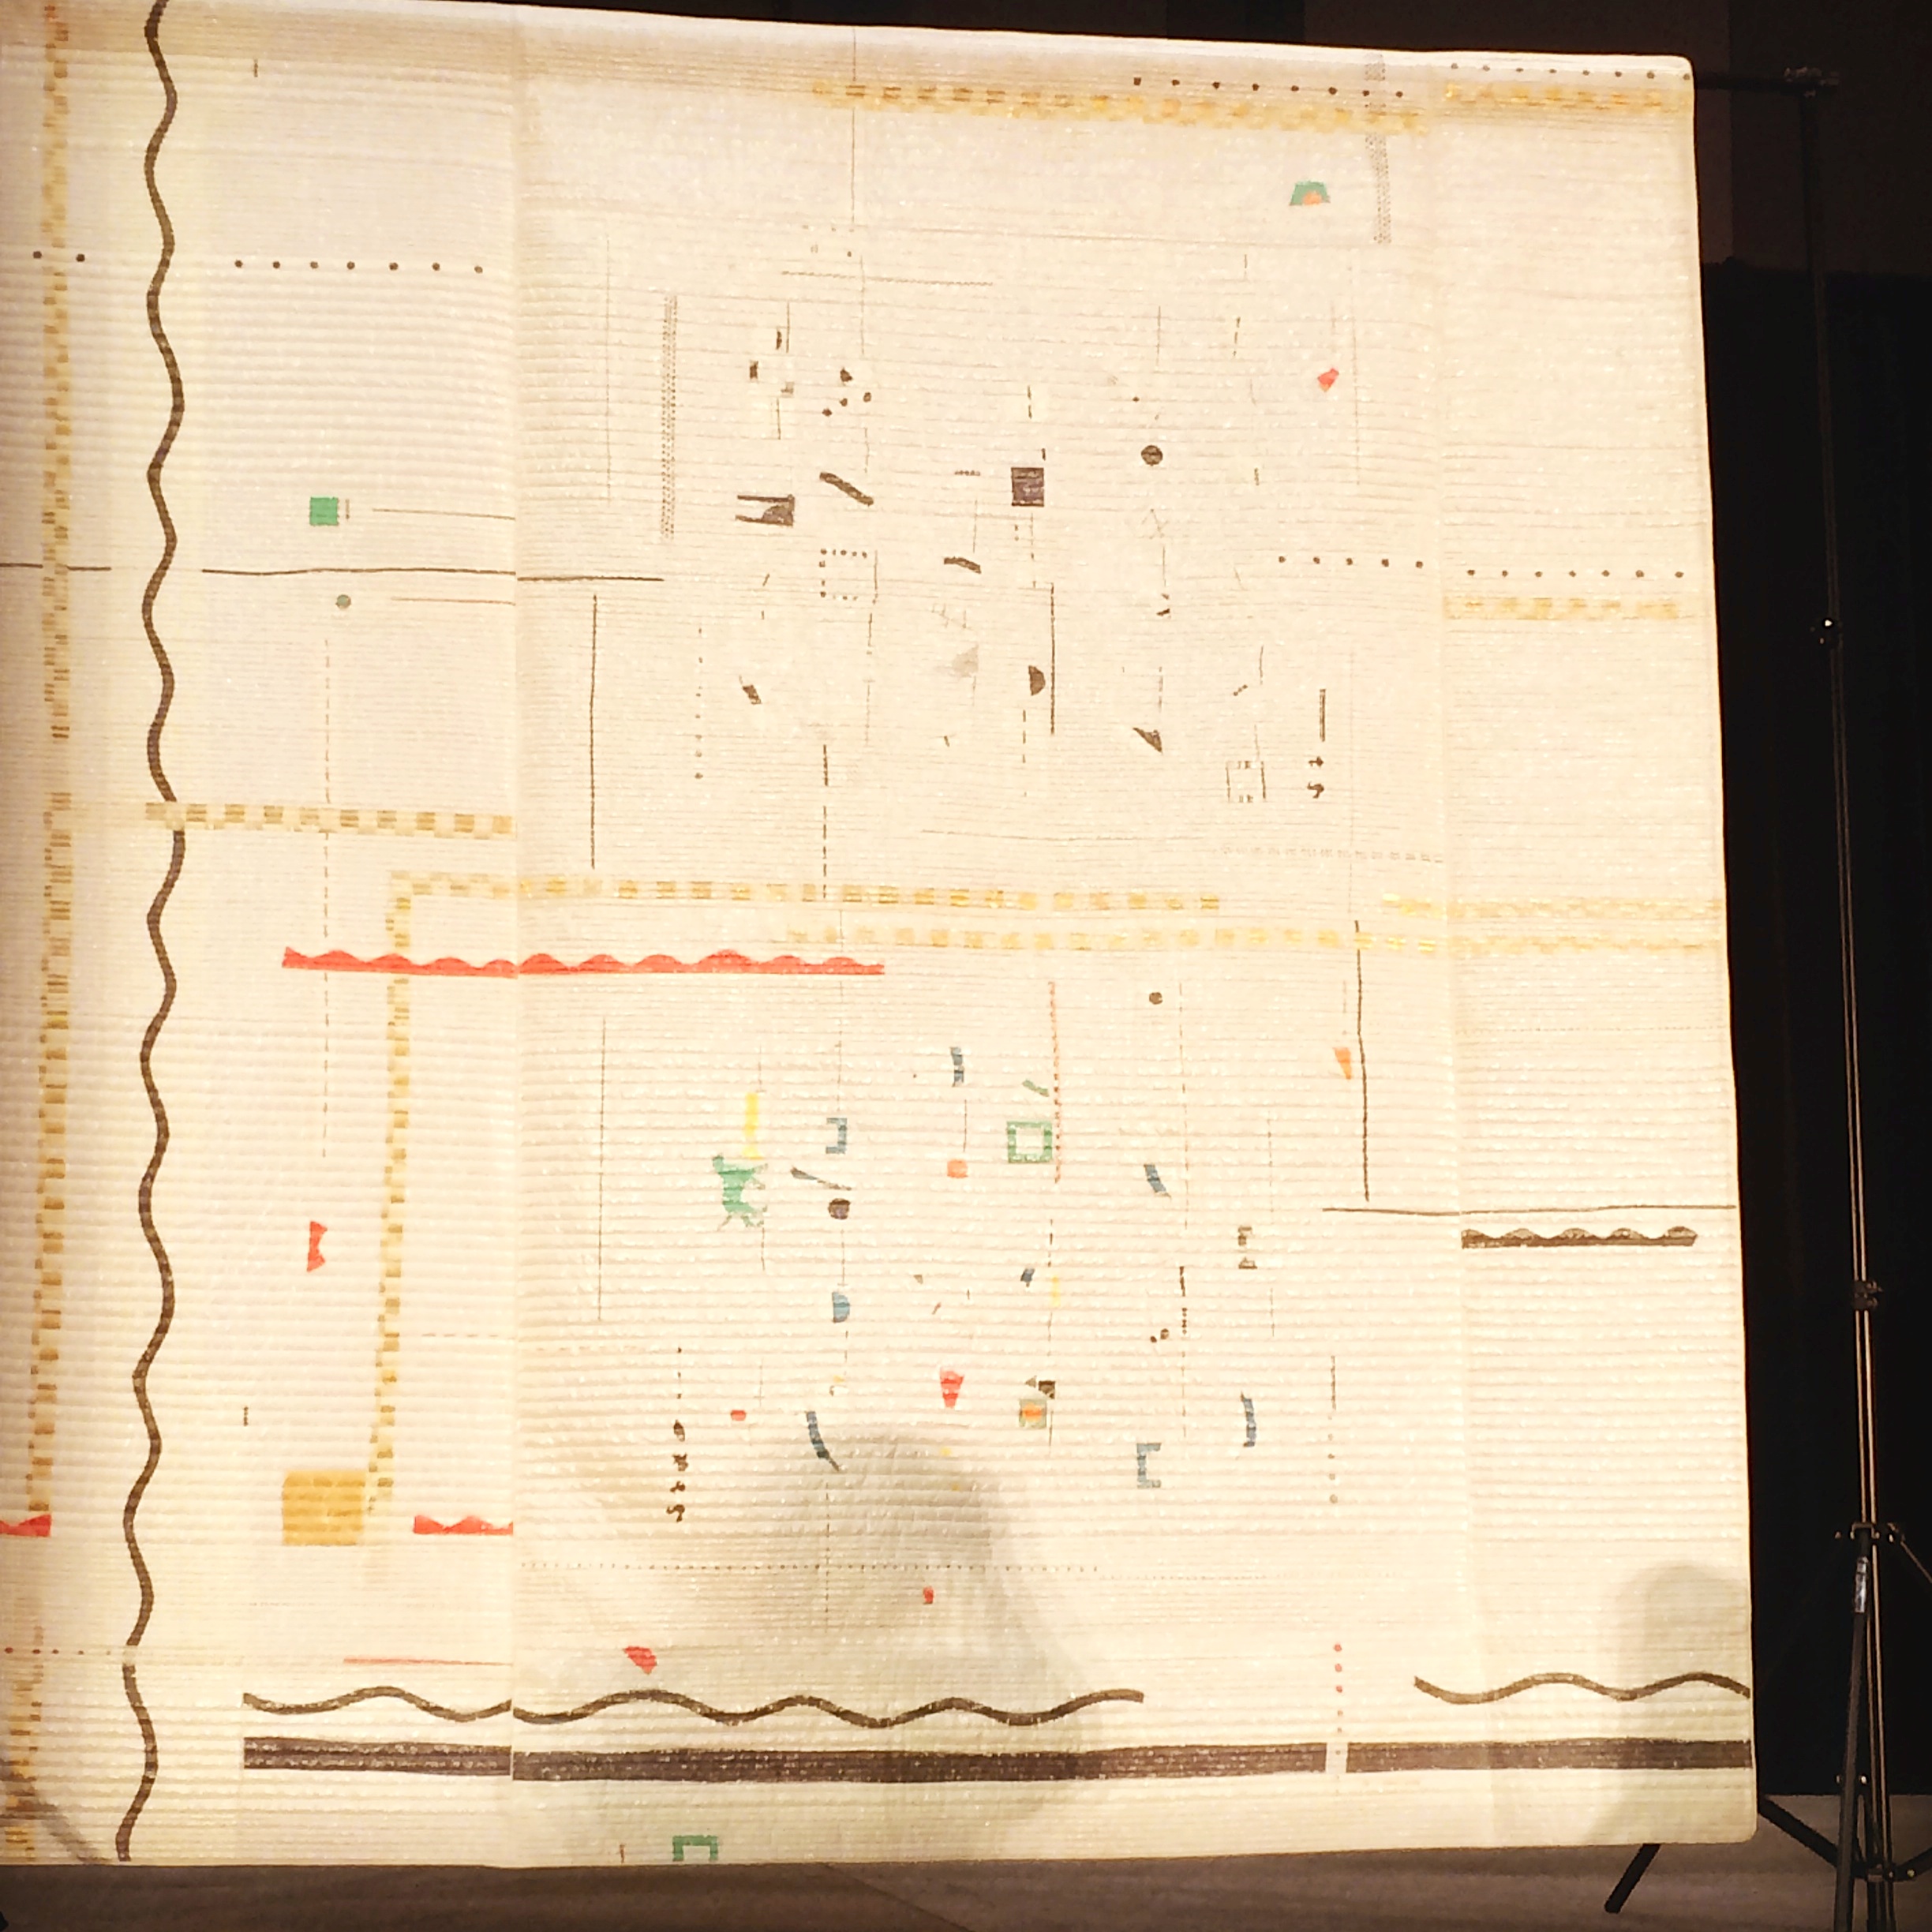
| Jungle Ave Tapa | 31 January | |
| Sew Mama Sew (Project 5) | |
|
| Spoonflower Sampler Quilt | 8 March | |
| Village square | 8 March | |
| Bjorn the Bear | 14 March | |
| Rangers Station (my Marsala entry) |
31 March | |
| Celestial Spheres | 31 March | |
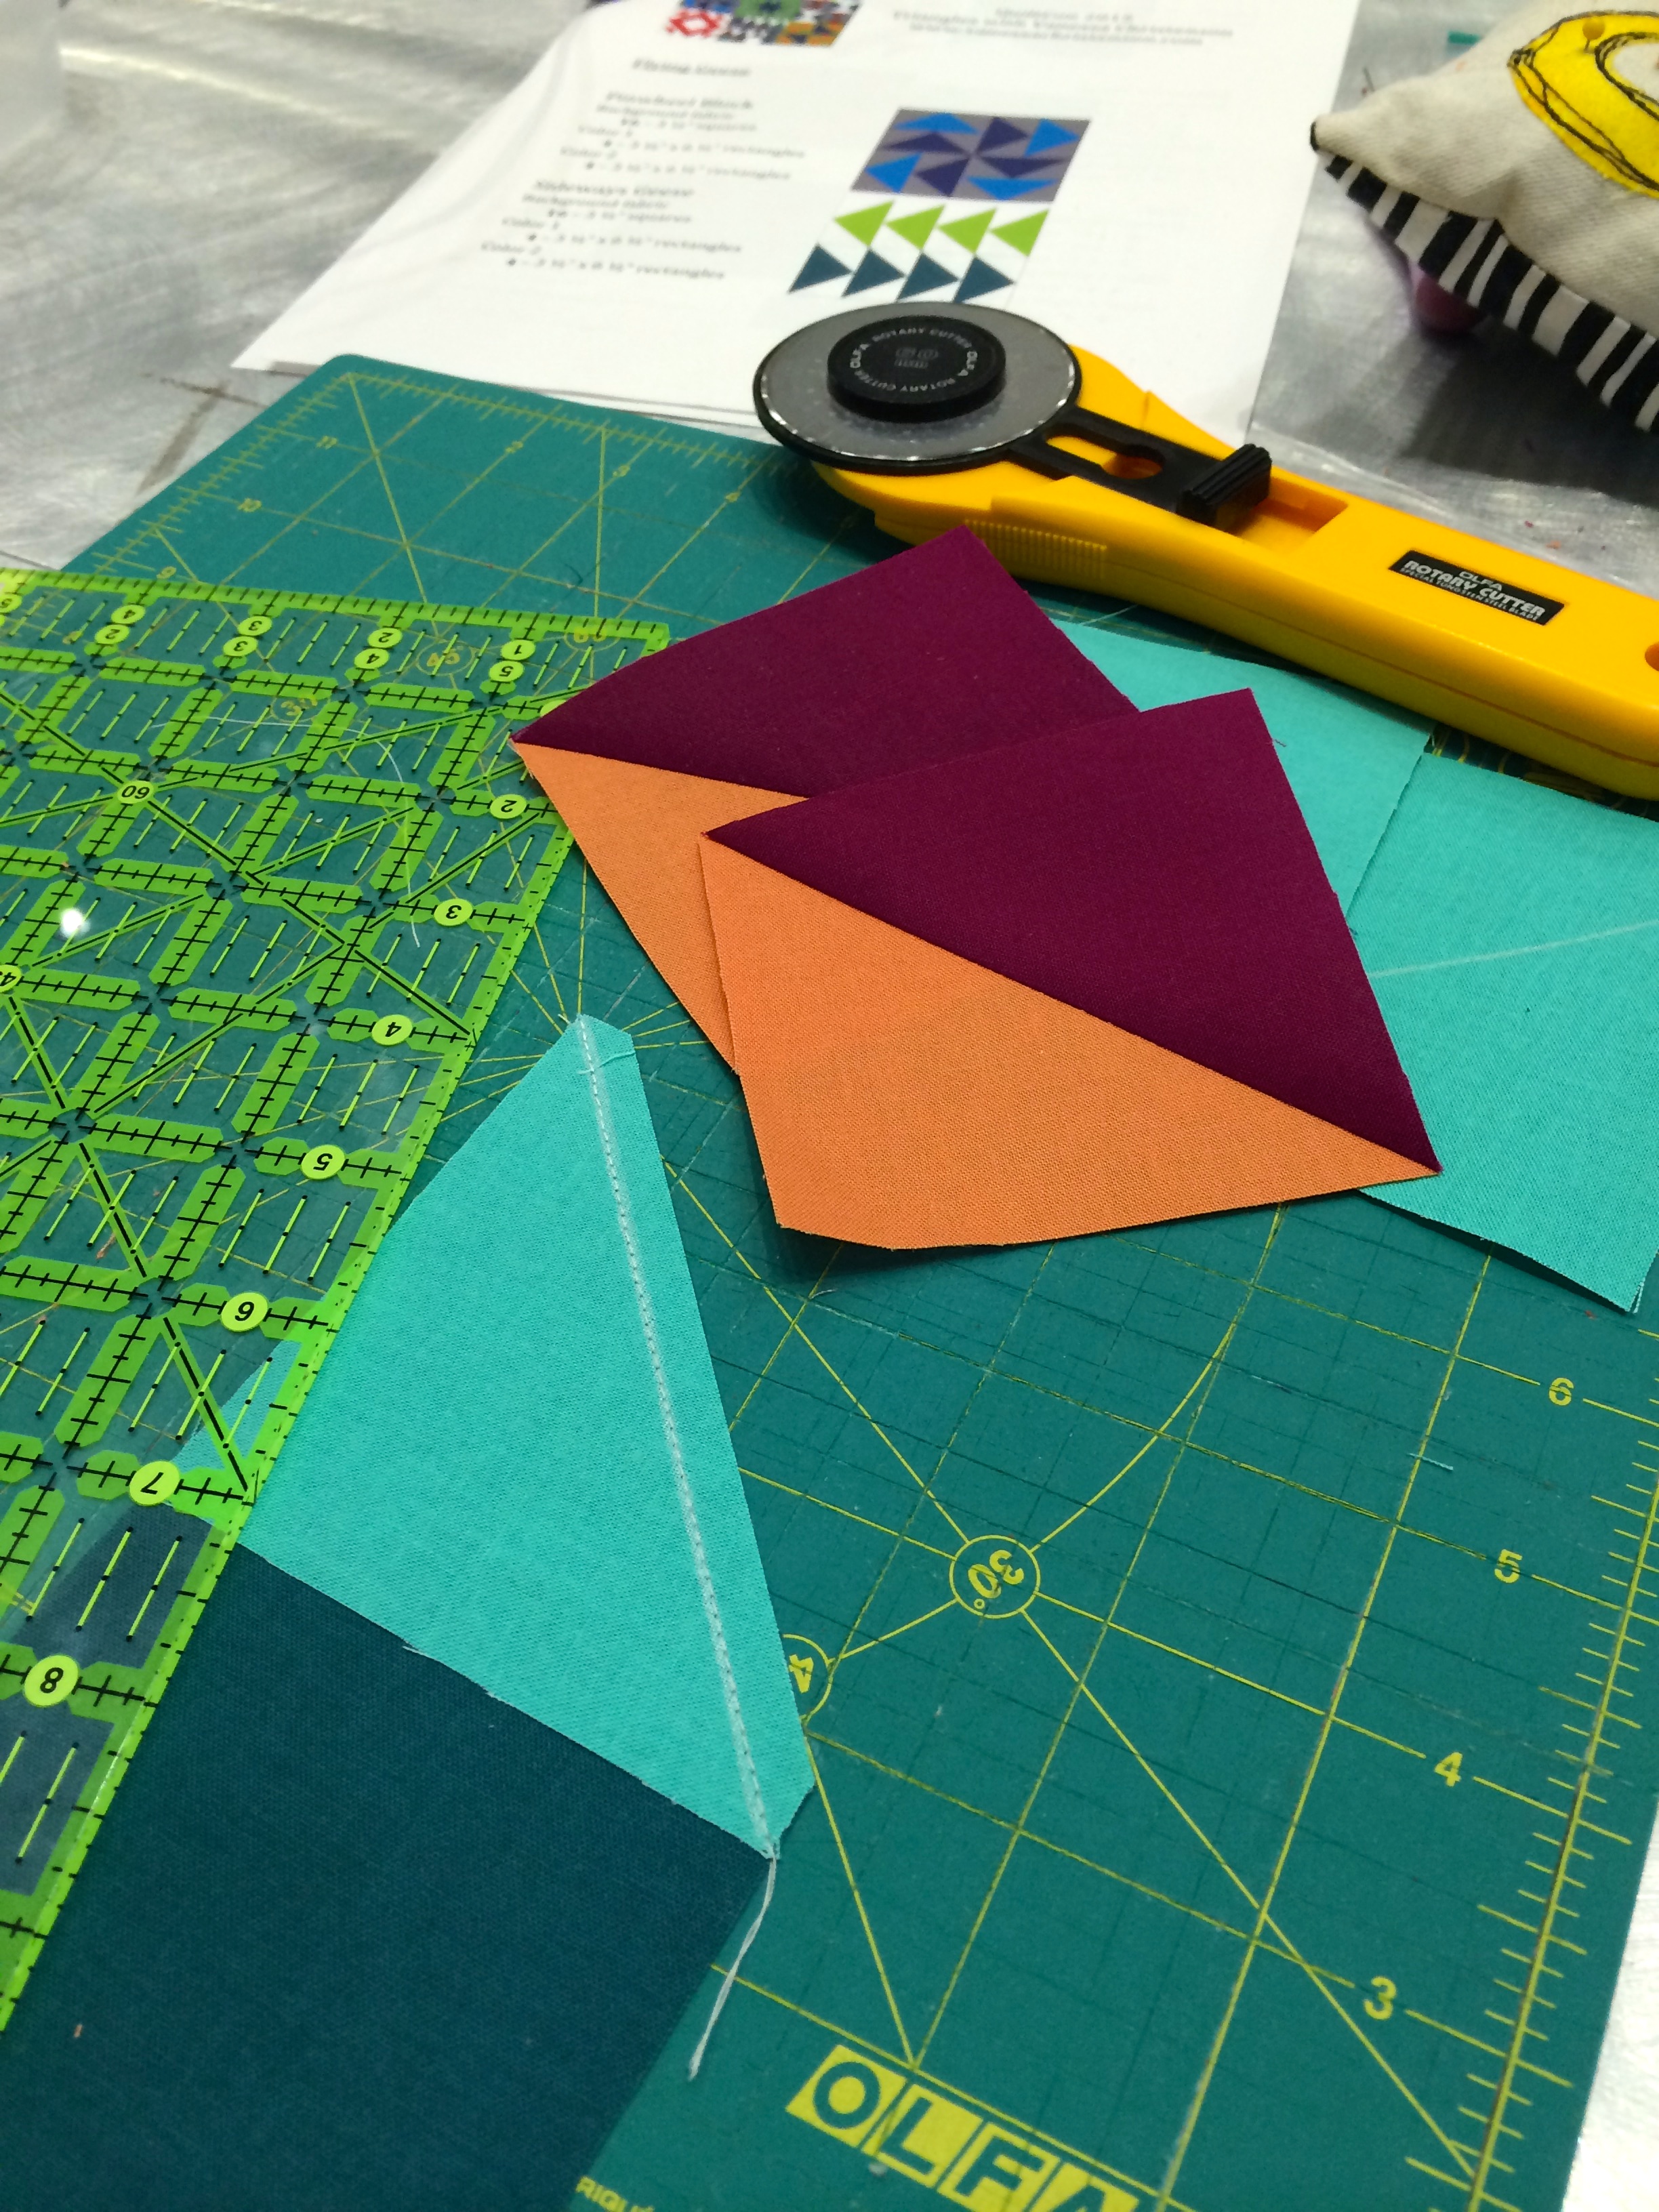
| Tapa Star (Pillows/Mini) | 31 March | TOP (UNDERWAY), BACK, BASTE, QUILT (NOTE: PILLOWS JUST NEED A ZIP & BACK SEWN) |
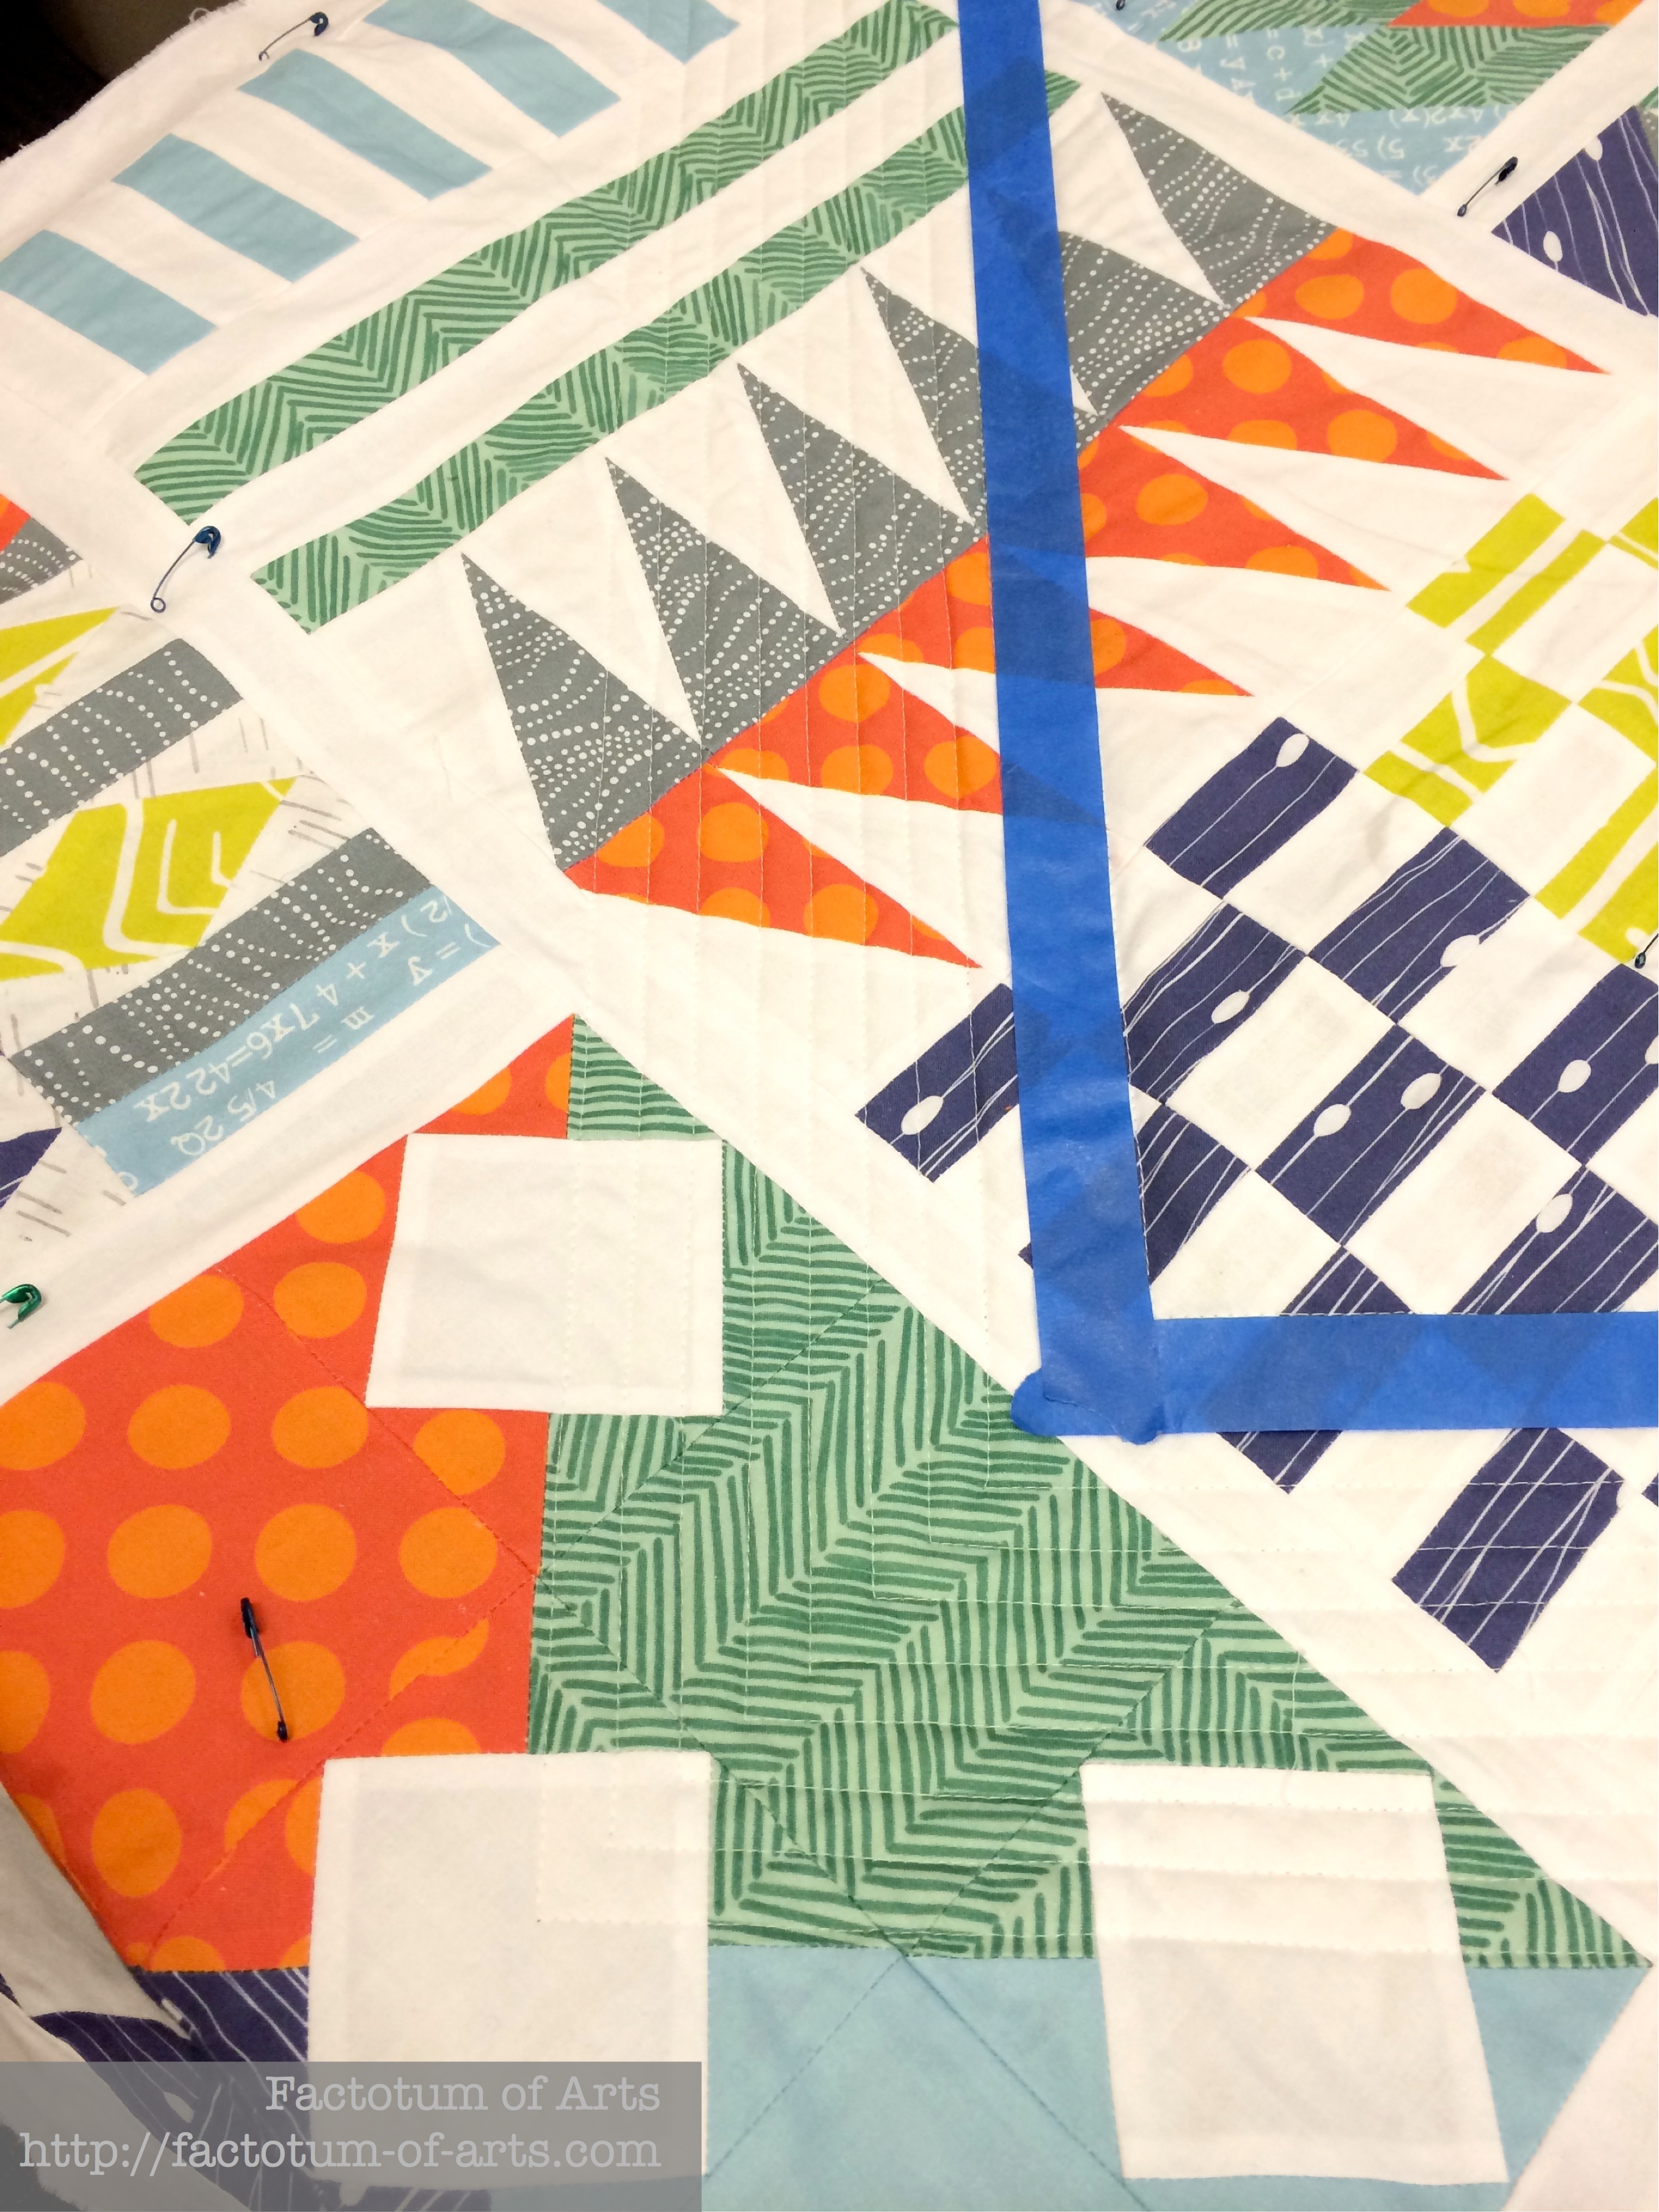
| Pushme, Pullme | 31 March | TOP (last-minute changes but almost complete), |
| Lines Drawn | April | |
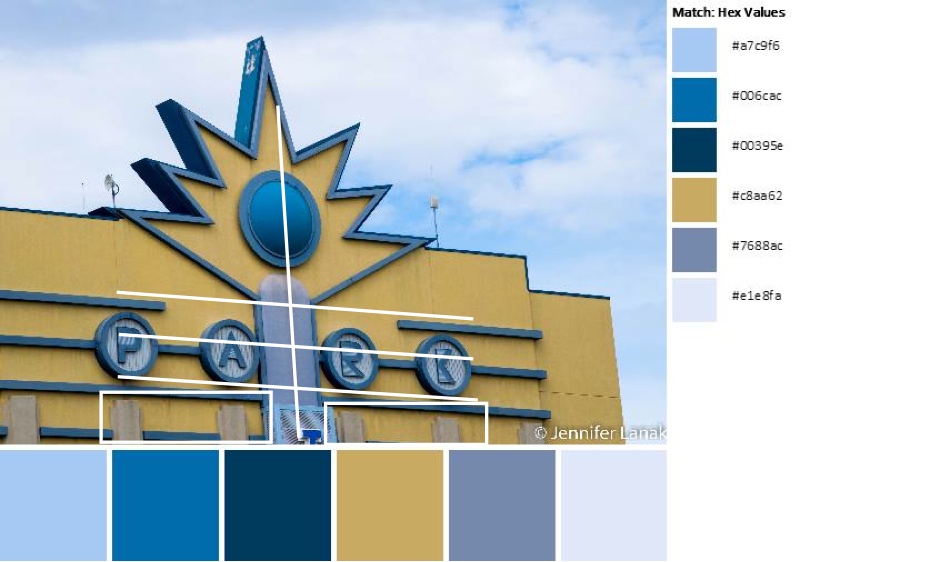
| Evolution (new project) | April | TOP, BACK, BASTE, QUILT, BIND |
The new project that is on the list, I am so excited about. The theme is Cloud 9…it’s using the cloud 9 bundle of Cirrus Solids I won, and prints from Biology (Sarah Watson) to make modified versions of my Cloud 9 Cirrus Solids Block of the Month. The question remains whether I start it this weekend or finish quilting one of my other 1/2 finished quilts.

Linking up with Lee over @ Freshly Pieced for WiP Wednesday (button on the right).