Tag Archives: paper piecing

WiP Wednesday: New quilt/block and Sewing room ideas

It’s another one of those weeks where ideas are coming fast and furious but I have no time to finish anything. The best I can do is just take one project at a time. Here’s what I am working on this week and a couple of ideas I am hoping to implement….Let me know what you think about the ideas below.

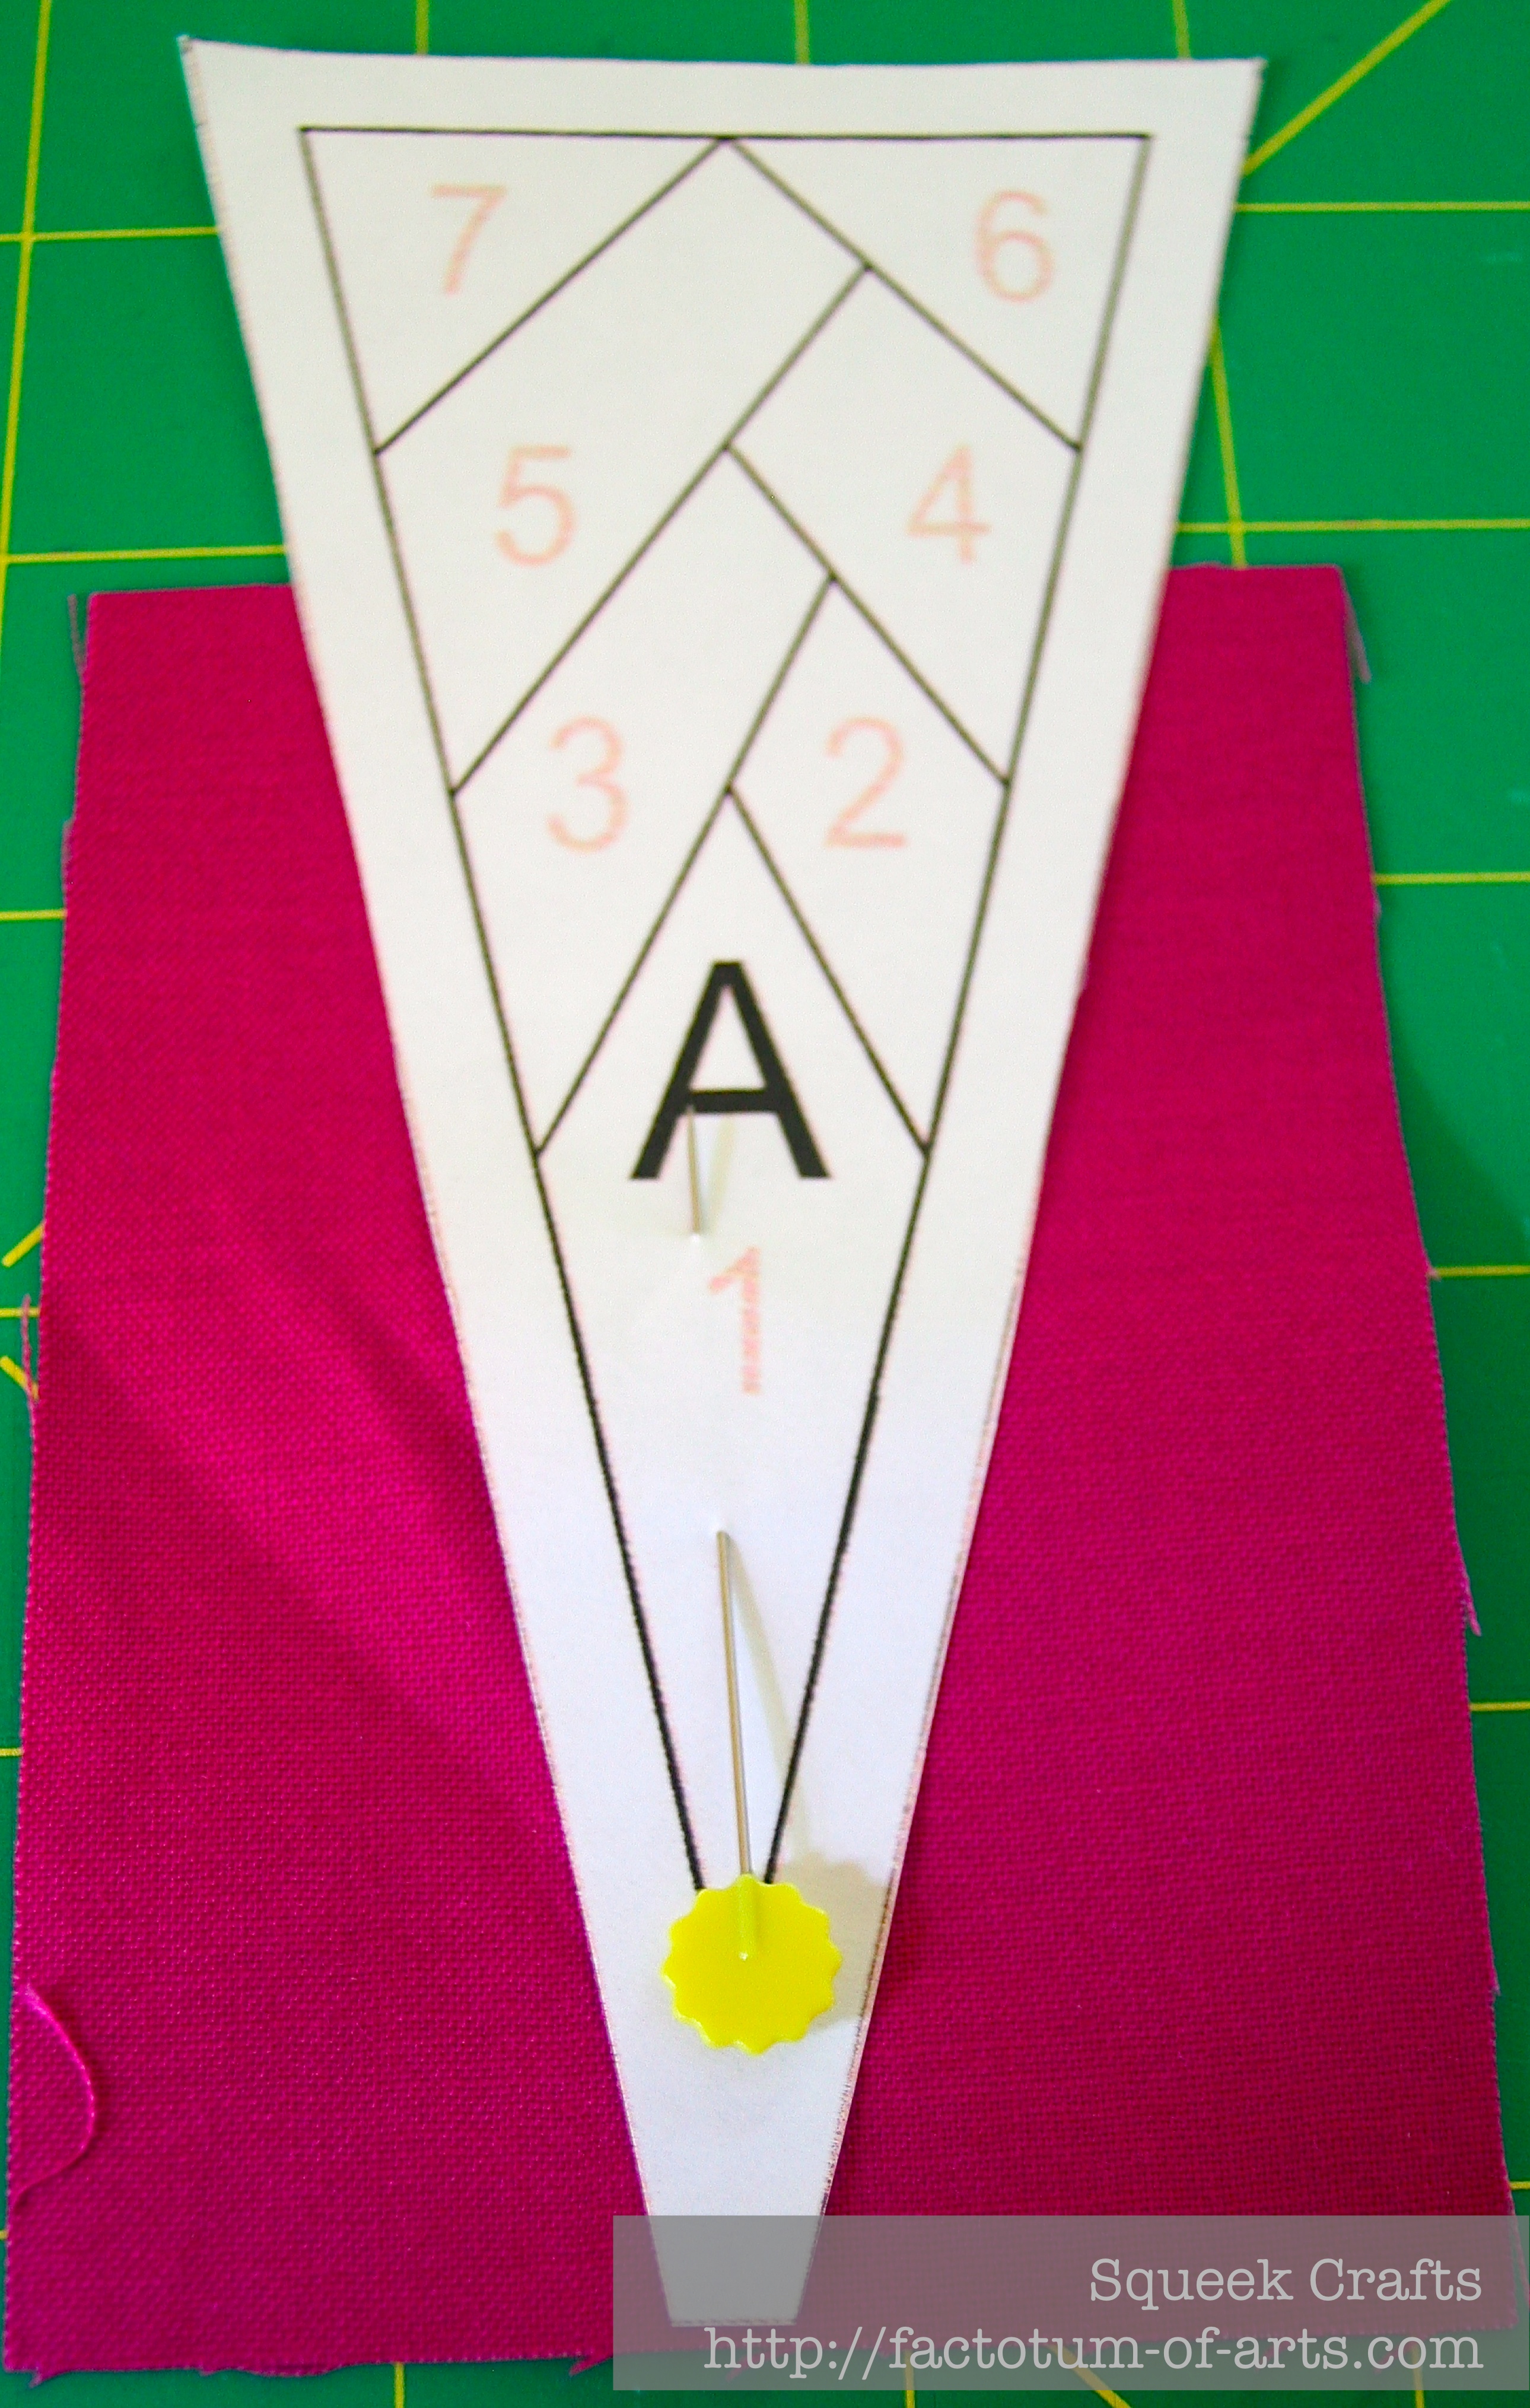
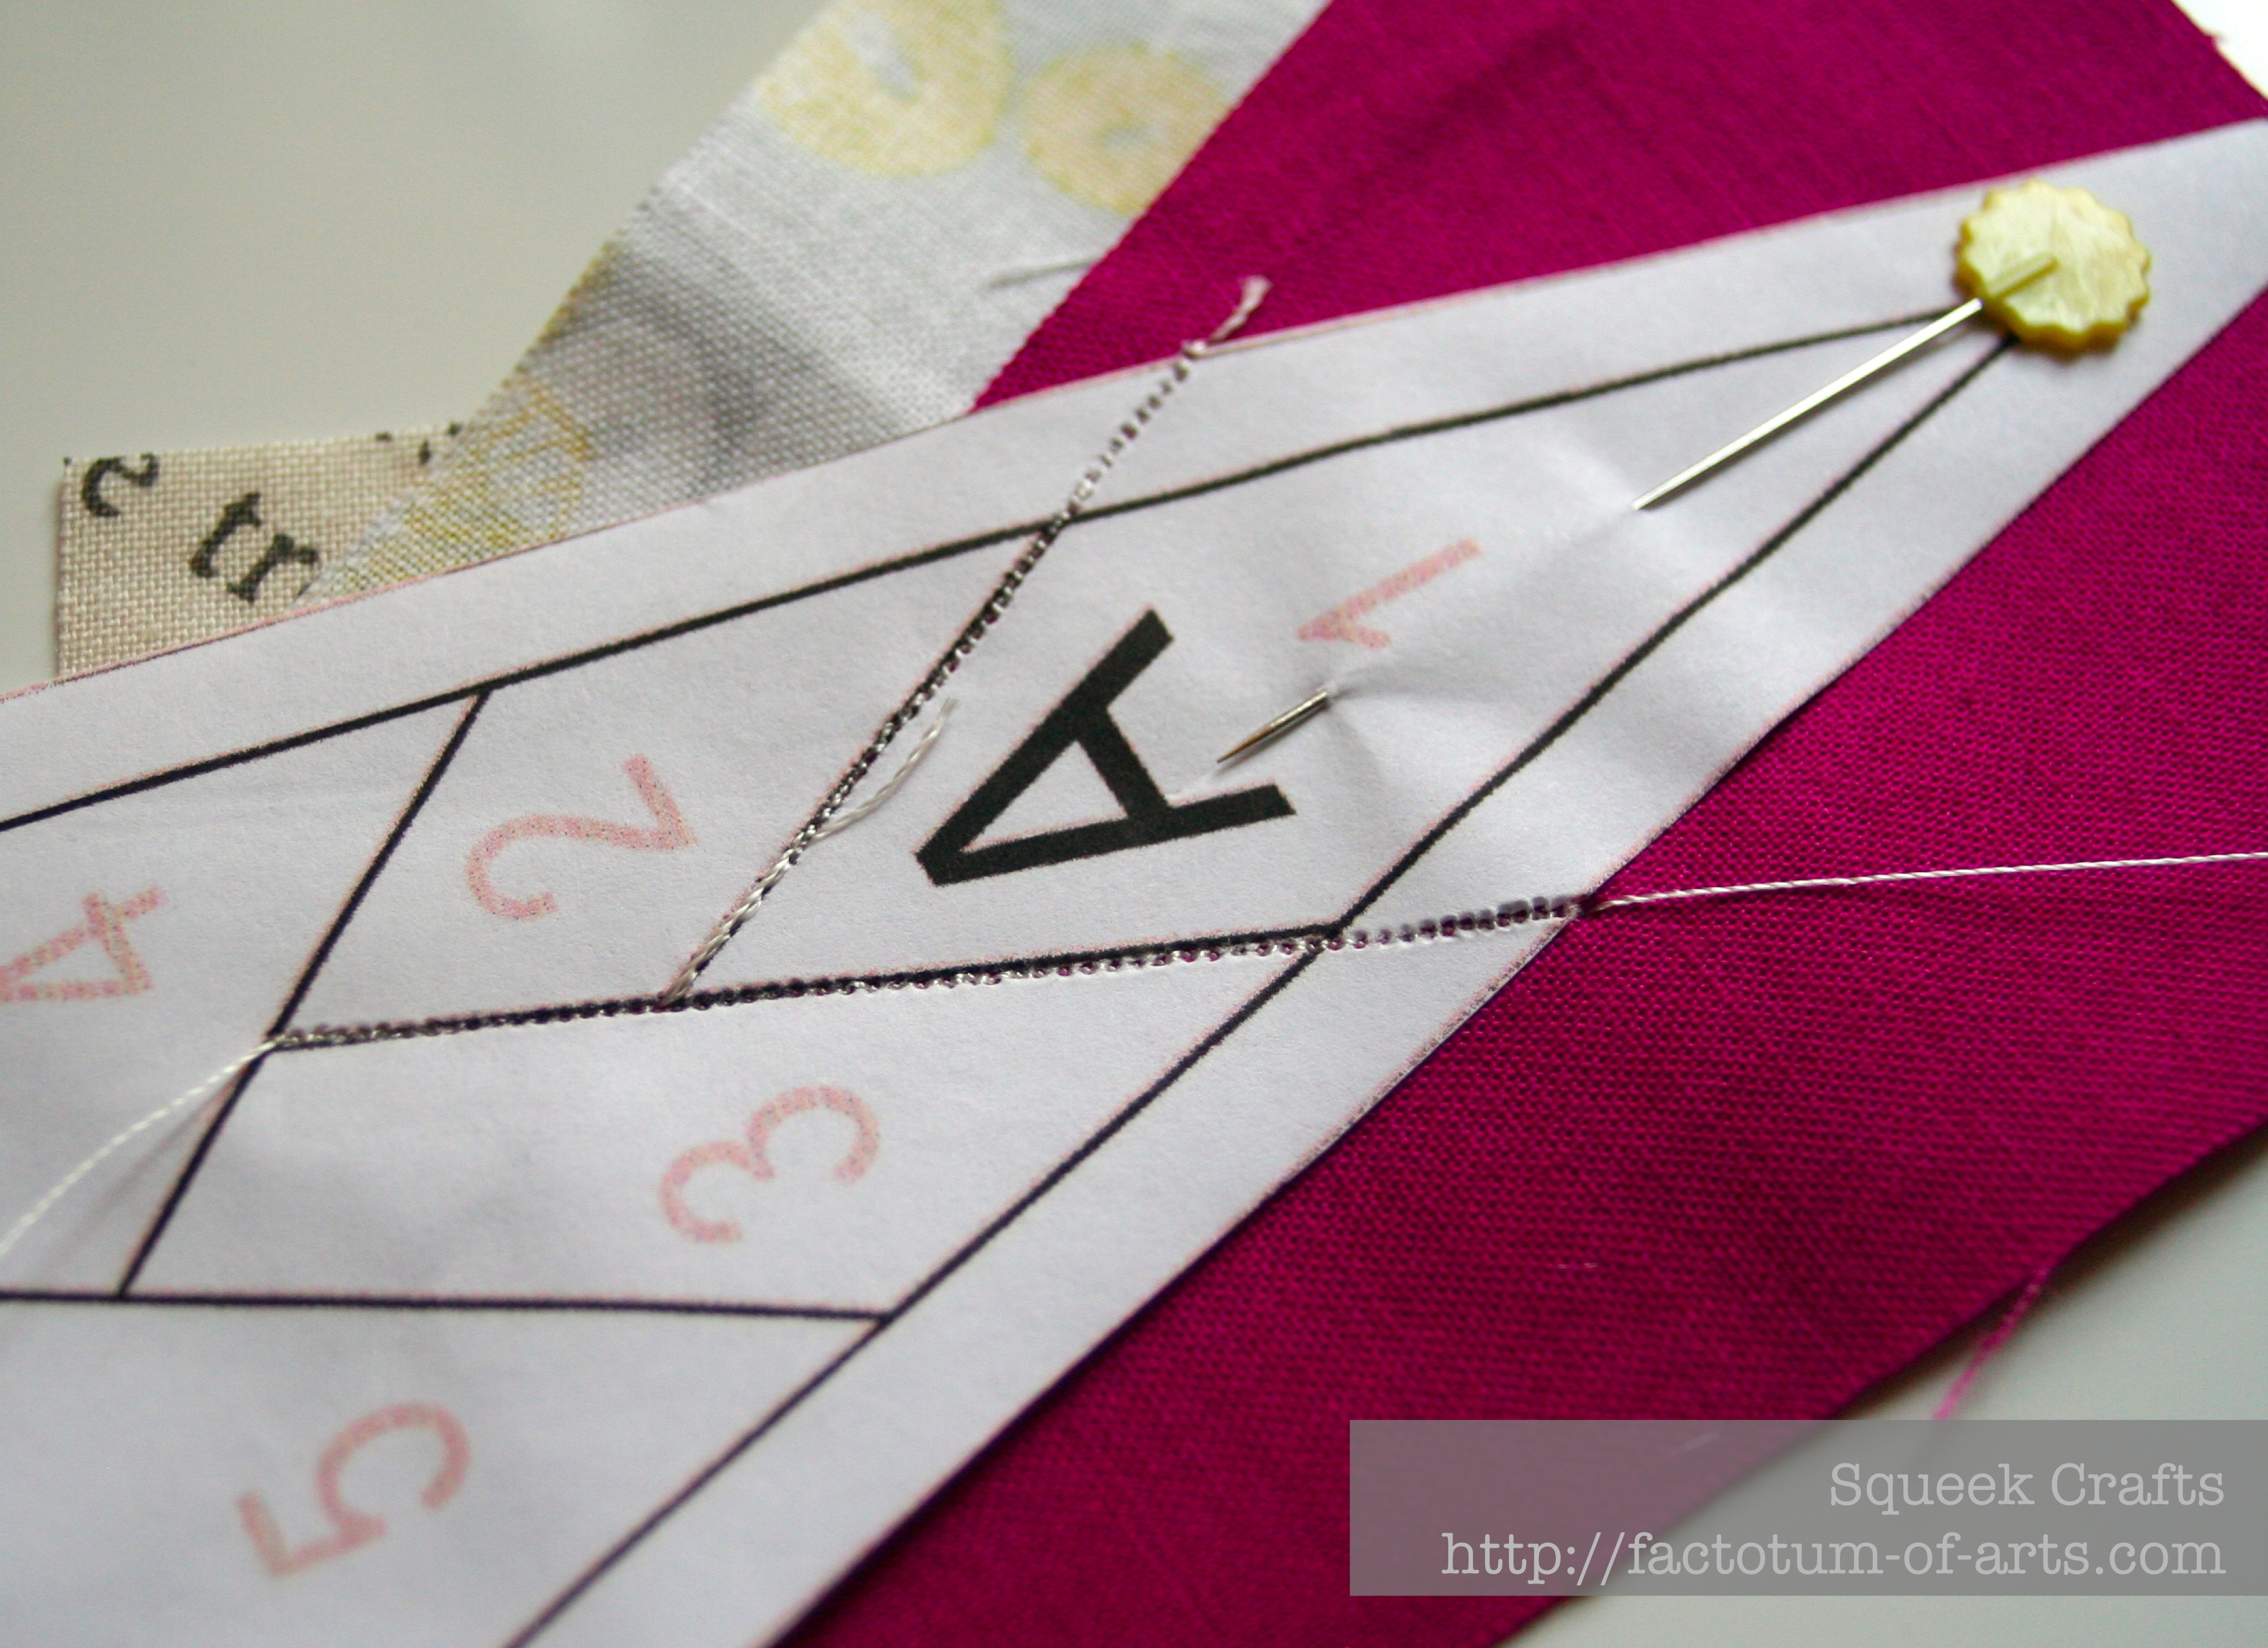
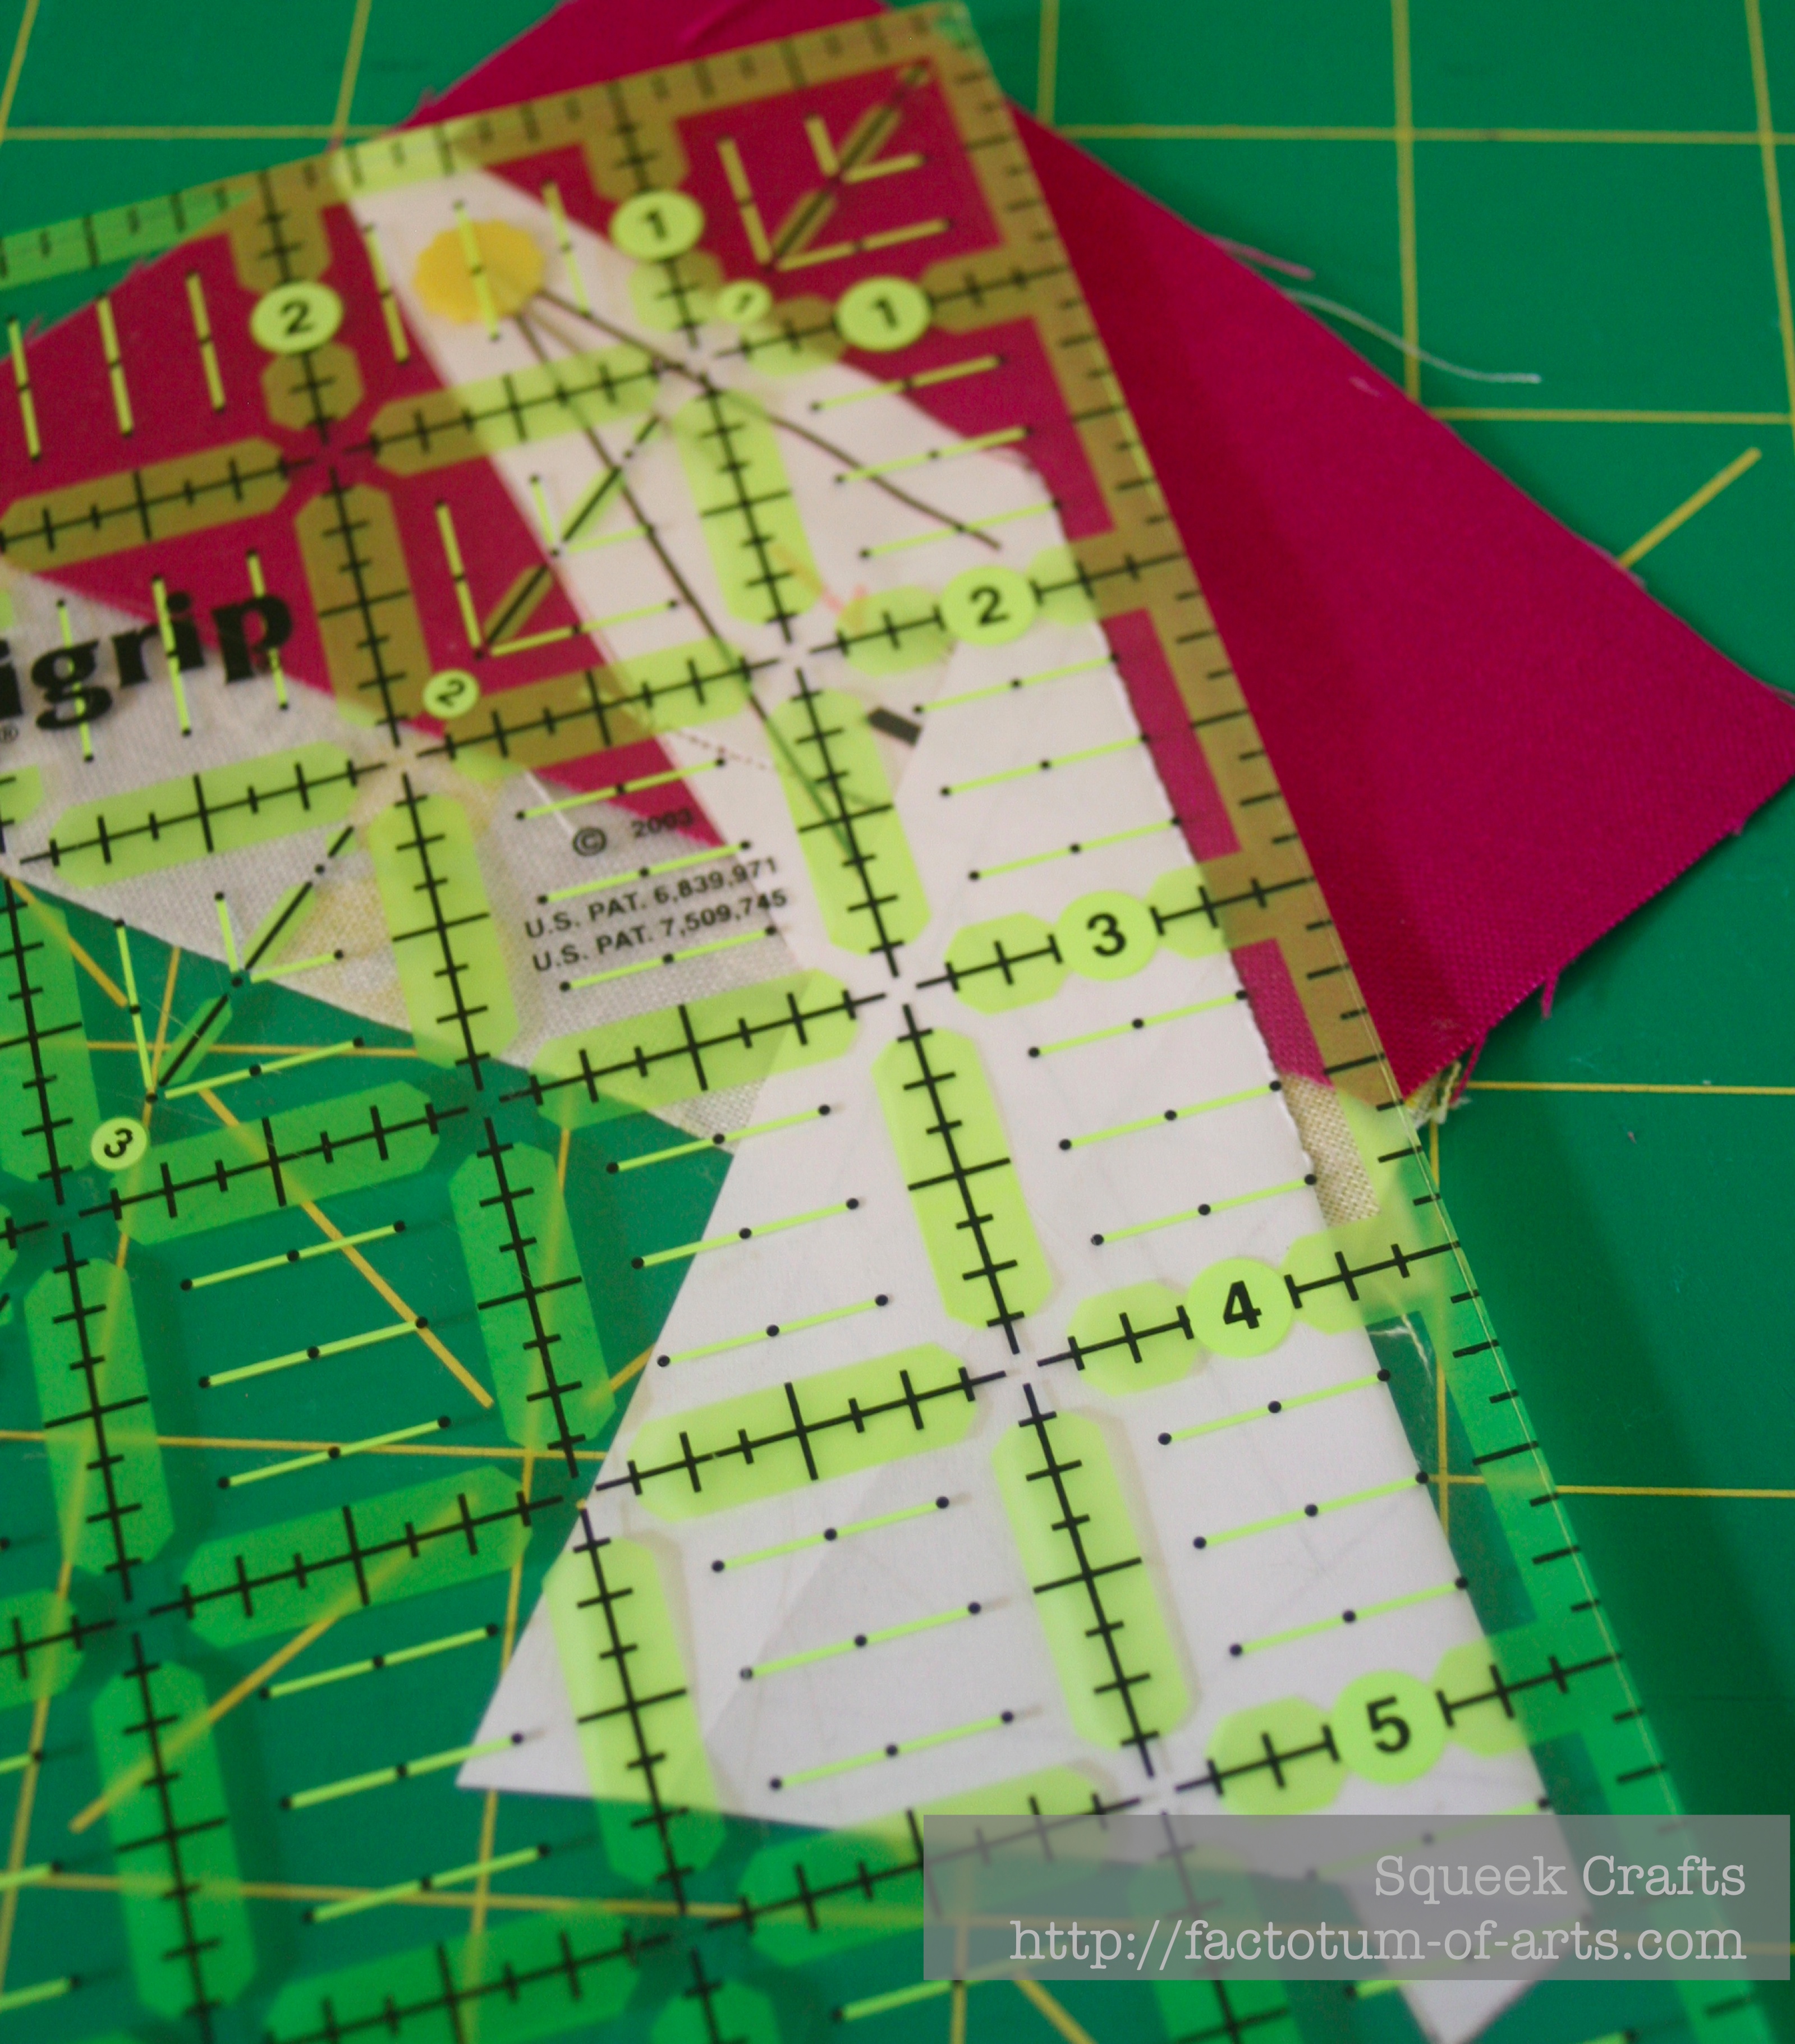
Paper Piecing block/New Quilt
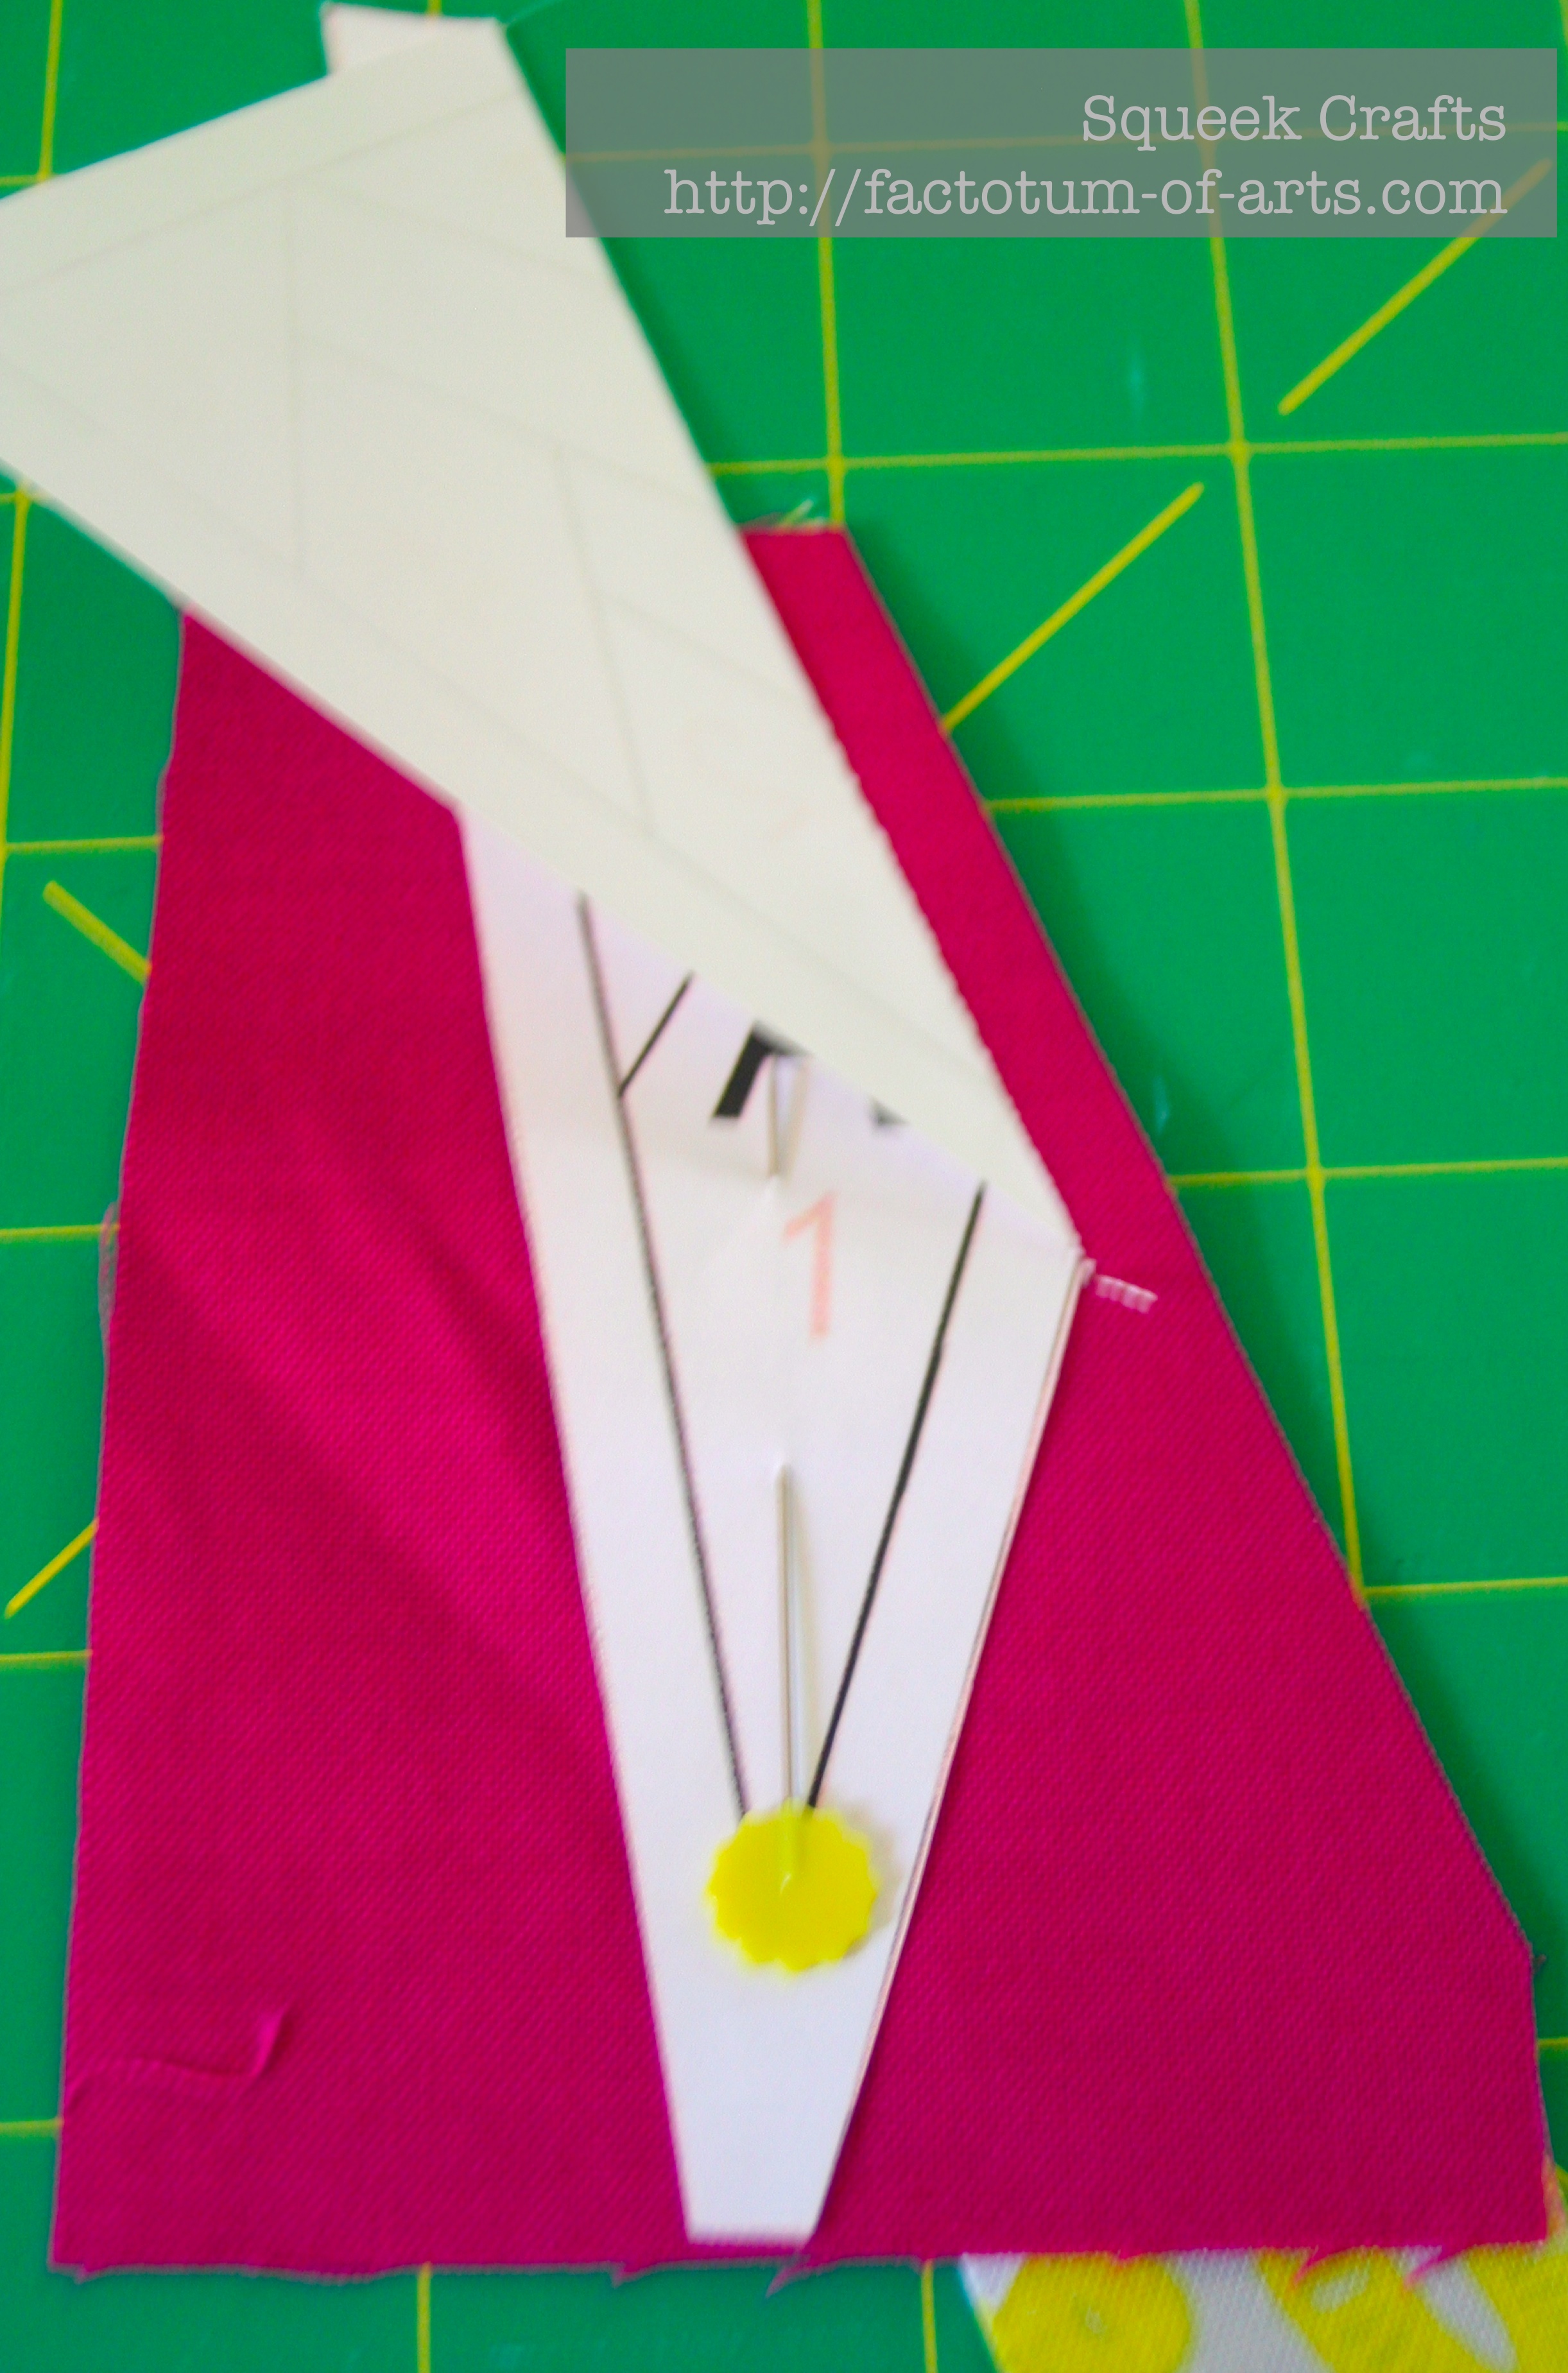
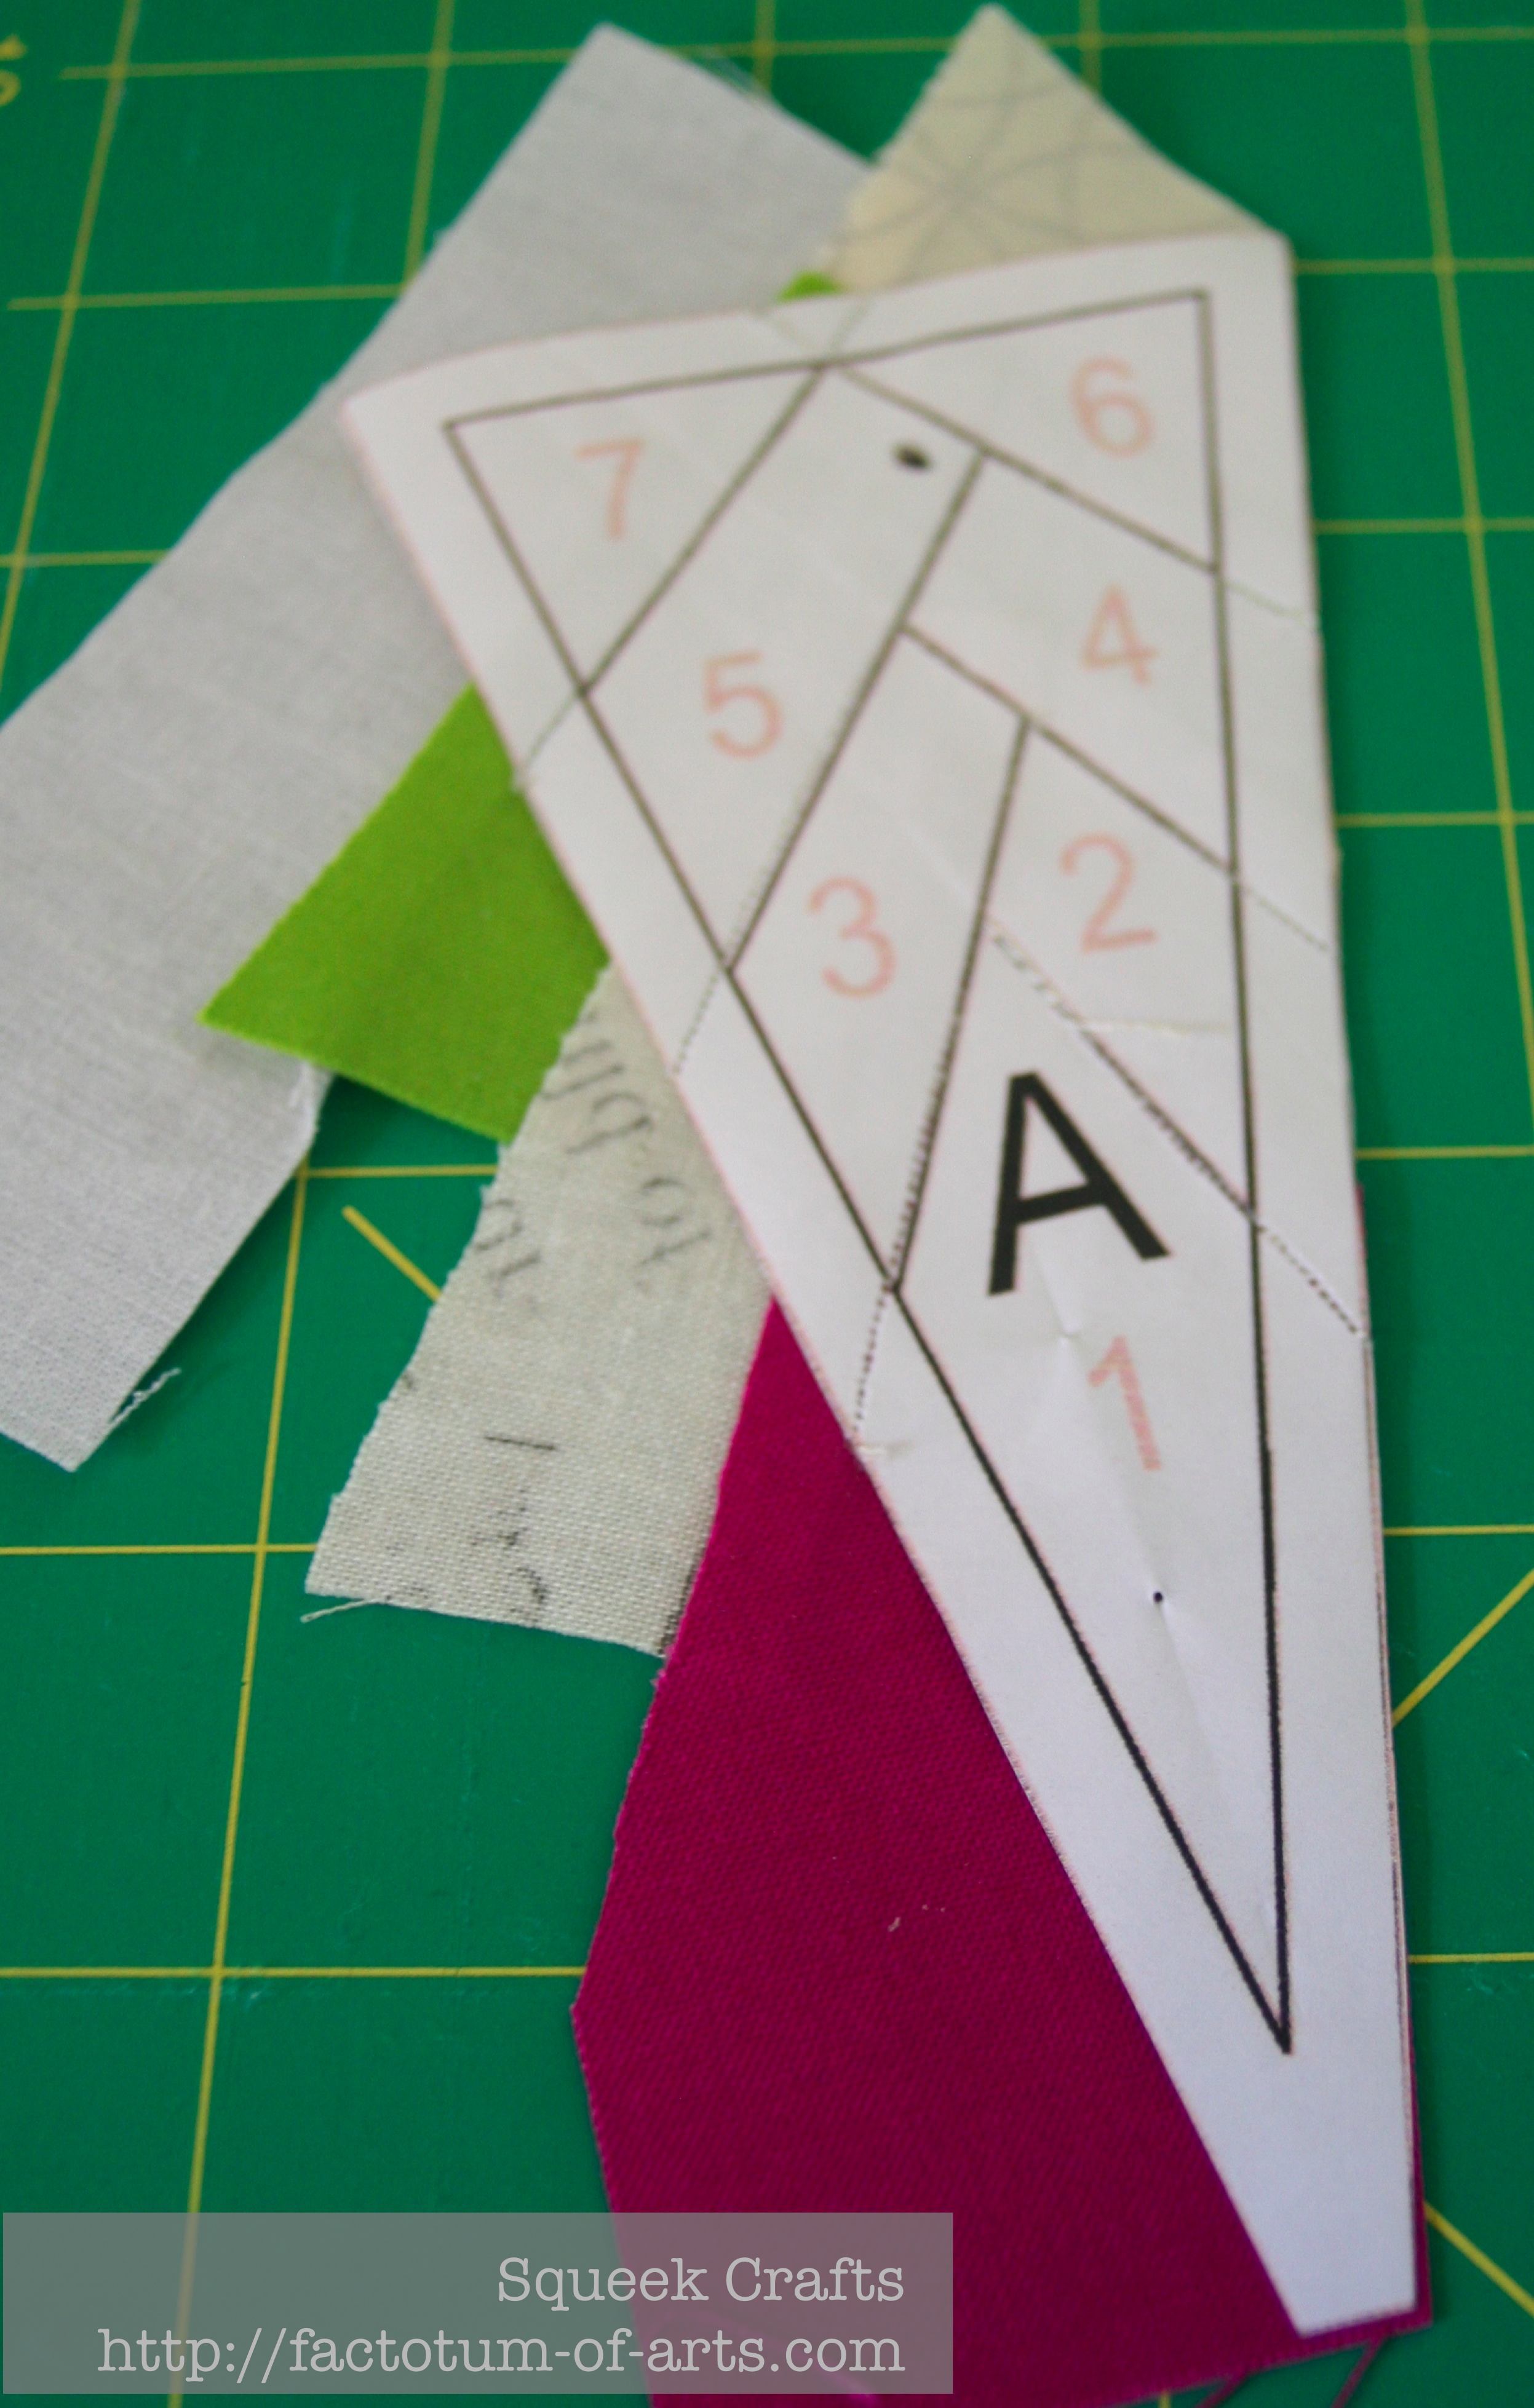
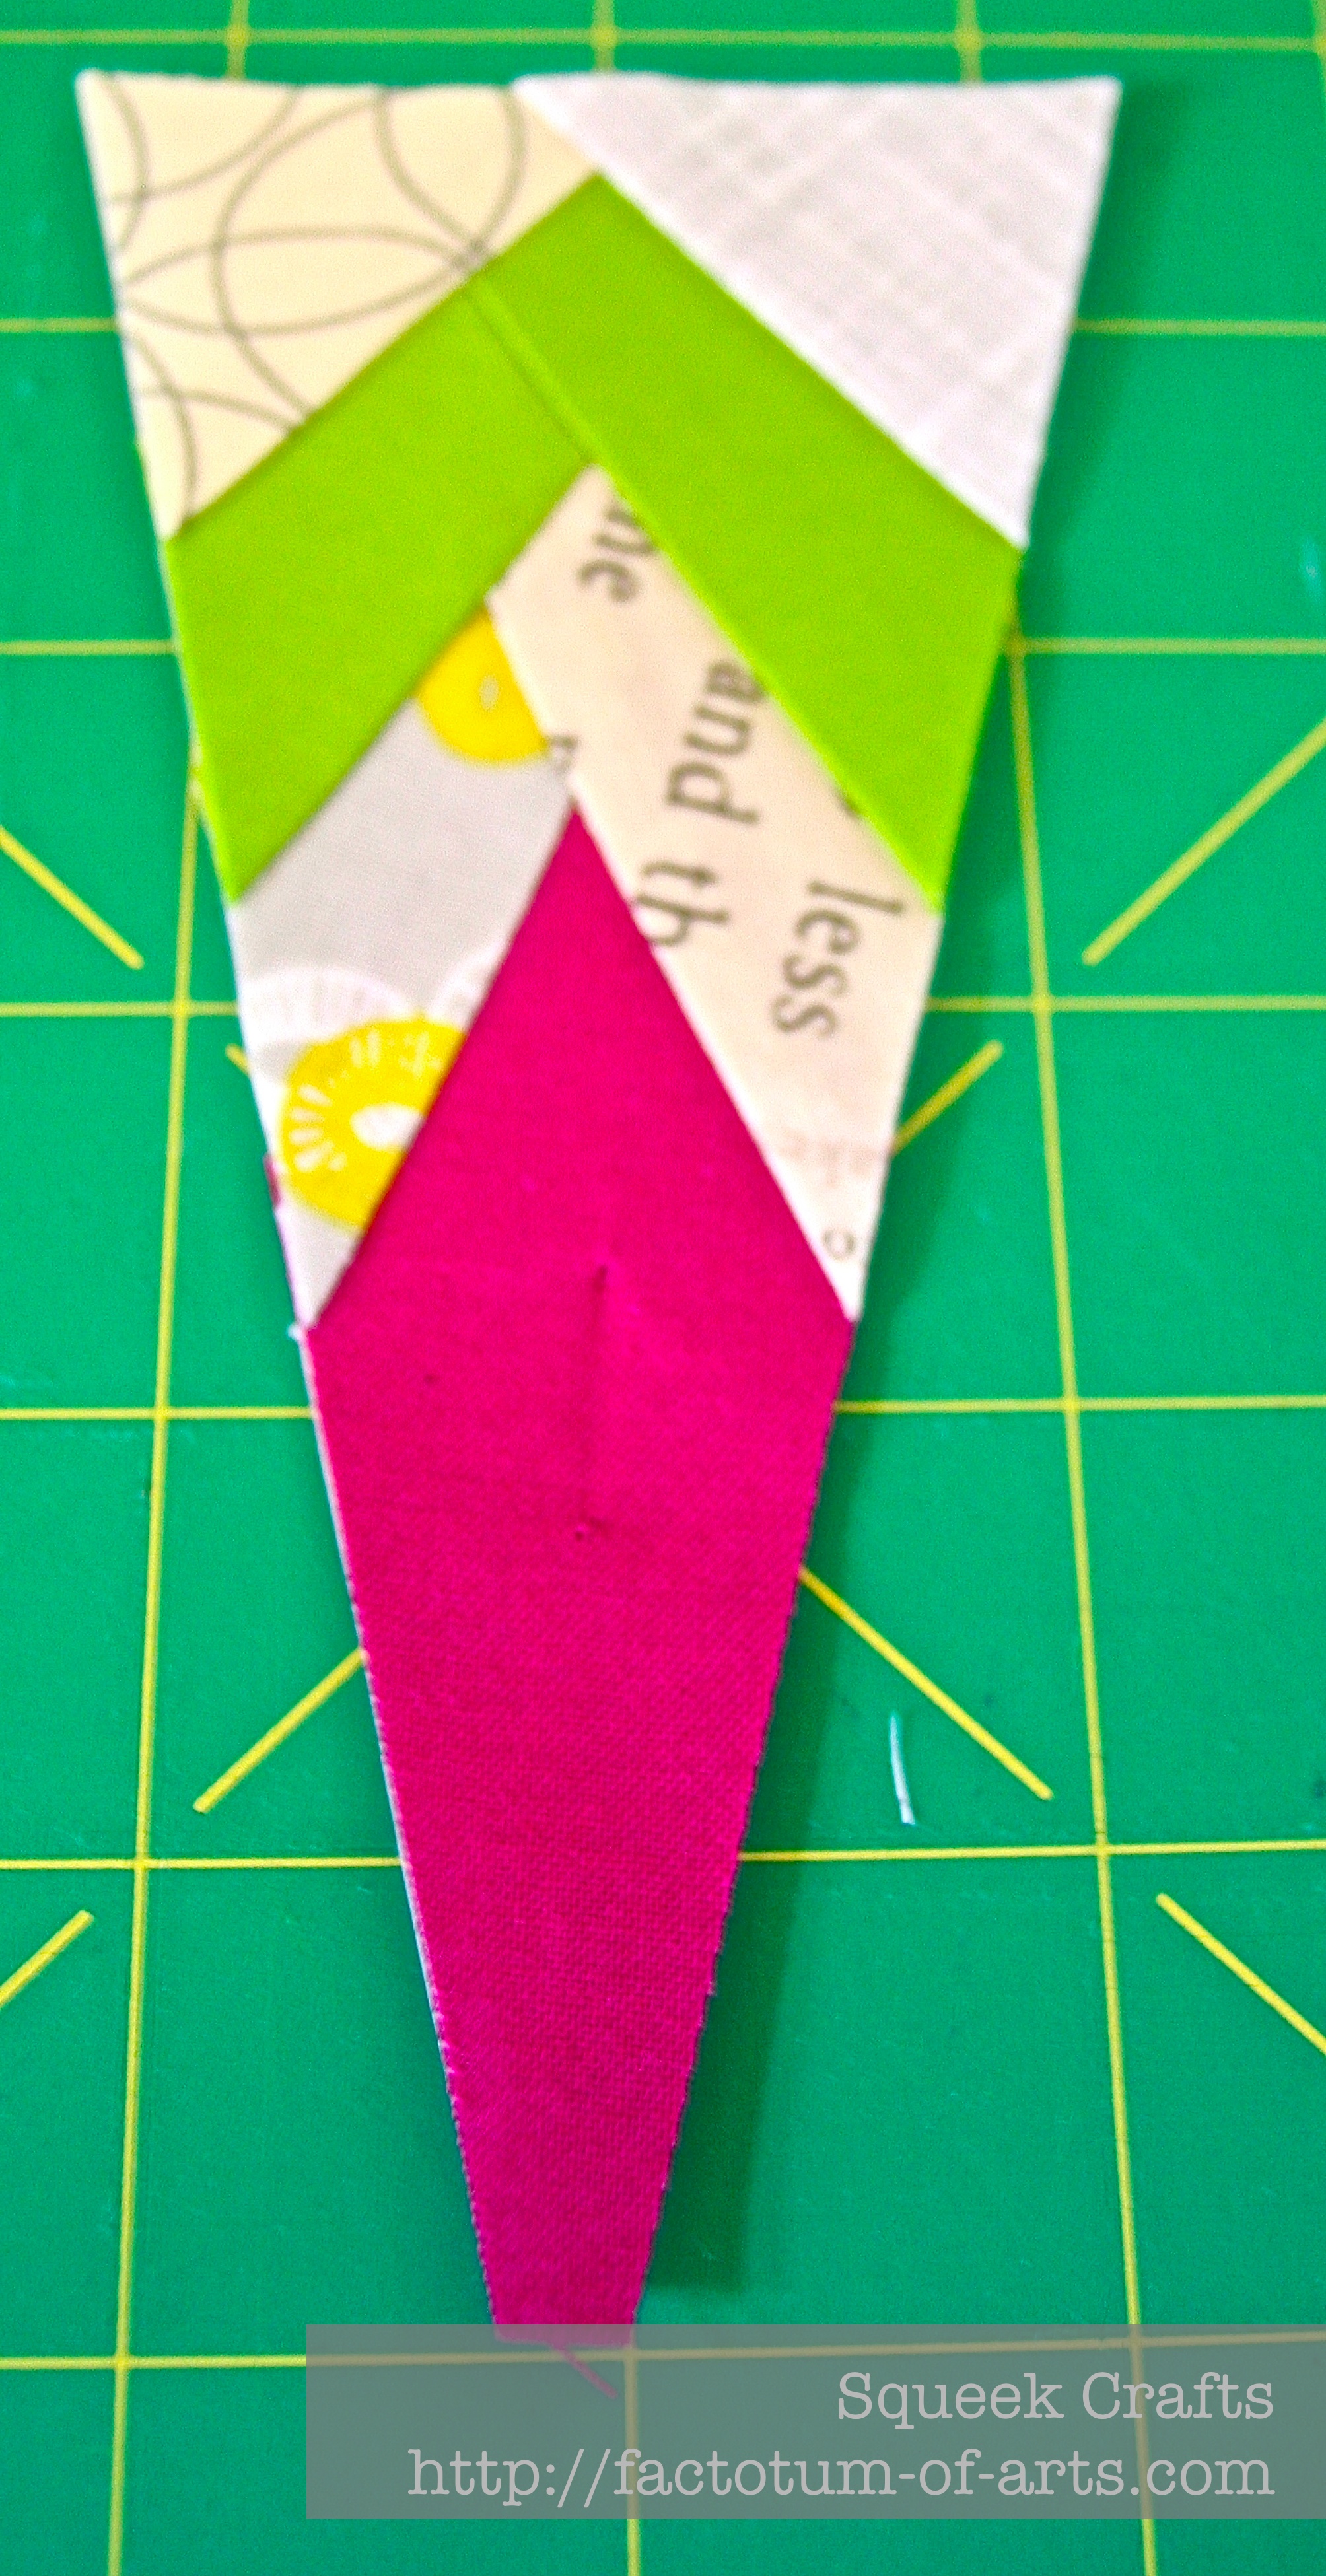
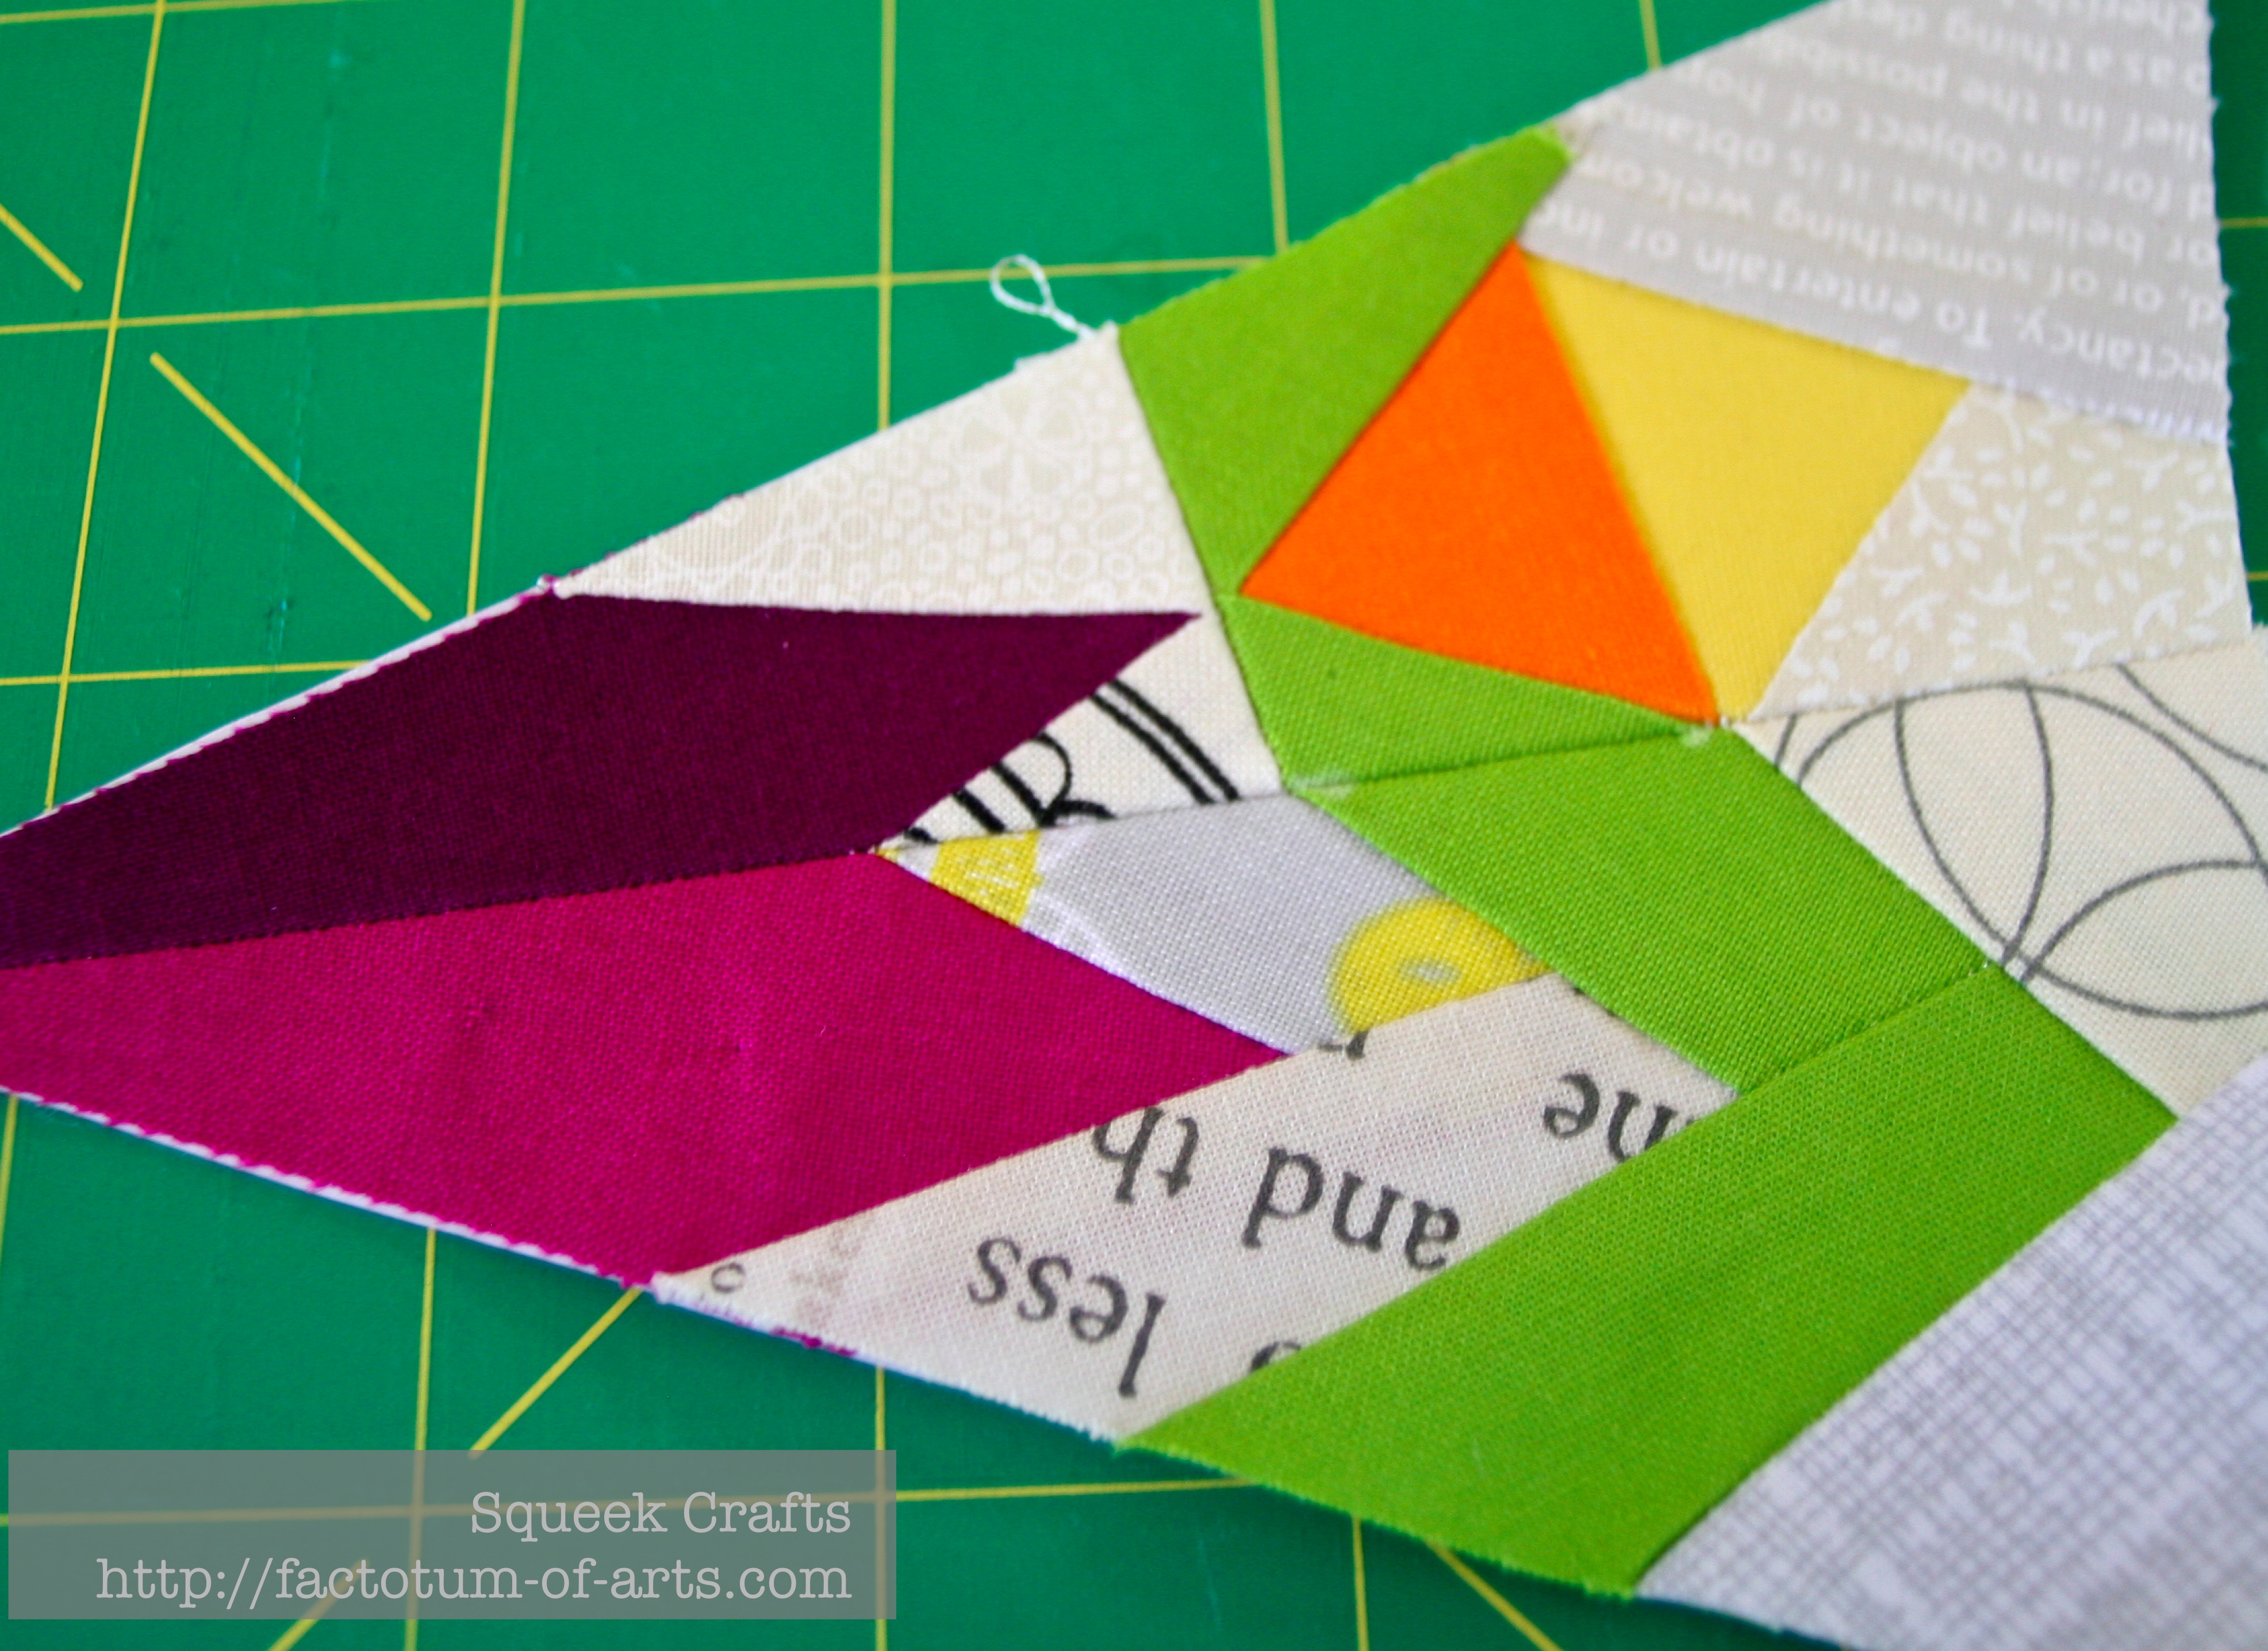
I have started a new paper piecing block which I am testing for Juliet @ Tartankiwi. It is another New Zealand bird and this is the 3rd for this series I have made….I have decided to take Laura’s suggestion and make a quilt from the blocks. The first piece is complete.
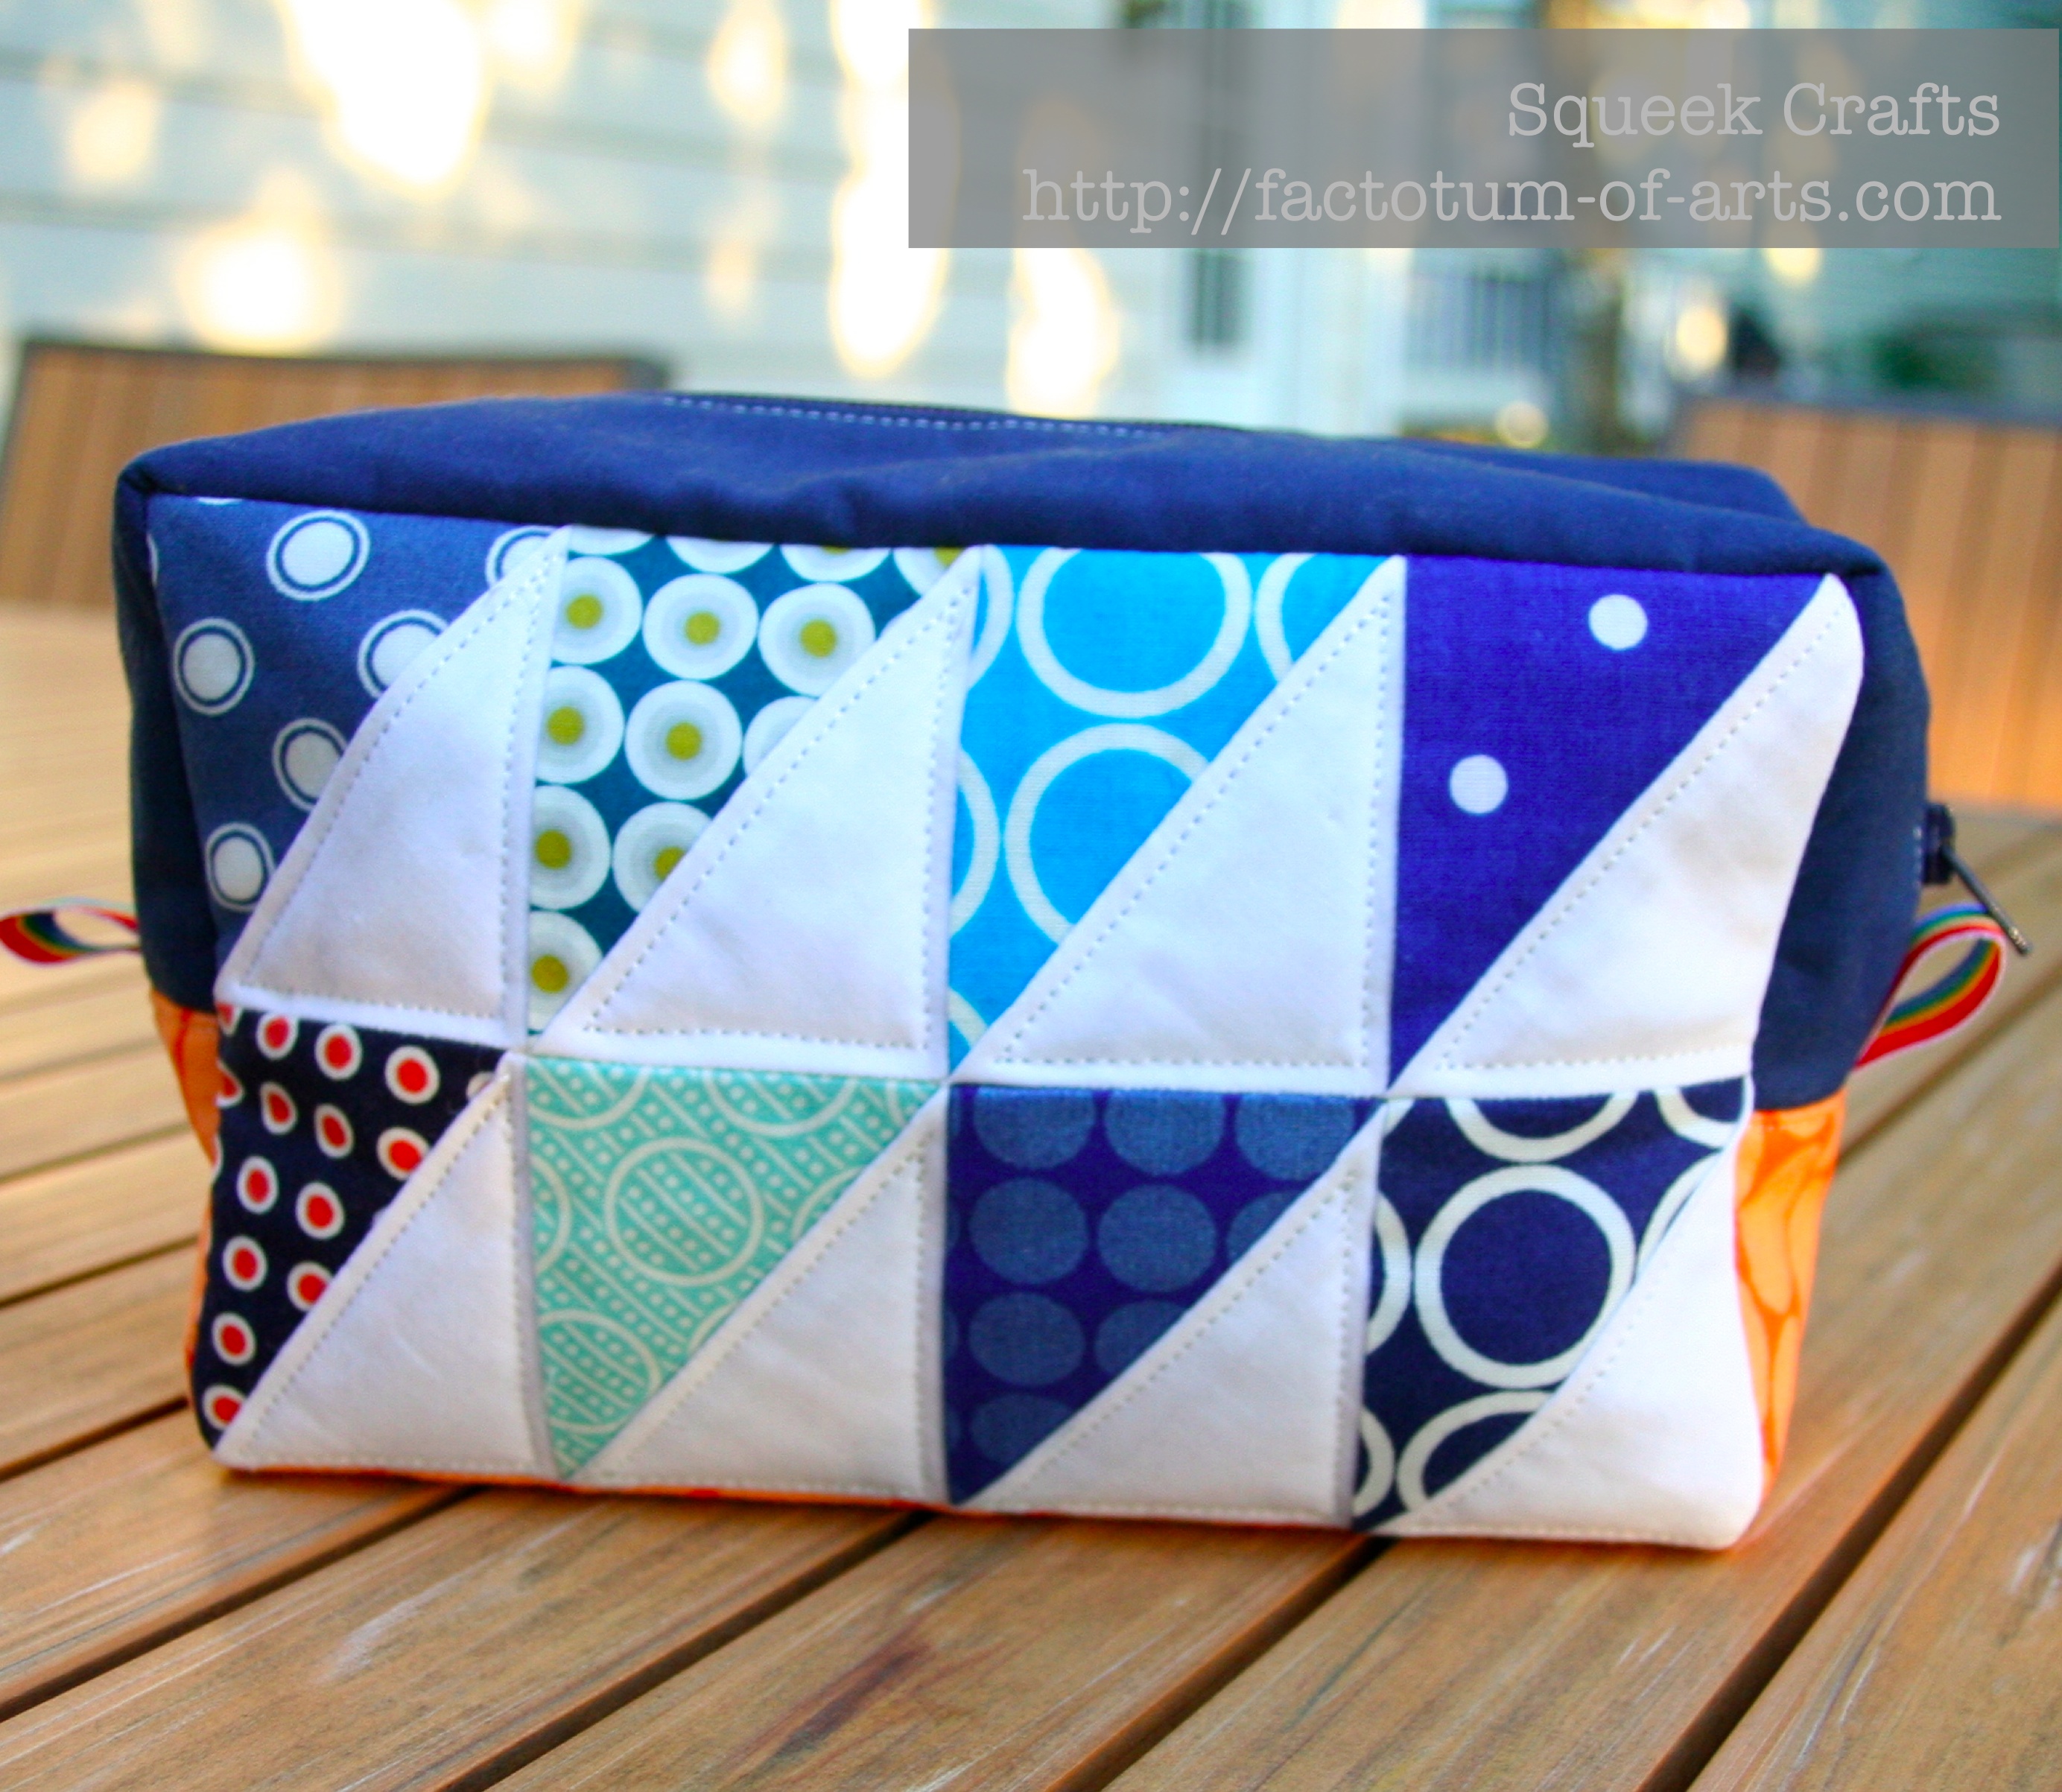
IMG_8555

Chair Bags
I have 3 orders to make this weekend. One is in a similar color palate to this one but with dark purple corduroy.
Chairbags_FlowerGardenLimeade

The other two are for older boys (5 & 7) using this fabric as a main pocket….I love this fabric it is a science experiment.
IMG_8340

Ideas for my sewing room
I came up with two new things in my sewing room space…..first off, I added a cork board which I made. I will hang it on the wall over the weekend, but it is right beside my sewing machine and it has a list of my to-do projects for the month.  I can get the satisfaction of crossing things off as I go 🙂IMG_8556

Secondly, I really want a bigger space for my design boards. Right now, I have a make shift one which I can move and put away whenever I like. Problem is it’s not really big enough. I have been struggling with, what to do about a design wall, as I have no straight walls really….then it struck me last night (this is when all my best ideas come :-))…..why not put a sliding/hanging door from my ceiling that I can frame/cover in flannel.  I am thinking about something similar  these doors in the photos:
yellow-sliding

I am thinking I can put it in front of the bookcase in the picture below and when I need to use it I can pull it out. The whole door would move back and forward on a track. That would give me a decent sized floor to ceiling design wall. What do you think???

IMG_8558

Linking up with Lee over @ Freshly Pieced for WiP Wednesday.

WIP Wednesday at Freshly Pieced

Seeing Spots

As mentioned during WiP Wednesday, I have a pouch swap this week at out Modern Quilt Guild meeting. It took me all week to do decide what I would make and finally I decided to get a couple of goals out-of-the-way with the one pouch….

  1. Finish a pouch for my partner at our guild swap.
  2. Finish the Patchwork, please Week 14’s Triangle Patchwork Box Pouch.

The Patchwork, please design gives you a couple of choices on how to do the main panels; I chose to paper piece the triangle fronts. I also decided that I would choose all blue fabrics with a theme of spots. Are you “seeing spots”?

Pouch_SeeingSpots_FrontClosed

I would say, if you want a pouch project that you could knock out quickly – this is not it. All up, this pouch was 3-5 hours worth of work. It was not what I expected.  It turned out great. I decided to continue the theme of spots for the base, but add a splash of orange for contrast, and then continued that orange for the lining.

Pouch_SeeingSpots_FrontLining

Fabric details for my “Seeing Spots” Pouch are as follows
Fabric Choices for Triangles
Aunt Edna Circle Dot Blue, Denyse Schmidt Collection, Joann
Micro Mod Blue and Citron, Cloud 9  – City Quilter, NYC
Metro Living Circles in Turquoise, Robert Kaufmann – Fresh Modern Fabrics
Polka dot fabric from Joann’s
Meadow Lark Circle Tile, Denyse Schmidt Collection, Joann
Meadow Lark Circle on Tonal Aqua, Denyse Schmidt Collection, Joann
Mirror Ball in Starlight, Mark Hordyszynki, HB Fabrics – City Quilter, NYC
Metro Living Circles in Navy, Robert Kaufmann – Fresh Modern Fabrics
Kona White
Fabric Choices for Base and Sides:
Flirty Flowers Tonal Dots, Robin Zingone, Robert Kaufmann – Fresh Modern Fabrics
Kona Navy
Fabric Choices for Lining:
Blossom Reel Plaid Orange, Denyse Schmidt Collection, Joann

Pouch_SeeingSpots_TopLining

Linking up with the Debbie’s Zakka Along 2.0 over @ A Quilter’s Table and with Kristy @ Quiet Play for Paper Piecing Party.

Lessons Learned in Paper-Piecing

One of my favorite activities, that I have learned over the last year, is paper-piecing. I have thoroughly enjoyed this craft and thought this was the best time to pass on some of my tips.

PaperPiecingMosiac

1. Finished Kiwi Cushion – Front, 2. Royal-X-Plus Block, 3. Kea paper pieced block, 4. YellowEyedPenguin_FullBlock, 5. Kiwi – Paper Piecing, 6. Blooming Hot Paper Pieced Block

Tools

  • My number one tool, unfortunately, is my small quick ‘n’ pick (seam ripper).
  • For paper, I just use printer paper, I don’t use freezer paper…its just easier to get straight to the piecing.
  • Sunlight or light is extremely important so you can place/alignment at the right place. I usually lift the piece and the adding fabric to the light and see through the paper and fabrics.
  • My iron for pressing all those seams, essential.
  • A ruler and rotary cutter for trimming 1/4 inch edges.

Tips
My main tips are mostly what I have learned to help avoid those silly mistakes:

  • If you are making too many mistakes, take a break and come back to it. It really helps.
  • After all the trimming etc., it can get a little messy. So, to help organize and clean as you go, I use two bins; a small scrap bin to put small reusable scraps into, and a bowl for rubbish/trash.
    PaperPiecing_ScrapBins
  • I use a reduced stitch size (1.2 on my brother sewing machine) so that it is easy to tear the paper away at the end.
  • Make sure your fabric is big enough and aligned correctly, to take into the consideration the angle of the seam (quick ‘n’ pick reason #1).
  • Make sure your fabric is right side to right side (you won’t believe the number of times I go to check and its the wrong side up, quick ‘n’ pick reason #2).
  • Make sure your fabric does not fold over when you sew, otherwise you will need to unstitch (hence the quick ‘n’ pick reason #3).
  • Position needle and align the foot, sew seams from the inside to outside.
  • Always trim seams with 1/4 inch.
  • Always press each seam.

I thought I would now step through a tutorial for how I create a piece and join those pieces. I am using a block that was designed by Esther @ I patch and quilt – Blooming Hot (available on Craftsy).

  1. If the first piece is large, I usually pin it to hold it in place.PaperPiecing_FirstPiece
  2. Place and align the next piece of fabric so right sides are facing. Line up the needle point with the tip of the line you are sewing, sew from inner points to the outer points.PaperPiecing_FirstStitches
  3. Sew through a 1/4 inch seam markings to the edge of the paper. Here is an example of two seams (pieces 1 and 2).PaperPiecing_SewedSeams
  4. After each seam, before pressing, measure and trim 1/4 inch from the seam to remove excess fabric. This keeps the piecing neat but also stops any dark fabrics from showing through.
    PaperPiecing_TrimmingSeamEdge PaperPiecing_TrimmedEdges
  5. Turn piece over and press the fabric pieces back, all right sides are facing up.PaperPiecing_PressedSeams2Pieces
  6. Continue until all seams/pieces are sewed and pressed. Now, it is time to trim the piece.
    PaperPiecing_AllUntrimmedPieces
  7. Use a ruler and measure a 1/4 inch seam from where the joining line/piecing line will be. You can’t always just use the print out as you may have decreased or increased scale. You need this to take into account the need for a 1/4 inch seam.PaperPiecing_FinalEdgeTrimming
  8. Continue until all edges are trimmed.
    PaperPiecing_FinalPieceTrimmed
  9. For joining pieces, I think this varies depending on the designer and the pattern. Sometimes I can just line up the two ends and sew 1/4 inch in and the pieces line up well.For this particular block, I wanted to ensure the green pieces are aligned correctly. I measured  a 1/4 inch from the edge and marked with chalk.
    PaperPiecing_SeamMatchingRuler PaperPiecing_SeamMatchingMarks
  10. I repeated this step with the second piece as well. I then matched up the white lines and pinned/held them in place, as I aligned the top and bottom of the edge as well. Sew a 1/4 inch seam and press. I tend to press seams apart when paper piecing to reduce the bulk.
    PaperPiecing_TwoPartsPieced

The final block looked like this:
BloomingHot_PaperPieced
Block designed by Esther @ I patch and quilt – “Blooming Hot”

Linking up with Kristy over @ Quiet Play for her paper piecing party.