Tag Archives: quilting

Seeing Spots

As mentioned during WiP Wednesday, I have a pouch swap this week at out Modern Quilt Guild meeting. It took me all week to do decide what I would make and finally I decided to get a couple of goals out-of-the-way with the one pouch….

  1. Finish a pouch for my partner at our guild swap.
  2. Finish the Patchwork, please Week 14’s Triangle Patchwork Box Pouch.

The Patchwork, please design gives you a couple of choices on how to do the main panels; I chose to paper piece the triangle fronts. I also decided that I would choose all blue fabrics with a theme of spots. Are you “seeing spots”?
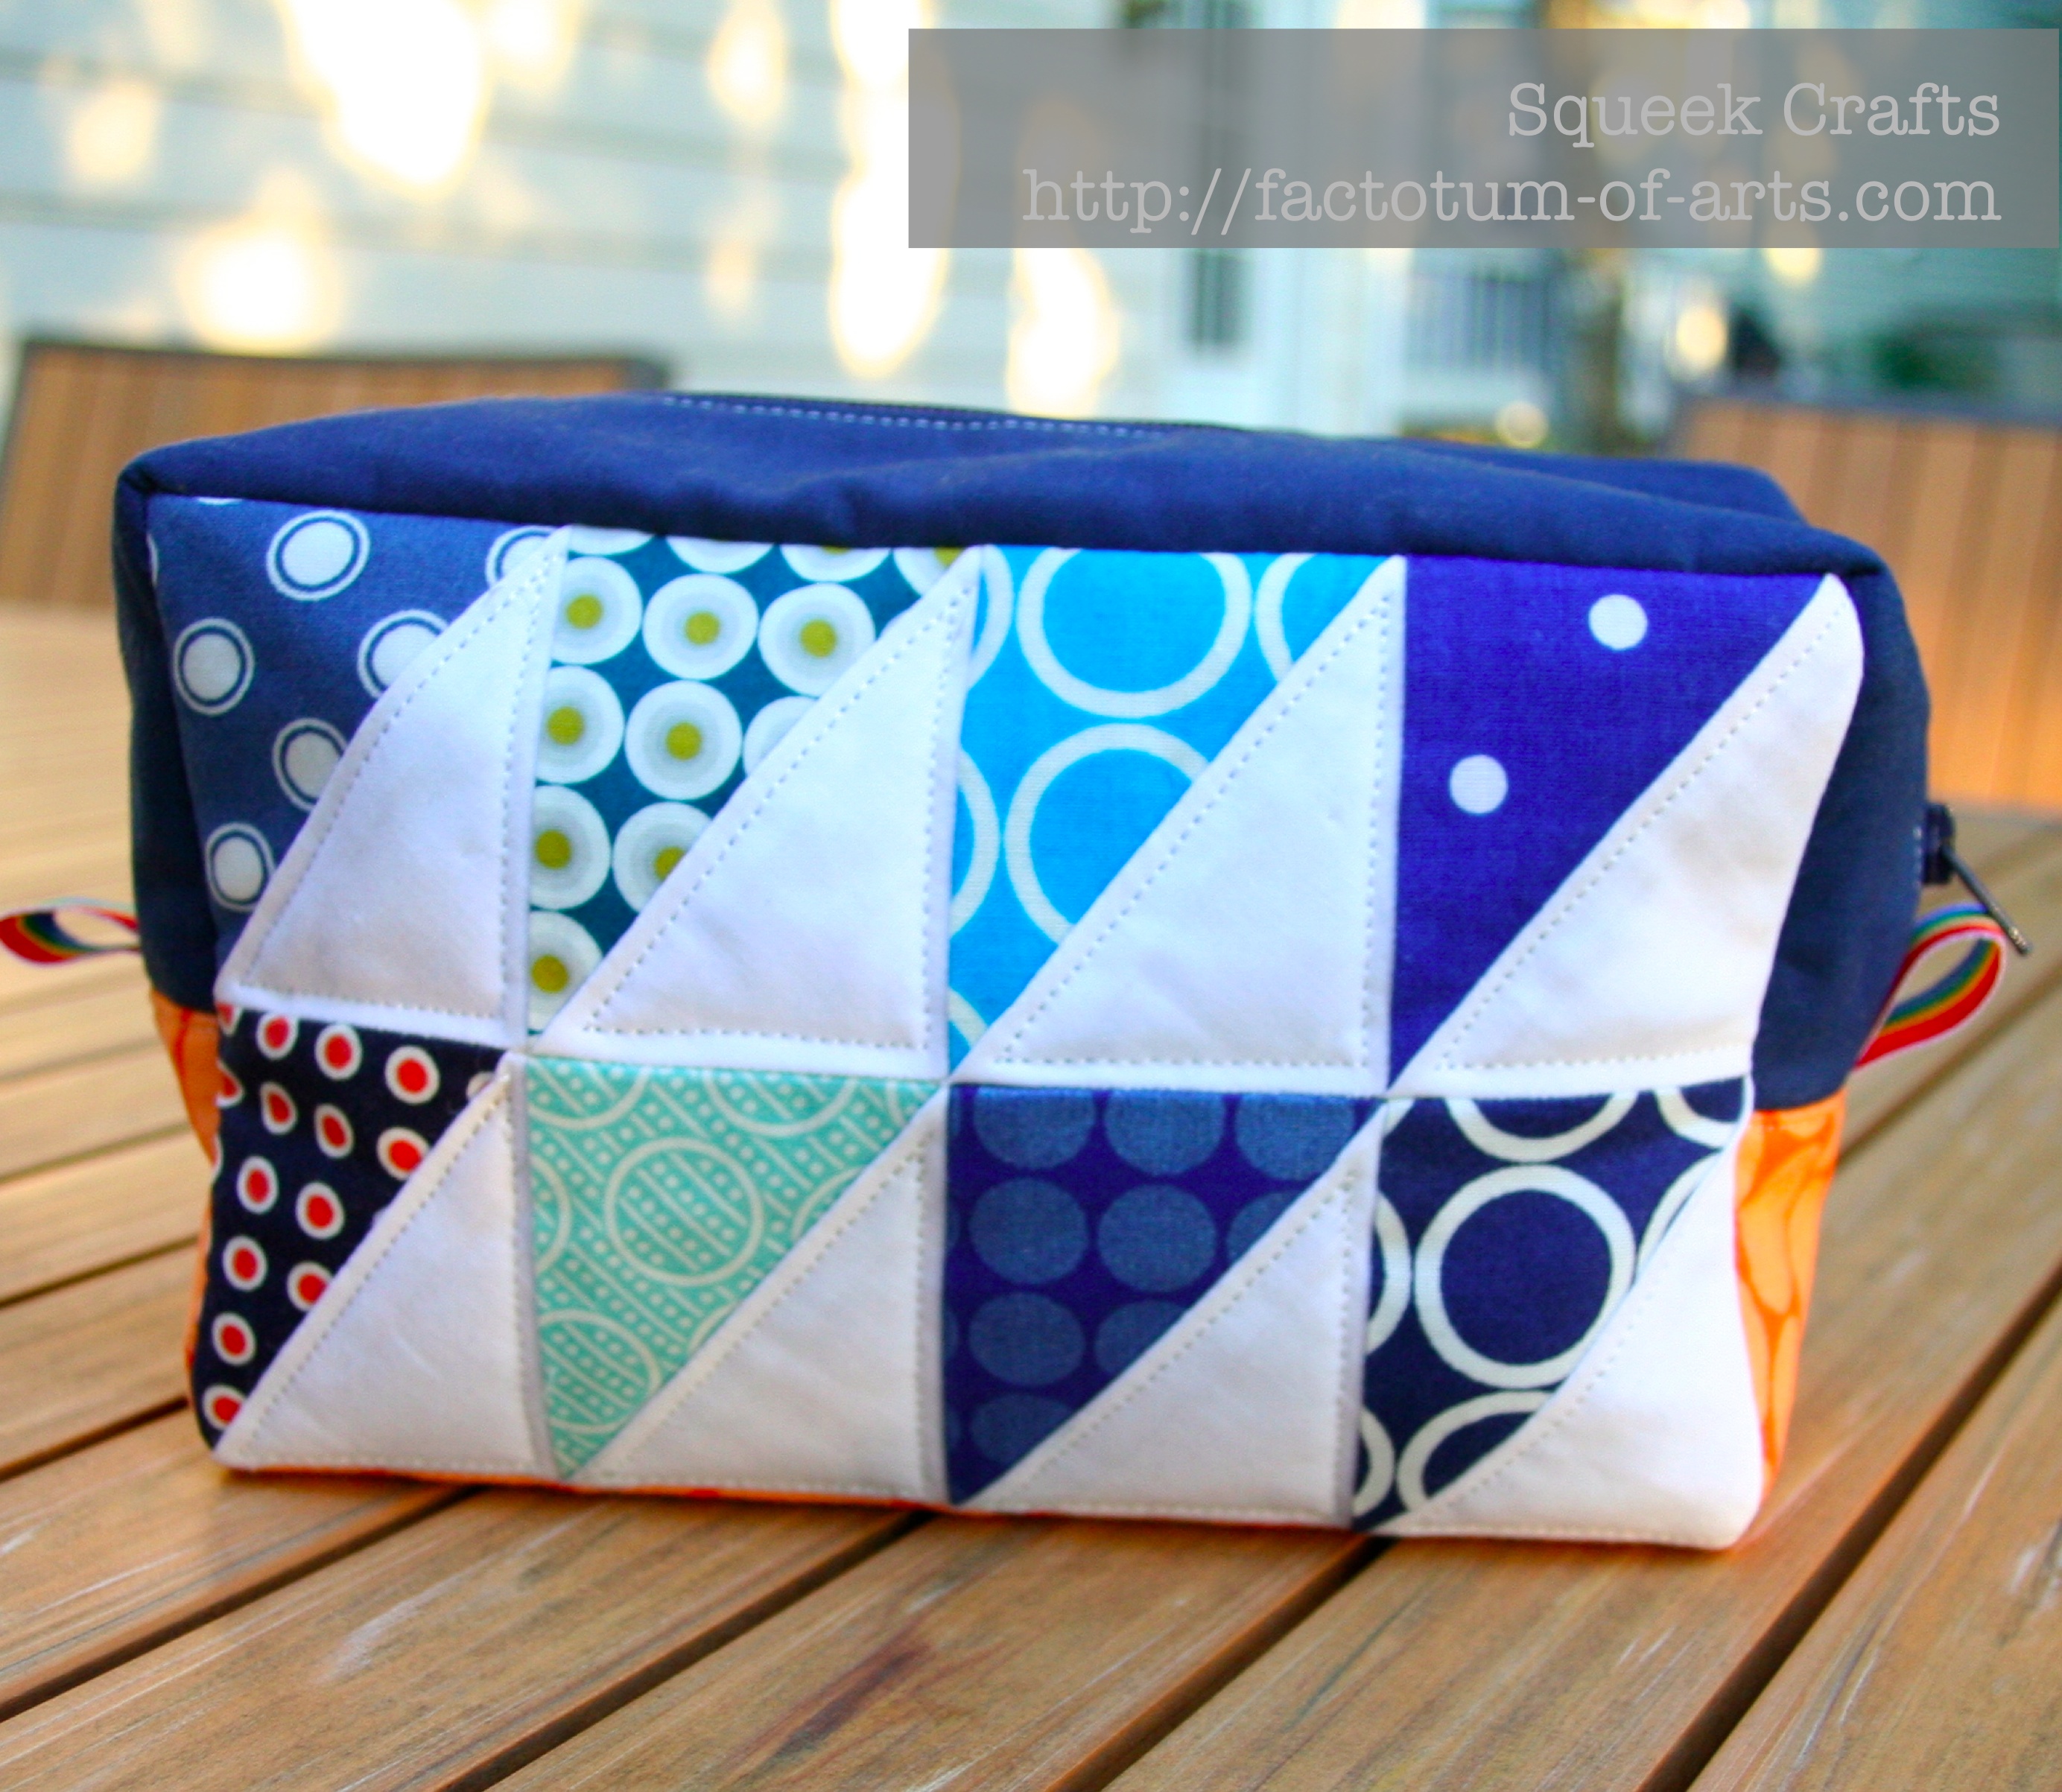
Pouch_SeeingSpots_FrontClosed

I would say, if you want a pouch project that you could knock out quickly – this is not it. All up, this pouch was 3-5 hours worth of work. It was not what I expected.  It turned out great. I decided to continue the theme of spots for the base, but add a splash of orange for contrast, and then continued that orange for the lining.
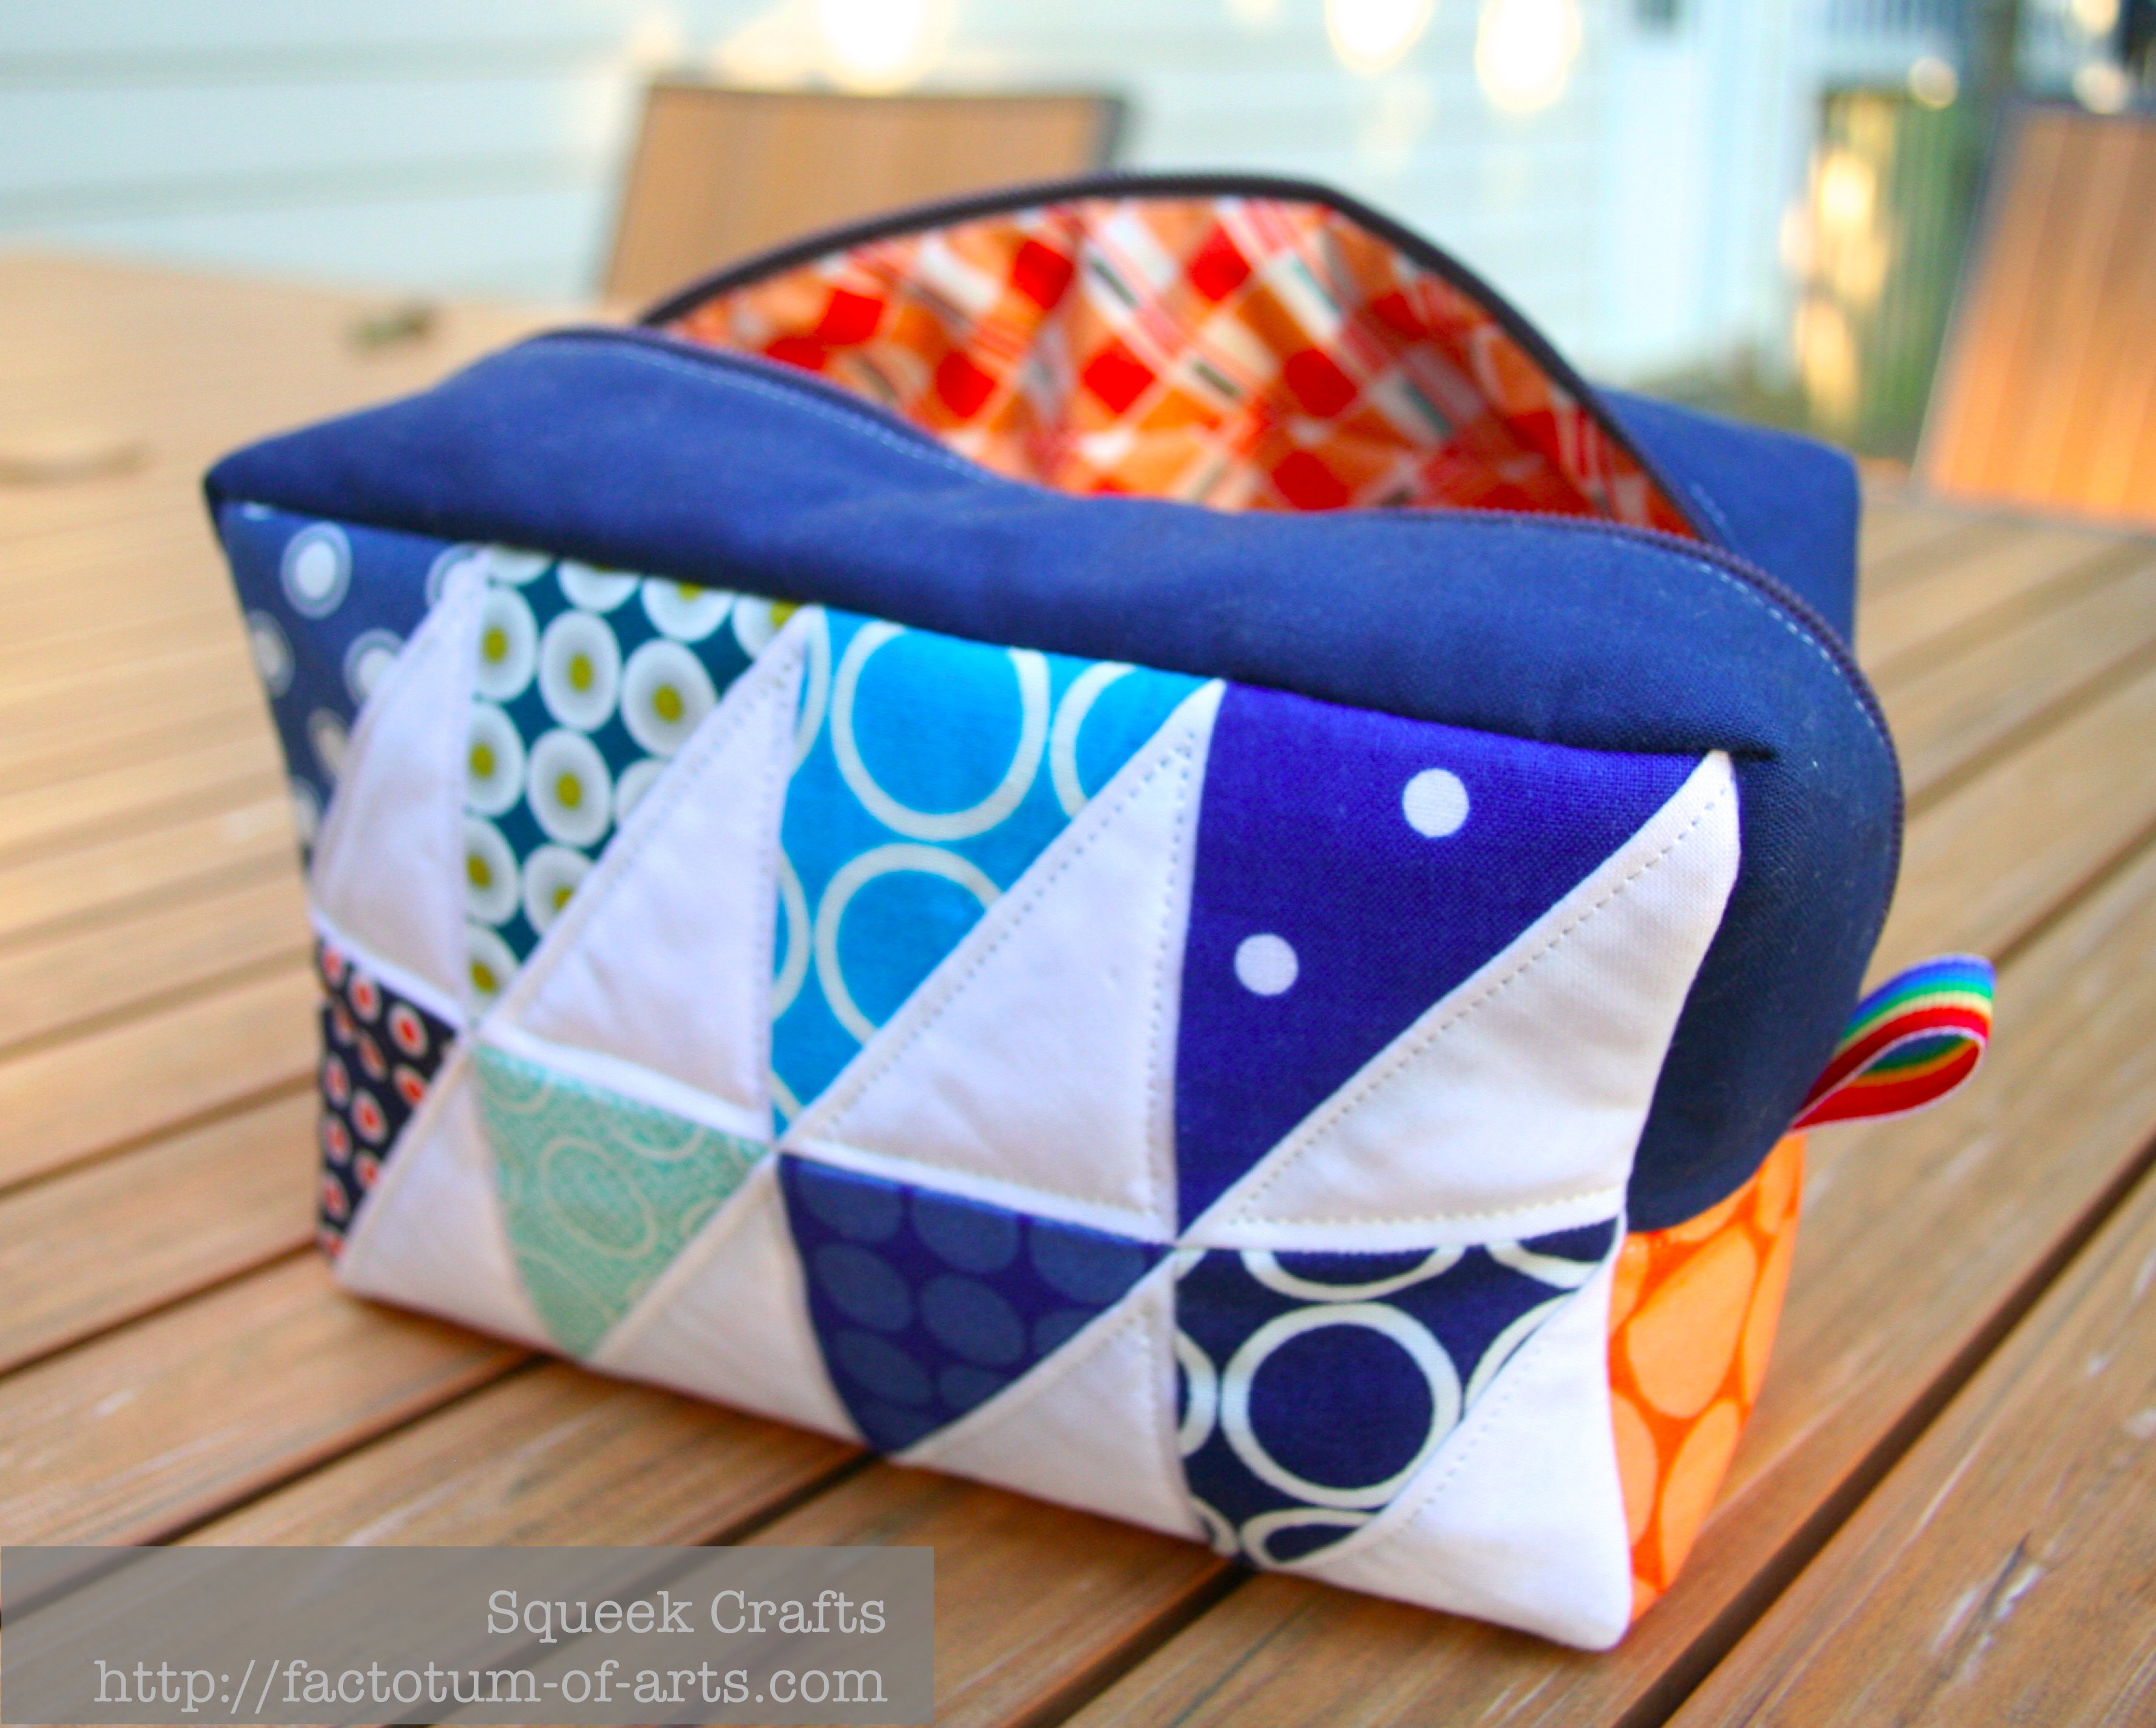
Pouch_SeeingSpots_FrontLining

Fabric details for my “Seeing Spots” Pouch are as follows
Fabric Choices for Triangles
Aunt Edna Circle Dot Blue, Denyse Schmidt Collection, Joann
Micro Mod Blue and Citron, Cloud 9  – City Quilter, NYC
Metro Living Circles in Turquoise, Robert Kaufmann – Fresh Modern Fabrics
Polka dot fabric from Joann’s
Meadow Lark Circle Tile, Denyse Schmidt Collection, Joann
Meadow Lark Circle on Tonal Aqua, Denyse Schmidt Collection, Joann
Mirror Ball in Starlight, Mark Hordyszynki, HB Fabrics – City Quilter, NYC
Metro Living Circles in Navy, Robert Kaufmann – Fresh Modern Fabrics
Kona White
Fabric Choices for Base and Sides:
Flirty Flowers Tonal Dots, Robin Zingone, Robert Kaufmann – Fresh Modern Fabrics
Kona Navy
Fabric Choices for Lining:
Blossom Reel Plaid Orange, Denyse Schmidt Collection, Joann

Pouch_SeeingSpots_TopLining

Linking up with the Debbie’s Zakka Along 2.0 over @ A Quilter’s Table and with Kristy @ Quiet Play for Paper Piecing Party.

Lovely Year of Finishes – September goal

Oh my gosh!!! I hate to do this, but have you started thinking about Christmas? The thought came to me this week when I got an order for two twin quilts. We started to discuss dates and then finally decided that the best timing for having the quilts done would be for Christmas gifts.

I don’t have too much to do directly for Christmas, 3 twin quilts and 3 stockings but I would like to partake in my company’s Christmas Craft fair. So right now I am thinking about stock I will need…

  • Christmas stockings (none in stock – would like 10-15)
    ChristmasStockingsx2
  • Cushion/Pillow covers (only two in stock so far – thinking I need 10)
    PostageStamp_Cushion_Road15Front
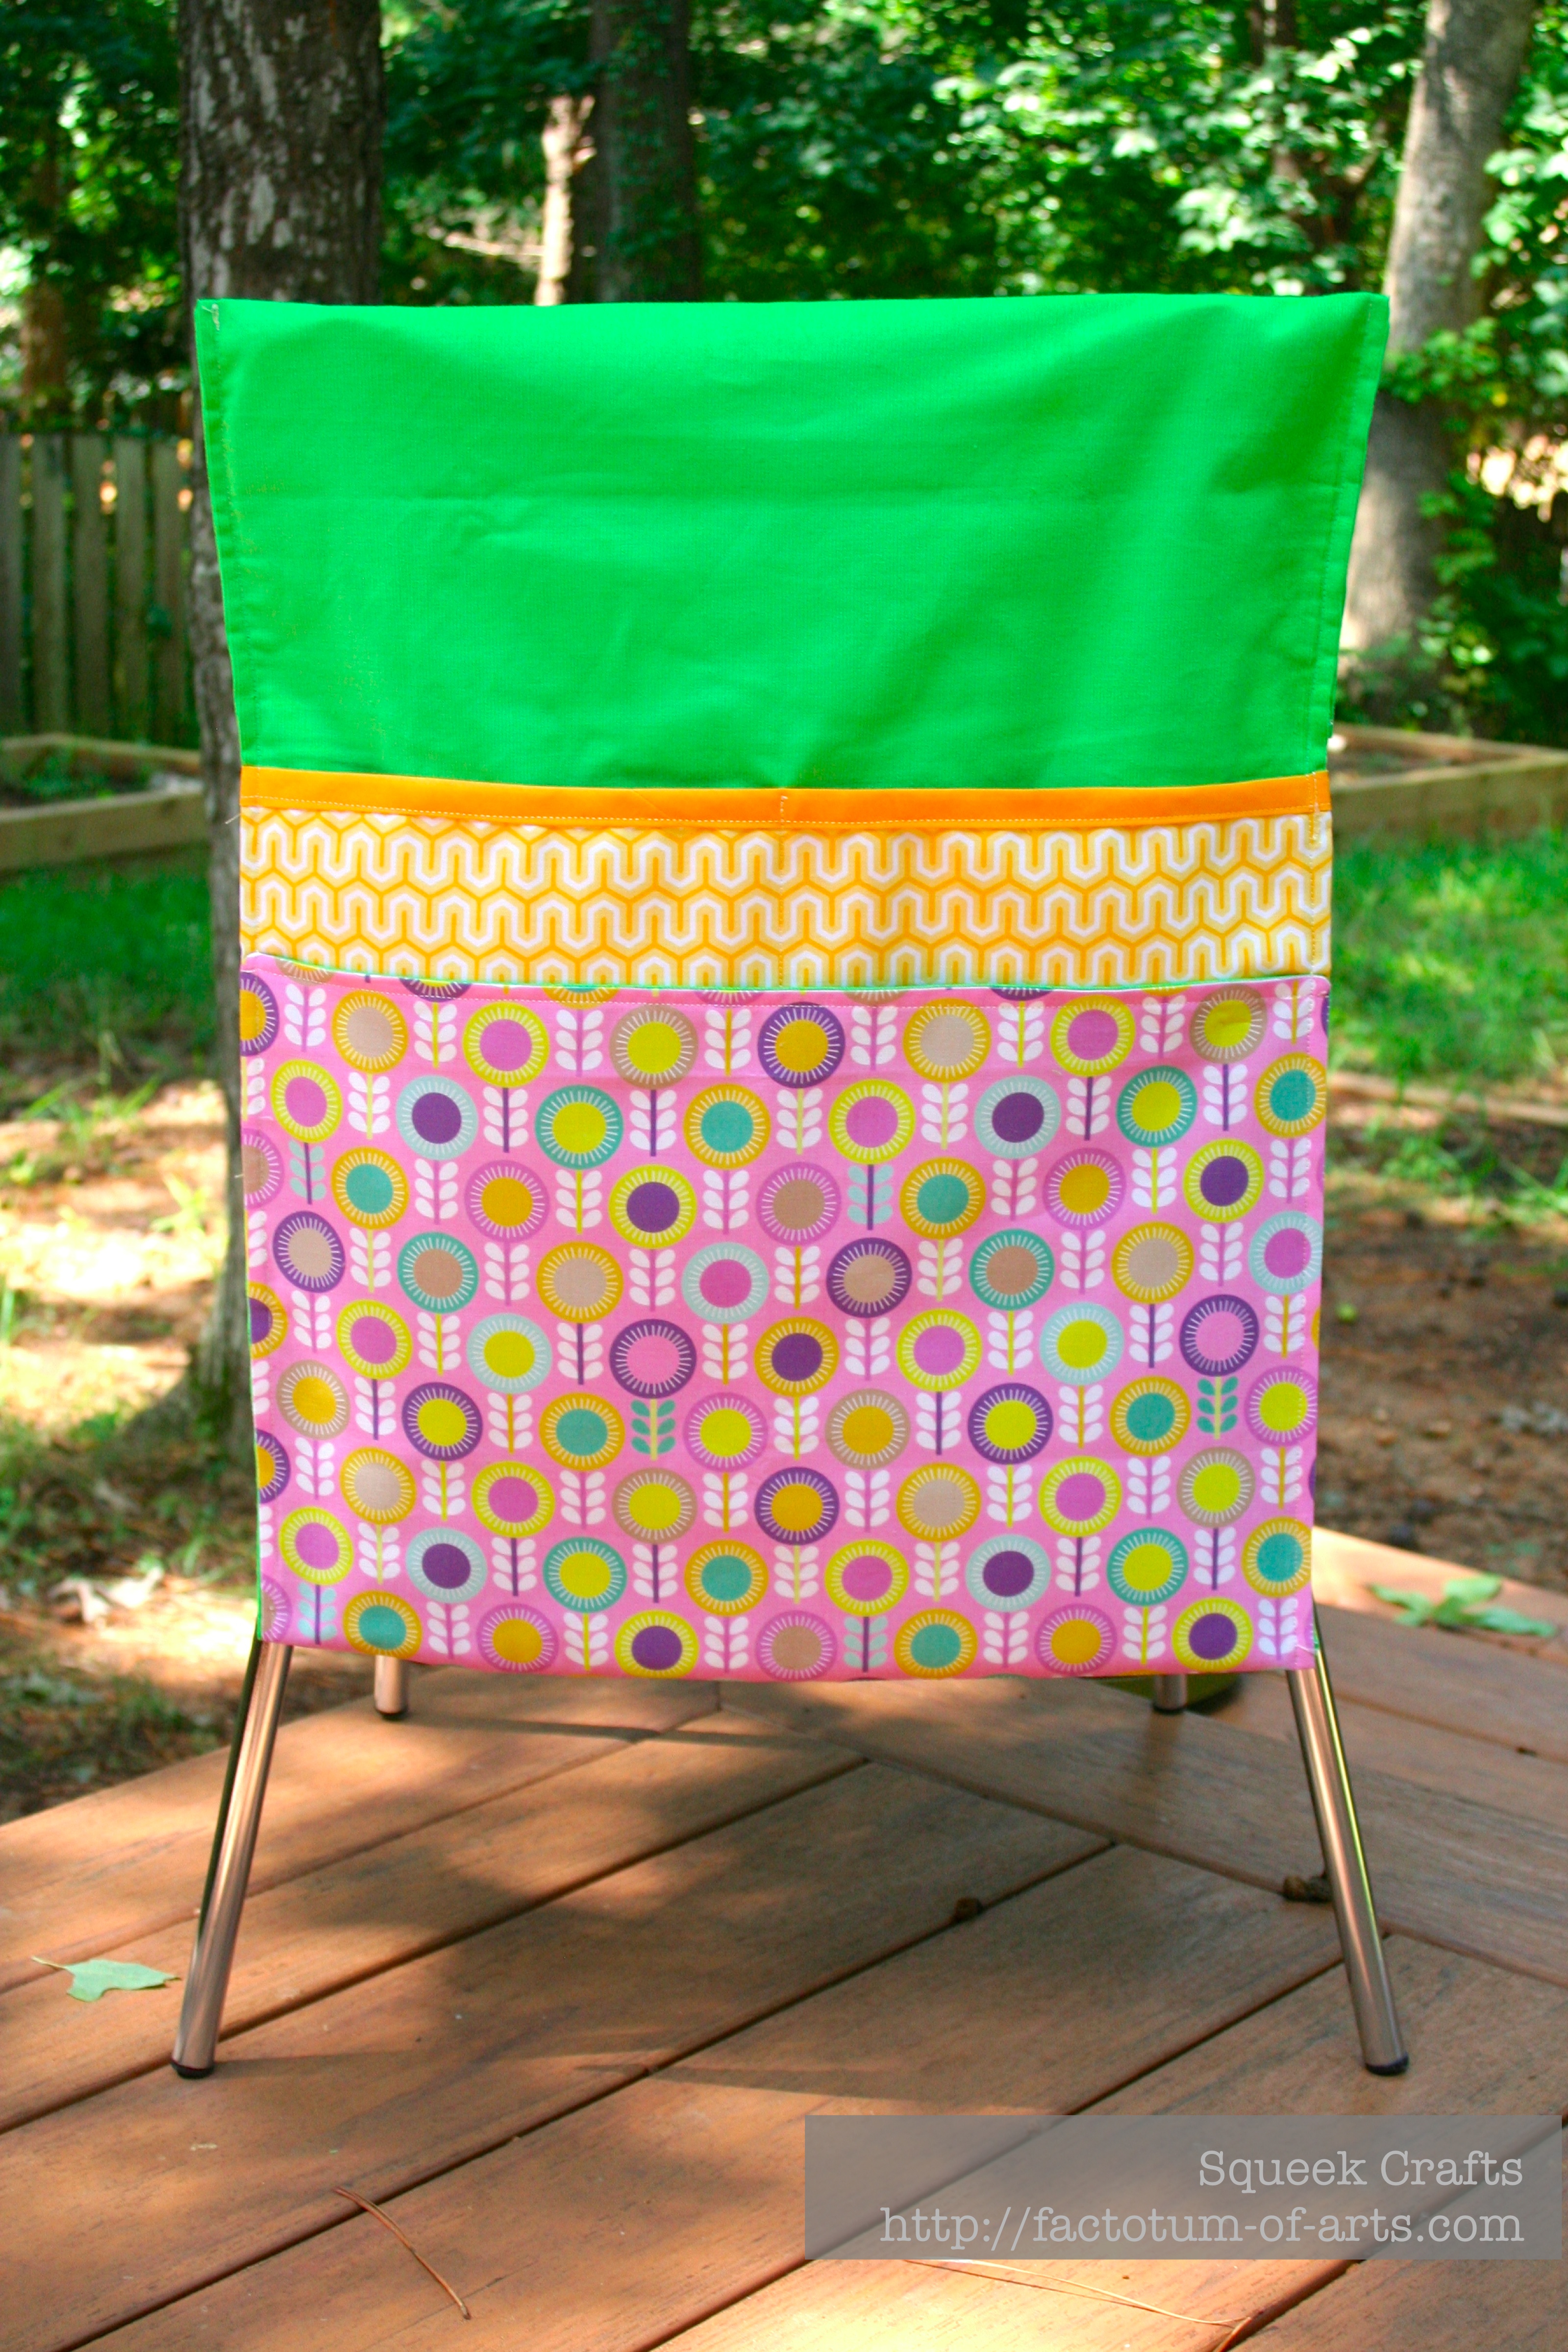
  • Chair bags/pockets (have 7 in stock but would like 14)
    Chairbags_FlowerGardenLimeade
  • Gift card holders (none in stock – would like 10)
  • Pencil cases, Pencil rolls (none in stock but would like 10)

This means a lot of work between now and Christmas. This leads to this month’s “Lovely Year of Finishes” goal – I would like one of the twin quilts finished.
My Button

I am deciding between one of the three following quilts to do this month (these are the 3 that need to be done by Christmas):

This quilt by Knotty Gnome http://blog.knottygnome.com/2013/07/sparkling-diamonds.html
668fd0dd9b04e2913f675576e654b47f

This quilt by Just Quilts
e53d04413dab3607c79d1c1a712dfab3

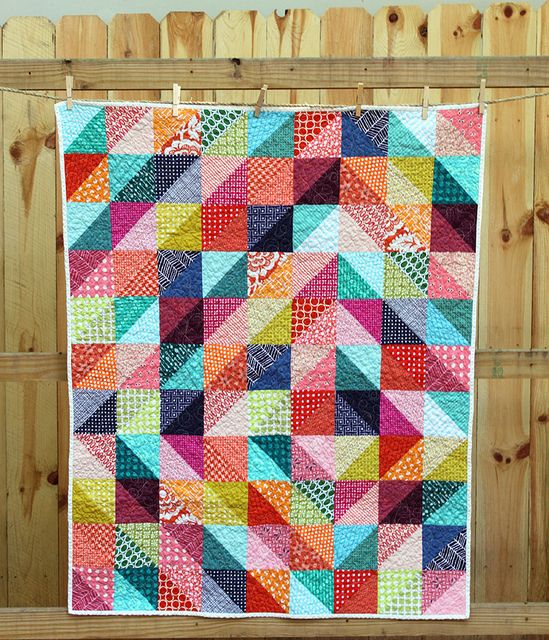
Or Candy Coated from Sunday Morning Quilts (the one on the cover):
261303895361684761c057664cb122c5

Off to the drawing/design board and to see what others are up to this month.

Lessons Learned in Paper-Piecing

One of my favorite activities, that I have learned over the last year, is paper-piecing. I have thoroughly enjoyed this craft and thought this was the best time to pass on some of my tips.

PaperPiecingMosiac

1. Finished Kiwi Cushion – Front, 2. Royal-X-Plus Block, 3. Kea paper pieced block, 4. YellowEyedPenguin_FullBlock, 5. Kiwi – Paper Piecing, 6. Blooming Hot Paper Pieced Block

Tools

  • My number one tool, unfortunately, is my small quick ‘n’ pick (seam ripper).
  • For paper, I just use printer paper, I don’t use freezer paper…its just easier to get straight to the piecing.
  • Sunlight or light is extremely important so you can place/alignment at the right place. I usually lift the piece and the adding fabric to the light and see through the paper and fabrics.
  • My iron for pressing all those seams, essential.
  • A ruler and rotary cutter for trimming 1/4 inch edges.

Tips
My main tips are mostly what I have learned to help avoid those silly mistakes:

  • If you are making too many mistakes, take a break and come back to it. It really helps.
  • After all the trimming etc., it can get a little messy. So, to help organize and clean as you go, I use two bins; a small scrap bin to put small reusable scraps into, and a bowl for rubbish/trash.
    PaperPiecing_ScrapBins
  • I use a reduced stitch size (1.2 on my brother sewing machine) so that it is easy to tear the paper away at the end.
  • Make sure your fabric is big enough and aligned correctly, to take into the consideration the angle of the seam (quick ‘n’ pick reason #1).
  • Make sure your fabric is right side to right side (you won’t believe the number of times I go to check and its the wrong side up, quick ‘n’ pick reason #2).
  • Make sure your fabric does not fold over when you sew, otherwise you will need to unstitch (hence the quick ‘n’ pick reason #3).
  • Position needle and align the foot, sew seams from the inside to outside.
  • Always trim seams with 1/4 inch.
  • Always press each seam.

I thought I would now step through a tutorial for how I create a piece and join those pieces. I am using a block that was designed by Esther @ I patch and quilt – Blooming Hot (available on Craftsy).

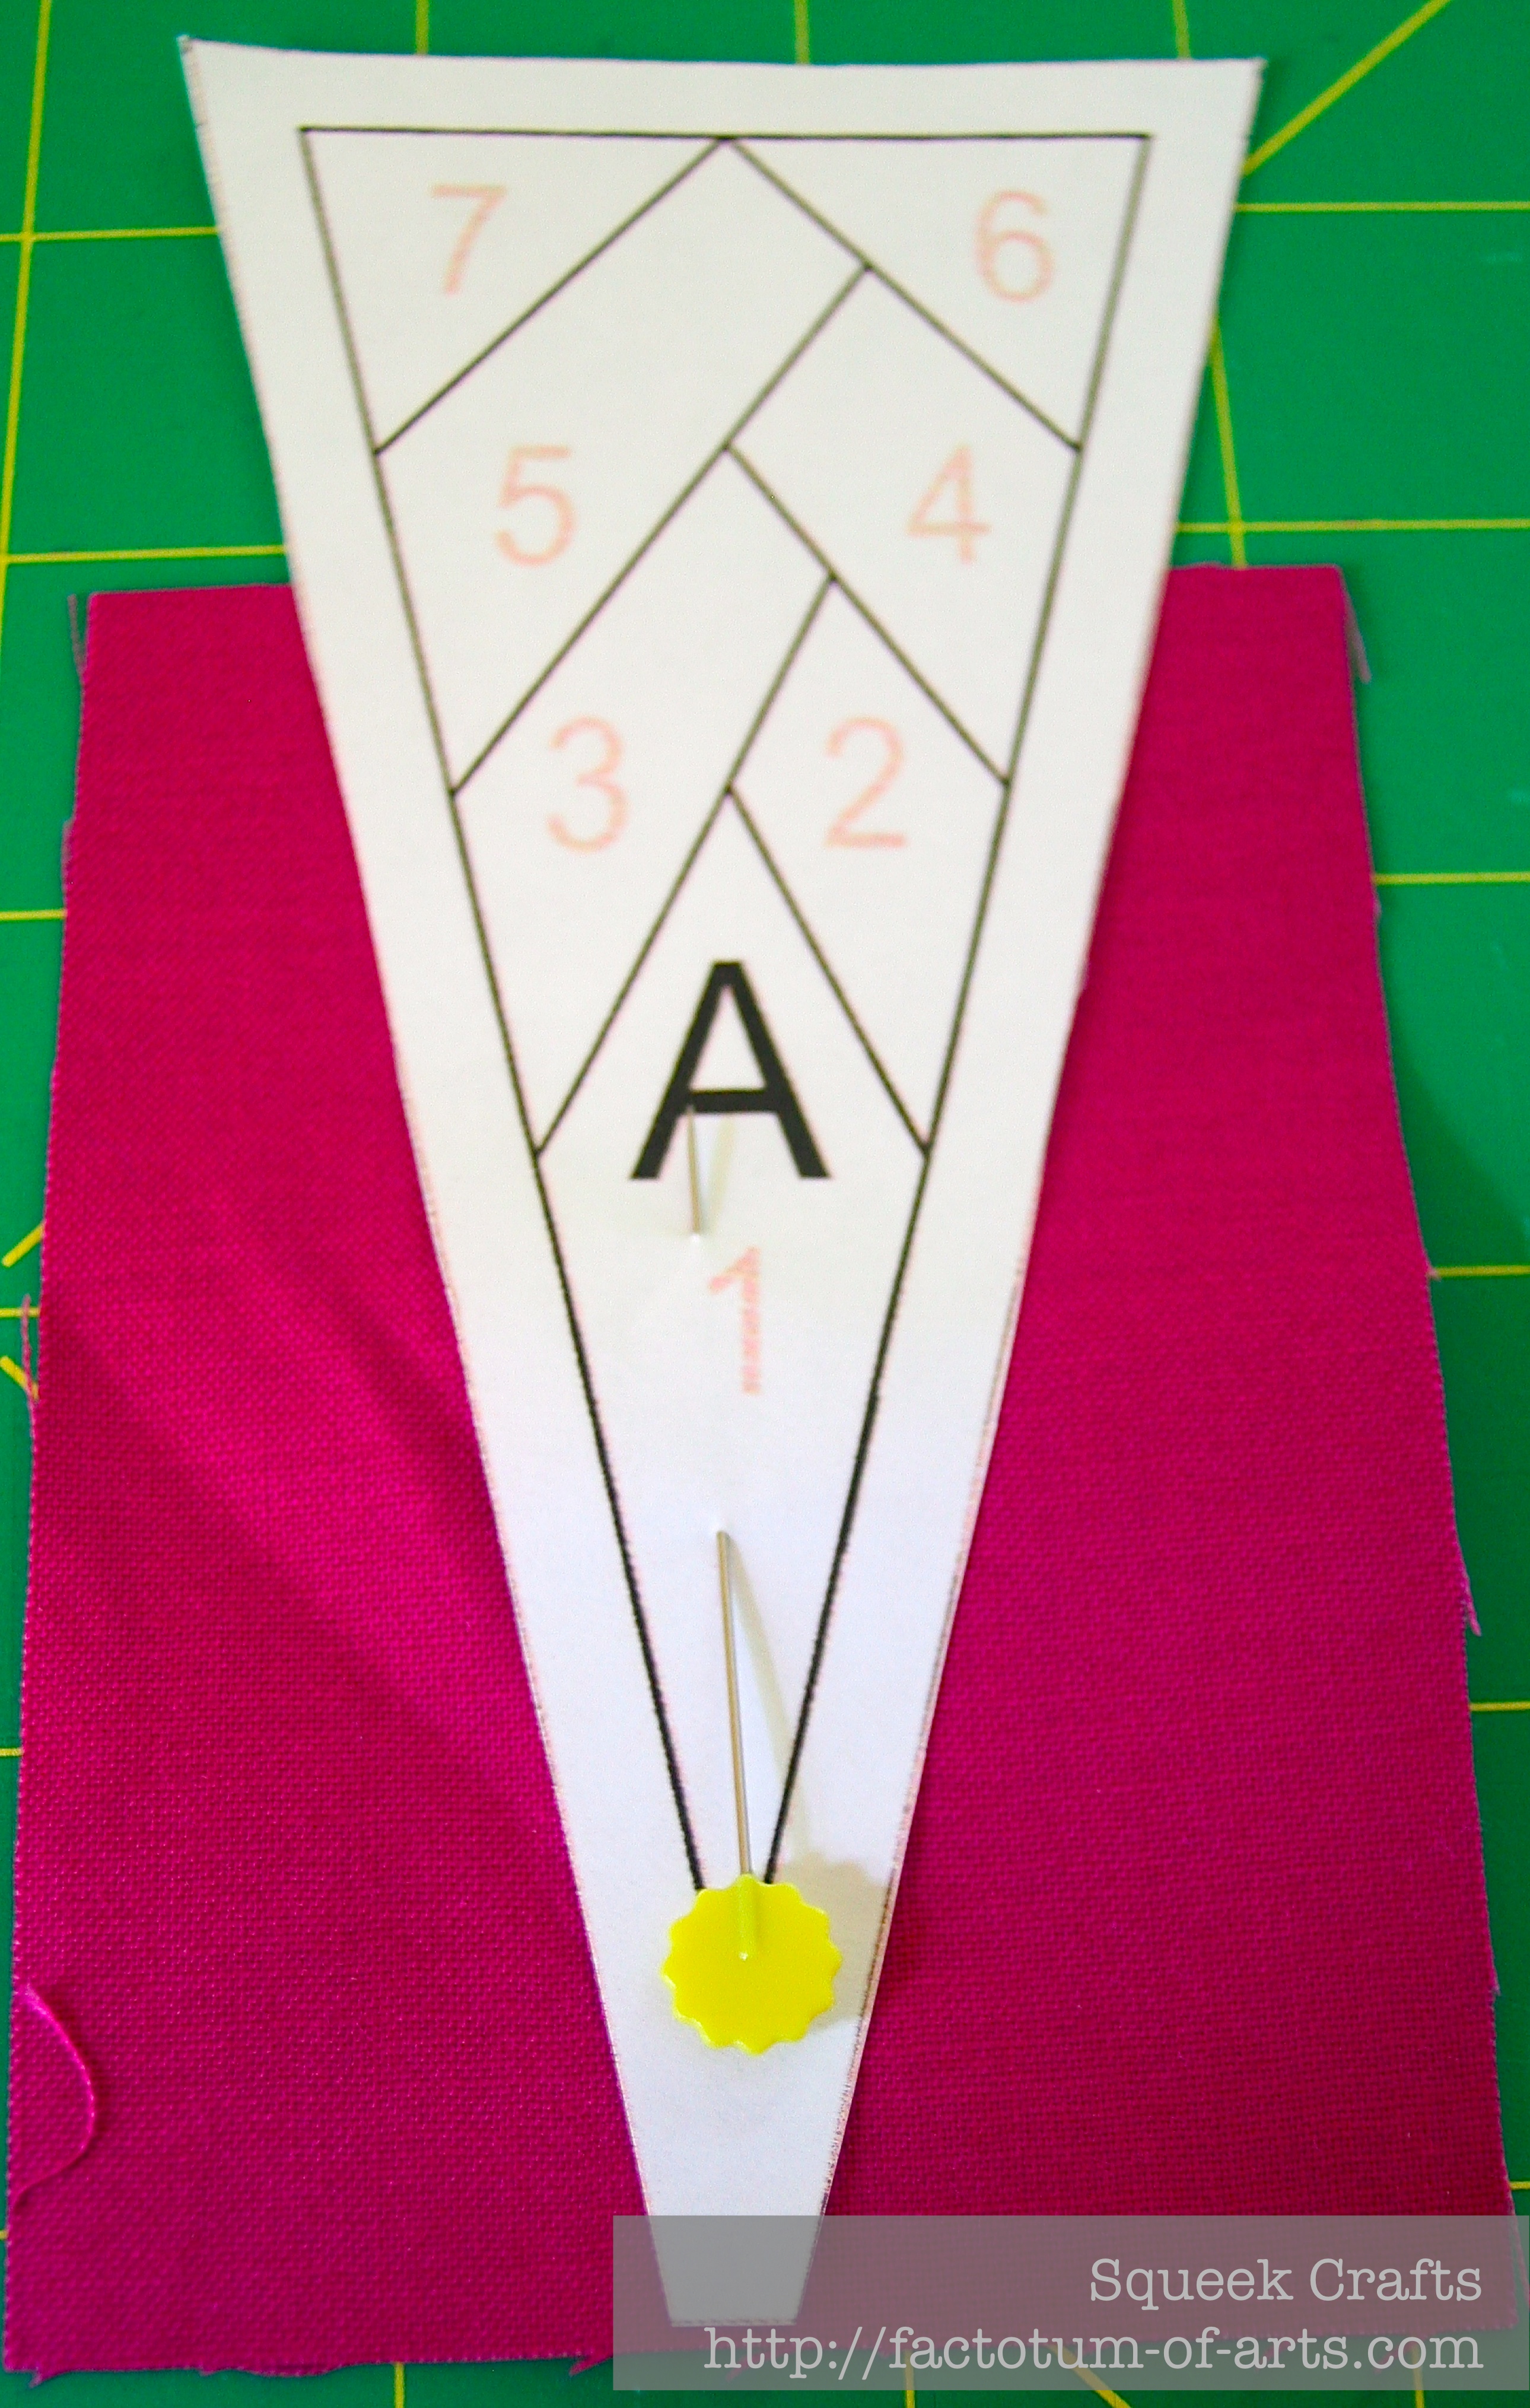
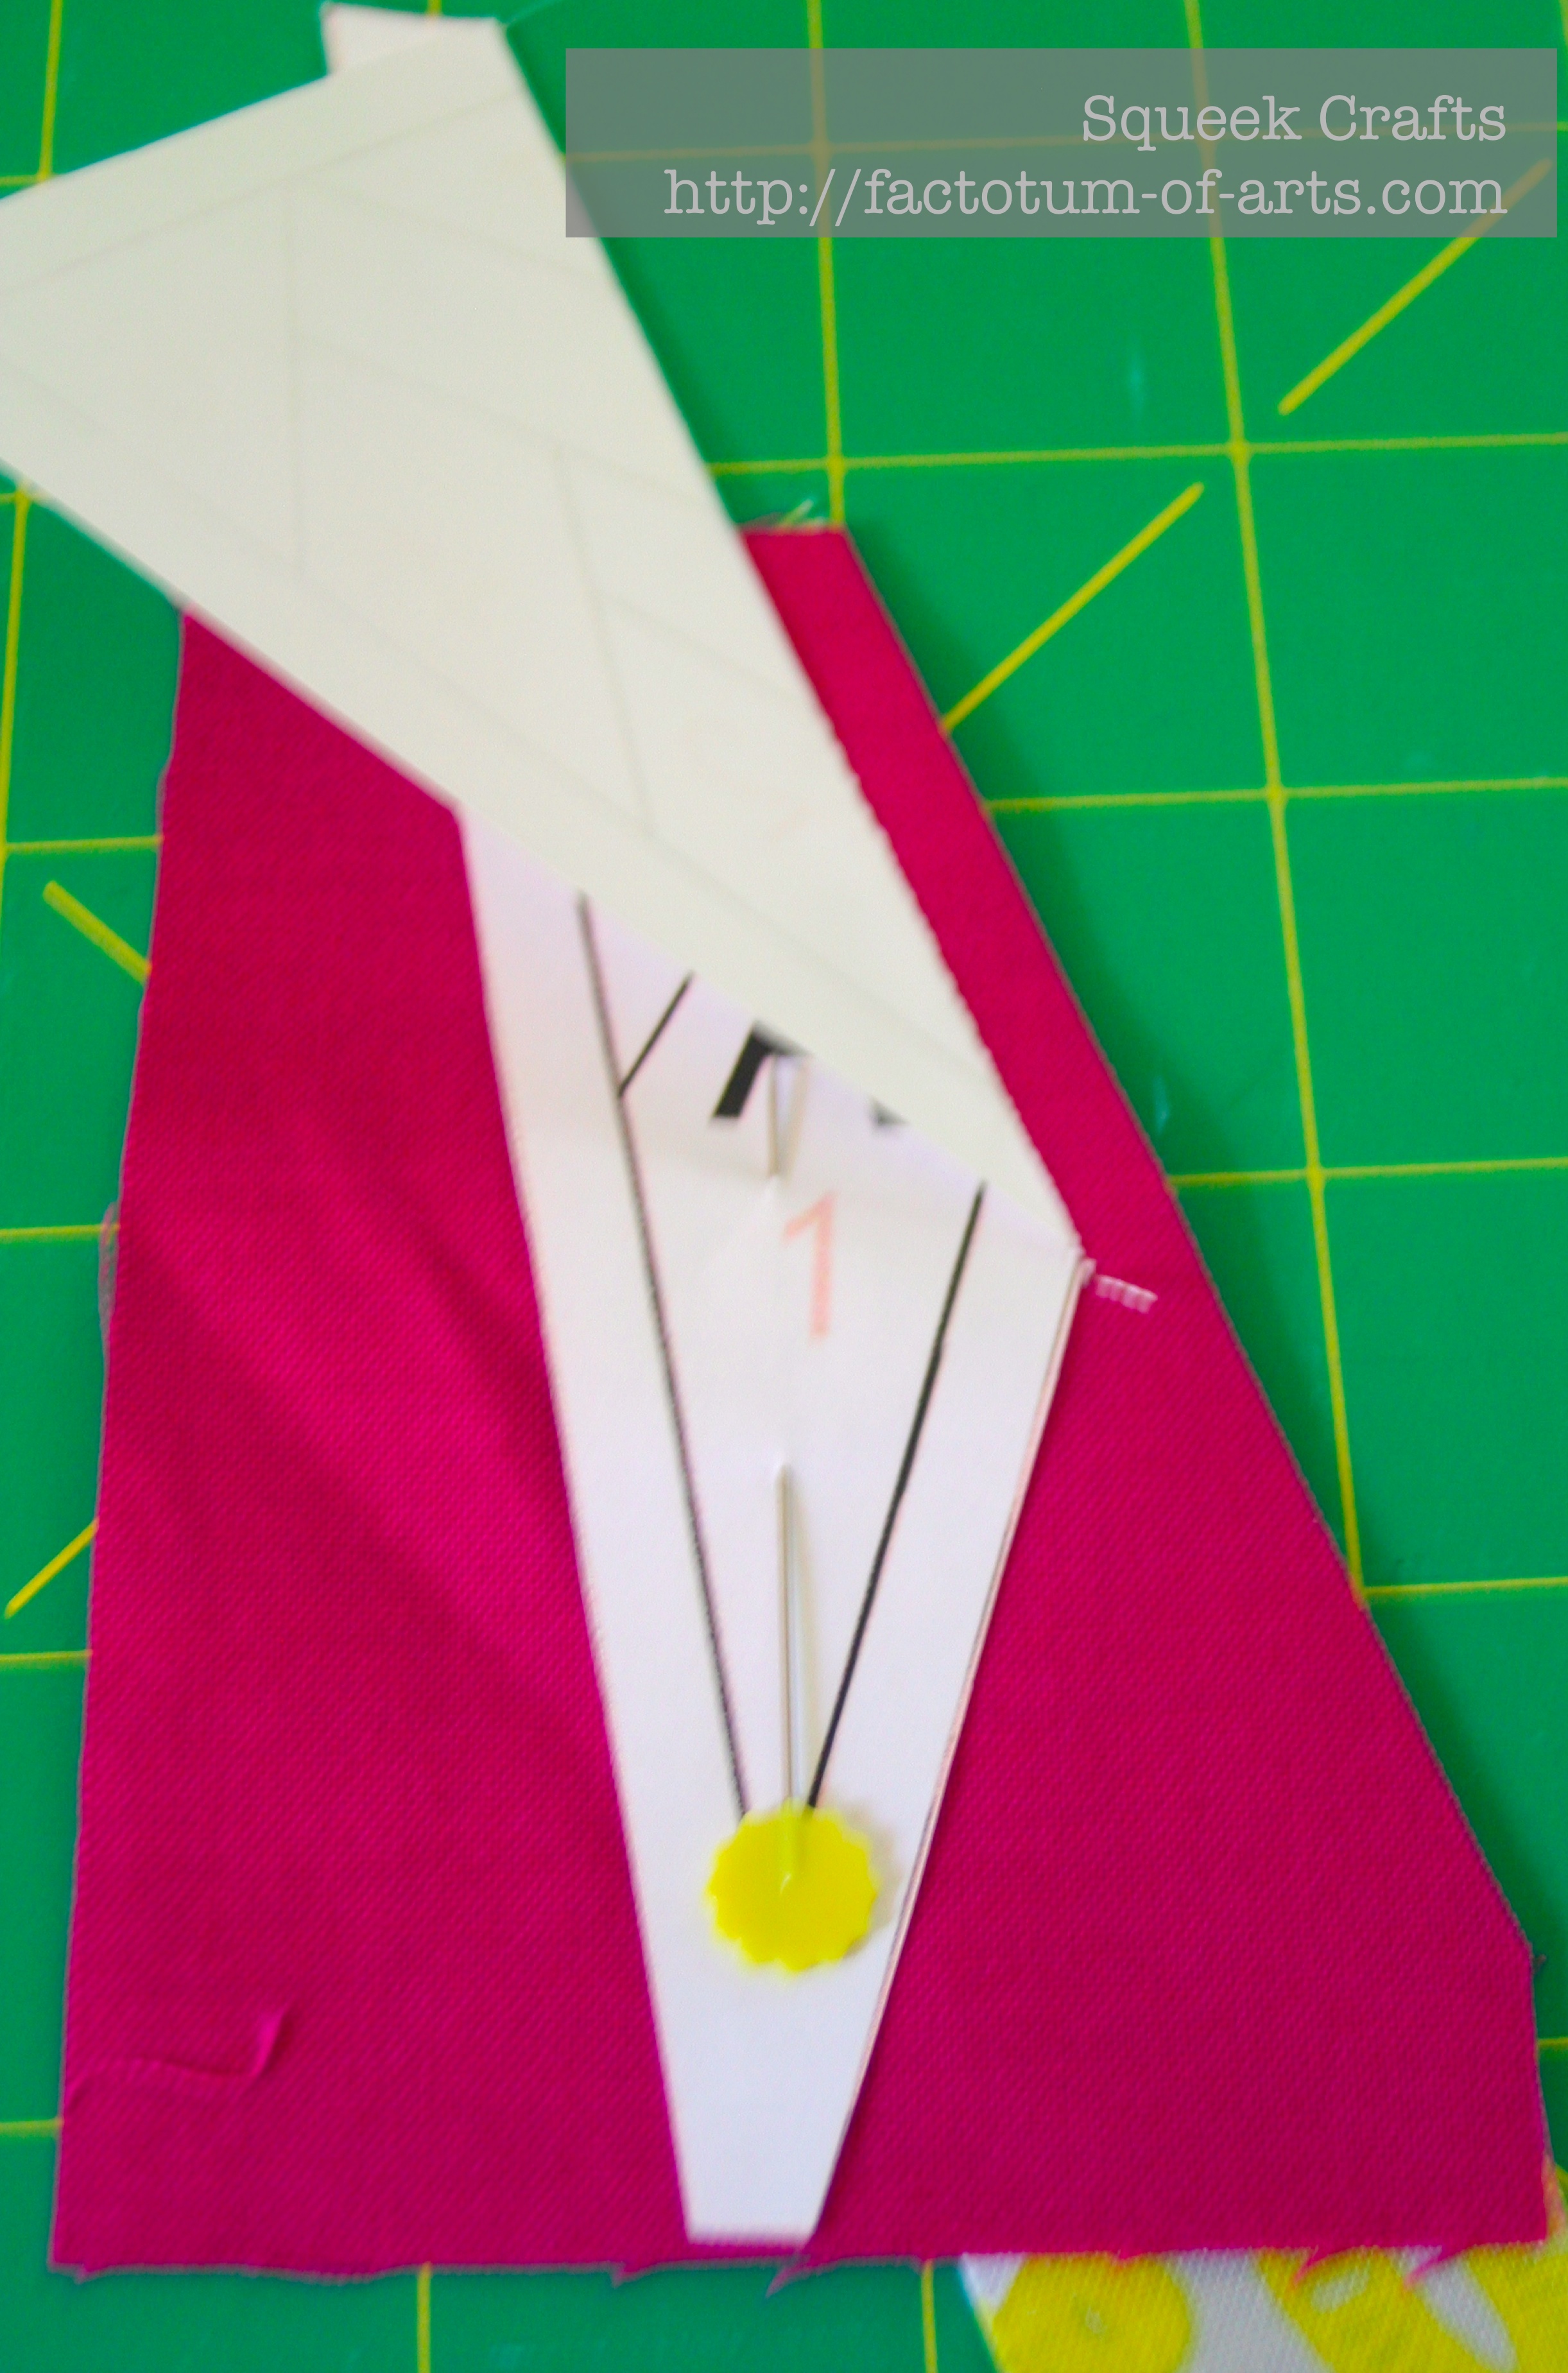
  1. If the first piece is large, I usually pin it to hold it in place.PaperPiecing_FirstPiece
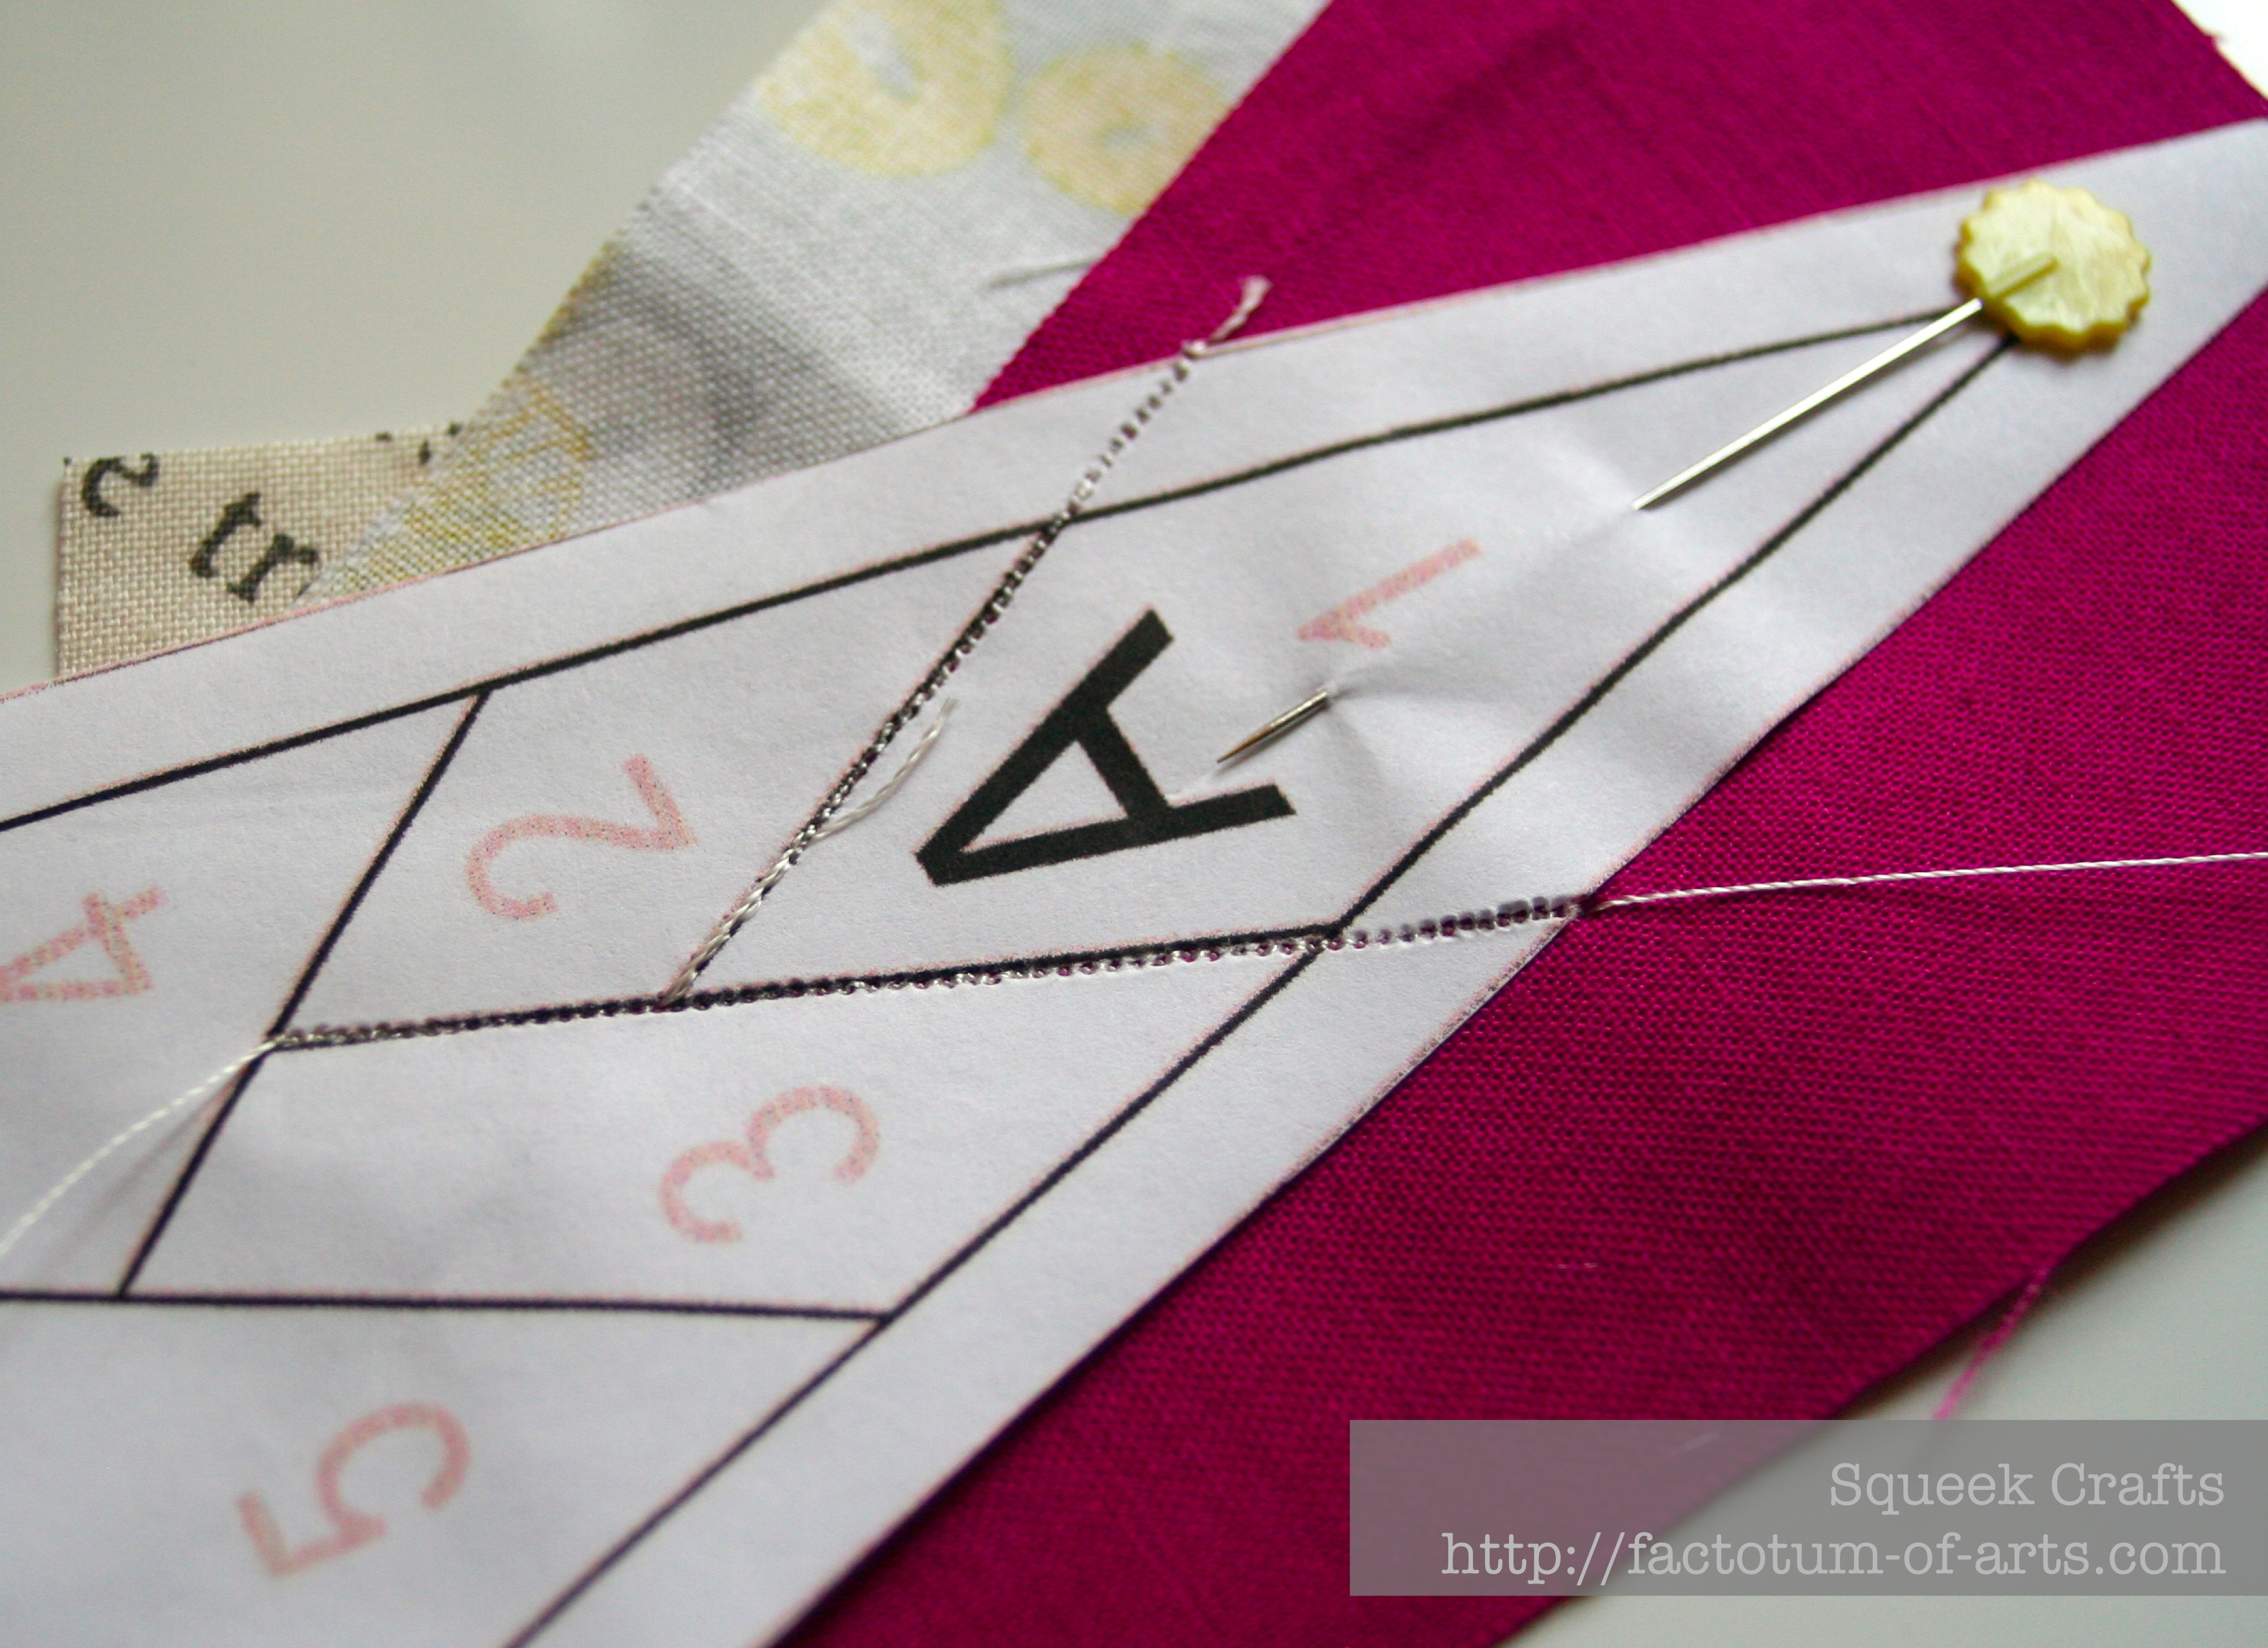
  2. Place and align the next piece of fabric so right sides are facing. Line up the needle point with the tip of the line you are sewing, sew from inner points to the outer points.PaperPiecing_FirstStitches
  3. Sew through a 1/4 inch seam markings to the edge of the paper. Here is an example of two seams (pieces 1 and 2).PaperPiecing_SewedSeams
  4. After each seam, before pressing, measure and trim 1/4 inch from the seam to remove excess fabric. This keeps the piecing neat but also stops any dark fabrics from showing through.
    PaperPiecing_TrimmingSeamEdge PaperPiecing_TrimmedEdges
  5. Turn piece over and press the fabric pieces back, all right sides are facing up.PaperPiecing_PressedSeams2Pieces
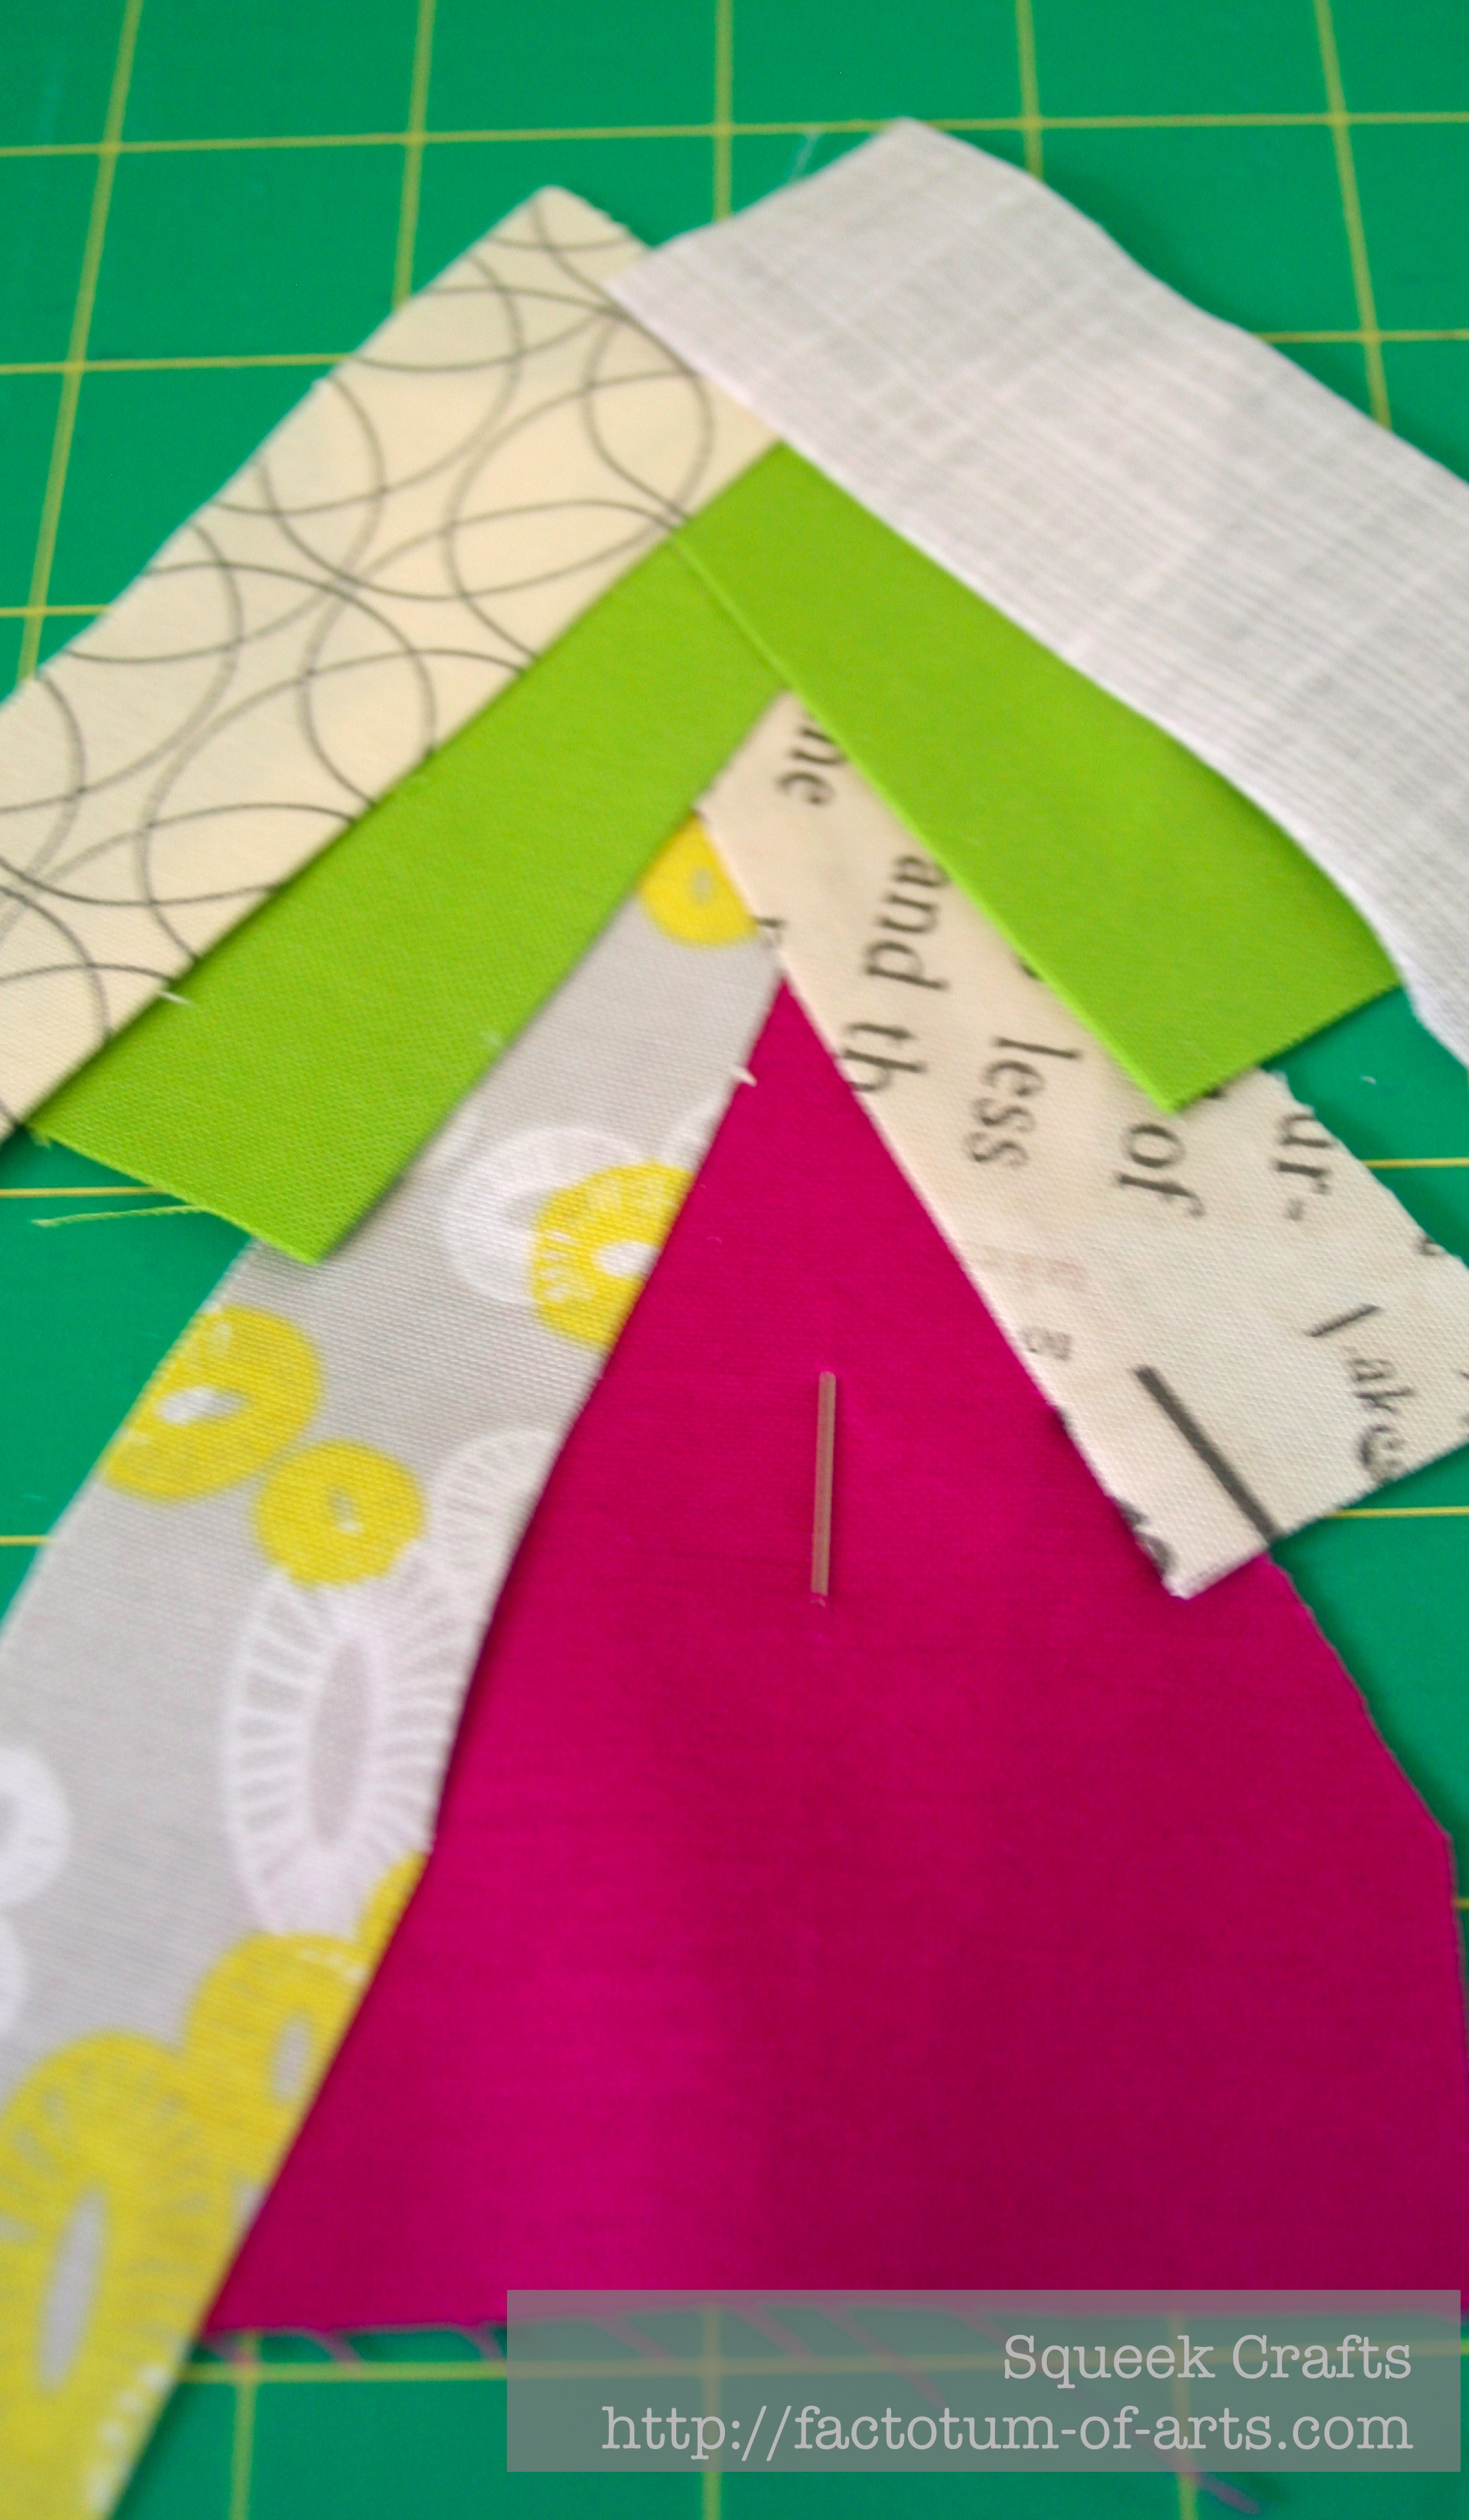
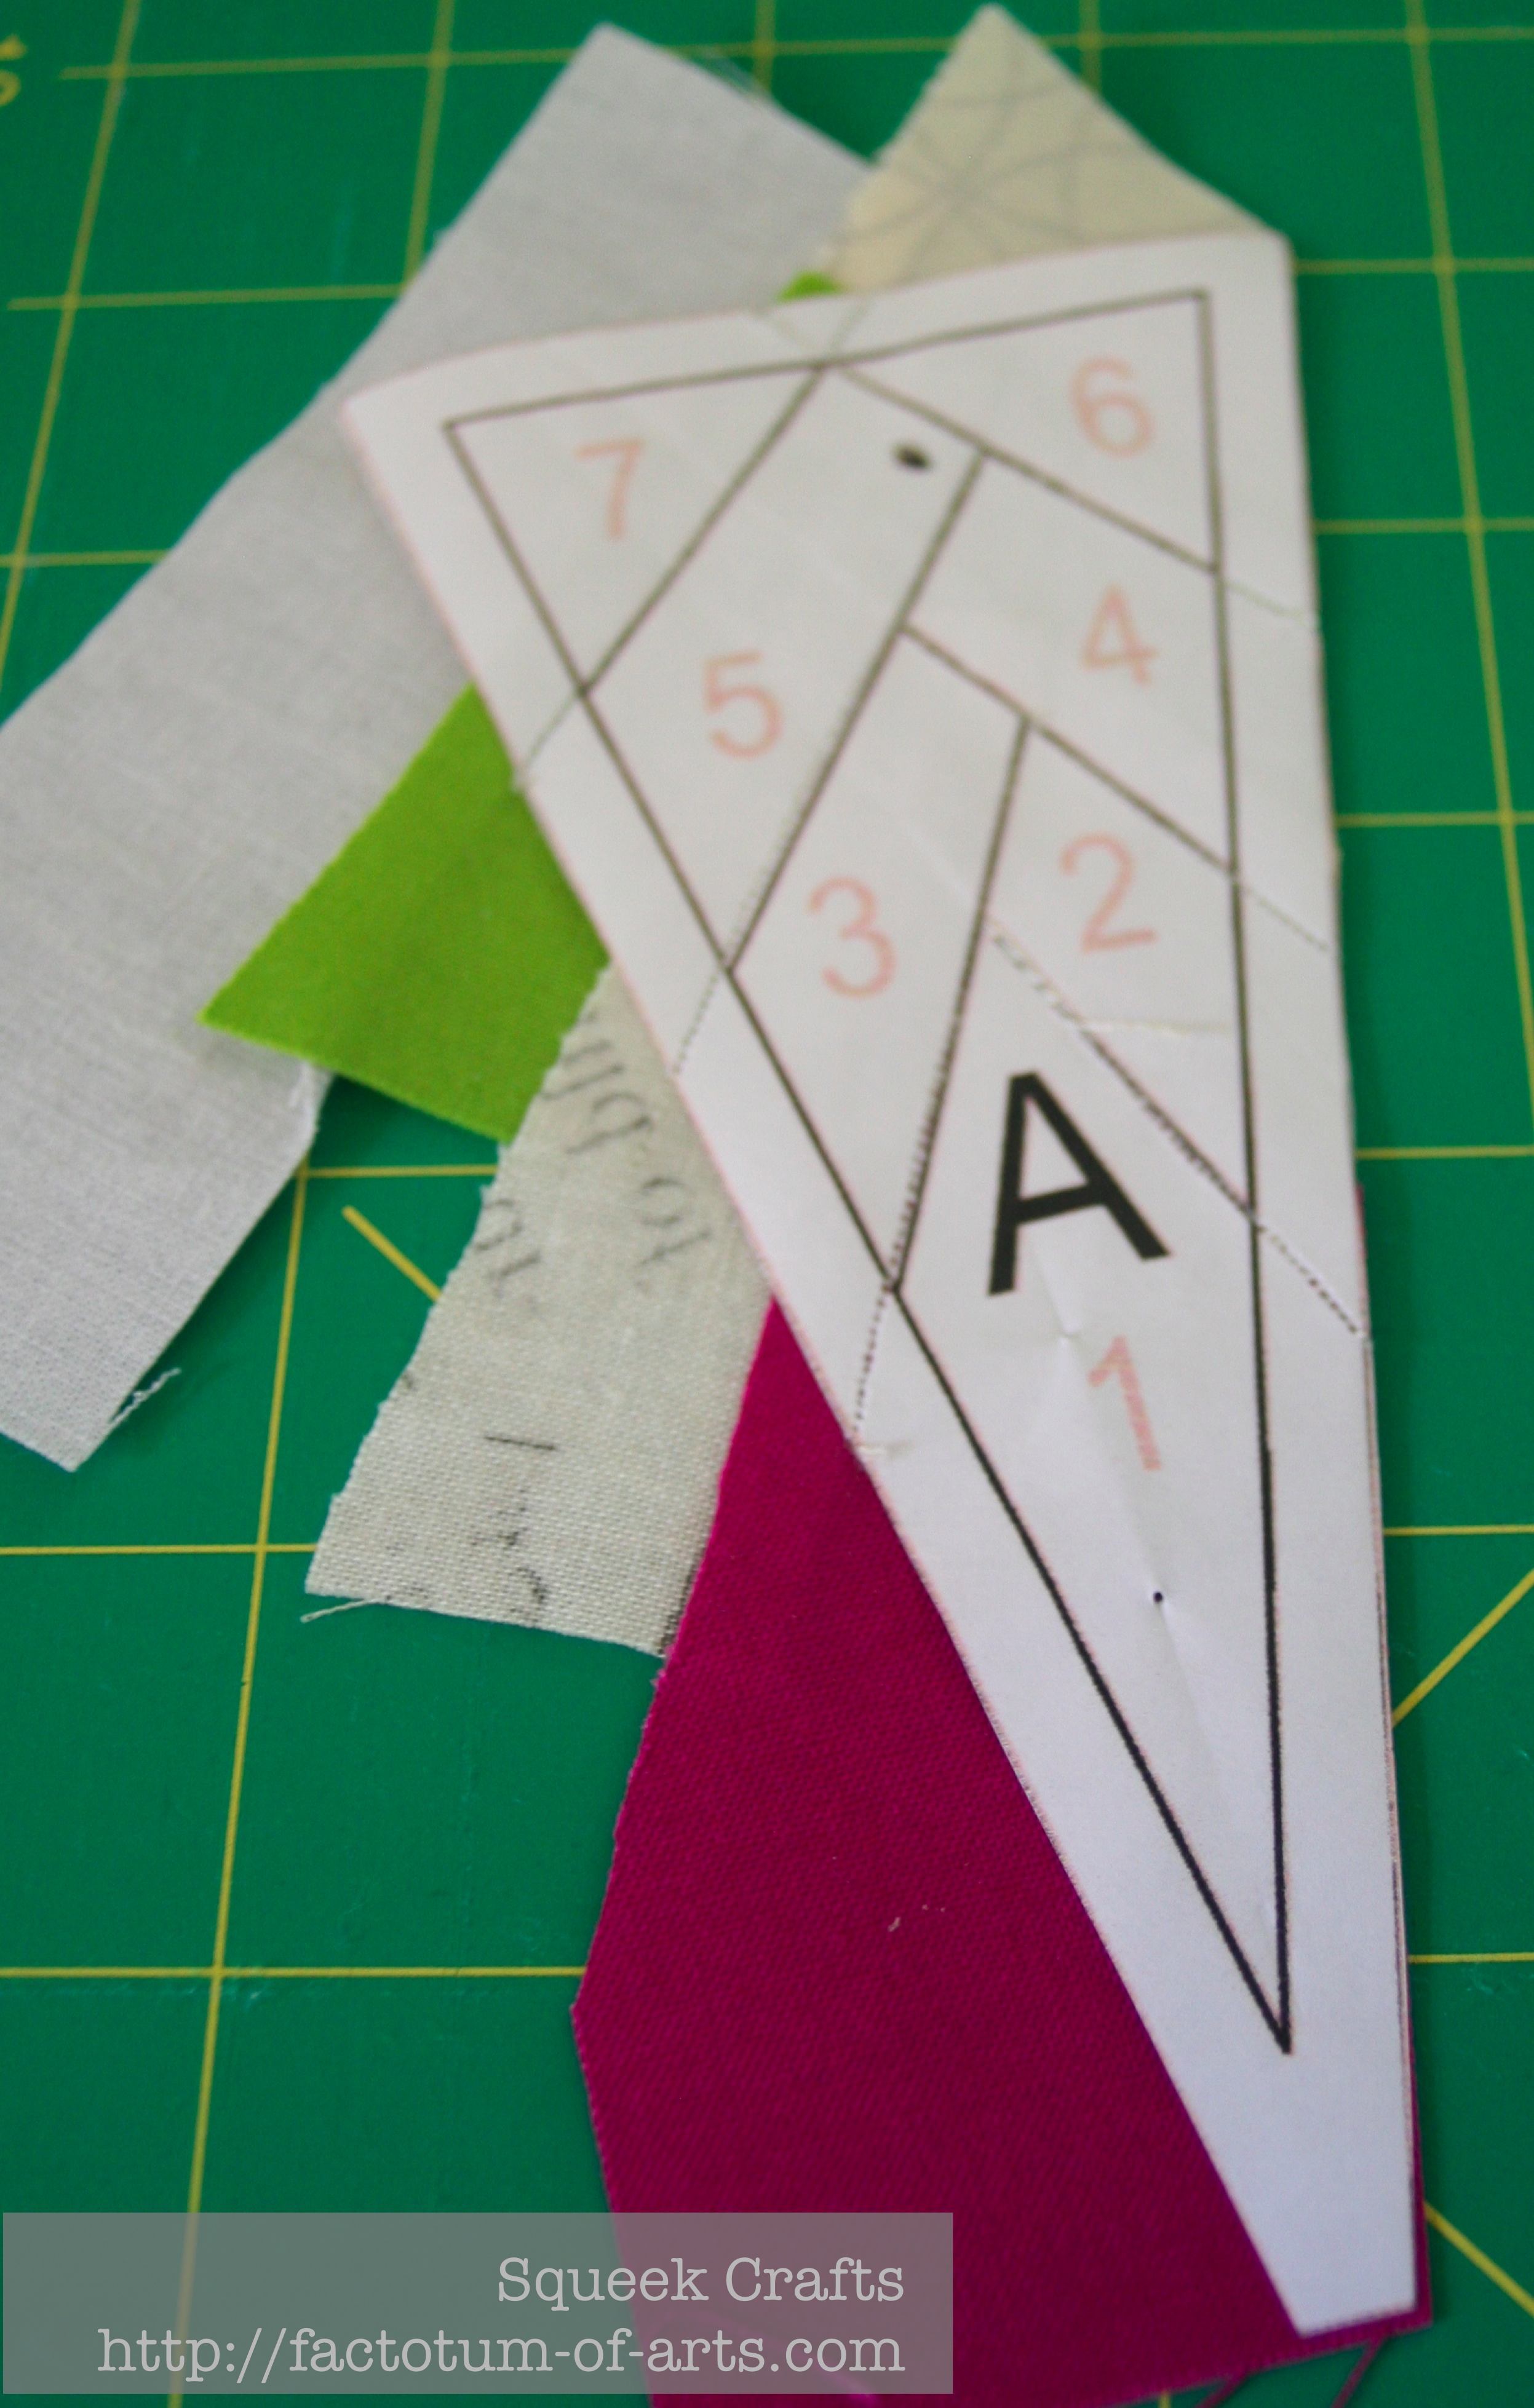
  6. Continue until all seams/pieces are sewed and pressed. Now, it is time to trim the piece.
    PaperPiecing_AllUntrimmedPieces
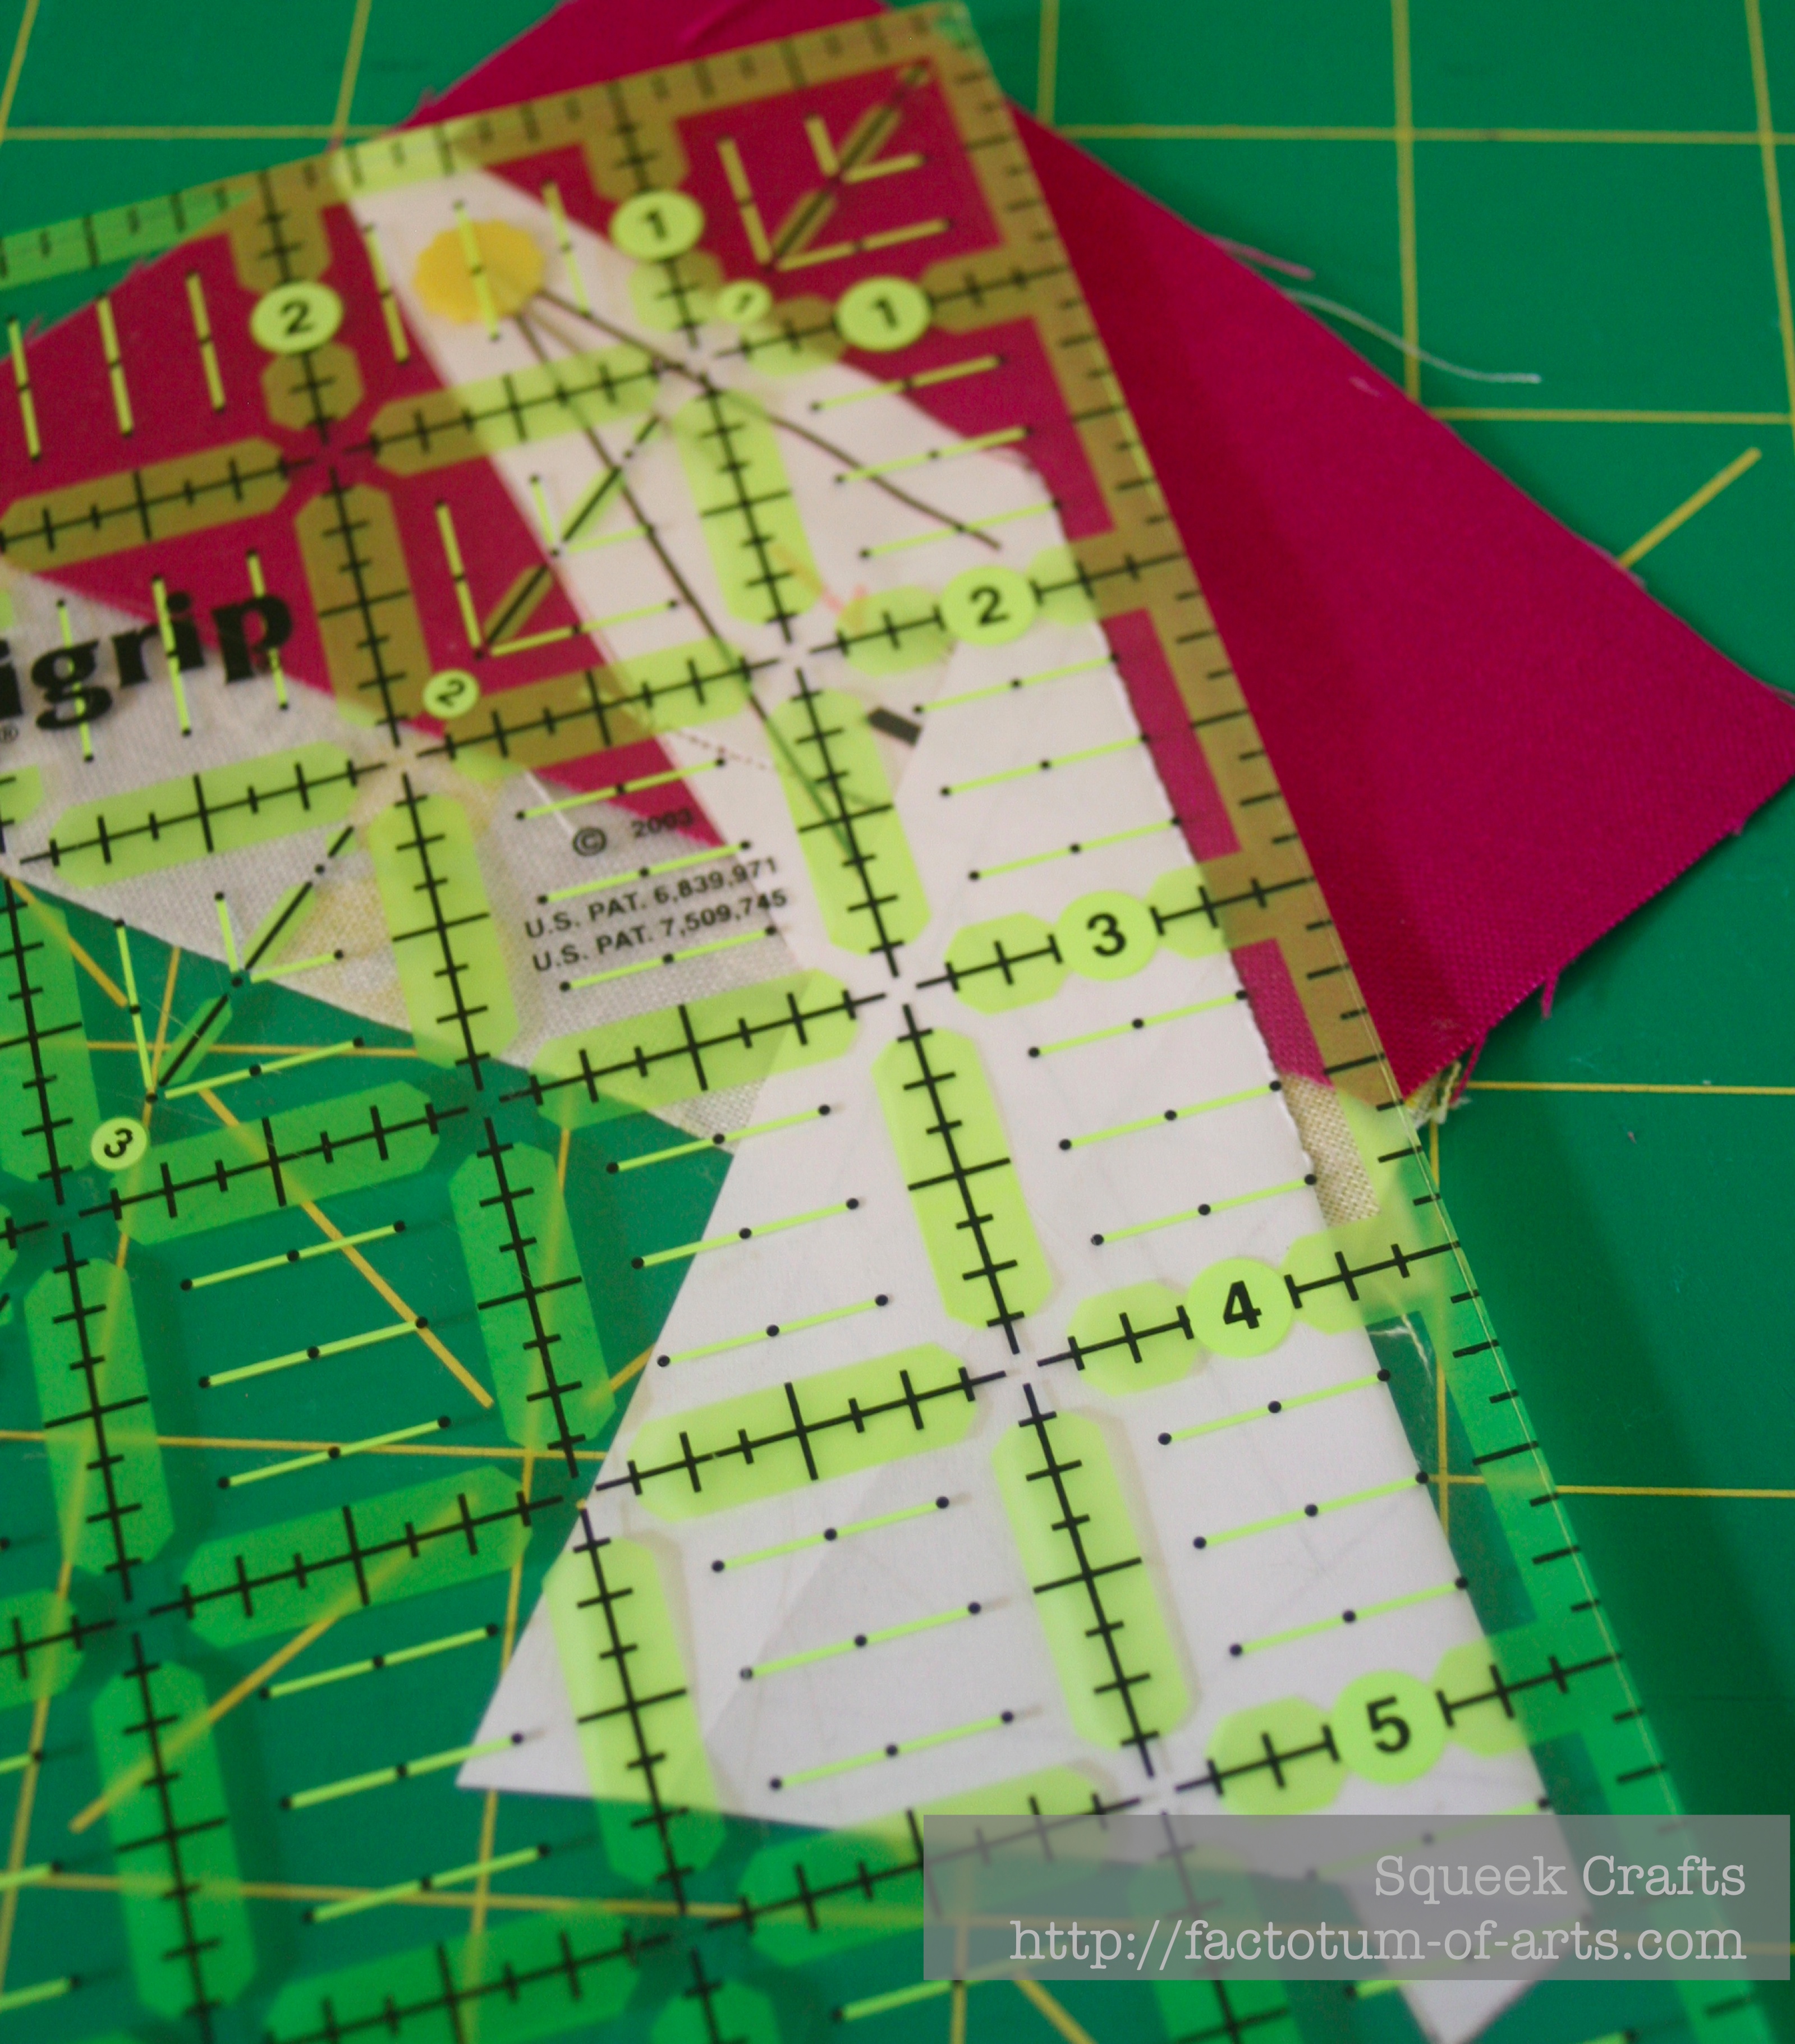
  7. Use a ruler and measure a 1/4 inch seam from where the joining line/piecing line will be. You can’t always just use the print out as you may have decreased or increased scale. You need this to take into account the need for a 1/4 inch seam.PaperPiecing_FinalEdgeTrimming
  8. Continue until all edges are trimmed.
    PaperPiecing_FinalPieceTrimmed
  9. For joining pieces, I think this varies depending on the designer and the pattern. Sometimes I can just line up the two ends and sew 1/4 inch in and the pieces line up well.For this particular block, I wanted to ensure the green pieces are aligned correctly. I measured  a 1/4 inch from the edge and marked with chalk.
    PaperPiecing_SeamMatchingRuler PaperPiecing_SeamMatchingMarks
  10. I repeated this step with the second piece as well. I then matched up the white lines and pinned/held them in place, as I aligned the top and bottom of the edge as well. Sew a 1/4 inch seam and press. I tend to press seams apart when paper piecing to reduce the bulk.
    PaperPiecing_TwoPartsPieced

The final block looked like this:
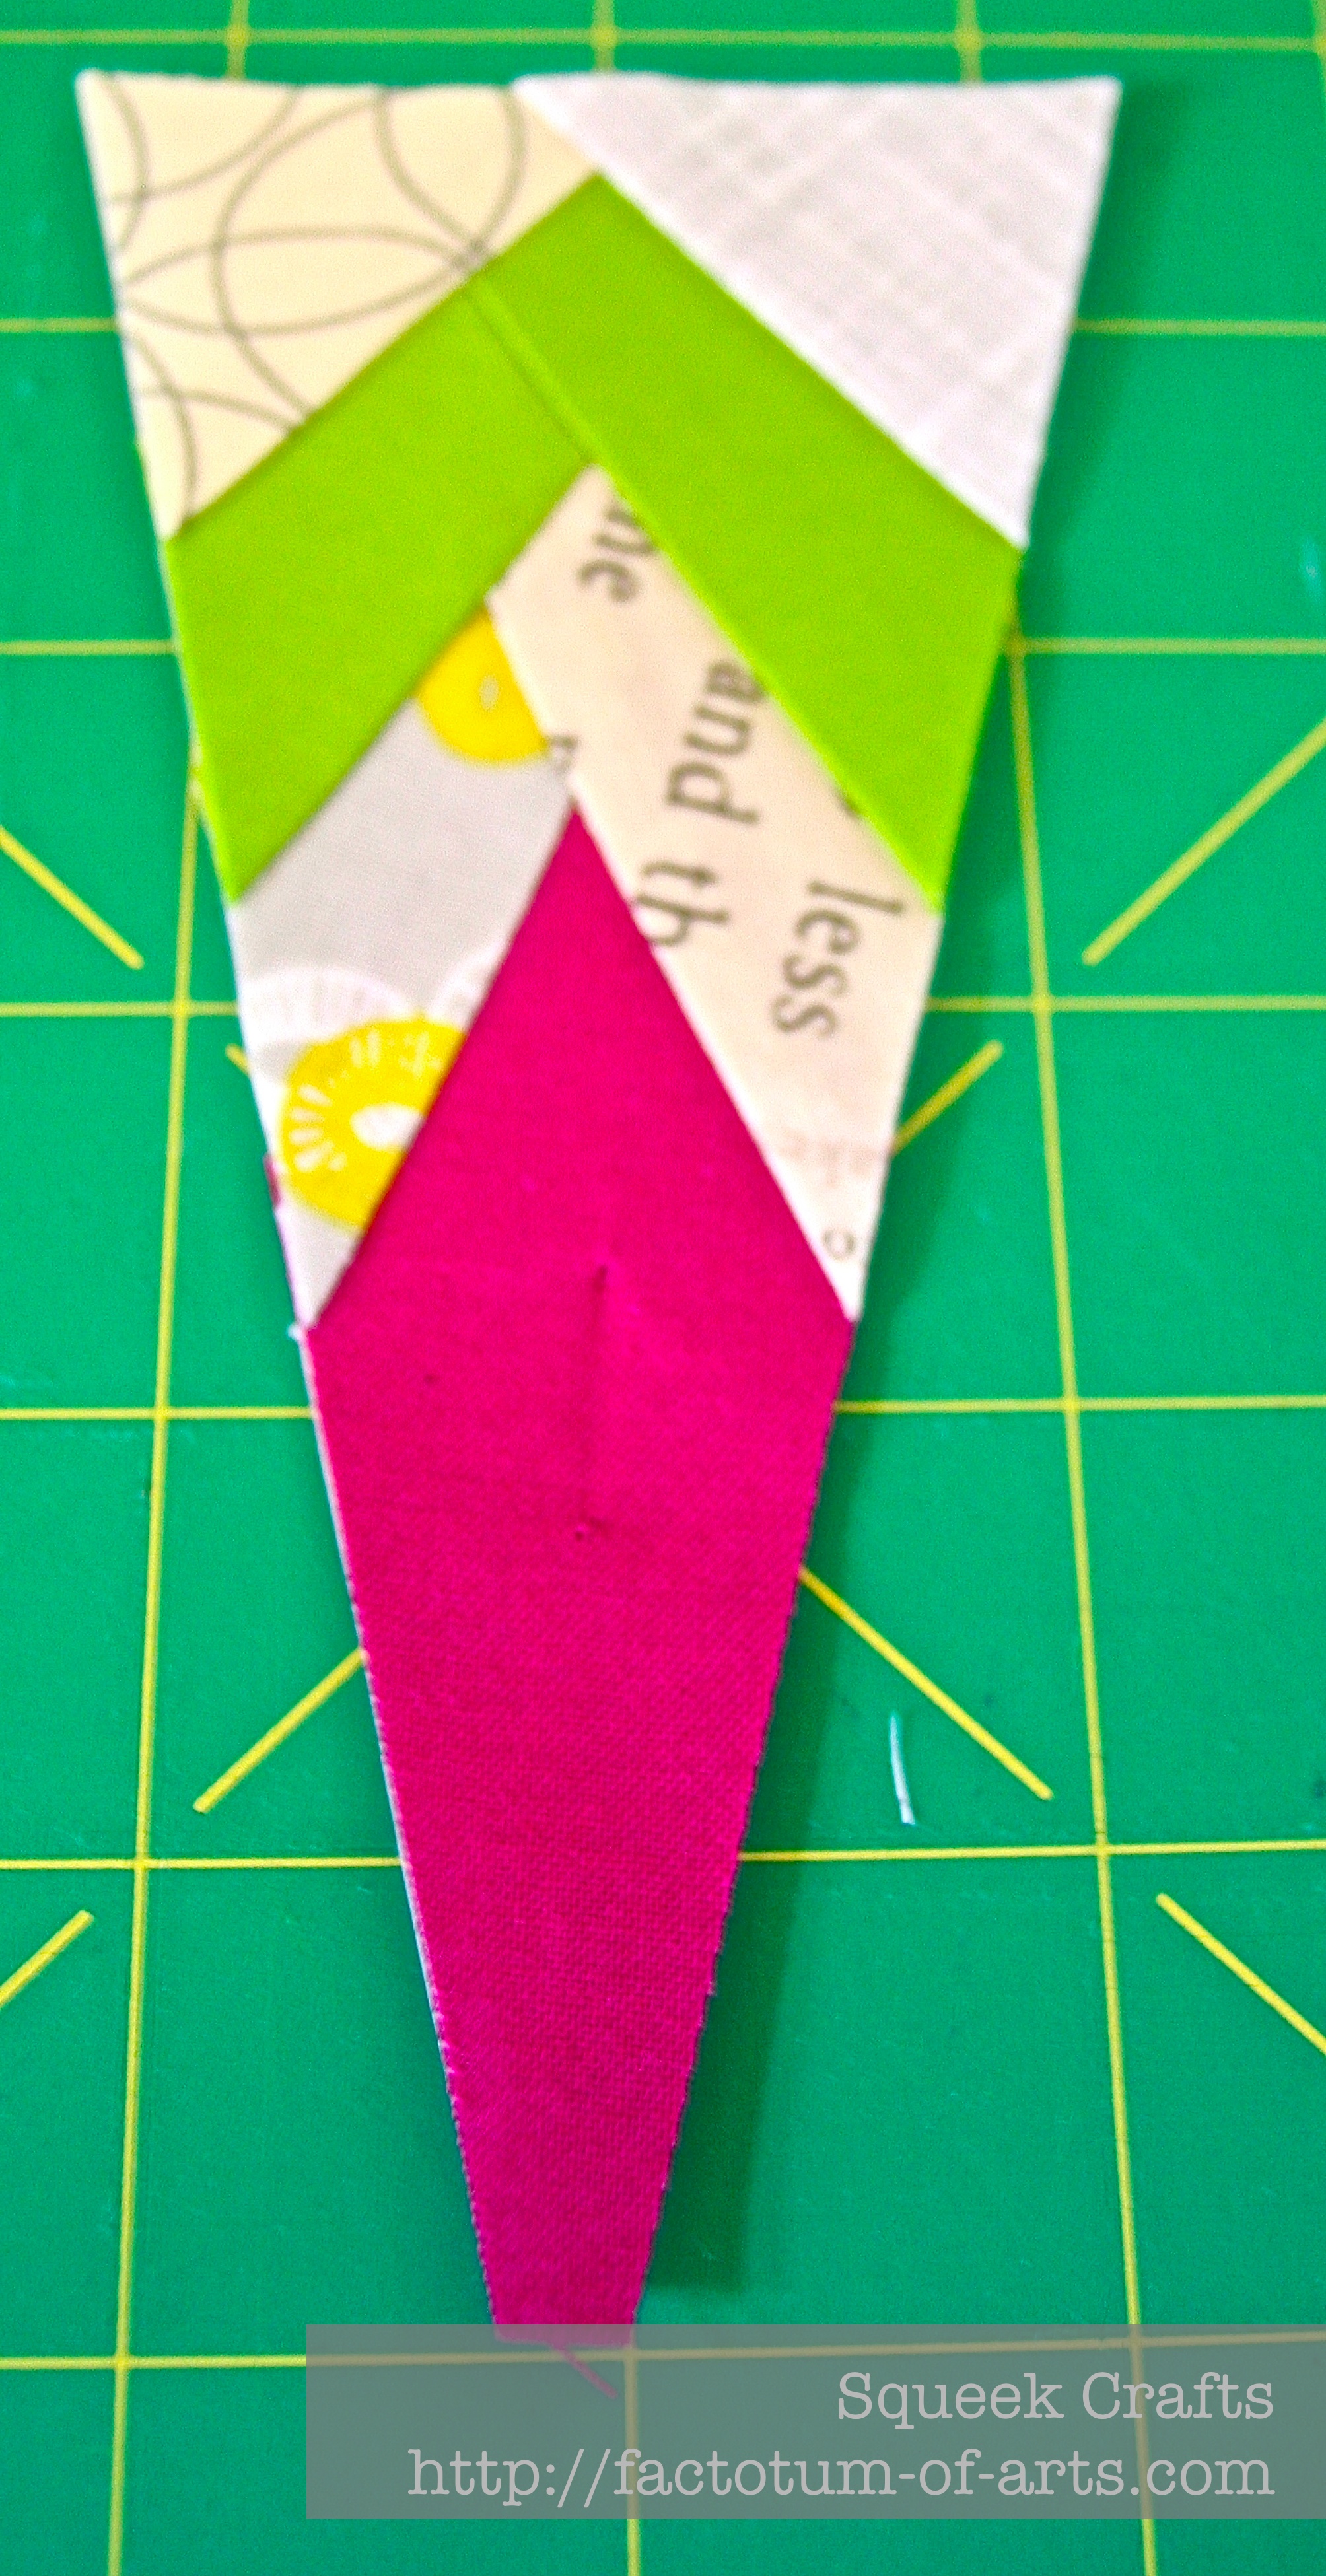
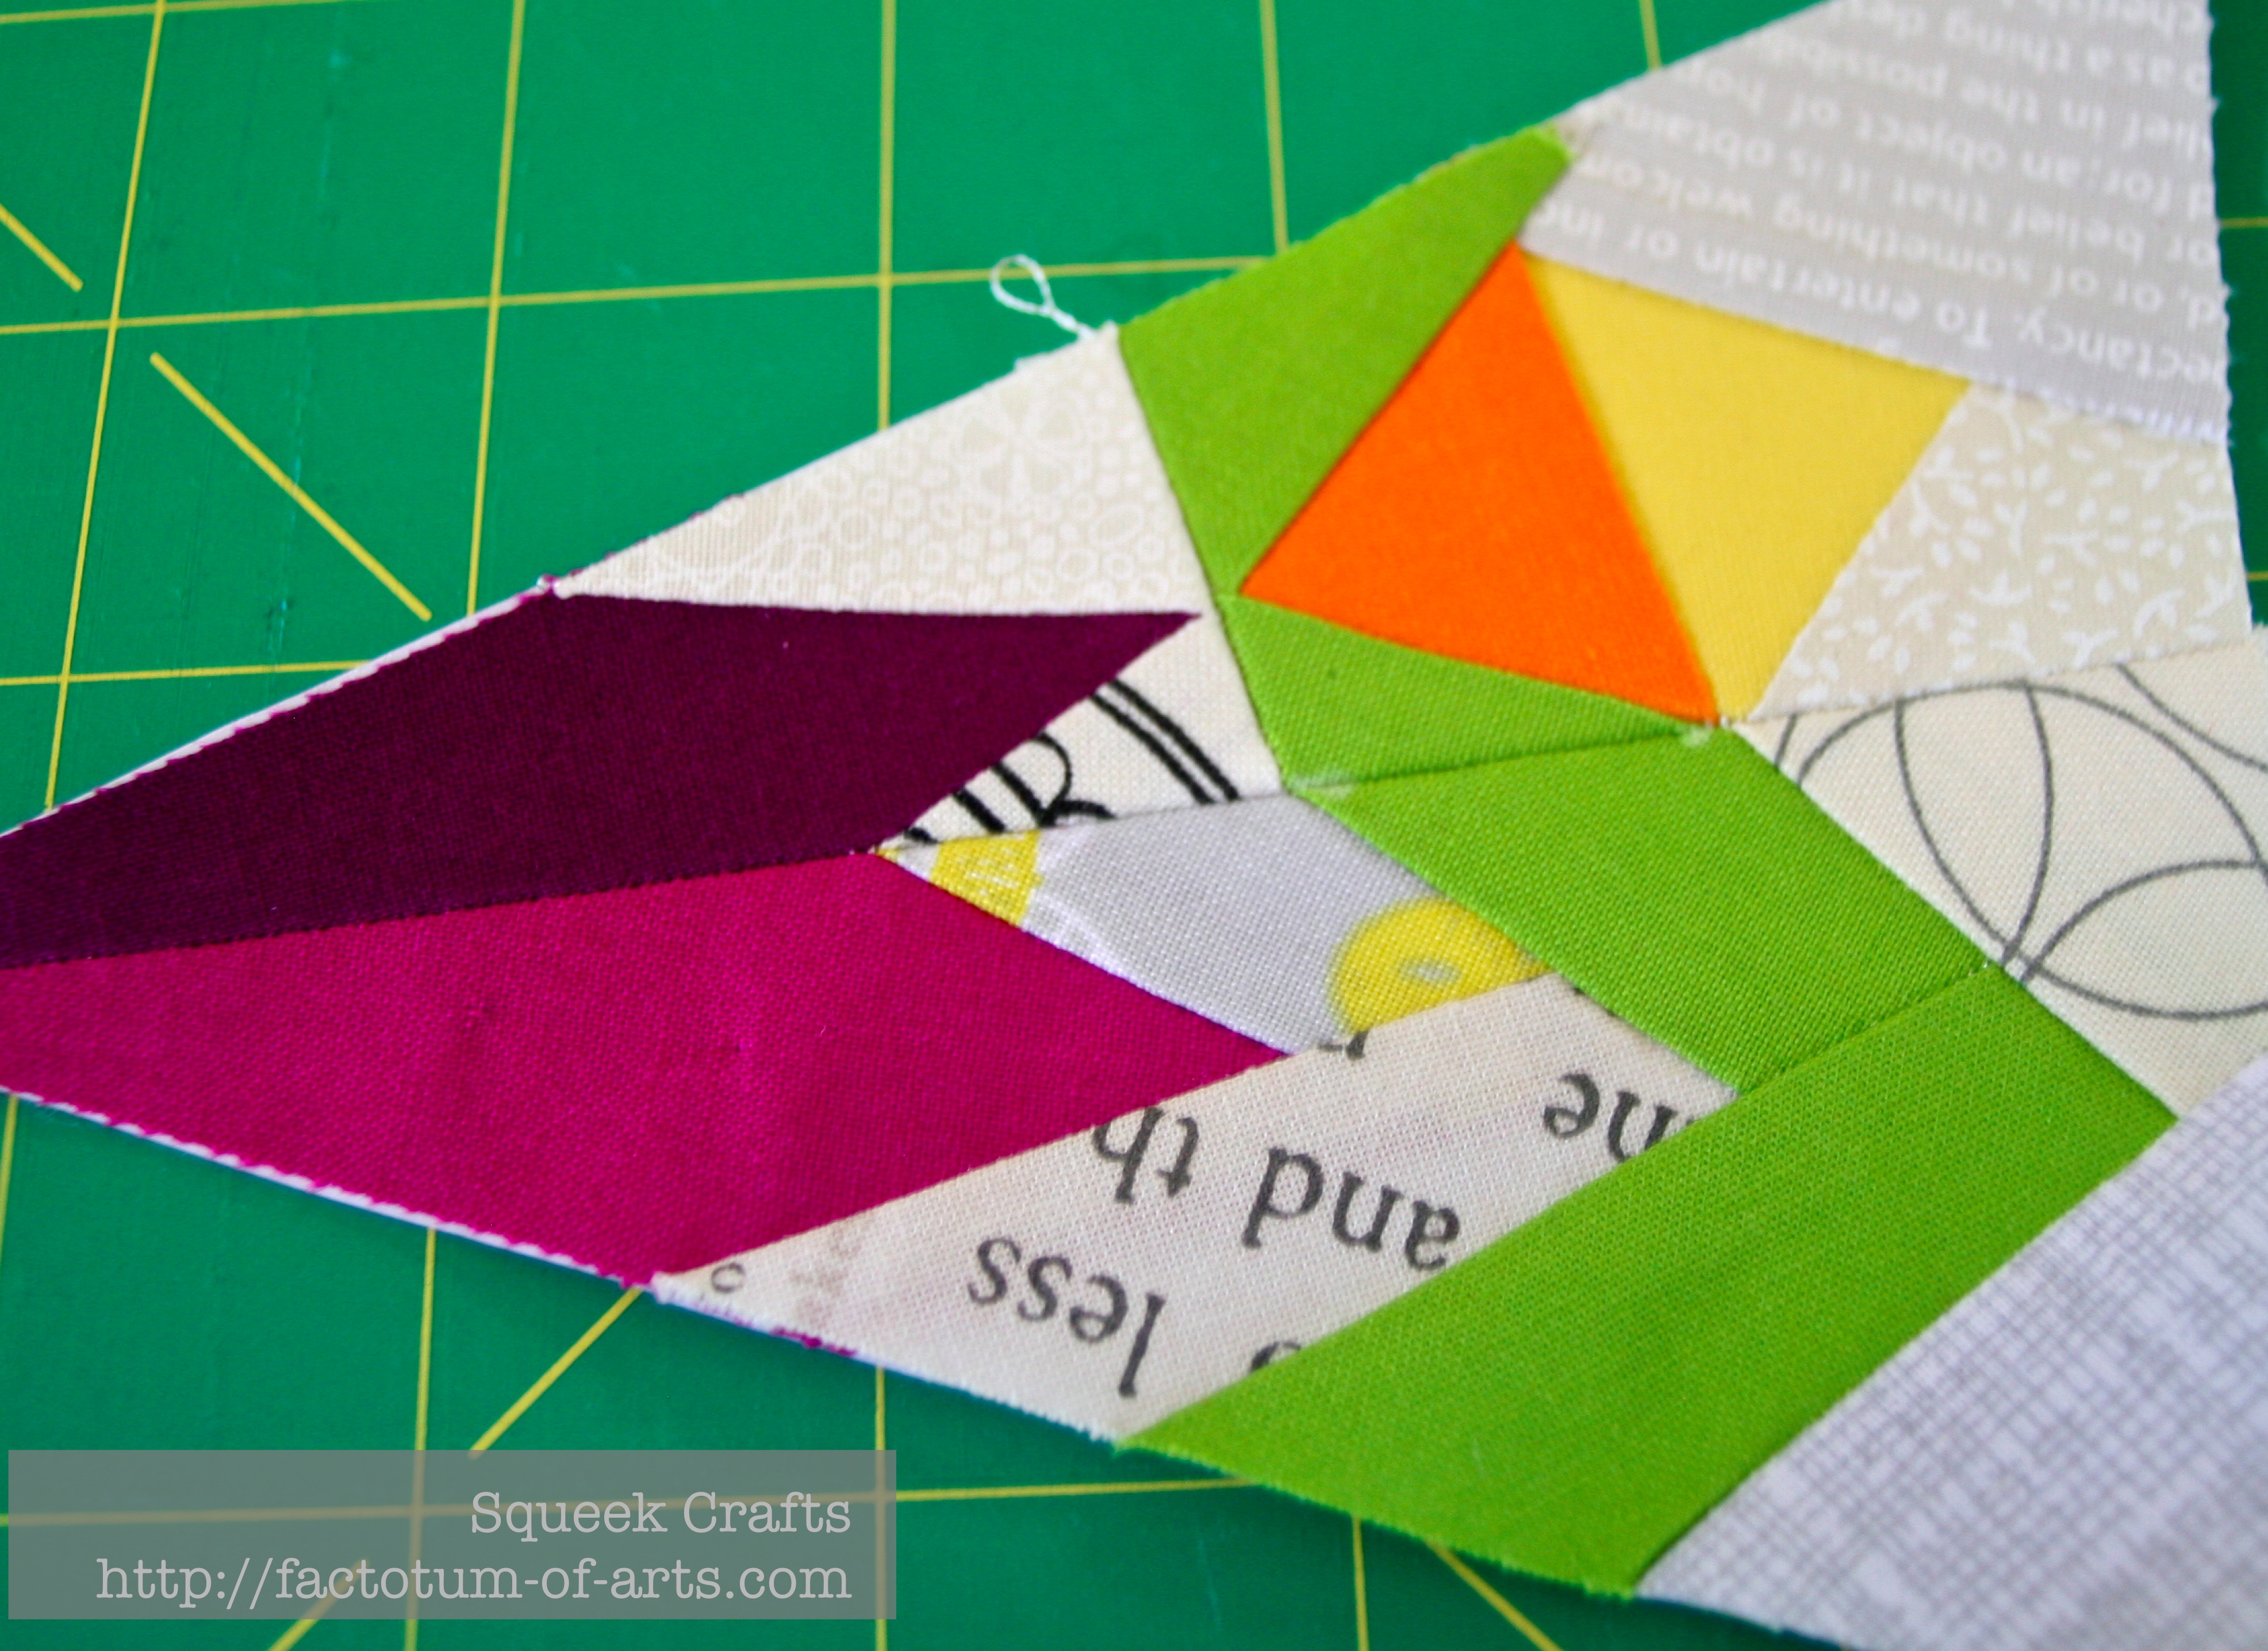
BloomingHot_PaperPieced
Block designed by Esther @ I patch and quilt – “Blooming Hot”

Linking up with Kristy over @ Quiet Play for her paper piecing party.