
Go over and check out Spoonflower’s blog today, as the 2nd block tutorial for my sample quilt has been posted. It covers methods for Half Square Triangles and pressing seam tips.![]()
Go over and check out Spoonflower’s blog today, as the 2nd block tutorial for my sample quilt has been posted. It covers methods for Half Square Triangles and pressing seam tips.![]()
When Jennifer posted on her blog about the modern mini quilt challenge, I was so excited and couldn’t wait to join in in the challenge. I love small projects – what a perfect challenge.

Now to decide what to enter. I am so torn between my Sea Spray Pillow and the Wonky Universe Pillow, pictured below, respectively. I loved both but for different reasons, and they both had new techniques/skills I learned, each were a special gift and had a special meaning. Hmmm…. choices, choices.
Sea Spray….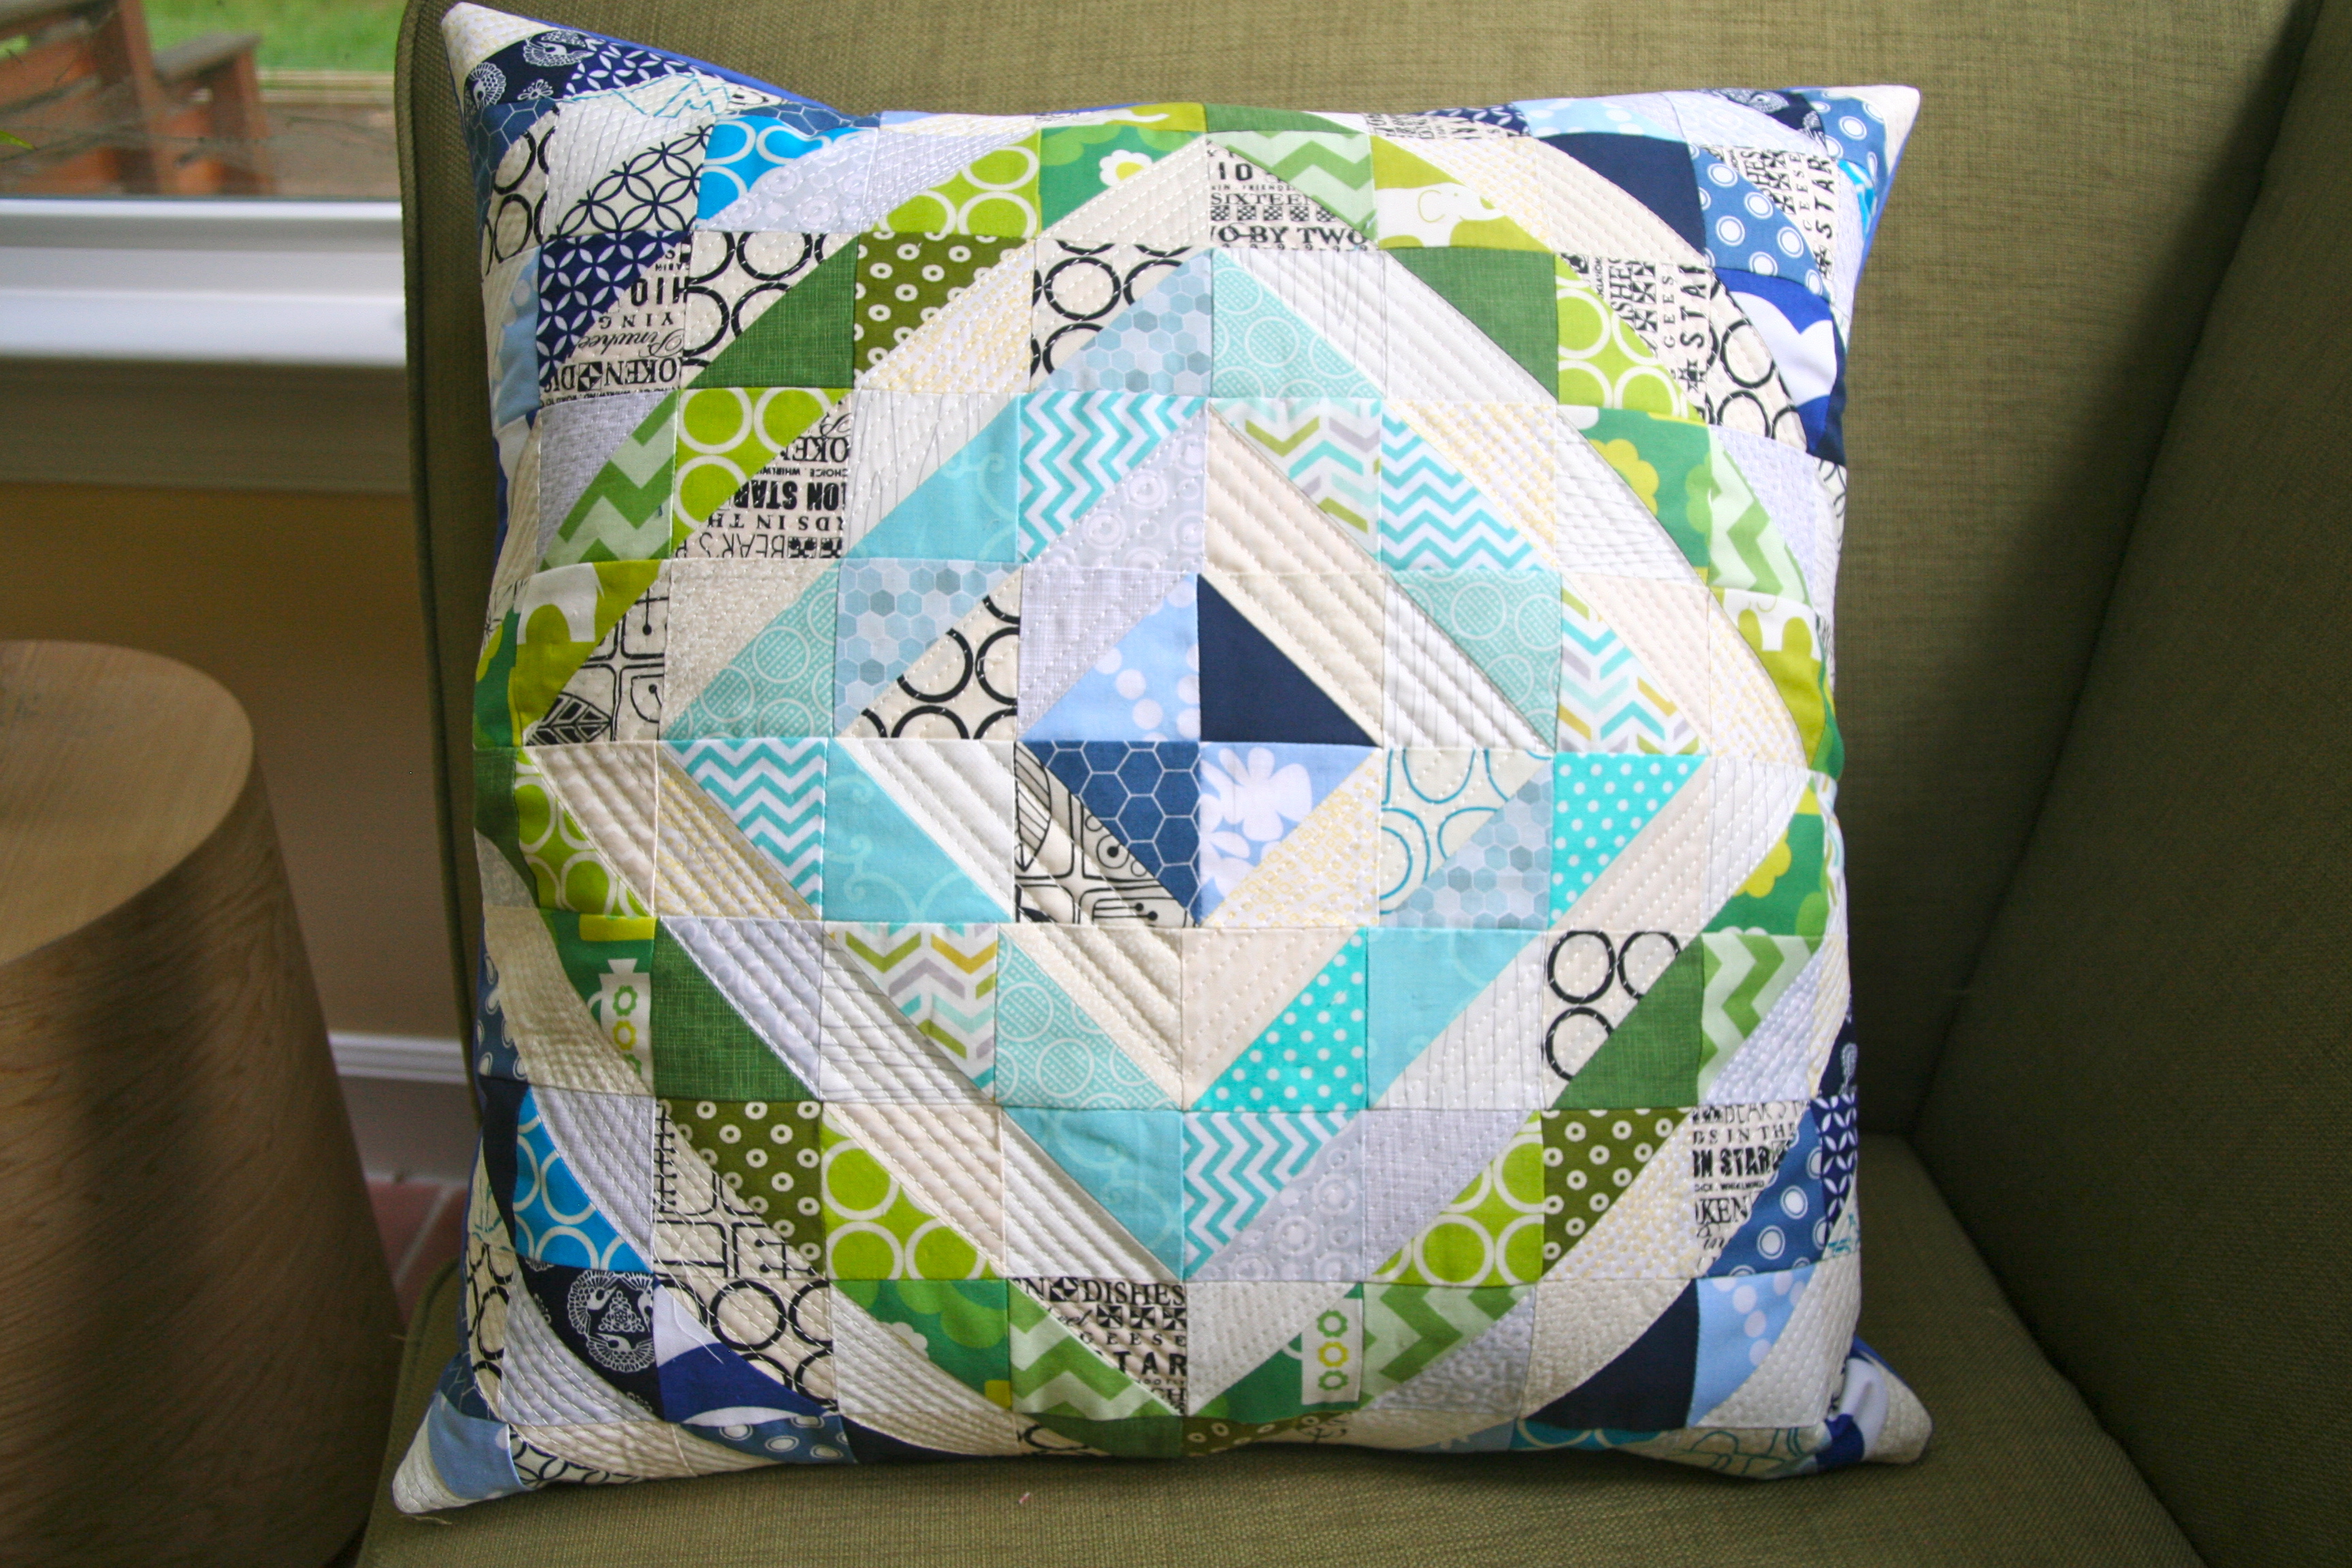
or Wonky Universe… 
Ok…now comes the decision….I think I am going to choose the…
“Sea Spray” Pillow.

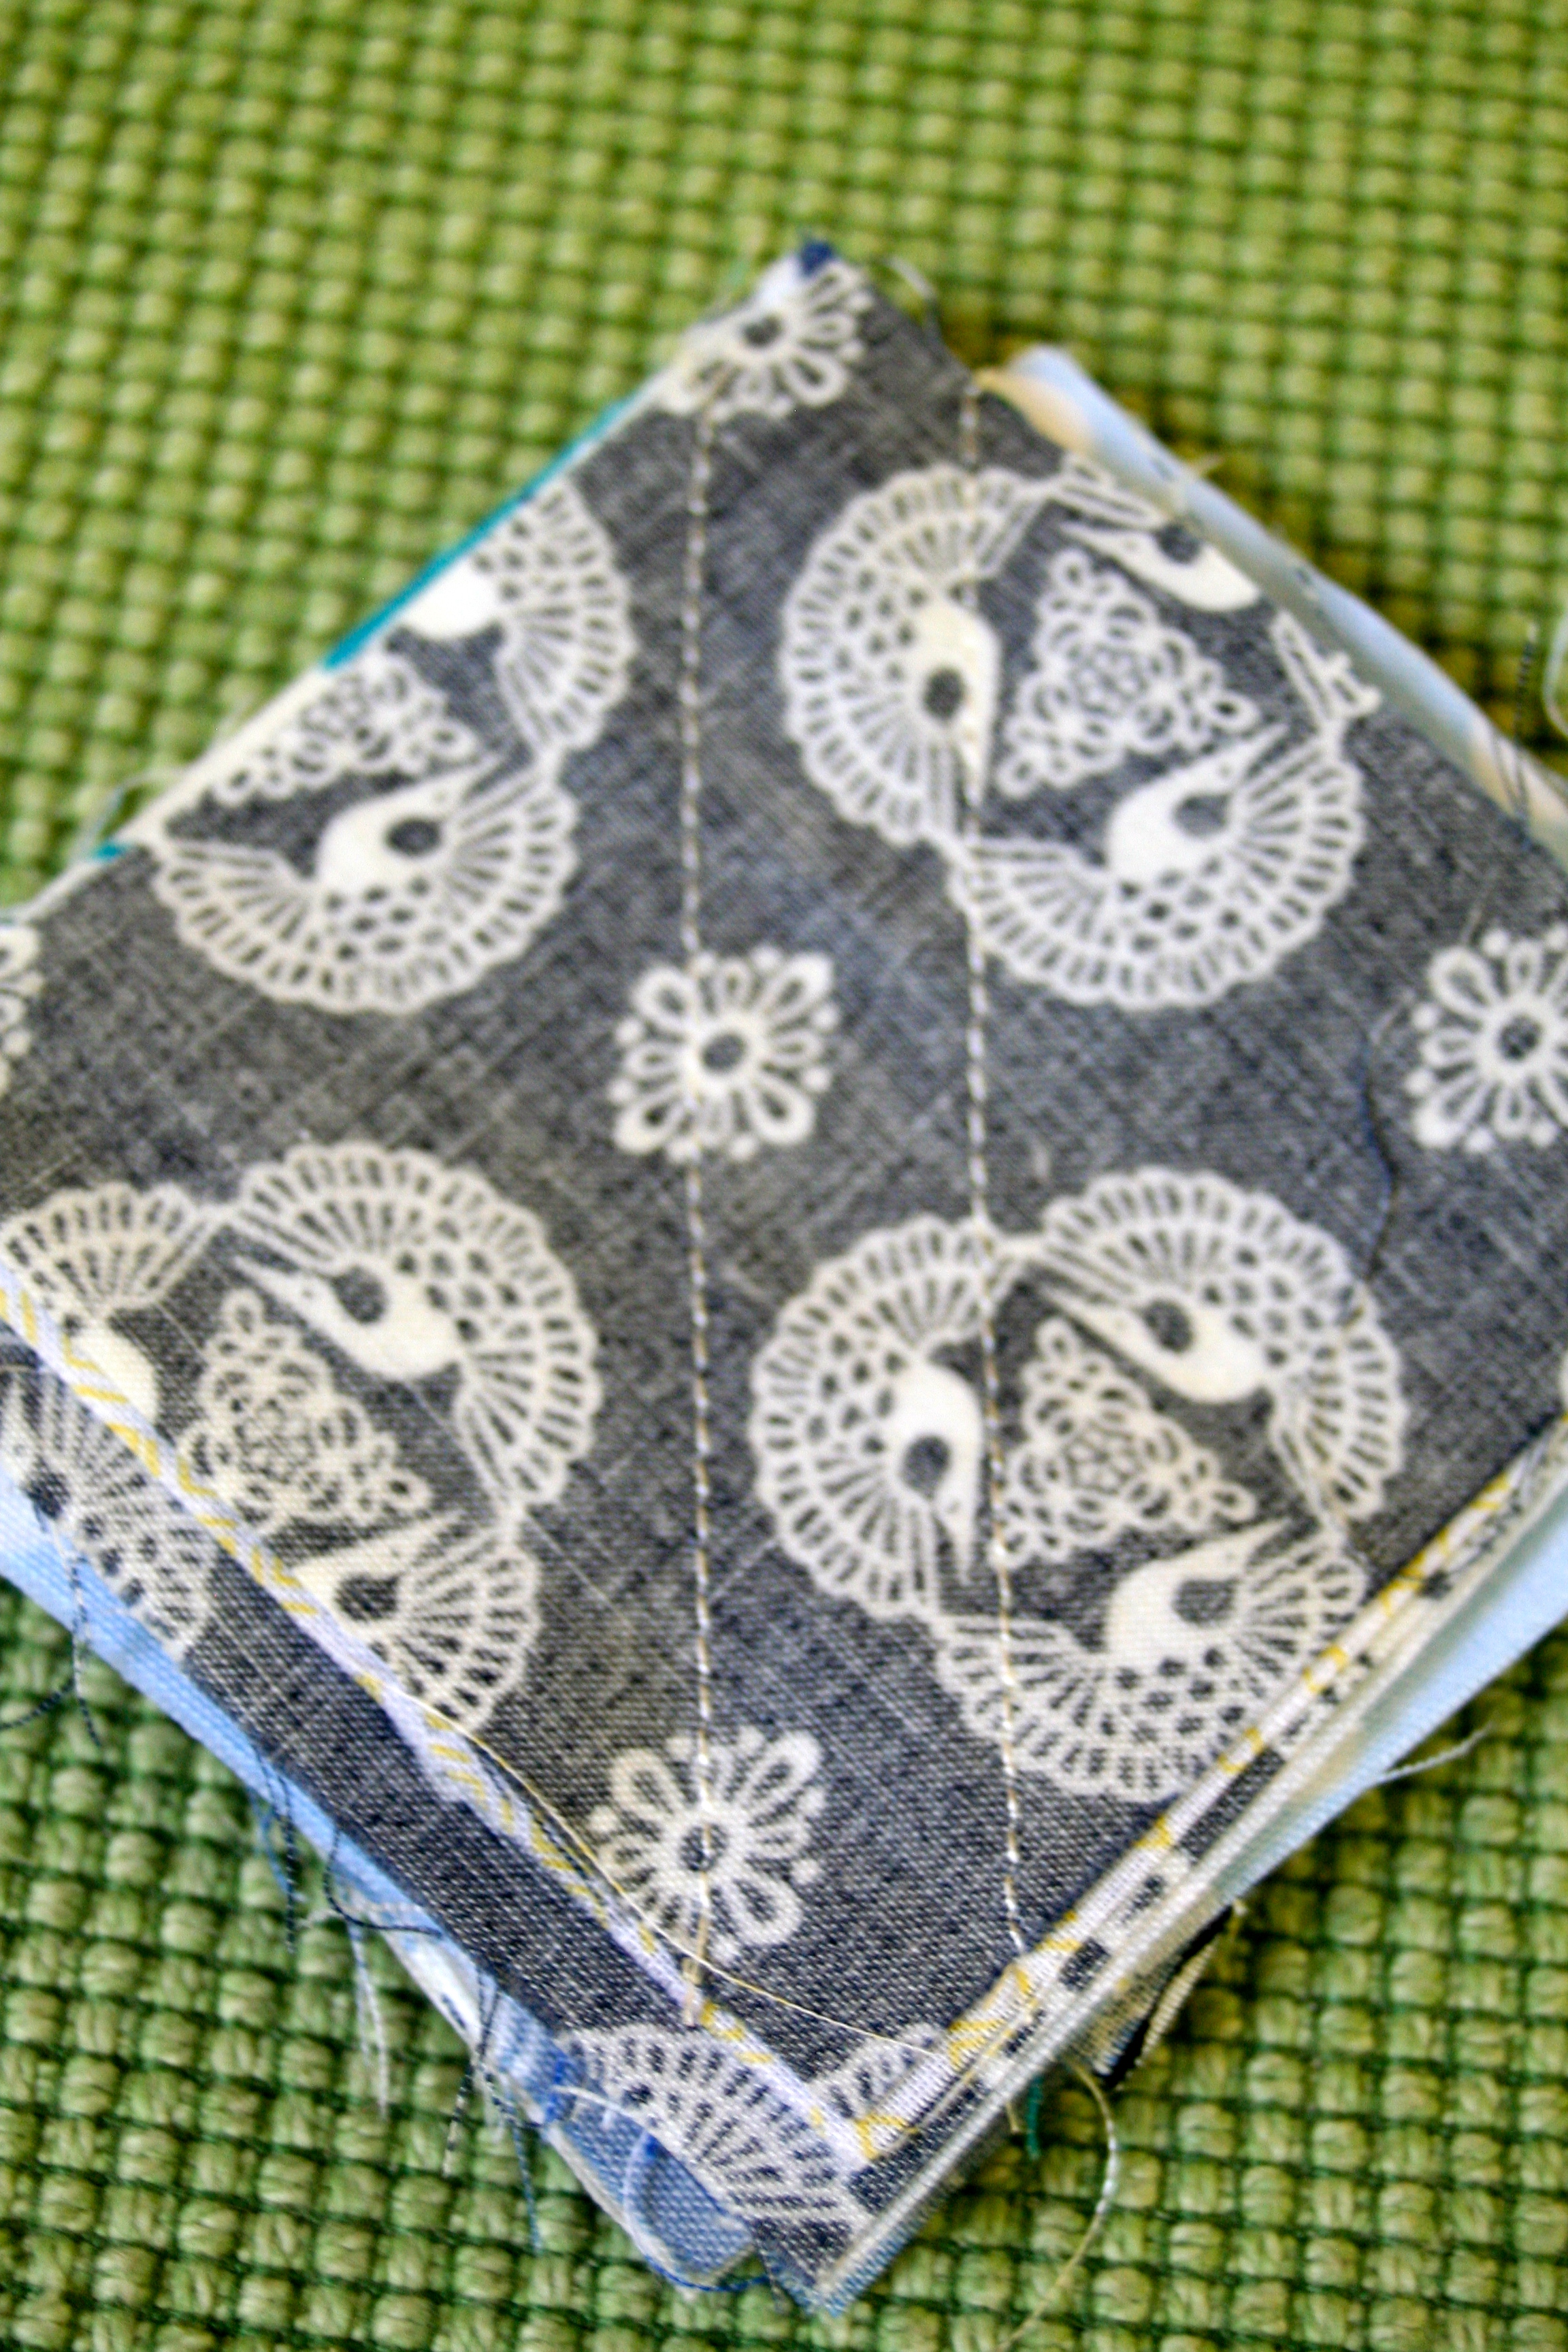
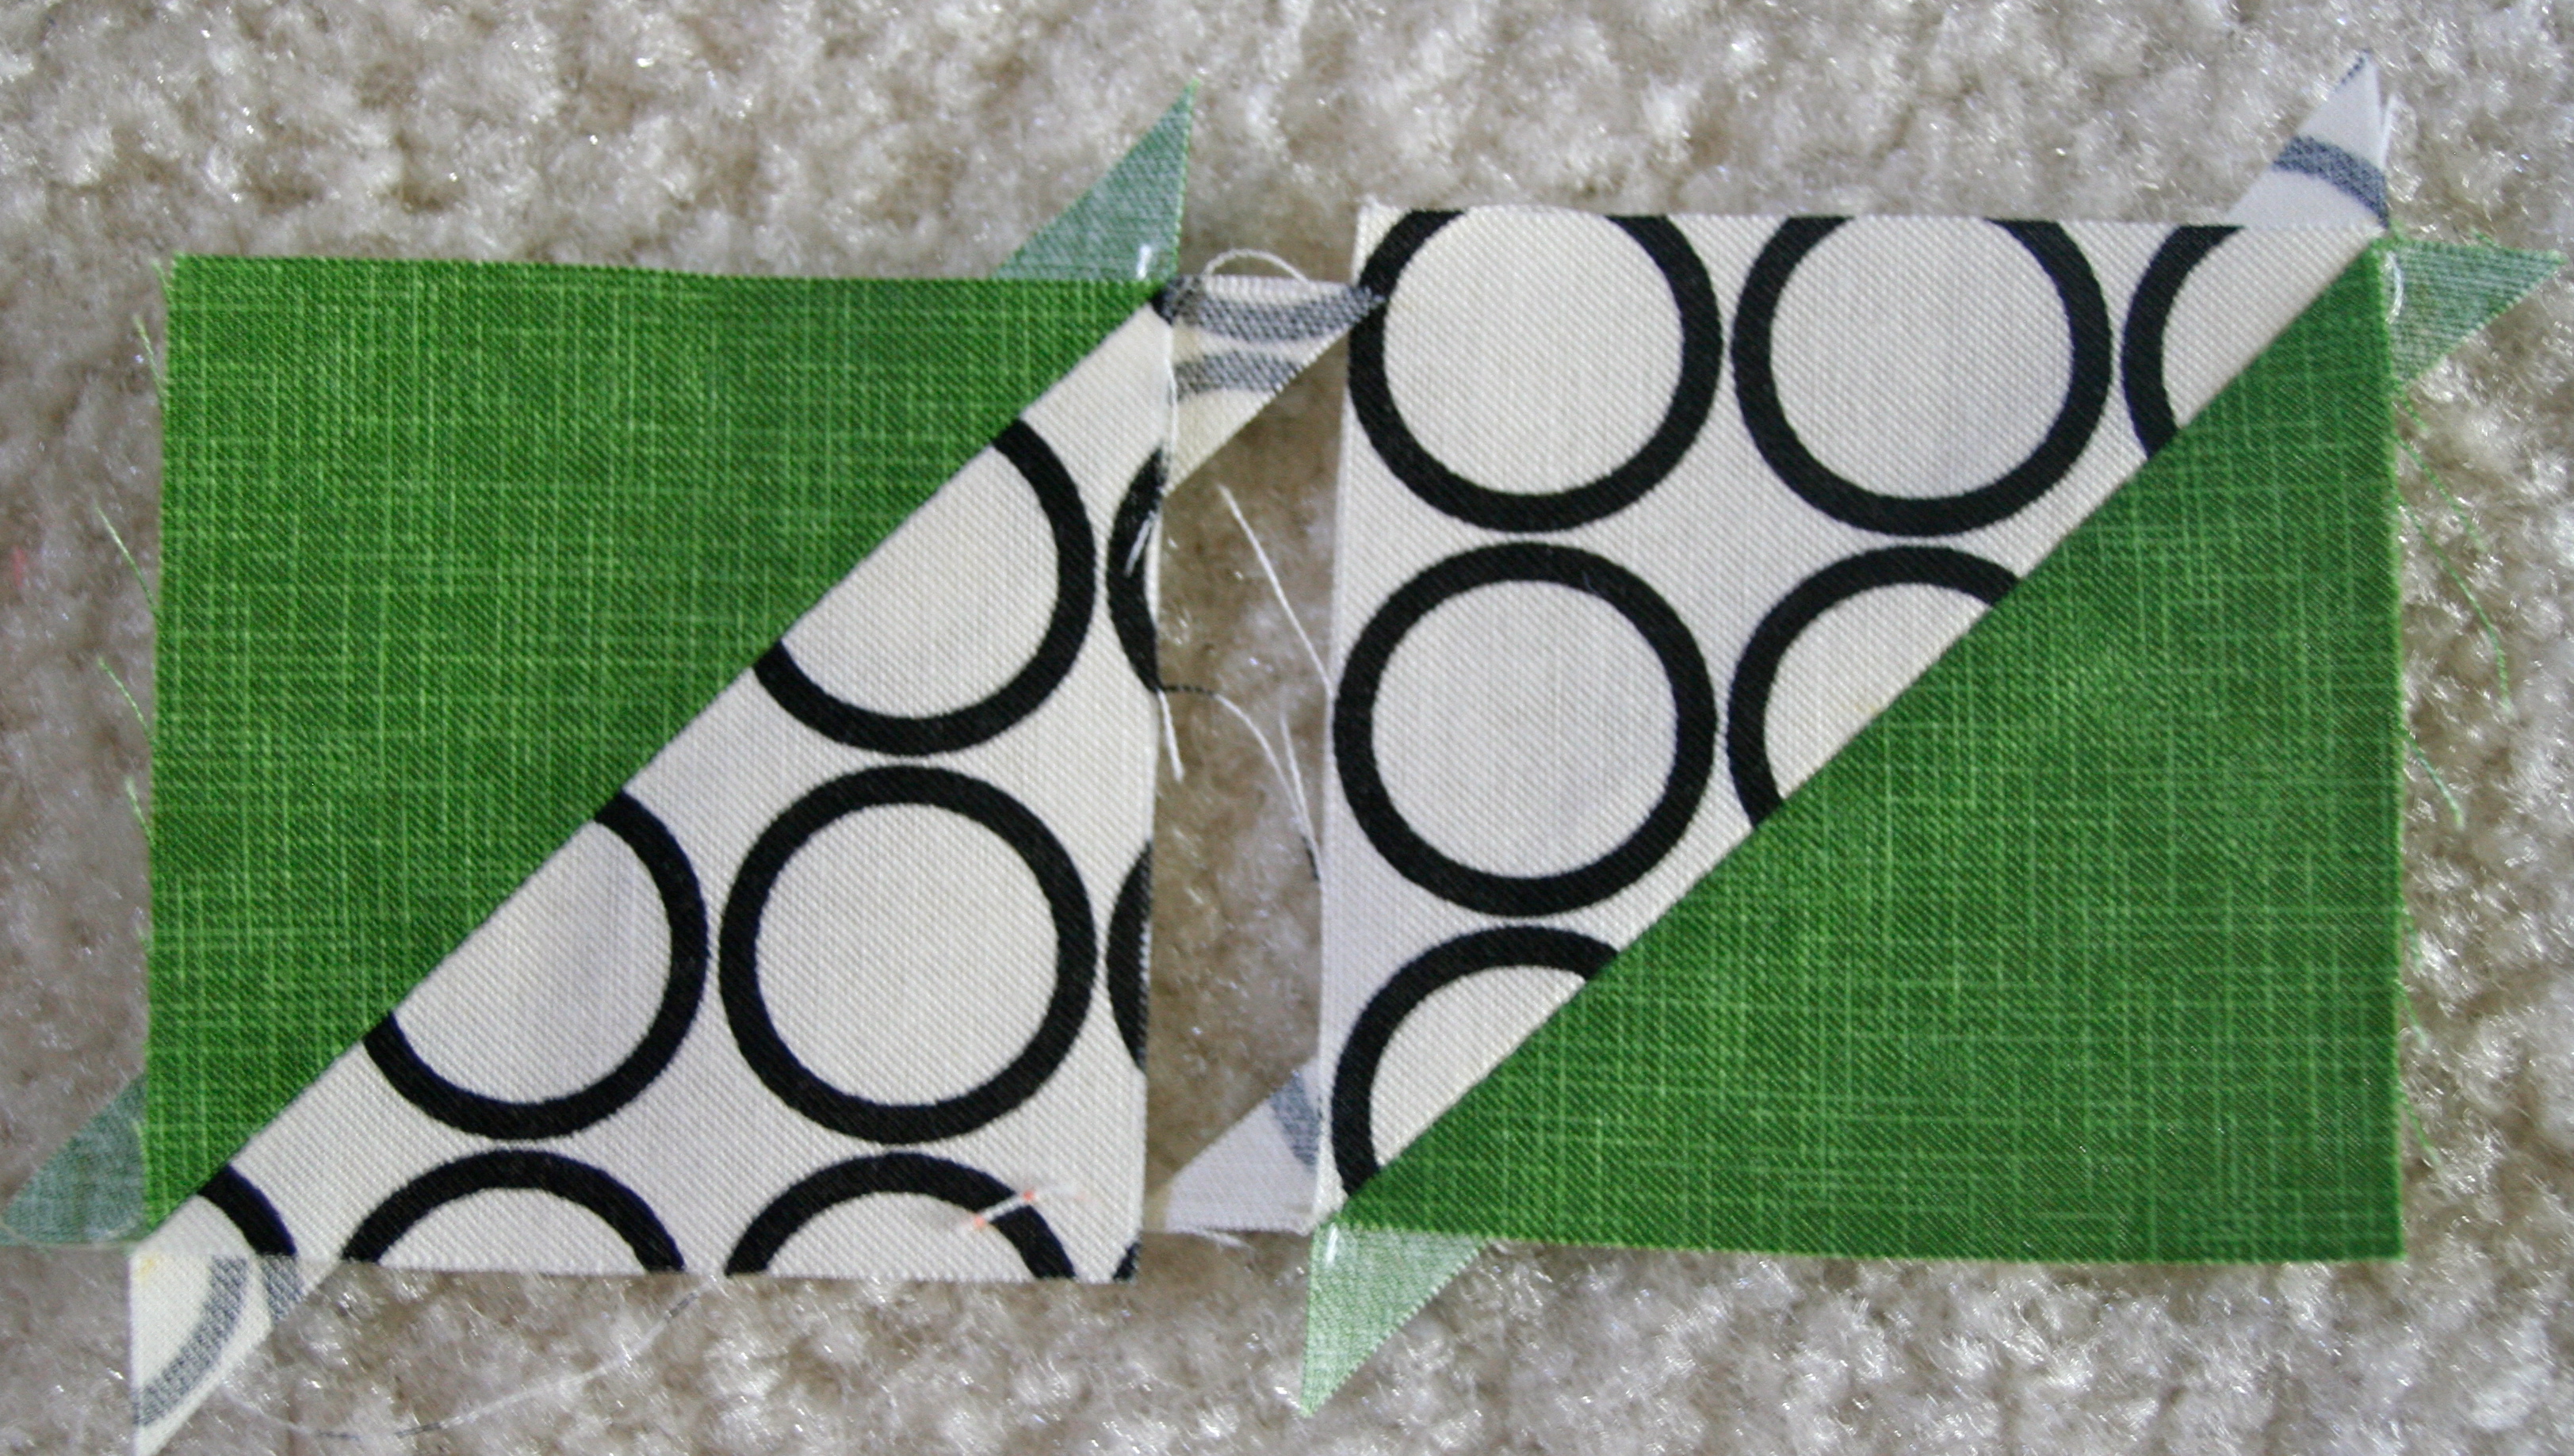
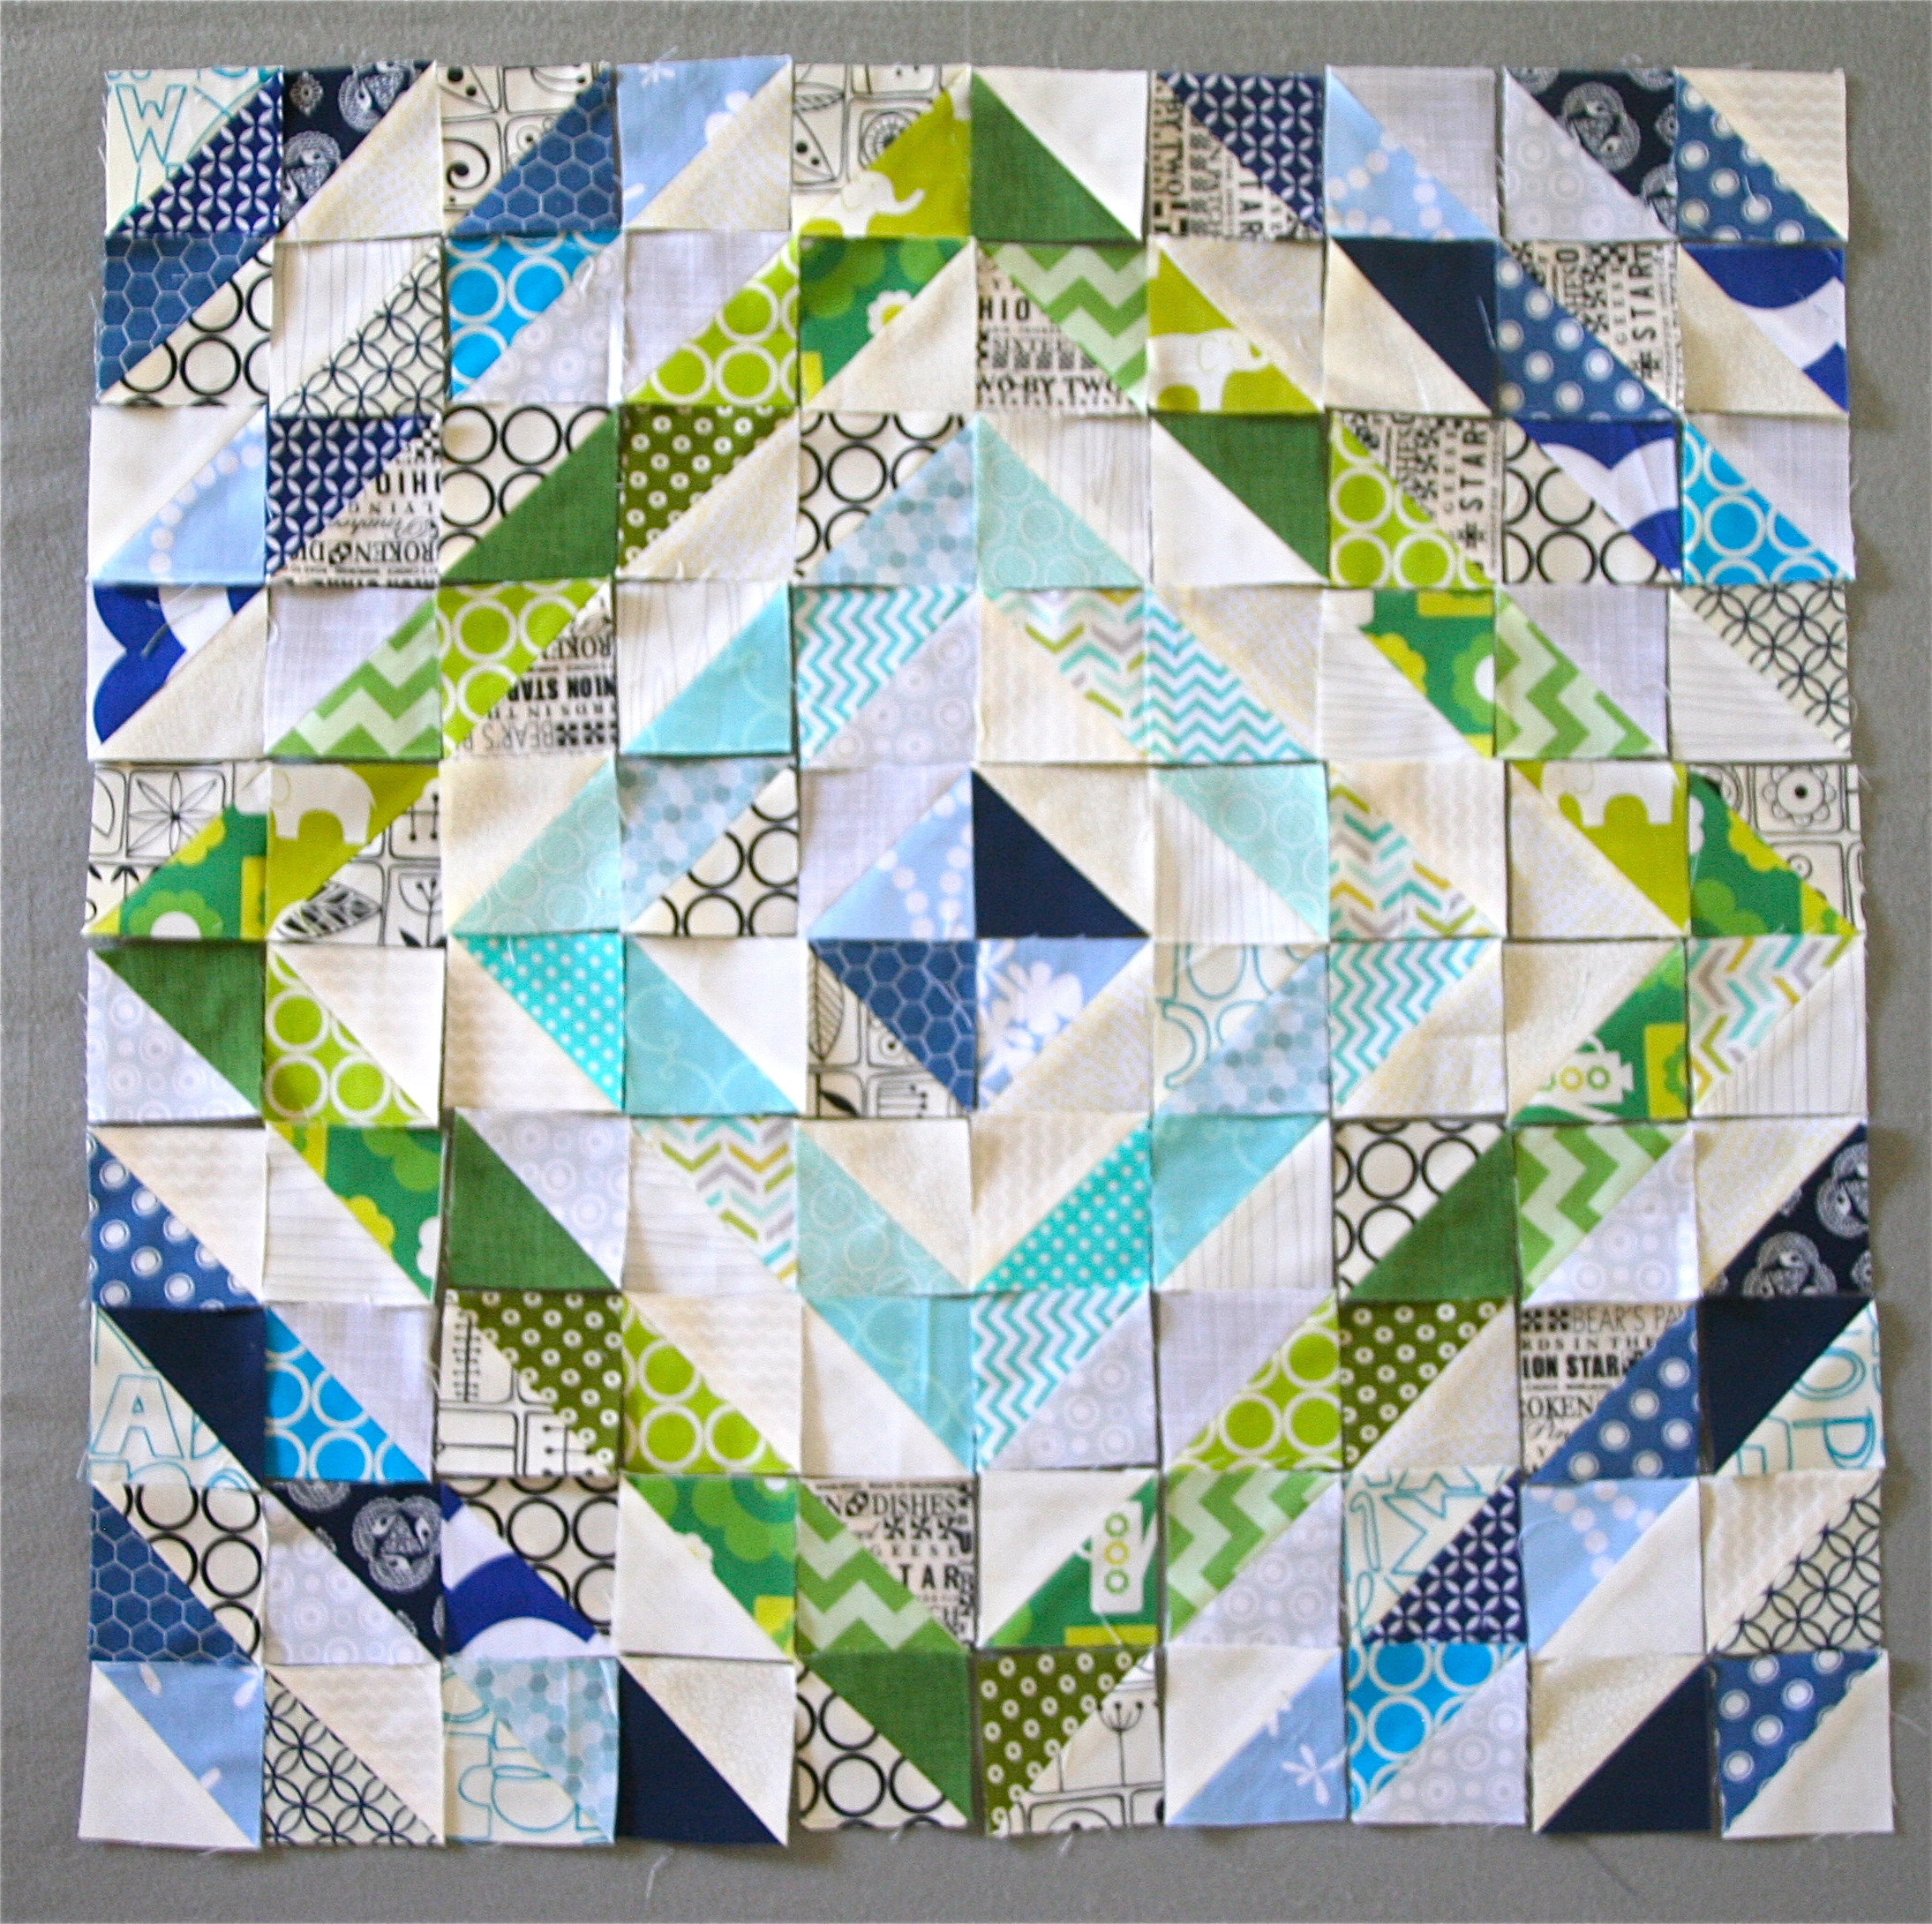
This pillow was a gift for our pillow swap last Sunday. It was based on the “Crystallized” pattern in the book Pillow Pop. This was a challenge for me as it was the first time I have used HST’s, so I was so nervous about cutting them perfectly and matching them up. I used some techniques that Adrianne @ On The Windy Side had shared with me, to get pieces to be more accurate…specifically I took the time to cut them carefully and measure a few times, used my 1/4 inch foot and pinned each seam. I couldn’t have asked for a better finish !!!
I thought I would share some of the steps I took:


“Sea spray is a spray of seawater that forms when ocean waves crash, or high winds are blowing.” (from wikipedia).
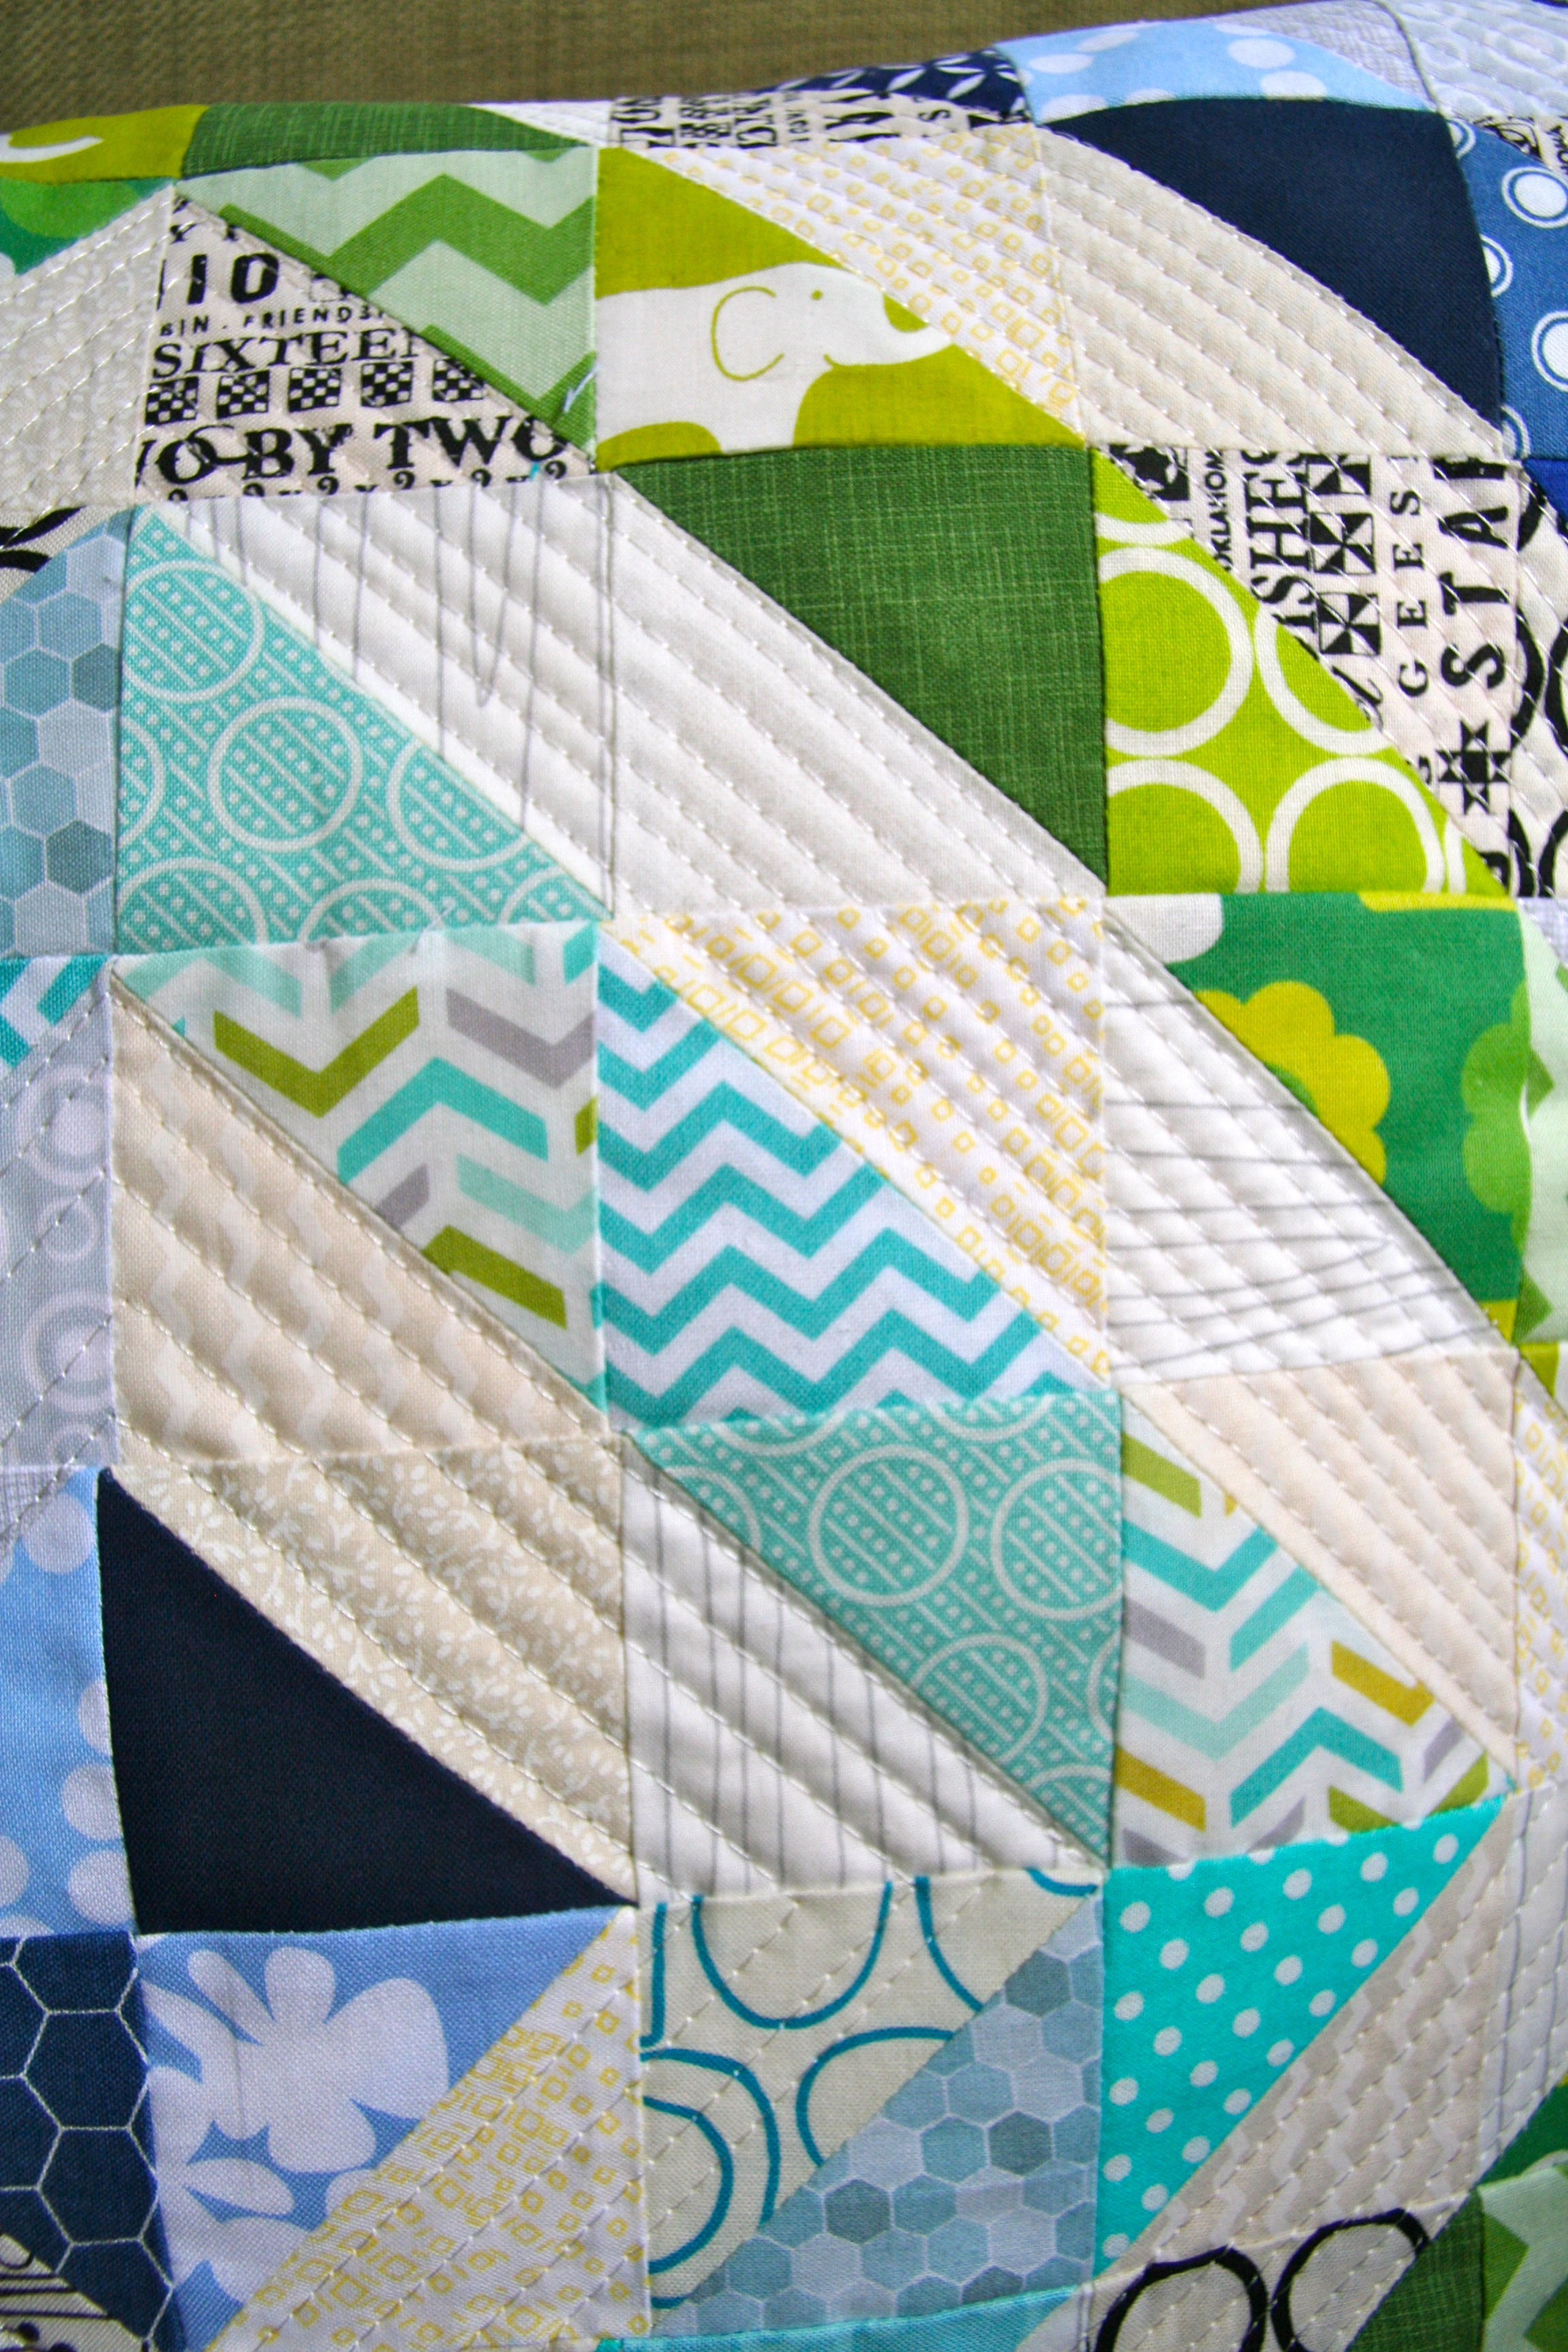
That, I think, perfectly describes this finished HST pillow. It was a dash to the finish, for sure, but I managed to finish my pillow that I am swapping this weekend. I based this pillow off “Crystallized” by Angela Mitchell’s pattern in the Pillow Pop book (page 82). Instead of using the warm and cool color combinations, I swapped the warm for low-volume prints and made the cool color rings a single color within a the ring (not mixed).
I quilted irregular lines in the low volume portion of the pillow, which you can see more clearly in this close-up.
The back of the pillow I kept simple with using a single Kona Blue fabric. The opening I used an invisible zipper through the middle of the pillow (as I had done in my other two cushions blogged here).
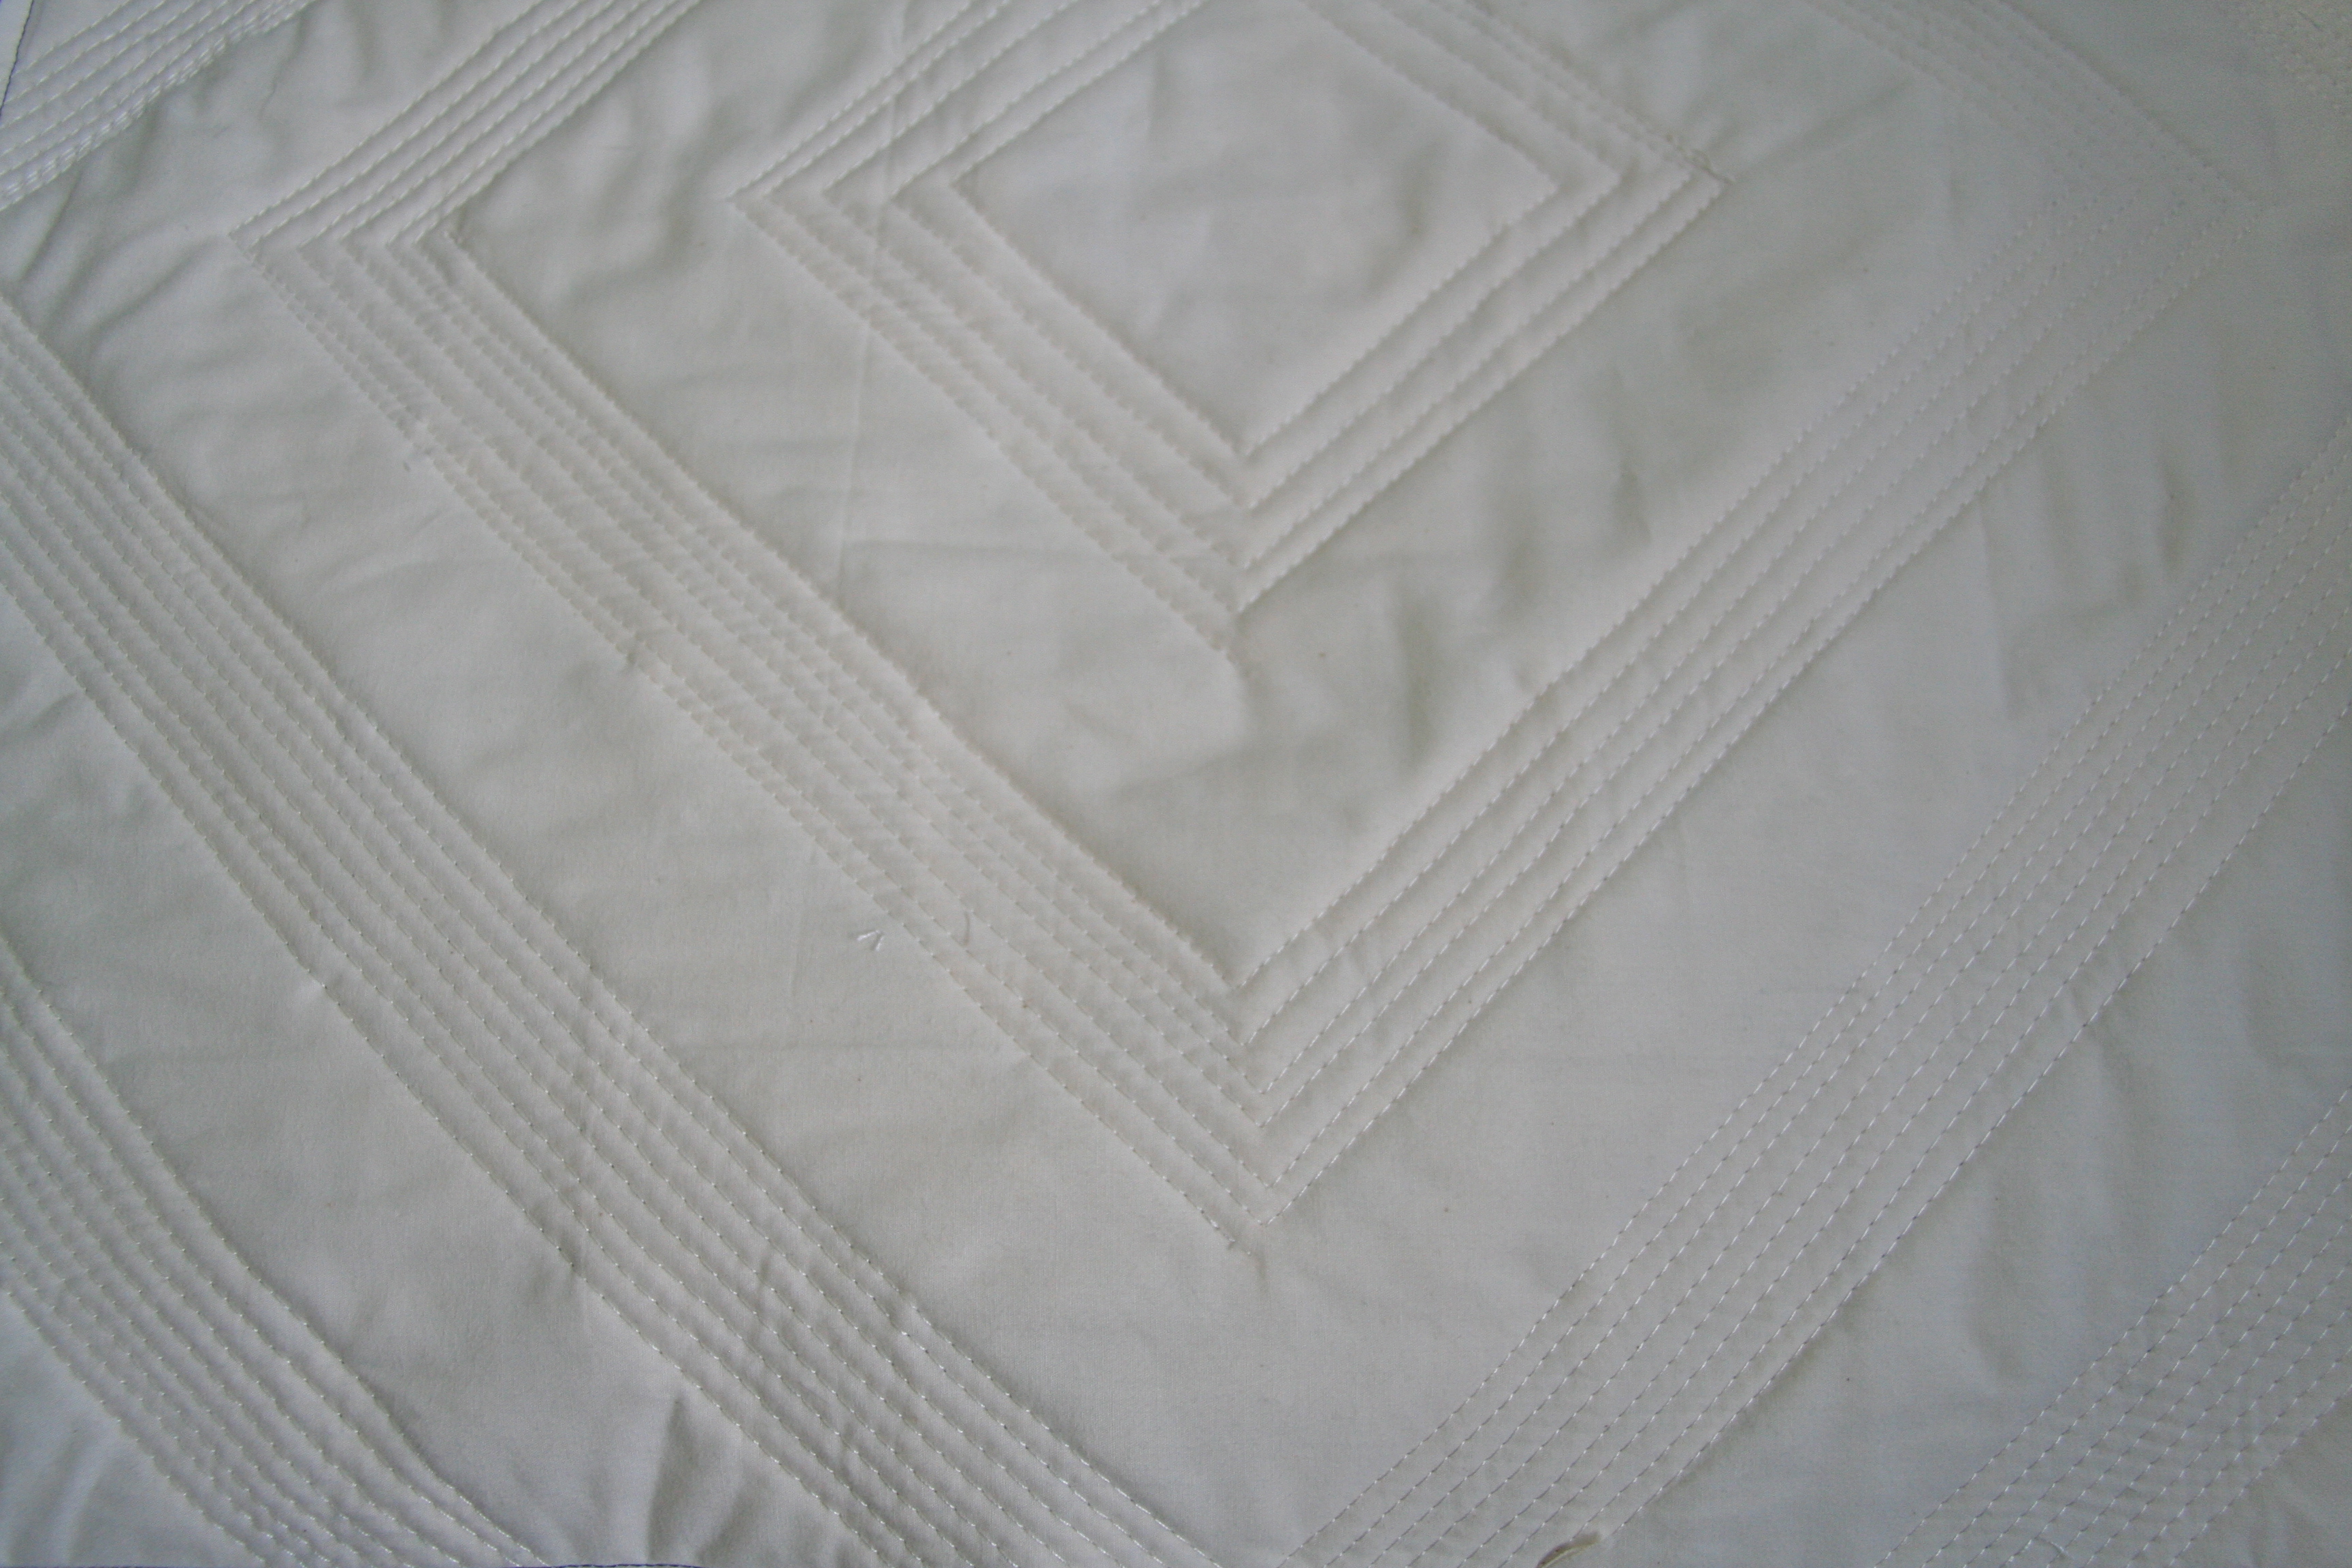
I am including a picture of the pillow top backing, as you can really see the quilting. The top, I used organic cotton batting with muslin as the backing which is what you see here.
So I love the finish, the hubby wanted to keep it…..I hope my swap partner likes it!!
I blogged previously, showing photos of the making of the pillow – those can be found here and here. I shared the above photos on the “Pillow Pop” flickr group – in case you are interested in joining.
I am linking up with AmandaJean @ CrazyMomQuilts for Finish it up Friday.
