Tag Archives: quilt design

Through the Shattered Looking-Glass Design

This is just a short post, to share a design I have had in my head for a couple of months and finally managed to get it down using threadbias.com.

Design Name: Through the shattered looking-glass
Inspiration/idea: I had this idea about looking through a looking-glass/magnifying glass Then what if the glass had been shattered how great would improv blocks represent the broken glass.
Color choices: Blues = sky, Orange/red/yellow = flowers, greens = grass

I would love some feedback and thoughts…what do you think?

ThroughTheShatteredLookingGlass


Linking up with Amanda Jean over at Crazy Mom Quilts for Finish it up Friday.

This way, That way….testing

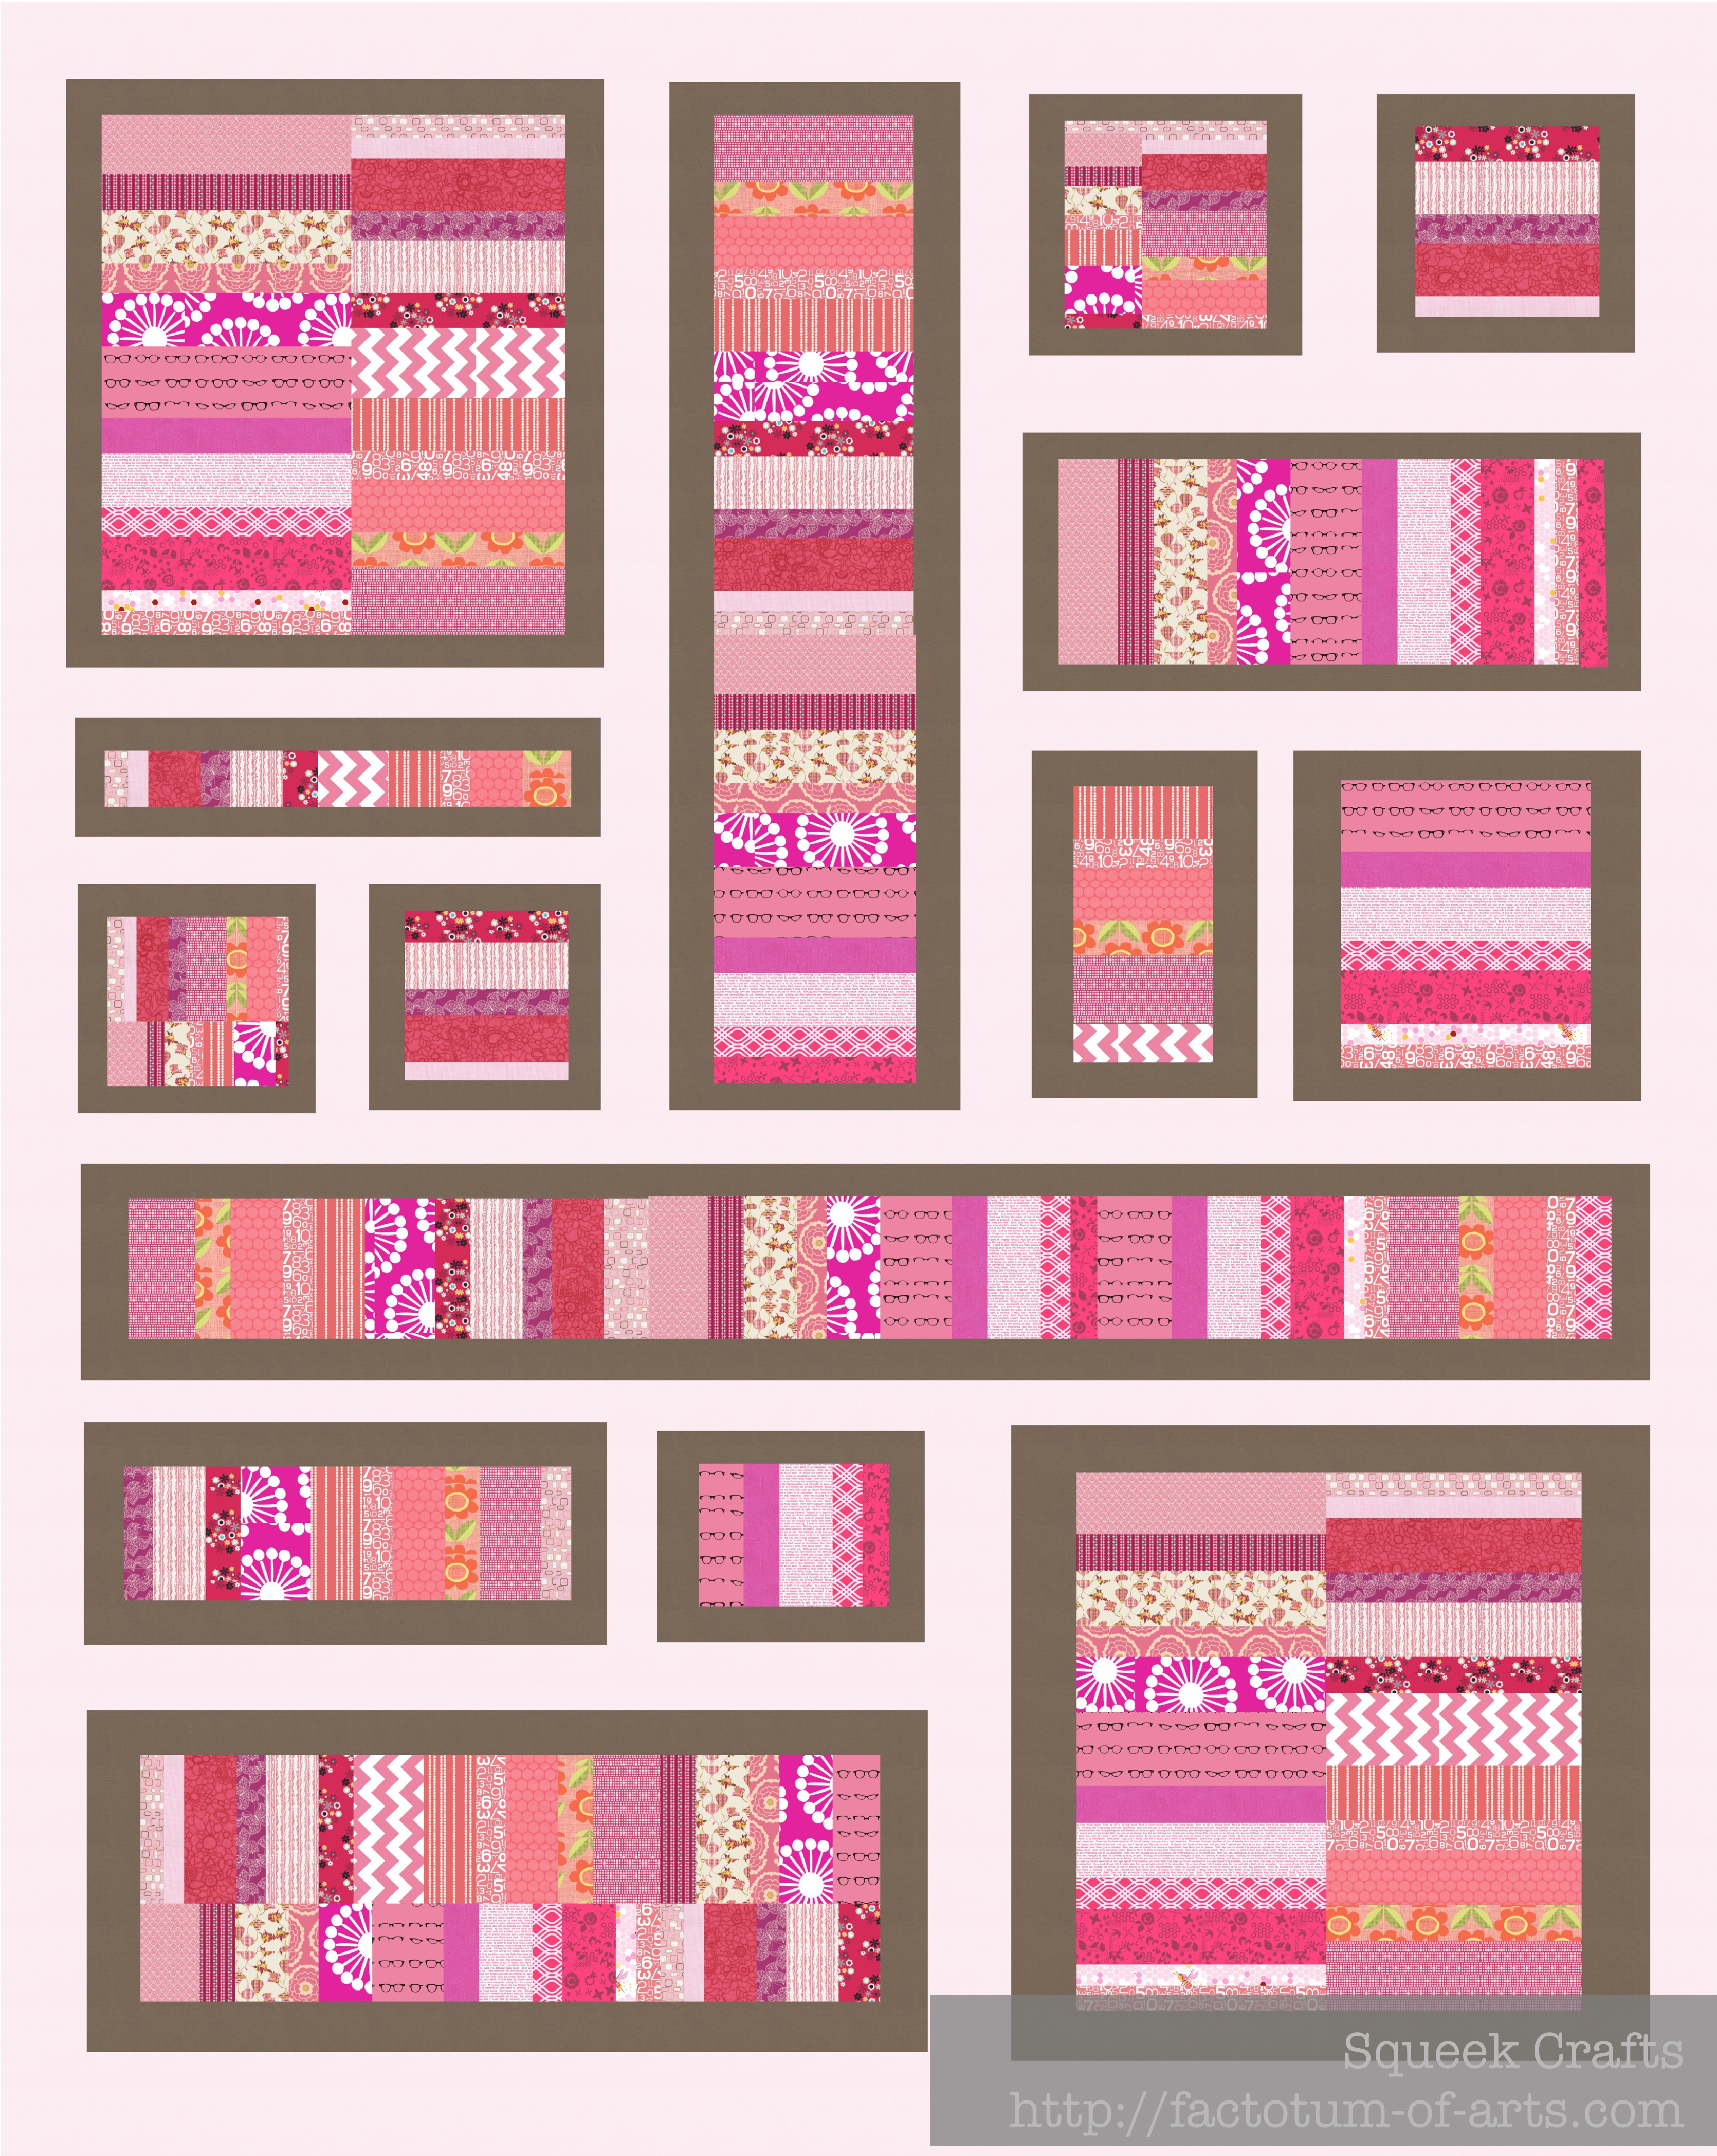
I decided to give my This way, That way quilt design a go today. I have to say I love the block. I still need to work on the dimensions, so that the measurements are not 5/8 or 7/8 etc. Personally, I prefer to work in 1/4, 1/2 and 3/4…don’t you??

After finishing the first block and liking how it looked (coming up), I decided to pull my blue stash out and come up with 38 more blues to finish out this quilt. Yes, I have all these in my stash. In the photo each two groupings, a dark and light blue, will represent a block.

ThisWayThatWayQuilt_Fabric

Below are a few photos, on the process I took to make the first block…trying out the design to see if I could get it to work, you never know right 😉

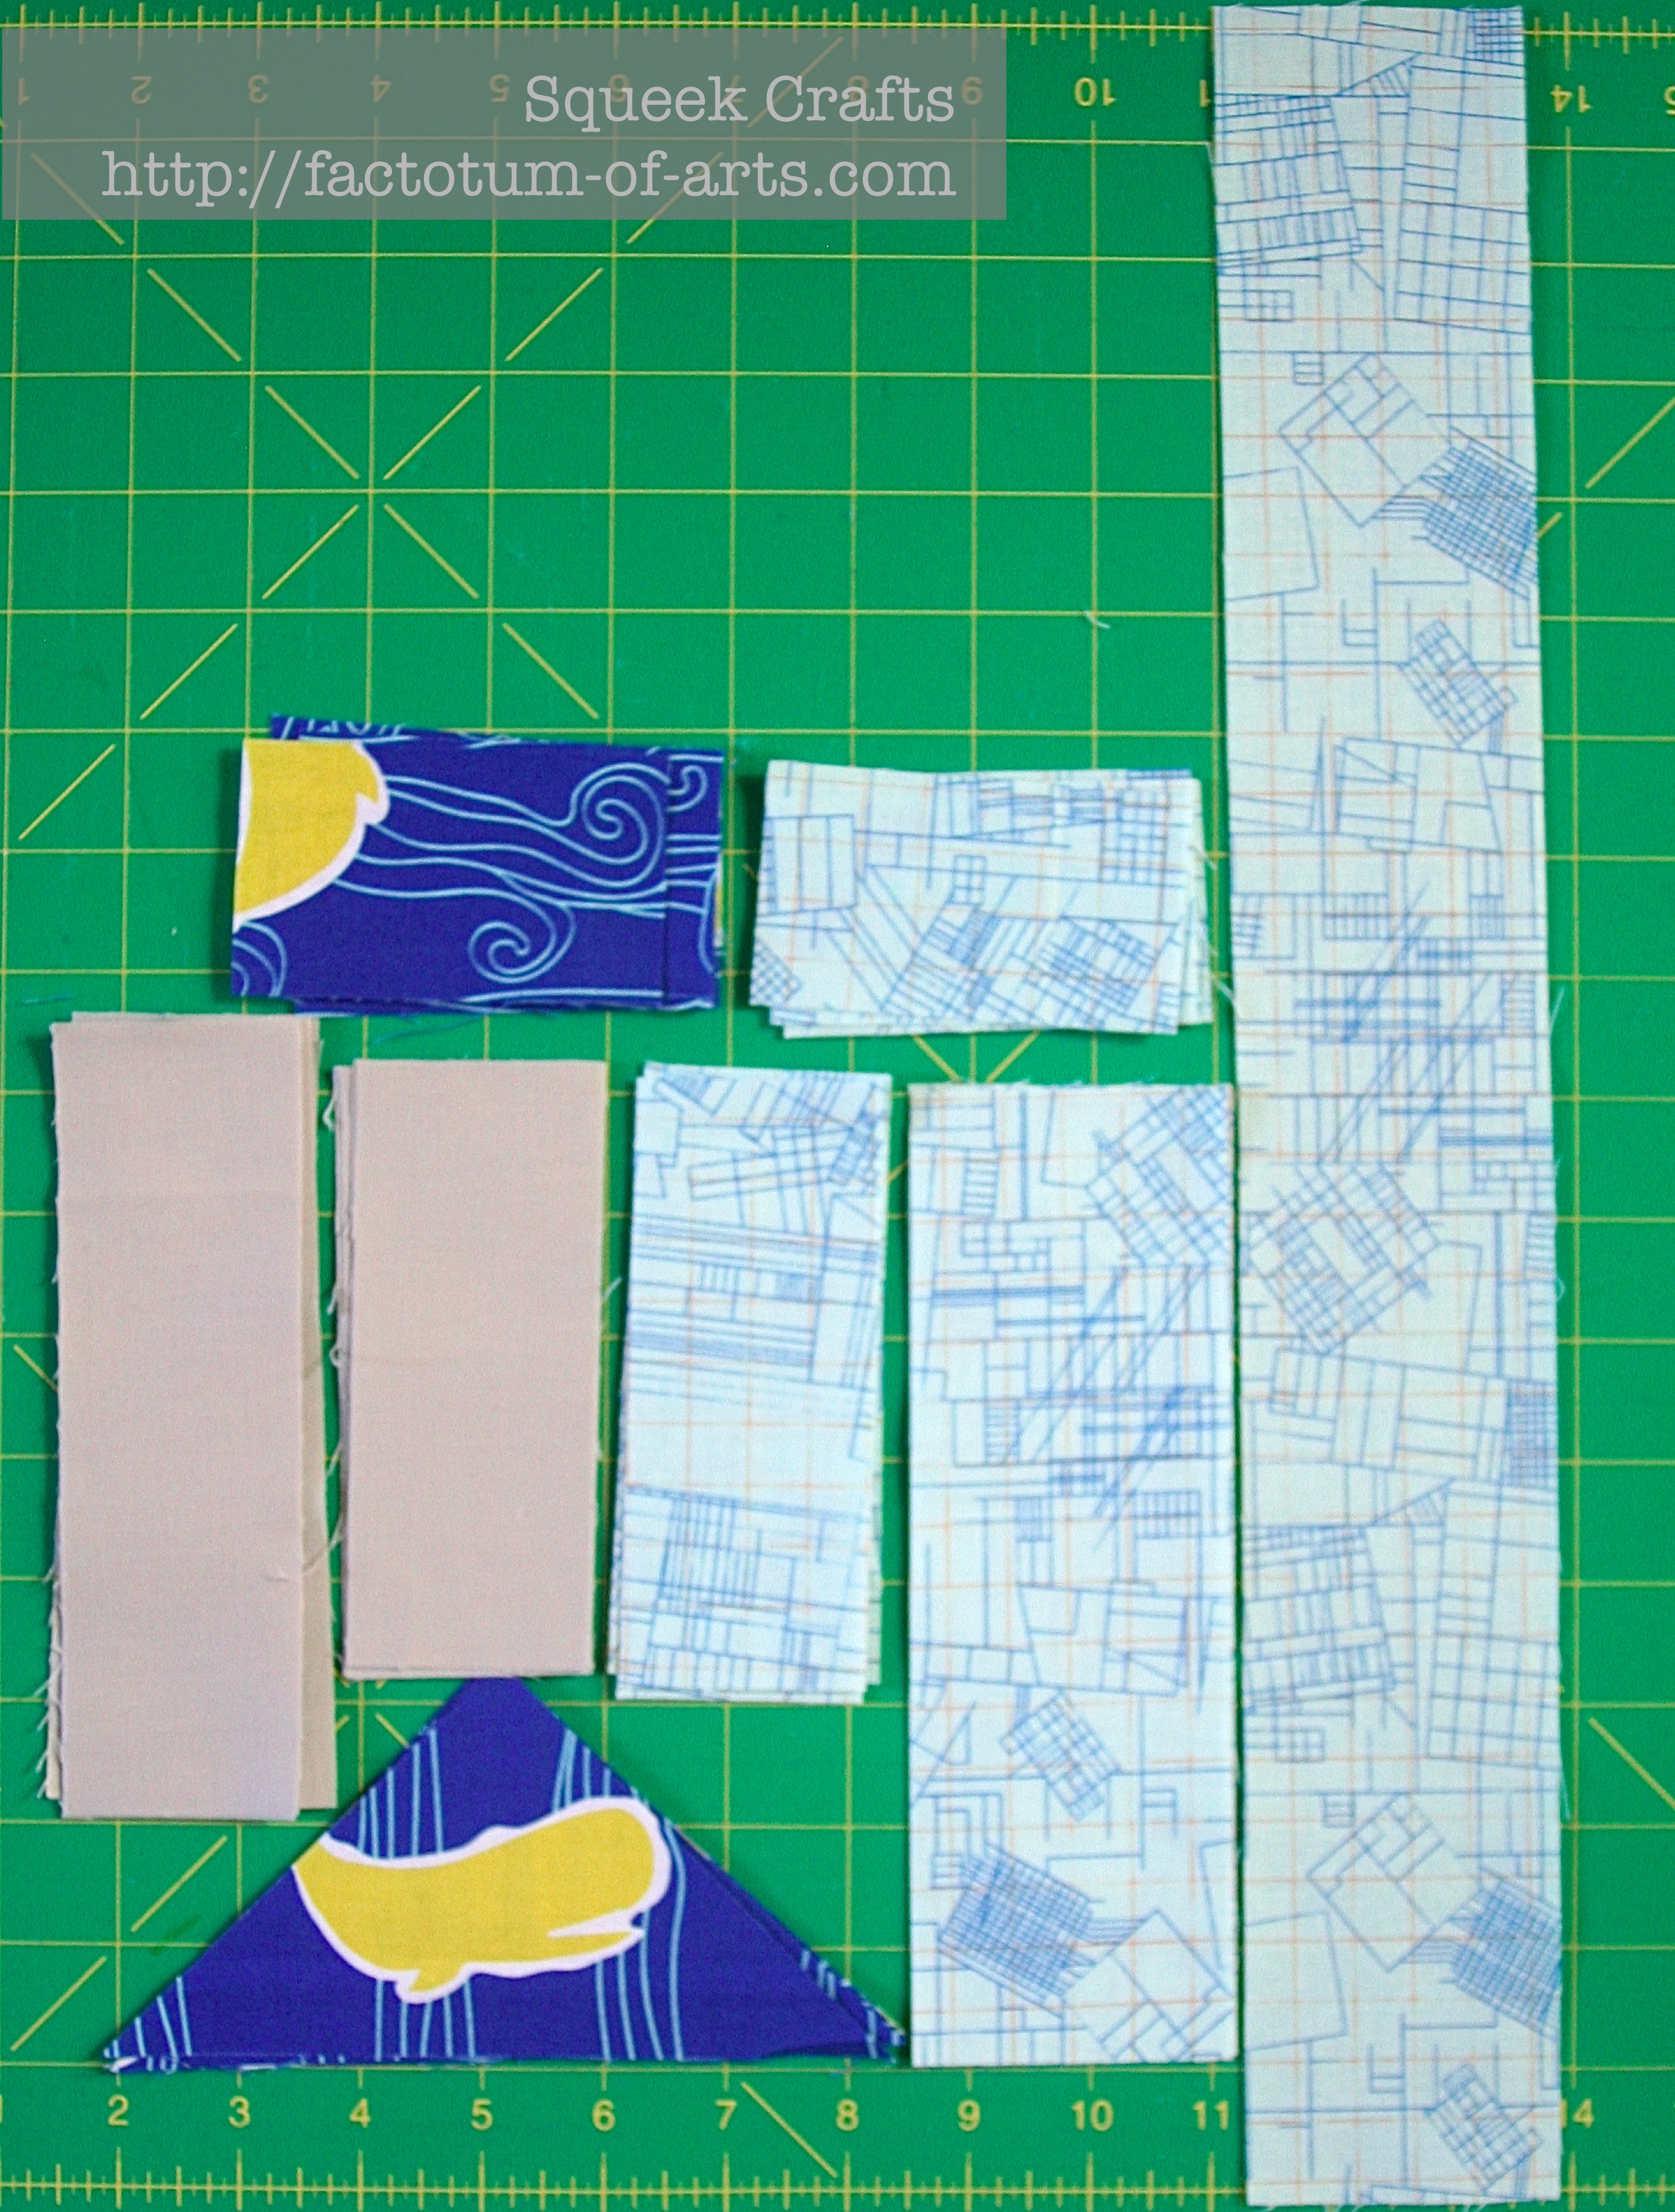
  1. I cut all the pieces. Some of the pieces for the center I made longer to account for error.ThisWayThatWayBlock1_FabricCut
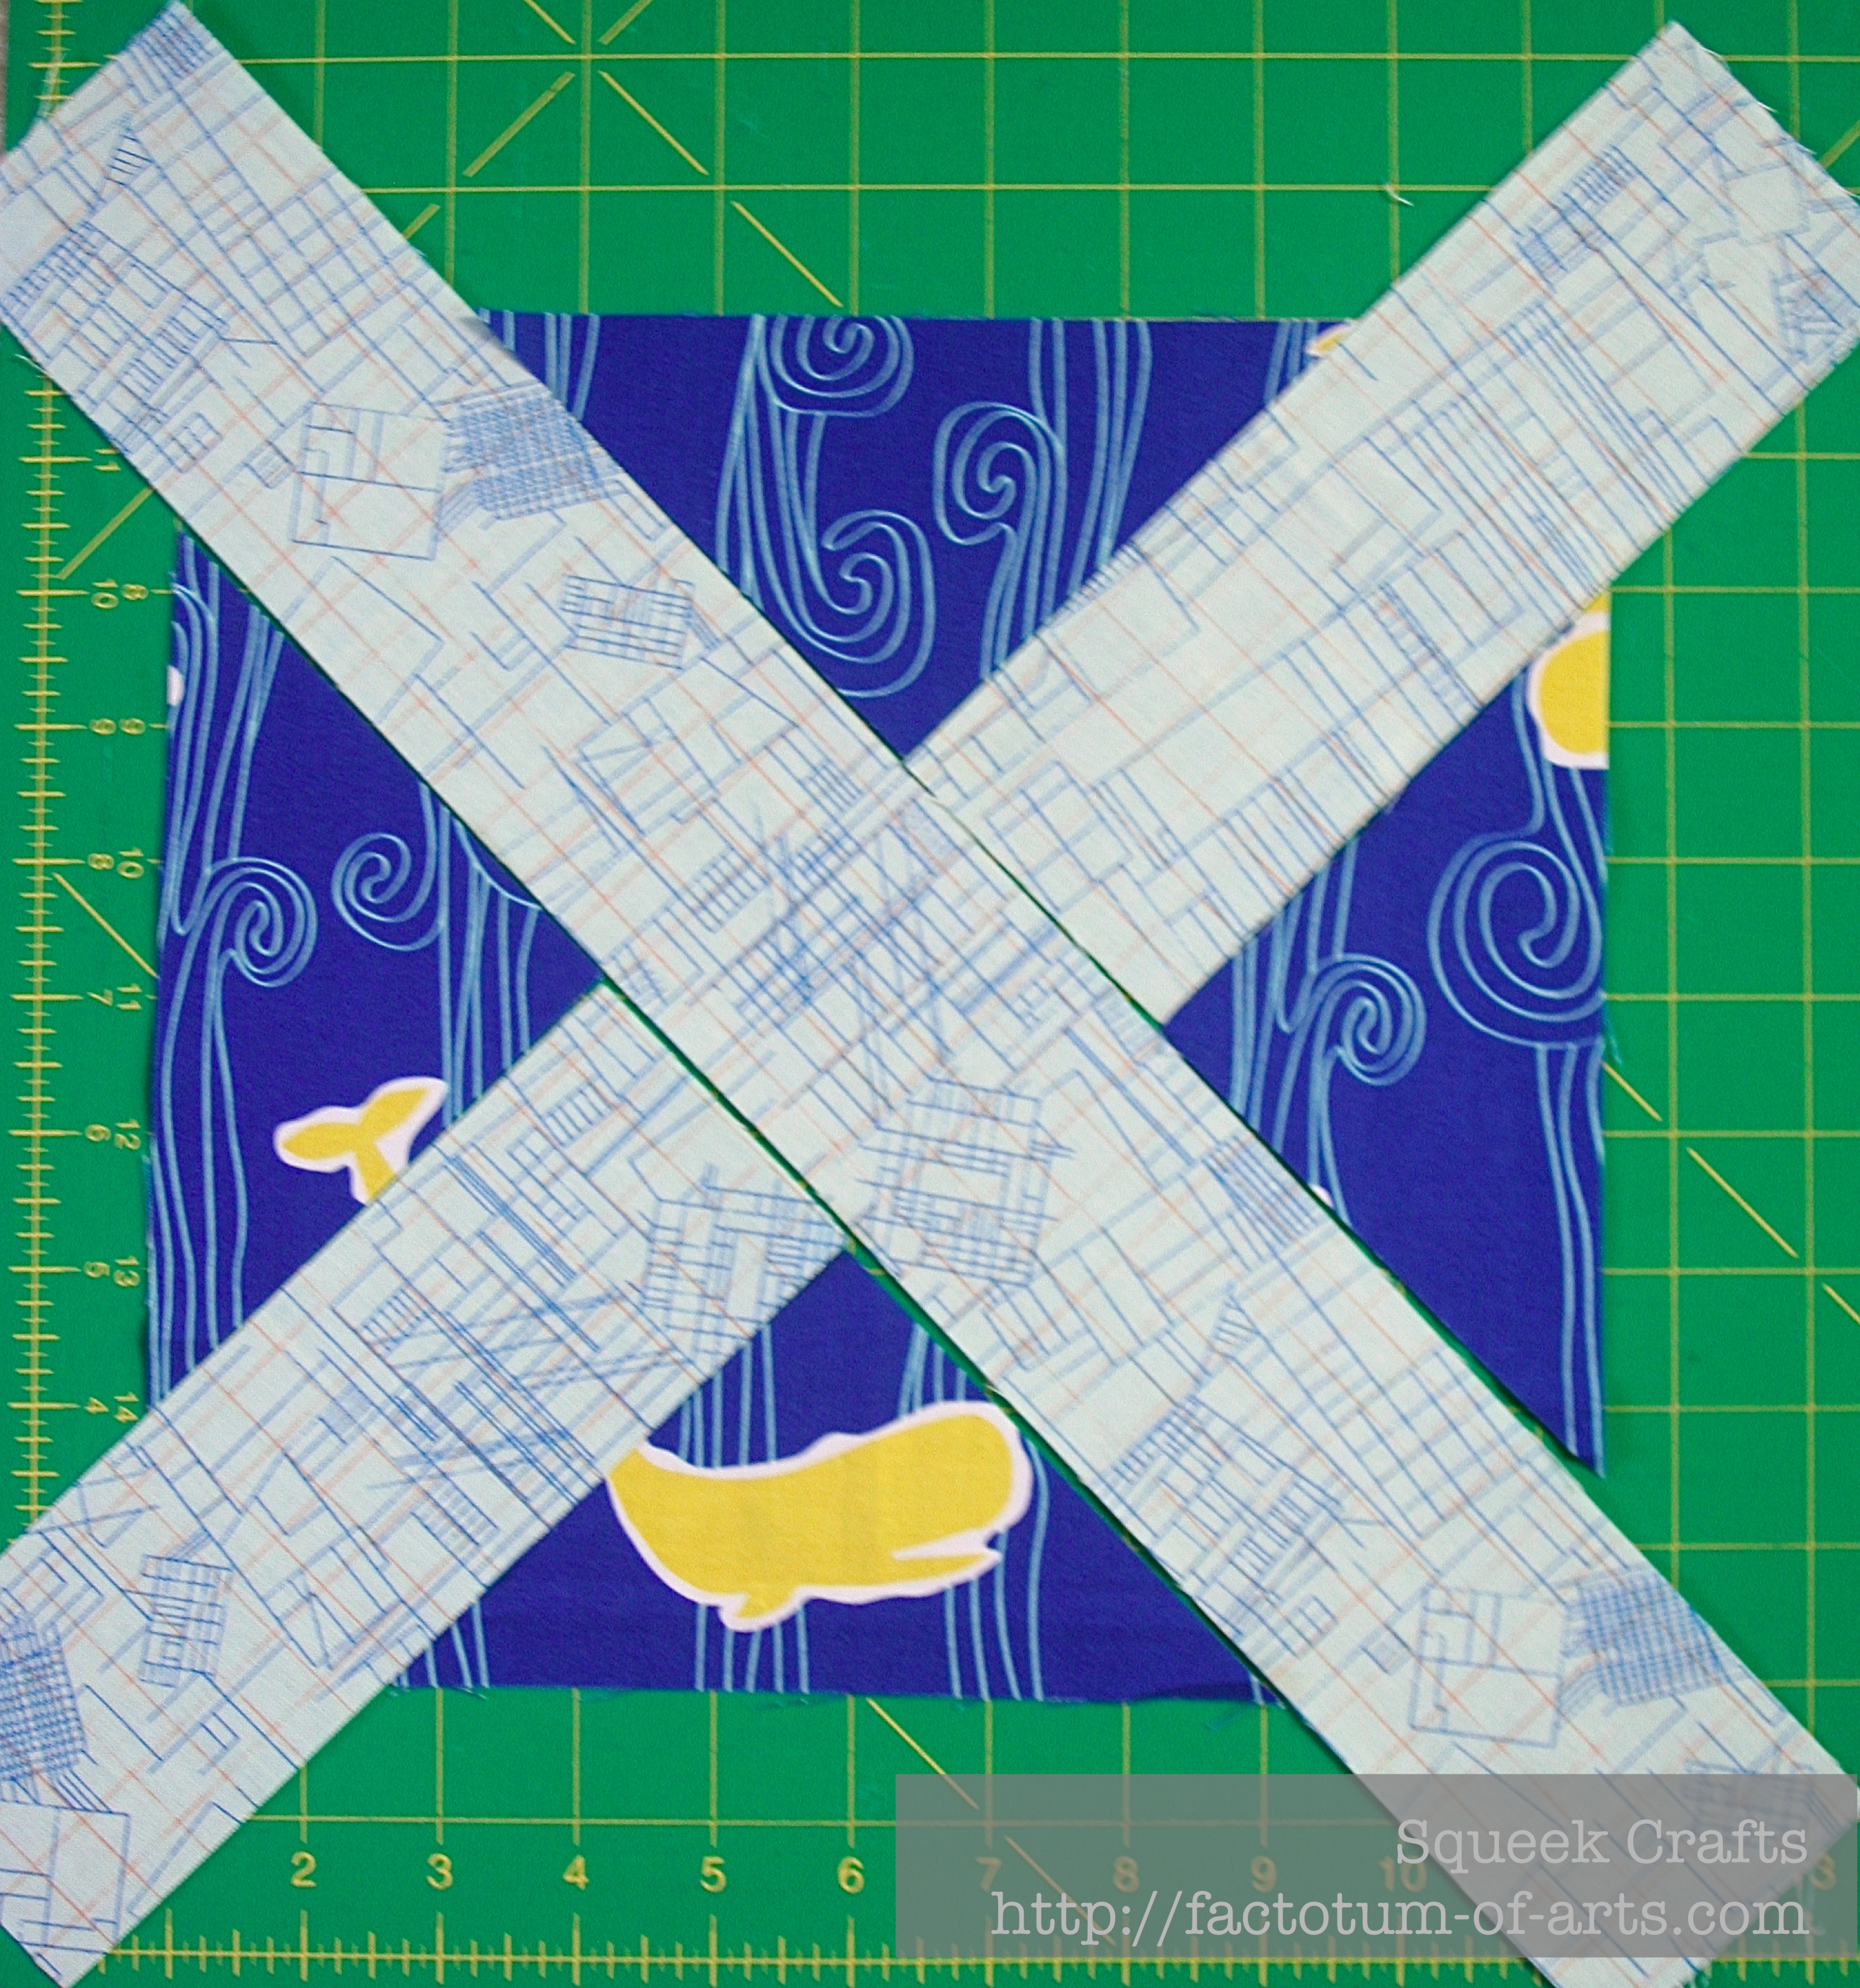
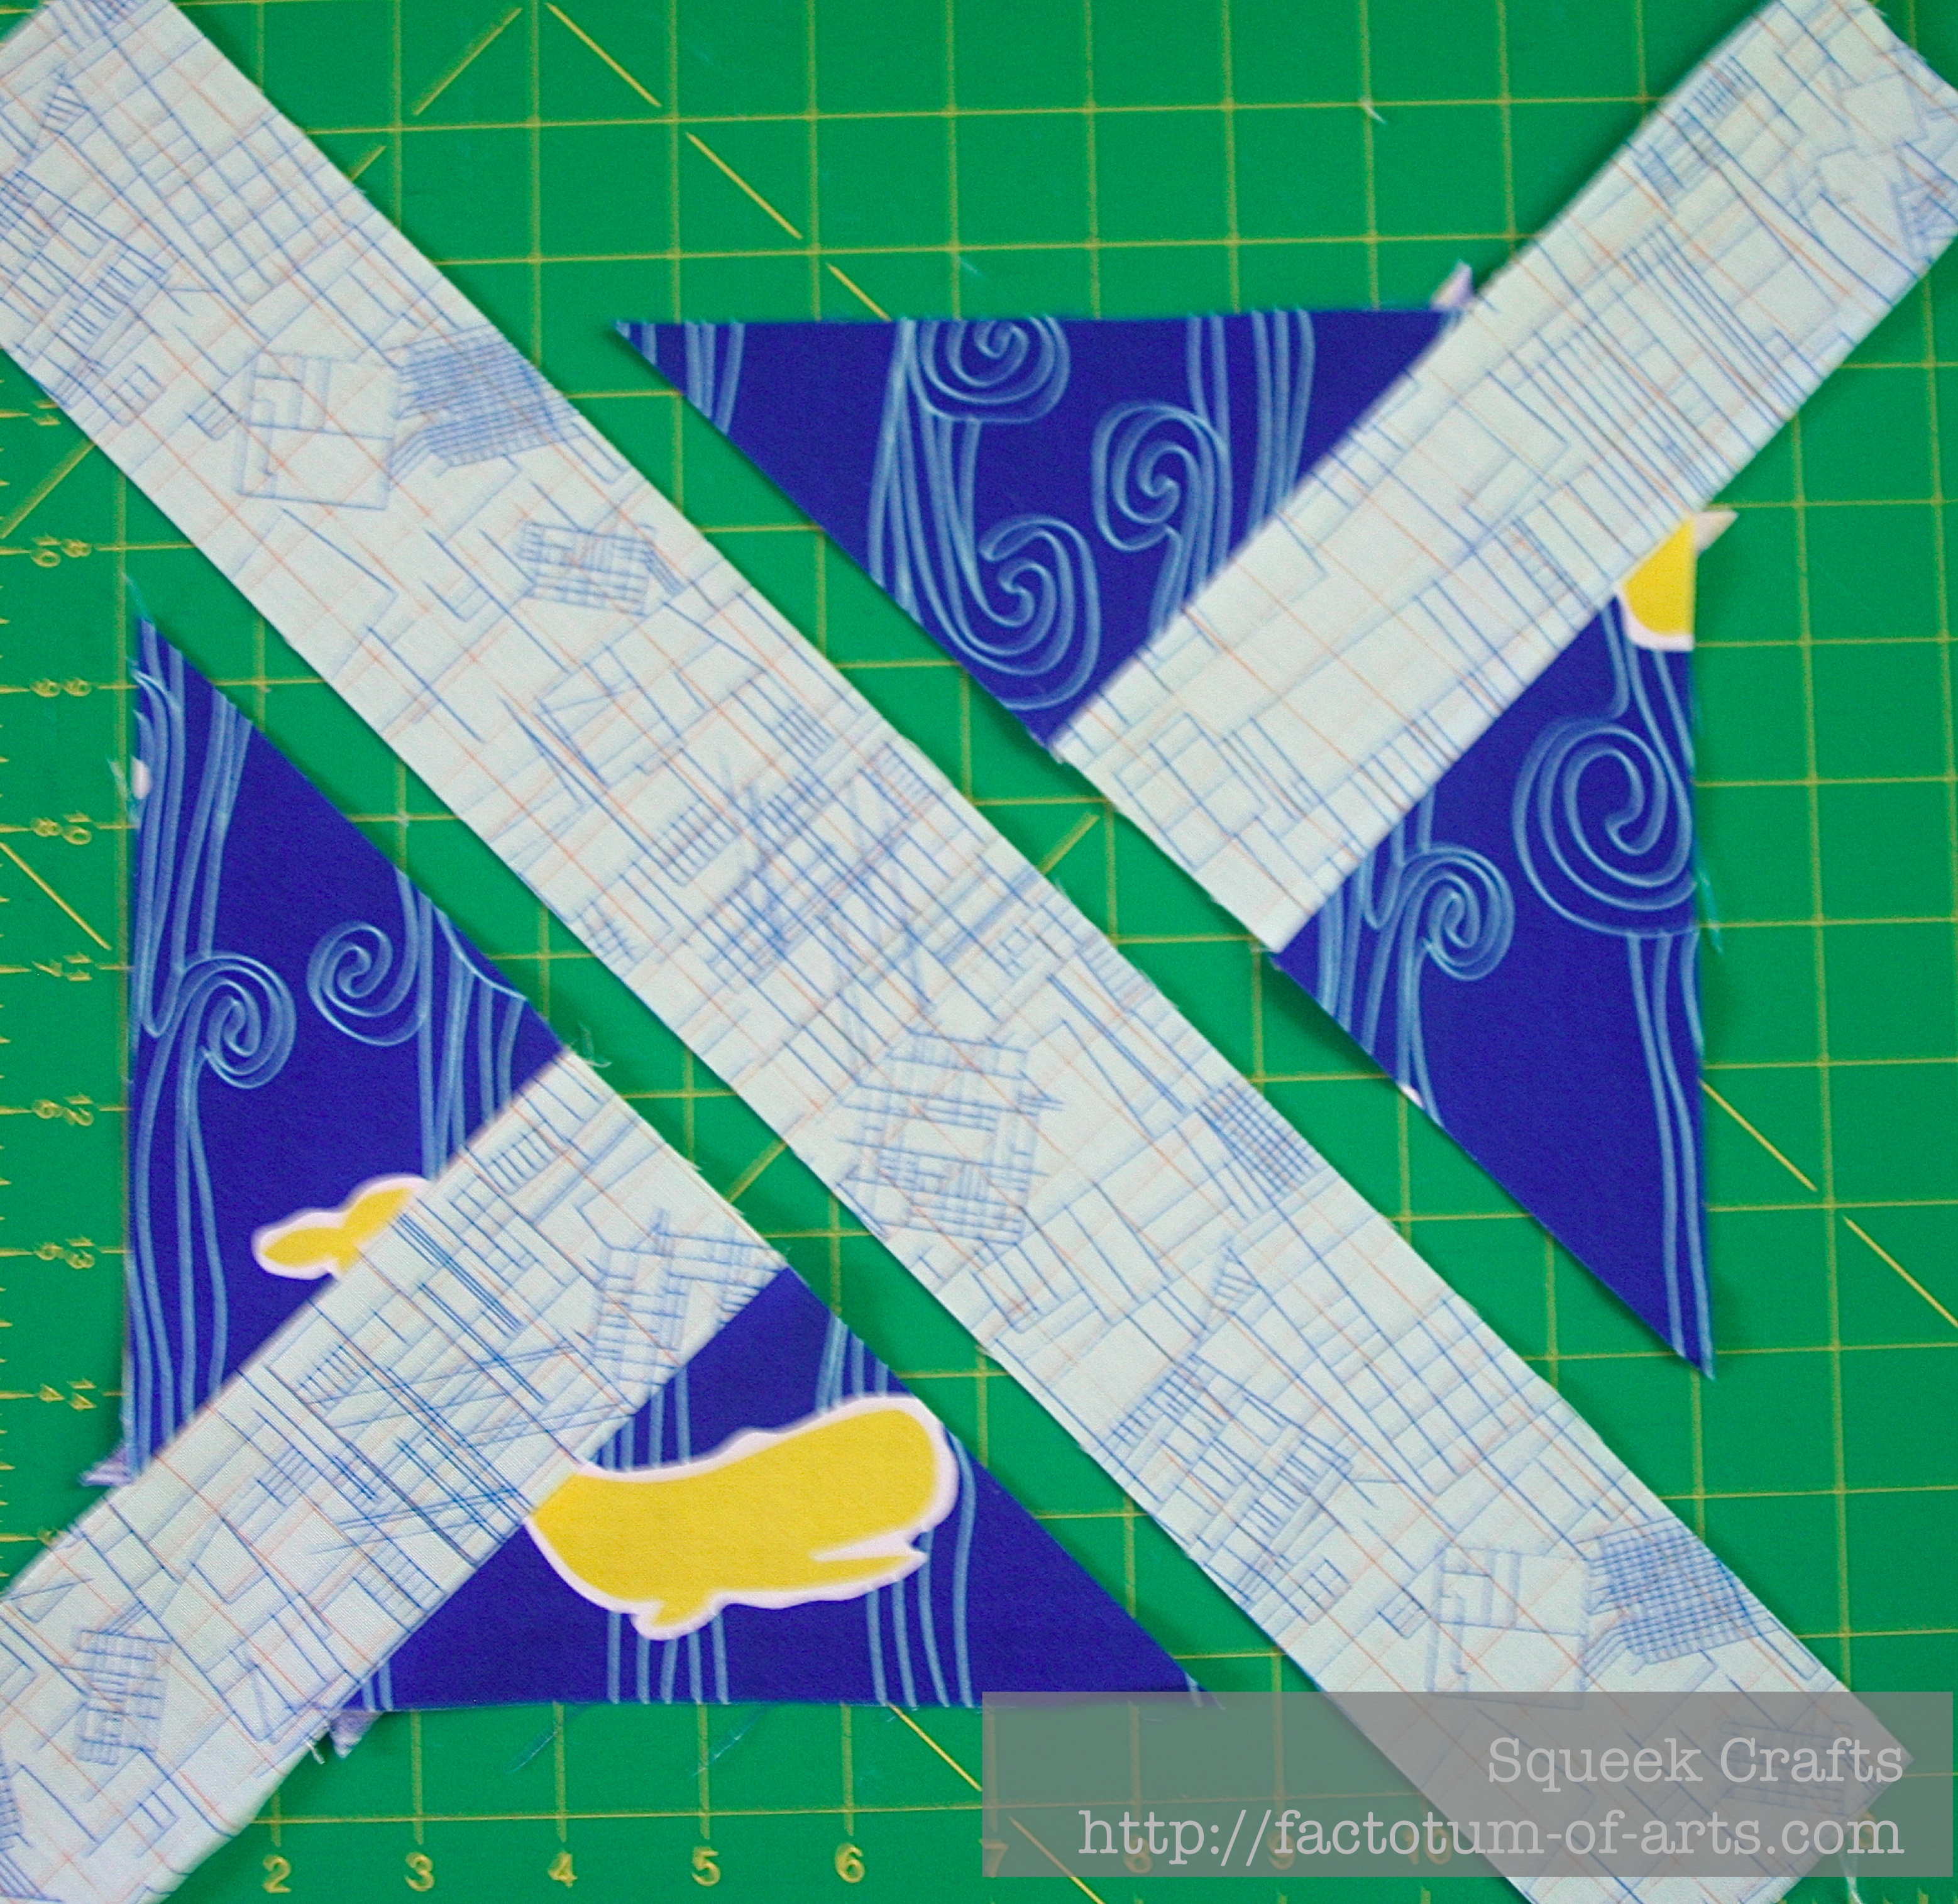
  2. Laid out the center of the block ready for sewing.ThisWayThatWay_Center_Layout
  3. Decided to try and just sew each half with no guidance. I might change the center of the block to be a paper-piece pattern, or at least add some steps for measuring and lining up the cross.ThisWayThatWayBlock_Center_unfinished
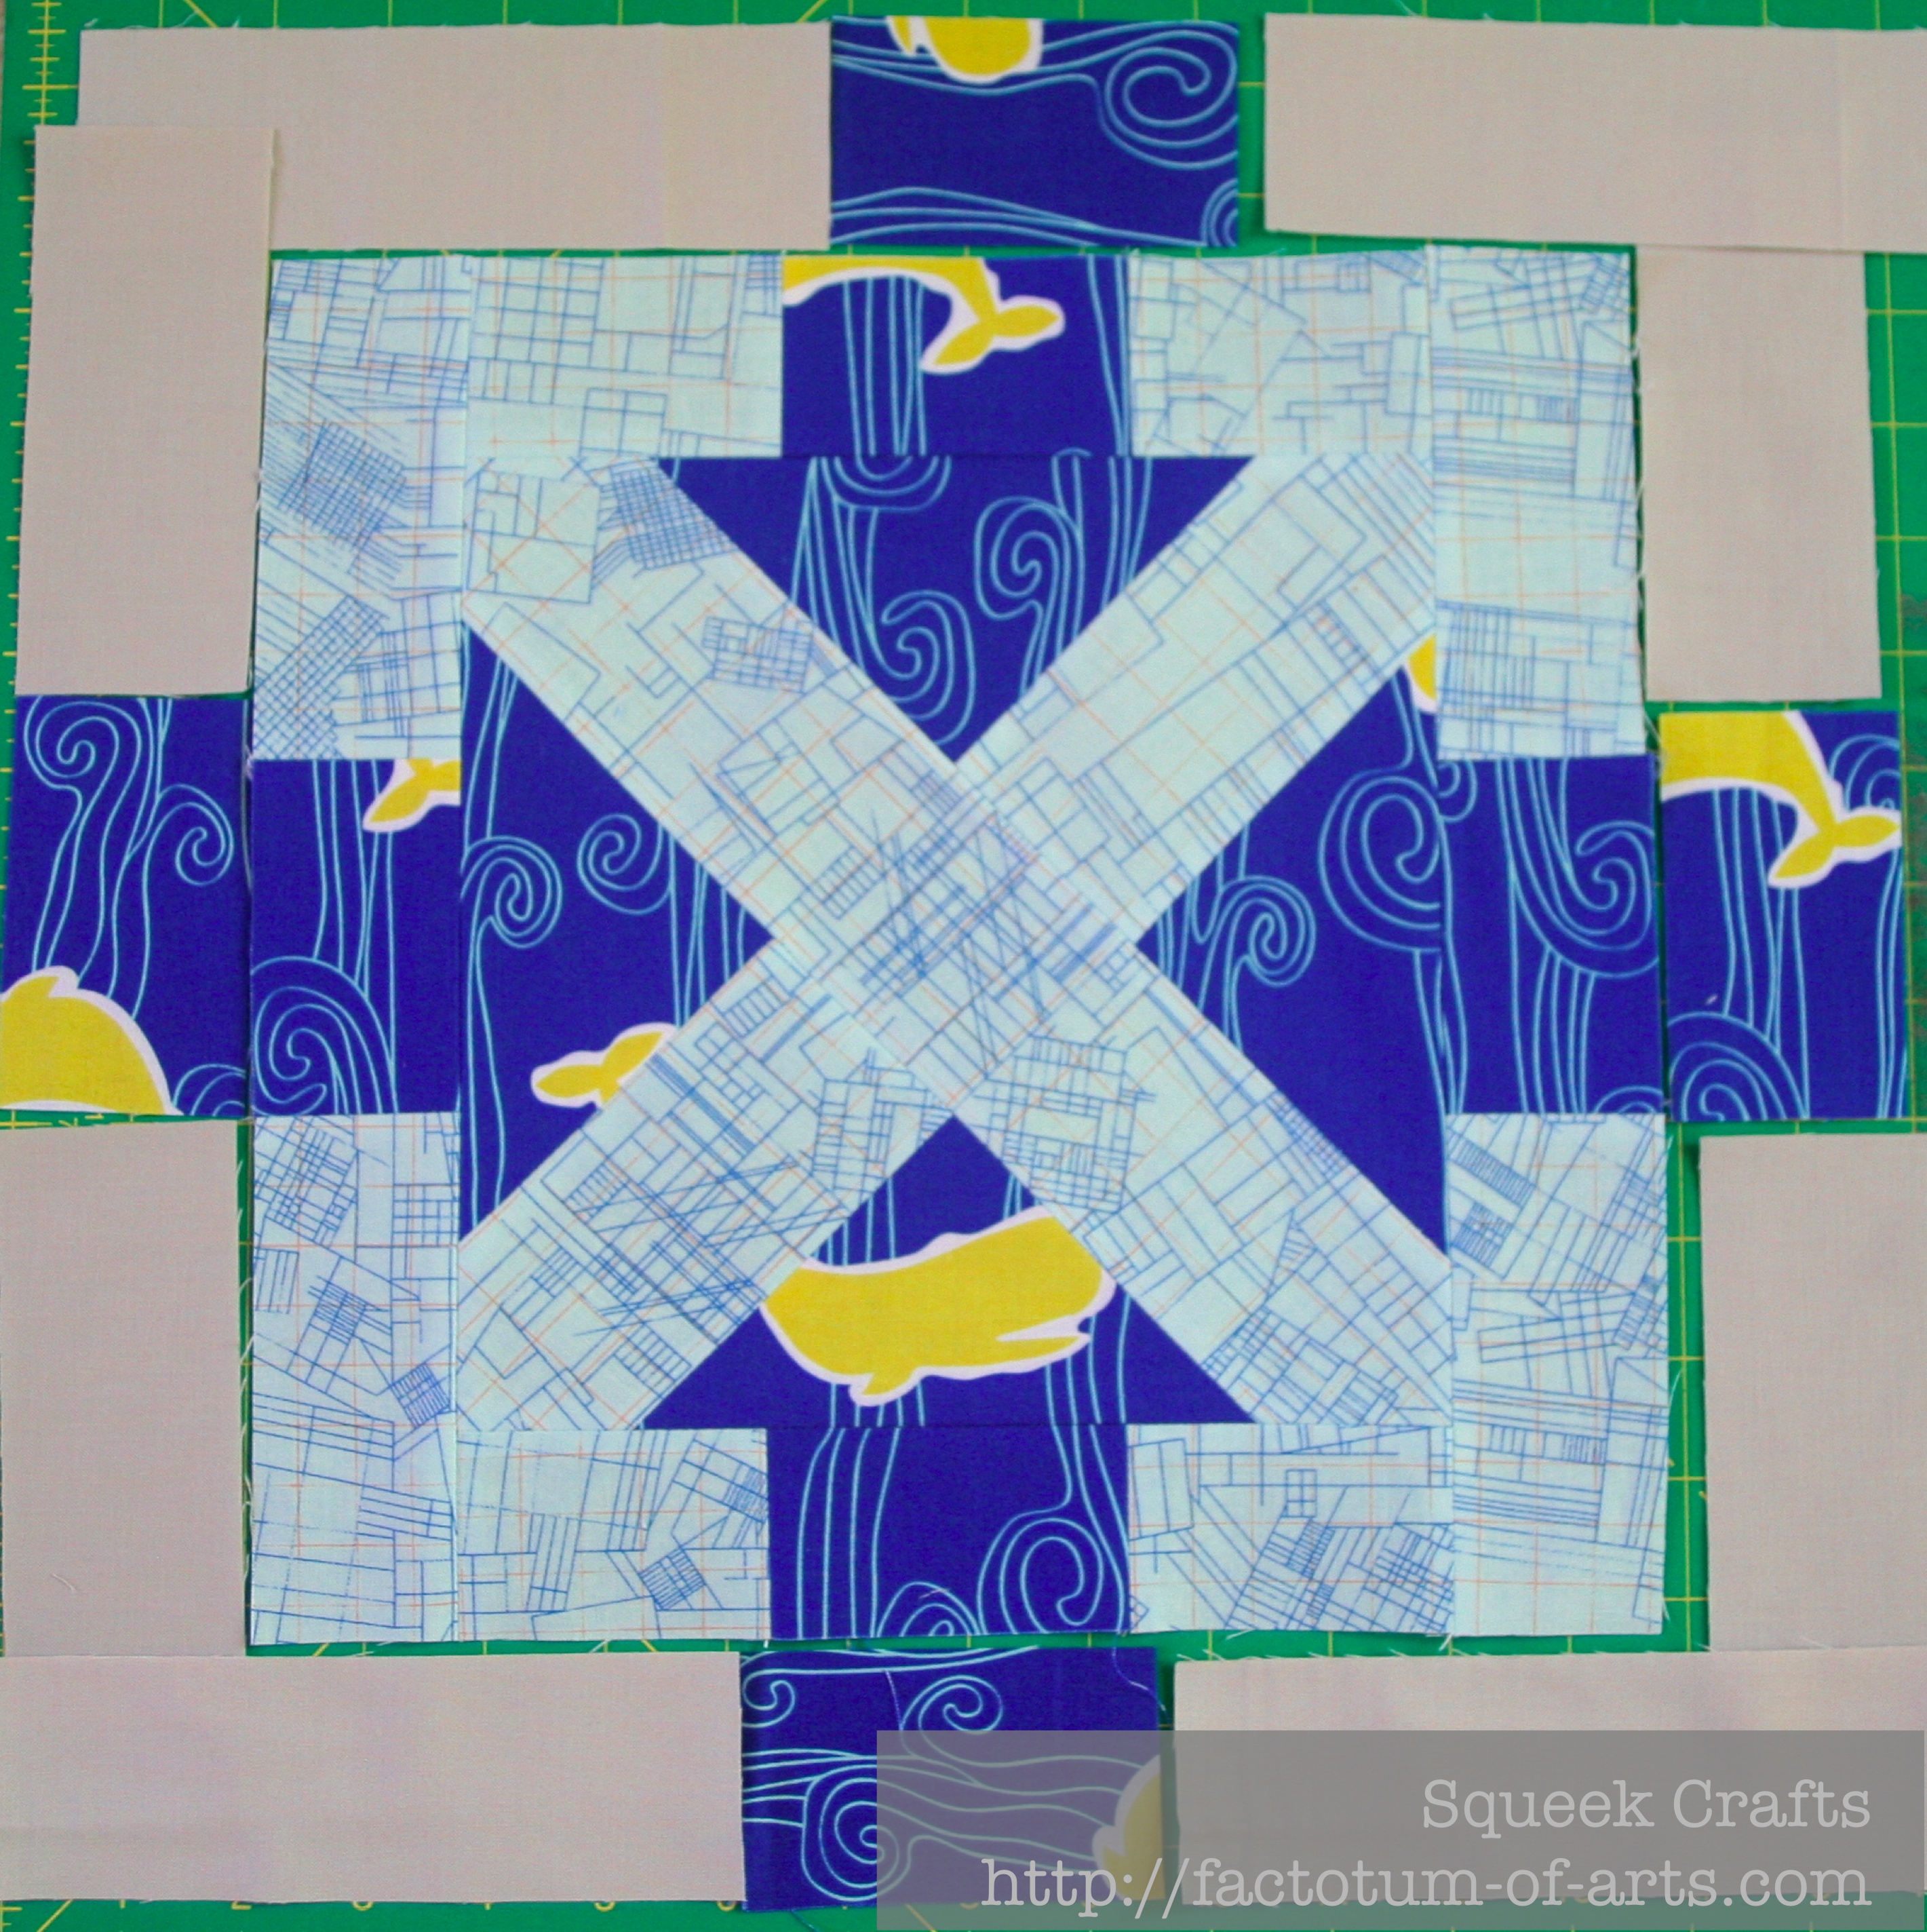
  4. Center is complete, laid out border 1.ThisWayThatWayBlock_Border1_unfinished
  5. Border 1 complete, laid out border 2.ThisWayThatWayBlock_Border2_unfinished
  6. Block is complete and will be a 14″ block (14.5″ x 14.5″ for seam allowance).ThisWayThatWay_Block_Border2_Finish

If you remember the design (you can find here), I have an alternate block that switches the dark and light blues around and border is white instead of grey. Here are the two finished color ways of the block.

ThisWayThatWay2Blocks_finished

I am liking it so far, 1/2 a row finished 🙂 only 5 1/2 more to go. If you are interested in testing the block or the quilt pattern out for me, once I have the pattern, written up let me know.

The fabric used for these two blocks are:

Block 1:
Light Blue: Architextures – Blue Print in Blue, Carolyn Friedlander, Robert Kaufman Fabrics
Dark Blue: Maritime Modern – Maritime Moby Blue, Marin Sutton and Riley Blake Designs
Outer border: Ash Grey Kona

Block 2:
Light Blue: Technicolor – Braid in Navy by Emily Herrick, Michael Miller Fabric
Dark Blue: Architextures – Scribble Notes Navy, Carolyn Friedlander, Robert Kaufman Fabrics
Outer border: Kona White

Linking up to “A year of lovely finishes” and “Sunday Stash”.

My Button

Threadbias design tool review + Quilt Design

This week, if you have been following, you would have seen I have been trying out threadbias.com design tool for designing quilts. Overall, I am loving it !! I have learnt so much in a week.

What do I like about the tool:

  • The price – $10 a month. You can cancel the subscription at any time and you will be allowed to use it until the period you have paid for ends
  • Free tutorials. So, far I have not used the tutorials but I do plan to take the time while I am out on vacation.
  • The ease of use.
  • Time saving – I have had these ideas in my head so long and just have not had the time to put them on paper.
  • The availability of fabrics to add to your tool stash in which you can use in your design. This way you can get an idea how it will look.
  • Its ability to select a shape and to replicate across and down (tiles).
  • The display of fabric requirements – that shows you how much fabric you would need for each print you use in the design you create.
  • The ability to add borders around your quilt easily (tool option on the menu)
  • The ability to save the images/export them.

My initial wants:

  • Ability to add a rectangle and split it up with stripes to mimic an improv block. The choices for adding the stripes would be same width + straight, random differing widths + straight, and then same sized + sloped/straight random, random differing widths + sloped/straight random.
  • Export image with ruler & grid
  • Ability to select all within a region by clicking your mouse to start and draw a region and then release…then I would like to copy that area and paste.
  • Ability to print the fabric requirements list.
  • I would love it if I could import the image and requirements into another tool for pattern creation, where the pattern tool would provide you a template or allow you to use a template.

Here are the designs I have created this week with the design tool:

This way, That way
Natural Corridors

A “Pinky” is a pink marshmallow chocolate bar we have in New Zealand. This theme is right in line with my new quilt design….”Pinky”. I had mentioned previously, that I want to do Candy Coated Quilt from Sunday Morning Quilts. As I started thinking about it, I wanted to make it my own, so I changed it to this. Now, all I have to do is decide on the Chocolate or the Grey borders around the improv blocks. What do you think??
PinkyBar_Chocolate_QuiltDesign PinkyBar_QuiltDesign

Please note, my review of threadbias.com Design Tool is not sponsored, or been requested. The likes and wants are purely my own opinions.