Tag Archives: quilting

40 and Lotta’s Surface Printing Workshop

First off – this is a picture heavy post. Today, I am turning 40 and decided to embrace it!! I am celebrating it with a trip to New York to attend Lotta Jansdotter Surface Printing Workshop. We (I took the family along) started the trip out with delays from Tropical Storm Andrea, but thankfully we got to the hotel, even though it was midnight (4 hours late).

This morning, I couldn’t wait to get in that yellow cab and be driven to Brooklyn to Lotta’s workshop. One of those cab’s below will be mine!!

IMG_7438

The workshop was held in an amazing space that included the shop, workspace and office.  And yes, in the photo below those are shelves of fabric bolts. I made a purchase while I was there, of course – a strawberry journal, a table runner and the 1 yard of the dandelion fabric from her Echo line.

IMG_7439

IMG_7442

IMG_7441

IMG_7496

IMG_7446 IMG_7459

The course, itself, was run by Lotta. I shared the experience with 11 other great people who helped me celebrate. The course took you through working with potatoes, rubber blocks and stencils on both paper and fabric.

IMG_7449

IMG_7447

I loved Lotta’s teaching style. She made sure that the main goal of the course was just to experiment and go with the creative flow, which was very liberating and stress-free. The four hours flew by….I so wished the course was a weekend course (2 days) – I enjoyed it that much. I would highly recommend anyone coming to New York, to check out her shop at the very least, and if possible sign-up for a class. You will love it.

Potato printing

IMG_7491 IMG_7492

Block Printing 

WorkingSpace

Inspiration – Pohutukawa flower, the New Zealand Christmas Tree:PohutukawaRed PohutukawaOrangeRedPink

Inspiration – Pacific Island tapa clothes. Designs which are typically painted on woven flax sheets:TapaOrangeSilver BlackTapaPrint

Fabric Printing
BirdPrint_bag1

Final Products of Work
Stationary – Pohutukawa and Tapa Cloth Card Sets.
PohutukawaCardFinal TapaCardFinal

Tote to carry all the goodies home with 🙂
BirdBagFinal

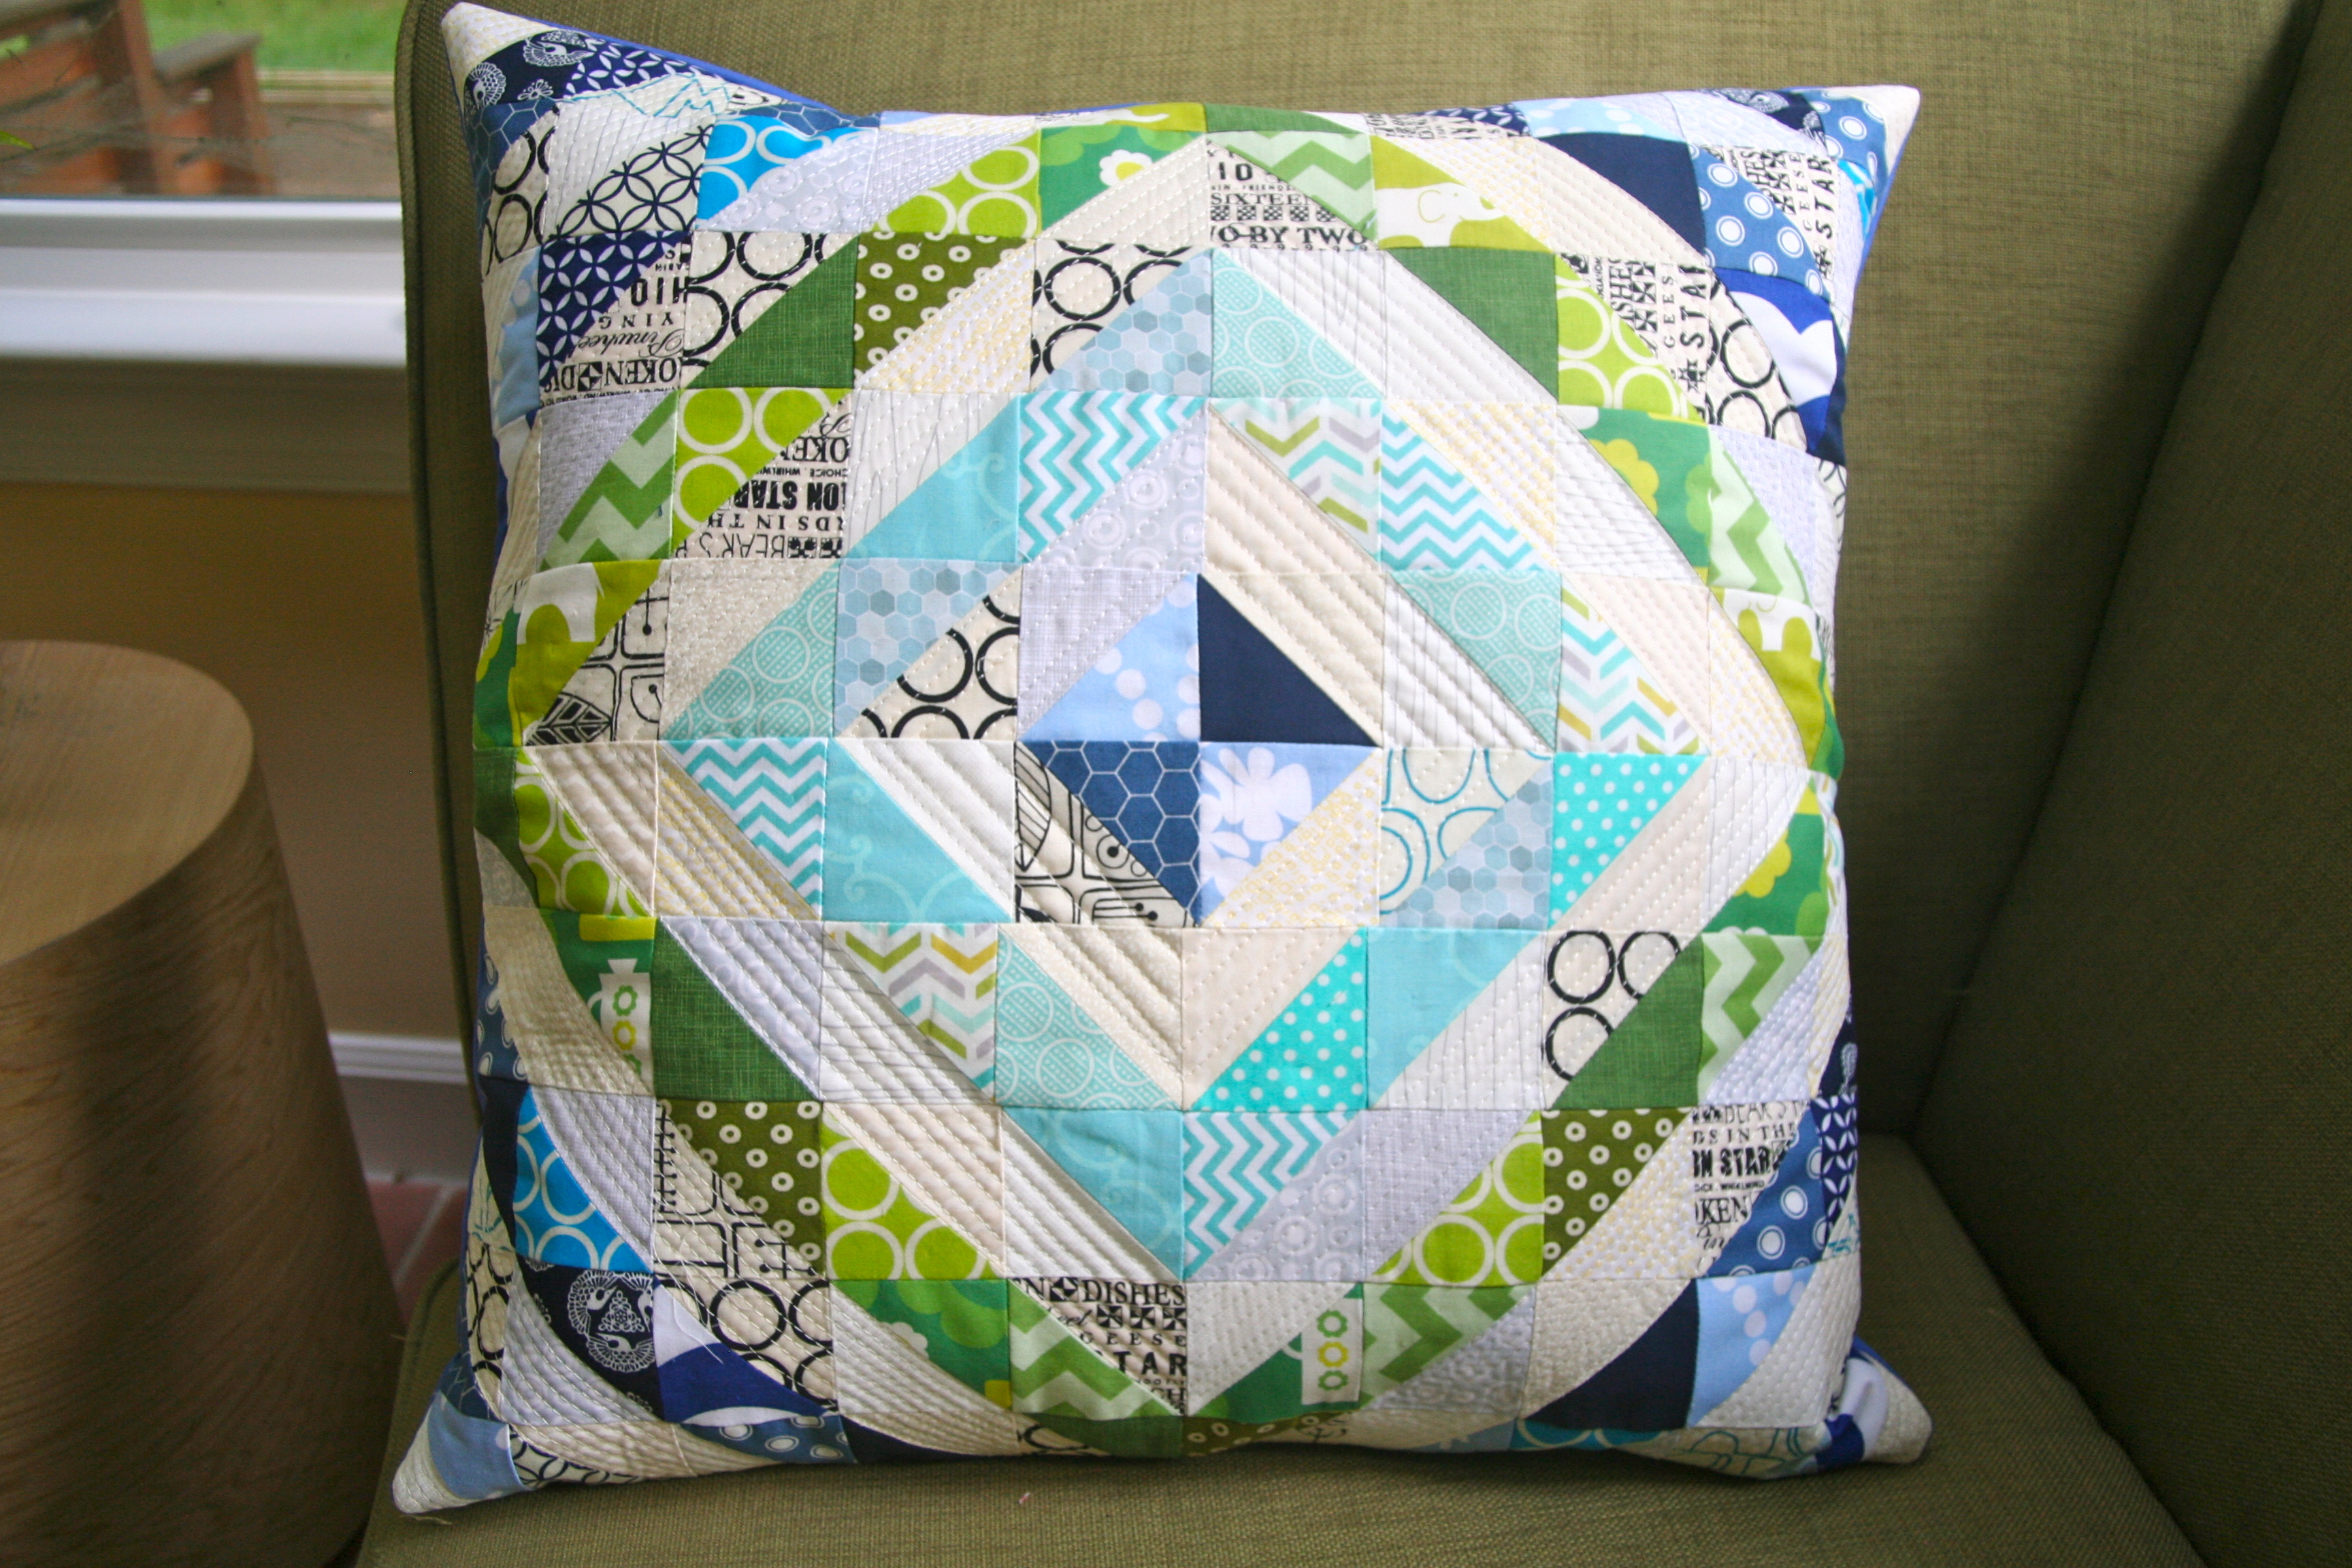
Sea Spray: HST Pillow Completed!!!

“Sea spray is a spray of seawater that forms when ocean waves crash, or high winds are blowing.” (from wikipedia).

That, I think, perfectly describes this finished HST pillow.  It was a dash to the finish, for sure, but I managed to finish my pillow that I am swapping this weekend.  I based this pillow off “Crystallized” by Angela Mitchell’s pattern in the Pillow Pop book (page 82). Instead of using the warm and cool color combinations, I swapped the warm for low-volume prints and made the cool color rings a single color within a the ring (not mixed). IMG_7424

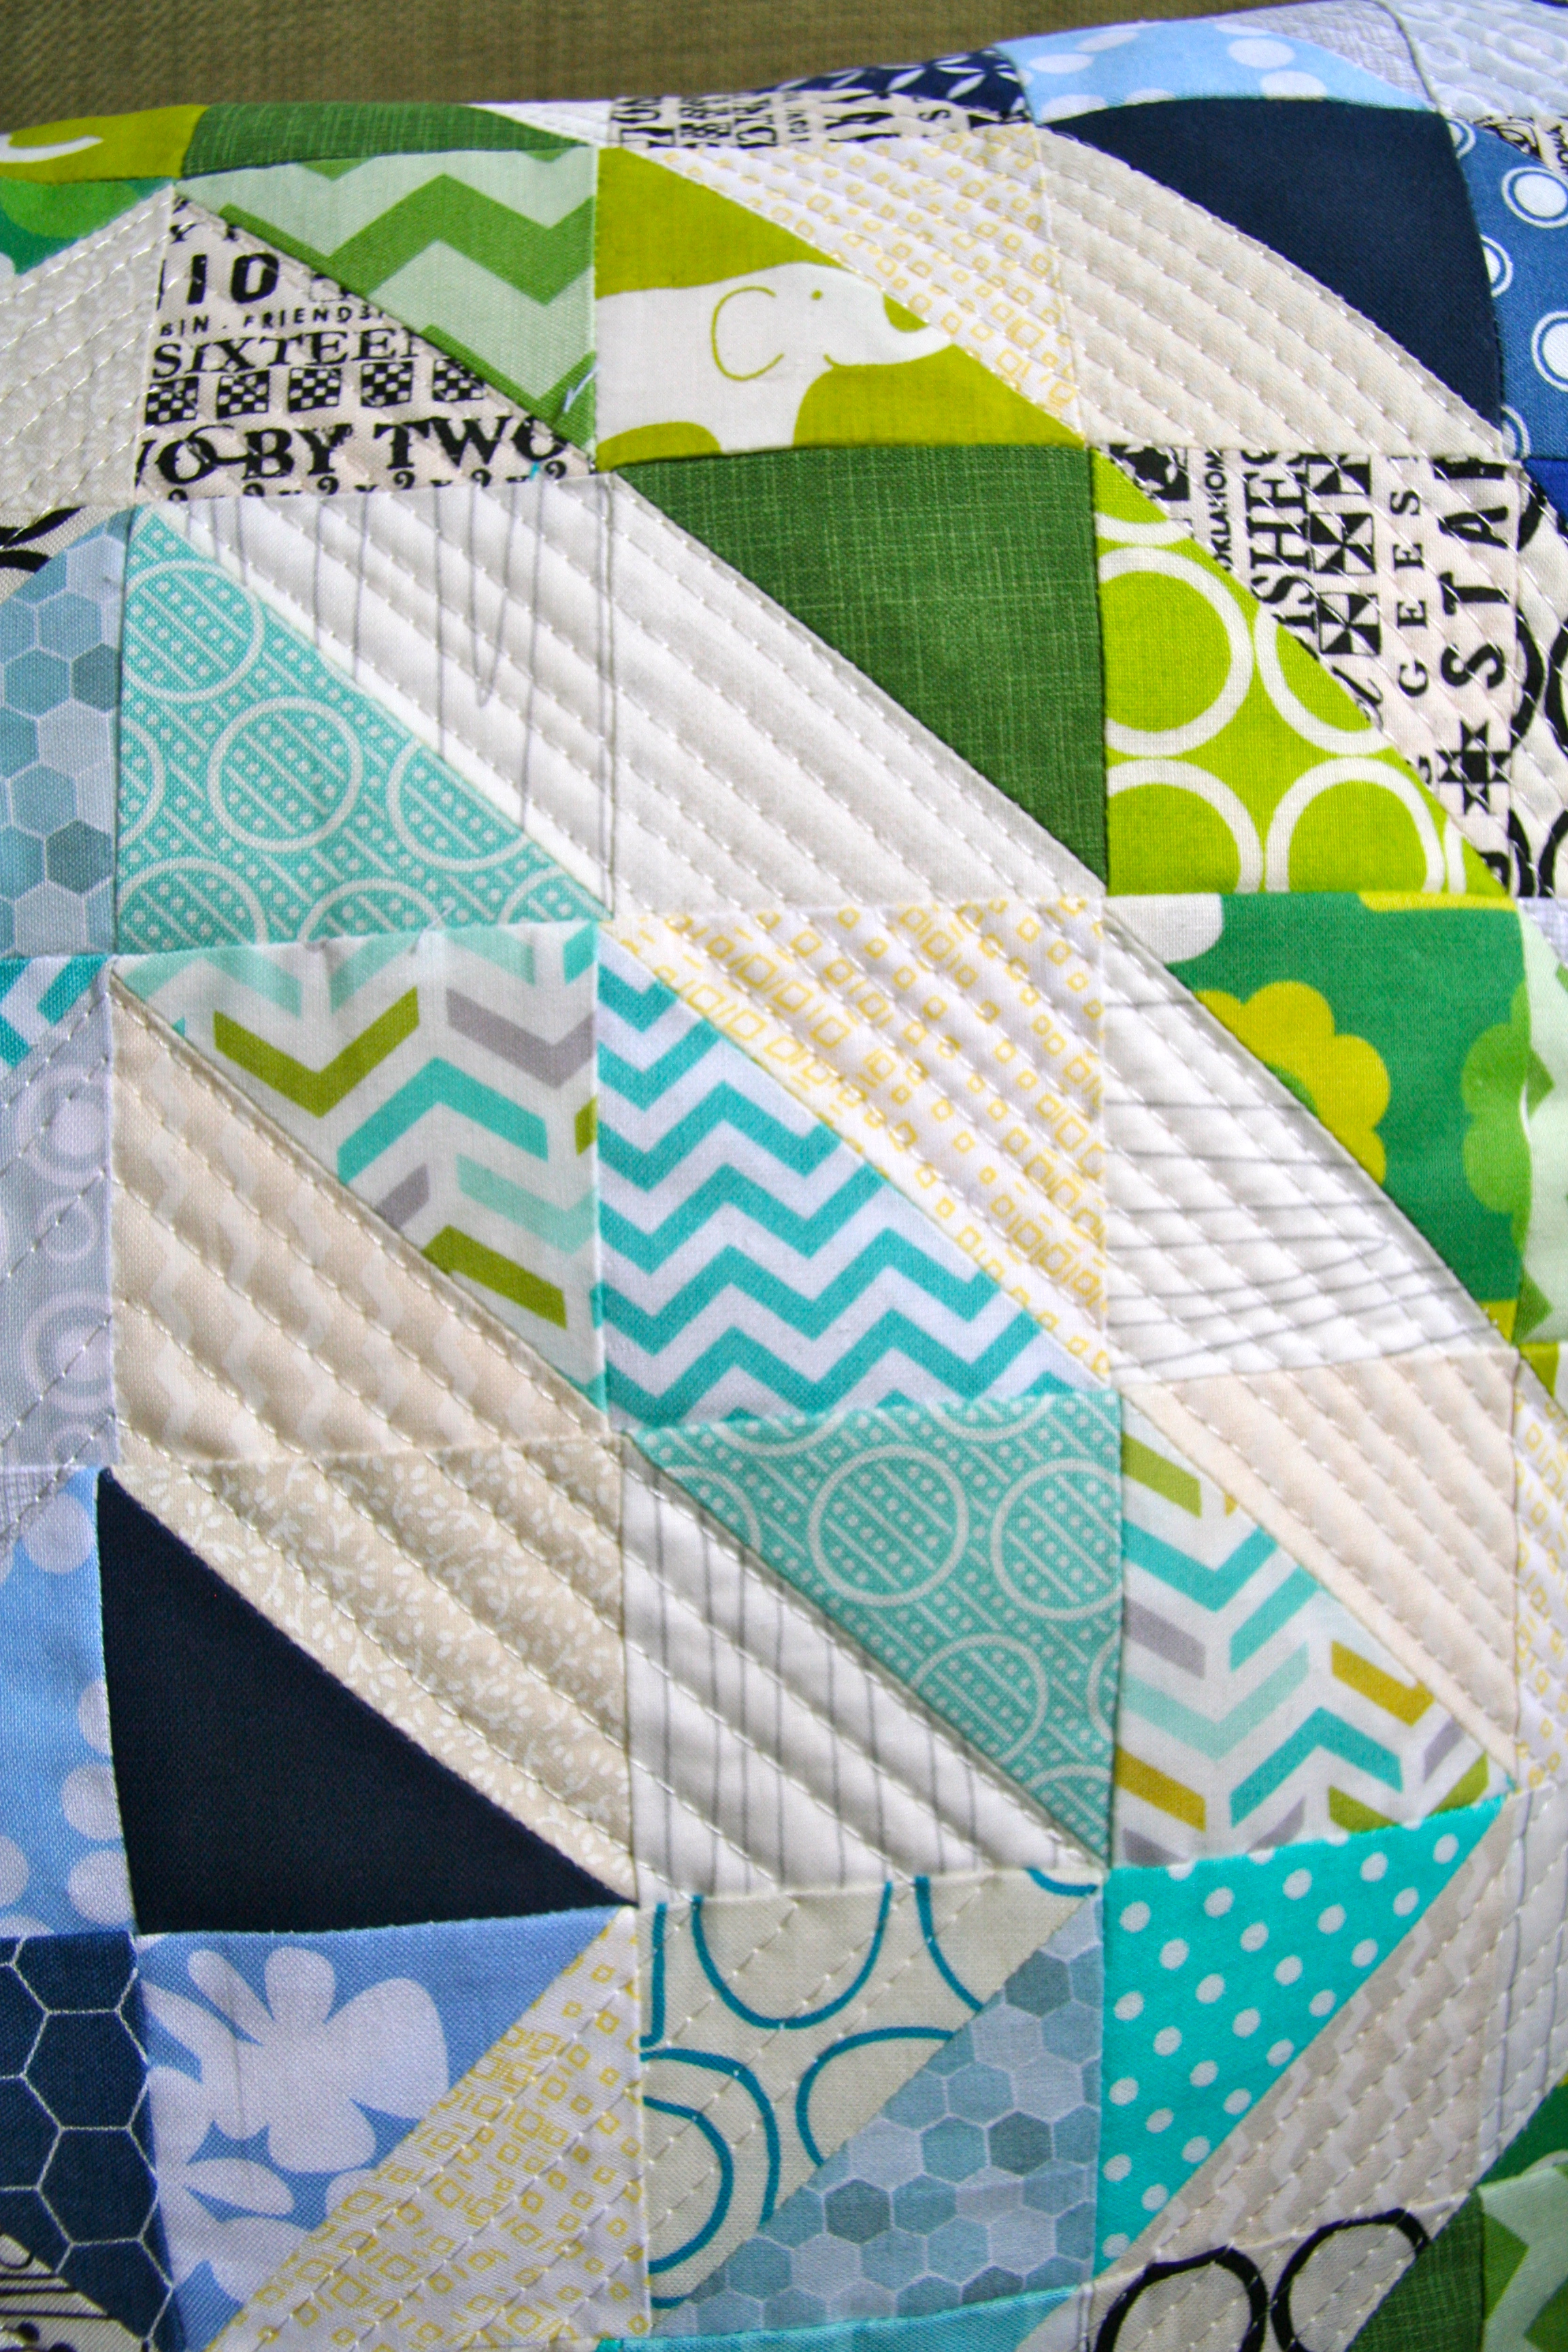
I quilted irregular lines in the low volume portion of the pillow, which you can see more clearly in this close-up.IMG_7426

The back of the pillow I kept simple with using a single Kona Blue fabric. The opening I used an invisible zipper through the middle of the pillow (as I had done in my other two cushions blogged here). IMG_7428

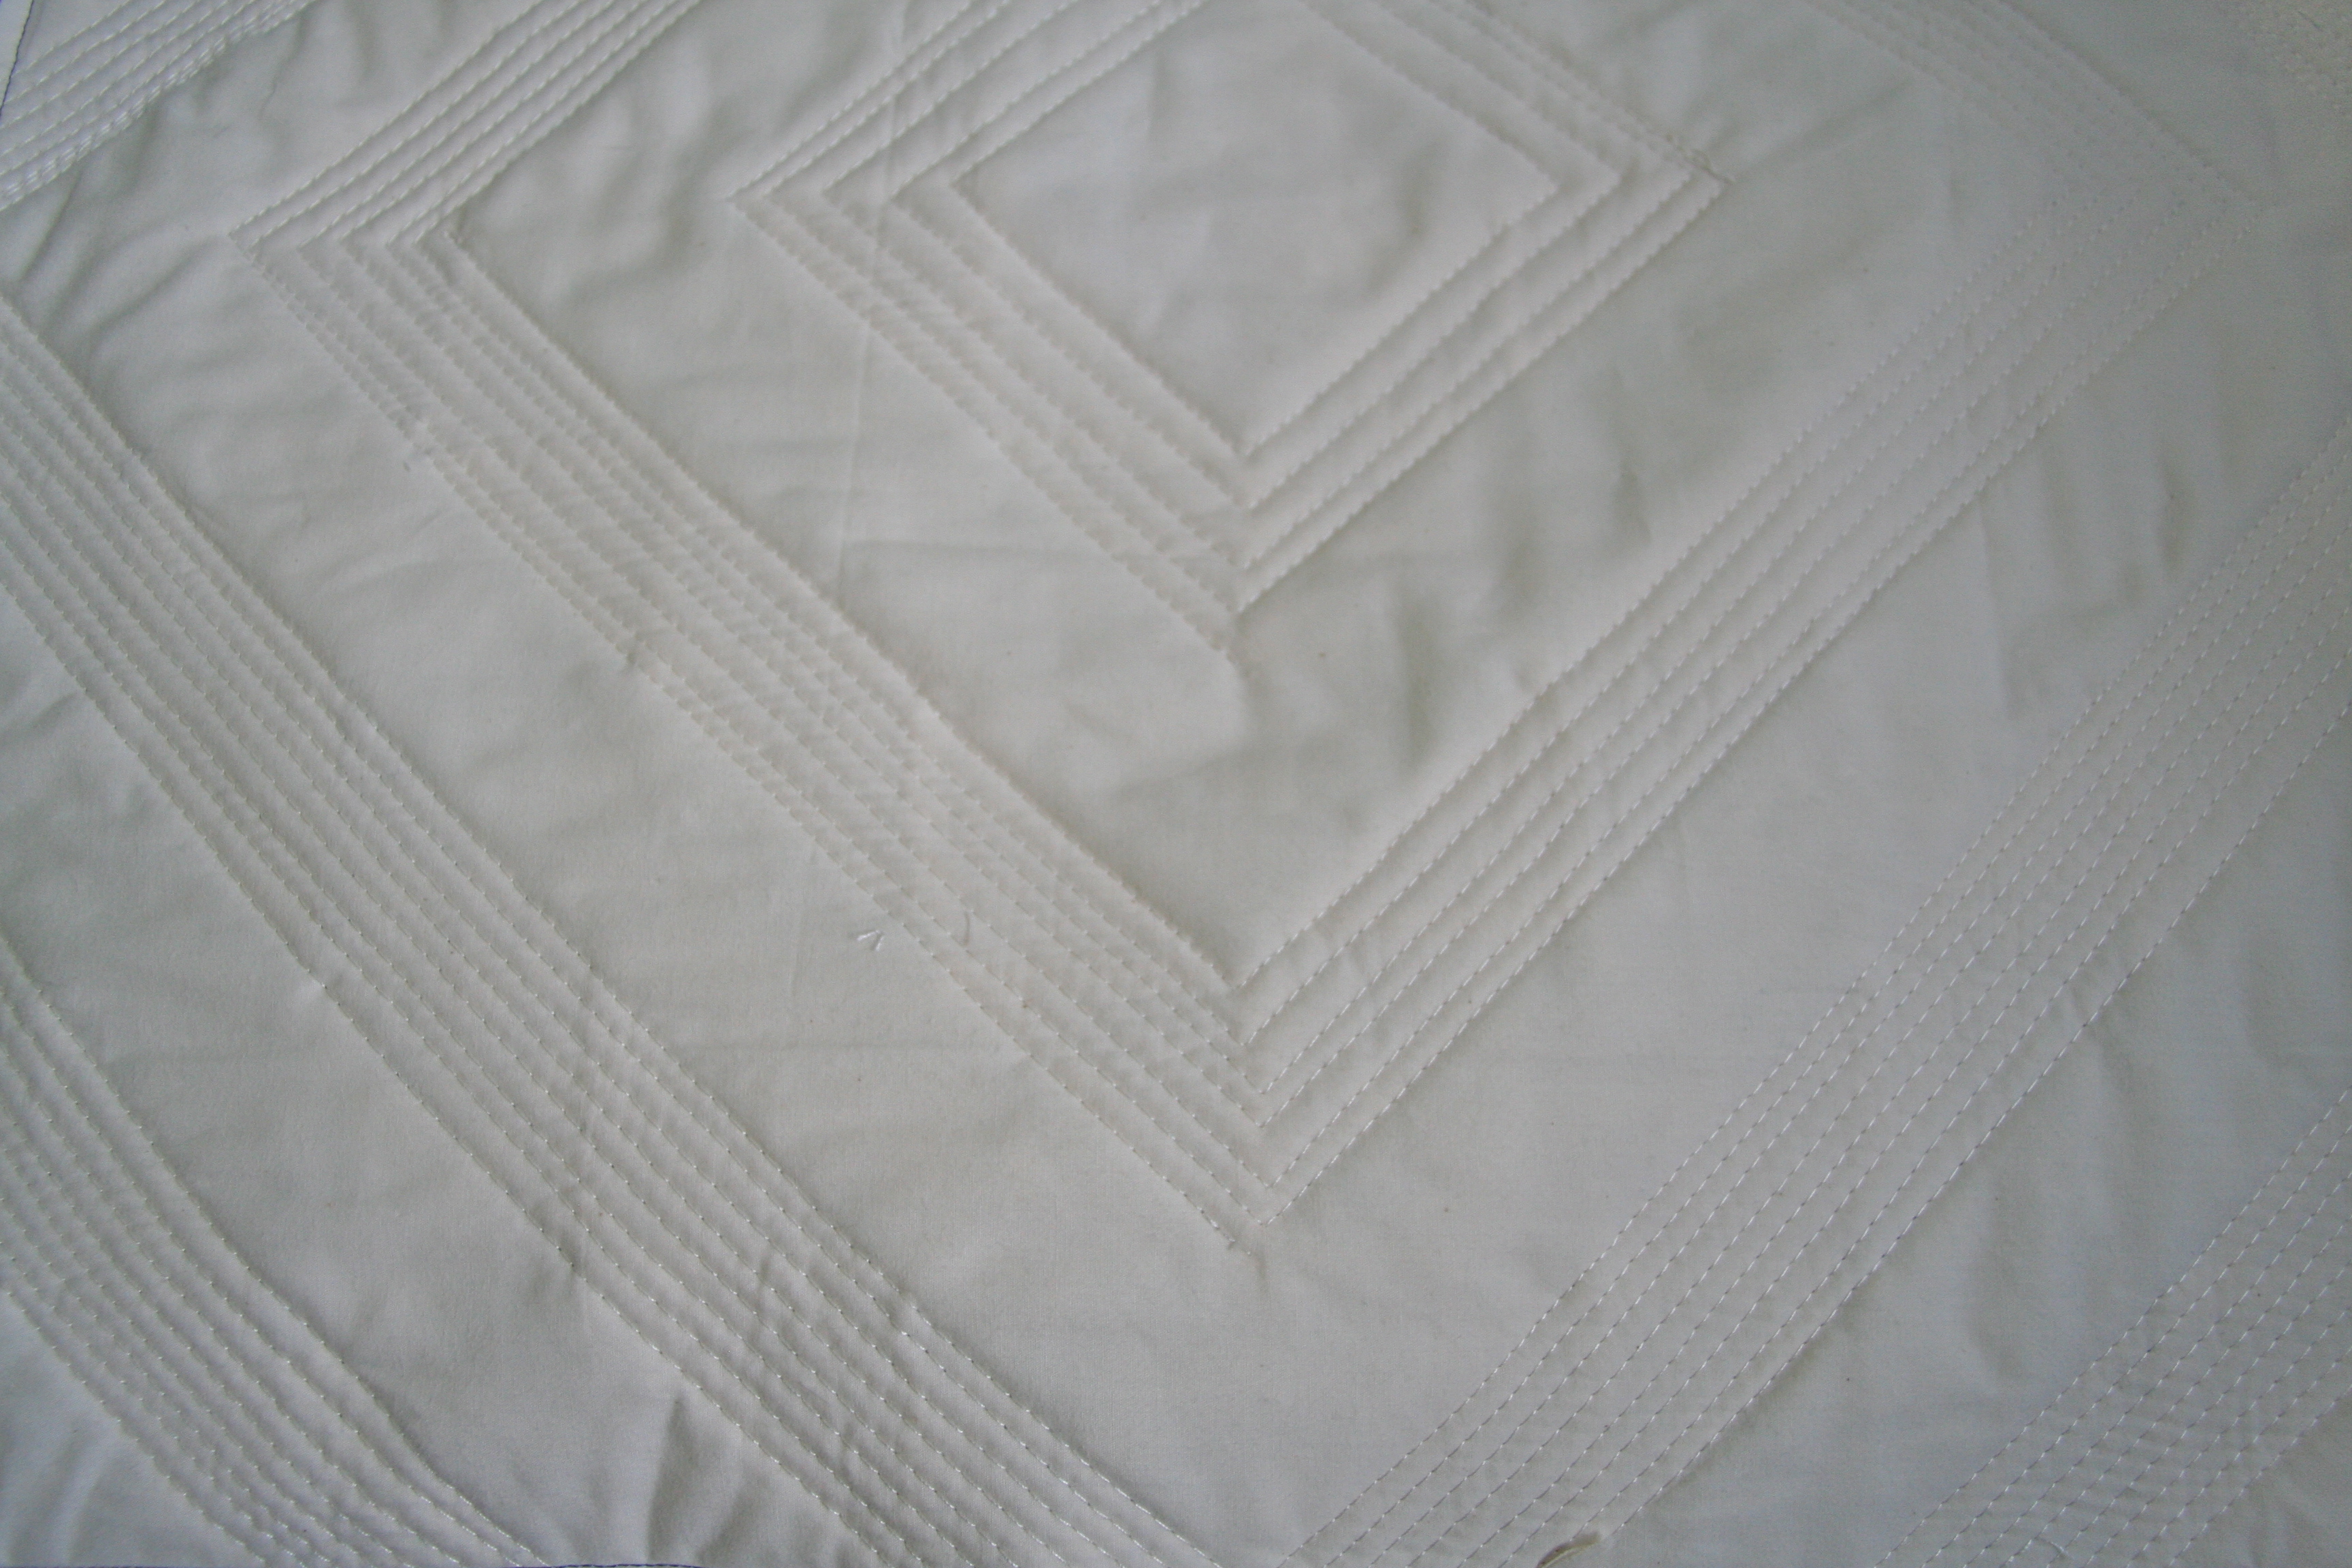
I am including a picture of the pillow top backing, as you can really see the quilting. The top, I used organic cotton batting with muslin as the backing which is what you see here.IMG_7430

So I love the finish, the hubby wanted to keep it…..I hope my swap partner likes it!!
I blogged previously, showing photos of the making of the pillow – those can be found here and here. I shared the above photos on the “Pillow Pop” flickr group – in case you are interested in joining.

I am linking up with AmandaJean @ CrazyMomQuilts for Finish it up Friday.

Lovely Year of Finishes: June Goals

It is halfway through the year….I am loving being part of the link-up party “A lovely year of finishes”, it makes me more focused and increases my productivity. You too can join, if you have not, try it for a month and see if it helps you…just click on the button below.

My Button

This month’s main goal will be:

  • Finish a baby quilt top, that I haven’t started yet. I do, however, have a design in mind.

In addition to this, I have also decided that I am not signing up for swaps this month….I want to spend some time doing my own thing. The last two months, I have loved my finishes, but they have been projects for our quilt guild, which is great to participate in. So, what will I do with assigned projects???….the smaller projects that have been swimming around in my head are:

  • Market Tote for me (using the pattern from Patchwork, please)
  • iPad cover (again I have been eyeing the pattern from Patchwork, please)
  • More Cushions/Pillows (there have been a couple I want to try from Pillow pop but I also have a couple of others in mind).
  • Hand-quilting on the Four Season’s in One Day quilt.

My goal is no pressure; I will just do what I can and in the time I want :-).

An update as well….Firstly, when I participated in the May Give-Away Day, the number one design item folks wanted was a design board, I knew how they felt :-). I made myself a design board using hard foam backing board and grey flannel (I love the grey background). I used staples and tape to stretch and flatten the flannel to the board.   It is amazing how the fabric pieces stick to the flannel – look at how well it works!!! If you don’t have a design board, give making one a try…it is really very easy and cheap. The whole thing cost me less than $10 (USD). Let me know if you want instructions.

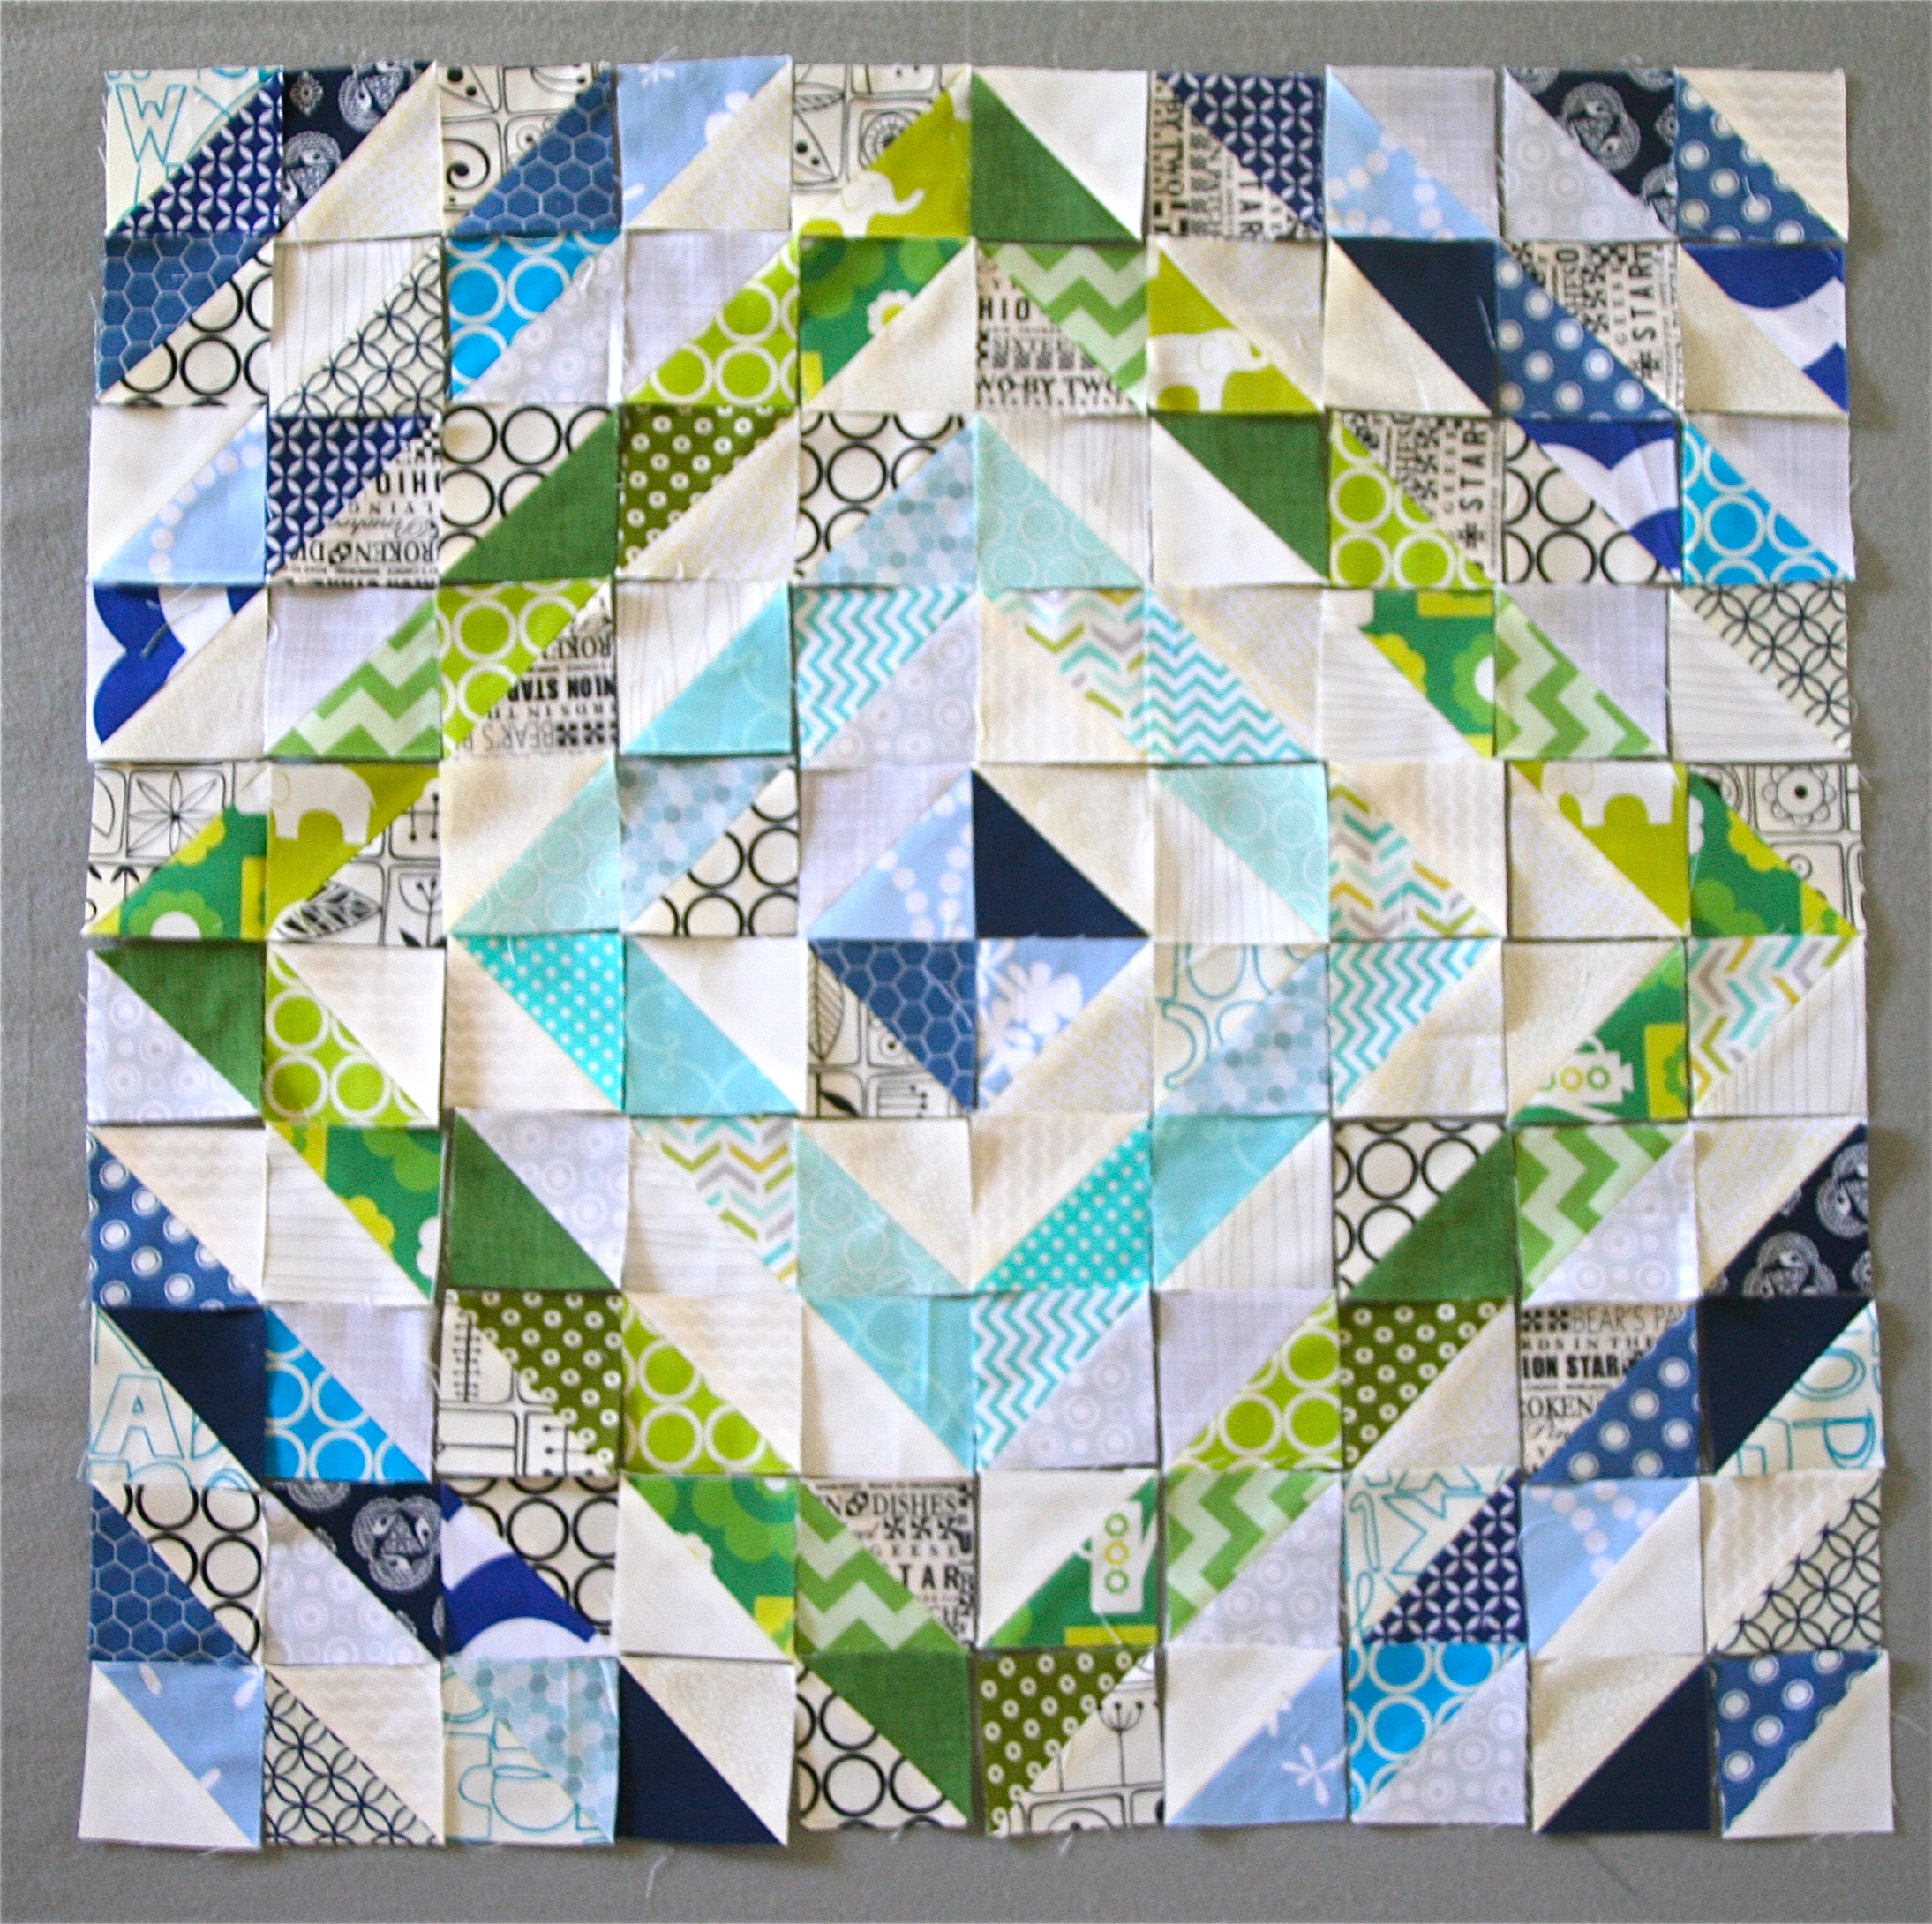
The design board was invaluable as I laid out all my HST for my latest pillow project (pillow for our quilting guild pillow swap, next weekend). Here is where I am at and a look at my design board:
IMG_7407

For the pillow, I used blues, greens and aqua fabric prints and wanted to mix them with some low-volume fabrics….I am loving it all laid out on my design board. Isn’t so cool when you have an idea in your head and it becomes equal or better in reality :-). The pillow should land up being 20 inches (the swap was for 18 in” but I really wanted to do this design, I am sure the person receiving it will not mind).

Here is a full look of my design board. I will be adding a couple of grommets in the top corners so I can hang it but also still have it portable. By adding these I can move it when the light changes in my workspace I can put it where it works. IMG_7405

I think this board has worked so well, I am also thinking of adding a second design board…which I could store on the same hooks.

I hope you all had a great weekend. I look forward to seeing all the wonderful WiP’s and Finishes everyone did this week. Linking up with Beth’s “Let’s get acquainted”.

Plum and June