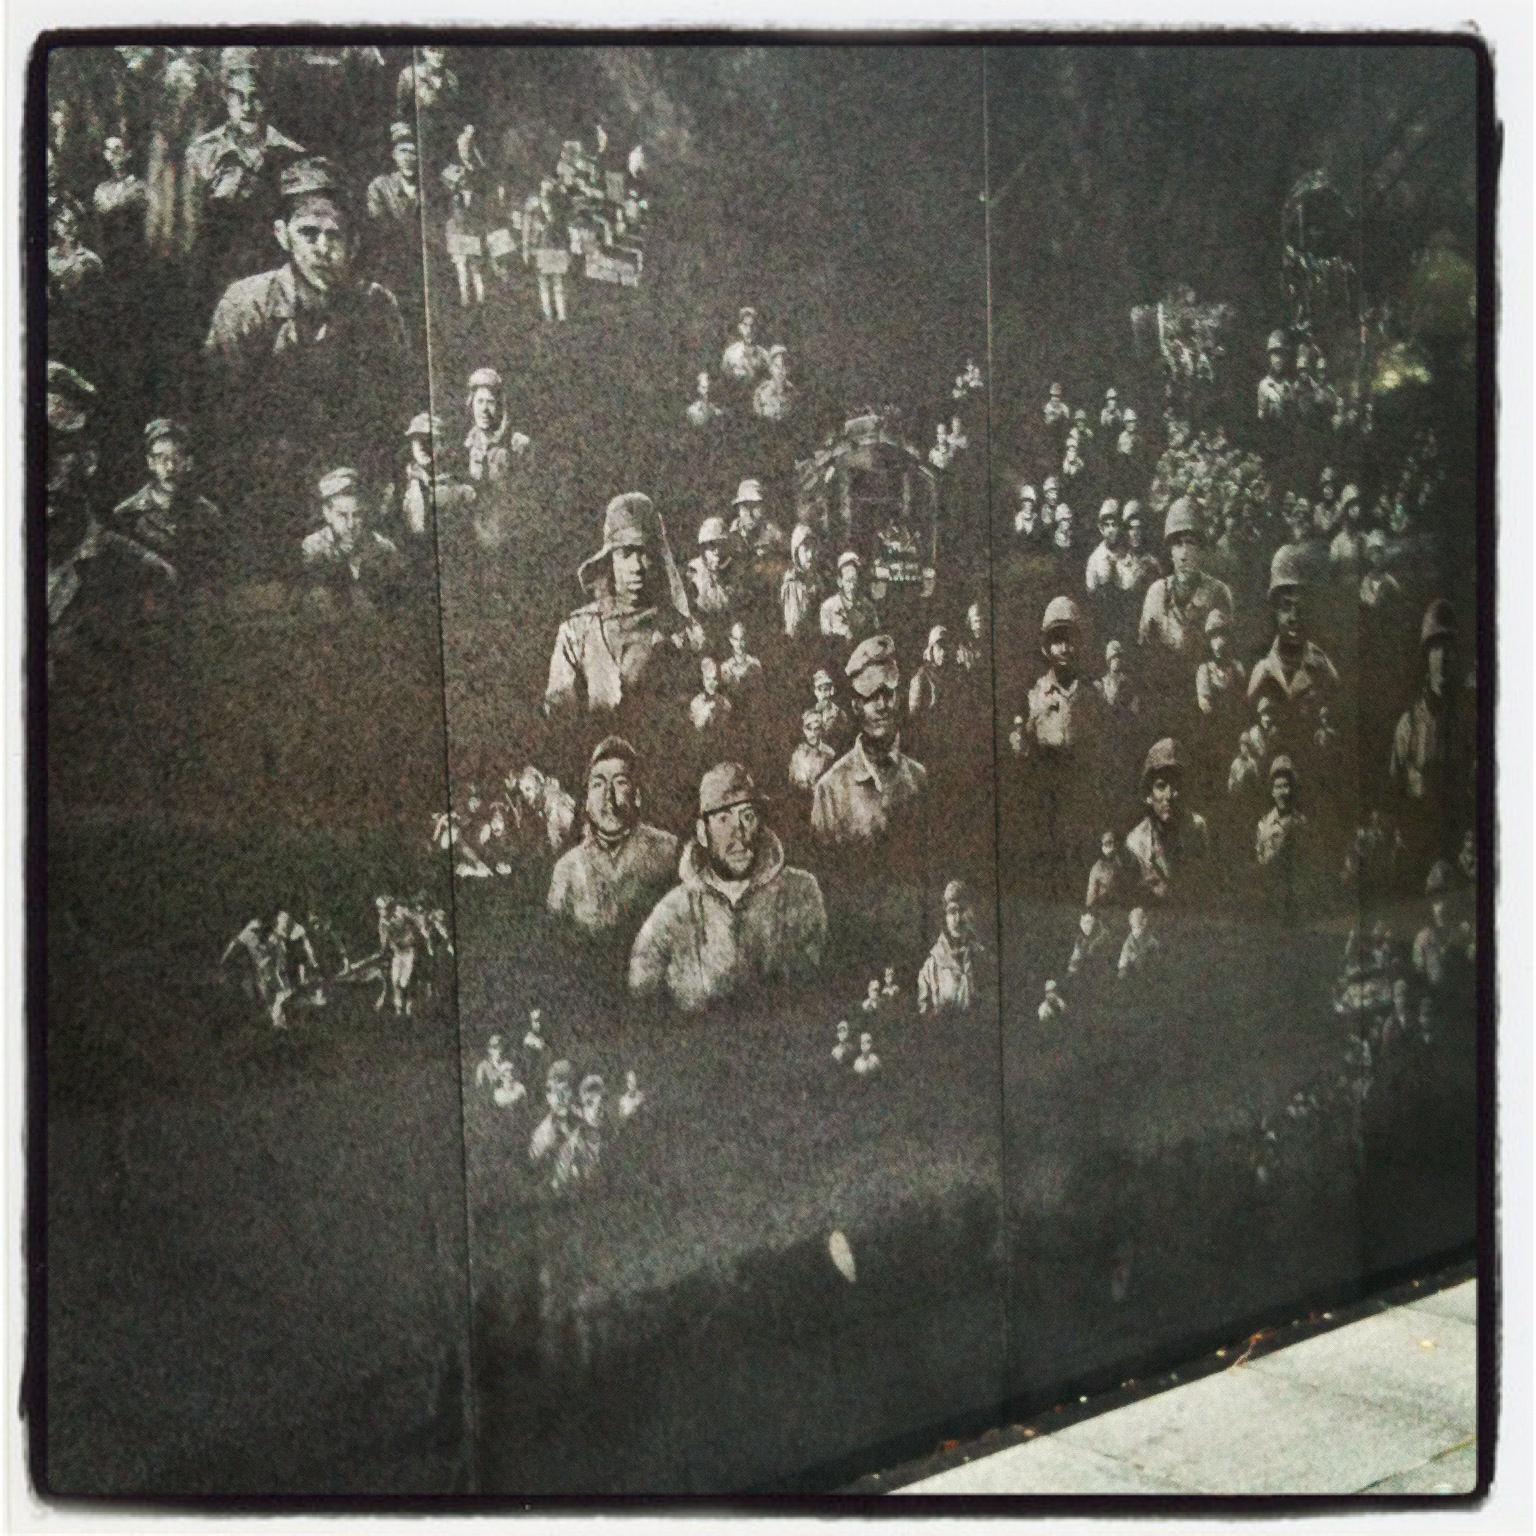


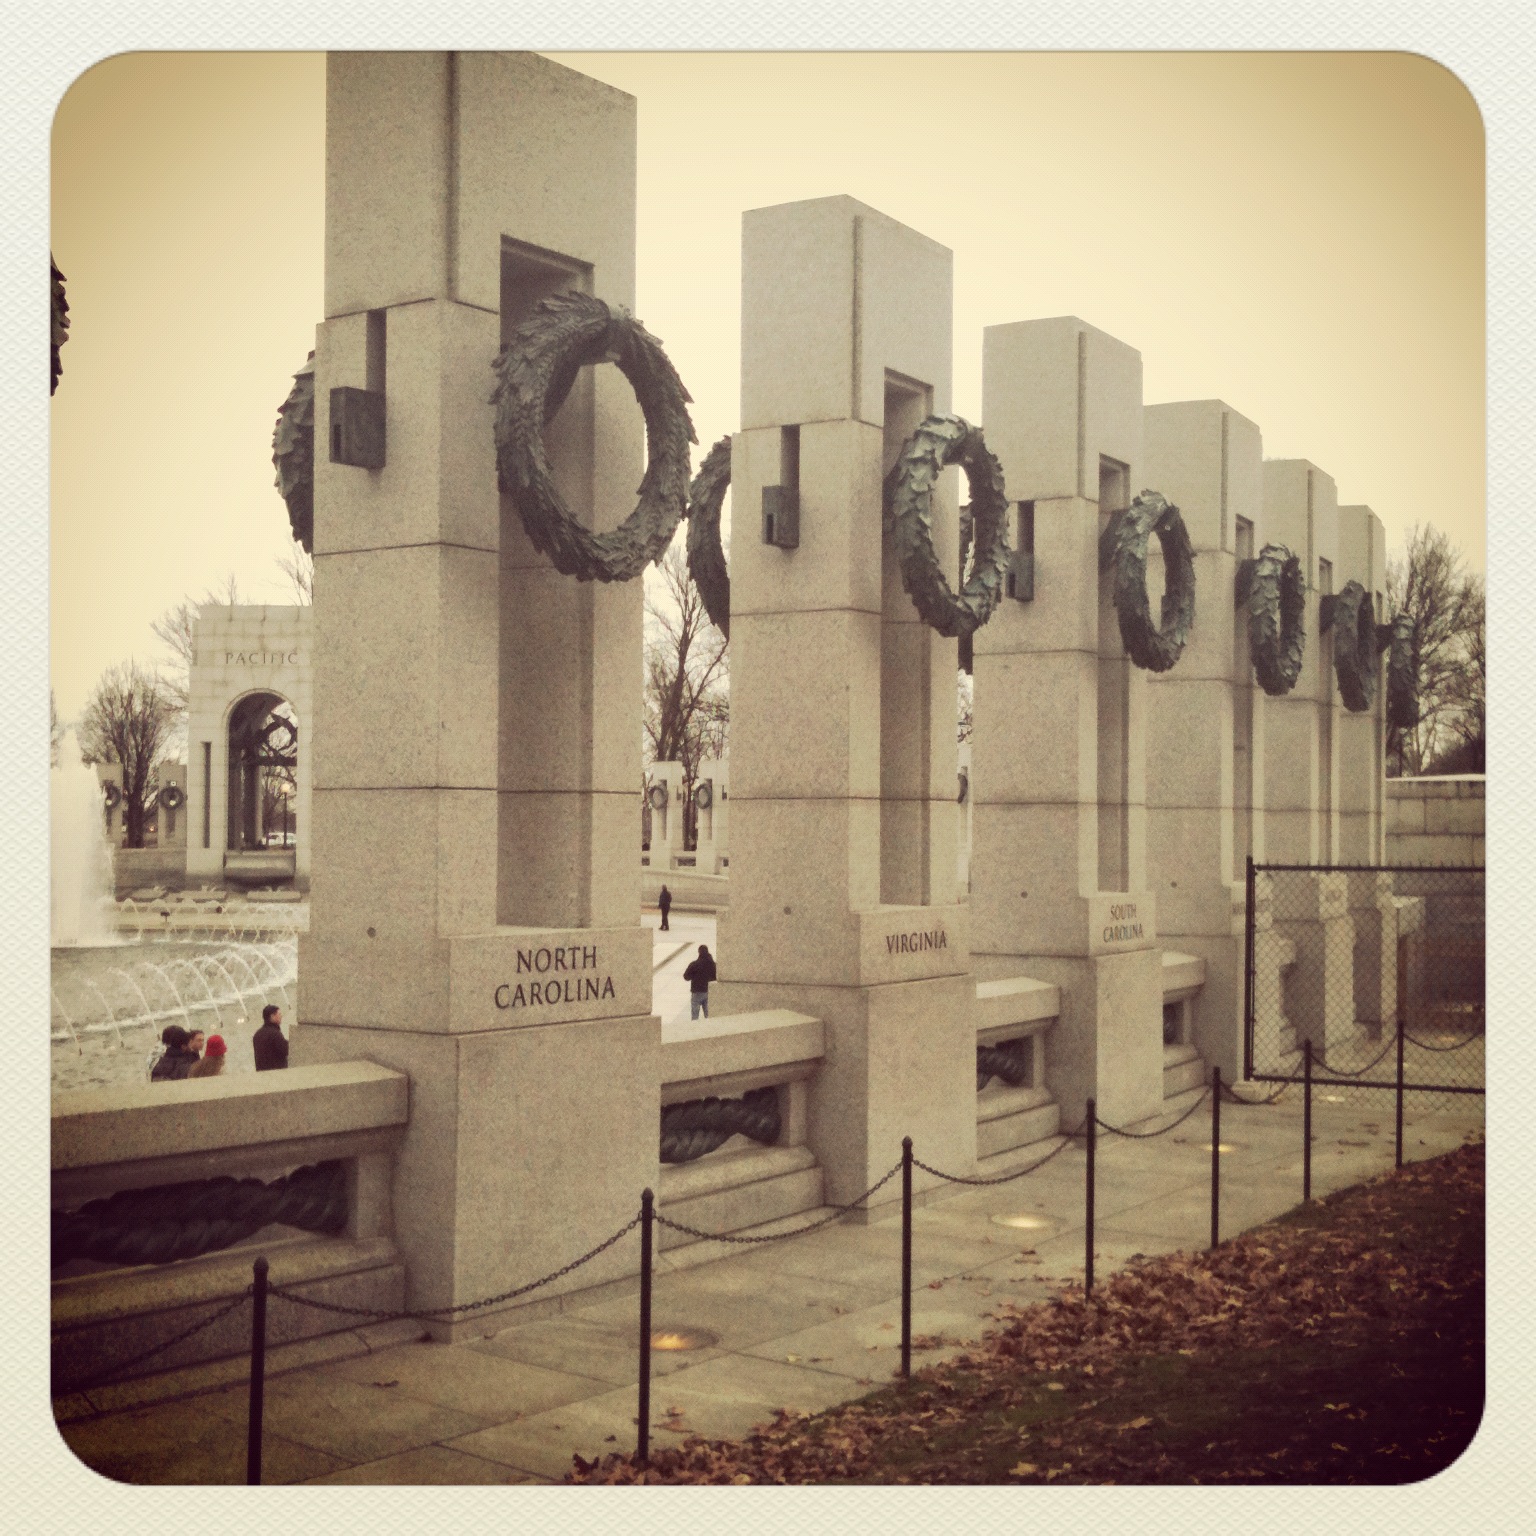


Our first visit to Washington DC
Leave a reply
So, the first week on the plan was a little tough, especially Monday-Wednesday. I craved everything; sugar, cheese, meat and fresh bread. I managed to stay with the plan most of the time, and was happy when I found suitable options that I could eat at my favorite Friday lunch place.
I plan to pre-make some meals this week, especially for breakfast as I find it hard to make the time for it. I prefer to get the extra time in bed :-). Tonight, I am making a vegetable chill in the slow-cooker to have on hand for lunch or dinner, when I change my mind. For lunch, which I normally pick up at work, there were great options in our new cafe. It has a new global section that has a vegan/vegetarian option, it varies from stir fries to indian to mexican; there is also a great salad bar.
I plan on making dessert tonight – found several recipes for date balls which sound great. I am picking things out from several recipes and combining it into something I hope I like 😉
Here’s this weeks menu:
| Day | Breakfast | Dinner |
|---|---|---|
| Saturday | Vegetarian Omlete | Lentil and Kale Soup |
| Sunday | Oatmeal with grated apple + sultanas | Steamed Fish and Vegetable Pockets + Quinoa |
| Monday | Oatmeal with Banana+Unsalted Peanut Butter | Stir Fry + Brown Rice |
| Tuesday | Fruit Salad with Flax seed | Curried Pumpkin Soup |
| Wednesday | Fruit Salad with Flax seed | Pizza (using FlatOut Bread instead of Whole Wheat Pita) |
| Thursday | Oatmeal with grated apple + sultanas | Vegetable Omlete |
| Friday | Fruit Salad with Flax seed | Bean Burgers + Salad |
This is my first go at writing a tutorial. This is how to make gift card pockets. It’s a cute and easy project if you are starting to sew, it would make a great project for kids. You can use some of your scraps as well.
Materials:
Tools:
1. Cut all your fabric pieces out, iron pieces if necessary (I always do).
2. If using scraps, stitch the pieces together with a 1/4 in. seam. Once sewn, press the seams down (this is a great tutorial on techniques for pressing seams by SewMamaSew).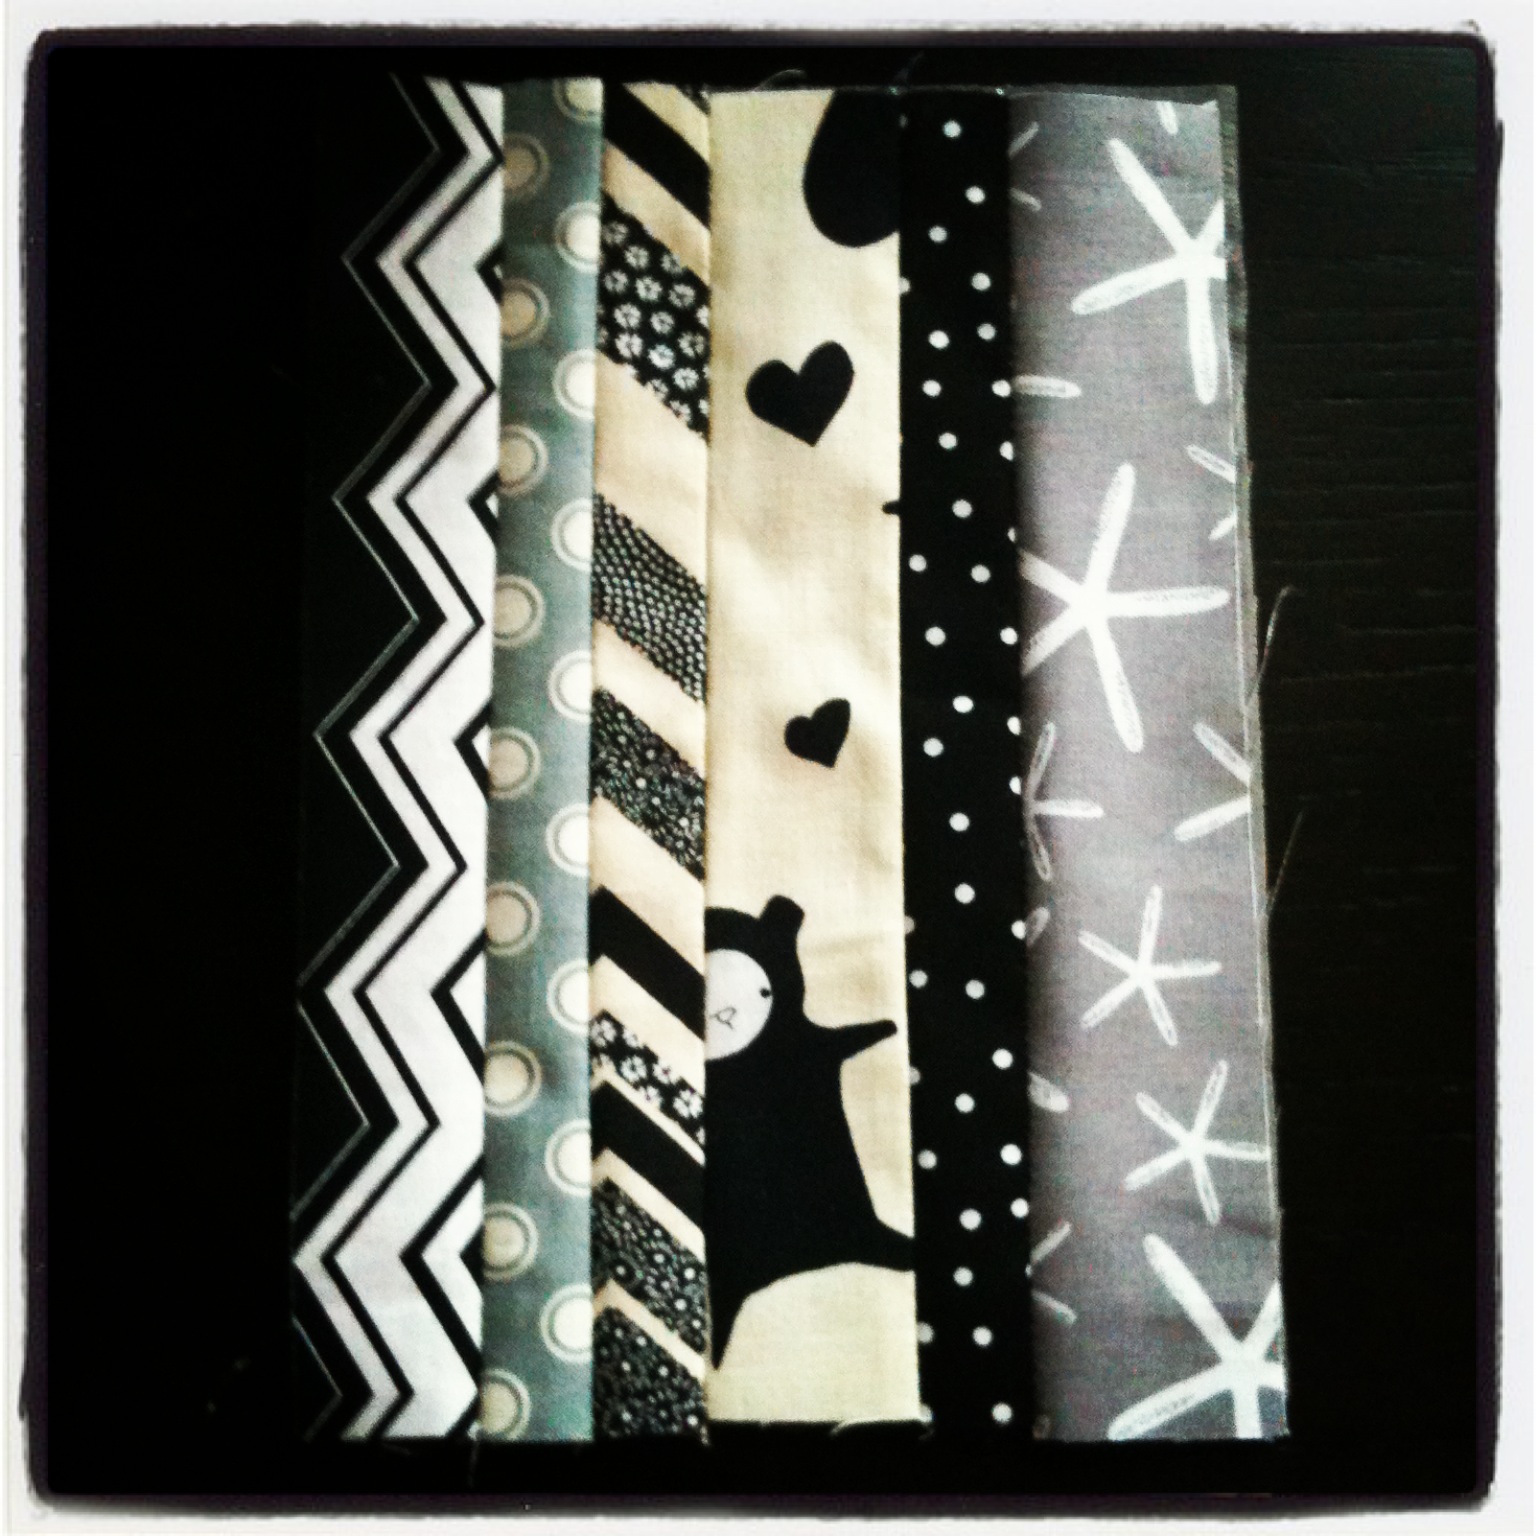
3. Put the back piece, batting and front piece together. Press with the iron.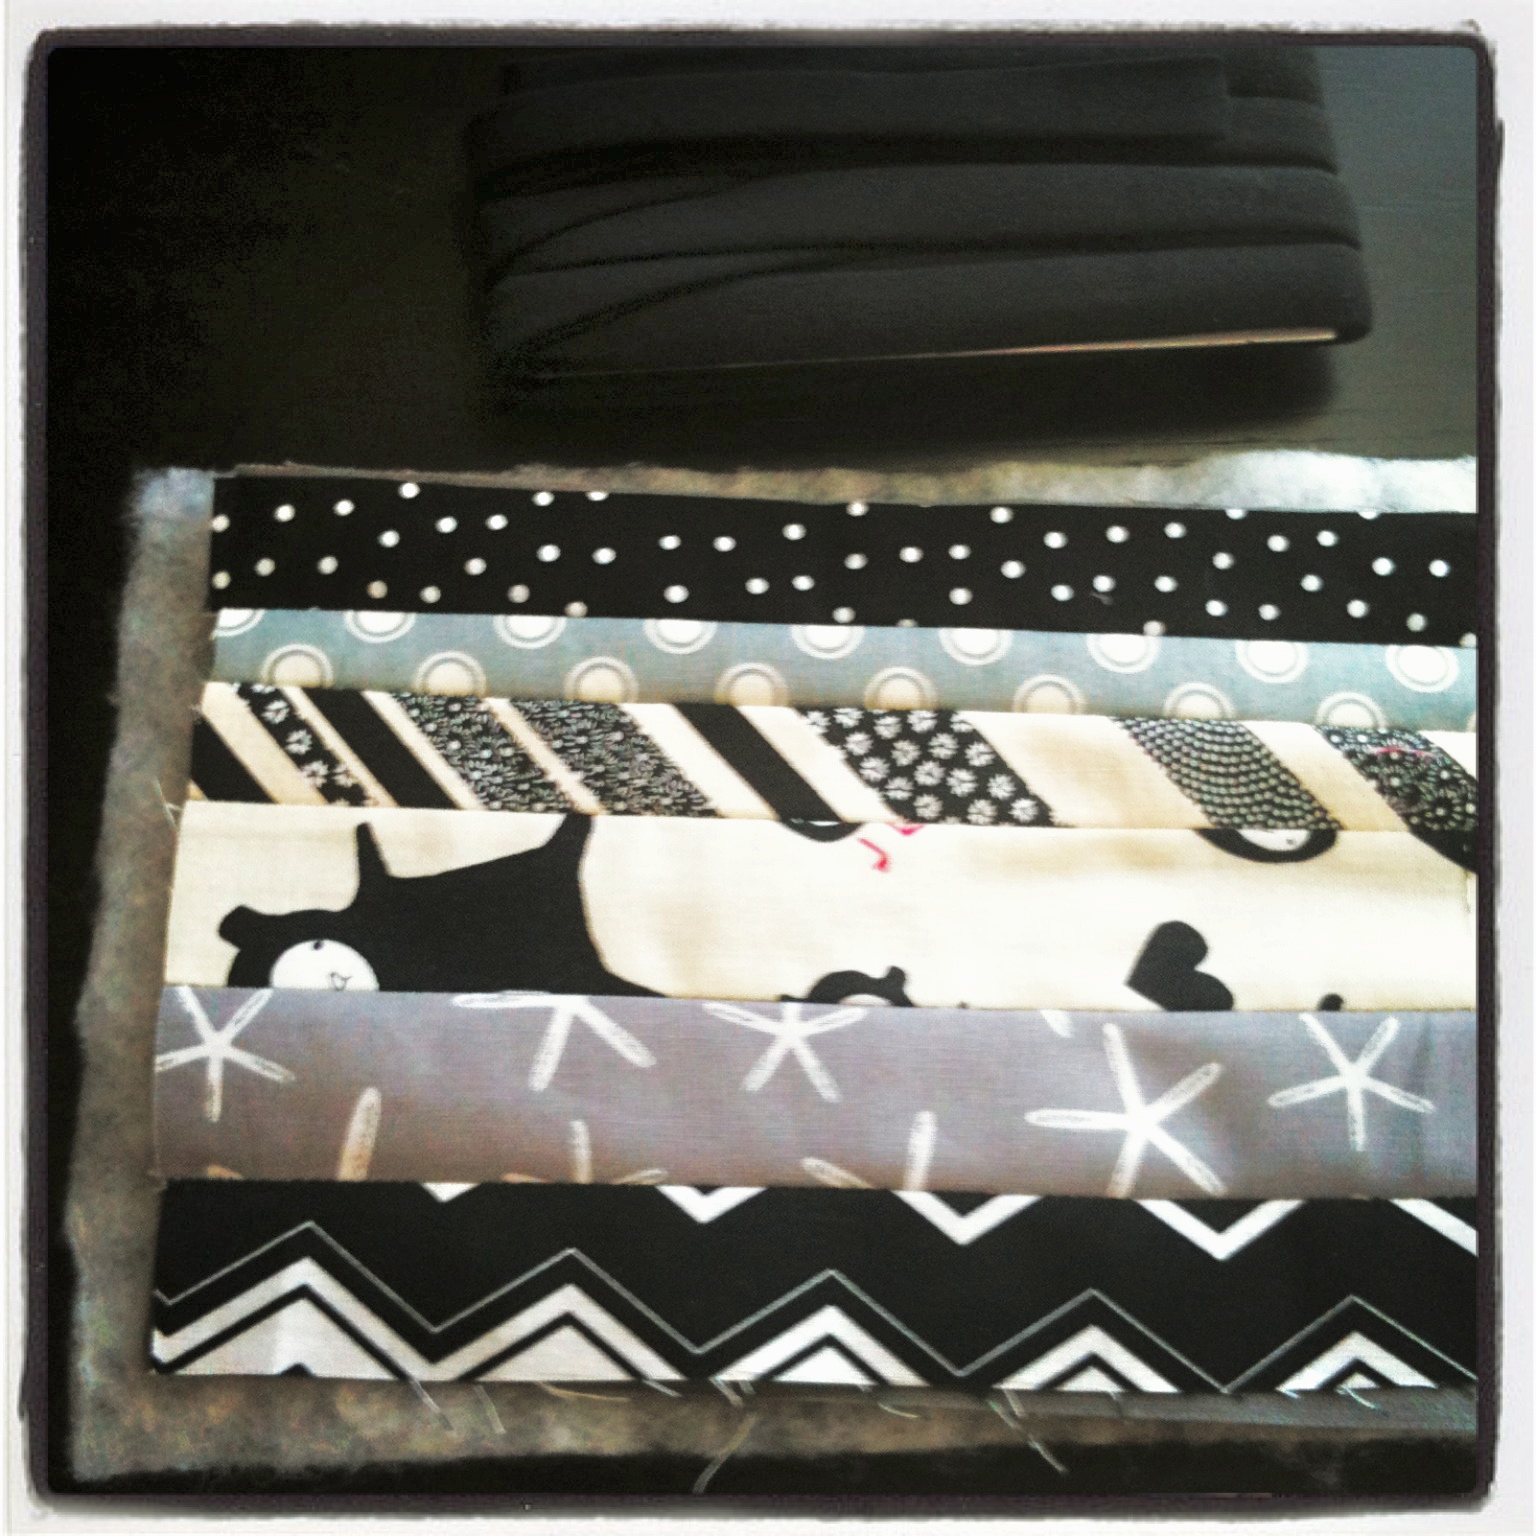
4. Trim the edges to create a straight block of 5 x 7.5 inches.


5. On one of the short edges of the block (5 inch side), stitch the binding onto the back of the block.
6. Once the binding has been stitched onto the back, cut the binding to the edge of the block. Turn the block over, fold the binding over the top of the block and stitch the front of the binding along the bottom edge.
7. Repeat on the other short edge of the block. Press the block.
8. Fold the block in half, right sides together. Press again. Sew along both edges. I start at the bottom and stitch towards the top as the bottom is thinner and easier place to start. Sew three stitches and then back-stitch, continue to the end, back-stitch 3-5 stitches.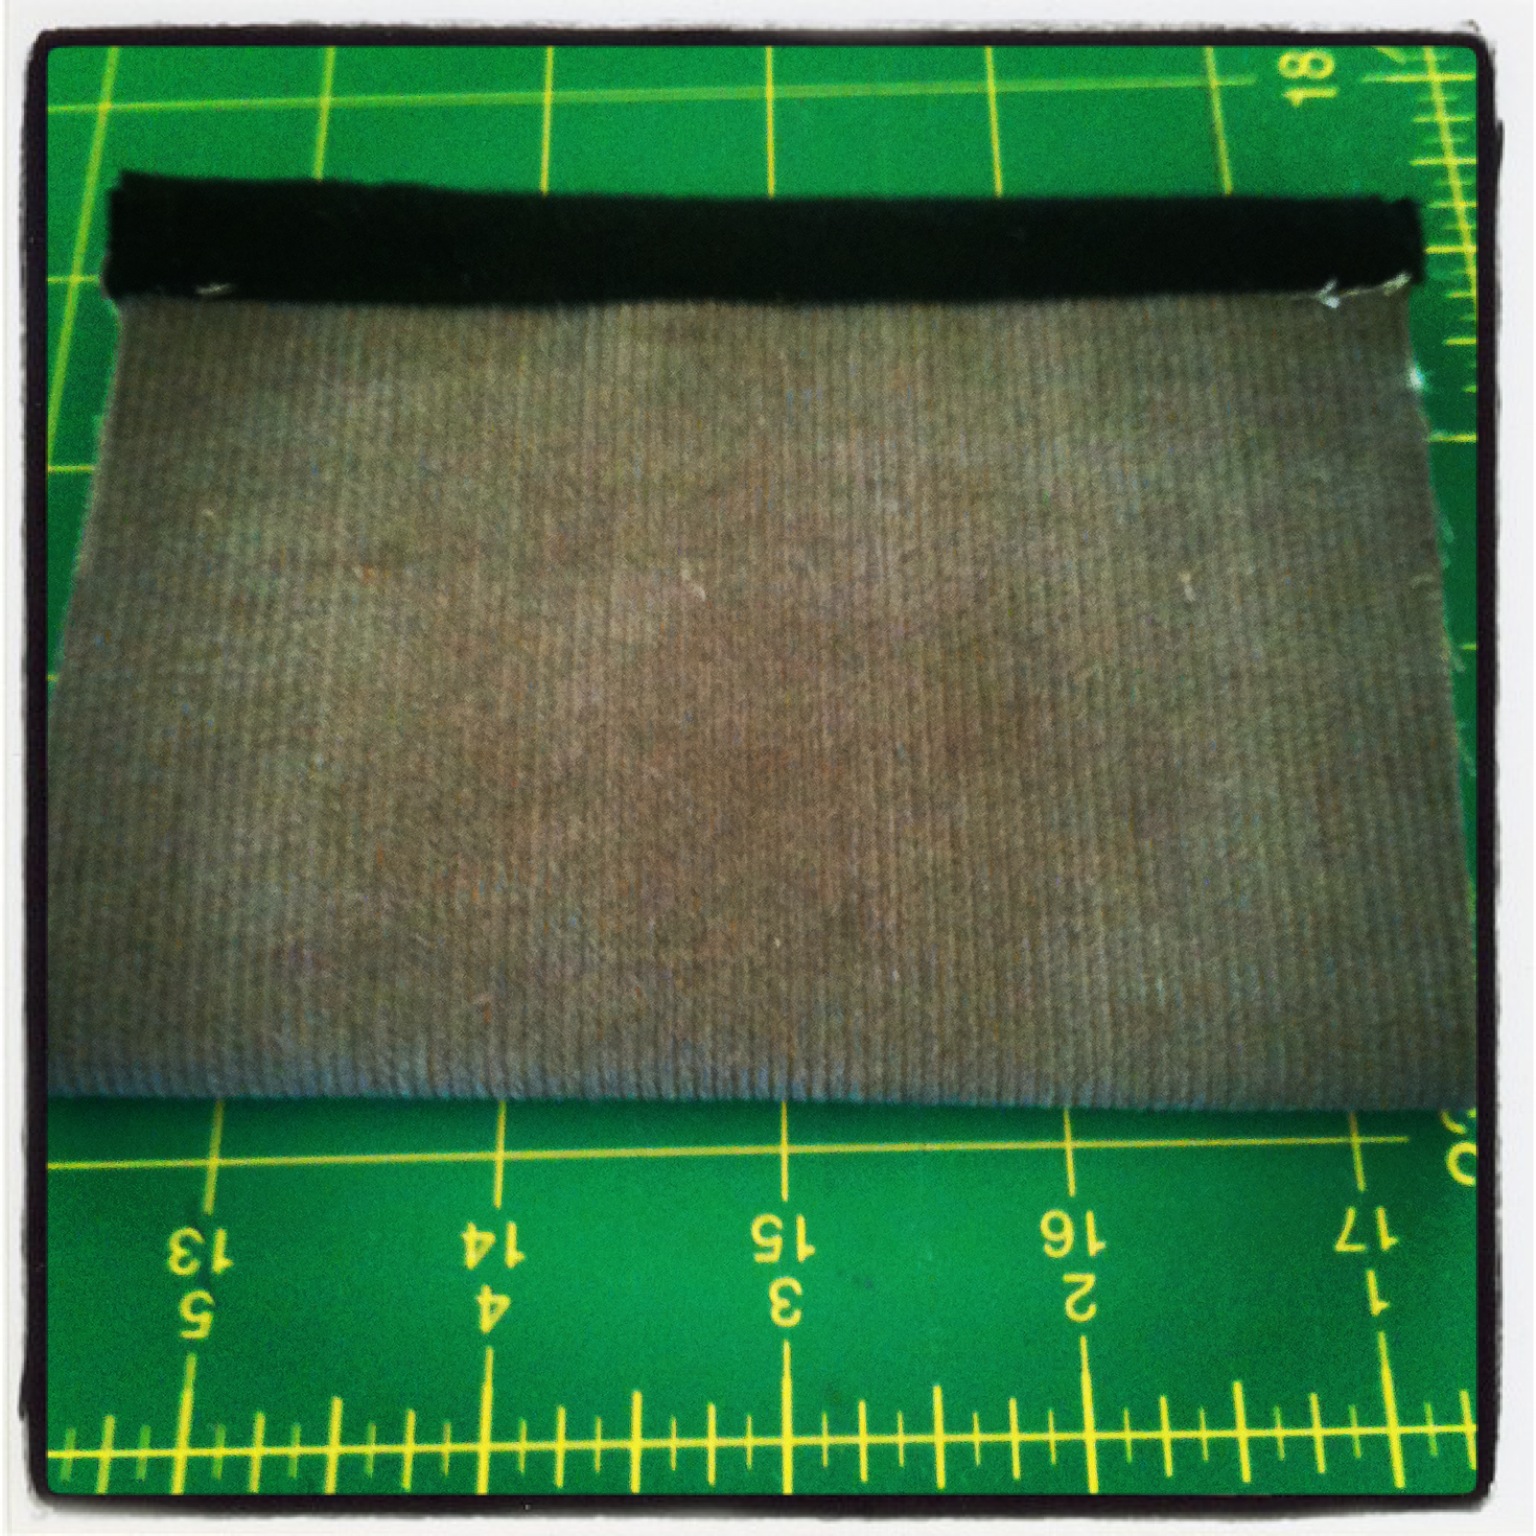
9. Turn in the right way. Press again.

10. Measure the pocket at the top to find the center (~2.25 in.) and mark with a chalk pencil – the width is now 4.5 inches (for the button position). Repeat the measurement on the binding on the back inside binding (for the hair tie placement). 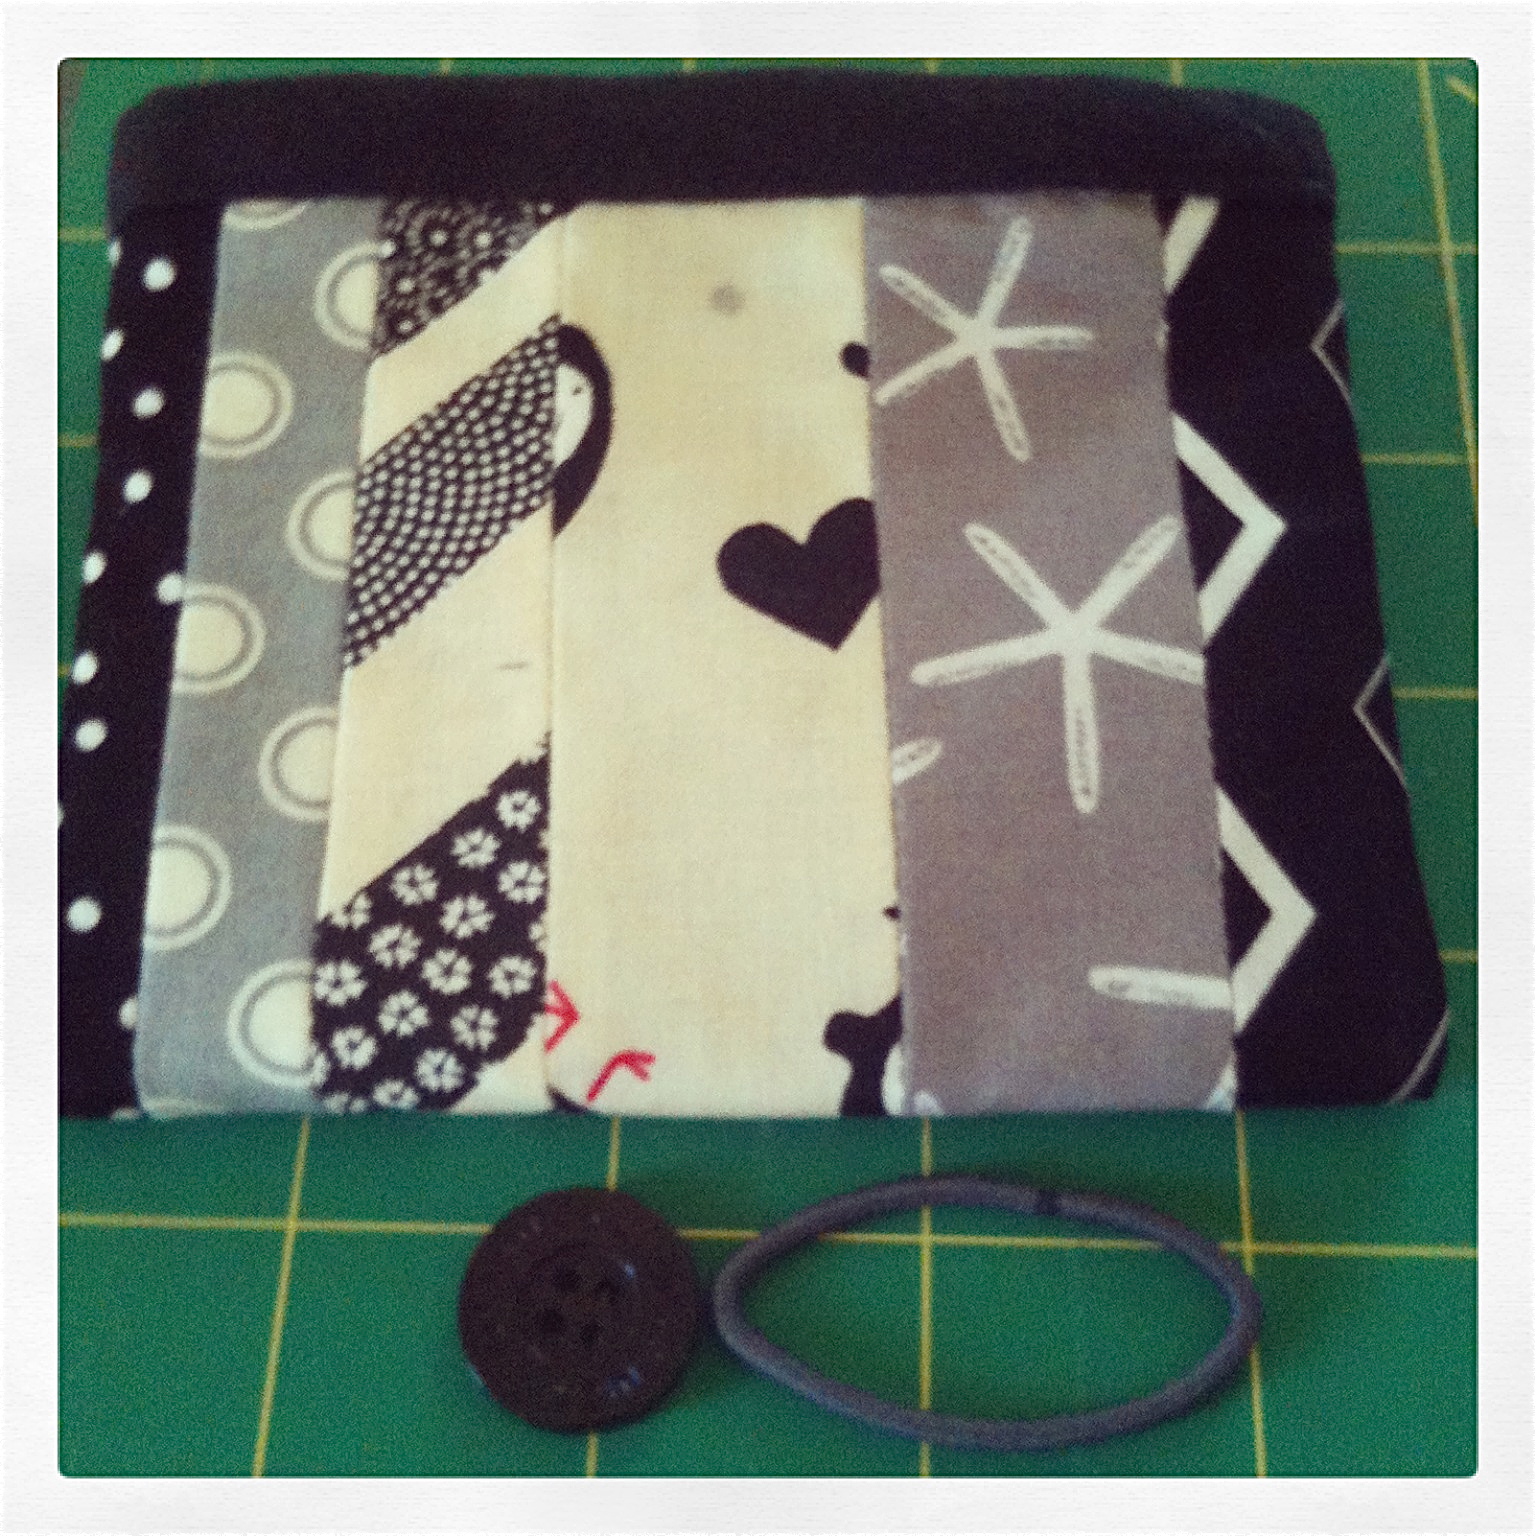
11. Stitch the hair tie into the inside of the pocket. Stitch a few stitches on the top and bottom of the binding.
12. Hand-sew the button in place. This will complete the gift card pocket.
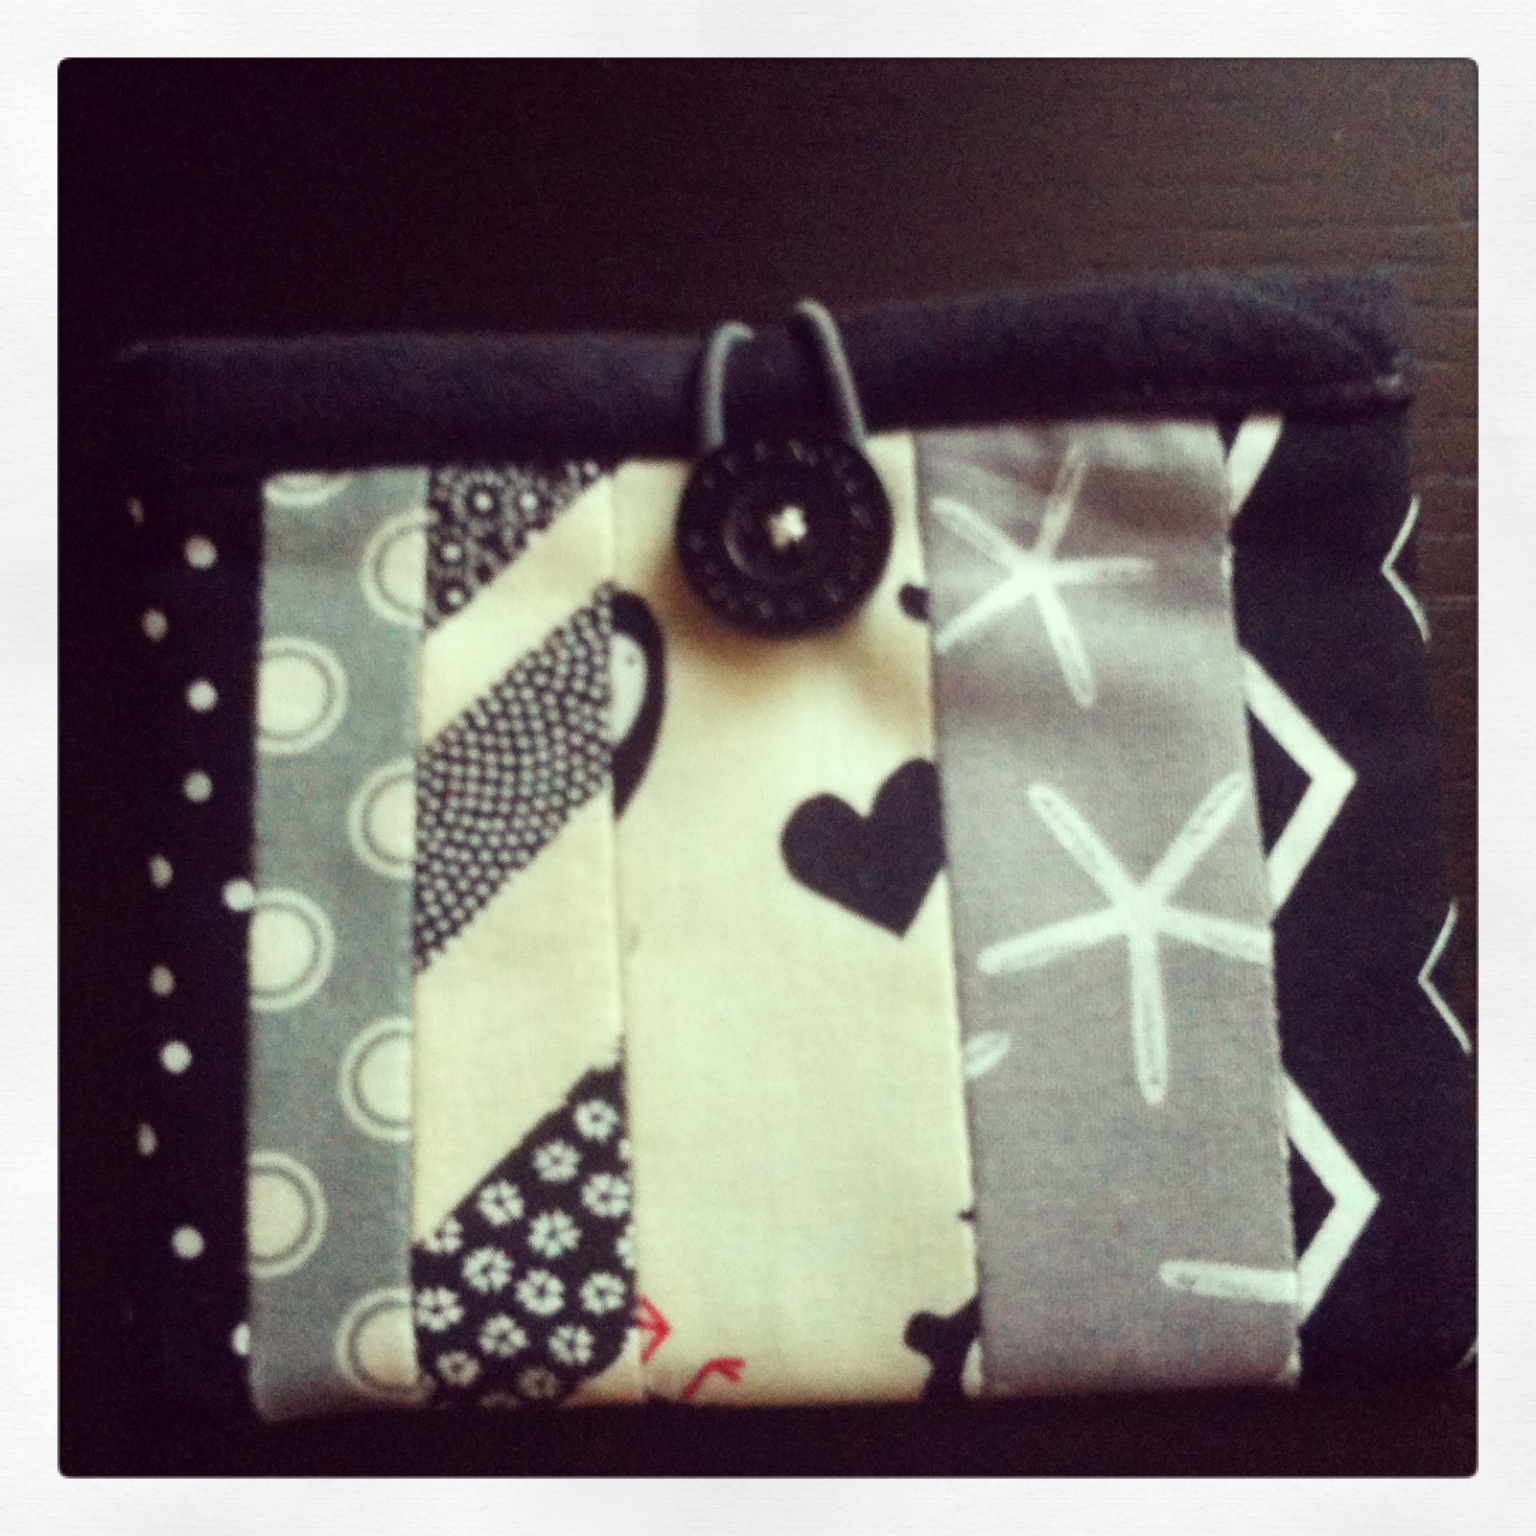
Have fun with your color combinations – see these posts for ideas (Making gift cards a little more personal, Customer Order). Additionally, instead of binding you can use a zip.
Linking up with Finish it up Friday at Crazy Mom Quilts.
