Rule breaking!! New Projects

I know I shouldn’t be starting new projects with all those quilts that need to be quilted, but I am….and loving it!!

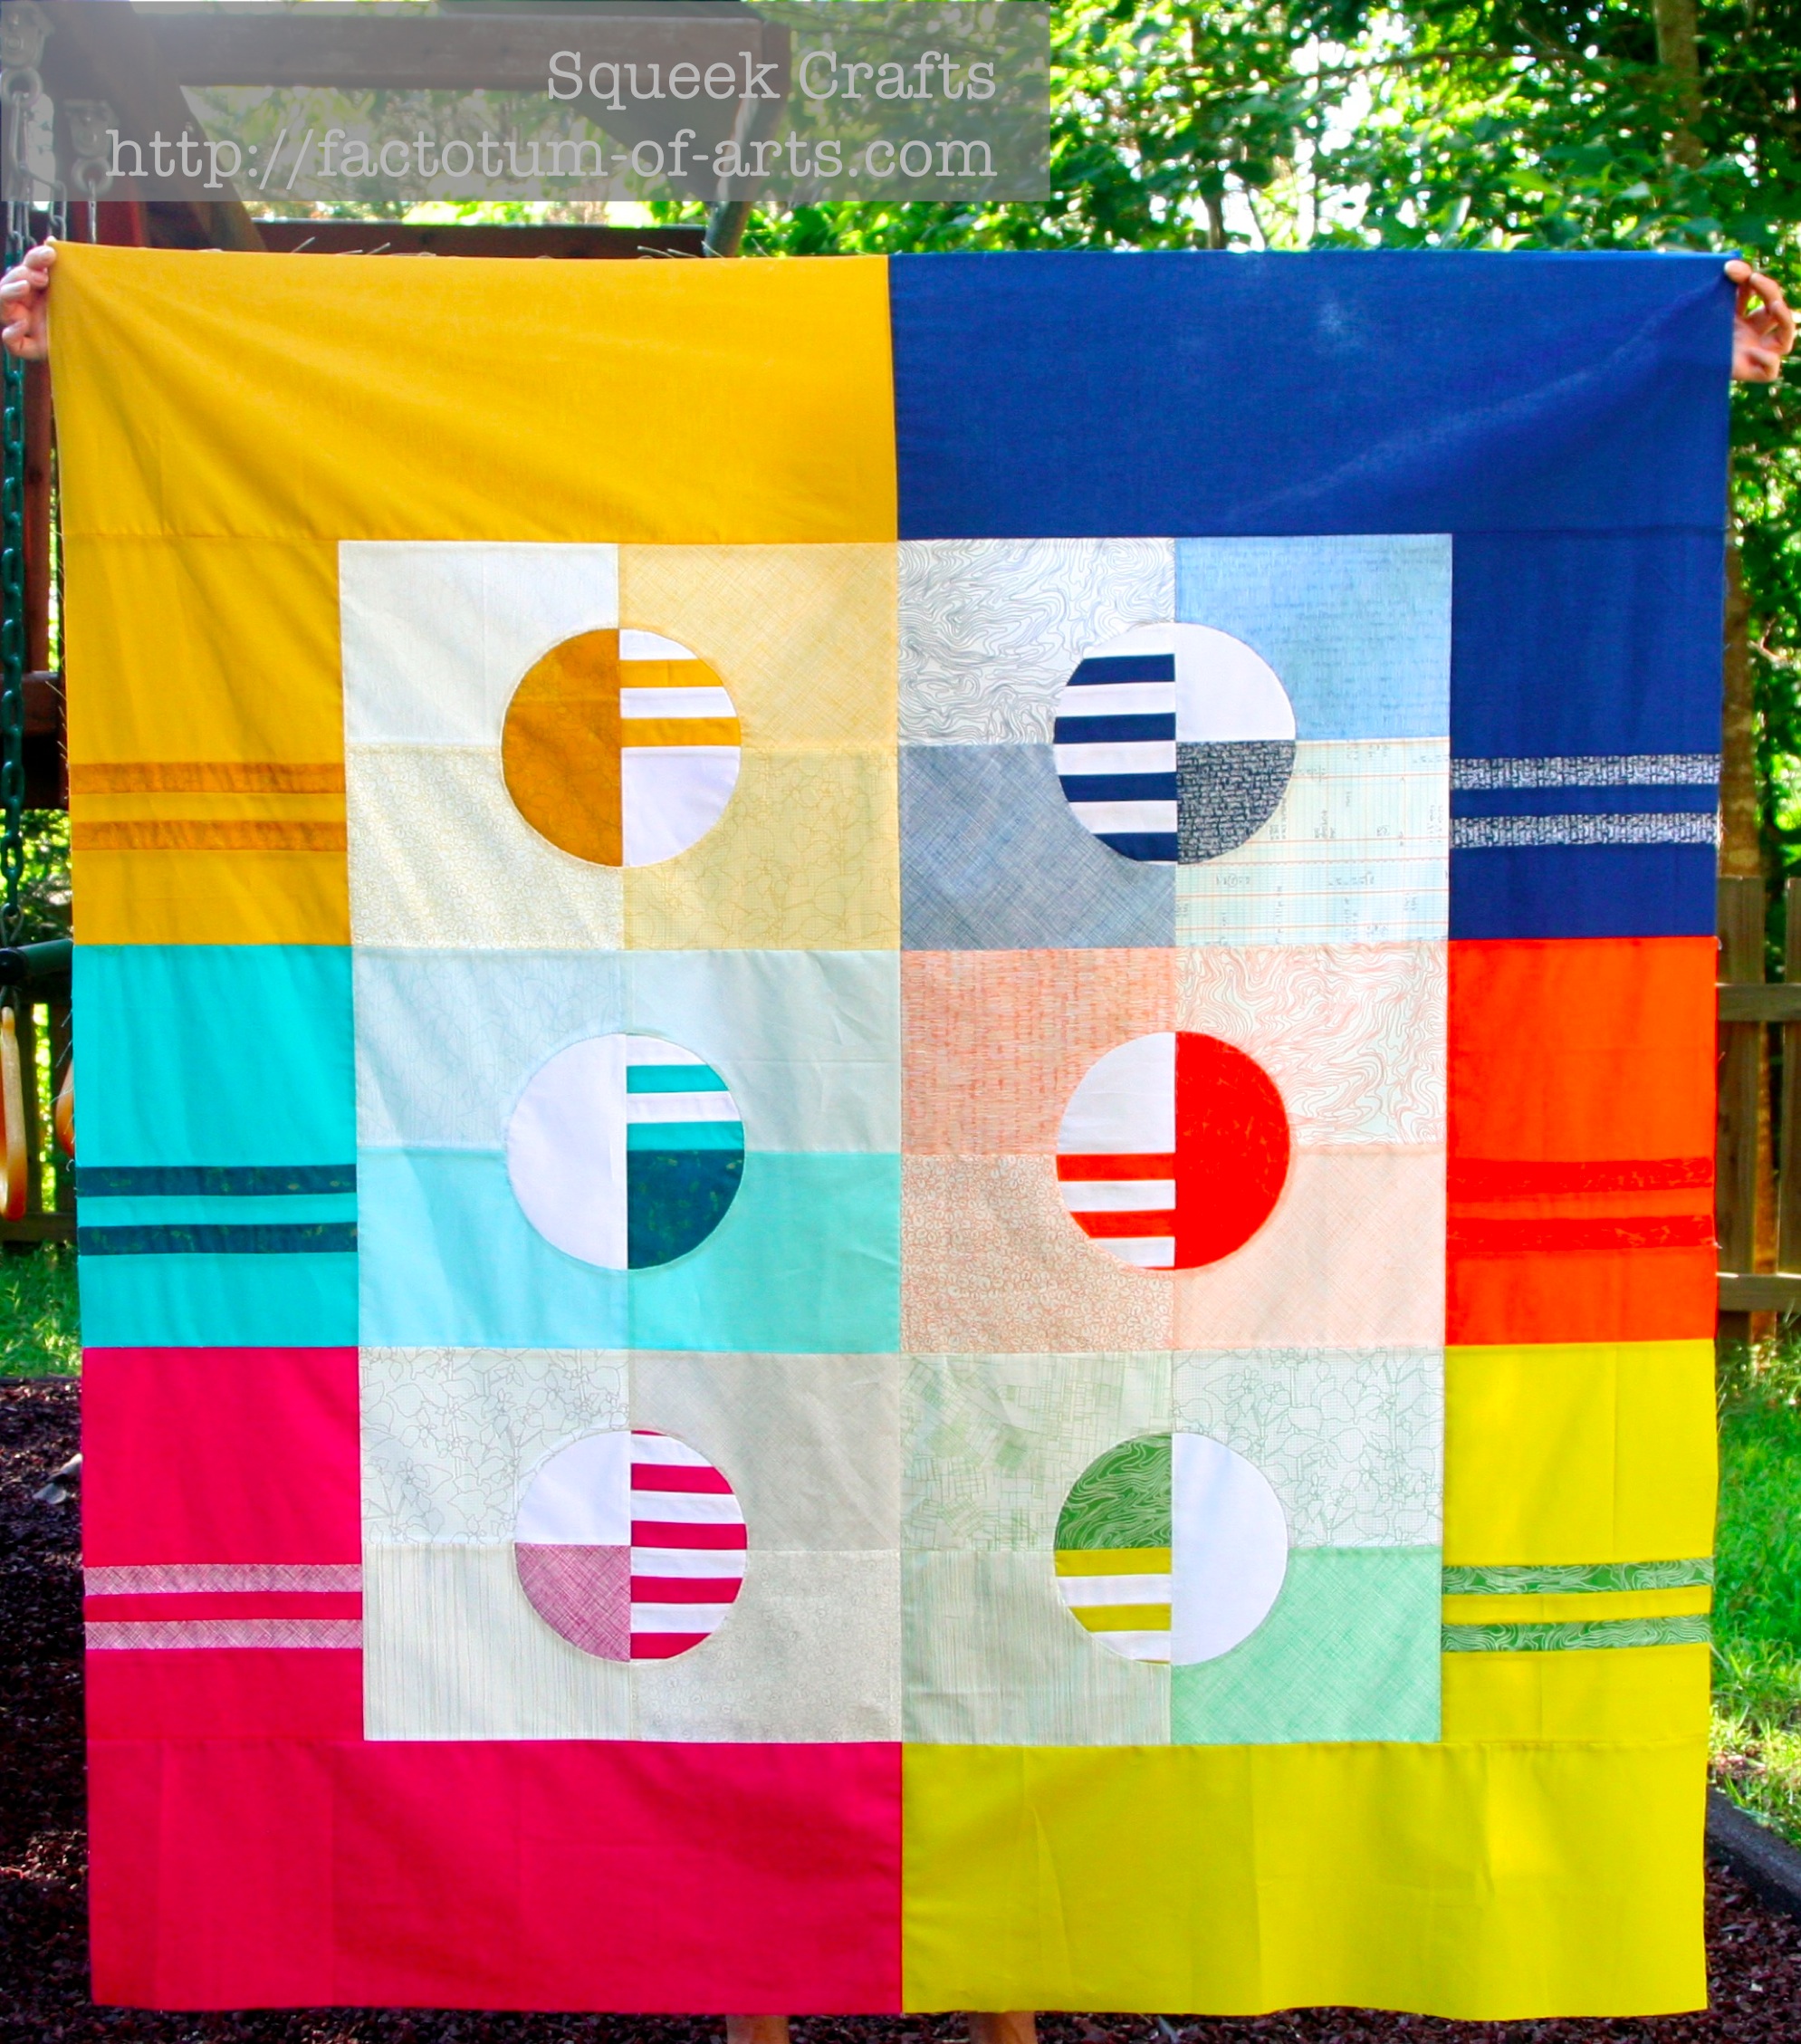
I will say, slightly in my defense, I have taken the first step for quilting Phased Circles (my project for this month), picking out my thread. Thank you Aurifil, for the fantastic selection… here are my thread selections (I also have a grey to add to the ones below and have to find a color that will go with wasabi).
Aurifil_PhasedCircles

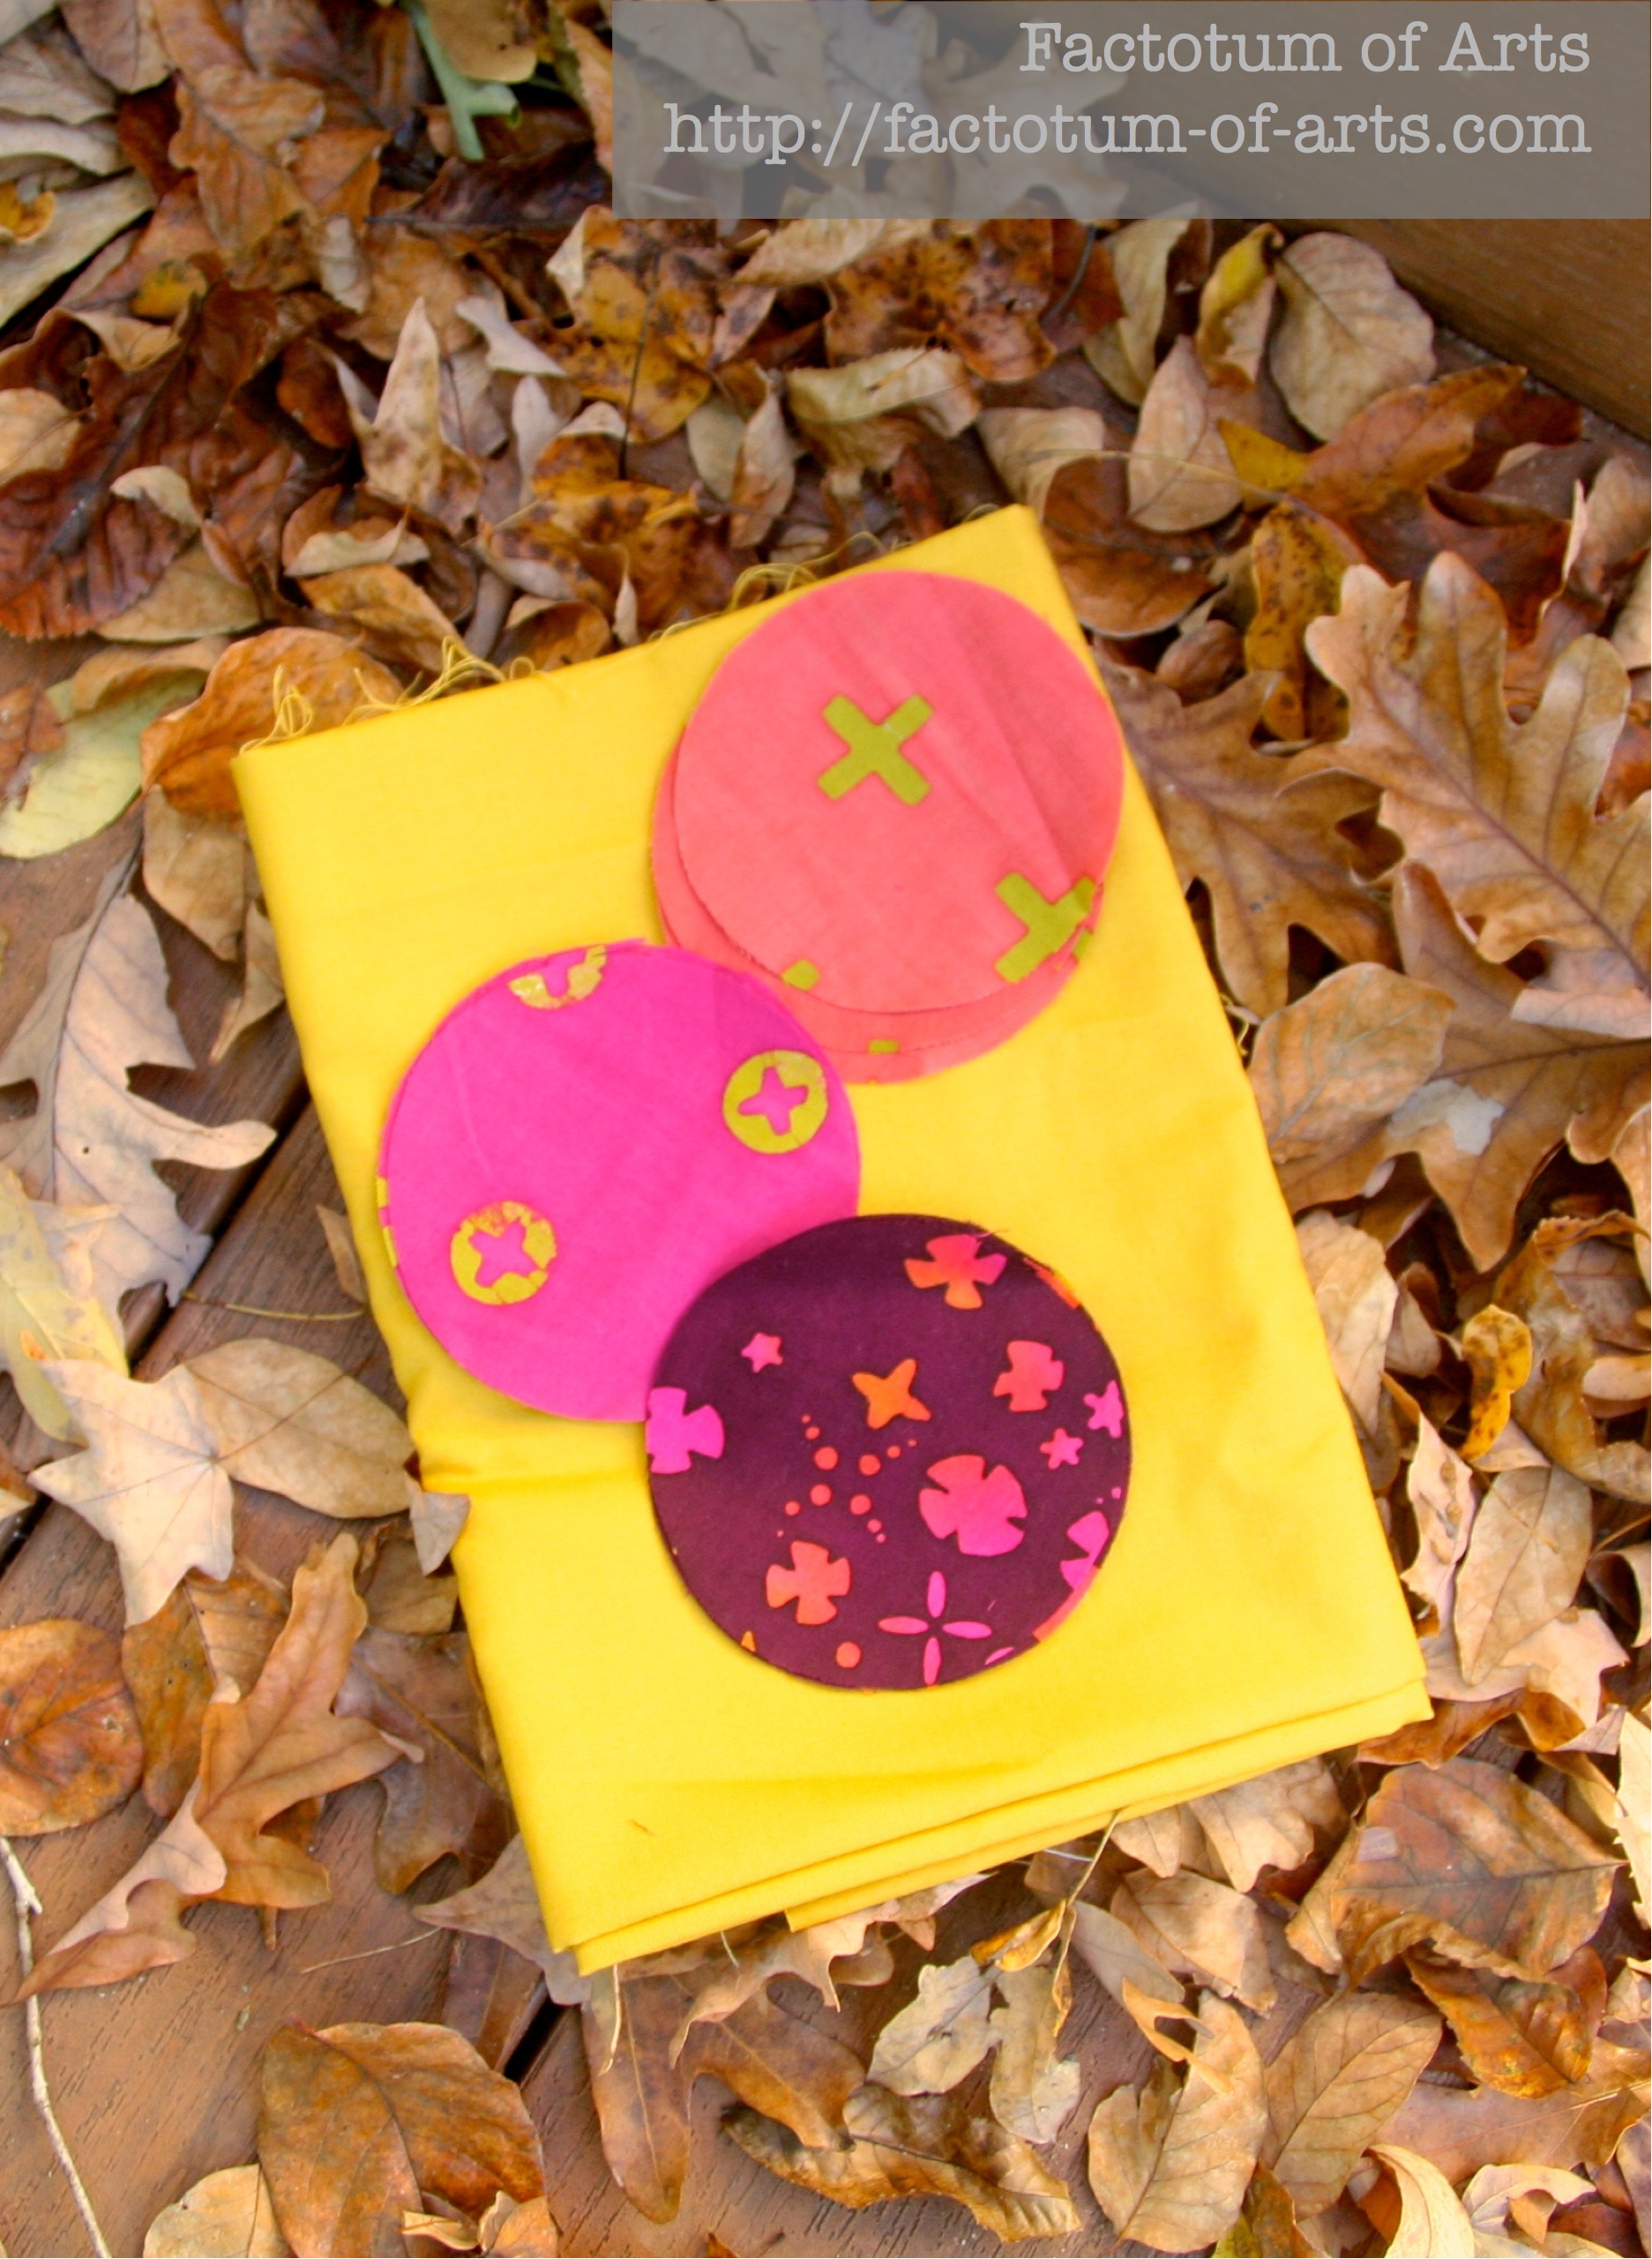
I am also preparing for my business trip next week in New York, of course I am taking a couple of project with me. The two projects will be both hand sewing projects. One is Celestial Spheres (Part 2) “Autumn Equinox”…which I am working on getting the pieces tacked before I leave….
AutumnEquinox_FabricSelection

The second is my next Sew Mama Sew Project..here is the fabric pull; a new all Kona solids project!!
SewMamaSew_FabricProject3

Lastly, I am cutting up my Autumn Oakshott Cotton Bundle for my Rangers Station quilt and adding some Raisin Kona Cotton. Here’s the color palette:
RangersStation_OaskshottCottons

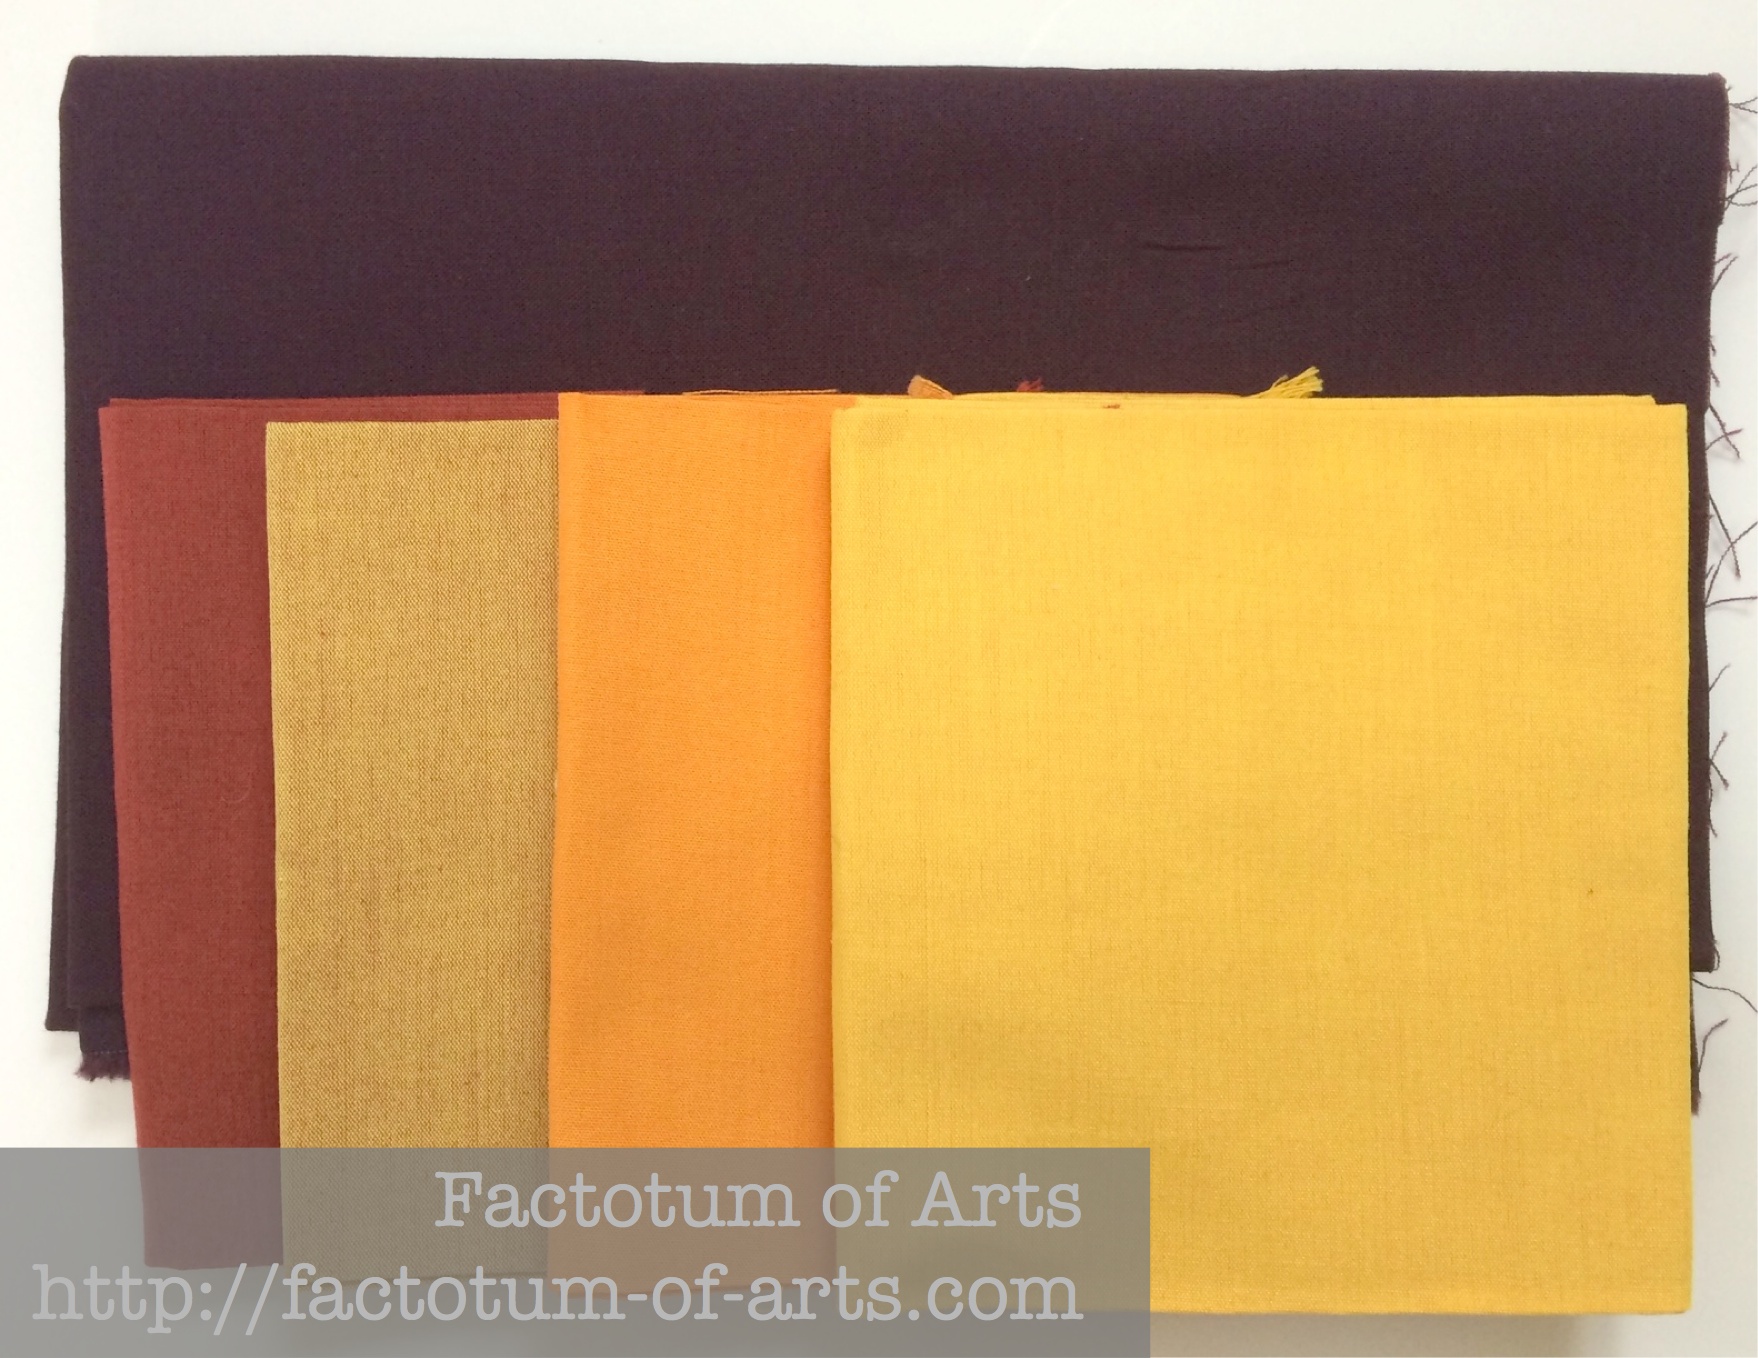
Boy, looking at the projects like this, I am definitely on a warm color kick this week. In the meantime my project list expanded a little ;-).

Projects and Progress

Project Target Date Current Status
Phased Circles Quilt  30NOV2014  TOP, BACK, BASTE, QUILT, BIND
Cheri  30NOV2014  TOP, BACK, BASTE, QUILT, BIND
Jungle Ave Tapa  30NOV2014  TOP, BACK (UNDERWAY), BASTE, QUILT, BIND
Celestial Spheres
(Part 1)
 DEC2014  TOP, BACK, BASTE, QUILT, BIND
Celestial Spheres
(Part 2)
 DEC2014  TOP, BACK, BASTE, QUILT, BIND
Sew Mama Sew
(Project 3)
 29NOV2014  TOP, BACK, BASTE, QUILT, BIND
Bjorn the Bear  Early DEC2014  TOP, BACK, BASTE, QUILT, BIND
Rangers Station  DEC2014  TOP, BACK, BASTE, QUILT, BIND

Linking up with Lee over @ Freshly Pieced for WiP Wednesday (see button on the right)

Tutorial: Coffee Cup Sleeves

My first year sewing, I decided to make coffee cup sleeves for Christmas gifts and a Christmas fair. They were so successful, and after making about 40 of these, I thought y’all would enjoy them too.
FinalSleeve_front

Materials:

  • 24 2.5″ x 1.5″ Scraps (I am using pink and purple scraps which could be any size)
  • 3 6.5″ x 1.5″ Linen strips
  • 1 6.5″ x 10″ Corduroy (for backing, you could also use felt)
  • 2 6.5″ x 10″ fusible fleece ( you could use one piece fleece, one piece insul fleece; I use both pieces of fleece, so that I can use it for cold drink sweat as well)
  • 1/4″ binding (Wrights double folded bias works well)
  • 1 Elastic hair tie
  • 1 button
  • 1 Paper Coffee cup sleeve (use as template)

    Scraps

  1. Sew the 2.5″ x 1.5″ pieces into 6.5″ x 2.5″ strips and trim. Layout the your sleeve. Sew the scrappy strips together with the 6.5″ x 1.5″ linen strips. This will make a block of ~10″ x 6.5″.

    ScrapsSewn_Layout
  2. You now have 4 pieces to make your quilt sandwich. Iron one piece of the fusible fleece to the corduroy, the other to the scrappy block (front). Pin the layers together and trim the top edge, so that you have a good guide for quilting. QuiltSandwich
  3. Quilt the sandwich. I used my foot edge for even distance between the straight-line quilting.
    Quilted
  4. Pin the template on the quilted sandwich. Cut out your coffee cup sleeve.
    CutFirstSleeve
  5. You may actually be able to get two out of your block. Line the template up with the arc of the previous cut.
    CutTwoSleeves
  6. You now have two sleeves.
    TwoSleevesCut
  7. Take one of the sleeves and the 1/4″ double folded bias. Open the bias folds, and iron the edge in about a 1/4″. This will be where you will fold the edges of the binding within itself.
  8. Use a machine binding technique with your sleeve,  that means, you will start sewing the binding to the back. Unfold one edge of the binding and use the fold as a guide to your sew line. Sew approximately 1″ at a time, making sure you line up the edge of the bias with the sleeve edge. Use mitered corners.
    SewingBinding_Back
  9. To finish up the binding on the back, overlap the edges of the binding about 1/4″ and sew. Unfold the bottom edge (leaving the 1/4″ “hem”),  and nest the other edge, refold.
  10. Turn over the coffee cup sleeve and fold over the binding. Stitch about a couple of mm from the edge all the way around. At the corners make sure you make the mitered corners fold the opposite way of the back.
    SewingBinding_Front
  11. Once the binding is on add the finishing details. On the slightly angled edge, pin the middle of the hair tie together, and pin it to the middle of the sleeve.
    PlacingElasticTie
  12. Turn the coffee cup sleeve over and sew along the top stitching of the binding to mask the stitching. Back stitch, back across the hair tie to add strength to the securing stitches.
  13. To finish off securing the hair tie, add about 10 stitches attaching the end of the hair tie to the back. Make sure your stitches do not go through the front. Use a thread color to match the corduroy.
    Finishings
  14. Last step, is attaching the button to the straighter edge of the coffee cup sleeve. I use a 4 hole button, as it is more stable than a 2 hole which is needed with the pull of from the hair tie.FinalSleeve_FlatView
  15. That’s it, the only thing left is to try it on your cup. It should fit a Starbuck’s cup and their $1 recycle cup and Caribou Cafe etc.
    FinalSleeve_back

I hope you enjoy, and I would love to see any you make up. If you have any questions let me know.

Small Giveaway

Now, for a small giveaway…I have an extra coffee cup sleeve of the one above and I will throw in some recent scraps as well, whatever I can fit in the envelope. Just leave a comment below on what handmade gifts you are making for Christmas. If you are a follower you get a second entry – just let me know below. I will randomly draw a winner next Sunday at 6pm EST.

Linking up with Sew Cute Tuesday and Let’s Bee Social (see buttons on the right).

A must finish for November ALYoF

I have had a hard time finishing this quilt. I think I am somewhat intimidated by it. I love it and I am nervous that the quilting will not be right. This month, I plan to put on my big girl pants and jump in. I need to finish it by 30th November so I can enter it in the Quiltcon Festival (hopefully, my second entry).

So what quilt am I talking about….you guessed it “Phased Circles”.
Phased Circles Outside

A close up of the center circles which features almost all of Carolyn Friedlander fabrics from Botanics and Architextures.Phased Circles Closeup

The back was made to complement the colors in the front, featuring the black, white and grey prints from Carolyn’s lines….a total of 36 prints (yes, I have an obsession).
IMG_2322

The quilt is basted, all I need to do is quilt and bind it and its done. Linking up with Melissa @ Sew Bittersweet Designs for A lovely year of finishes (See button on the right).